

This is a soap that I made with my soapy friend Jamie of Muddy Soap Co. and Electra-Press. She came to visit and we spent a couple of days making soap and bath bombs. 🙂 She sells mica for soapmakers and we used them in our soaps. I’ll be sharing four soaps that we made over the next couple of weeks, so stay tuned!
(Disclosure: Some of the links below are affiliate links, meaning, at no additional cost to you, I will earn a commission if you click through and make a purchase.)
This soap design uses a cut piece of cardboard to sculpt the soap. I used this technique to make my Frankenstein soap… Check it out here.
Here’s how we made it! I used a 12″ tall and skinny mold.
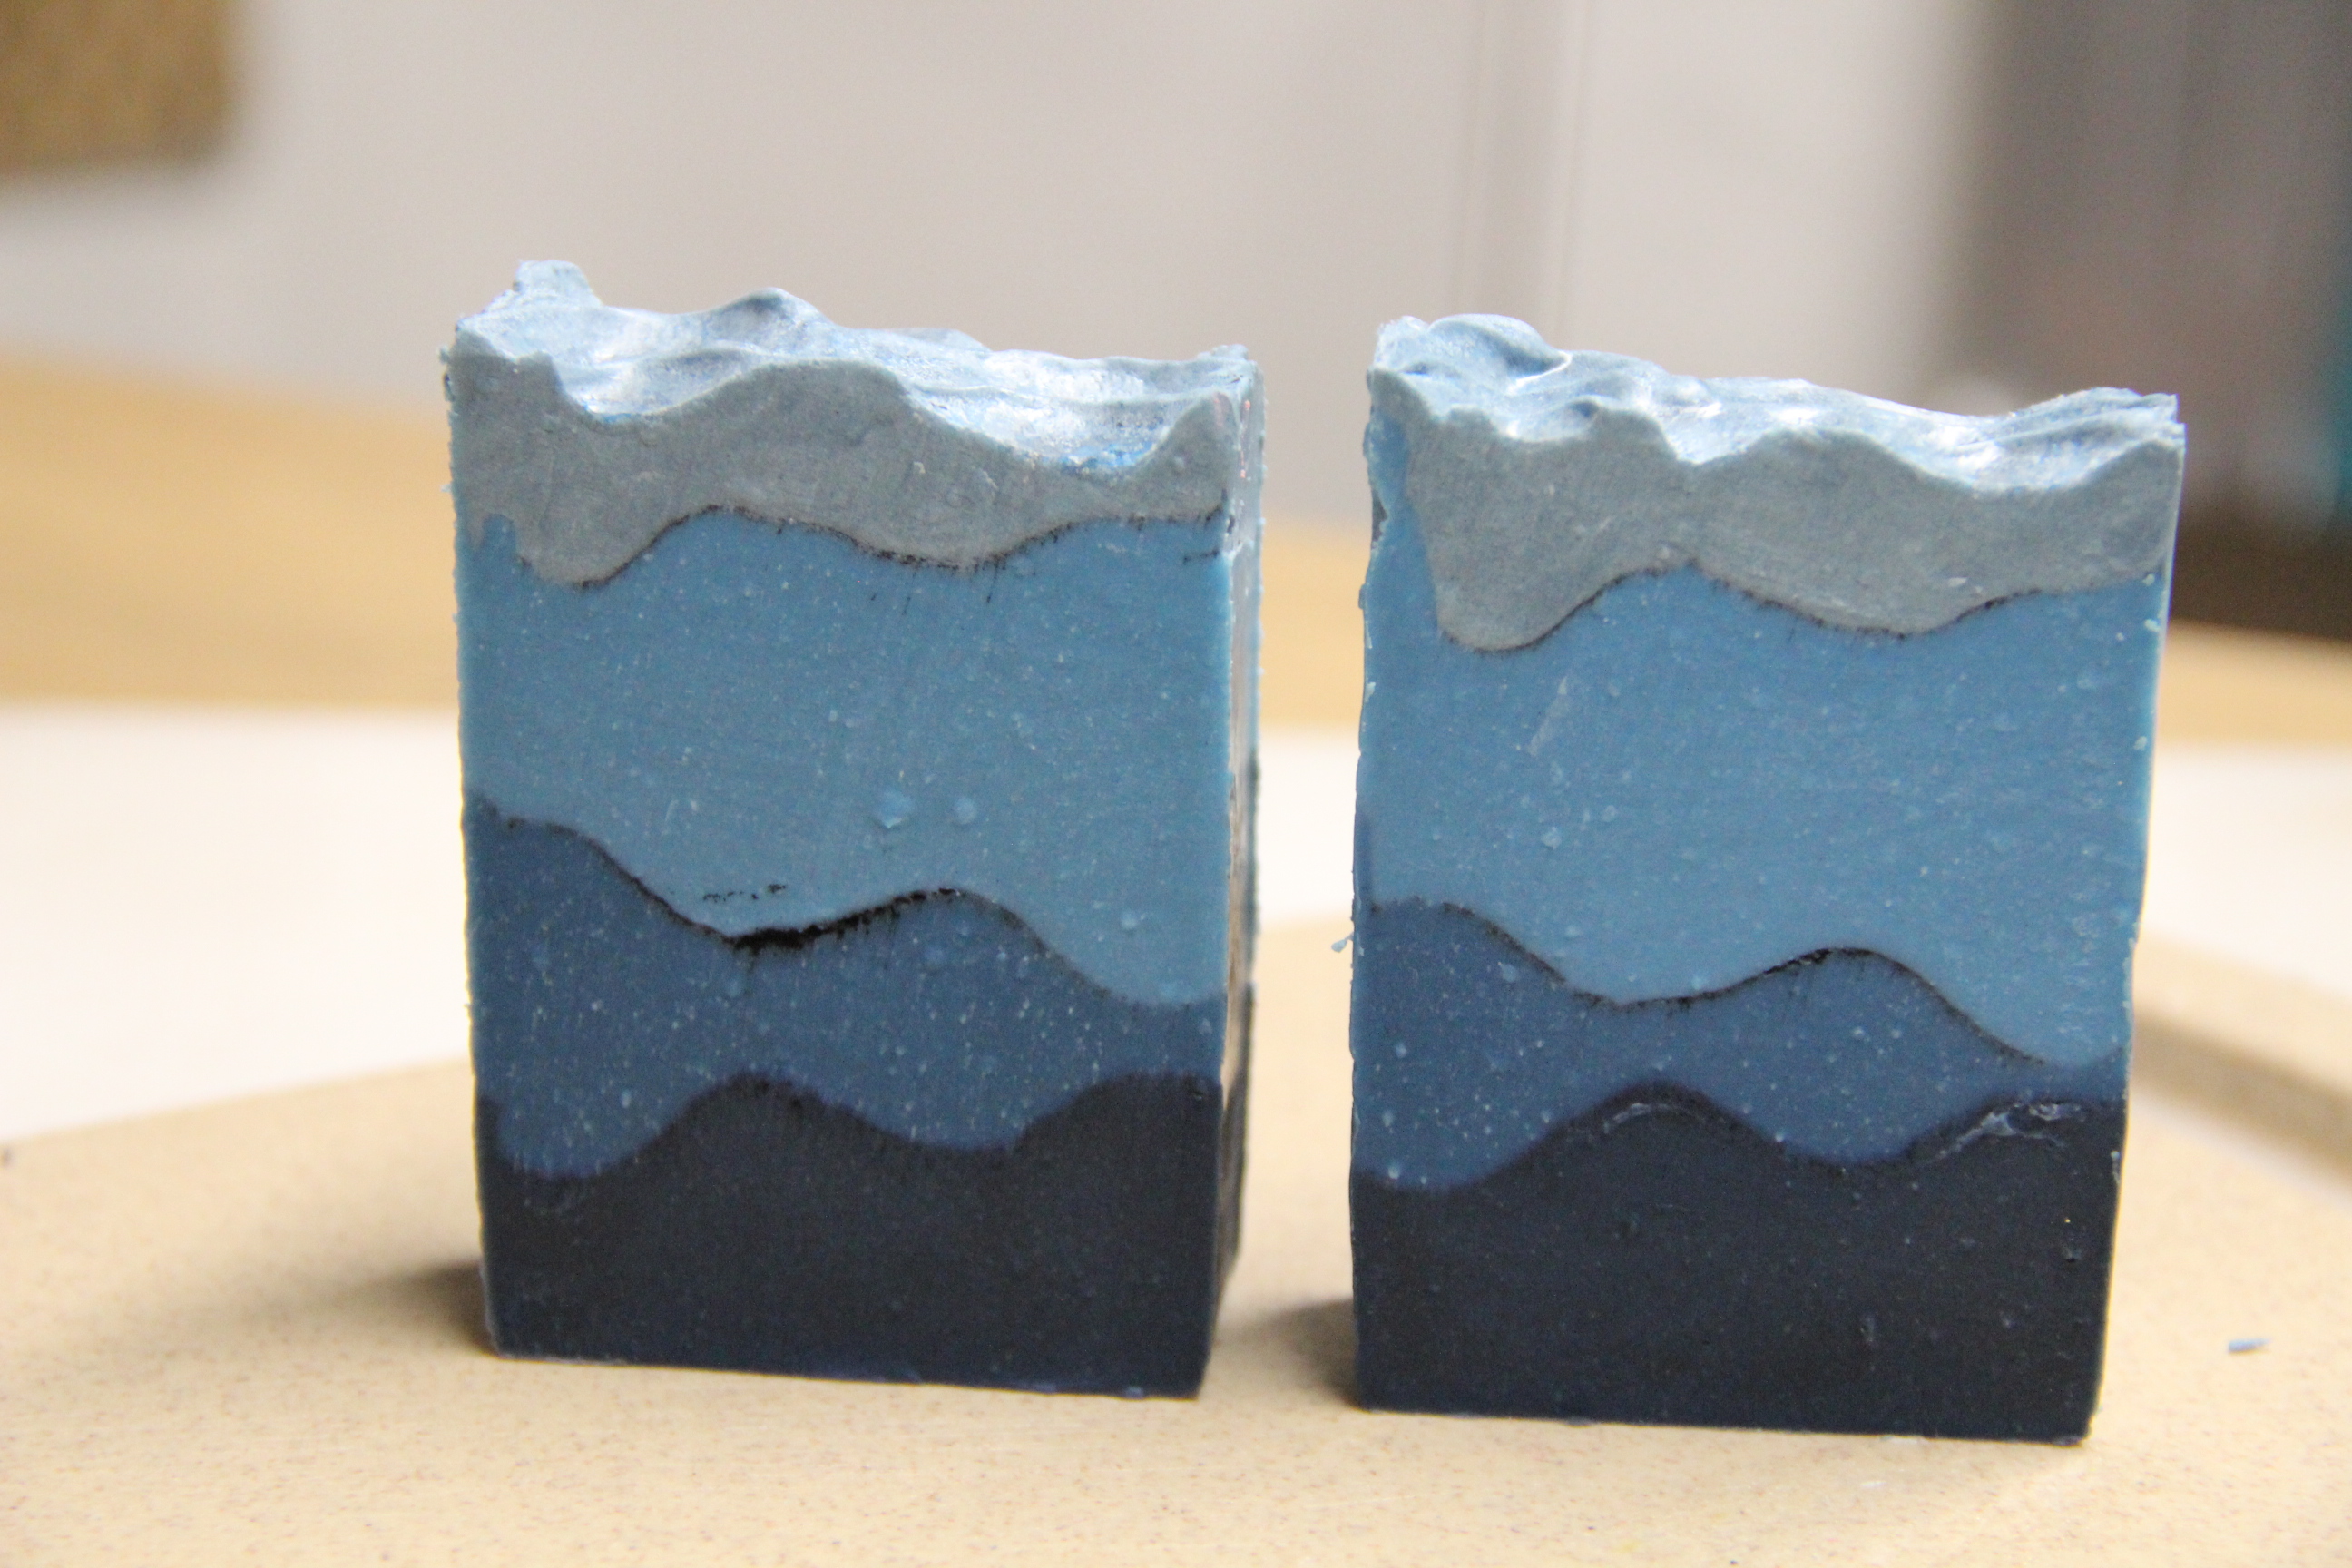
Modern Snowdrift Cold Process Soap Recipe
- Coconut Oil – 270 grams
- Shea Butter – 180 grams
- Olive Oil – 315 grams
- Rice Bran Oil – 135 grams
- Sodium Hydroxide – 126 grams
- Water – 254 grams
Colors from Muddy Soap Co.
- Bleu Mica
- cloud9 Mica
- Charcoal
Essential Oil Blend
- Peppermint EO – 10 grams
- Cedarwood EO – 5 grams
- Spearmint EO – 5 grams
- Orange EO – 15 grams
Notes: We only used one blue colored mica. To get the different variable blues in this soap we simply used white or black to darken or lighten. I didn’t keep the exact measurements, so you’ll have to experiment. What you see is what you get when adding mica. Keep tweaking it until you get what you want.
Let’s make soap! If you are new to soapmaking, be sure to download our free guide, How to Make Cold Process Soap! Gear up in your gloves and your safety glasses.
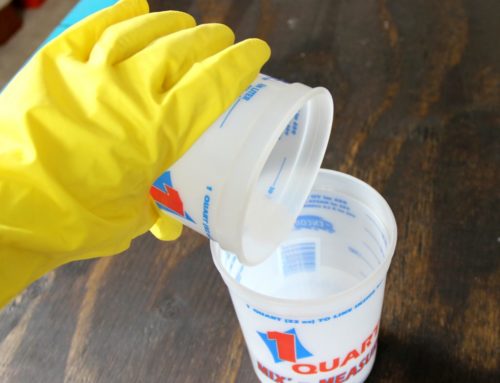
Step 1: Make your lye solution. Weigh the water and lye into separate containers. Pour the lye into the water while stirring. Be sure to mix your lye solution in a well-ventilated area. Set aside to cool down.
Step 2: Weigh the hard oils/butters and melt, just until melted.
Step 3: Add the liquid oils to the melted hard oils/butters. Add the essential oil to the base oils.
Now, you should have your lye solution and base oils ready to go.
Step 4: Once the lye solution and oils have both cooled down to about 90-100 degrees F, pour the lye solution into your oils and mix to emulsion.

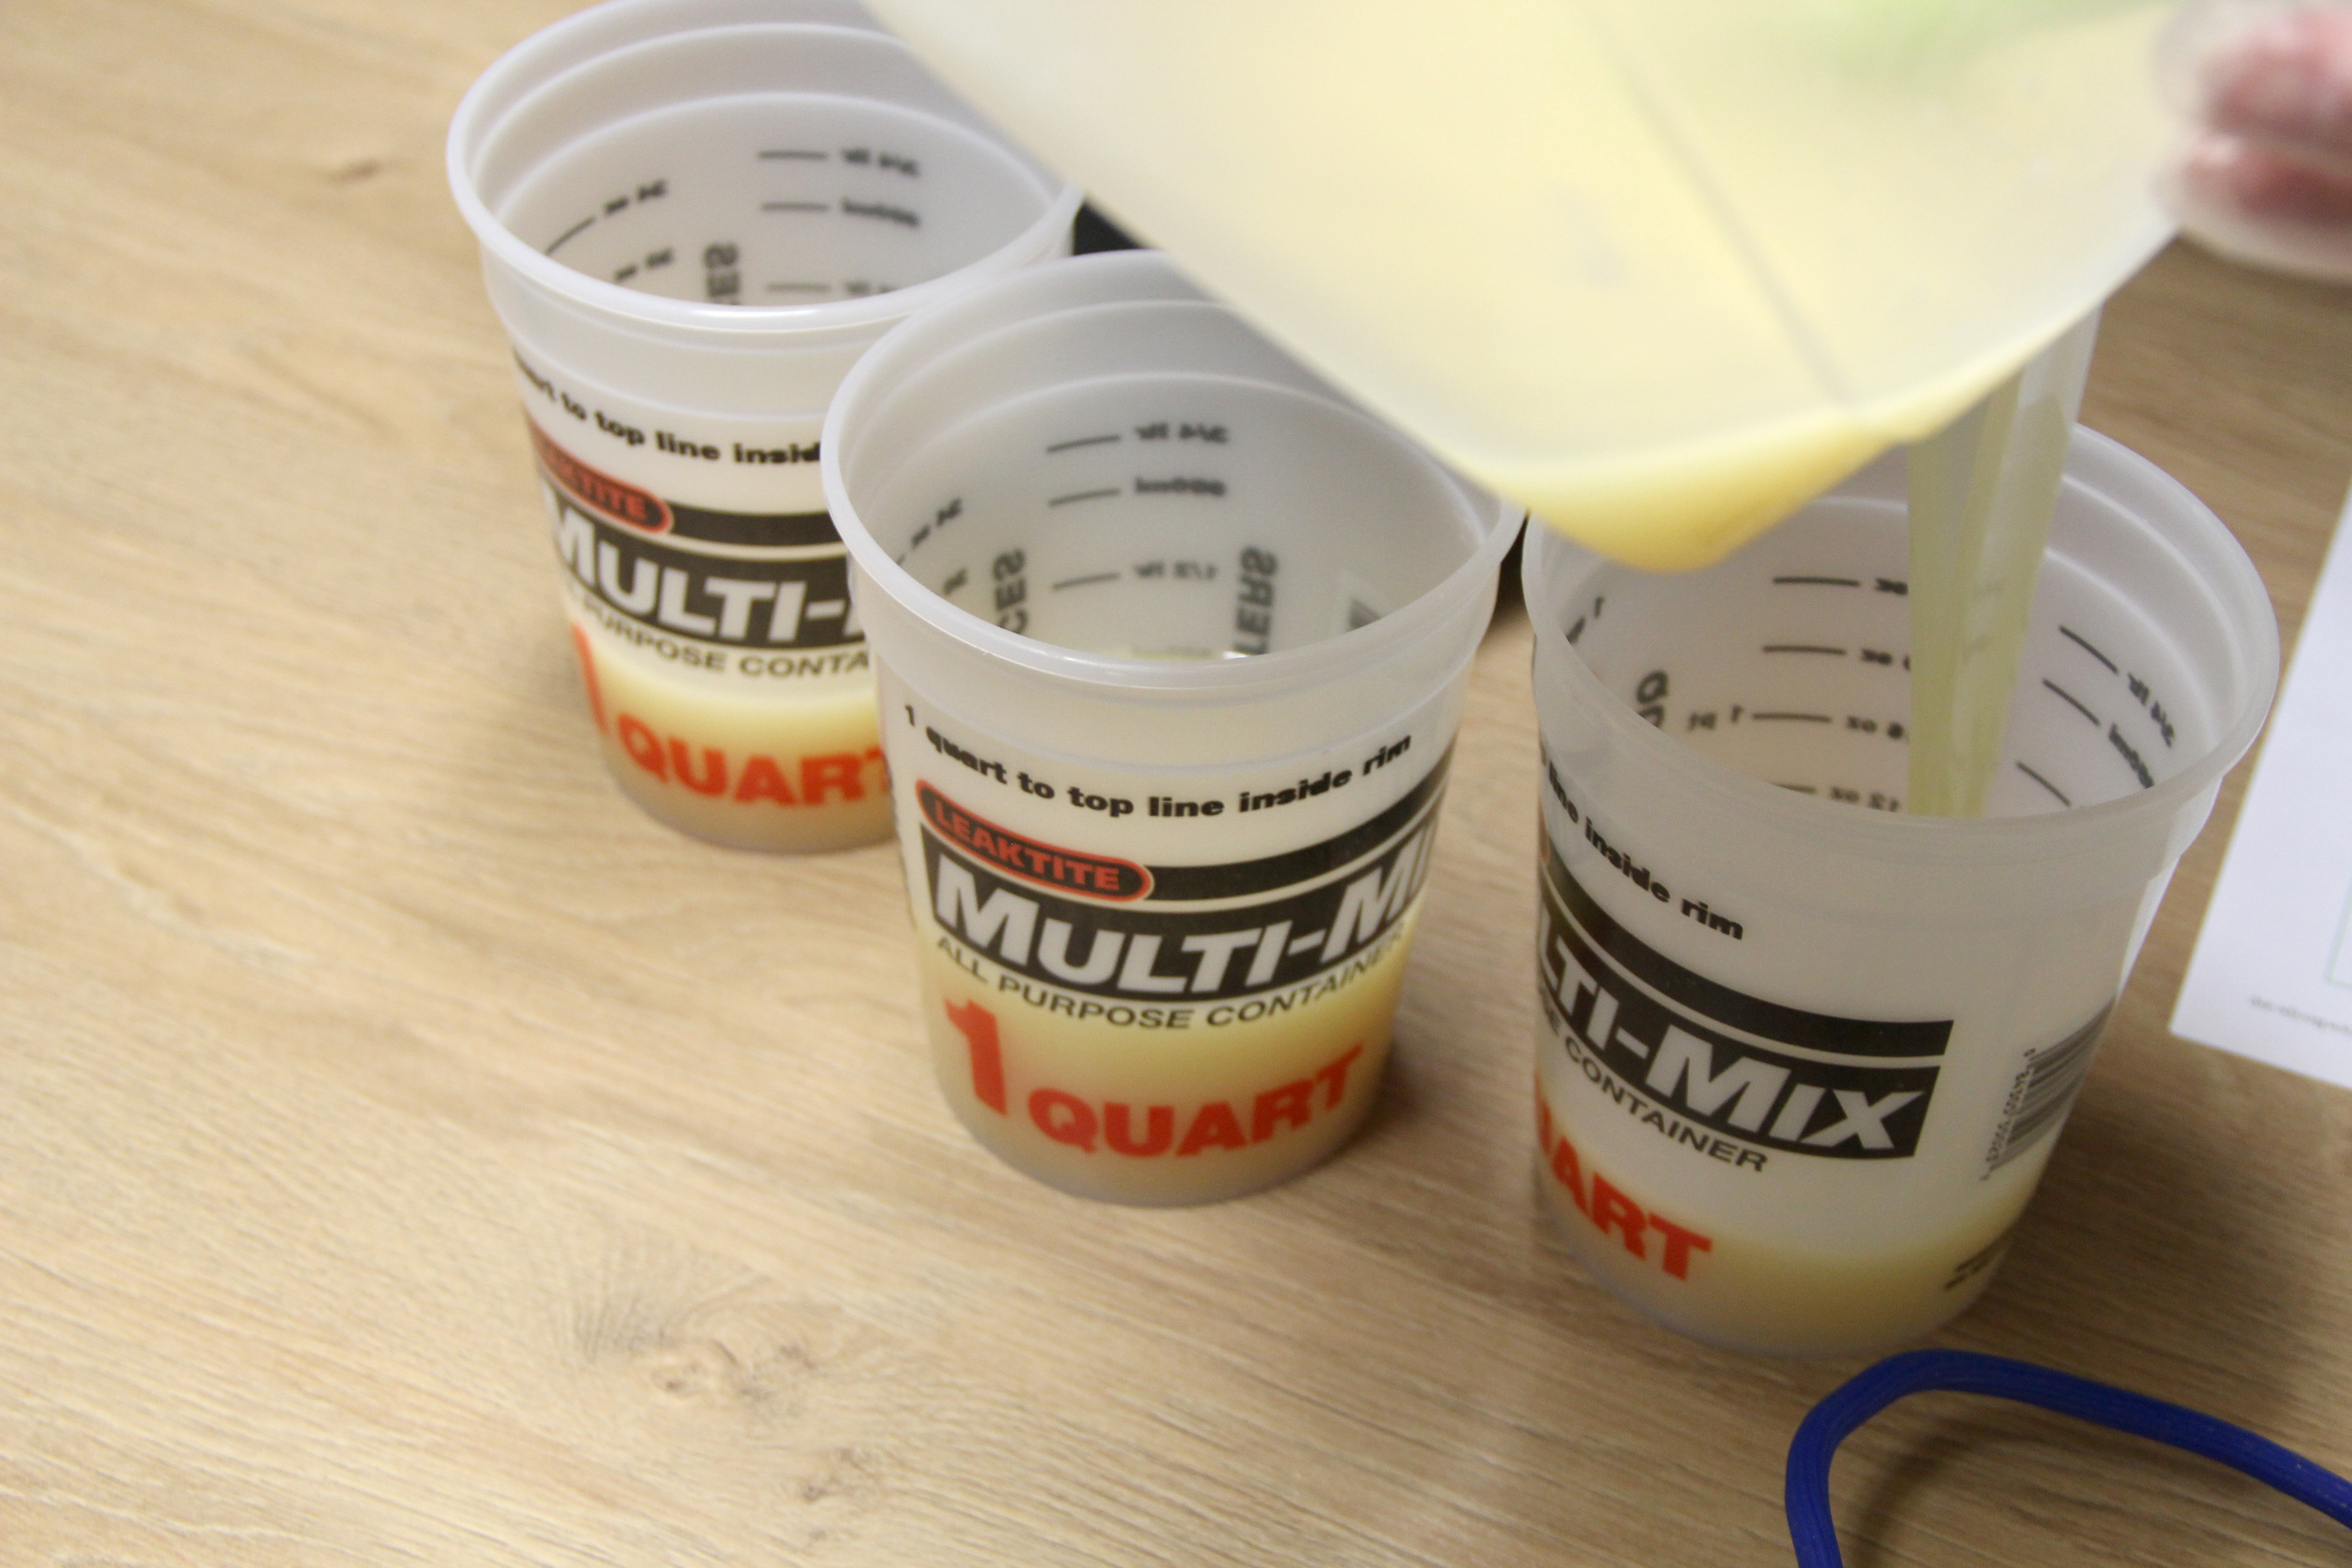
Step 5: Divide your soap evenly between three containers.
NOTE: We have four colors in this design. When you scrape each layer you have to remove some soap. Put this soap into a container. It will contain soap from each layer. Add white mica to make it your last layer.
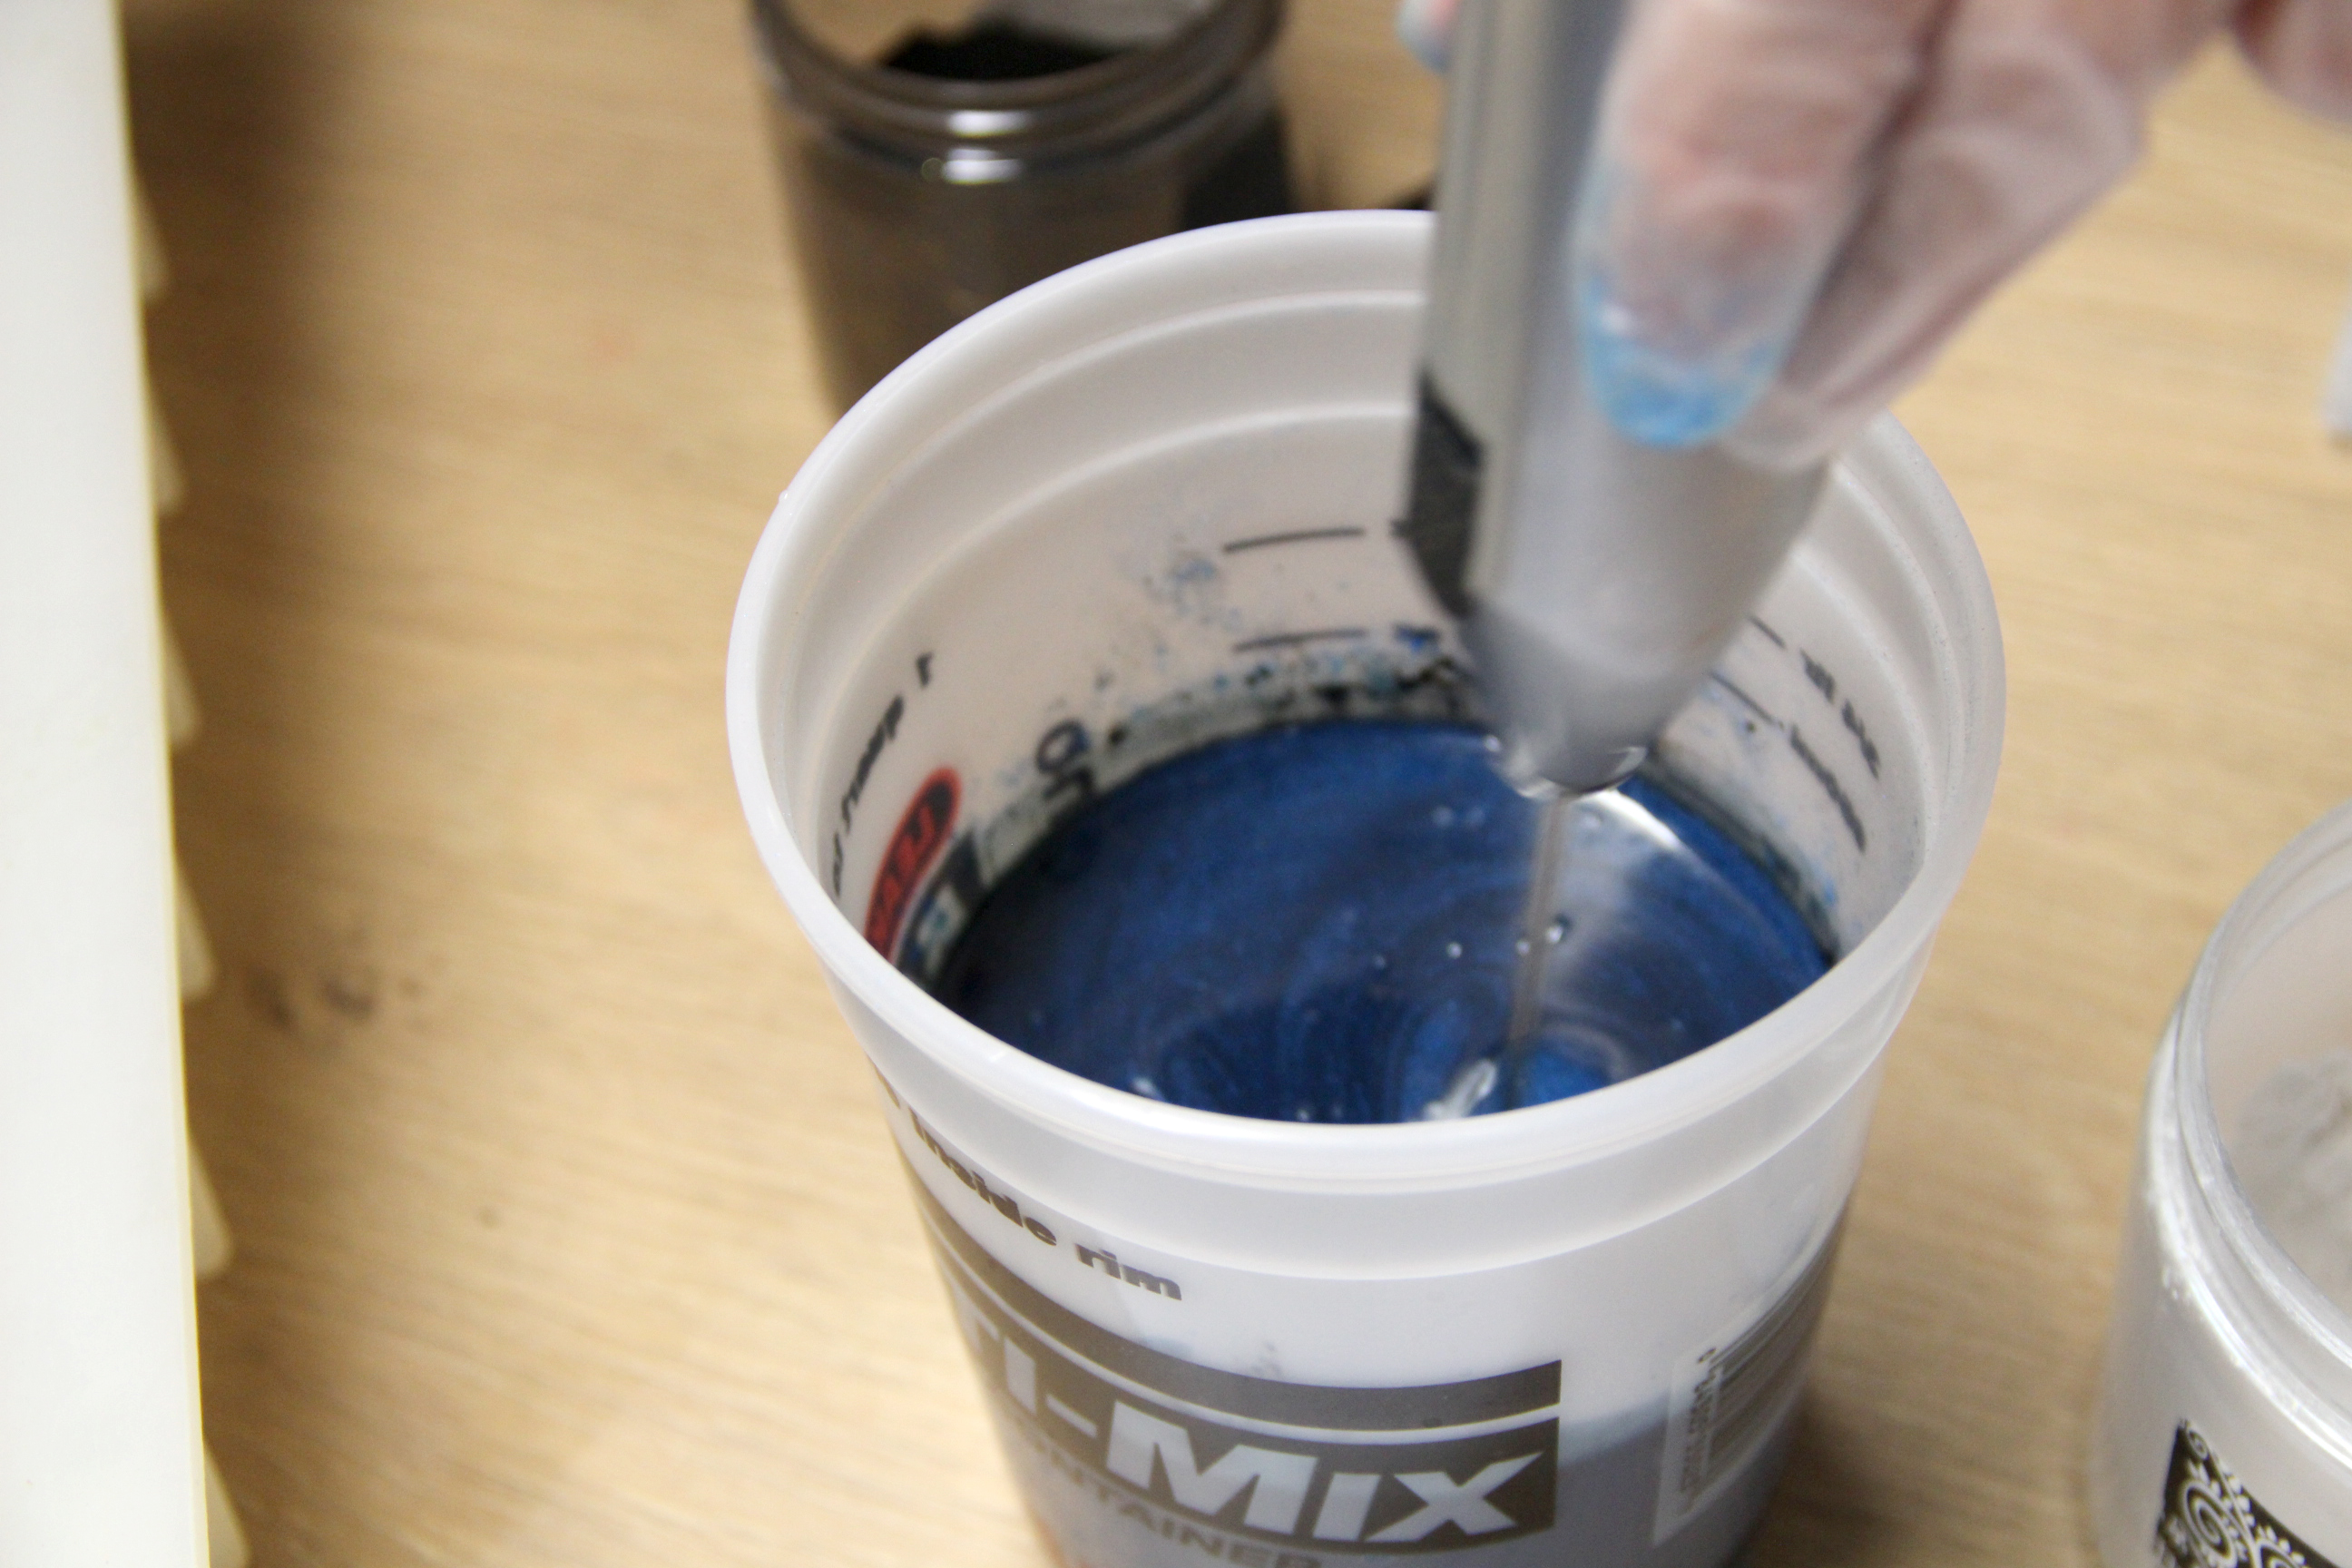
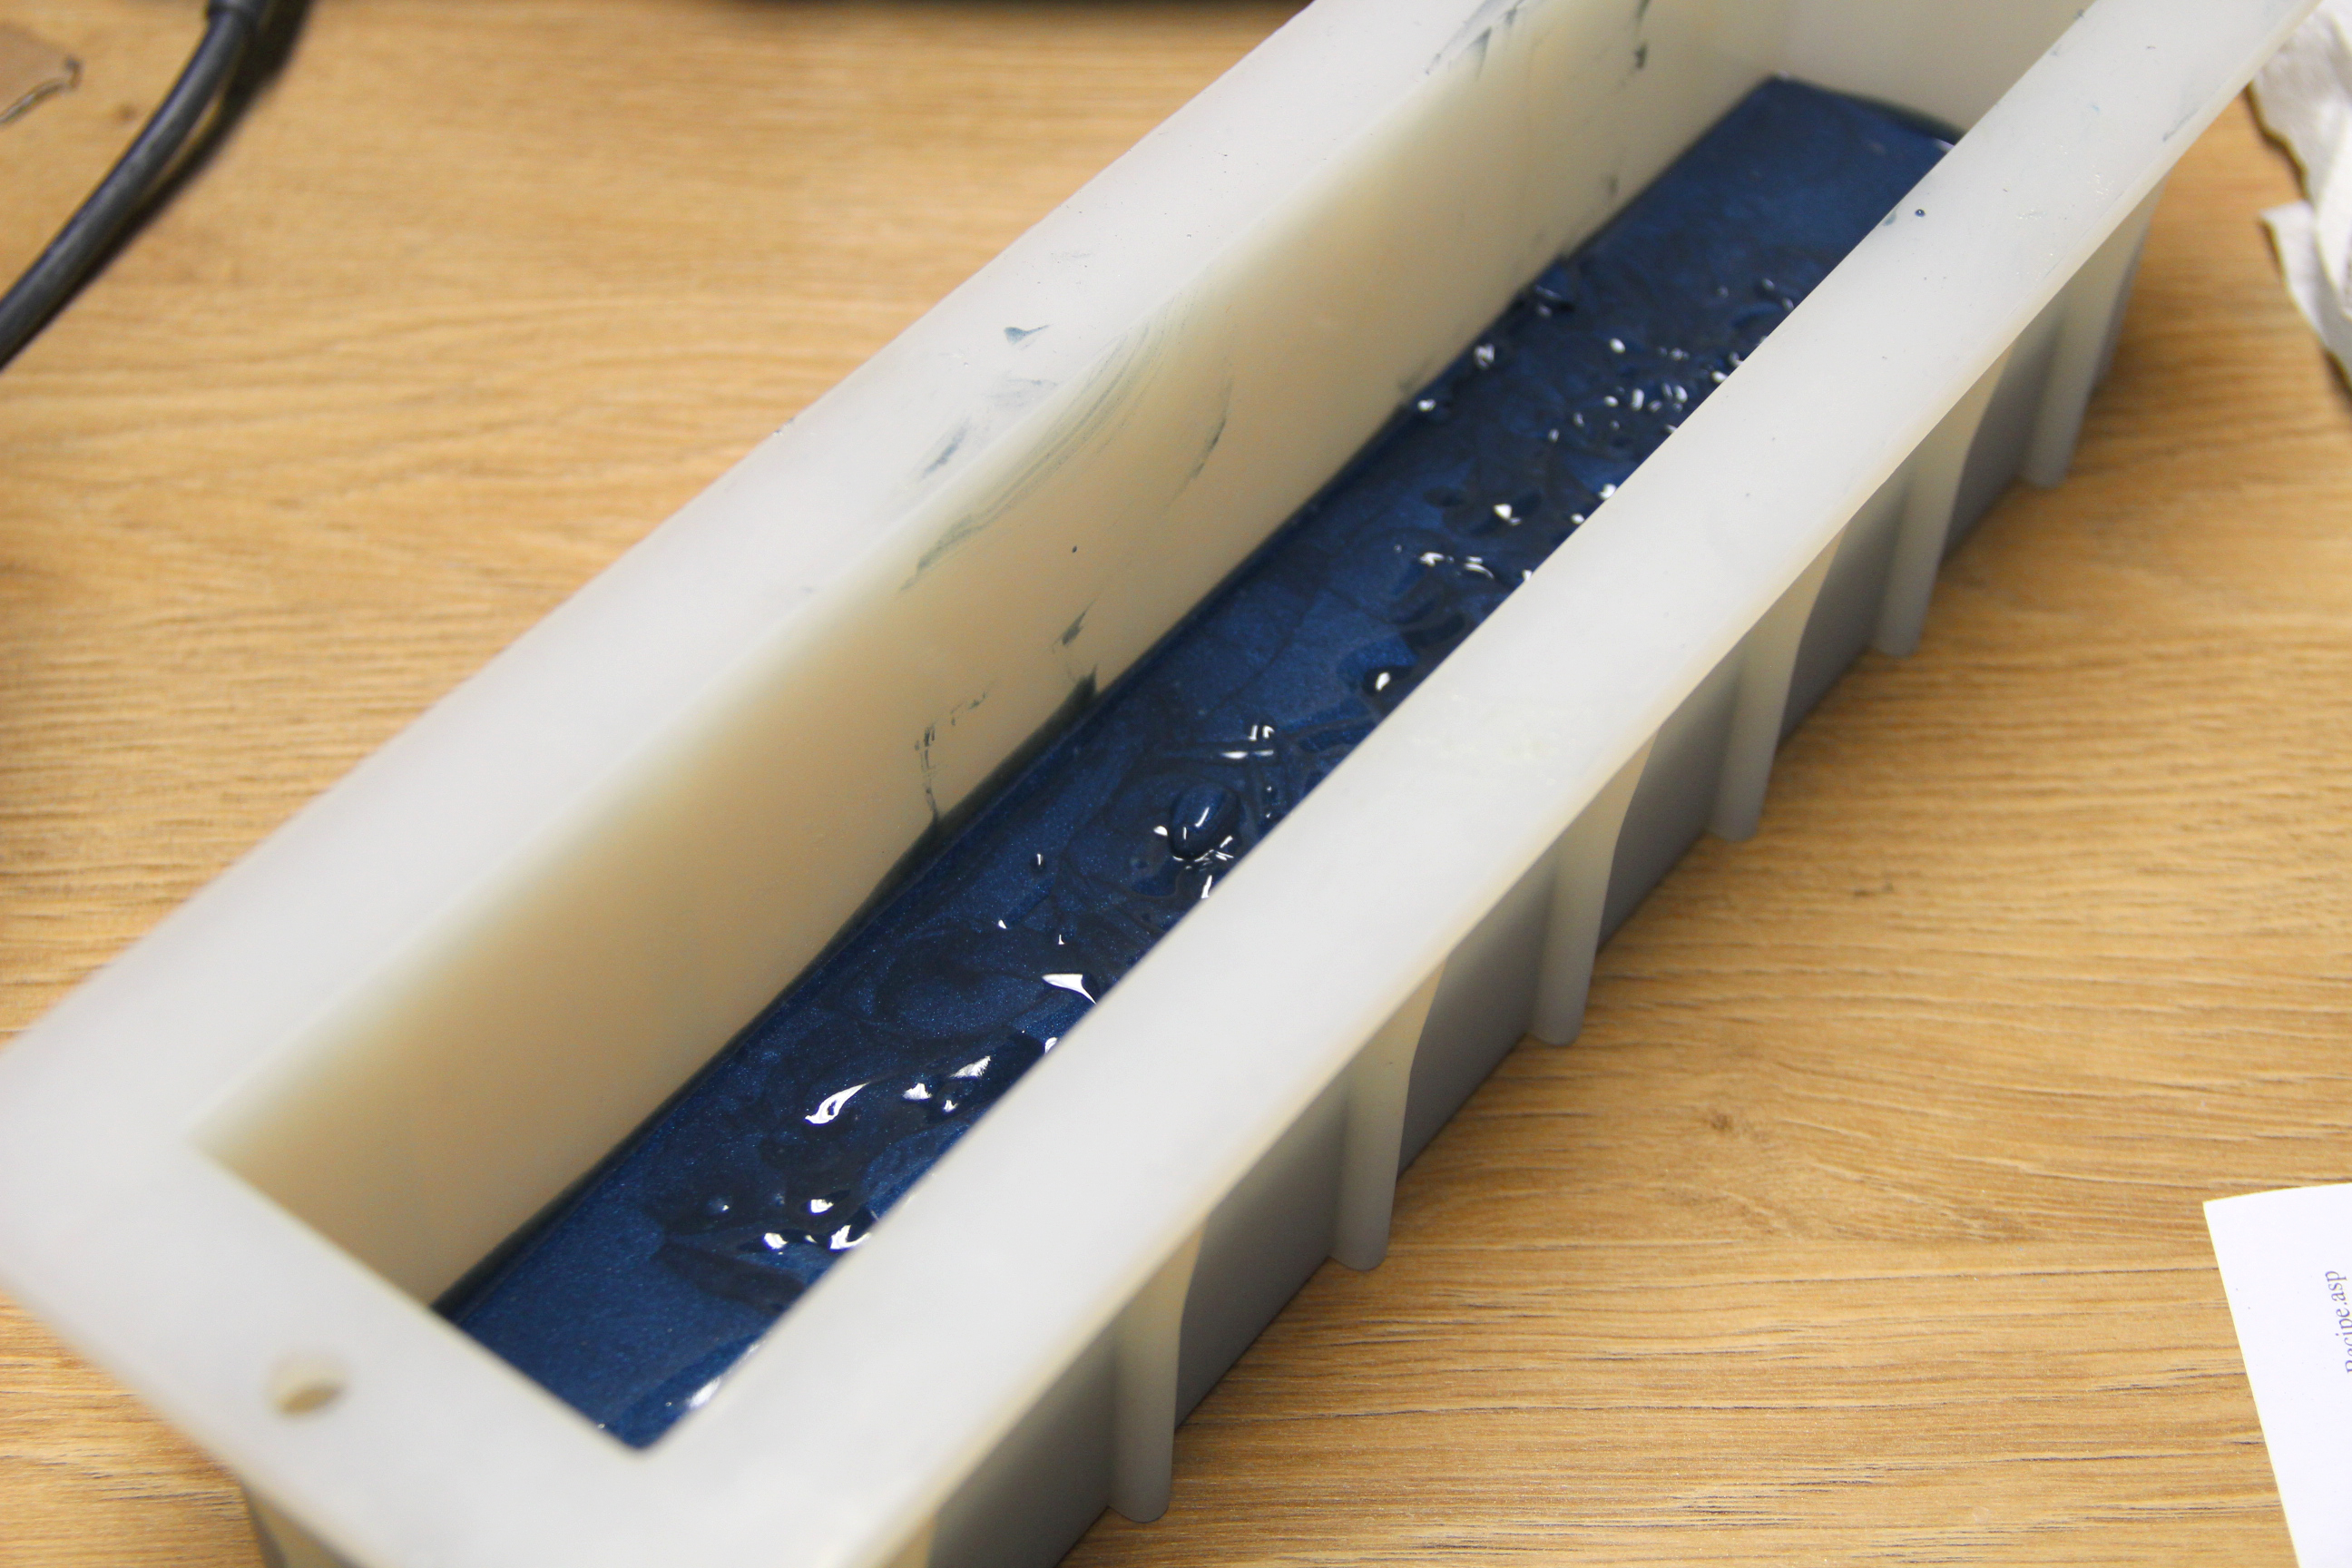
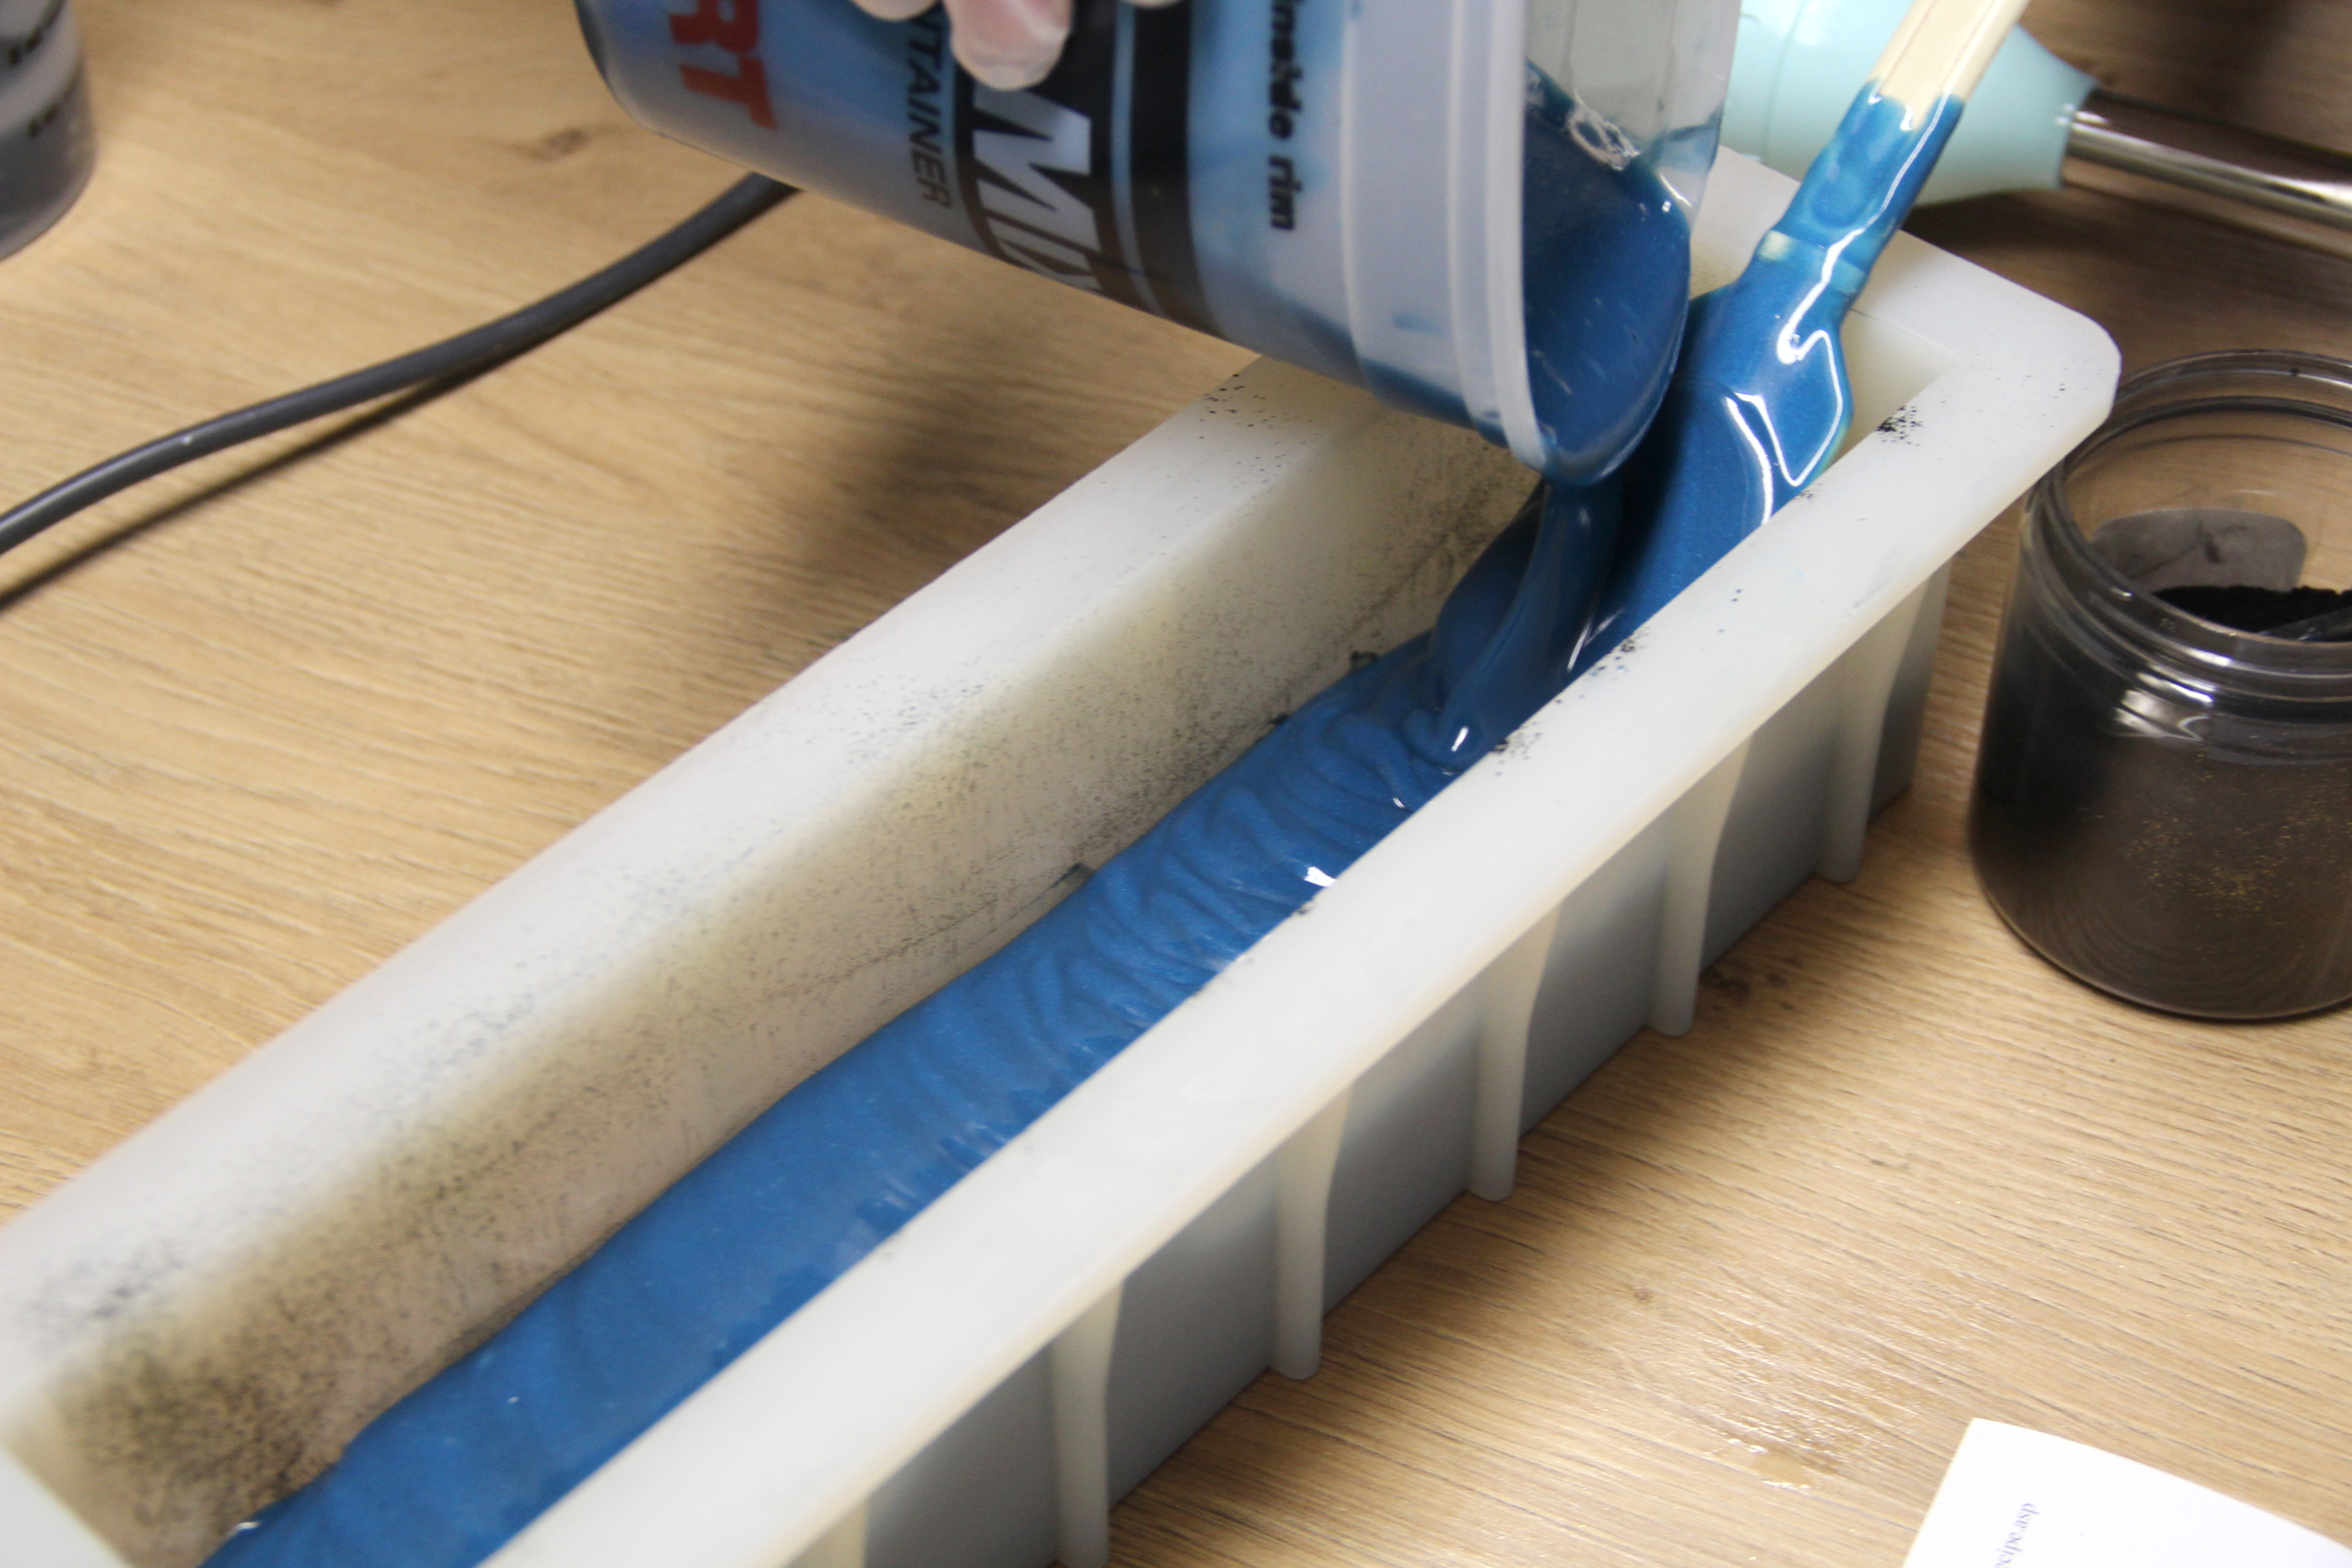
Step 6: Add blue mica and charcoal to your first layer to make a deep blue color. Stick blend this soap to a thick trace and pour into your mold.
Step 7: Allow this layer to set up enough so that it holds its shape if manipulated. Try using your cardboard shaper and see if it holds its shape. Simply pull the shaper through the soap’s surface.
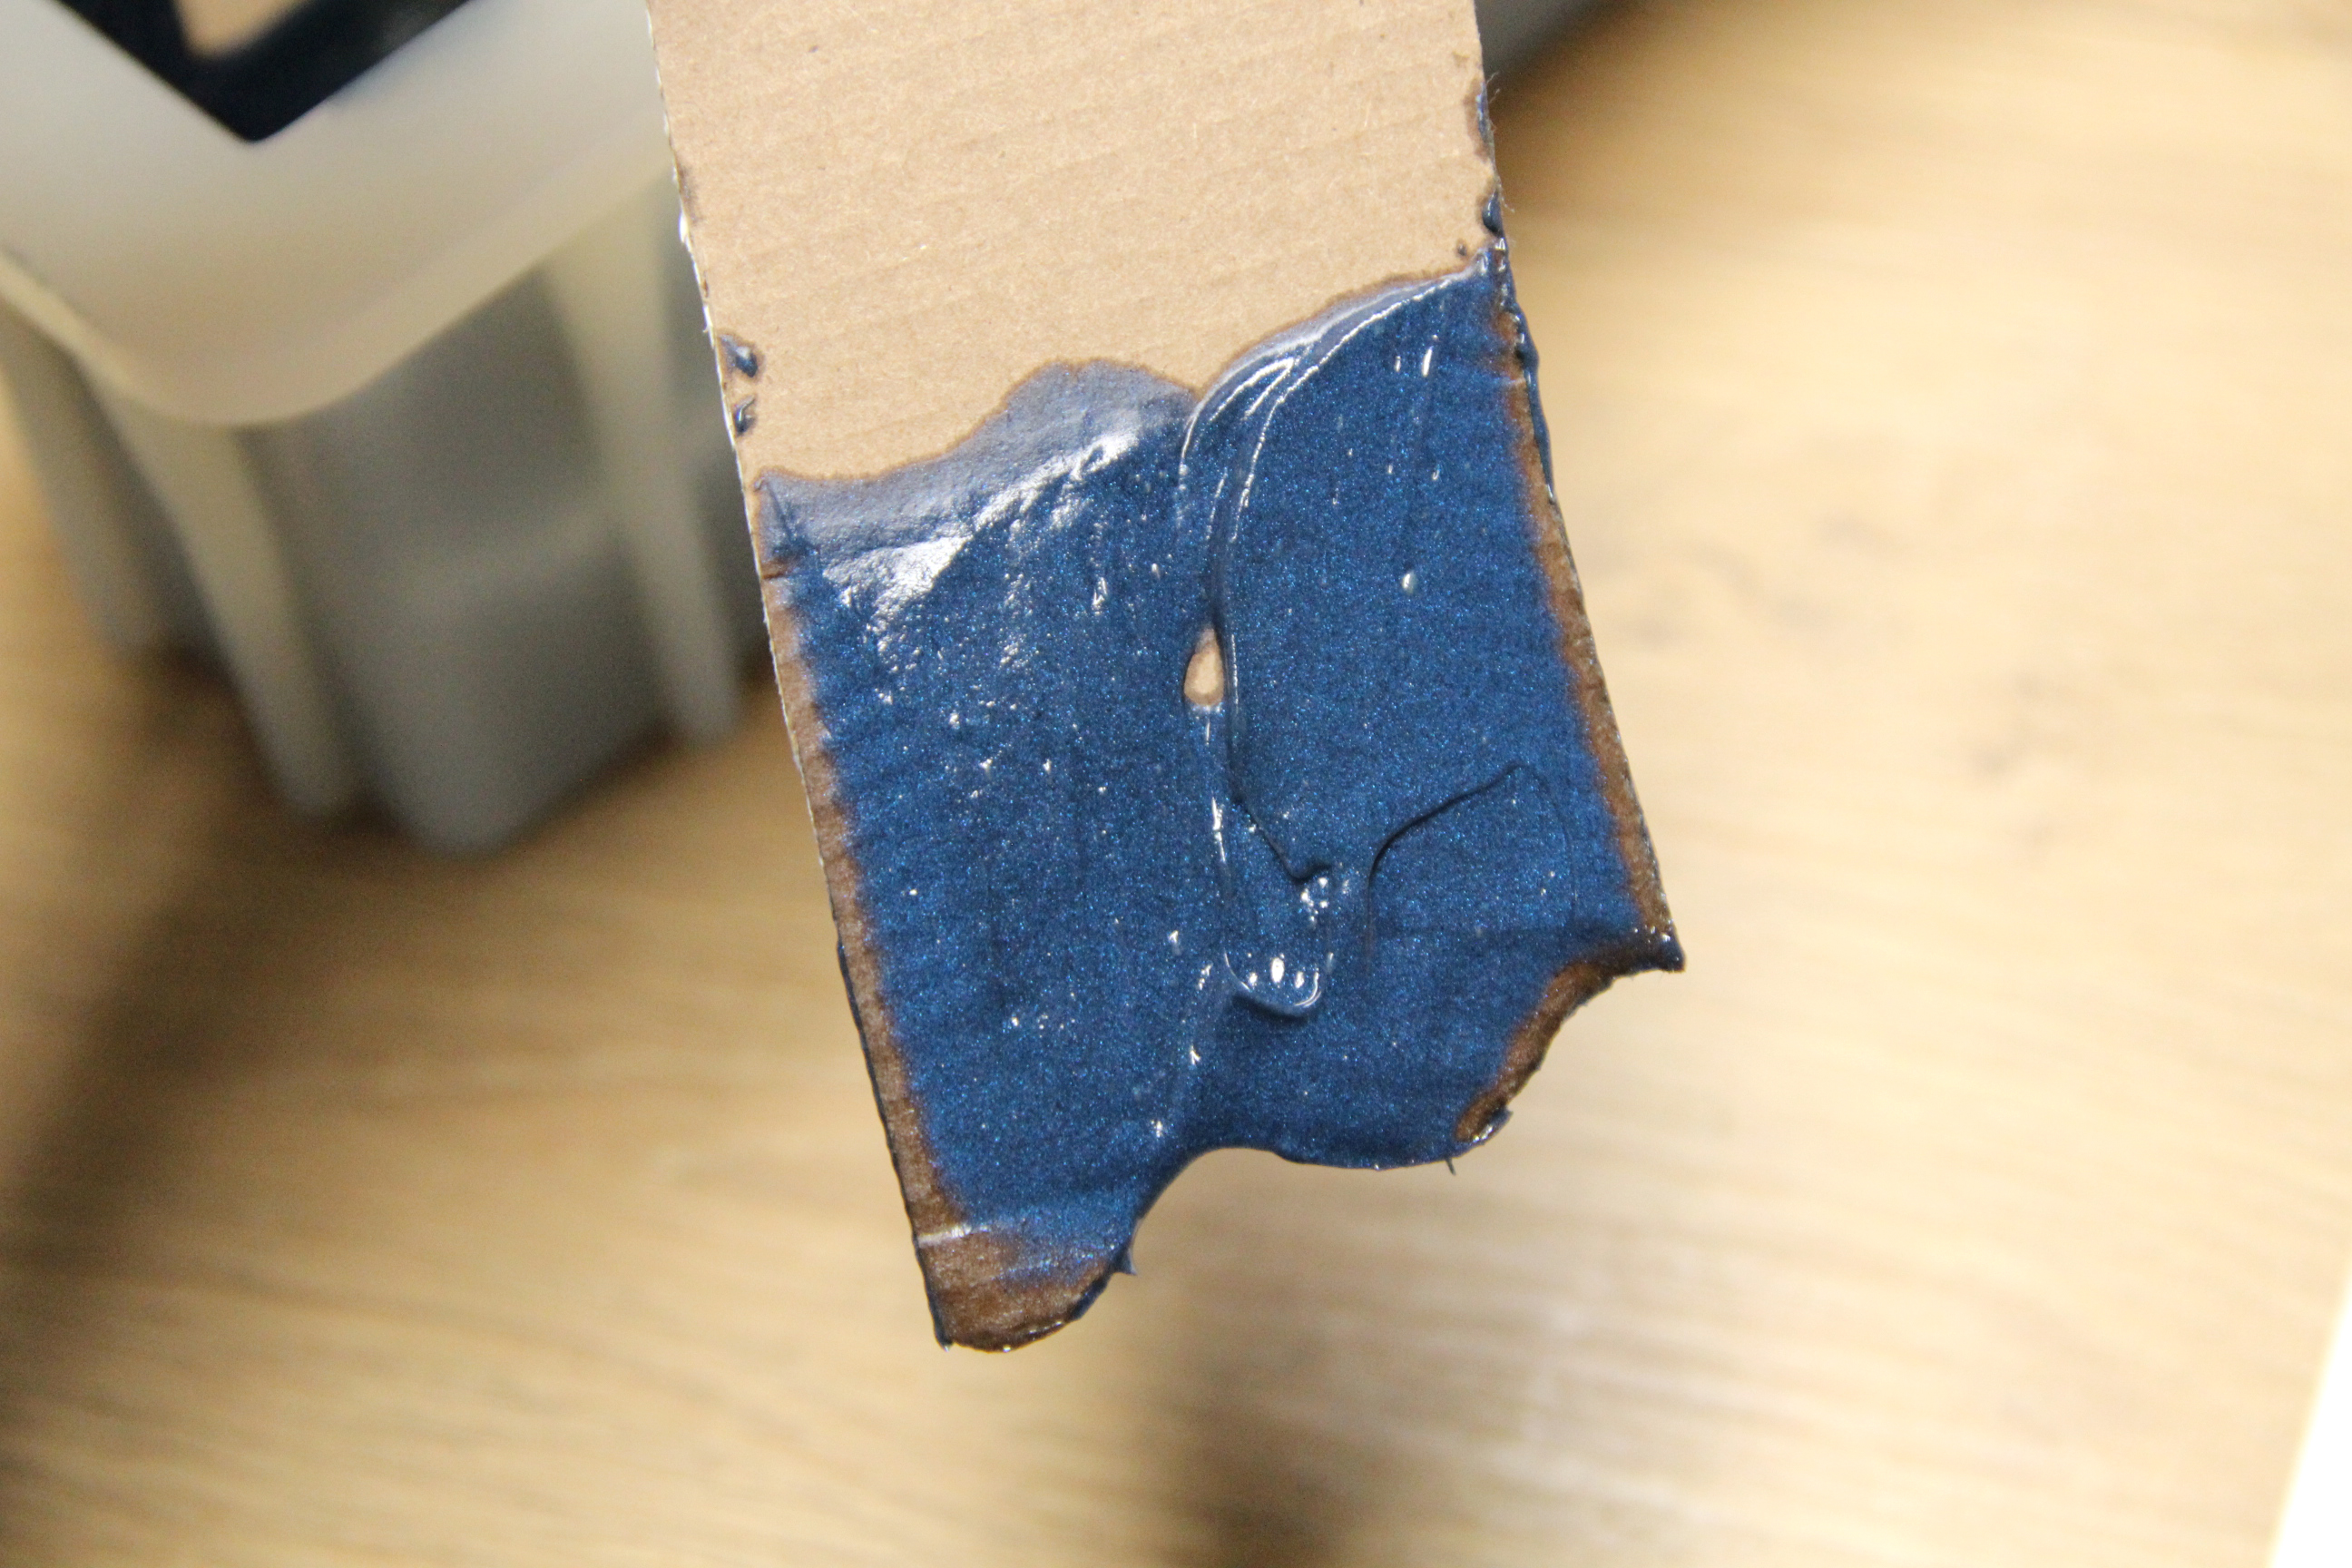
I wish I took a better photo, but below is the best I got. As you can see, the shaper formed the thick soap and it is holding its shape without relaxing. As you scrape, you will need to remove some of the soap. Simply put it into a cup to color later.
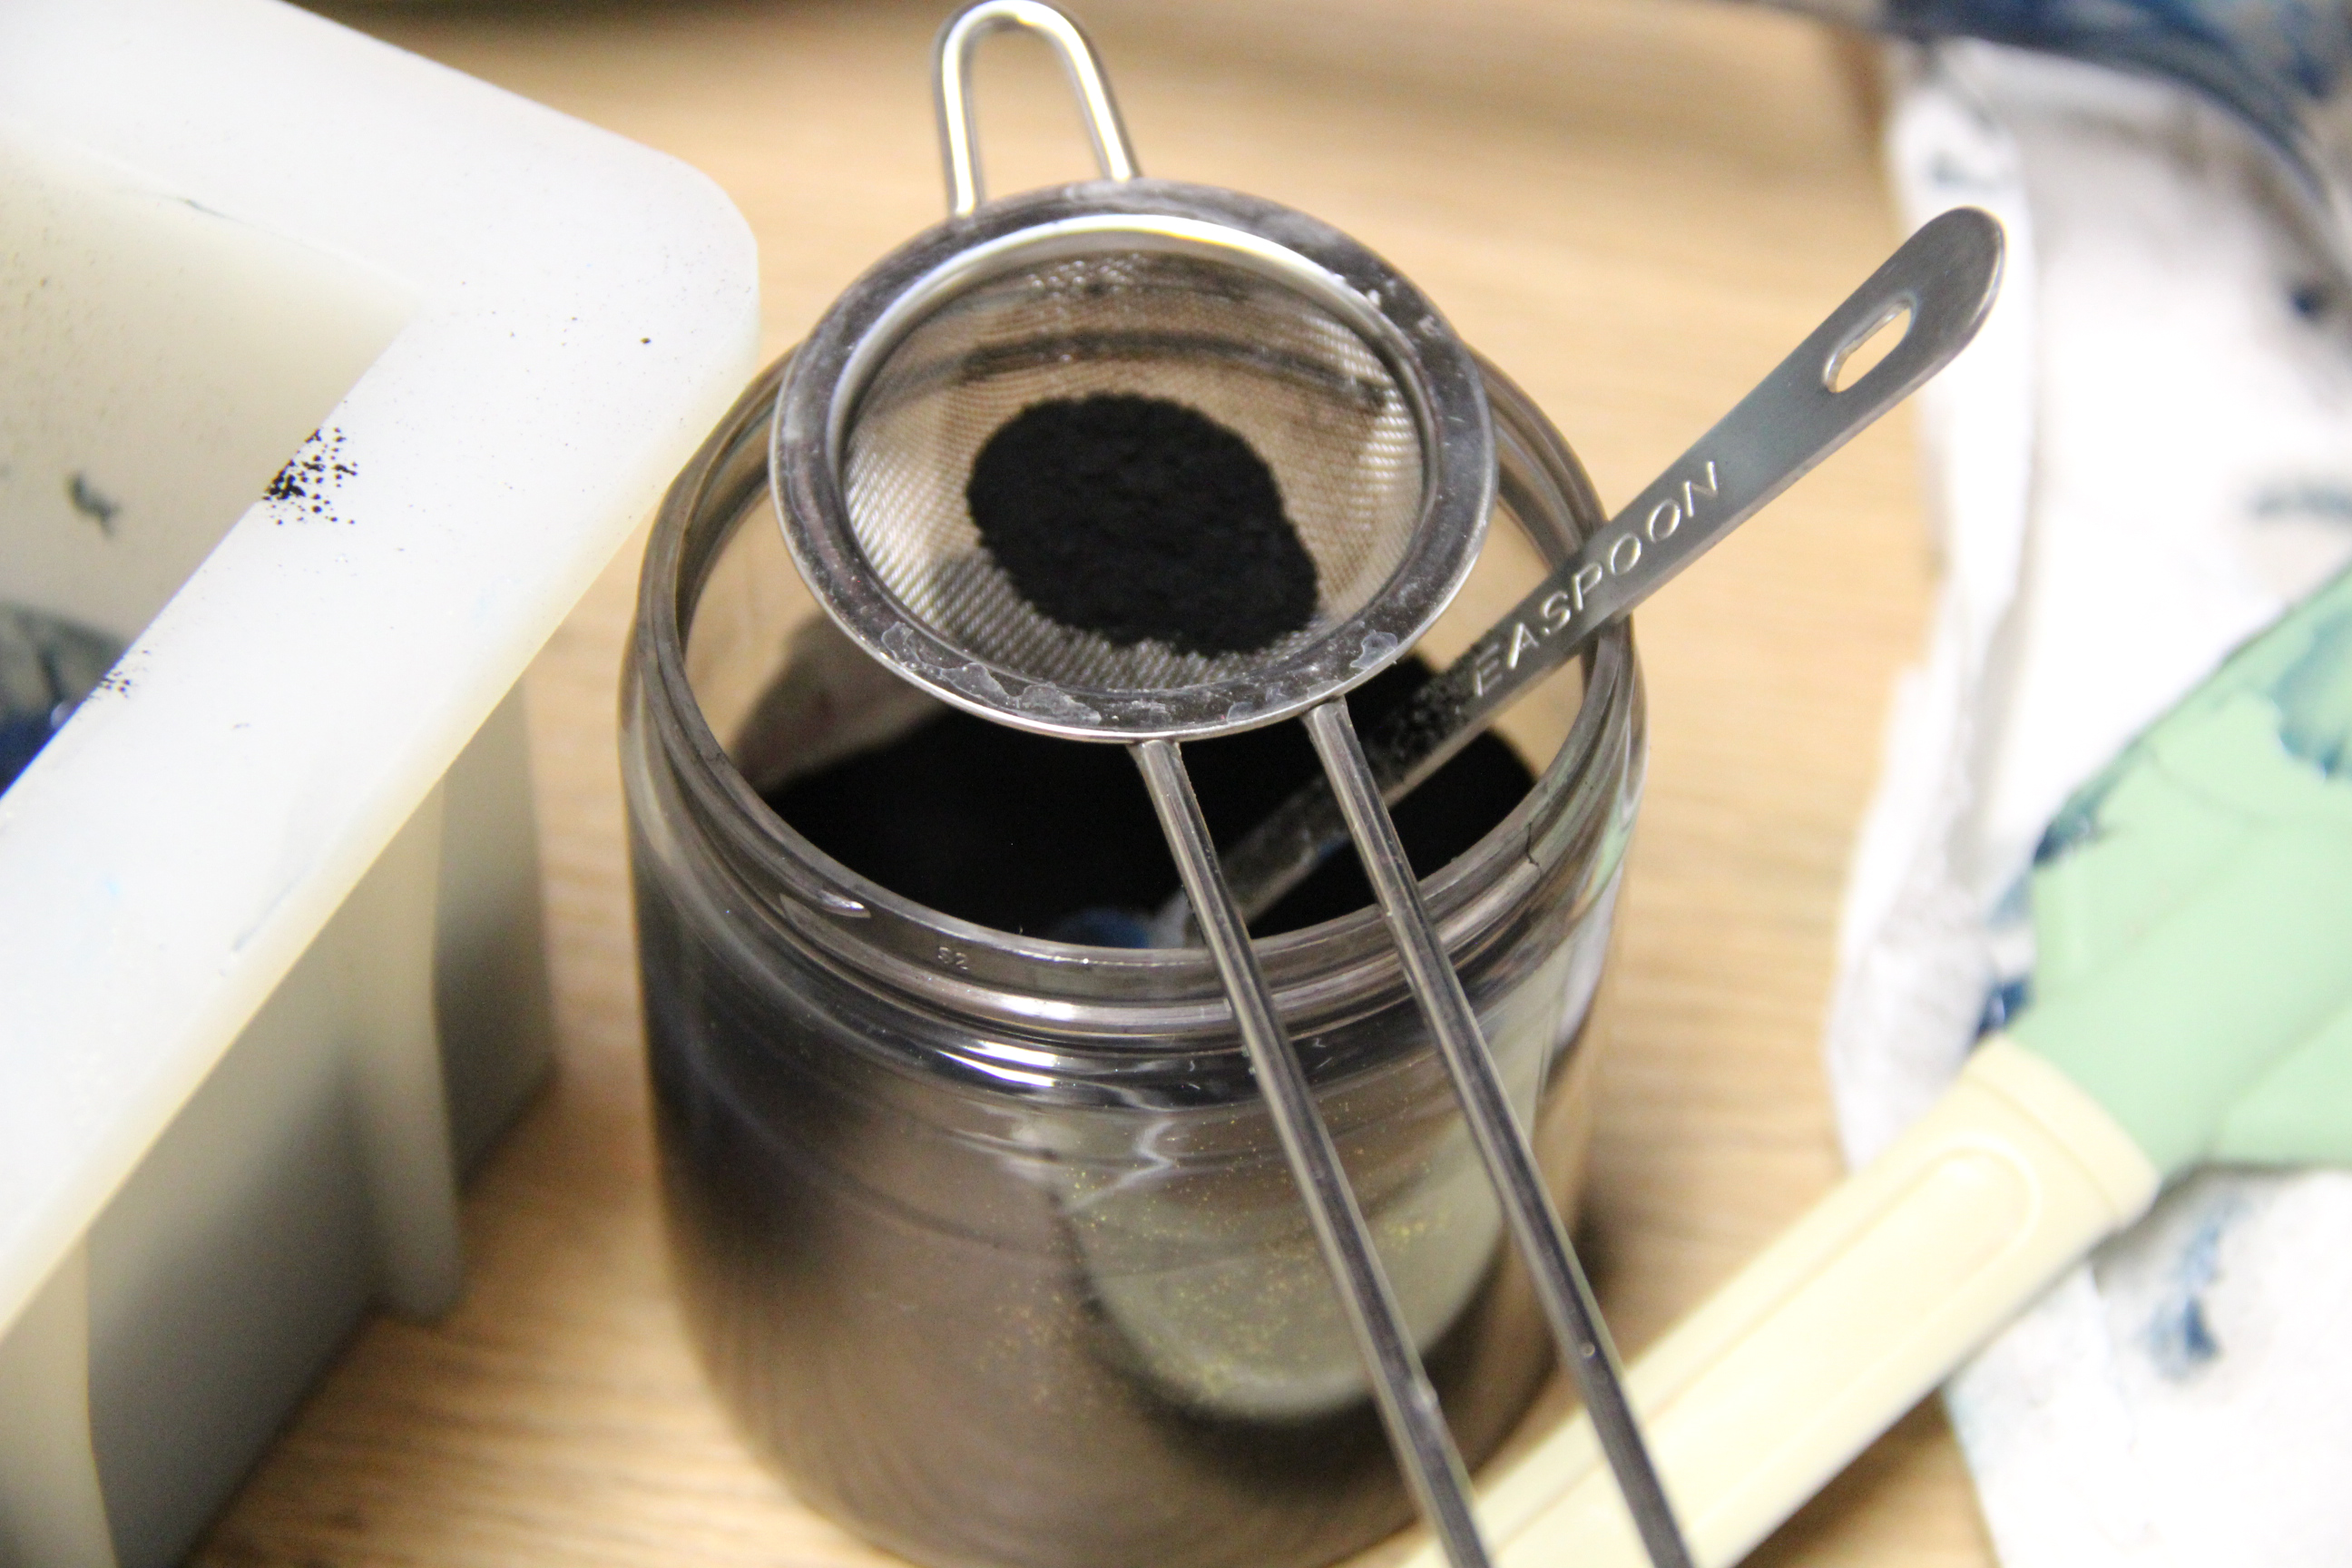
Step 8: Dust this layer with charcoal powder.
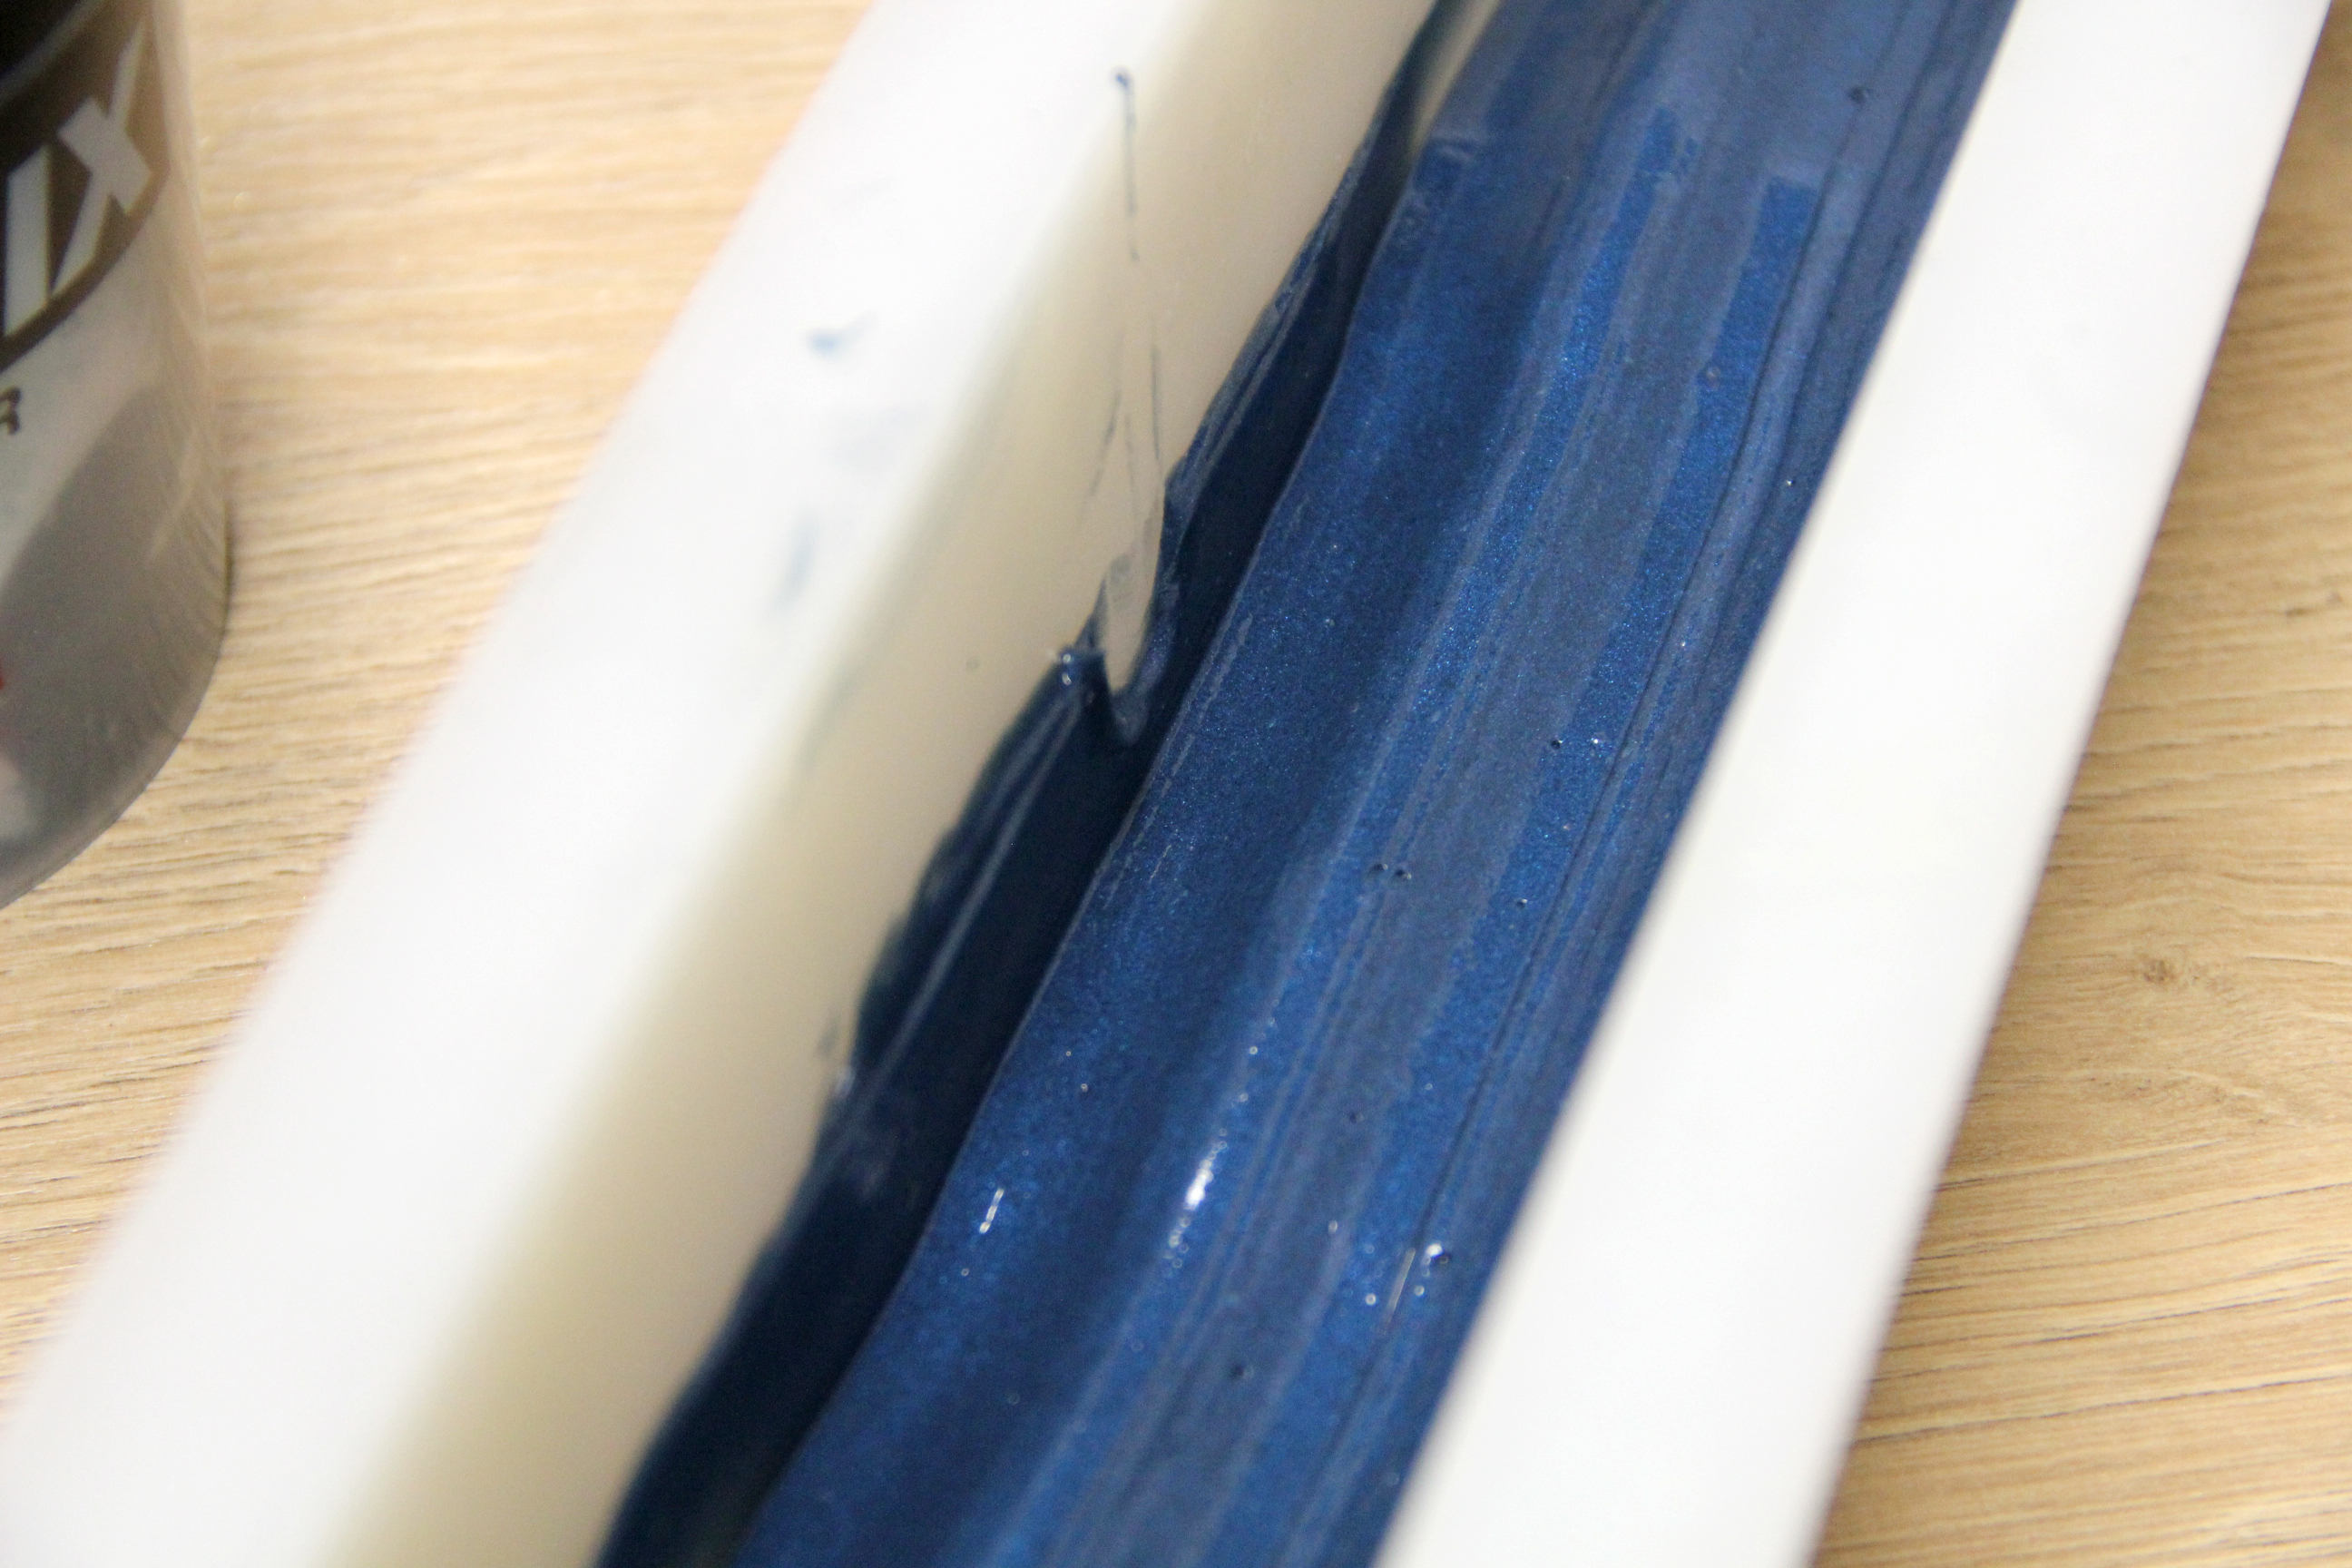
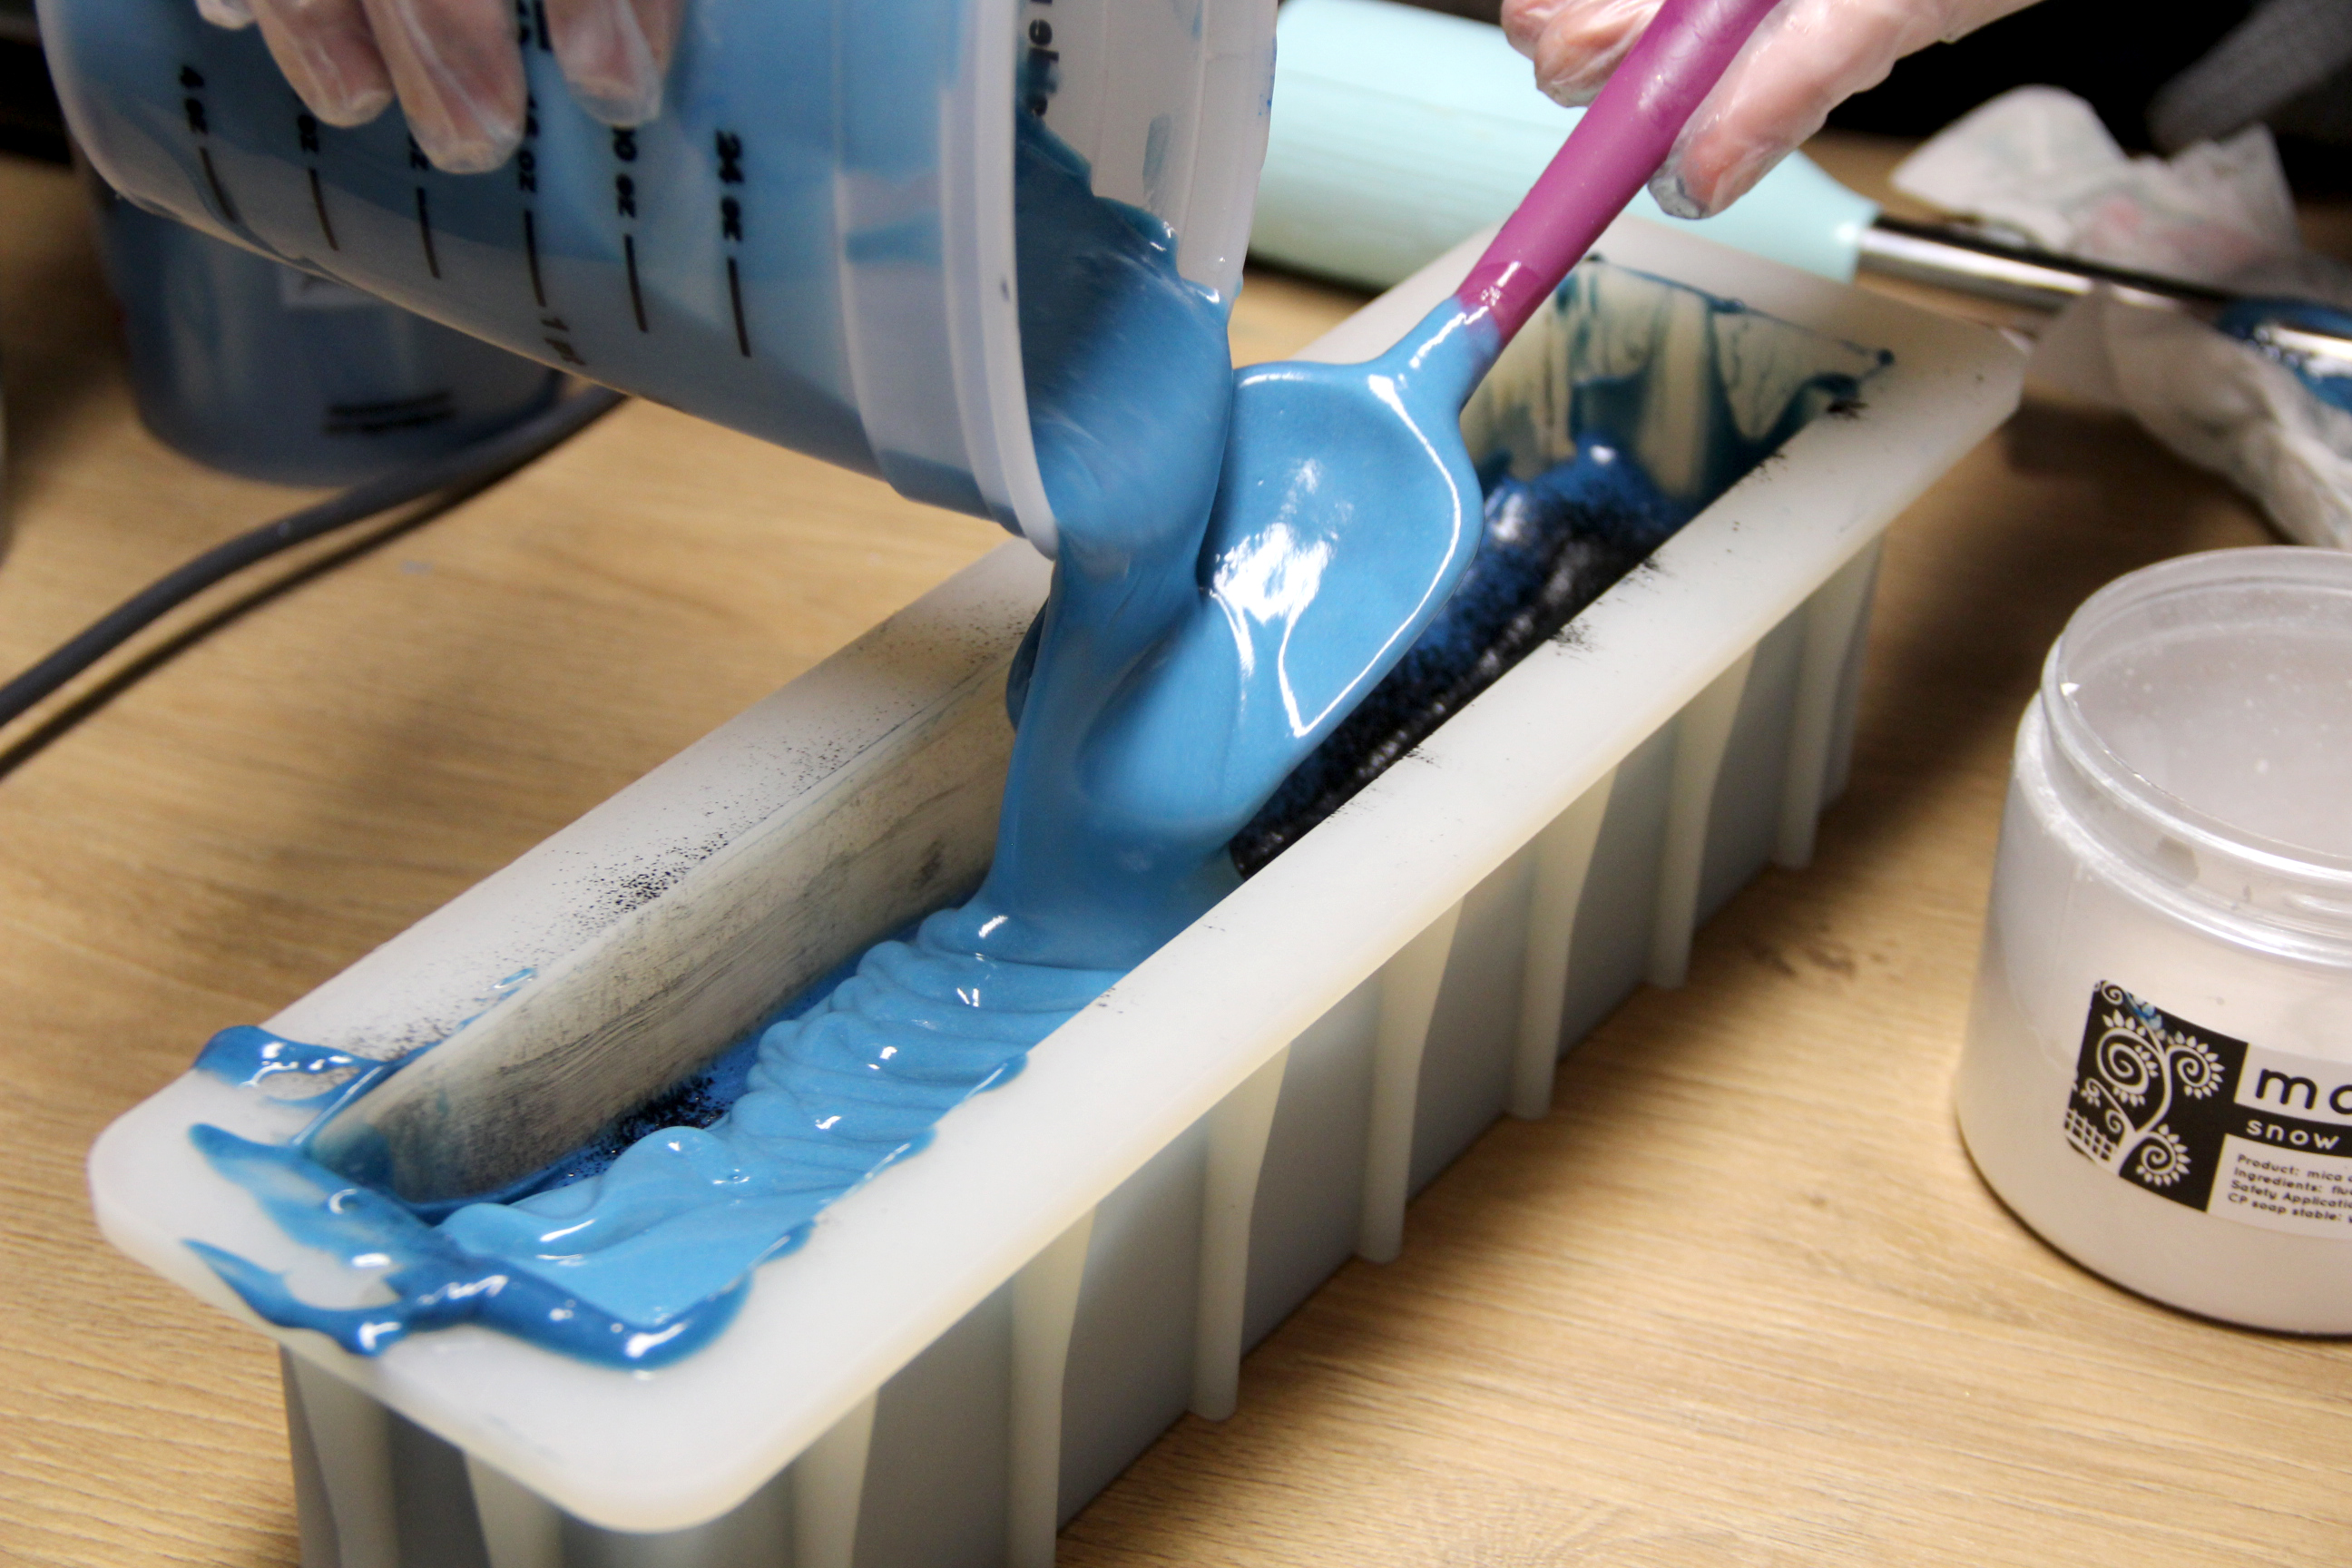
Step 9: Add blue mica to your next layer and bring to a thick trace. Pour it carefully over the first layer. Pour over a silicone spatula to help break the pour a bit.
Step 10: Use your cardboard tool to shape the soap like you did for the first layer. Dust with charcoal.

Step 11: Repeat the process again for the third layer.
Step 12: All of the soap that you scraped out from each layer should be in one container. Add white mica to lighten it and mix it all together.
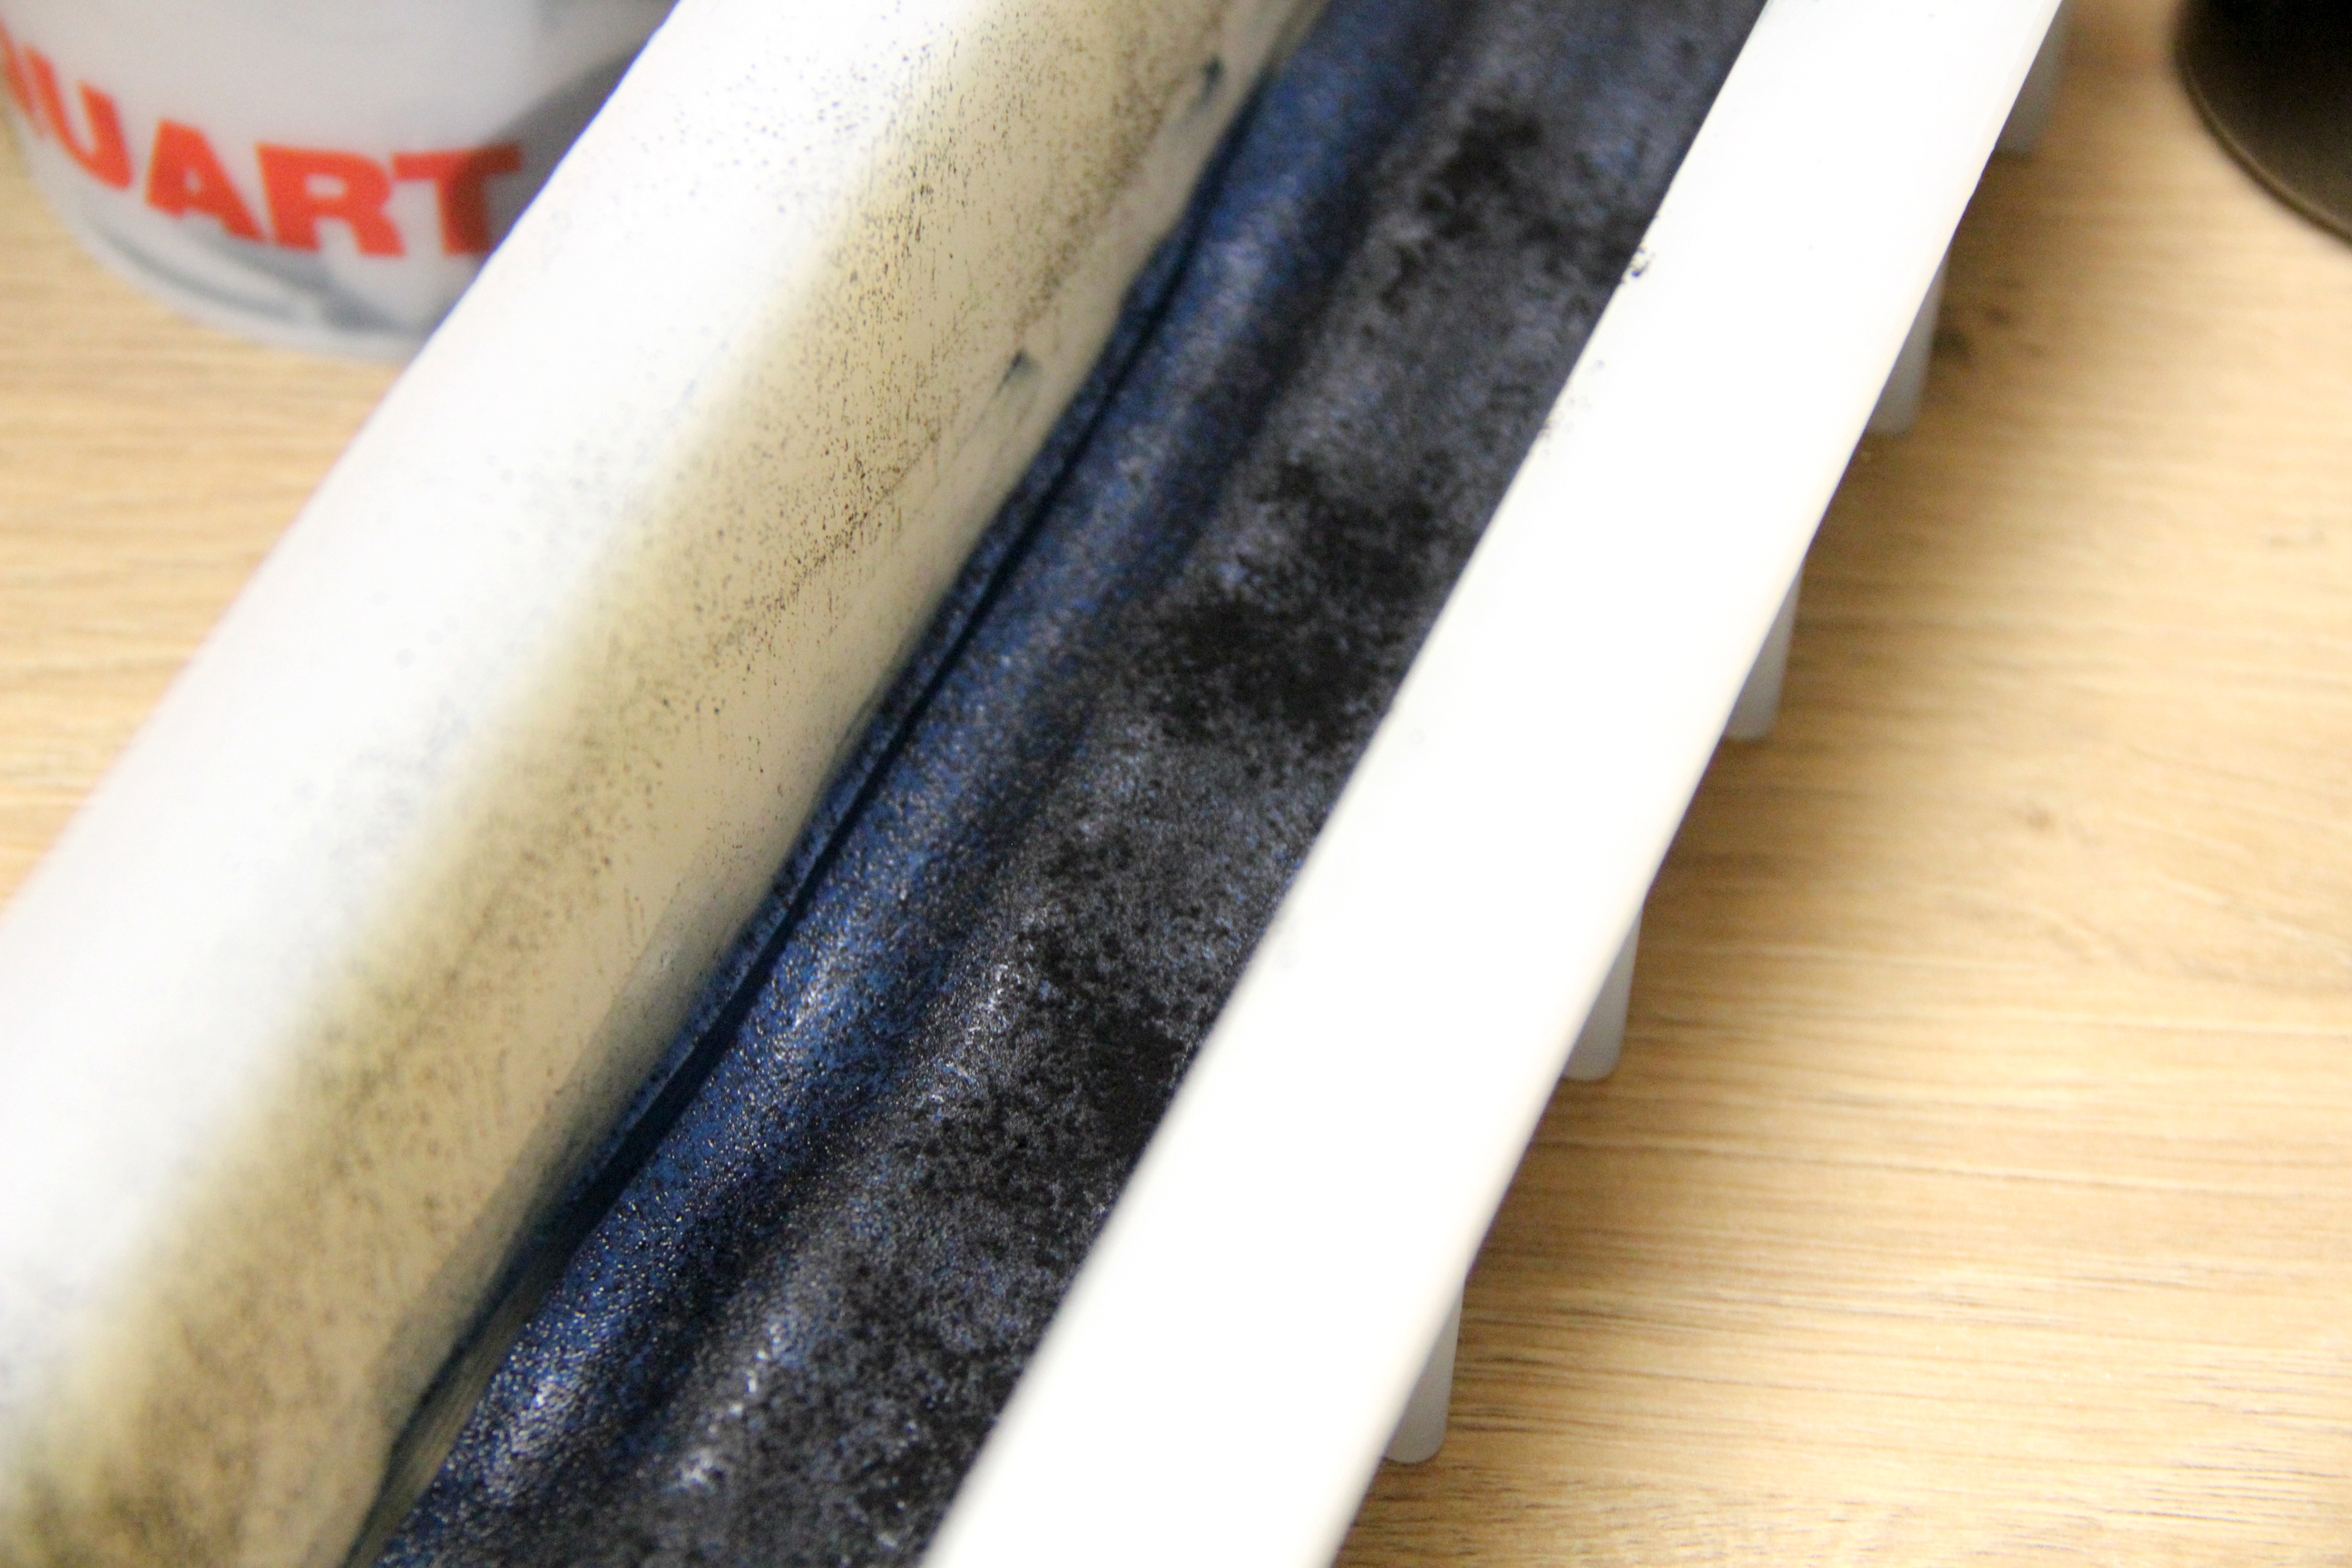
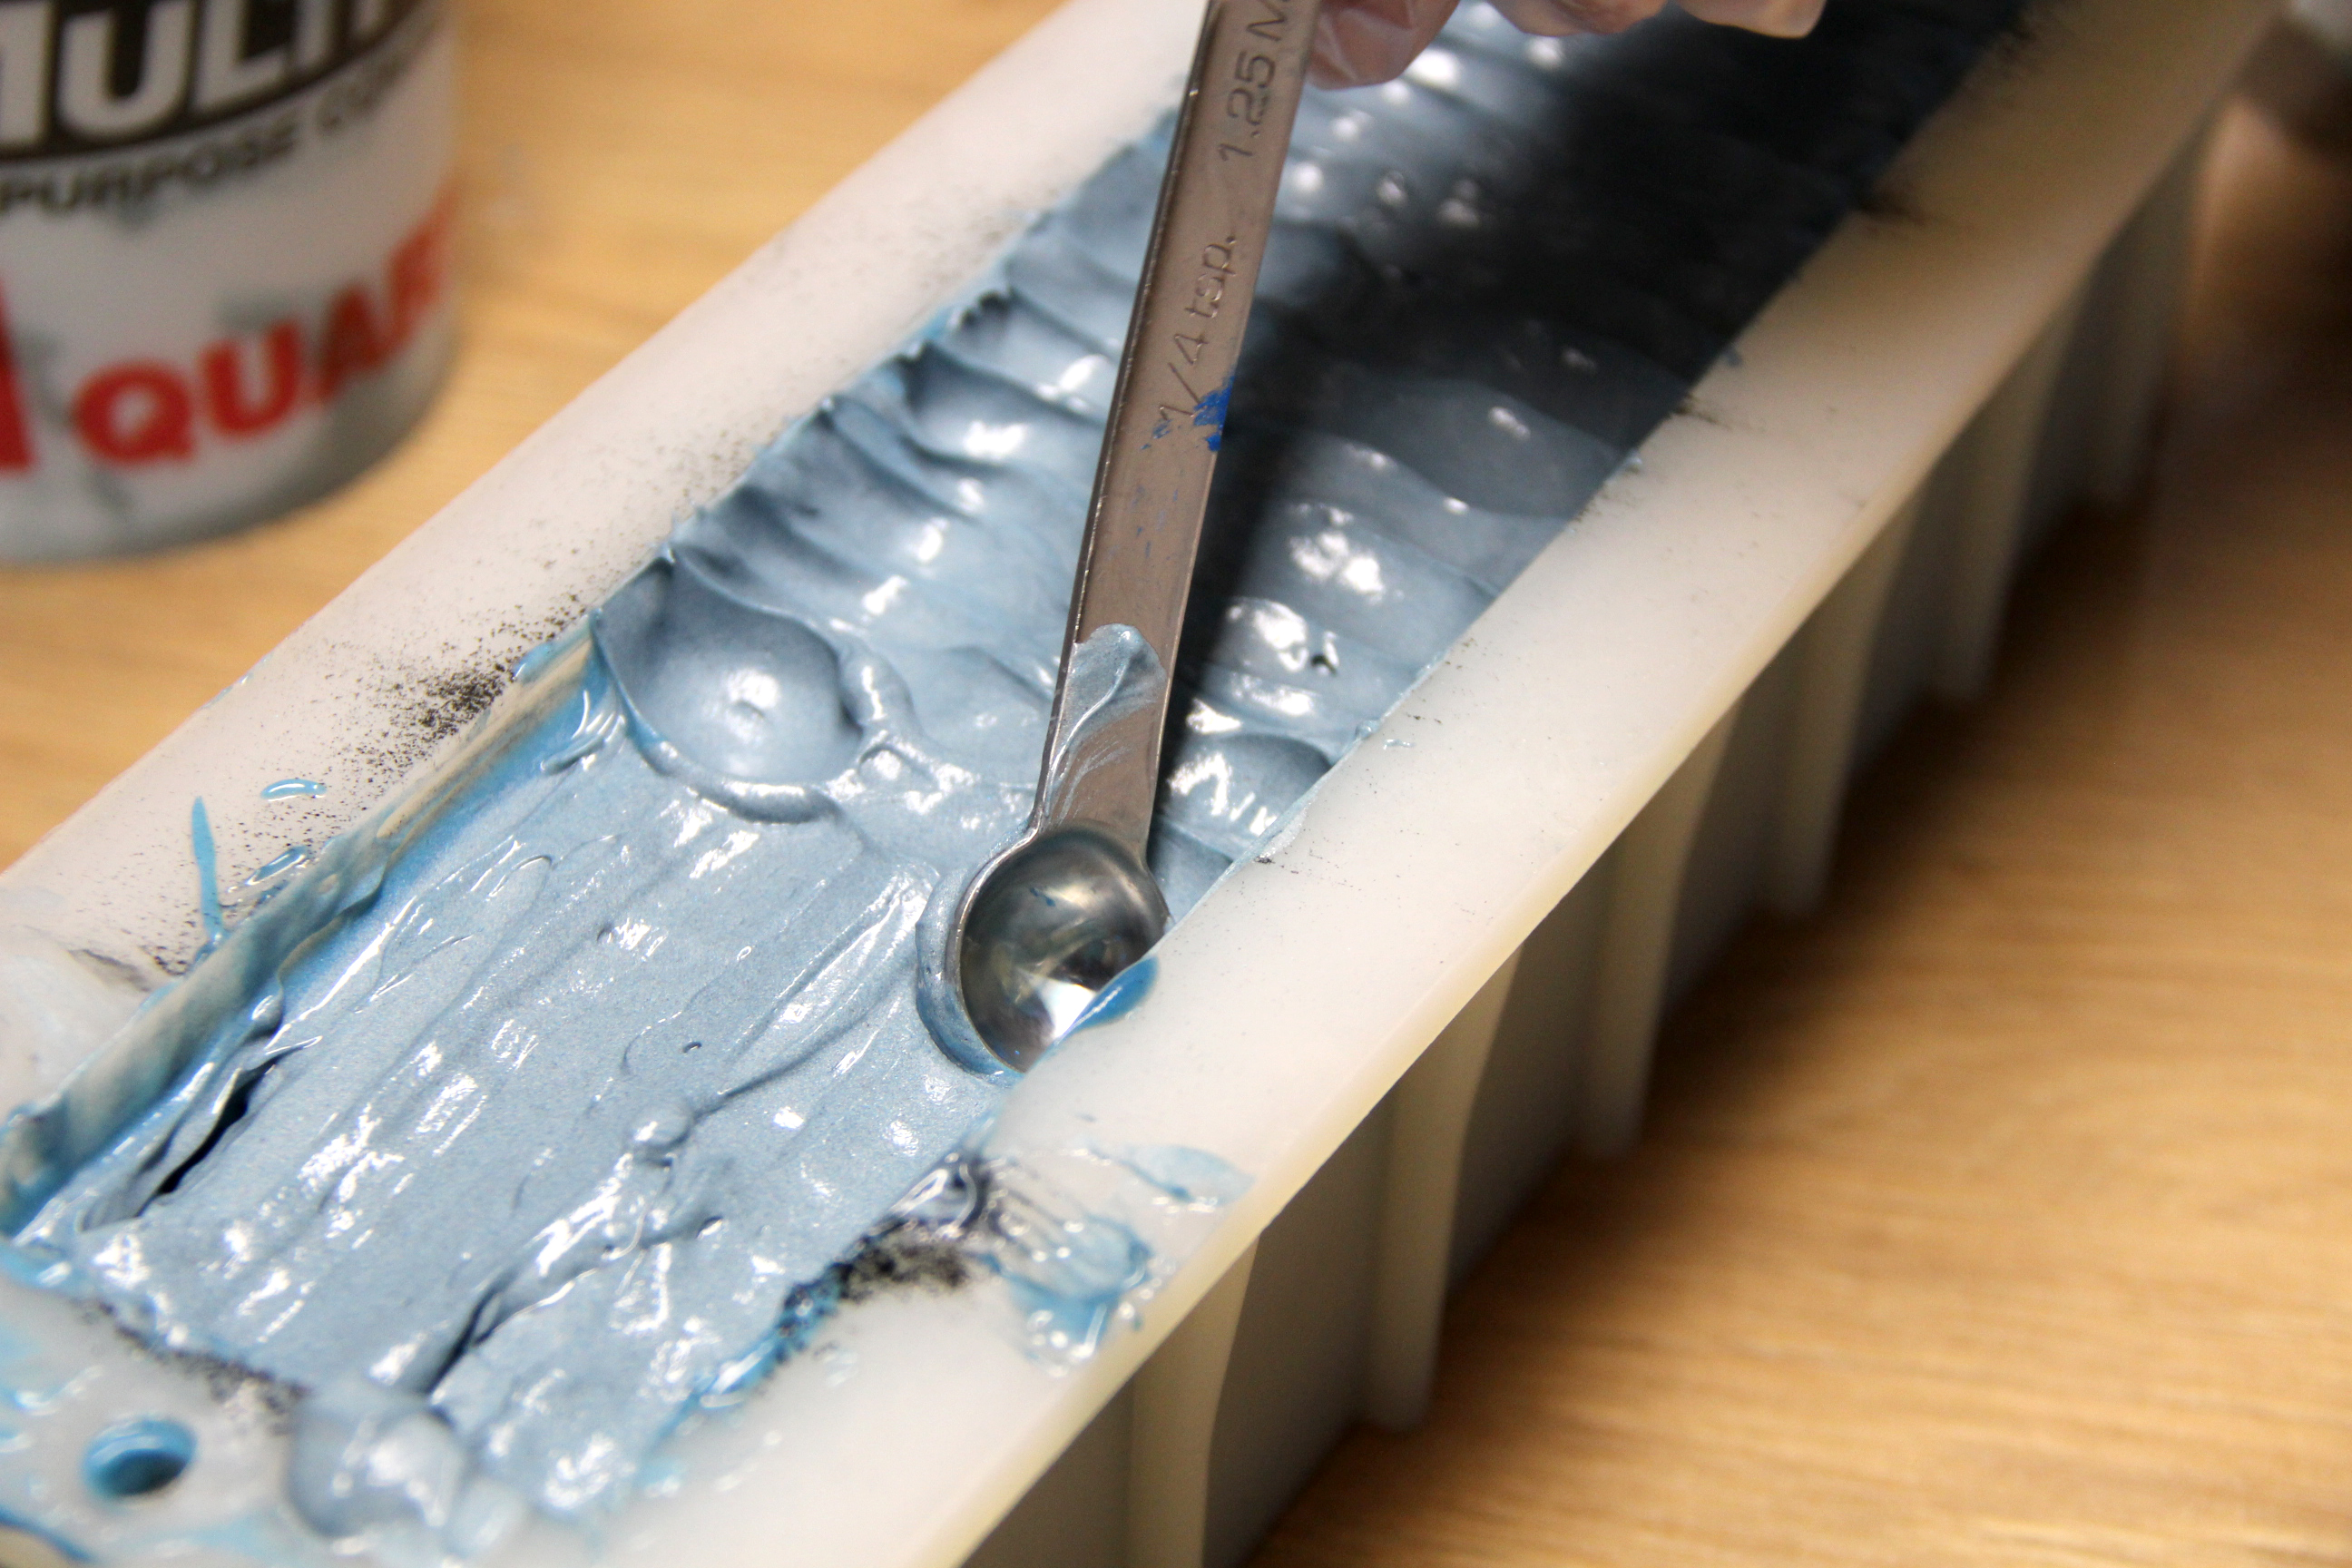
Step 13: Spoon this last bit of soap over your last layer. We textured it using a measuring spoon.

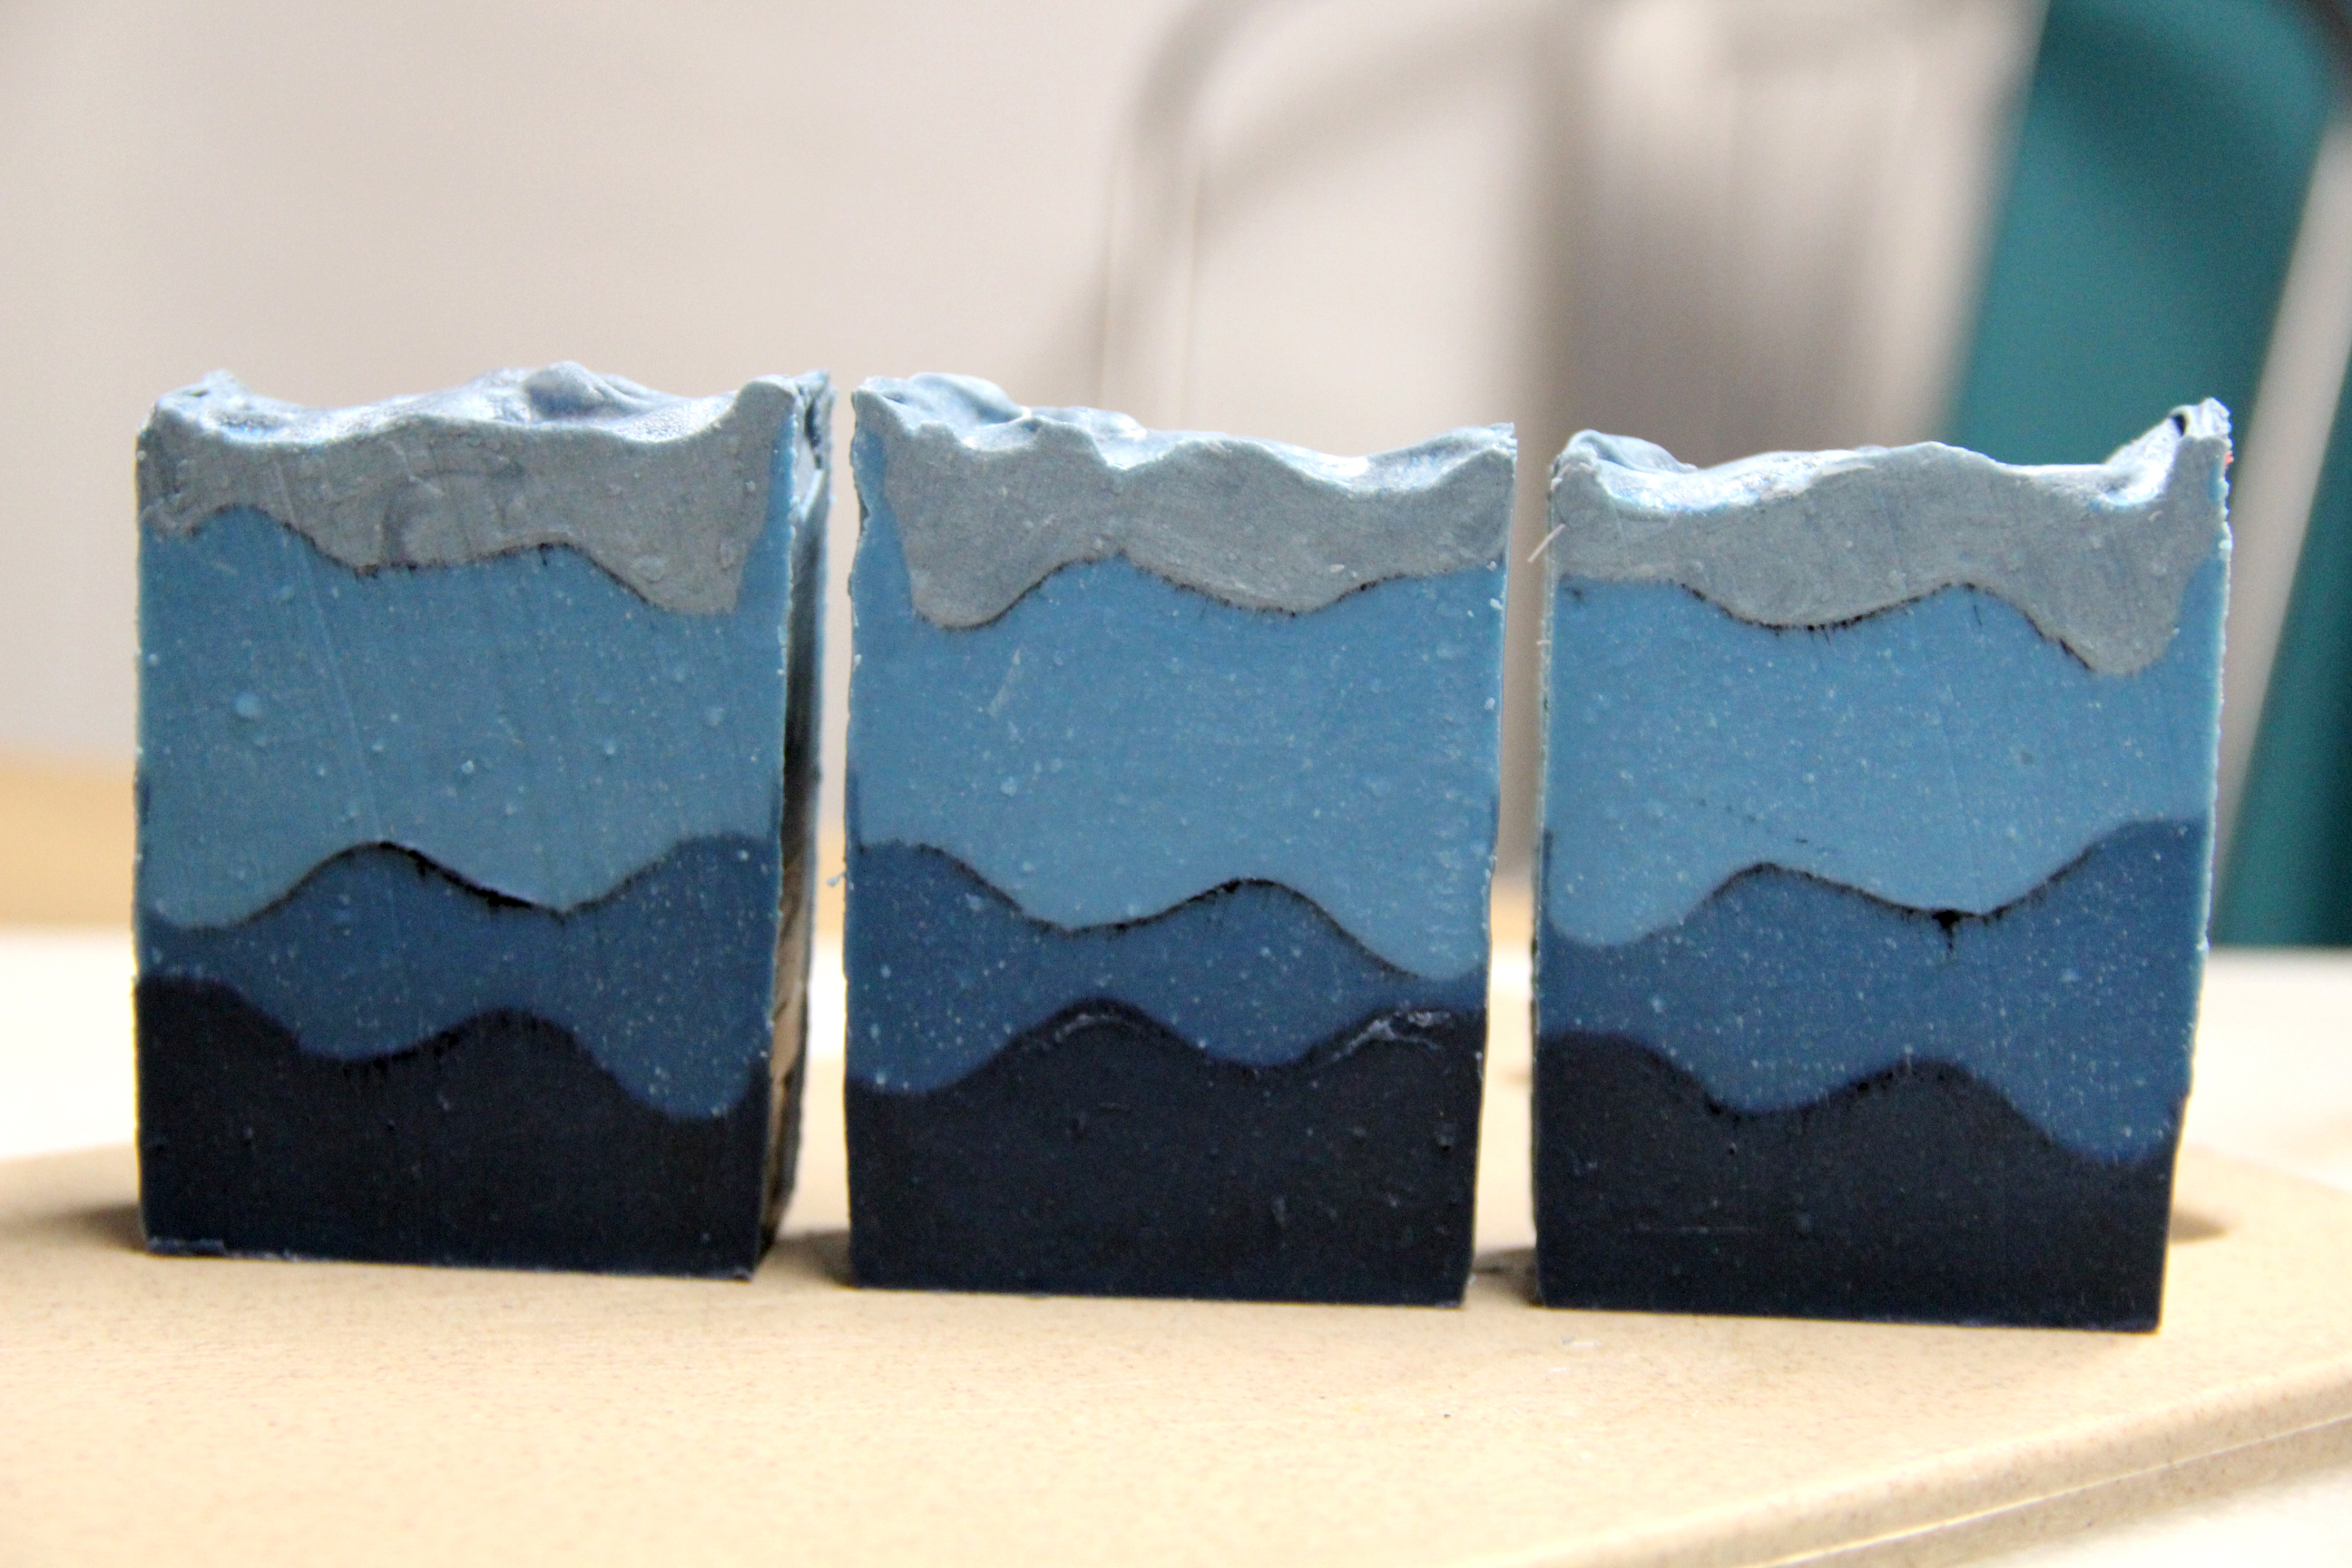
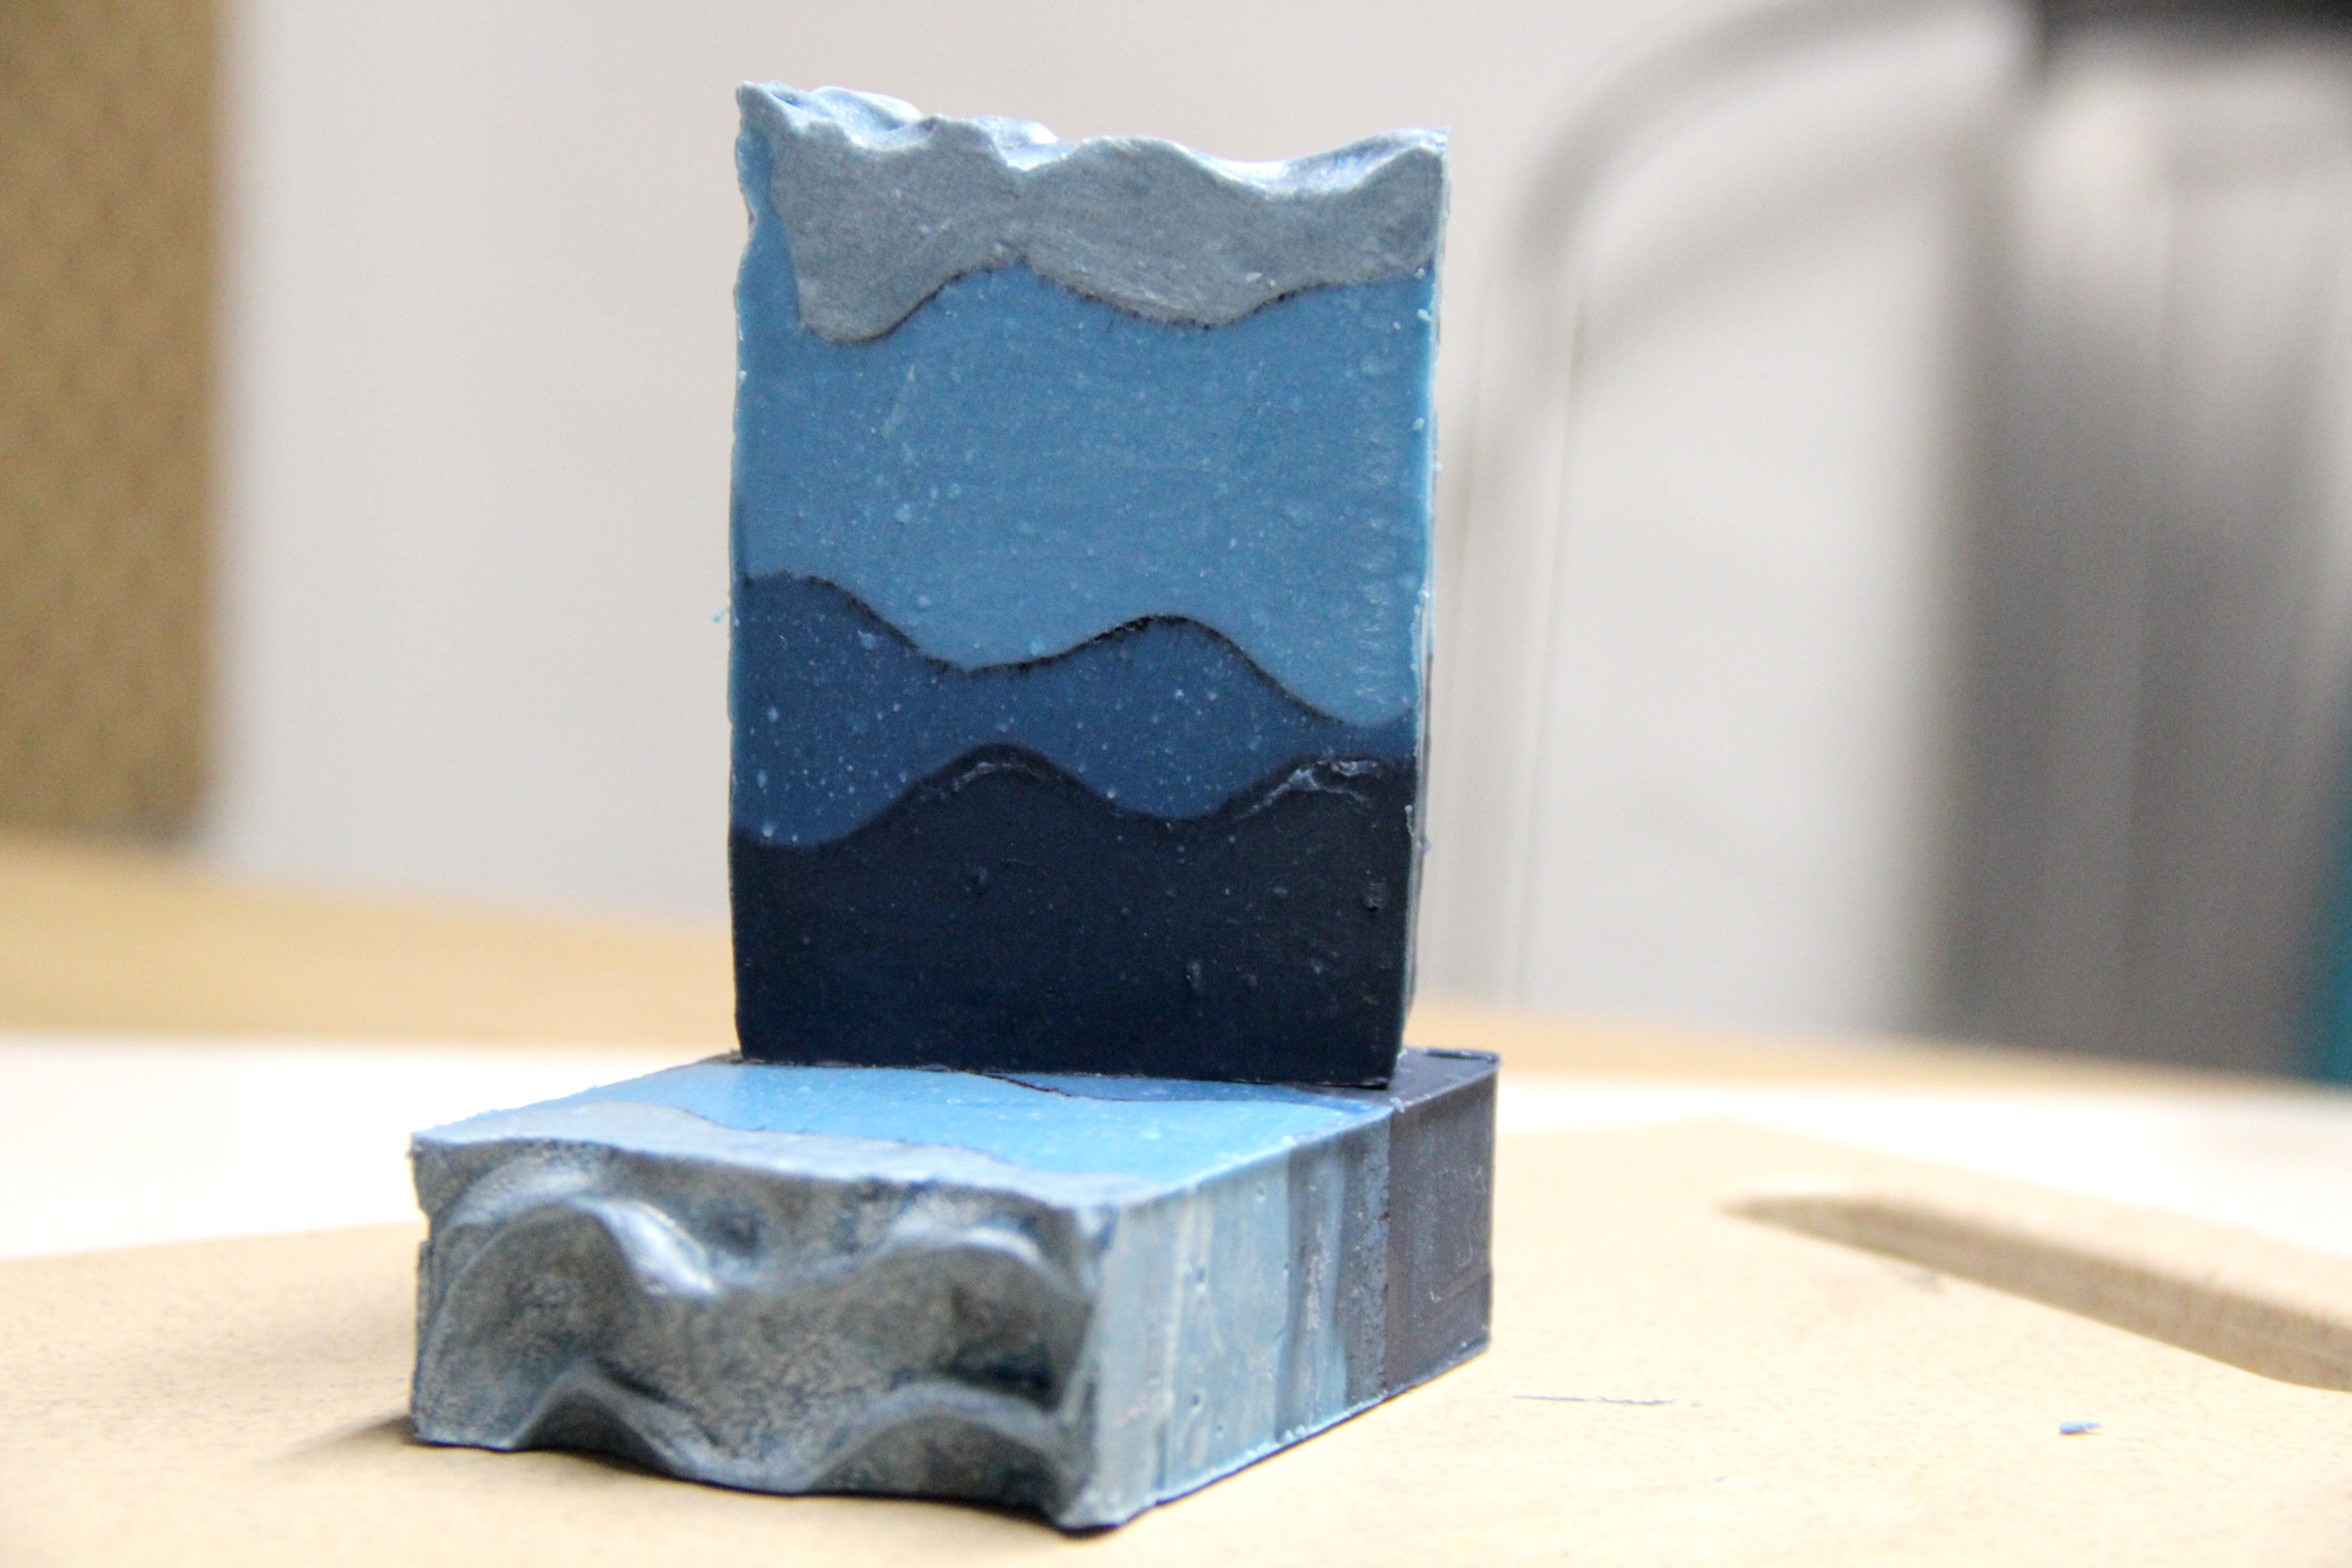
After 24 hours you can unmold and cut your soap.

Allow it to cure for a minimum of four weeks!

I hope you enjoyed this tutorial! A big thanks to Jamie for coming and making soap with me, sharing her micas.
Happy Soaping!
-Amanda

Hi amanda. I made this soap on December 18…for reasons of time I still haven’t demolished it…I wanted to do it today the 23rd but the soap is very soft if I touch it it marks and deforms…what can I do?
Wao! I’m delighted with your recipes. Very detailed. Thanks for your amazing blog.
Great
Nice and interesting blog. thank you for sharing each steps for making soap.