Ahhhh Frankenstein. Does anything represent monsters and Halloween better? Interesting fact. Did you know that the monster created by Victor Frankenstein in Shelley’s novel was nameless? Over the years, the monster has been called Frankenstein.
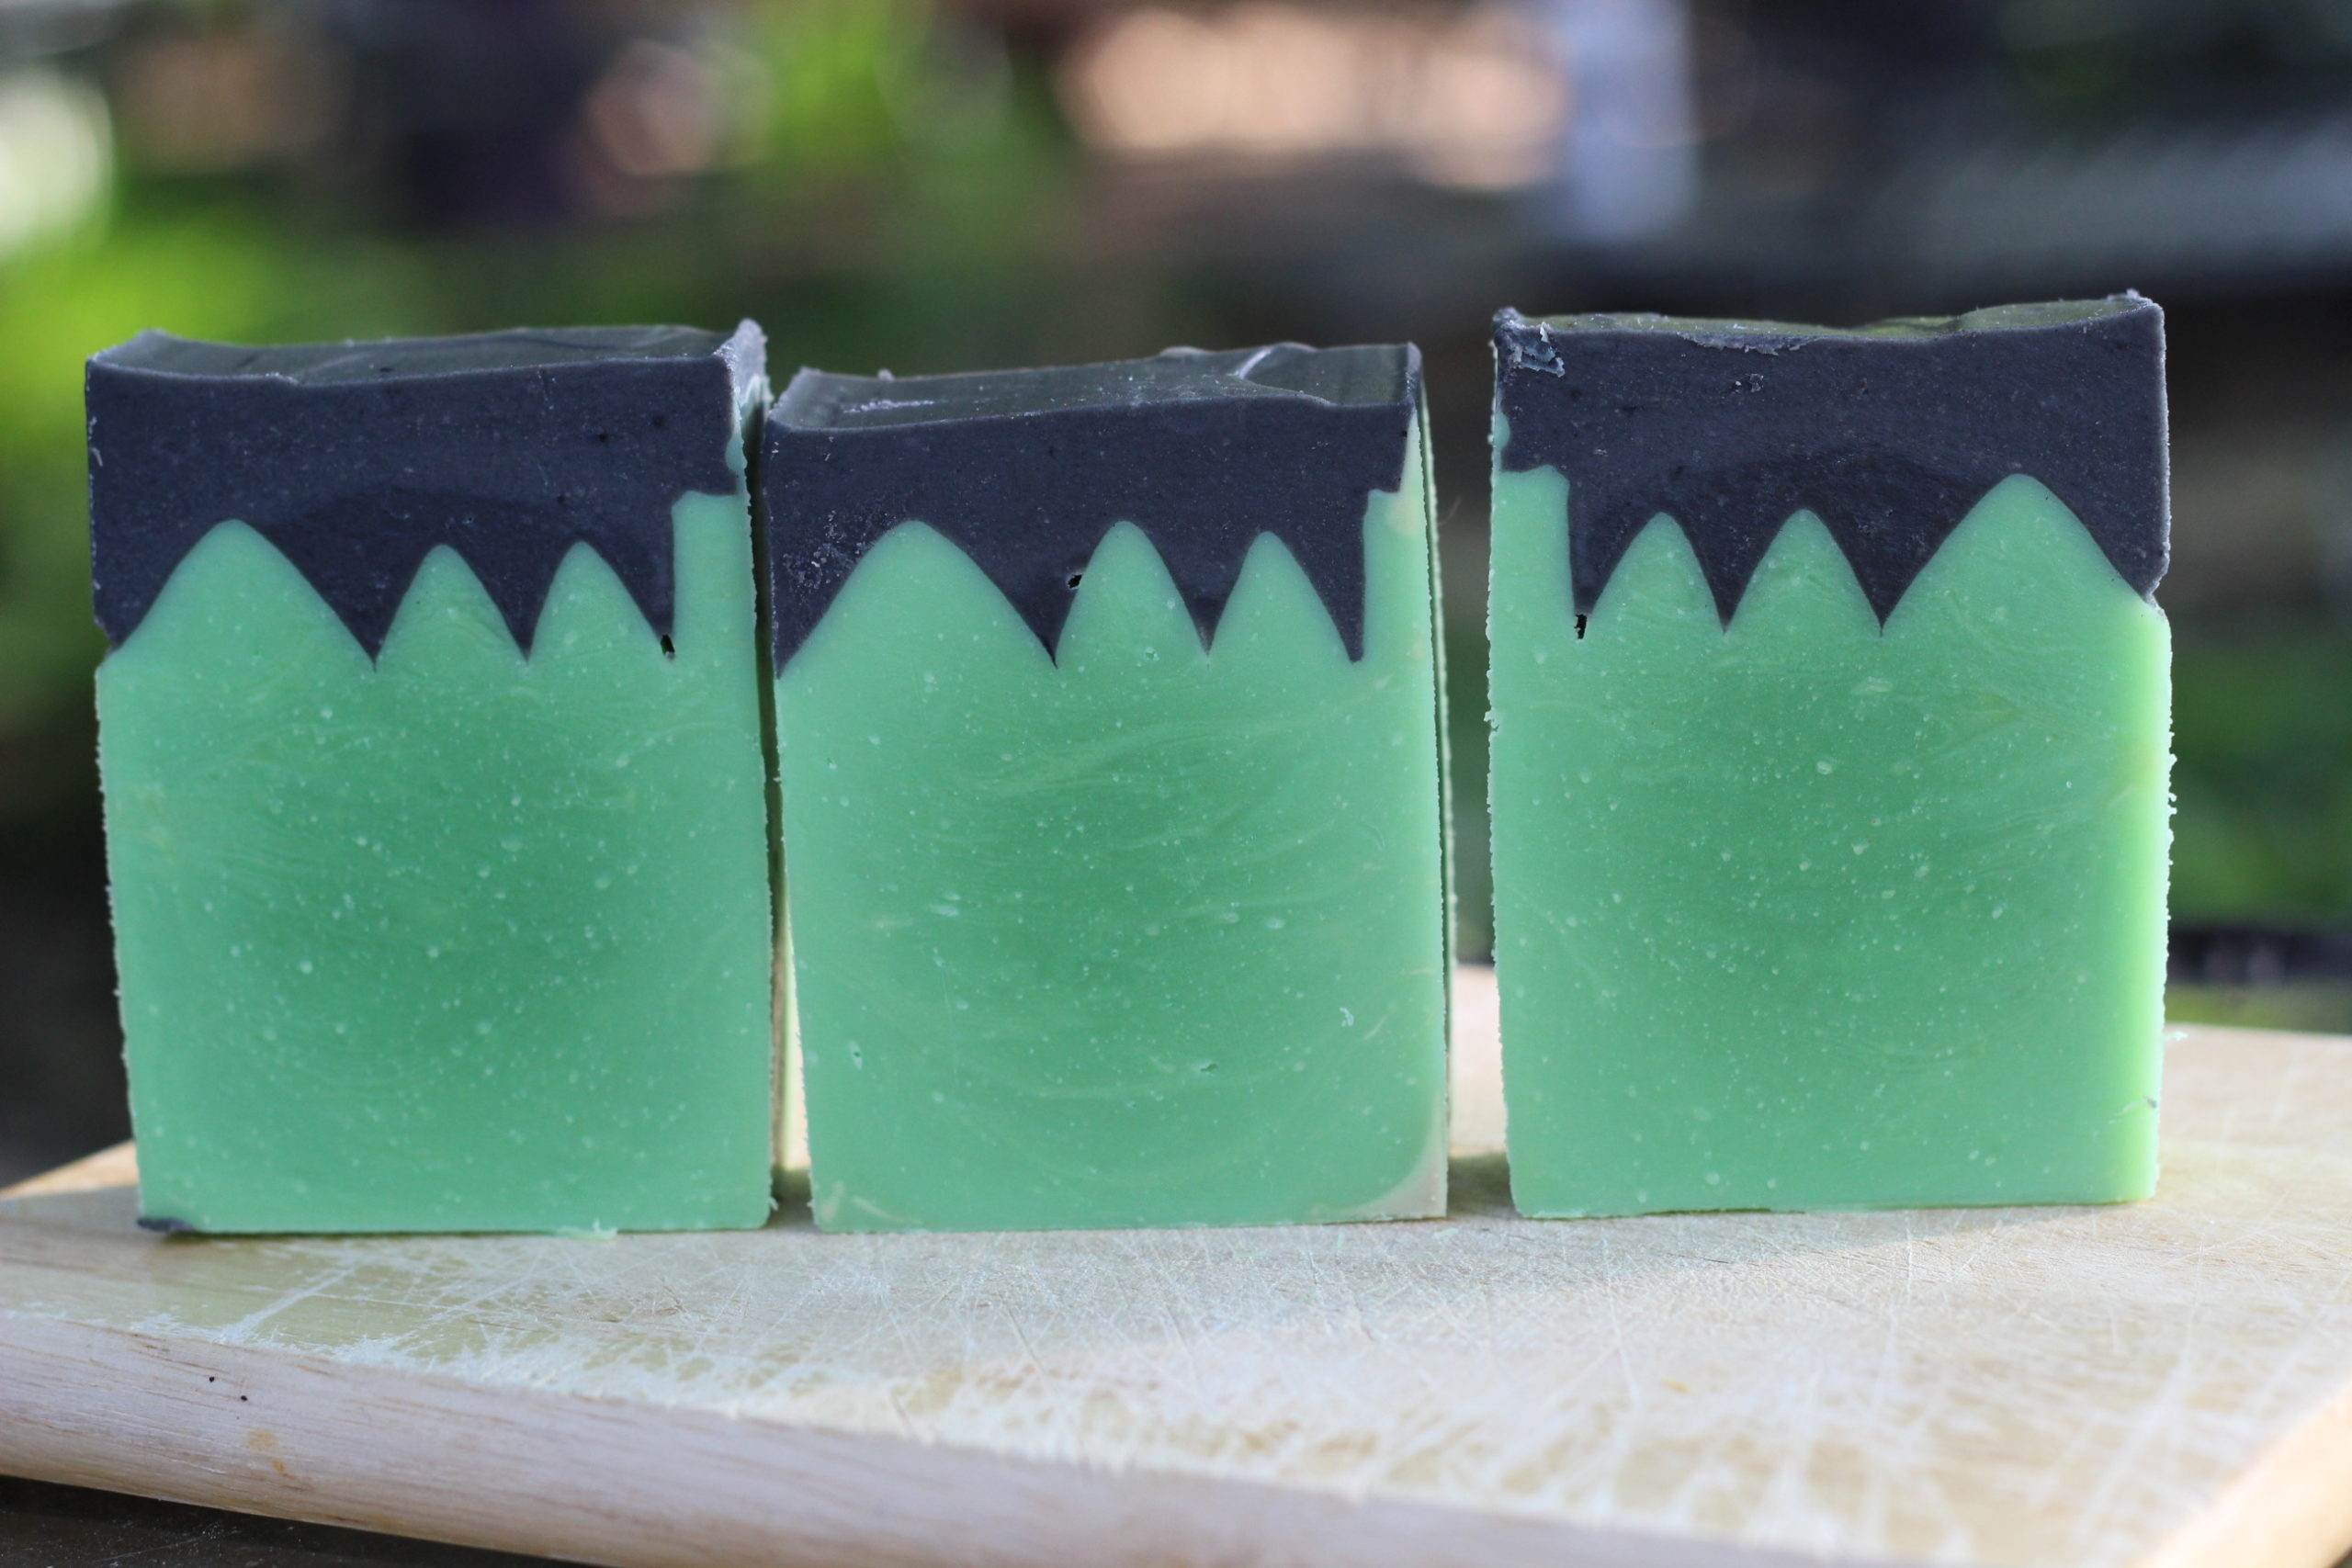
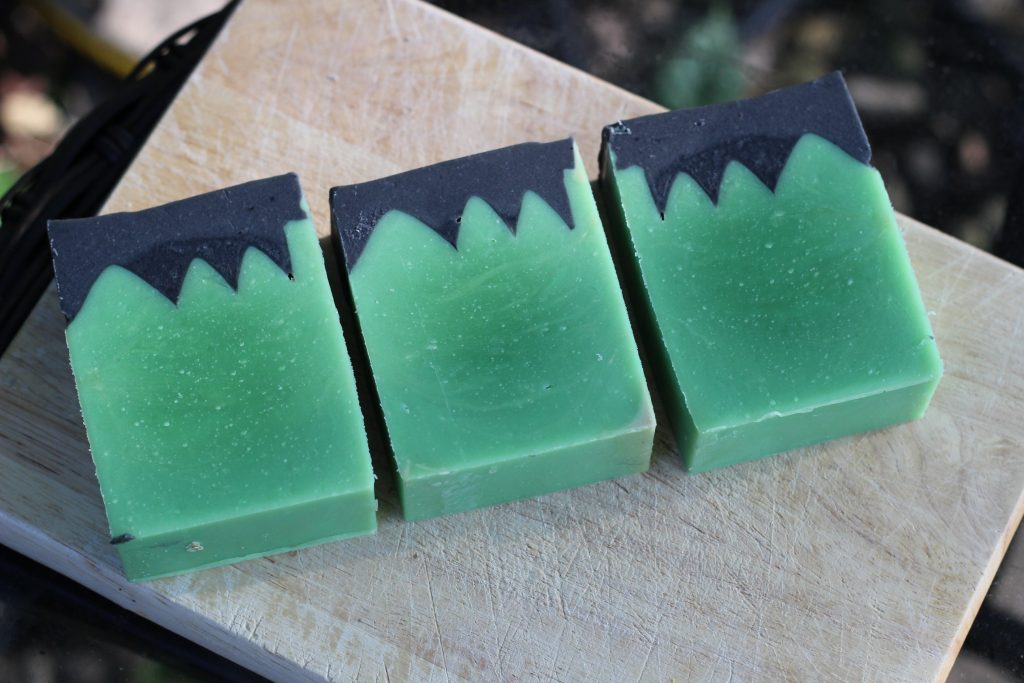
This Frankenstein inspired soap is easy to make using a cardboard raking/sculpting tool. It is perfect for Halloween lovers who are looking for a spooky + fun soap.
Frankenstein Halloween Soap
- Coconut Oil – 12 oz.
- Shea Butter – 2 oz.
- Olive Oil – 10 oz.
- Castor Oil – 2 oz.
- Avocado Oil – 2 oz.
- Rice Bran Oil – 4 oz.
- Sodium Hydroxide – 4.6 oz.
- Distilled Water – 9.2 oz.
- Green Mica – 2 teaspoons
- Charcoal – 1/2 teaspoon (or enough to color black)
- Lemongrass Essential Oil – 2 oz. (or your favorite Halloween fragrance oil)
Safety Warning: This recipe is for soapmakers who have a basic knowledge of the soapmaking process and know the correct safety procedures to use when handling lye. If you are new to soapmaking, visit our free soap making guide. Be sure to wear safety goggles and gloves while soaping.
This recipe fits into a 12″ tall and skinny silicone loaf mold from Nurture (afflilate link).
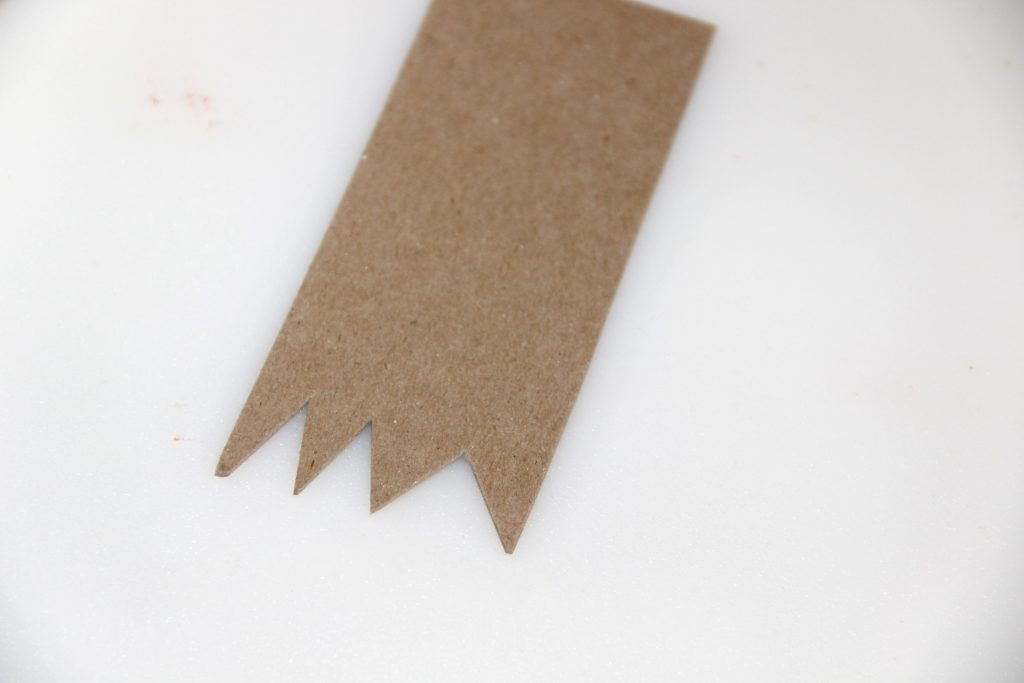
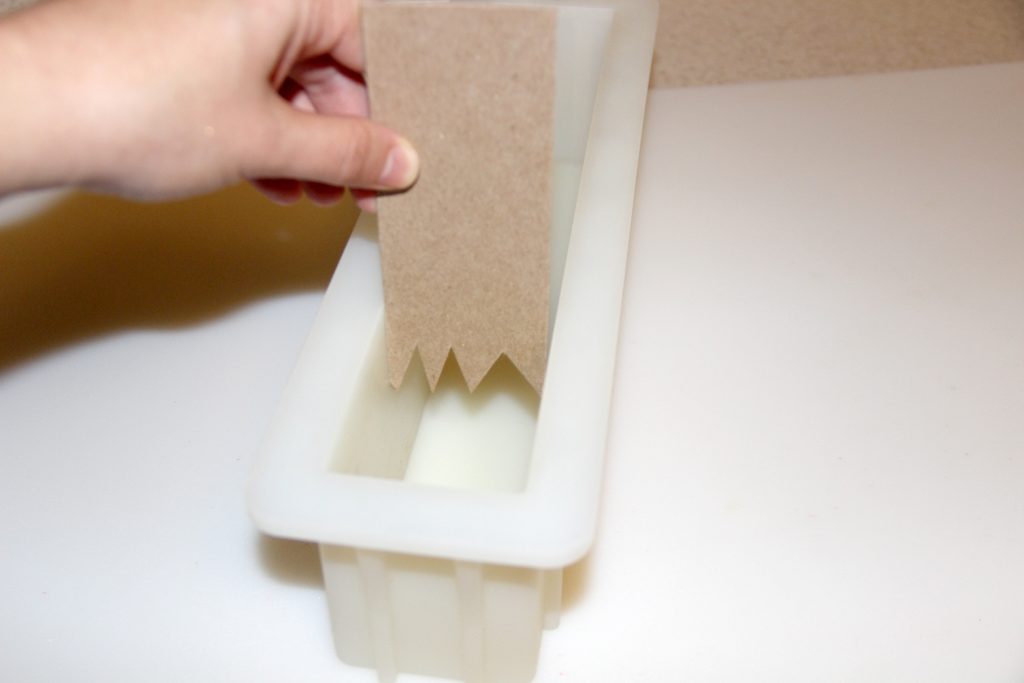
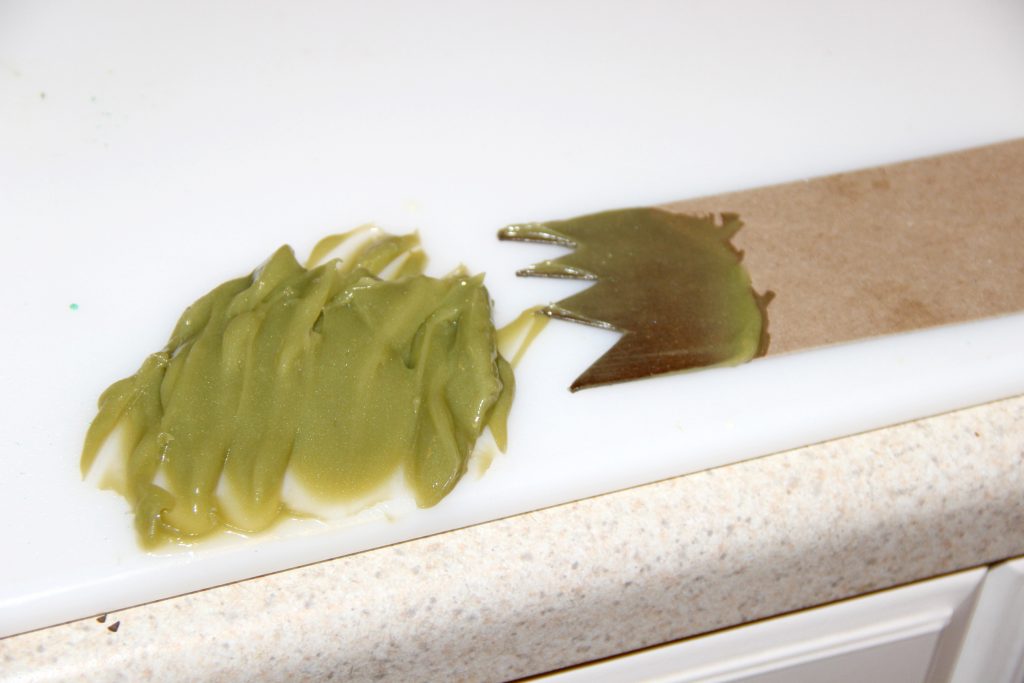
First create your raking tool. I used a piece of cardboard that I had sitting around. I cut the cardboard to fit inside of the mold and then cut triangles out to create a hairline as shown below.
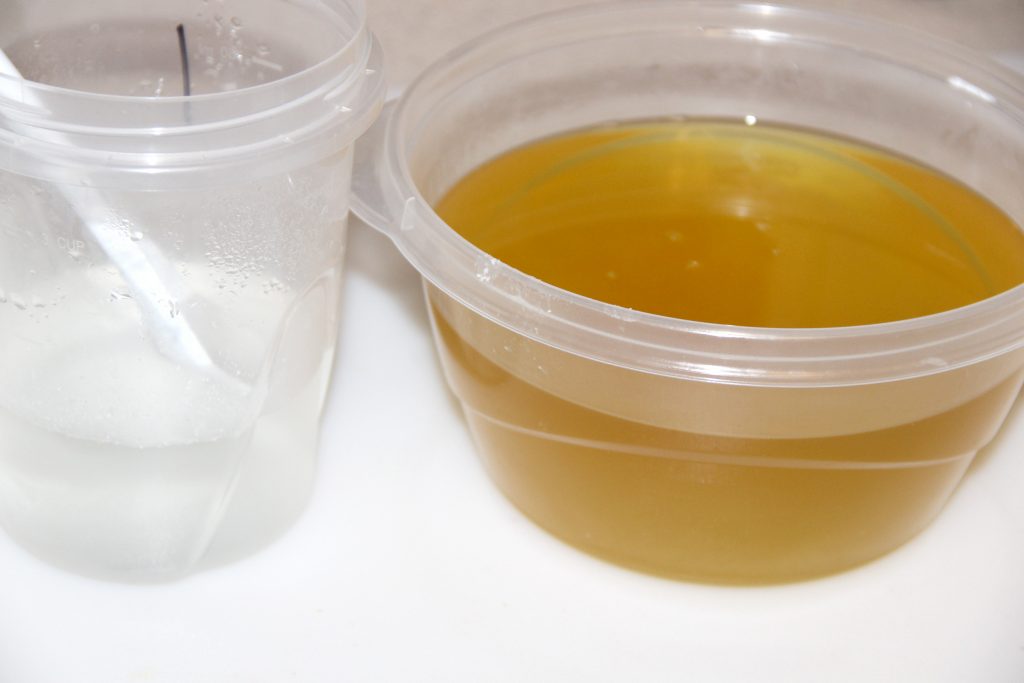
Step 1 – Create your lye solution. Weigh out the water and sodium hydroxide into separate containers. In a well-ventilated area, sprinkle the sodium hydroxide into your water while stirring slowly. Stir until dissolved and set aside to cool.
Step 2 – Weigh and melt the shea butter and coconut oil.
Step 3 – Weigh and add the liquid oils to the melted oils. This helps to cool everything down.
Step 4 – Weigh the essential oil or fragrance oil into the oil mixture.
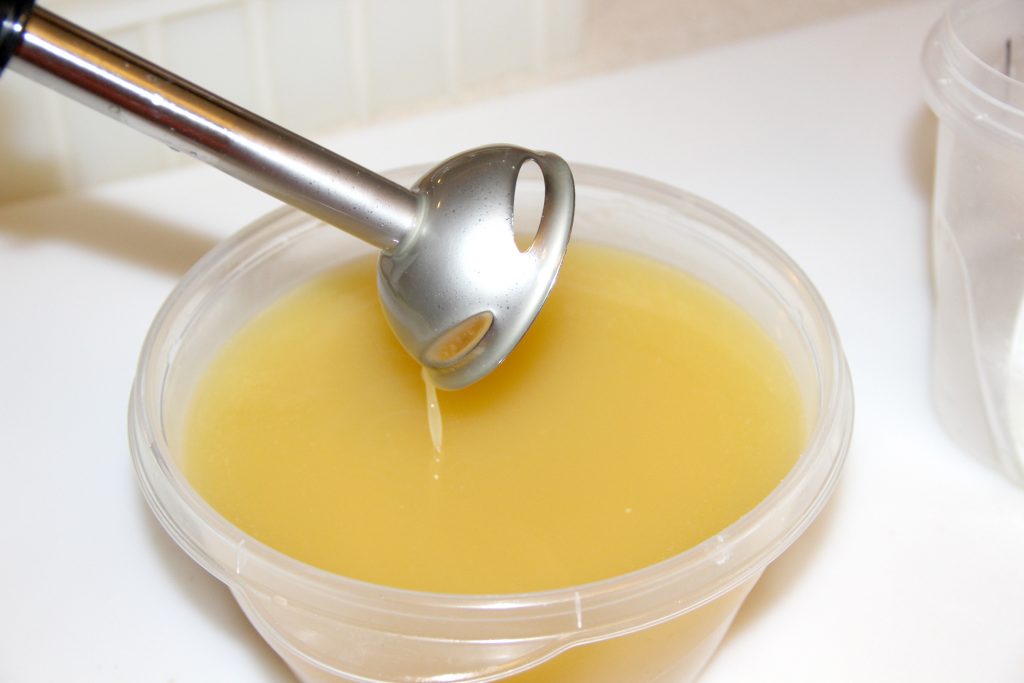
Step 5 – Bring your mixture to emulsion. Don’t take it to trace.
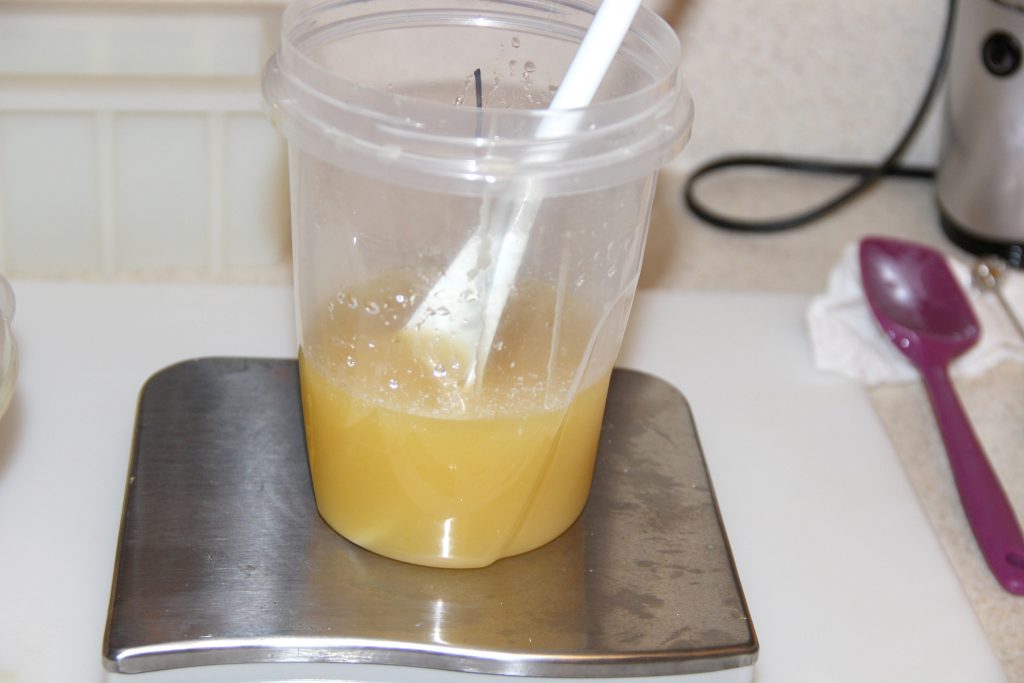
Step 6 – Pour out 10 oz. of soap and set aside.
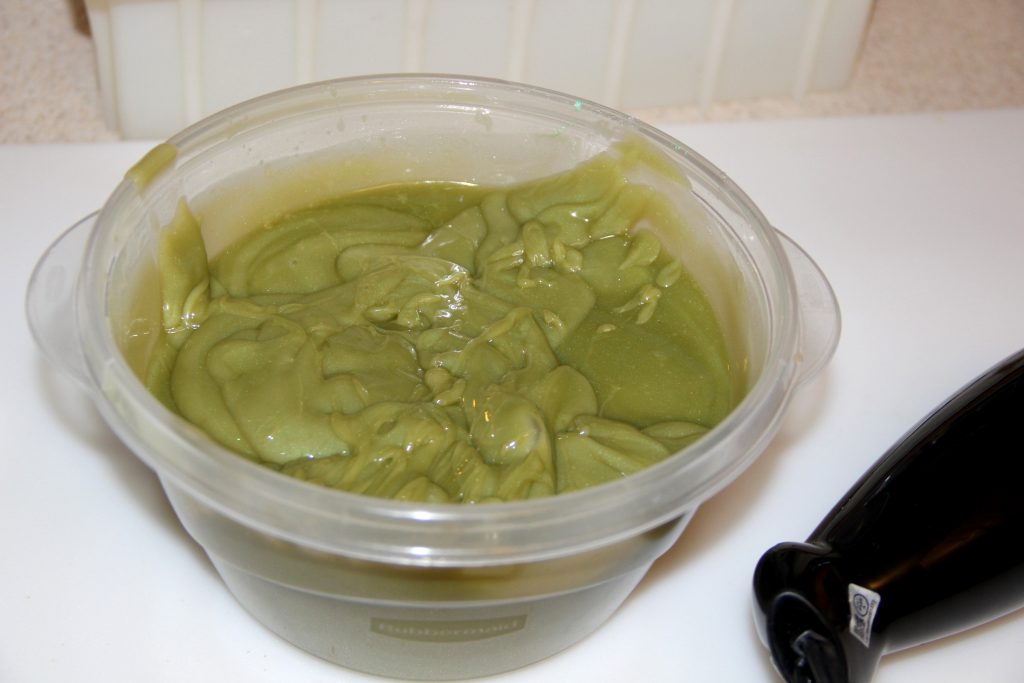
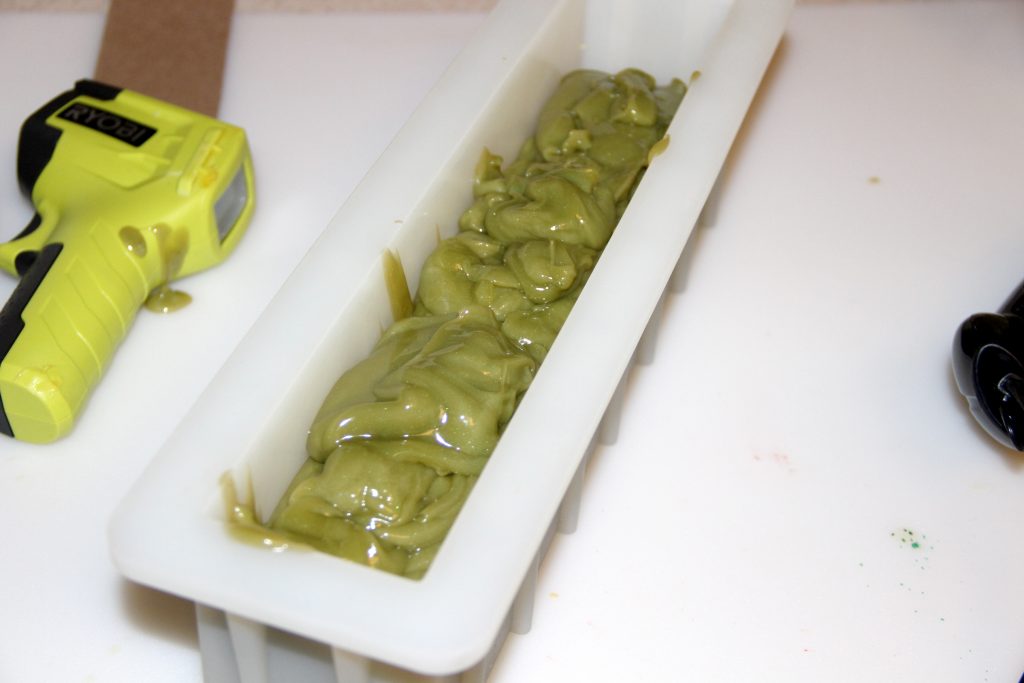
Step 7 – Add green mica to soap and stick-blend to thick trace.
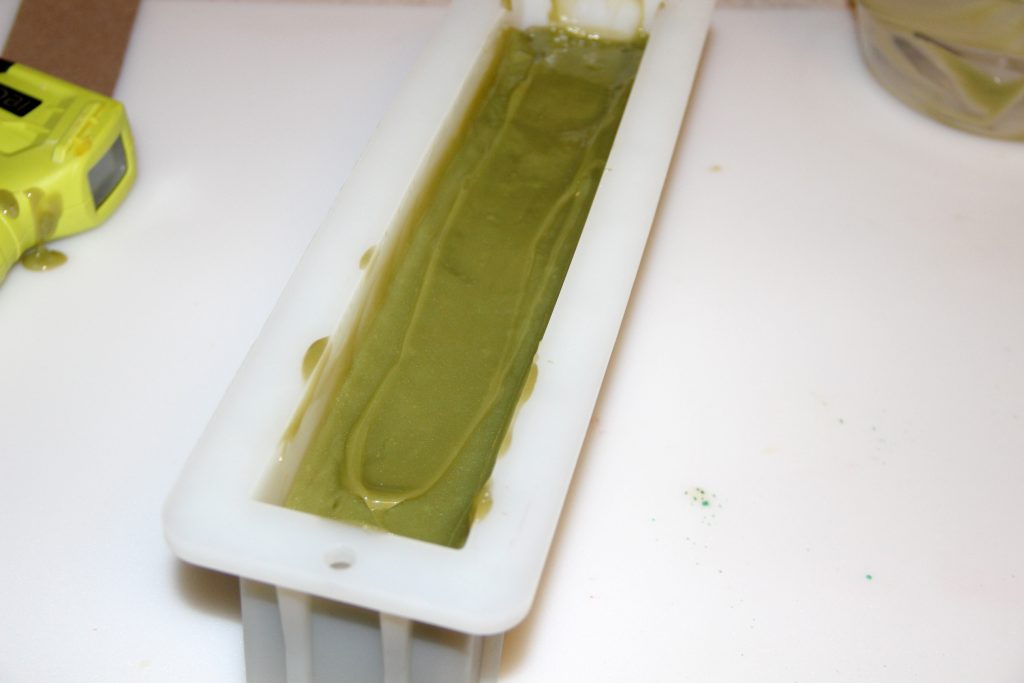
Step 8 – Pour into mold and bang down mold to flatten.
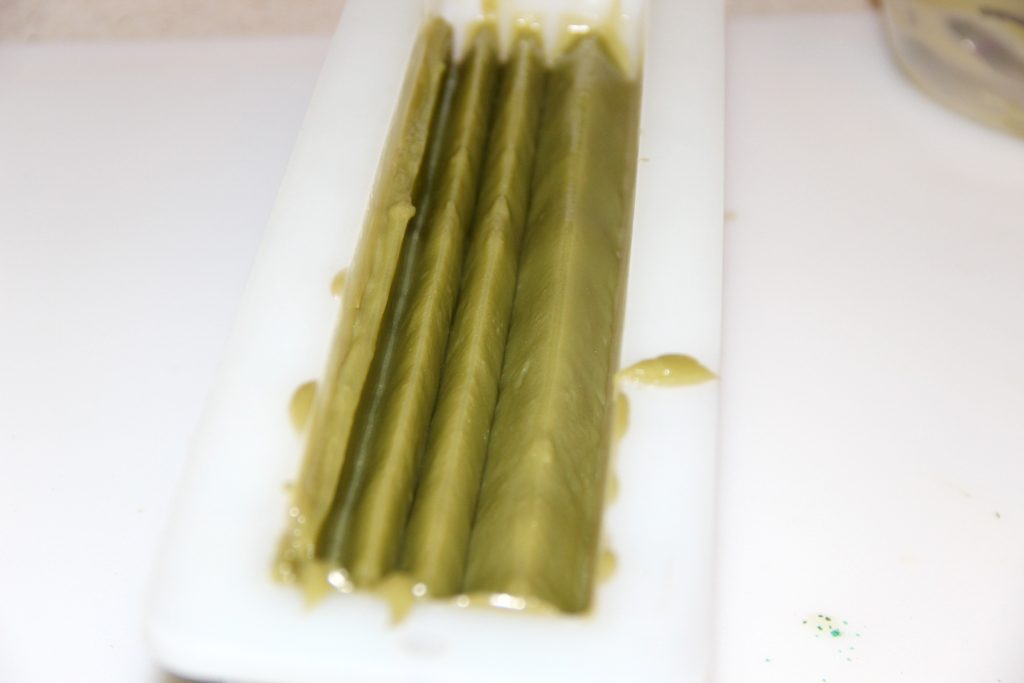
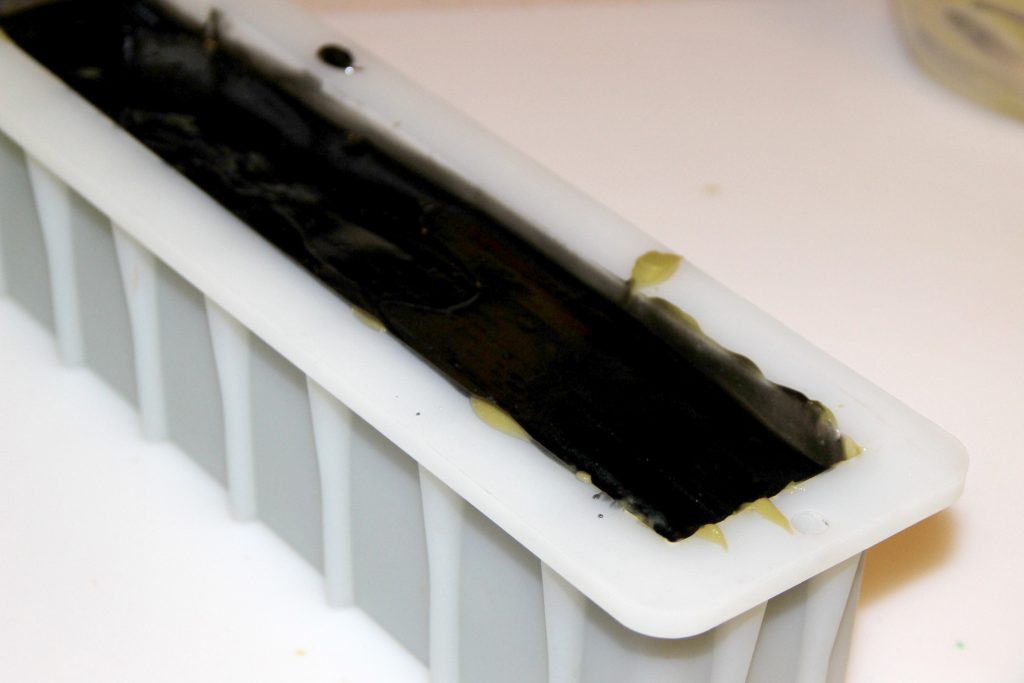
Step 9 – Use your rake tool to create the hairline. You might have to scoop soap out. Just set somewhere to saponify and you can roll into balls.
Step 10 – Color the soap that you set aside black using charcoal. It should still be quite liquid-y. Spoon carefully over the sculpted green soap.
Step 11 – Bang your soap mold down on surface to cause any bubbles or air pockets to rise to the top.
Step 12 – Let your soap sit overnight to saponify. Unmold, cut and cure your soap for 4 weeks!
Enjoy your Frankenstein soap!
-Amanda Gail


Just made the soap today. But is a cold process soap or a hot process soap?
Can’t wait to try making soap
I made my SAMPLE today and it’s looking great…can’t wait for the cut. We will make this in my soap making class next week and I’ll be sure to link to your site
I love this design!
Do you ever have issues sodding with lemongrass EO?
I have had separation issues every time I use it.
I was adding EO at trace.
Do you have any suggestions?
Also soaping at low temps ( below 110F) has given me problems when the hard buyers start to cool too fast.
I notice you use shea a lot. What temp do you soap with shea butter?
Thank you for the great info and ideas!
Great Information for researchers and beginners specially…… Loved it
This is such a great idea! Thanks for sharing! Love your blog posts btw. 🙂
This is just too fun!!! That mold is on my wish list, so I’ll have to wait until next year. Will bookmark this page so I don’t forget. I wonder how well this would sell at an August market, I’m sure our September one would be great!
Thanks for sharing all your wonderful soapy good ideas and recipes. I’ve learned more from your site than the others I’ve read put together!
Thanks Amanda! Can’t wait to try it!