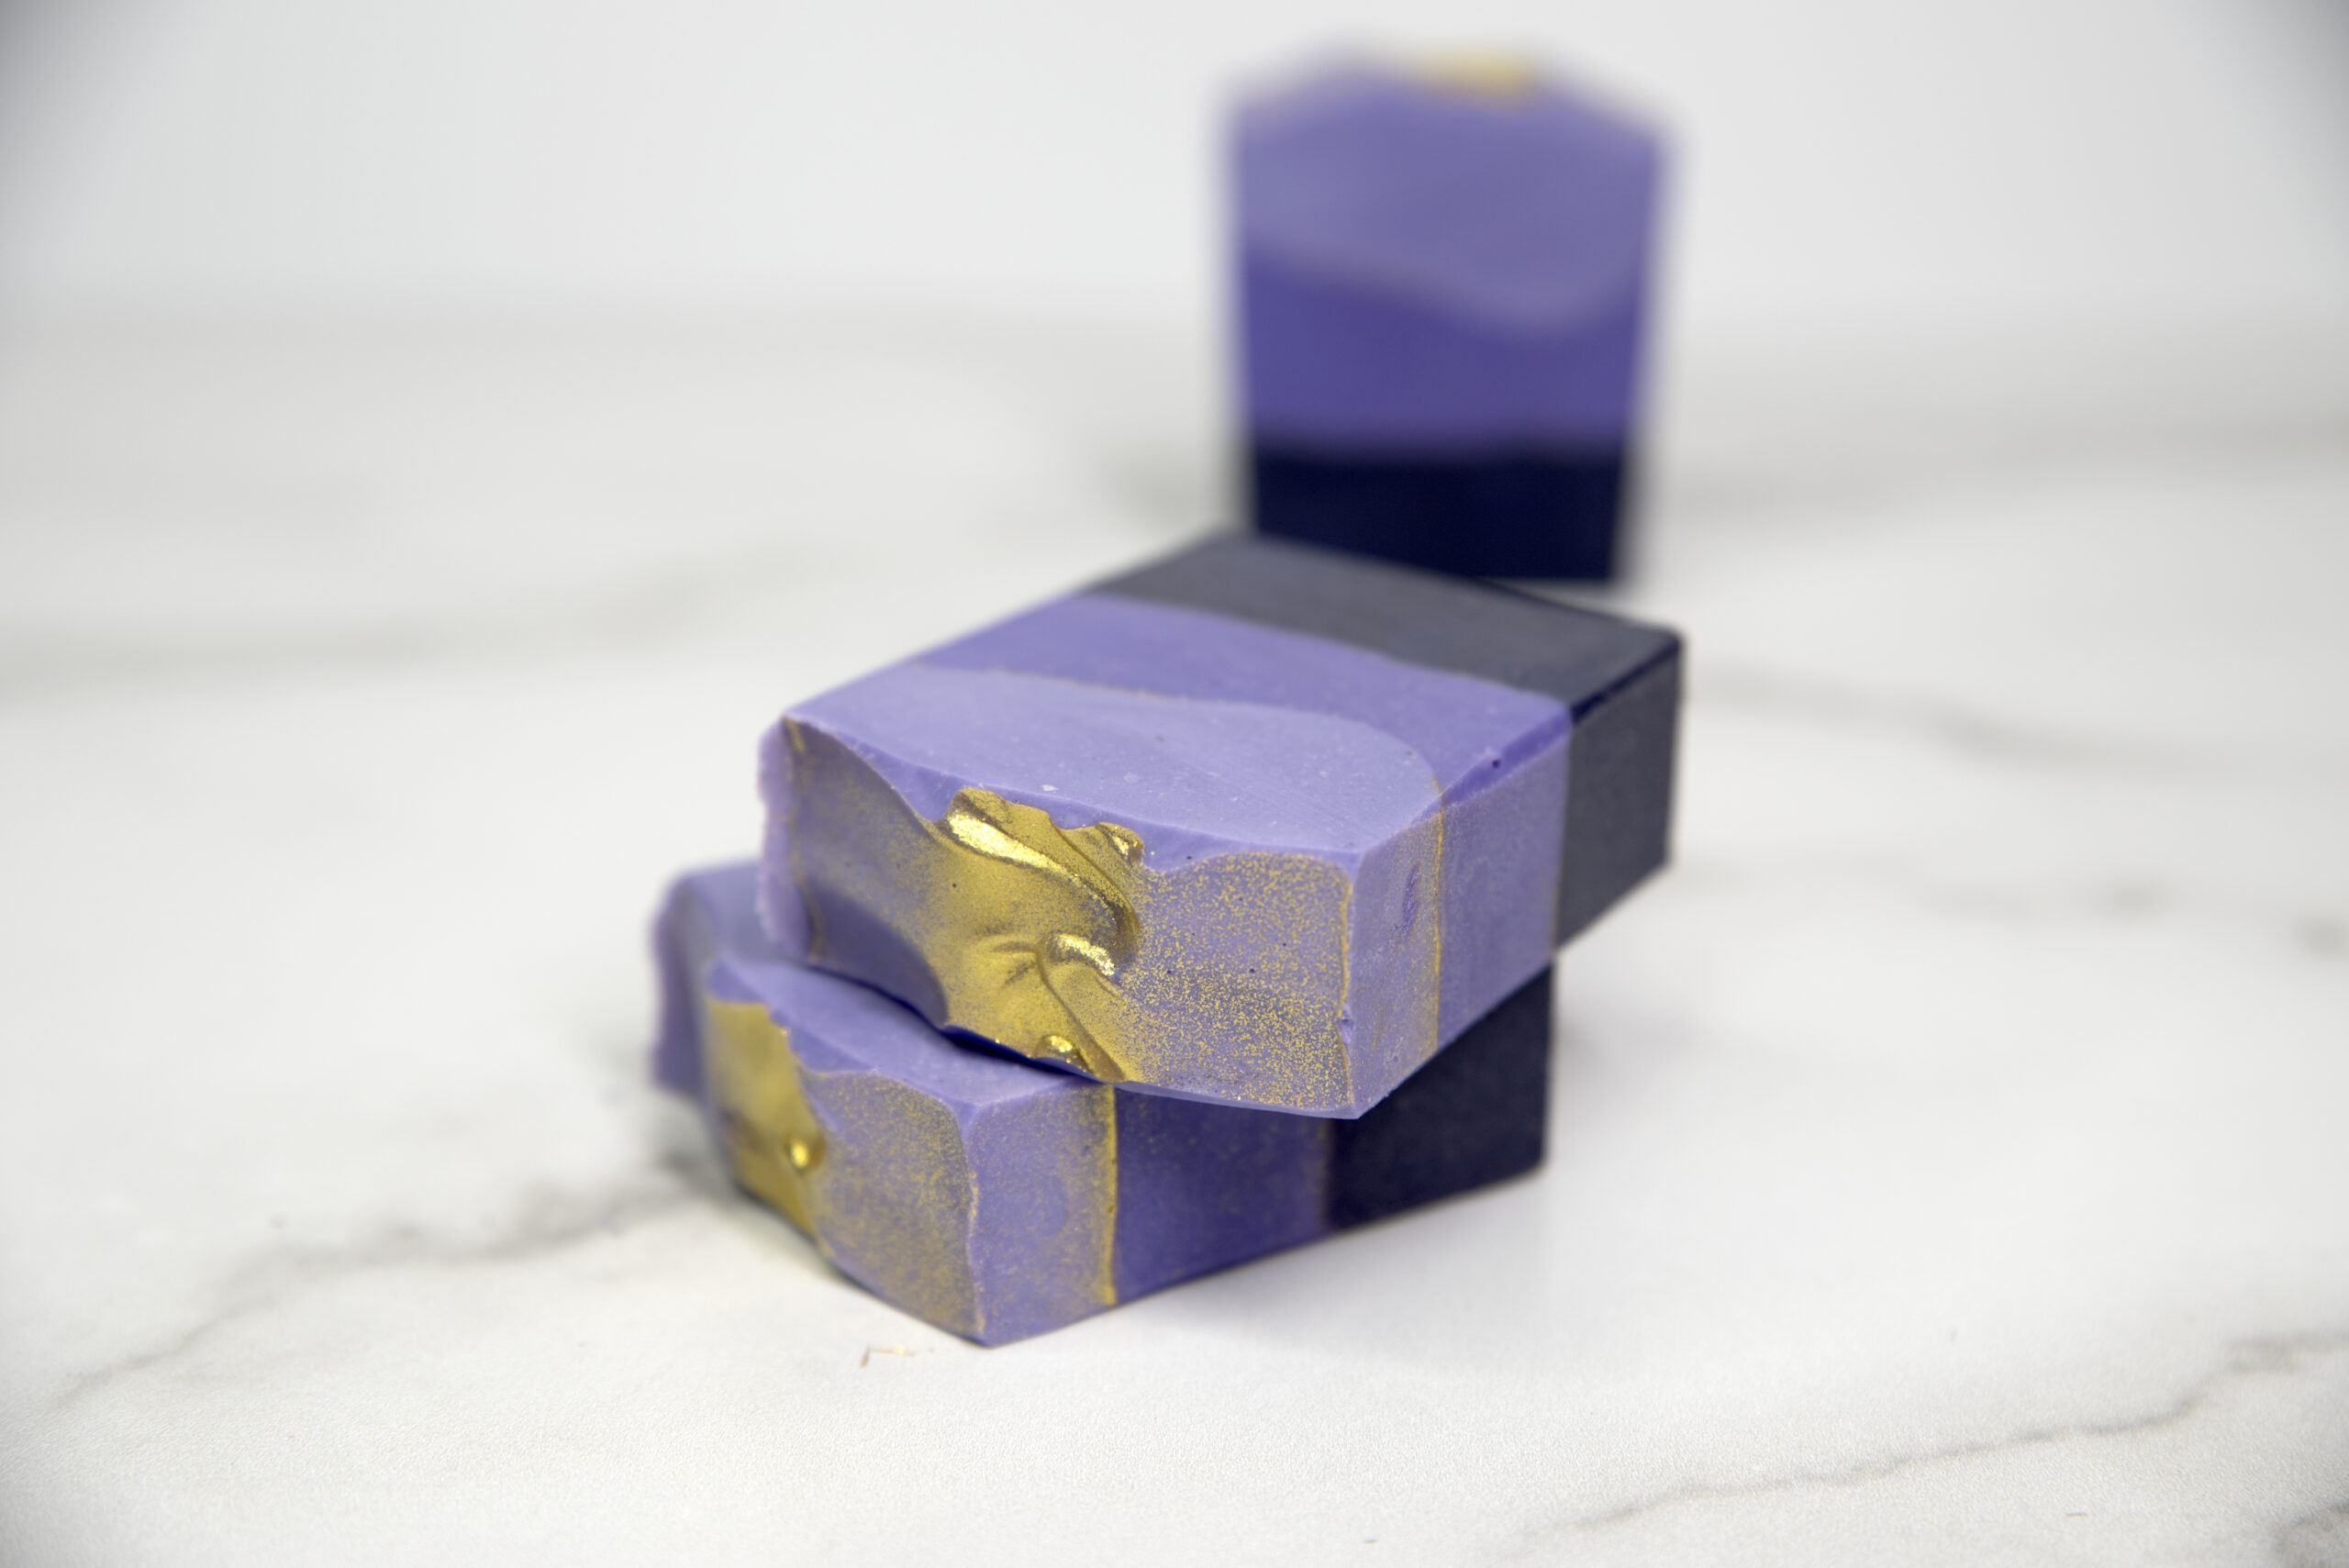
I LOVE purple. My daughter Juniper (3) likes to tell everyone how much her mama likes the color purple. Pair purple with gold, and you have a very classy combo! This color combo would be perfect for wedding favors or bridal shower gifts.
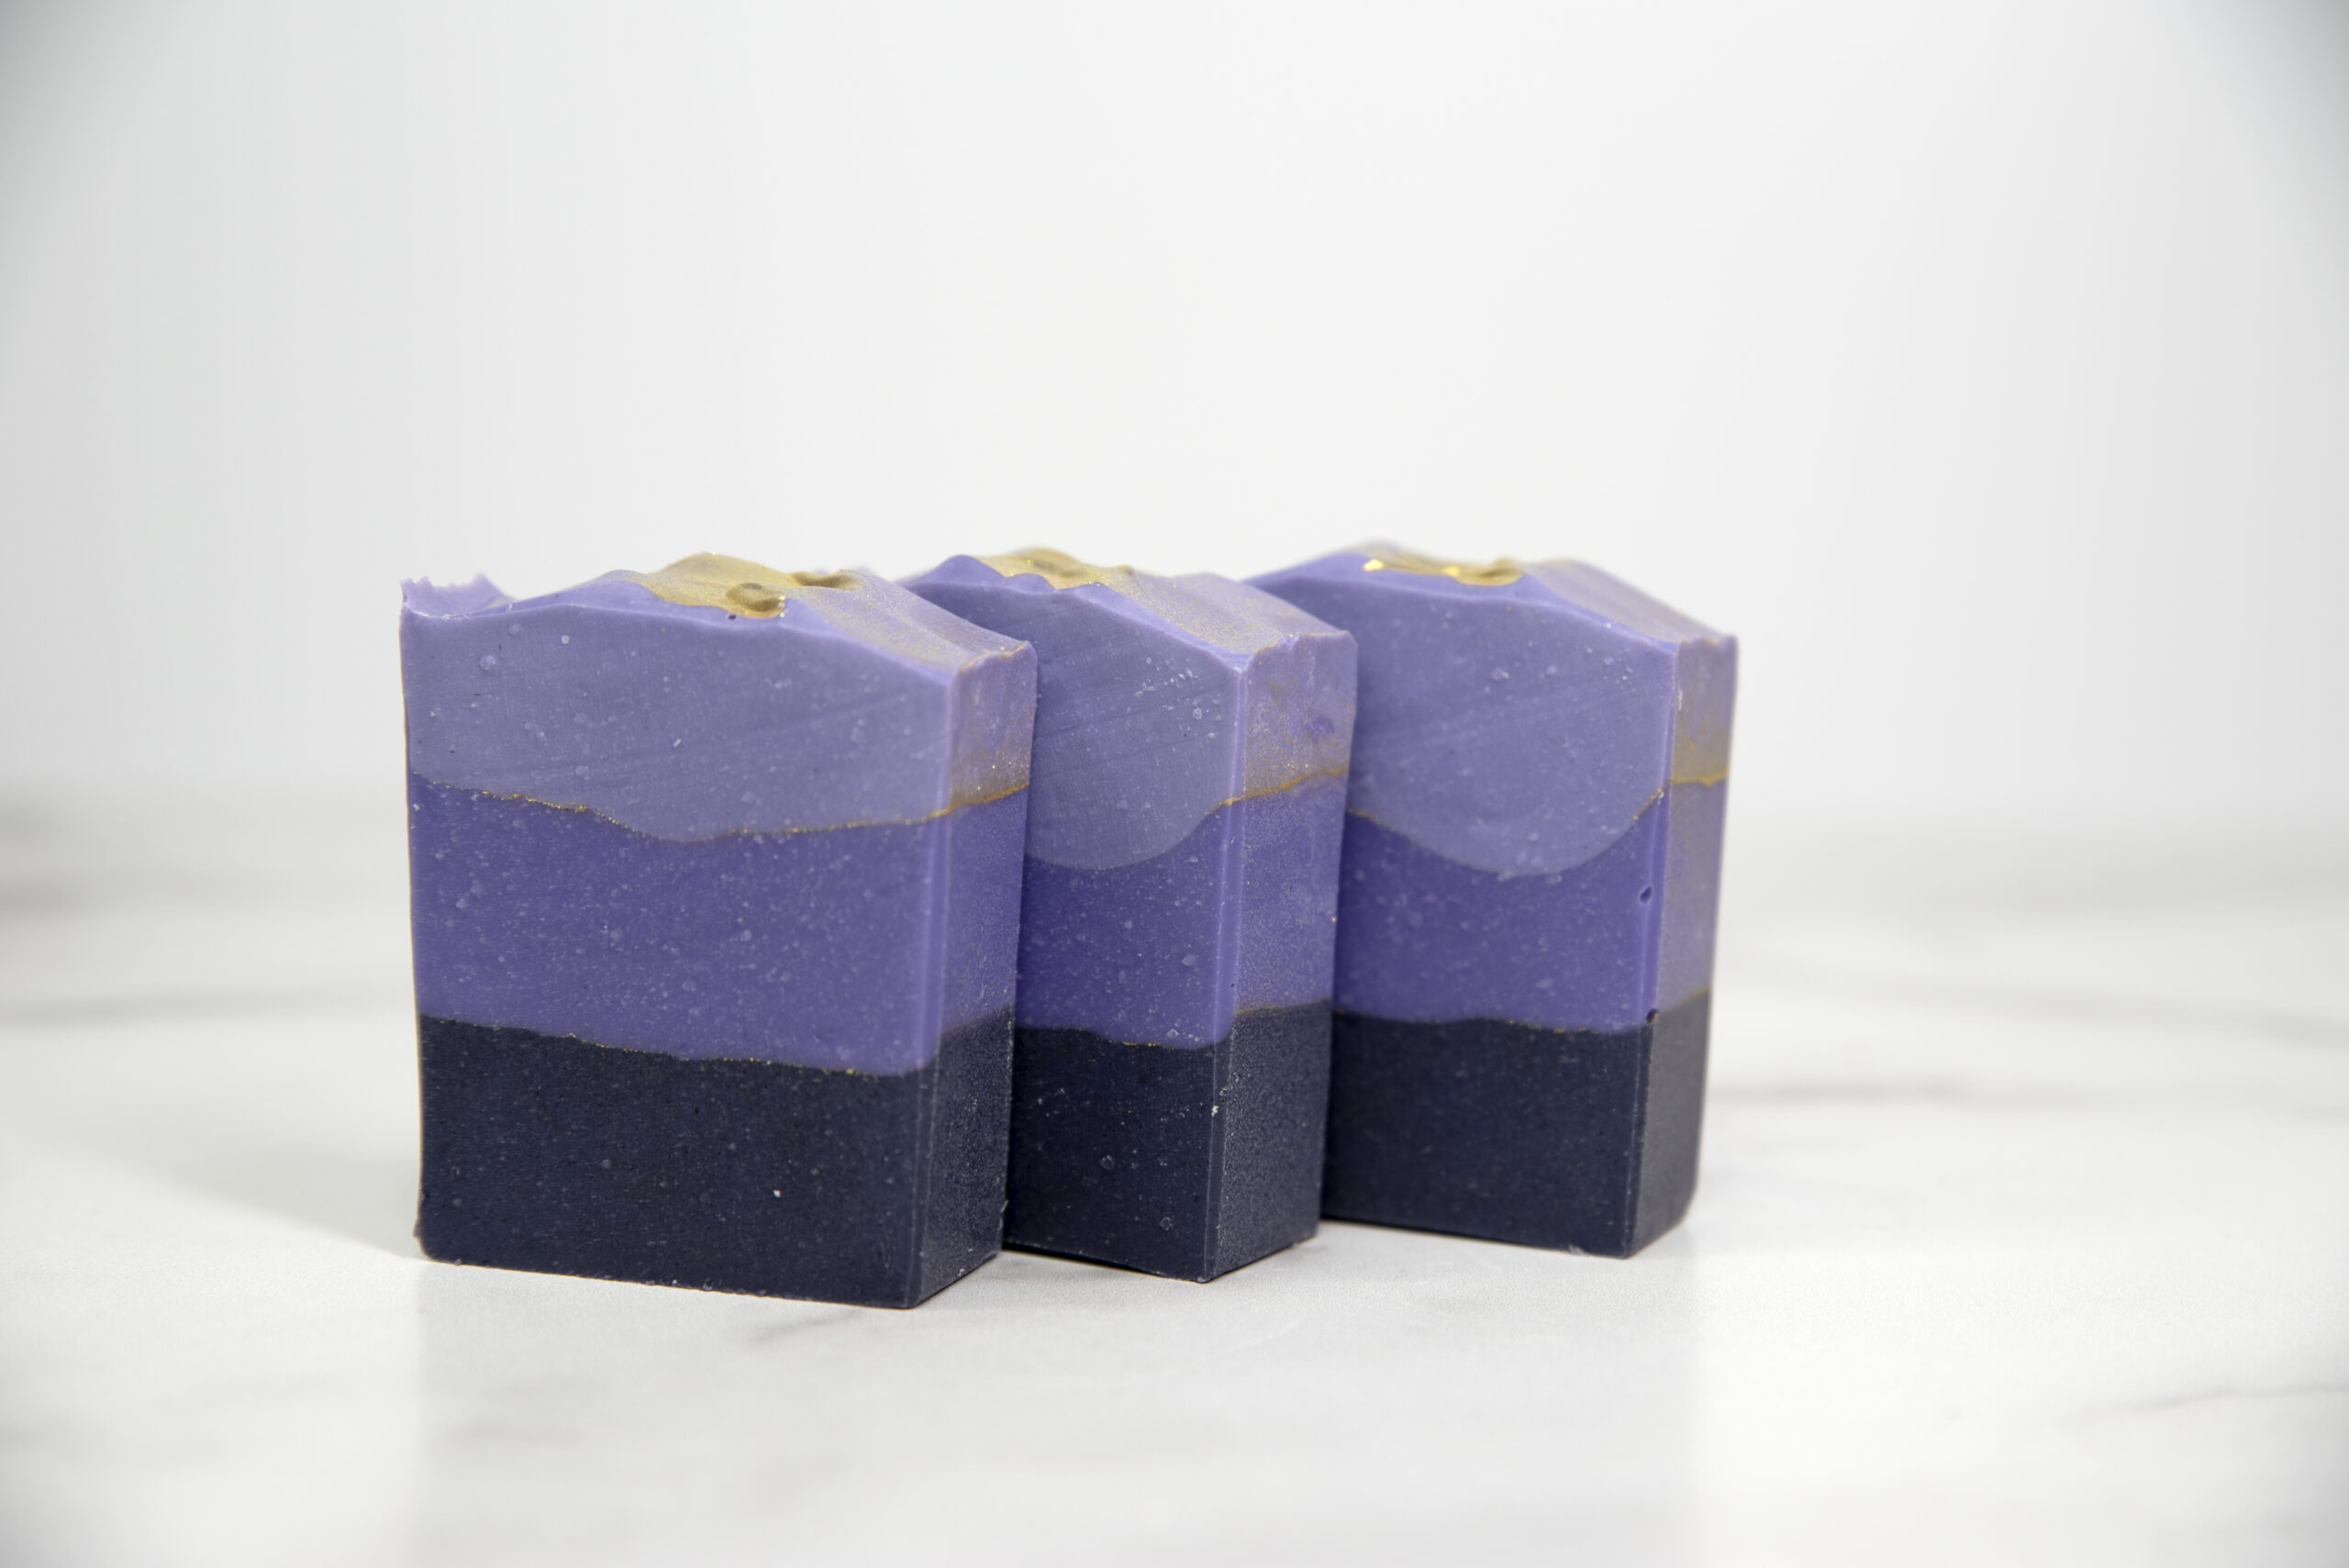
In this tutorial, I’m going to show you how I create layers with a dusting of gold in between them. I’ll also show you how to get a dramatic dusting on top your loaf of soap using a powder sprayer.
(Disclosure: Some of the links below are affiliate links, meaning, at no additional cost to you, I will earn a commission if you click through and make a purchase.)
Layers and Gold Lines Cold Process Soap Recipe
I used a 12″ Silicone Loaf Mold from Nurture!
Basic Body Bar – More Moisture from Lovin Soap Studio Recipe eBook (Grab your copy for 50 cold process soap recipes + 64 essential oils blends!)
Base Oils
- Coconut Oil (76 degree) – 270 grams (30%)
- Shea Butter – 90 grams (10%)
- Olive Oil – 342 grams (38%)
- Avocado Oil – 72 grams (8%)
- Rice Bran Oil – 126 grams (14%)
Lye Solution
- Sodium Hydroxide – 126 grams (5% superfat)
- Water – 252 grams (1:2, lye:water ratio)
Scent
Use your favorite slow-moving fragrance or essential oil blend. I simply used a blend of lavender and litsea essential oils. If you’re looking for a good place to get essential oils, I HIGHLY recommend Appalachian Valley Natural Products. I love their products and their shipping is super fast!
- Lavender Essential Oil – 15 grams
- Litsea Essential Oil – 15 grams
Colors
- Pow! Pow! Purple (Mad Micas)
- Winter White Mica (Nurture)
- Charcoal
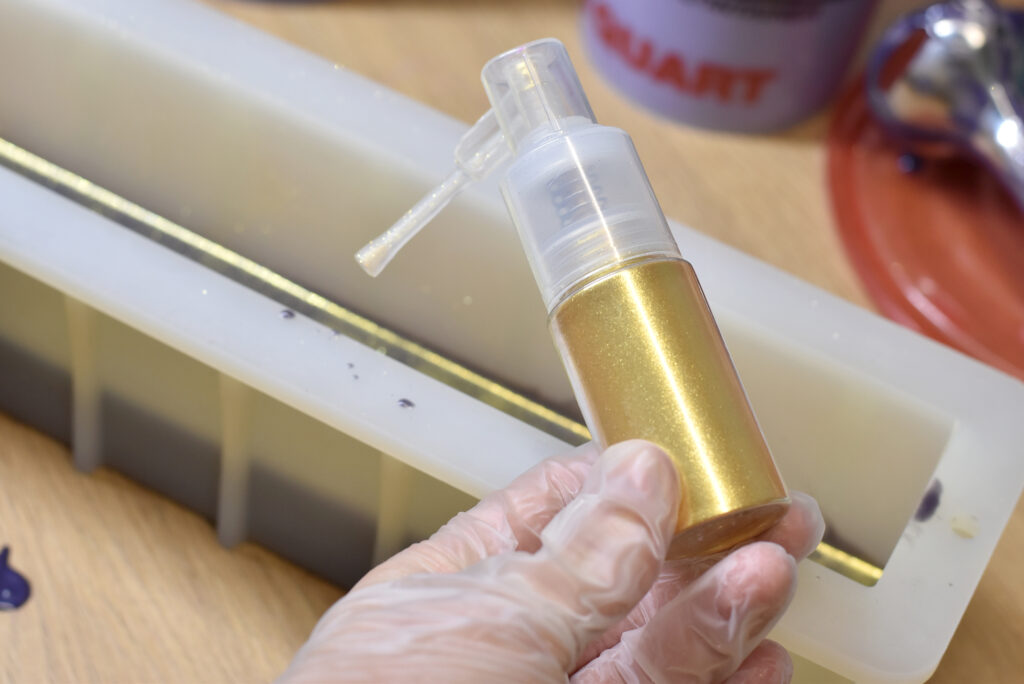
- Golden Buddha (Mad Micas) in a glitter sprayer
Let’s make soap! If you are new to soapmaking, be sure to download our free guide, How to Make Cold Process Soap! Gear up in your gloves and your safety glasses.
Step 1: Create a lye solution. Weigh the water and lye into two separate containers. Slowly pour the sodium hydroxide into the water while stirring. Stir until completely dissolved and set aside to cool.
Step 2: Prepare the base oils. First, weigh any solid oils and butters into a container and melt. You can melt using the microwave or low heat on a burner. Next, weigh each liquid oil into the melted oils.
Step 3: Add purple color to your base oils.
Step 4: Weigh your slow-moving essential oil or fragrance oil into a glass or stainless steel container and add to your base oil.
Step 5: Prepare your mold. If you need to line your mold, line it.
Step 6: Check the temperatures. You should now have a container containing liquid base oils and a container containing lye solution. Take the temperatures using an infra-red temperature gun. Be sure to stir each mixture before taking the temp. You want your temperatures to be between 80-100 degrees F.
Step 7: Once you have reached desired temperatures, pour the lye solution into the oil mixture and mix to emulsion.
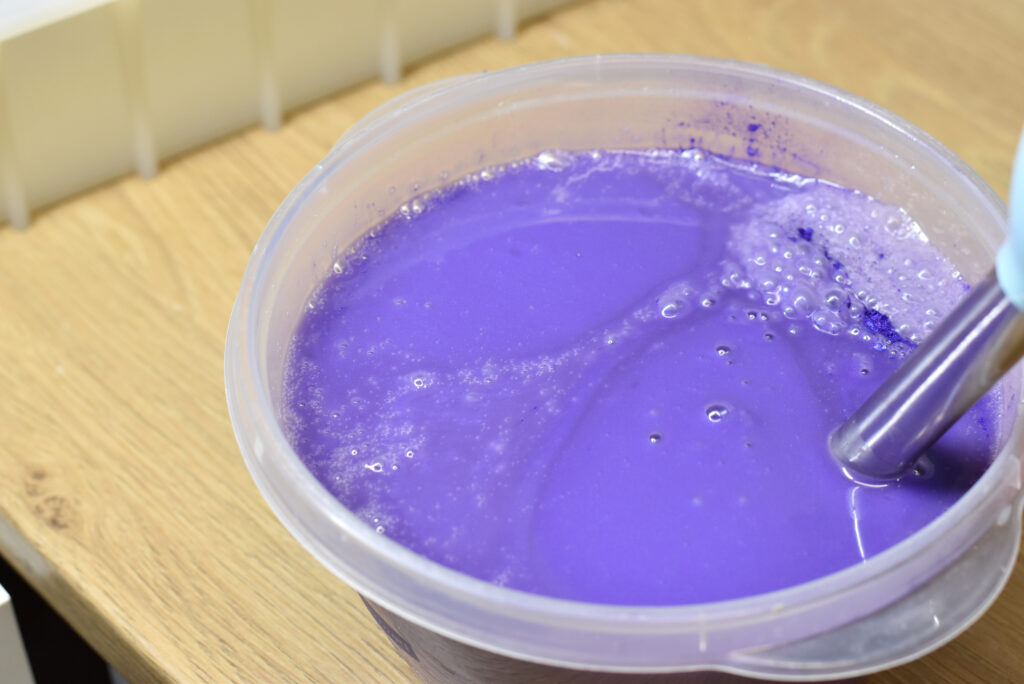
Step 8: Once emulsified, divide your soap to color. I wanted three equal layers, so divide my soap into three containers.
Step 9: Add charcoal (or black) to one and white to another and mix.
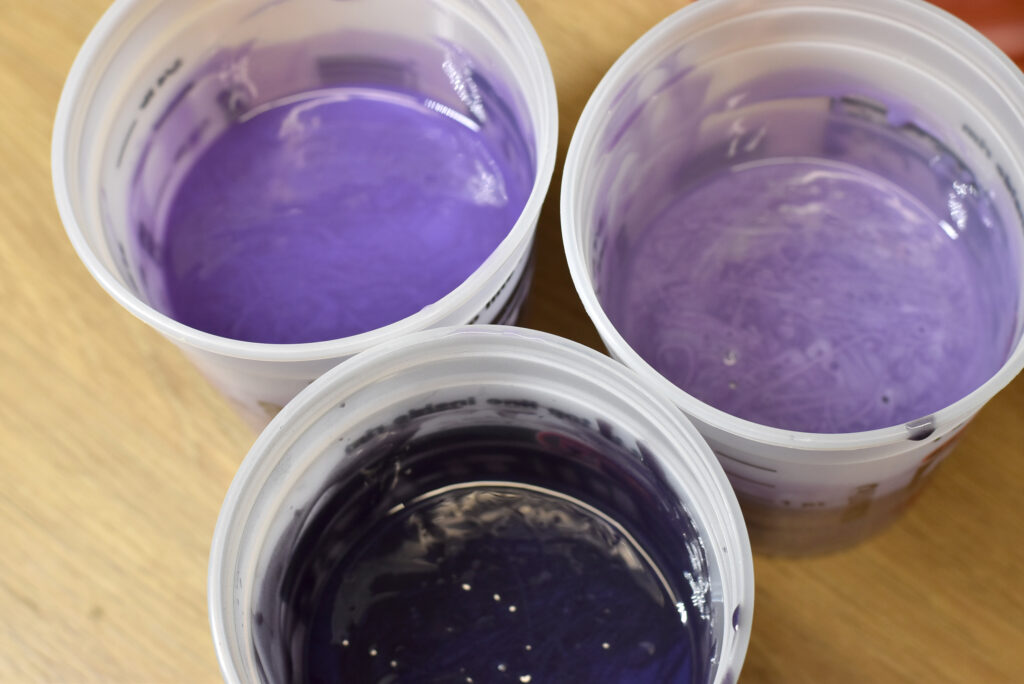
Step 10: Stick blend your first layer (I chose the darkest) to thick trace and glop into mold. Flatten as best you can.
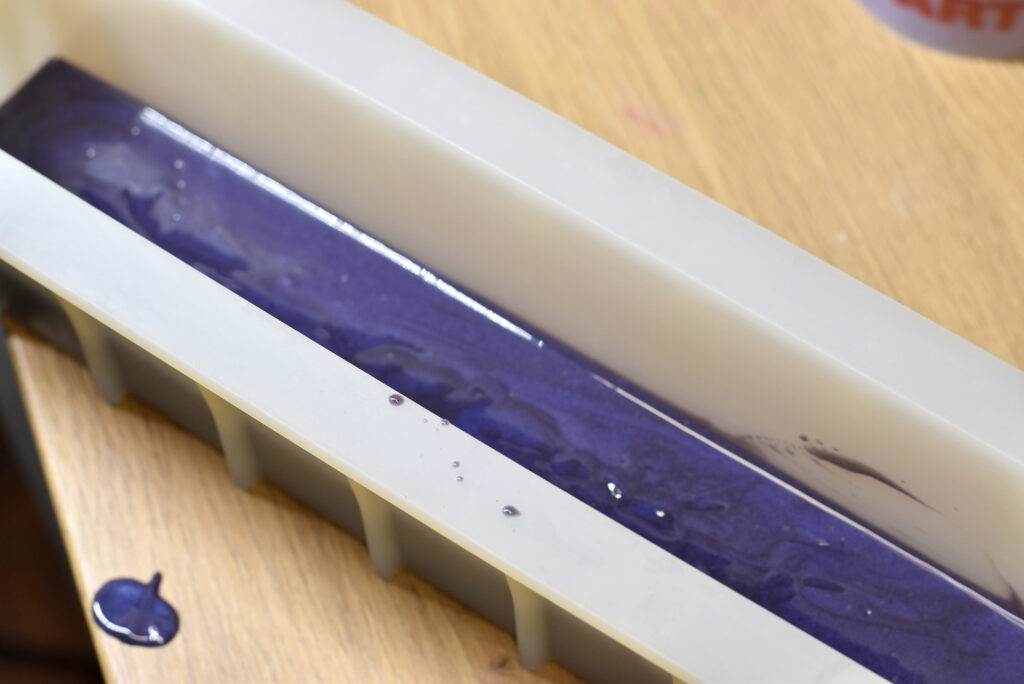
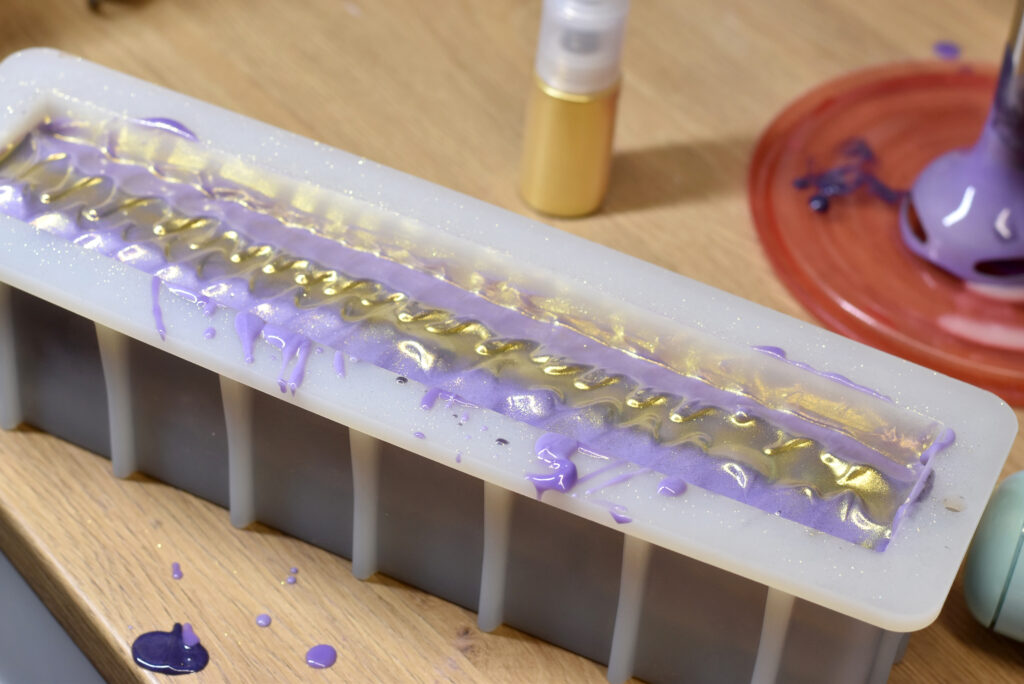
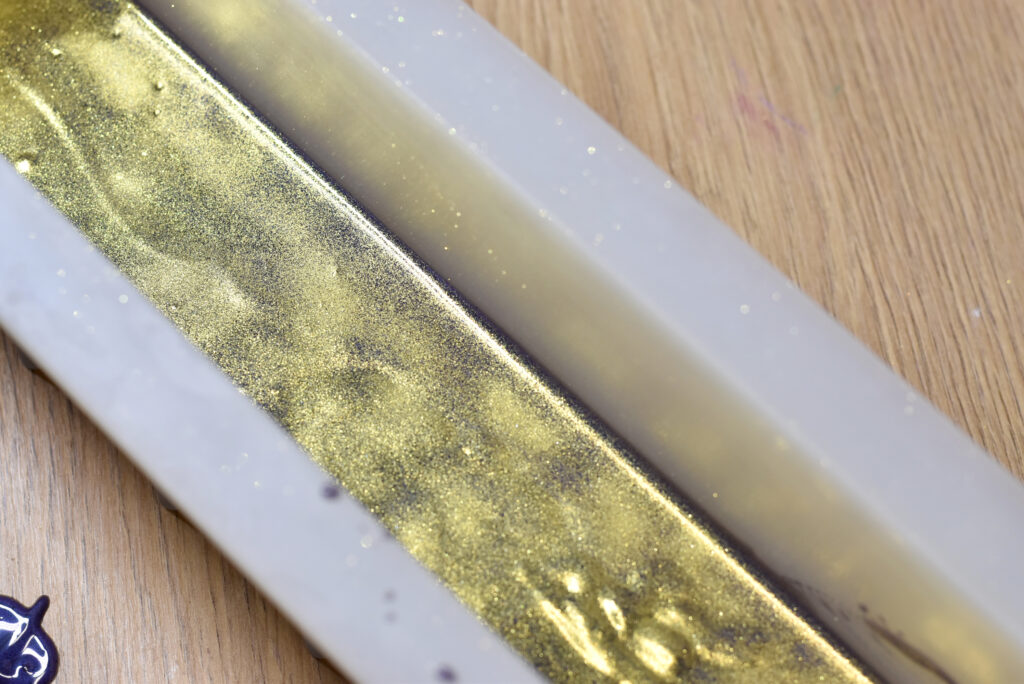
Step 11: Using the glitter sprayer, spray the layer with gold mica…just a thin coating or your layers might break apart.
Notice how I don’t have a solid layer of gold? You can see some of the bottom layer through the gold. Don’t spray the gold on to thick or your layers might break apart.
Step 12: Repeat for the second and third layer. Test the previous layer by spooning a bit of soap onto to make sure it is firm enough to hold the new layer.

Step 13: Spray the top with gold mica. I simply did a stripe down the center.
Step 14: Allow your soap to saponify and harden for at least 24 hours. After 24 hours, you can unmold and cut. Cure your soap for 4-6 weeks.
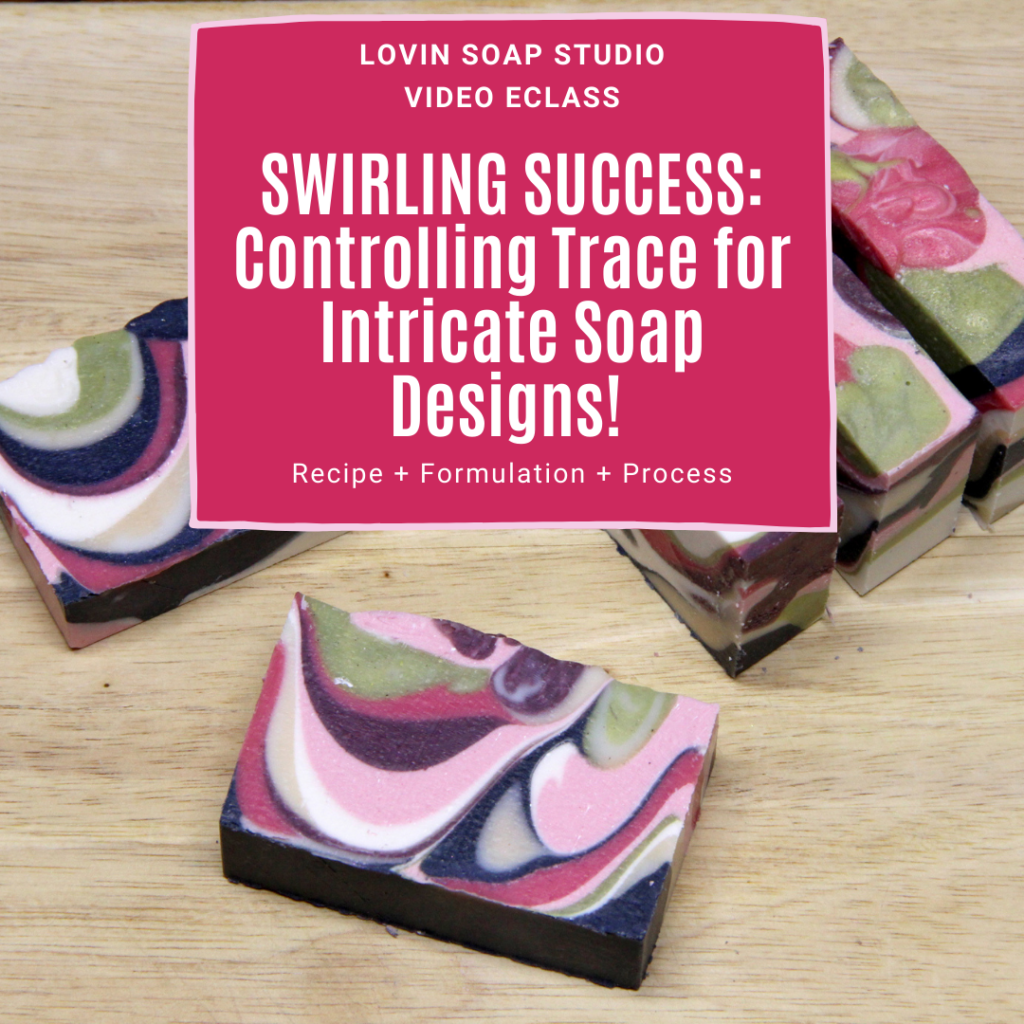
Grab our new eCourse, Swirling Success!
Learn to control trace, so it doesn’t control you!
This detailed video training explores the difference between emulsion and trace, so you know when to stop mixing your soap, allowing enough time to color and execute intricate designs. You’ll leave the eClass with a greater understanding of how water/liquid, temperatures, base oils, fragrance oils, essential oils and additives all affect the movement of your soap to trace.


Great you are
The bars look and feel wonderful (I used a different recipe for this design but I’ve since used the included recipe and it has become my go to recipe, it feels wonderfully conditioning and produces great bubbles. I’ve gotten lots of positive feedback from friends and family on it). The only issue I had was that the mica lines ended up a little too light when I used the powder sprayer, but they are still somewhat visible in bright light and provide a more subtle sparkle. I used the “Persephone’s Kiss” fragrance oil in mine, which has notes like blackberry, melon, violet leaf, lavender and jasmine, and it worked perfectly with the design. Thanks again for this recipe, I love that I have more palm free recipes that I can use, and thanks to you I have almost completely moved away from recipes that contain palm oil (my only remaining recipe is that one I use to make my soap cupcakes, since I’m not sure I could get the same peaks without palm).
Really pretty! I always have a hard time making layers, they are never even at the end.
I love the design! Would this soap feel drying due to the high percentage of coconut oil, or do the other oils help balance that out?
I do use a higher percentage of coconut oil than some, but yes…I also use a higher percentage of olive oil, rice bran and avocado, which balance it out. 🙂
Hi Amanda, did you tell these and does the gel process have any effect on the mica in the layers? Thanks 🙂
I am korean
I don’t speak Englis
Translation program…
Thank you, Amanda
Rice bran oil isn’t easily available where I am. What oils would you recommend as a replacement?
I love purple, too. You got taste! Lol
These are just gorgeous! I can’t wait to make this one, too! Thank you, Amanda -you are the best teacher.