

Nobody likes a partial gel in soap…well…I don’t. Especially depending on whether I’m using natural colorants, such as spices, clays, and herb powders. Natural colorants always look a bit brighter when the soap has gone through gel phase.
Gel phase is the heating phase of saponification. To learn more about it – check out this blog post.
So, today’s question is… Can you fix a partial gel after you’ve cut your soap?
And the answer is… YES! Yes, you can!
Whew.
Here’s how I do it! I first saw people posting this a few years ago and I wouldn’t have believed it if I hadn’t seen it. I don’t know why I never thought of fixing a partial gel after the cut… But it’s super easy!
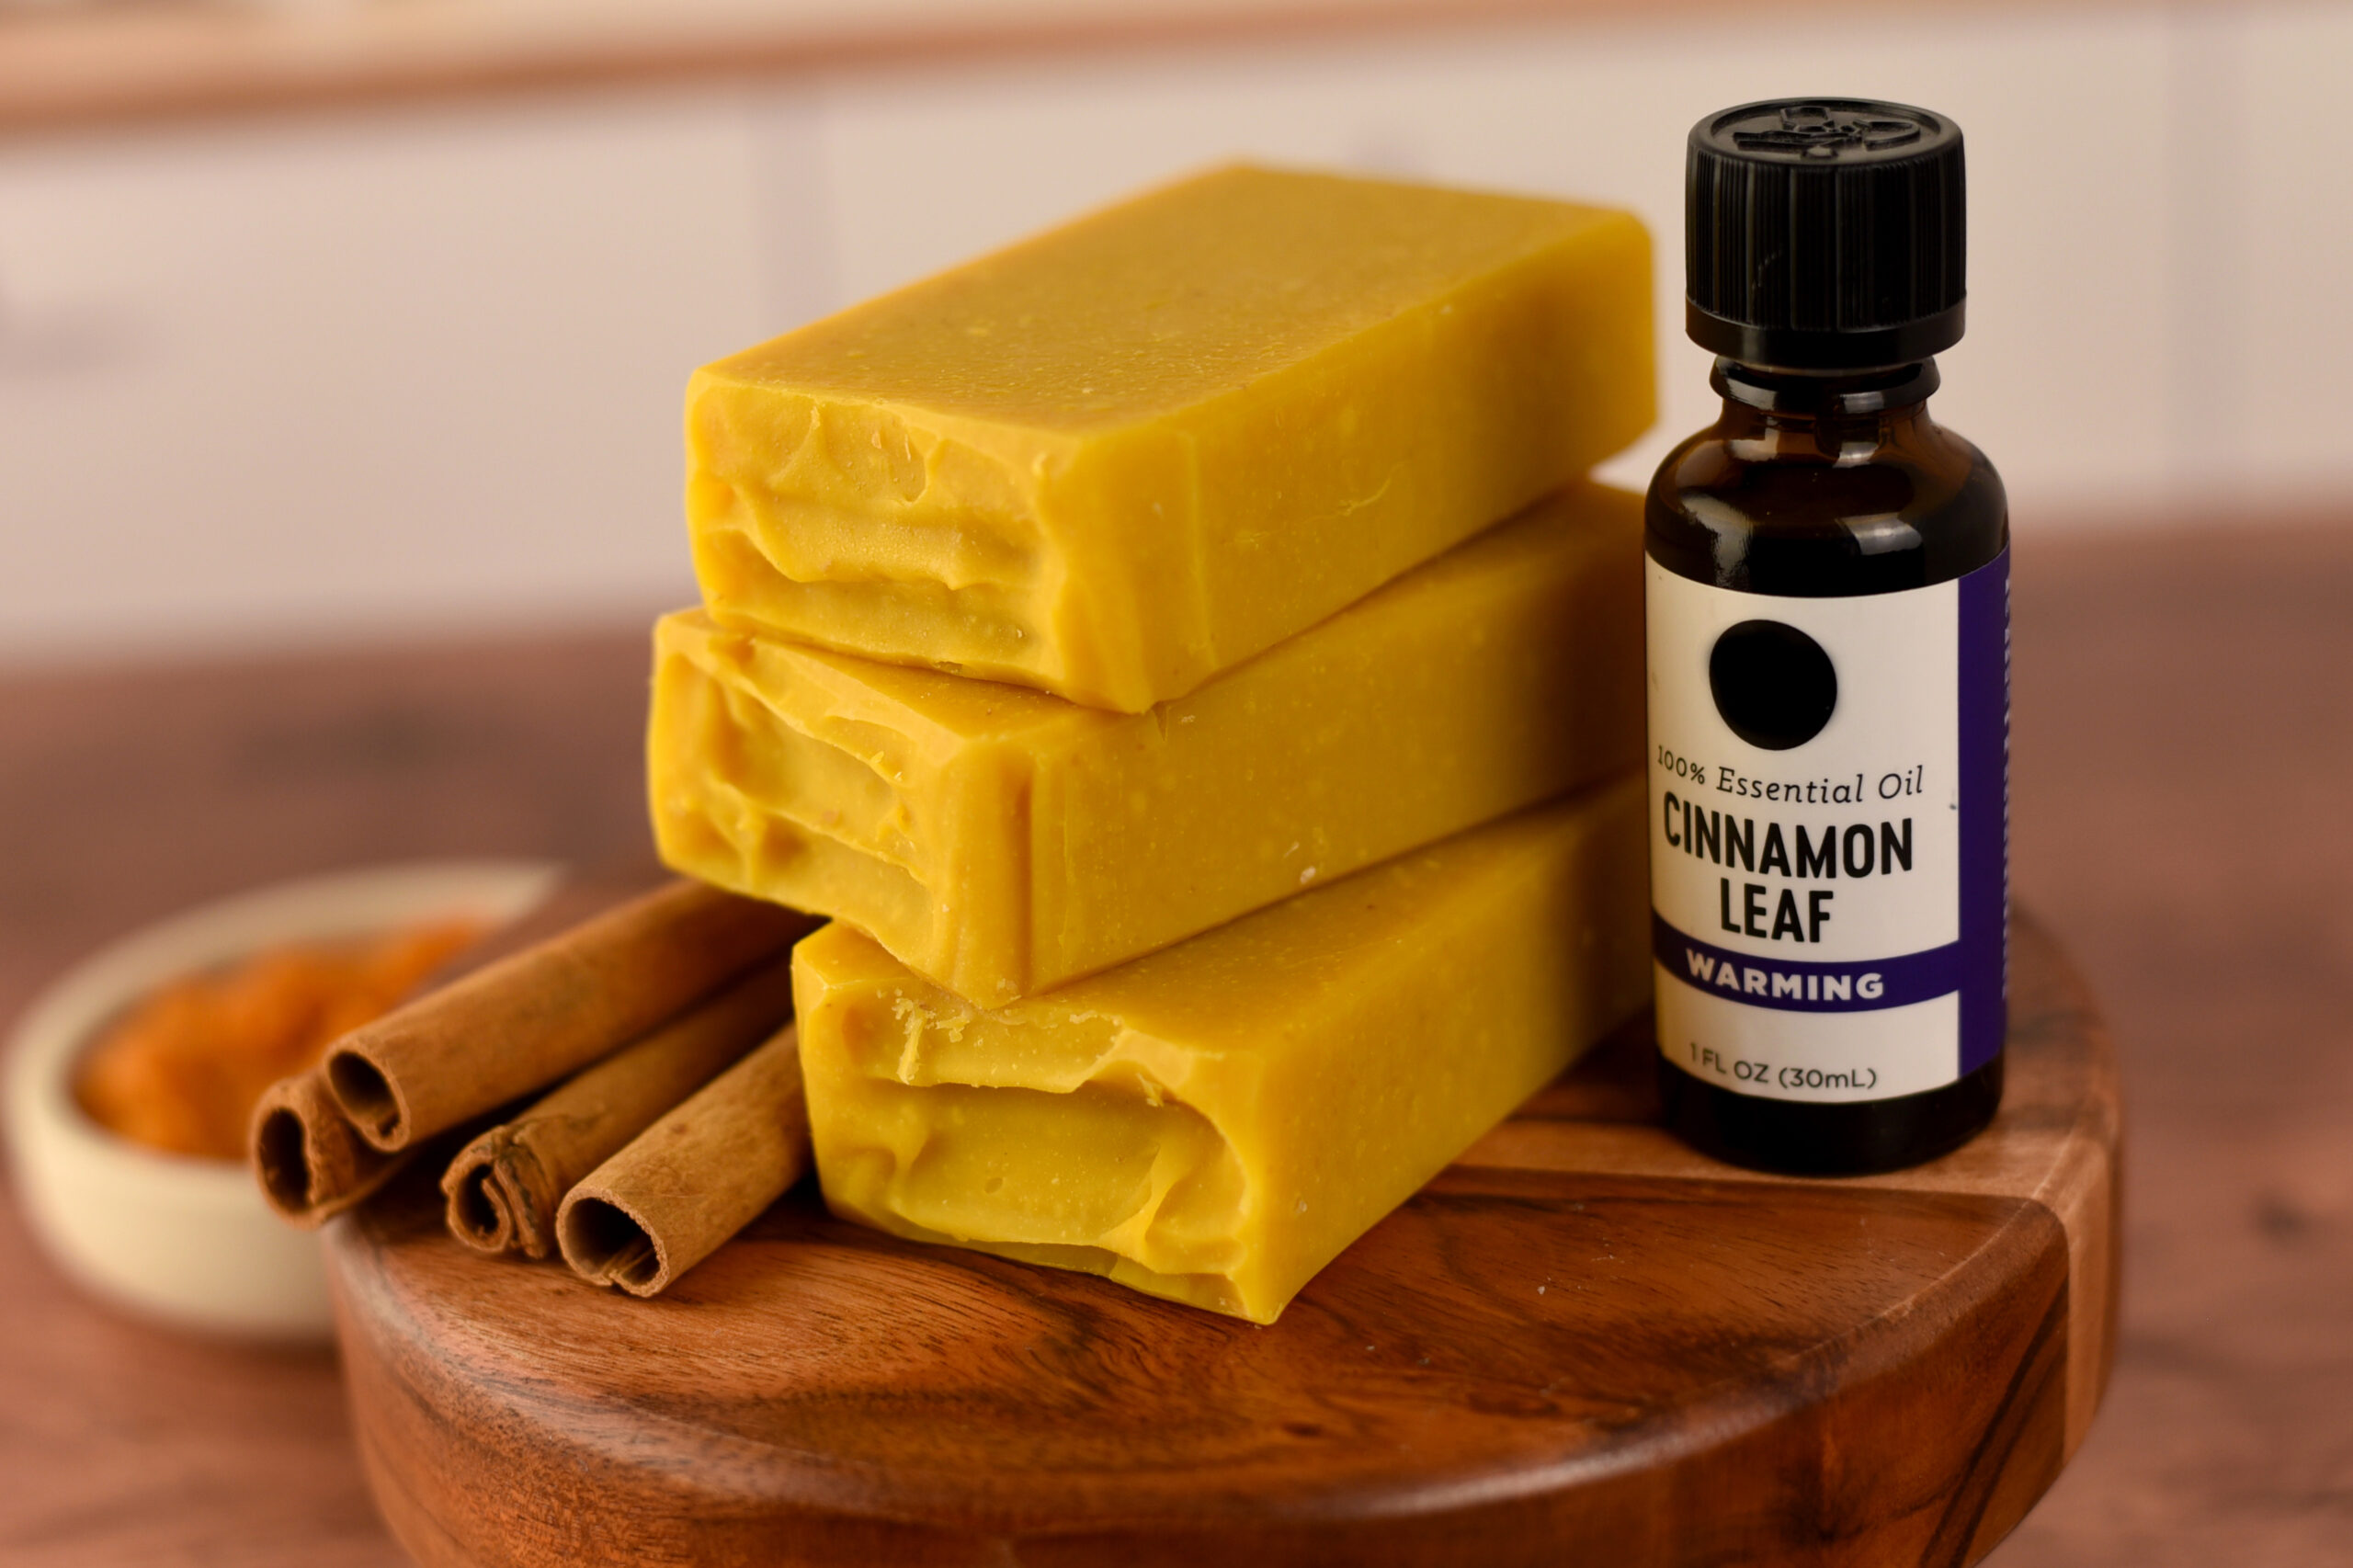
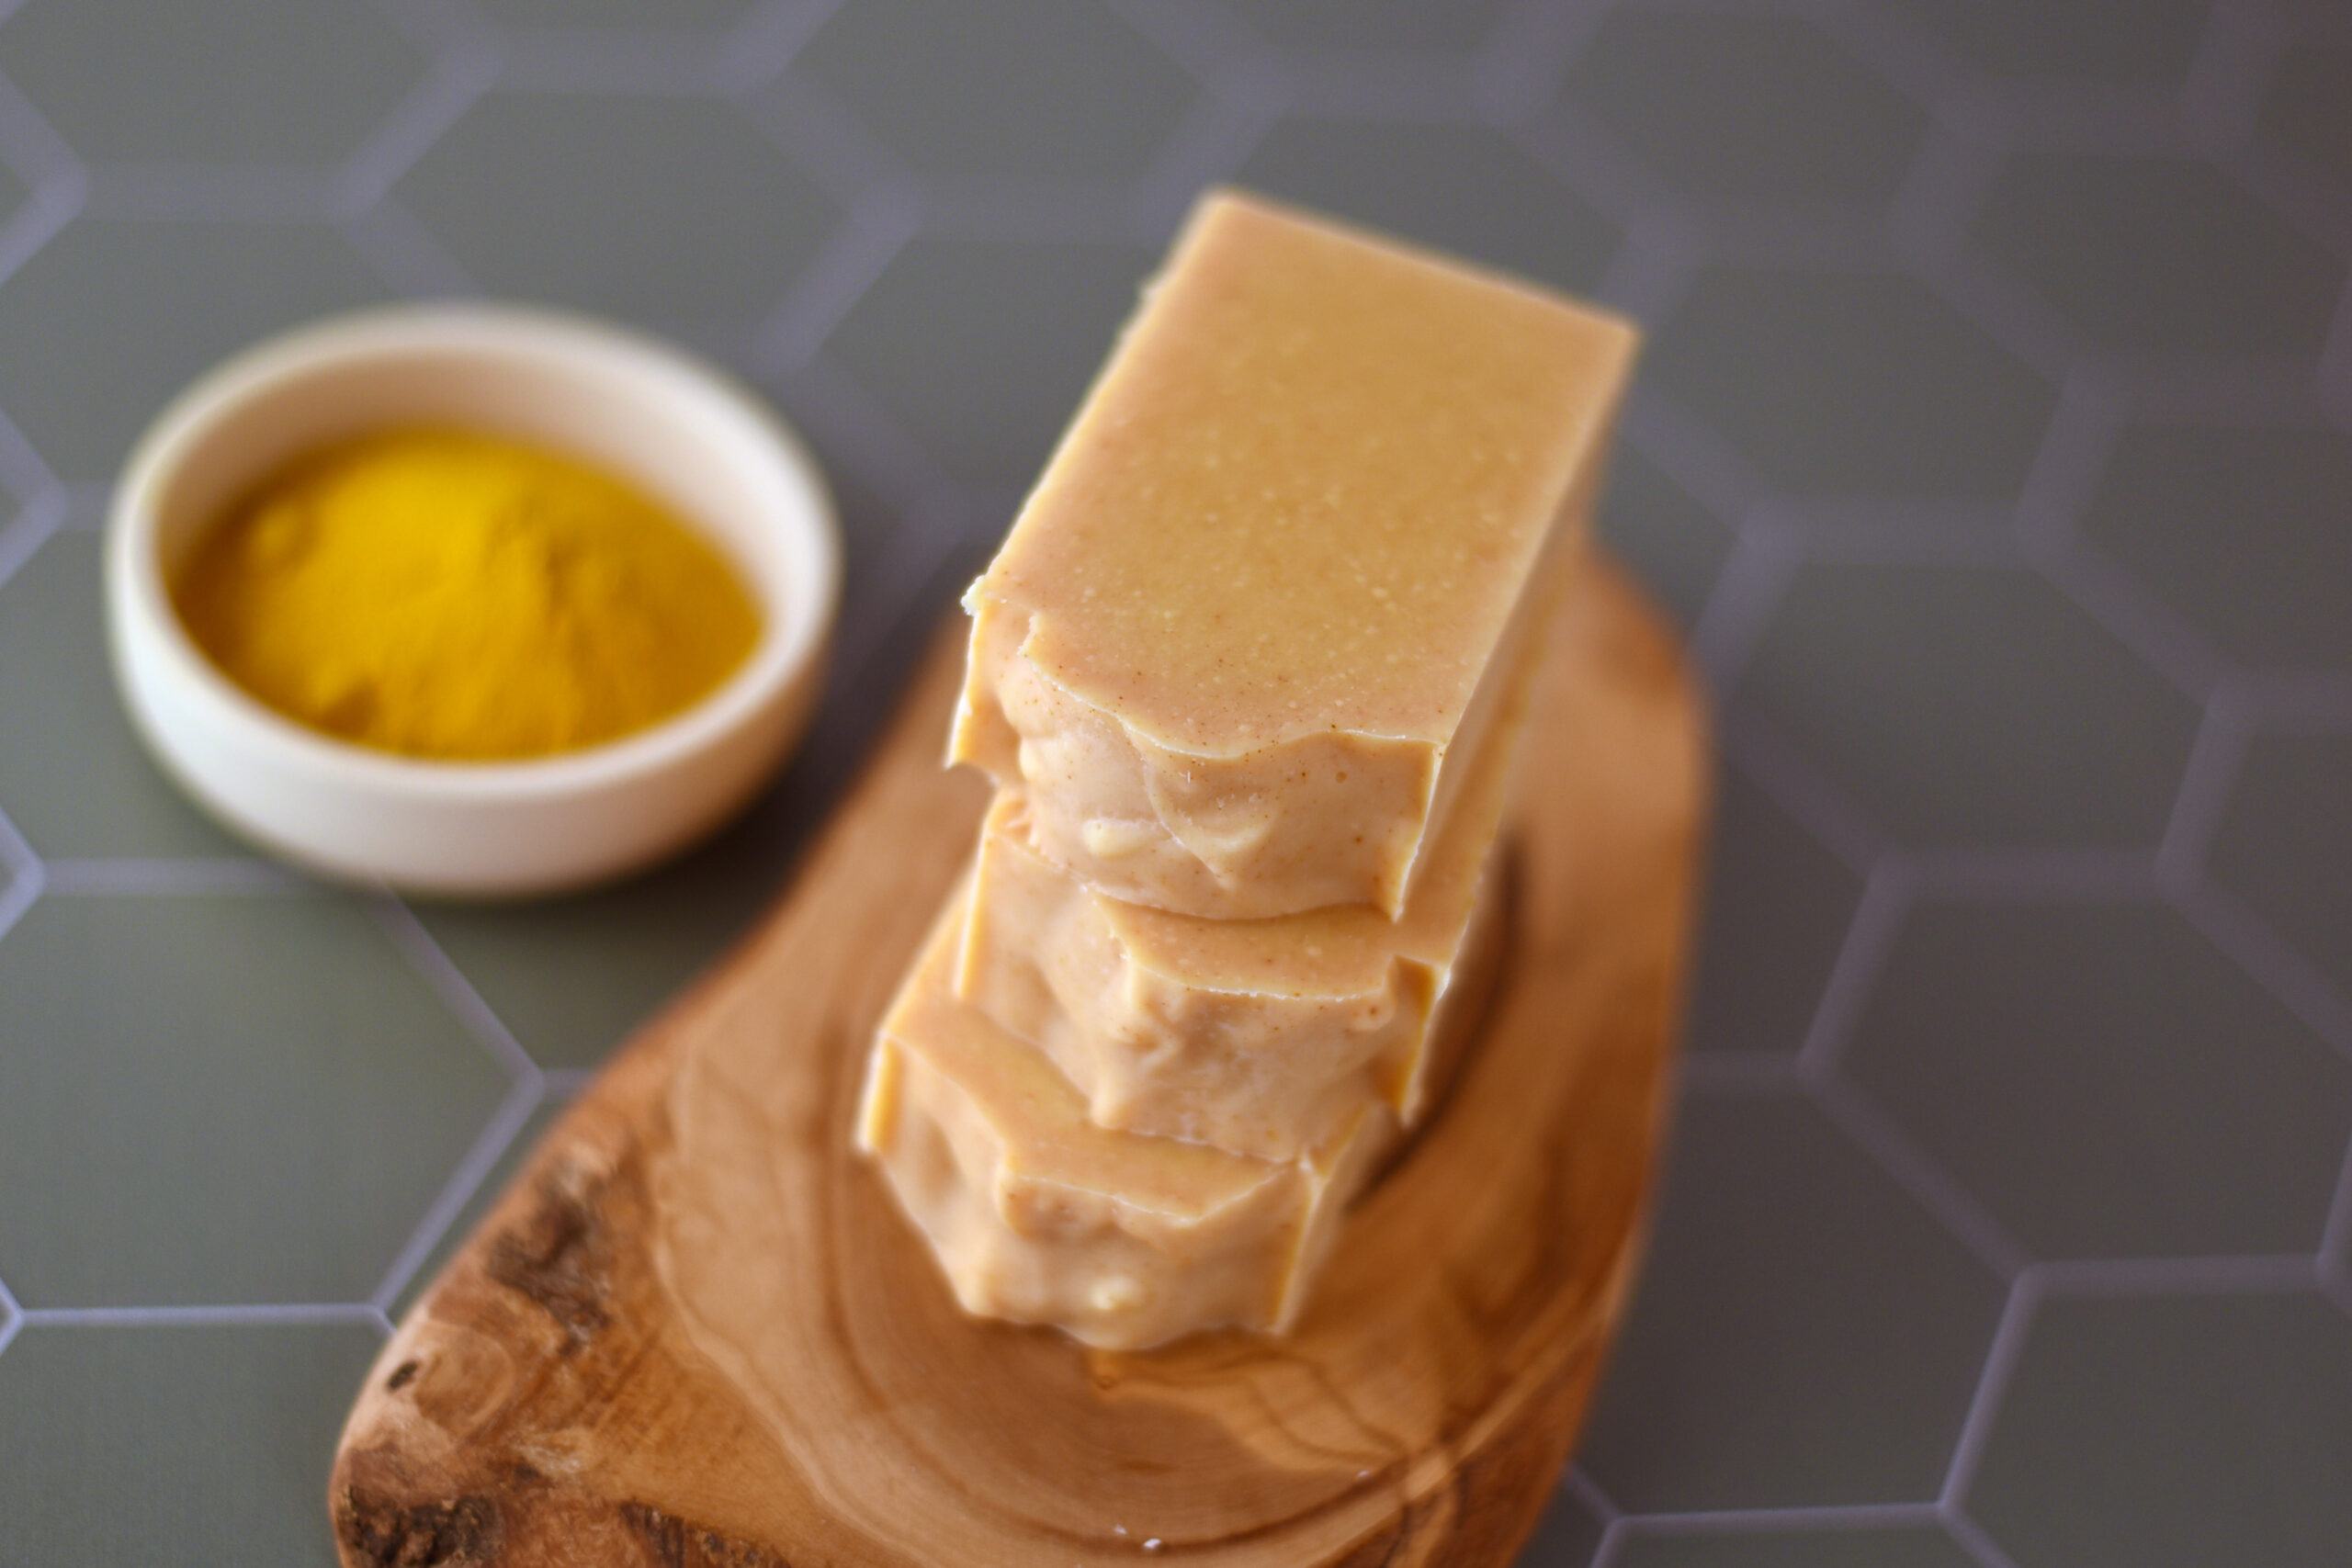
Here’s a beautiful soap I made using an infusion of rhubarb root powder. You can see the very inside of the soap is a beautiful pink color! Heat definitely makes the color pop when using rhubarb.

I was so bummed when I cut it and noticed the partial gel. I could also tell that the color wasn’t quite as vibrant as it could be. Then I remembered the gelling trick I’d seen a few years back and decided to try it!
You want to turn your oven on it’s lowest setting. My lowest setting is about 170 F.
I lined a baking sheet with wax paper and lined up my soap. A silicone mat would be great for this purpose as well.

As soon as I got my soap into the oven, I turned it off and just let them be until I could tell they had gelled.
You might have to play around with leaving the oven on and turning it off to make sure everything gels. I got lucky with turning it off right away and just letting it sit and cool in the oven. There was enough heat to gel the soap.
And here’s the result! (Left – ungelled and right – gelled) Look at that color pop now!

So, if you have a soap that needs to gel but you’ve already cut it…try gelling in the oven!
Happy Soaping!
Amanda

Tried this and my bars melted at 170 turned off for 1/2 hr
This SAVED my loaf of soap! Thank you so much.
I am so happy I found this article when I did! Thank you so much for sending it! I just made a goat’s milk soap…no TD in it, as requested by customer. Even after putting it in the fridge, it still gelled partially. I wanted the soap to be as white as possible, but that’s life! I hope the goat’s milk won’t overheat, but I’m going to give it a try! Once again, I appreciate your perfect timing!
Many thanks!
Lisa