I’ve been on a chai kick lately. I managed to wean myself off of Starbucks Peppermint Mochas only to discover the greatness of their Chai Lattes. Those things are addicting. So look-y what I ordered to soap!
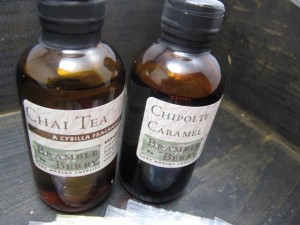
I ordered Bramble Berry’s Chai Tea Cybilla. It smells wonderful! I was going to blend it with some coffee but I looked through my FO stash and couldn’t find any. O’well.
I found these little white cups at the grocery store awhile ago and knew that I wanted them for my Chai soap.
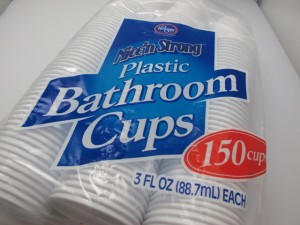
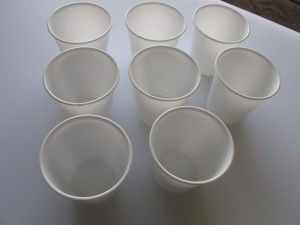
This was going to be a test batch so I came up with a small recipe. When you’re doing a recipe this size be sure to measure in grams and be as exact as you can.
The recipe:
Palm oil – 90 g
Coconut oil – 90 g
Olive oil – 90 g
Cocoa butter – 30 g
Castor oil – 30 g
Lye – 46 g
Water – 100 g
*A note on this recipe + BB’s Chai Tea. I knew the fragrance oil would probably accelerate a bit because it does contain spice. I didn’t even use a stick blender; I just mixed with a spoon and it thickened quickly and also got very hot. Also note that my recipe is a pretty quick tracing recipe because of the palm and the cocoa butter. So if you want to slow things down when using fragrance oils like this…use a recipe that contains higher amounts of olive. If you’re okay with lard, lard is slower to trace than palm so works great also. Keep your temps down as soaping cooler tends to slow trace. Adding the fragrance oil to your melted oils helps also if you have a fast moving FO.*
For this soap, I’m going to make this recipe twice. Once for the bottoms and again for the tops. So make your soap as usual and bring to trace. Pour it into the individual cups.
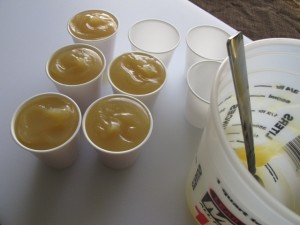
That was easy enough! Now we’re going to make the tops. Since these are hot drinks I wanted a layer of cream on top that molded to the top instead of a whipped top like they put on the cold drinks. If you are wanting a whipped top that forms peaks…then make a whipped soap Nizzy style and that would be perfect. I’m going to make our same recipe and do sort of a partial whipped. I used a cold lye solution but melted the oils like I usually do and let them cool a bit. Since I used cocoa butter I couldn’t let them cool too much or it would start to resolidify. I wanted the topping to be more white so I added some TD dissolved in water.
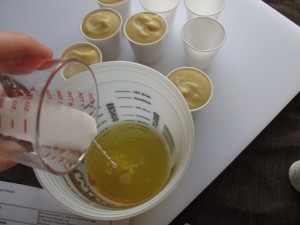
So once you have your lye solution cold (put it covered and labeled in the fridge) pour your lye into the melted oils. I wanted to whip some air into this mixture so I used a beater instead of my stick blender. I didn’t add any fragrance oil because I wanted it to stay nice and white.
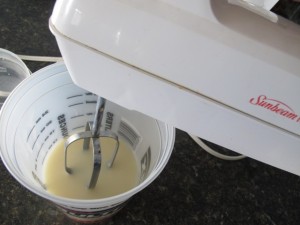
And now you can see after I’ve whipped it for a bit it gets more white in color.
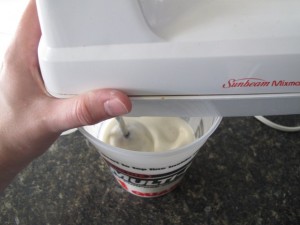
I beat it for about 10 minutes. Longer than I thought it would take! You want to look for it to become whiter and a bit frothy/slightly whipped. It’s not going to whip up like whipped soap Nizzy style because we started with melted oils instead of room temp oils. My goal is to pour it over the tops of the drink bottoms and have it spread on its own. So you don’t want something that you have to spread with a knife. We’re ready to pour the tops on.
I scraped off the tops of the cups to make them more even. I would actually recommend leaving a bit more head room in your drinks than I did so you have room for the cream topping. I’ll add more for the next batch- lesson learned.
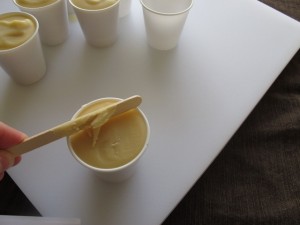
Gently spoon the topping on. If you do it slow enough and a bit at a time it will form a nice dome without running over the sides.
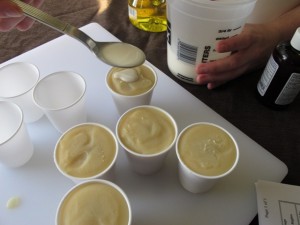
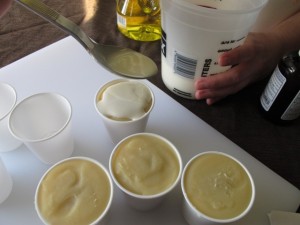
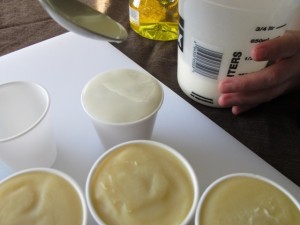
Depending on what drink you’re making you can sprinkle of some topping. I added a bit of cinnamon to these. If I were doing a peppermint mocha I would shave a bit of brown soap to look like chocolate shavings on top.
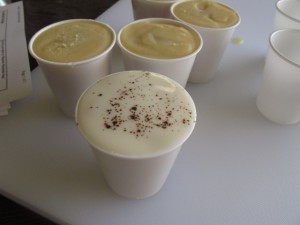
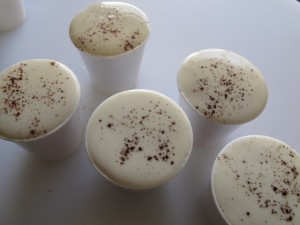
These cups are super easy to unmold. Let them sit like this for about 24 hours, pop in the freezer for 10 minutes or so and gently push from the bottom while sqeezing the sides gently. They pop right out.
On Bramble Berry’s website they do state that this fragrance oil discolors to brown. This is exactly what I want so I didn’t add any colorant. If I wanted a darker brown I could have added some brown mica or even some cocoa powder.
I’m making some cute little labels for these and tonite I will post some finished pics that show what they look like out of the cup molds and then with labels.
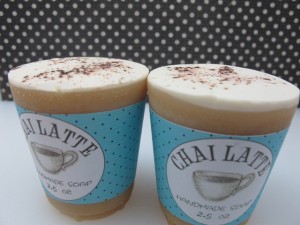
UPDATE: Here are the chai soaps labeled. You can see they turned the perfect chai color (if you added milk). You could either leave them naked, put a label around the naked soap or my favorite…put them back in cups and put the label on the cups. They ended up being about 3.5 oz (ignore what the label says).
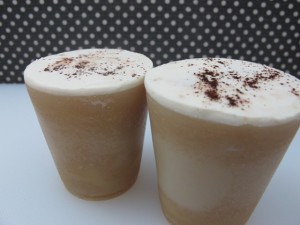
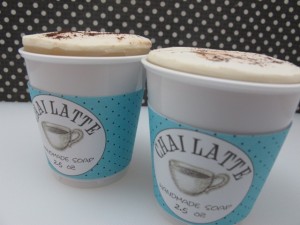
Download the label template here.
Happy soaping!
Amanda


Excited to make this. Is the template still available for the label as the link is not working?
Great idea, i made this yesterday and i put the cups in the freezer for ten minutes, had to cut the plastic cups to release soap, very messy and disappointing. Should the cups be sprayed with oil to help release the soap?
I am having trouble with the template? It downloaded to my adobe reader, now I just dont know what to do to edit and print this? Anyone? Thanks Cassy
Hi Casey,
You’ll need something that can edit a pdf like adobe acrobat, photoshop or illustrator. You might be able to use publisher as well.
Amanda
How sweet is this?
Thank you for posting:)
Gerti
Just want you to know that I made these (though coffee scented) this weekend. They’re so cute! I picked the wrong time to try soaping cooler, though, because since these cups don’t get insulated, I should probably have soaped warmer and brought to medium trace (rather than light). They’re still fine, but they leaked some oils during the first 24 hours. They’re really cute, though – great idea!
Oh yay! I’m so glad they worked for you. 🙂
Oh I love them! So cute and I have a ton of those cups upstairs myself! What a great idea and you could do a chocolate variation as well as regular coffee. Brilliant!!!
I’m speechless – you’re a genius! What a great idea! And your finished product (I prefer it put back into the cup) is amazing!
Thank, Patrice 🙂
How ingenious! I never would have thought to do that, and I’m totally stealing, I mean, borrowing your idea for my next tea soap:D
Thanks, Holly! 😉
I sent you an email, Anne-Marie. Thanks!
This is seriously the cutest project! Could we buy some of the soaps for a finished soap photo and then repost the tutorial over at SoapQueen? Love this soooooo much!
You totally amaze me Amanda! This is the cutest idea. I bet many great variations will come from this tutorial. You rock!