This is day four in my 30 day blogging challenge. My goal this month is to post one recipe every day. You can see day one here, day two here and day three here. These recipes feature natural colorants and additives and are scented using natural essential oil blends.
Because this soap gets hard, its best done in individual cavity molds. So let’s get started!
Featured Ingredients:
Charcoal – Charcoal is drawing and helps to remove oil and sebum from your pours.
Sea Salt – Sea salt is purifying, drawing and acts as an astringent.
Tea Tree Essential Oil – Tea tree is anti-bacterial and anti-microbial making it a great zit-busting oil to use in a facial bar. Tea tree, teamed up with charcoal, seems to help with acne.
*If you are selling your soap, be sure not to make medical claims. When using facial bars, lather up with a luffa. Allow the soap lather to sit on your face (like a mask) for a bit before washing off. This will allow the ingredients to work their magic.
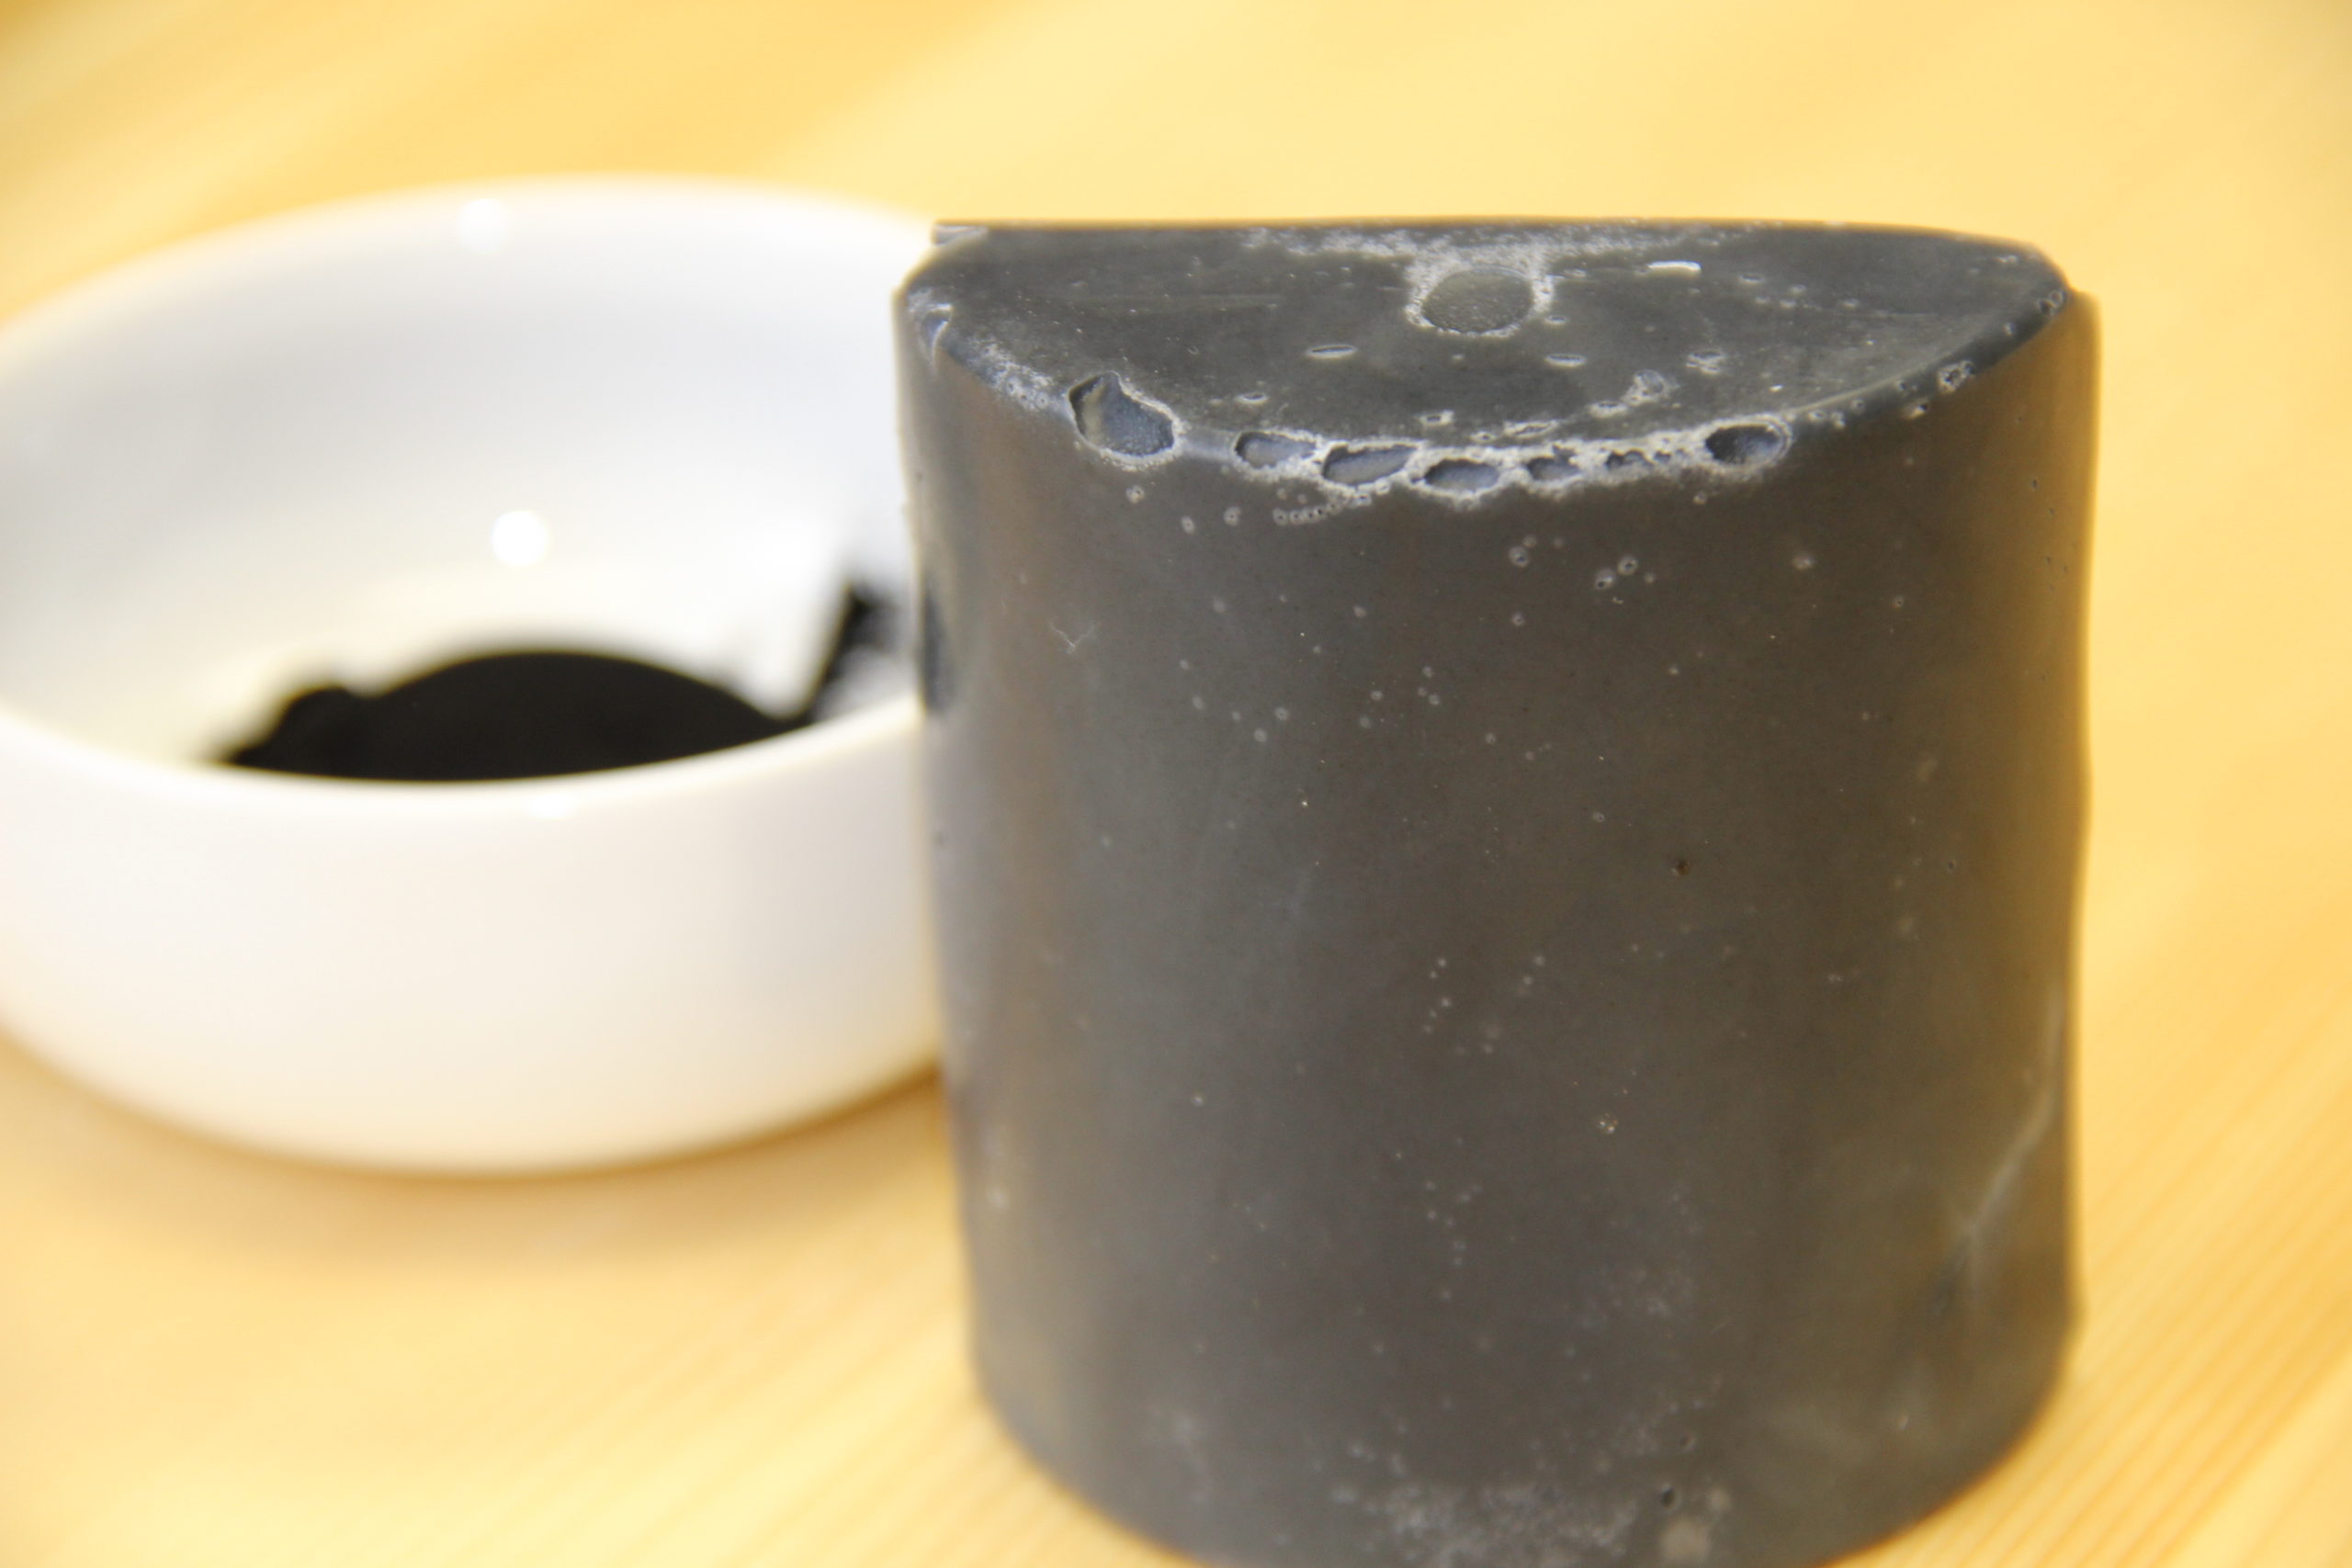
Charcoal and Sea Salt Acne-Busting Face Bar Soap Recipe
Coconut oil – 20 oz.
Olive oil – 10 oz.
Avocado oil – 2 oz.
Lye – 4.7 oz.
Water – 10 oz.
This recipe uses a higher amount of coconut oil to make sure its nice and lathery with the added salt. We used a 10% superfat to leave unsaponified oils in it to combat the drying effects of high coconut oil. Its not a full blown salt bar; you can find recipes for those here as well. I also use more water in this as coconut oil can move fast with a water discount. The lather on this bar is nice and lotion-like. It doesn’t produce super fluffy lather as salt is a lather killer.
Additives:
Charcoal – 1 tablespoon (add to oils)
Fine Sea Salt – 2 tablespoons (add to lye water to dissolve)
Essential Oil Blend:
Lavender Essential Oil – 20 grams
Tea Tree Essential Oil – 15 grams
Peppermint Essential Oil – 15 grams
Rosemary Essential Oil – 10 grams
Basic Soapmaking Process:
New to soapmaking? Visit our basic tutorial here.
Step 1 – Wearing safety gear, weigh out the lye and water into two separate containers.
Step 2 – Pour the lye into the water while stirring. Place in a safe place and let cool while you prepare the oils.
Step 3 – Weigh out the hard oils/butters and melt.
Step 4 – Weigh the liquid oils into the melted oils/butters. This helps cool the oils down.
Step 5 – Add essential oils and additives to the melted oils. Stick-blend to get rid of clumps if any occur.
Step 6 – Once both the lye solution and oils have cooled to under 100° F, add the lye solution to the oils and mix to trace. Be sure to wear goggles and gloves!
Step 7 – Pour the soap into your mold.
Step 8 – Unmold, cut and cure your soap for at least four weeks.
Happy Soaping!
Amanda Gail
pssssst – Do you want more cold process soap recipes featuring natural additives and essential oil blends? Check out Lovin’ Soap Studio Cold Process Soap Recipe Book! This recipe book contains 50 recipes for cold process soap and 64 essential oil blends. You can get it as a PDF eBook here or a printed book here.
Are you looking for soapmaking, nail polish and other body care product classes in the Kansas City area? Check out our schedule. Our studio is in Downtown Lee’s Summit, MO.


Hi Amanda, could you swap out the water for goat milk in this recipe?
Hi Amanda, thanks for the lovely recipe. I wonder if I can substitute the charcoal with green clay instead? Does it give the same detox effect? Xx
Is there a substitute for the lavender oil that would also have similar benefits? Lavender gives me an instant migraine, so I avoid it at all costs.
It might even become somewhat of a weight if
you contemplate it. I like to drive to Epcot and Disney’s Hollywood Studios, but I find it is more convenient to travel
by bus to the Magic Kingdom and Disney’s Animal Kingdom.
When you call Disney directly, the phone reps are
not permitted to volunteer the fact that a discount may be available.
I don’t know if it’s just me or if perhaps everyone else experiencing problems
with your blog. It appears as though some of the written text
within your posts are running off the screen. Can somebody else please provide feedback and let me
know if this is happening to them too? This may be a problem with my web browser because I’ve
had this happen previously. Many thanks
I see a lot of people saying this soap has crumbled when cutting. I’m about to try this batch but could anyone advise how long to leave it before cutting? One comment says 51-2 hours, any other thoughts?
Hi there, its pleasant article regarding media print, we all be familiar with media
is a enormous source of facts.
Would this recipe work if I exchanged the water for raw goats milk? Would I use 10oz of milk?
Amanda, I made this today and It looked like my salt had dissolved into my lye mixture, but I guess not. When I cut my soap it is “grainy” looking and I can see the granules of salt. Will this affect my soap any? Other than that it looks absolutely lovely and smells divine. I made it at the request of my sister in law because she is battling post-pregnancy acne and really hope she likes it. Hopefully I didn’t mess up too bad ?
Oh it will be fine even if the salt didn’t dissolve all the way. 🙂
My salt didnt not completely dissolve. I strained my lye water plus salt, and got about a Tablespoon of salt. Does everyone else’s dissolve? I did use Canning Salt , cause I have a bunch of it and was looking for some way to use it up.
I used Lemon EO instead of Raspberry EO, cause my supplier doesnt carry Raspberry.
I put im molds, and they came out beautifully 24 hrs later. Cant wait to try.
Thanks for providing a palm free, animal product free recipe Amanda.
#HappySoaper #Showyourcompassion #GoVegan #NotTestedOnAnimals
Hey Donna, It’s Rosemary, not Raspberry. But Lemon is good too.
Hi, Amanda! I made this recipe 3 times. The first time was most successful. I used a regular log mold, when cutting it crumbled a little, but I still had most of the bars intact. I LOVED this soap when I used it. BEST EVER! So I wanted more! TWO batches of crumbly mess! I will use those pieces because the soap is awesome, but I am wondering what was different. I followed the recipe exactly. I’ve heard that cutting salt bars as soon as they are hard and still maybe even warm works better.. Would this apply to this recipe? I loved the look of my first batch in the log mold. I used some left over soap batter in silicone molds and did not like the look so much. Any suggestions?
I made this again today–third attempted batch after the first good one. I un-molded (came out easily) and cut when still slightly warm after about 51/2 hours. The batch cut perfectly. like butter! Looks beautiful! Thank goodness! I LOVE how this soap makes me feel clean all day!
Would love to constantly get updated outstanding blog!
Made it and love it! Thanks for sharing the recipe.
Just want to say your article is as astounding. The clearness for your publish is just cool and that i can assume
you are an expert on this subject. Fine with your permission let me to take hold of
your RSS feed to stay updated with imminent post. Thanks a million and
please keep up the gratifying work.
If some one needs expert view on the topic of running a blog then i advise him/her to pay a visit this
web site, Keep up the nice job.
Amanda, what temperature do you cool it to and also when you make yours do you put it on heat or just wrap in towels ?
Thankfulness to my father who informed me on the topic of this
web site, this web site is truly amazing.
I made this as a HP batch tweaking a bit and used hemp in place of the avacado. It’s lovely!!
This recipe looks amazing! What does the salt do in the bar? Especially since the instruction is to lather the bar on a luffa and not directly on the face, makes me wonder what the soap adds to the bar?
Hi Amanda, I made this soap and it turned out awesome. I changed up the essential oils some and it did heat and cracked a little but uncovered and it turned out wonderful and looked shinny and like granite. I was wondering if you could tweak this with using some different clays for color along with the charcoal and do a swirl or something.
Hello Amanda
The recipe seems great . I want to make 2 pounds batch. How much essential oils do i need?
Thanking you
Farida
I made this soap and followed it to the letter but it is currently exploding through a big crack in the center (it is in a round PVC mold) Is this soap going to be unusable?
I made this soap last night and followed the recipe to the letter. I mixed at approximately 100 degrees and put it to bed under blankets and towels on my dryer. When pouring it into molds, it was very black and glossy. When I unmolded it today it was grey and dull. It’s not awful but I really hoped for a stunning, glossy, bkack bar. What can I do differently to achieve this?
Can this recipe be made with goat milk?
Hi Amanda
after how much time this acne soap expire?
Hi Amanda
for how much time this acne soap expire?
I’m new to soap making and this looks like a great recipe to try! I love that it’s palm oil free. Can you tell me how many pounds this recipe yields (as is) ? Thank you!
Hi Jenn! You’ll love making soap! To find out how much a recipe yields, you simply add up all of the ingredients. (Oils + Lye + Water) So this recipe will yield 46.7 oz of soap. Divide by 16 to get pounds. So it will equal 2.9 pounds of soap.
Hi Amanda!
I really enjoy your website and the eBooks I’ve gotten from you so far. Thanks for your time & sharing!
I LOVE this Charcoal recipe! I followed the instructions exactly & it is wonderful! I found I prefer it gelled & it cut better on the batch I gelled.
I had a co worker request a soap with Charcoal as a facial soap and found your recipe. Thank you so much! It is easy to understand and I am amazed at the lotion-like lather from it. (She loved it by the way) Yay! : )
Did it make anyone’s face worse or is my skin just extra sensitive?
Nevermind, I think my skin was detoxing. 🙁 It’s back to normal now!
Oh good! Glad you’re back to normal. 🙂
I just made this and it took forever to trace-and barely traced at that…..Why is this?
I did use less essential oils as I am sensitive to smell, but can’t imagine that would be the reason……
Hi! I just did this recipe and it turn out to be a light green, not black. I follow all the recipe as mention, did put the charcoal. Having a light color soap I’m pretty sure it won’t turn darker when unmolding, do you know what could have happend?
Hi Michele! It could be the type of charcoal you used or the supplier. YOu can always add more next time to up the black. When you’re mixing charcoal soap, what you see is what you get. So if it isn’t dark enough when mixing, add some more.
Hi! I just made this soap, and had a quick question.
I followed the recipe exactly, but after pulling it out of the molds and letting it sit out for two days, I cut it and it’s really crumbly. Do you have any idea what caused that?
Thanks!
If your soap is crumbing, it could be lye heavy. Test it with a pH strip, or do a tongue test (lightly touch your tongue to the soap, and if you get a small zap, your pH is off).
Greta,
I thought about that, but since I’ve made a lye heavy batch of soap before I couldn’t really see the resemblance between the two. Still, I’m going to do a bit of testing on it (your suggestion is a good one 🙂 ) to see if that may be it.
Hi Theresa!
I have made this fantastic recipe Amanda shared 2 times now, following the instructions exactly. the 1st batch I soaped between 95 – 100 degrees , used a narrow loaf mold, and it did NOT go through gel stage. This one was crumbly on the edges when I cut it. The soap was still wonderful tho, and people I shared it with loved it! (thanks Amanda!)
However, on the second batch I chose to use round PVC pipes for round bars. I soaped warmer, between 105-110. I set my molds upright in a box heavily encased in waded newspaper to insulate, and covered them also. These DID go through gel stage. I noticed they were much more solid to cut and have a nicer shiny surface too!
I plan on continuing to go for gel with this on in the future. : )
I tried this soap last night, but substituted almond oil for avocado oil. There were no problems and I poured it into the molds. When I checked it this morning the soap had not hardened and was actually crumbly and spongy. Its also a light gray color. Any idea what may have gone wrong?
Hi Suzanne! Did you happen to use dead sea salt? Dead sea salt doesn’t work in CP soap and will cause the soap to be soft and spongy. That is all I can think of. This recipe works well for me.
Hi…
I’ve haven’t tried a salt soap recipe yet but have heard that it hardens very quickly. I’m wondering, with only the two tablespoons of sea salt will it harden as quickly as recipes with 50-100% salt?
JenFarr
No, not as quickly at all.
HI Amanda
Would substituting 5% of the olive oil for castor oil increase the lather? Or would the salt just kill all of the lather anyway.
Thanks Amanda
That would certainly help! 🙂
Thanks Amanda! Looks like a great recipe. Looking forward to giving it a try over the weekend.
What type of Coconut Oil did you use in this recipe?
Hello Jane! I used coconut oil – 76 degree melt.
Would it be ok to use extra virgin OO?