This tutorial is written by Angela Carillo. It shows how to use a fondant mat to make impressions in a soap and how to paint with mica. She sent me this over a year ago and it was sitting in my draft folder in my blog! I’m so glad I found it! Enjoy! -Amanda Gail
Soap Recipe
Coconut – 8 oz
Olive – 15 oz
Shea – 4 oz
Castor – 1 oz
NaOH – 3.9 oz
H2O – 8 oz
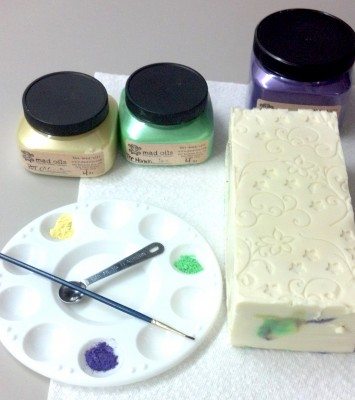
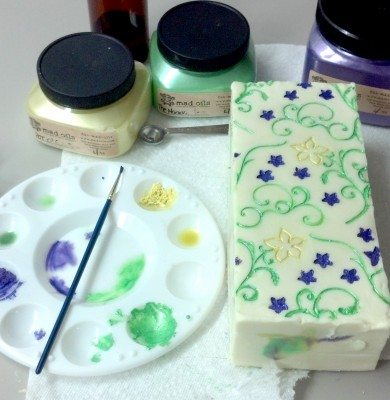
Mica Colorants (from Mad Oils)
Grape Nehi
Lemon Cupcake
The Maniacal Pea
Scent
.5 oz Lavender essential oil
.5 oz Bergamot essential oil
Unusual Equipment
Fondant mat
Thin paint brush
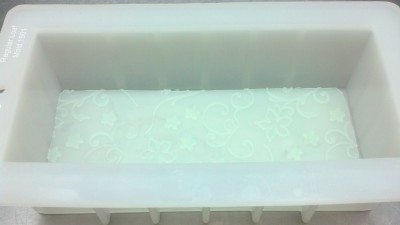
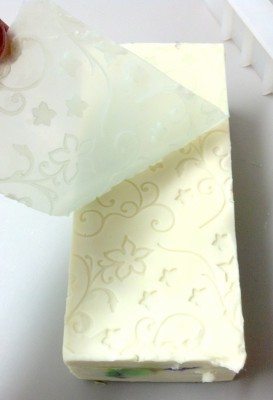
Step 1 – Cut your fondant mat to fit inside of your soap mold. I used this one. Check your local craft store. Place it into your mold.
Step 2 – Gear up in goggles and gloves and make your soap as usual. (If you are new to soapmaking, visit this basic tutorial.) Mix to a really light trace.
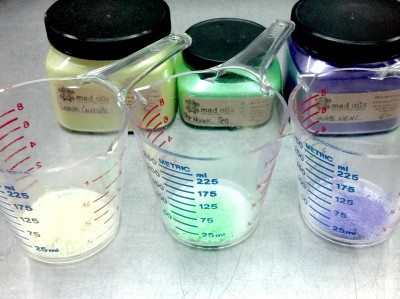
Step 3 – Pour off about ½ cup of raw soap into each of the containers holding your micas. Mix each, making sure the mica is well dispersed in the soap.
Step 4 – Pour 1/3 of the remaining uncolored soap base into your mold covering the fondant mat.
Step 5 – Tap out any air bubbles.
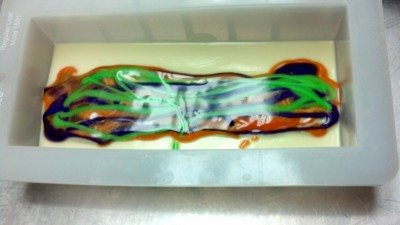
Step 6 – Pour the yellow, green and purple micas down the middle as stripes. Try to keep the colored soap in the middle and not touching the sides. Save a small amount of each colored base for the tops.
Step 7 – Carefully, pour the rest of the base soap over the strips. You can pour over a spoon to make it fall more gently.
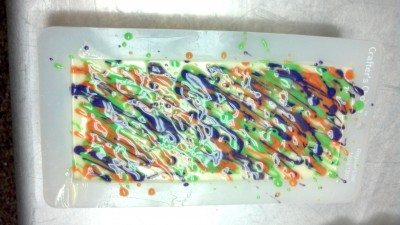
Step 8 – Using the rest of the mica colored soap, decorate the top of your soap however you like. I drizzled my colors on an angle on the top. Spray the top with 91% alcohol and cover.
Step 9 – Wait 48 hours to unmold; you want to make sure the soap is not too soft. Carefully peel away the fondant mat.
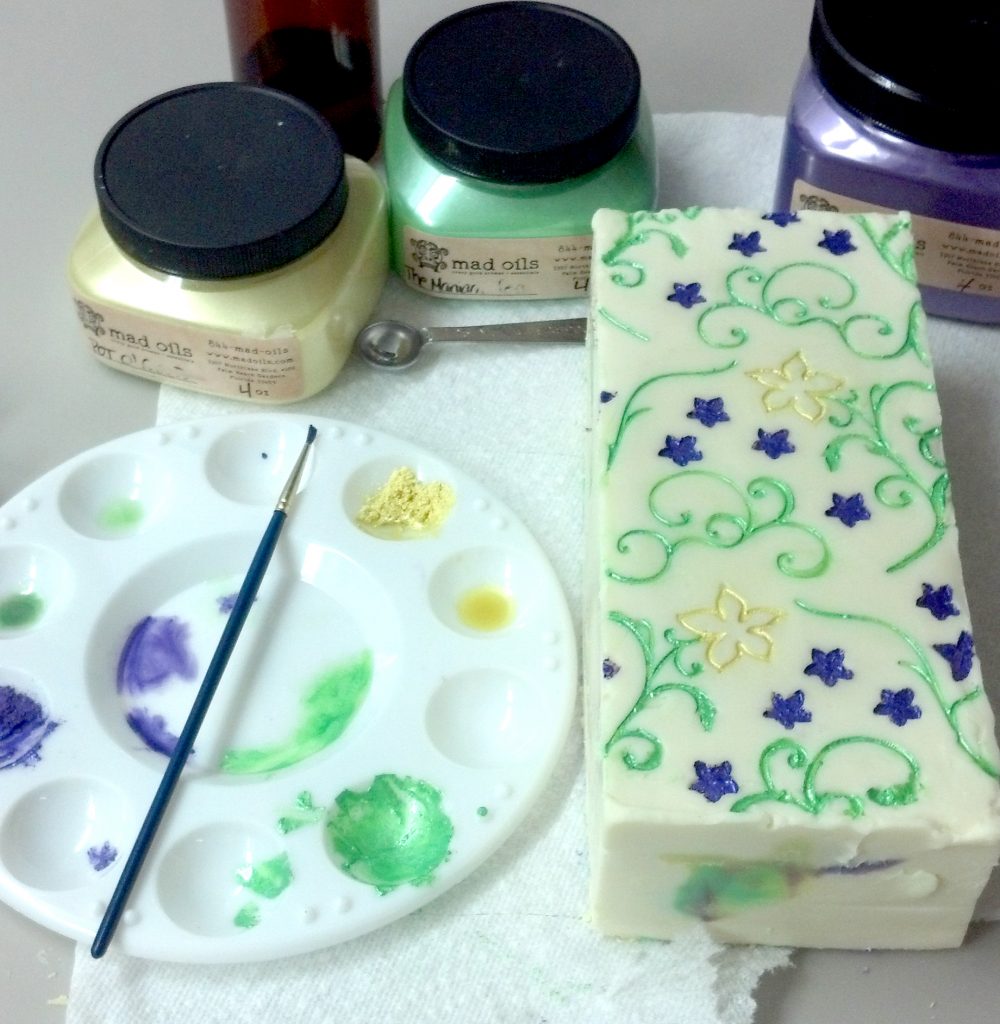
Step 10 – Put about ¼ teaspoon of each mica on a dish and mix with a few drops of olive oil until you make a slurry the consistency of paint.
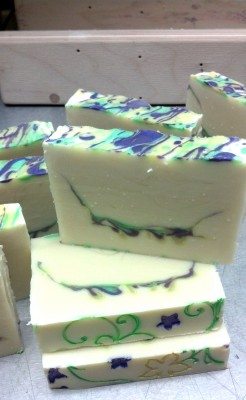
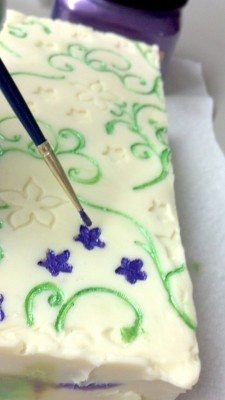
Step 11 – With a very thin paintbrush, begin to paint the inside groove of the outline left by the mat. If you get a little paint outside the indentation, just gently wipe it away. It should come right off easily and the mica paint inside the groove will stay put. Once you’ve finished with all three colors, let the soap log sit a few days before cutting so the oil will absorbed into the soap and the mica will remain.
(editor note: Castor oil works great for this also, as it absorbs into the soap easily!)
Cut after a few days and cure for a minimum of four weeks!
Enjoy!
-Angela
Thank you, Angela! This is a technique that I haven’t tried yet. Thanks for sharing! -Amanda
Angela Carillo is a New York licensed Medical Technologist and has always loved biology and chemistry. She learned to make soap from borrowing a book from a local library and found her hobby. Fast forward a few years and Alegna Soap was born. Angela makes soap, bath fizzies, hand lotion, body balms and bath salts. She also teaches soapmaking classes in New York.


I love your tutorials! and soaping ideas. And how cool your guest i# a Medical Technologist as I just retired from a lifelong career as an MT. I just discovered soapmaking last winter and find that it satisfies my love of science and art together. , kudos to her for starting her business!,
I save all of your tutorials and “good to know” information, I.e. properties of oils, etc. Thank you so much for all your hard work,
Hi, how do you fit the mat? I have tried fitting it, and the mat lifted and got itself in the middle of the soap! Can I use this process for melt and pour soaps?
pois as receitas não são em português. Porque? Acho as té técnicas divinas,mas como entender… não falo inglês,sou brasileira. Mui
ta luz.
I love following you. You explain things so well in your tutorials.you cover everything. Thanks for sharing your self with us.
Waoo. Nice