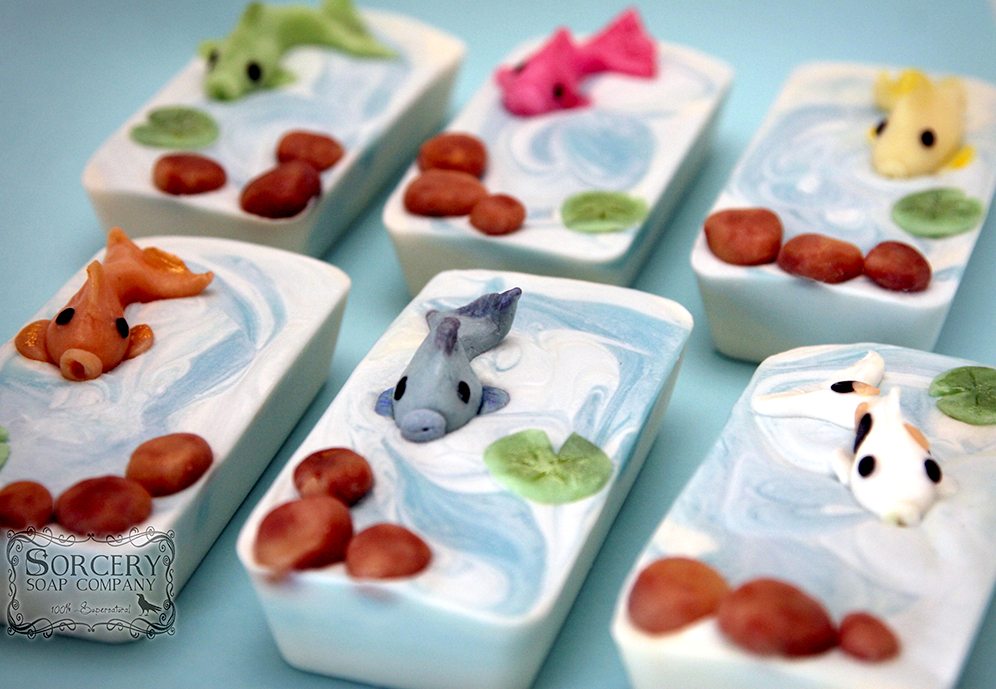
Today I have a special guest blogger! You’ve probably seen her creative hand-molded soaps on Facebook. Meet Bee Iyata of Sorcery Soap Company!
When I first saw her soap I immediately went and ordered a couple of bars. How creative and unique! Precious time and artistry go into making molded soap. If you’re curious about getting started, Bee is going to teach you how!
Enjoy!
-Amanda Gail
Soap Molding by Bhakti “Bee” Iyata
If the soaping bug has bitten you, and soap has saturated your life, you eat, breath and dream soap making, then soap molding might be for you!
There is something mysterious about soap making that is infectious. The ability to take seemingly unrelated ingredients and create a product that smells good, looks interesting and is utilitarian is appealing.
There are many paths to take on the soaping road, many places to explore and prefect your art-craft. Some artists love making the ideal recipe by trying exotic oils and butters, others like colorants and swirls refining their types of swirls both inside the bar and outside the bar, while others love high tops and melt and pour embeds accenting the inside and outside of the soap bar.
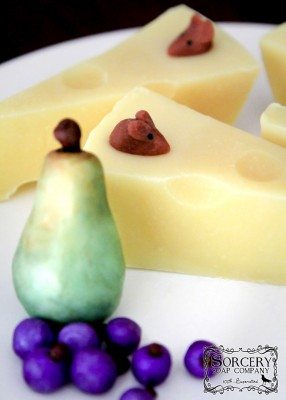
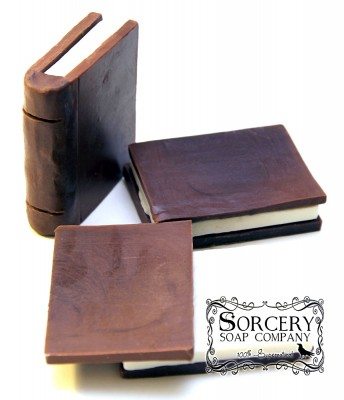
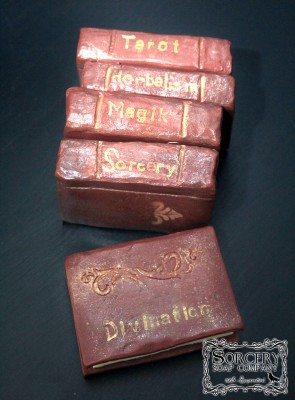
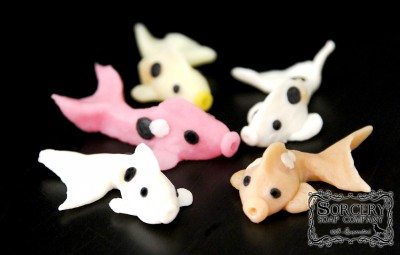
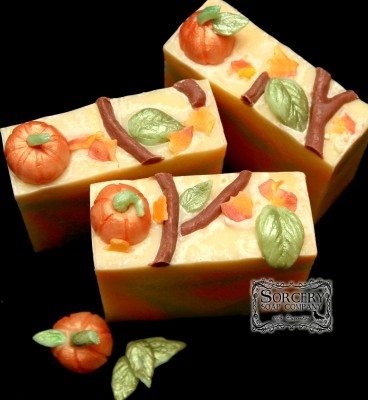
Me? I love making hand-molded soaps.
How to Begin Molding Soap
It’s a good idea to create a recipe that is pliable, smooth (free of lumps) and non-sticky with cold process soap. This is the ideal soap, however, any soap can be used, especially for practice.
My suggestion is to make half a pound more of your usual recipes and pour that much off. Cover it with plastic wrap. After 24 hours, unmold and keep wrapped up in plastic and then place that soap in a sealed plastic bag for another 24-48 hours. You’ll learn a lot from this half-pound investment, answering some of the following questions:
What makes it soft?
What makes it harder?
What feels good to use?
If you want to make soap just for soap molding, this 3-oil recipe has worked for me.
Simple Soap-Molding Recipe
Author: Bhakti Iyata
Recipe Type: Cold Process Soap
This is a simple soap recipe for your rotation or to build on.
Lard – 8 oz. (50%)
Coconut Oil – 6 oz. (30%)
Soybean Oil – 2 oz. (20%)
*Soybean oil can be substituted with castor oil or olive oil. Just run the recipe through a lye calc to get the correct amount of lye to use.
Lye – 2.36 oz. (5% superfat)
Water – 4.6 oz.
Instructions
Step 1 – Melt the lard and coconut oil in microwave or double boiler to incorporate these ingredients.
Step 2 – Add your liquid soybean oil (or other liquid oil) to the heated mixture. This will help cool the oils to match your lye temperature.
Step 3 – When oils and lye water reaches approximately (within 10 degrees) 80° fahrenheit add lye water to your oils, not the other way around (please read about how to handle lye).
Step 4 – Stick blend your oils and lye until trace.
Step 5 – Add colorants and fragrance.
Step 6 – Pour into mold.
Step 7 – Cover with plastic wrap.
Step 8 – 24 – 48 hours later, unmold. Wrap in plastic. Place in sealed plastic bag.
Use as needed to make your hand molded cold process soap.
By keeping your soap wrapped in plastic, you are keeping the moisture in it so that it remains pliable.
Now, you have your soap-molding recipe, let your creative flag fly!
Each aspect of soap molding is built on a few shapes. These shapes can be made with your hands, no other tools necessary.
Basic Shapes
Sphere – A round ball. If you’ve never tried to do this, making a ball of soap look round is not as easy as it might seem, however, with a little practice this shape will come easily.
Triangle Shape – A cone is a sphere with a tapered end. Roll it tapered or flatten it.
Tube Shape – This is a long cylinder and can be rolled in your hands or on the work surface.
Tools You Might Need
Resources and a list of tools can be found at http://sorcerysoap.com/resources-for-soapers/
Fondant hand tools – there are many groups of hand tools on Amazon. Search “fondant tools” and there are many kits. Some come with smoothers, which are helpful, and seam rollers, which are like little pizza cutters that make a design or just cut.
Rolling pin – A wooden rolling pin will work, a plastic rolling pin is ideal.
Cornstarch Duster – Use a piece of muslin cloth and pour a little pile of cornstarch in the center. Wrap a rubber band around the corners and you have a powder puff-like duster. This is useful when rolling flat sheets with your rolling pin to keep soap from sticking to the worktop and the rolling pin. Even the best of soap will stick when making this shape.
Advice
Allow for a bit of mystery and a lot of magic while molding soap. Trust your intuition and see where it takes you. You might be surprised.
When beginning with hand molding soap, give yourself time, play as much as possible and keep going. If you have an idea, try it. See what you can come up with that will make your soaps unique to your own creativity. The possibilities are endless.
Most importantly, have fun!
 About Bhakti “Bee” Iyata Head Soap Witch at Sorcery Soap
“I find satisfaction in the ability to take seemingly unrelated ingredients and make them into something that only I have imagined. This seems like sorcery and I consider this one of my “super powers.”
I have studied many major religions, plumbed the depths of my soul with writing and came away from that well with passionate desire to create even more.
Some of my other lesser powers are that I’ve built businesses from almost nothing but my imagination: a jewelry business and a construction company. I am a licensed esthetician. I have worked as a professional photographer (mostly horses and events) and am writing a book about soap molding and the mysteries and magic of soap.”



Hi after shaping the soap we keep it to dry and cure or no need ?
Holy smokes. I can’t imagine the amount of hours that have gone into these soaps! Incredible!
Oh I really like Her.work. I am absolutely elated you have Her here. Thank You So So much. Bhakti “Bee” Iyata. I watch her on YouTube over and over !!
I love Bhakti “Bee” Lyatta’s soaps. They are unique,creative, thoughtful and intentional !
These are gorgeous soaps! The molded soaps are so adorable. Bhakiti “Bee” Iyata is so talented! =) Thanks for sharing the recipe and technique with us.
Thanks so much for this tutorial! Does the trace matter (light, thick, etc.)?
Bee is one of my favorite artists out there. Her creature creations brings me closer to a state of peace but from a child’s view. You see, as a child I didn’t feel particularly safe and life with family wasn’t so fun. It was scary for me. So, Bee’s work takes me back to a childhood I wish I had had….. Something I never had growing up.
Thank you Bee, for being playful in your artwork!
Yes. I soooo agree with you. I bought some soap from her and it is sitting right above my computer so I can look at it often. It is playful…and just makes you happy.
I am so excited to try this. I have followed Bee’s work and it is truly amazing! She is wonderfully talented! Thanks so much for sharing 🙂
It is so nice of her to provide a recipe and instructions! I can’t wait to try it also!
WOW!