
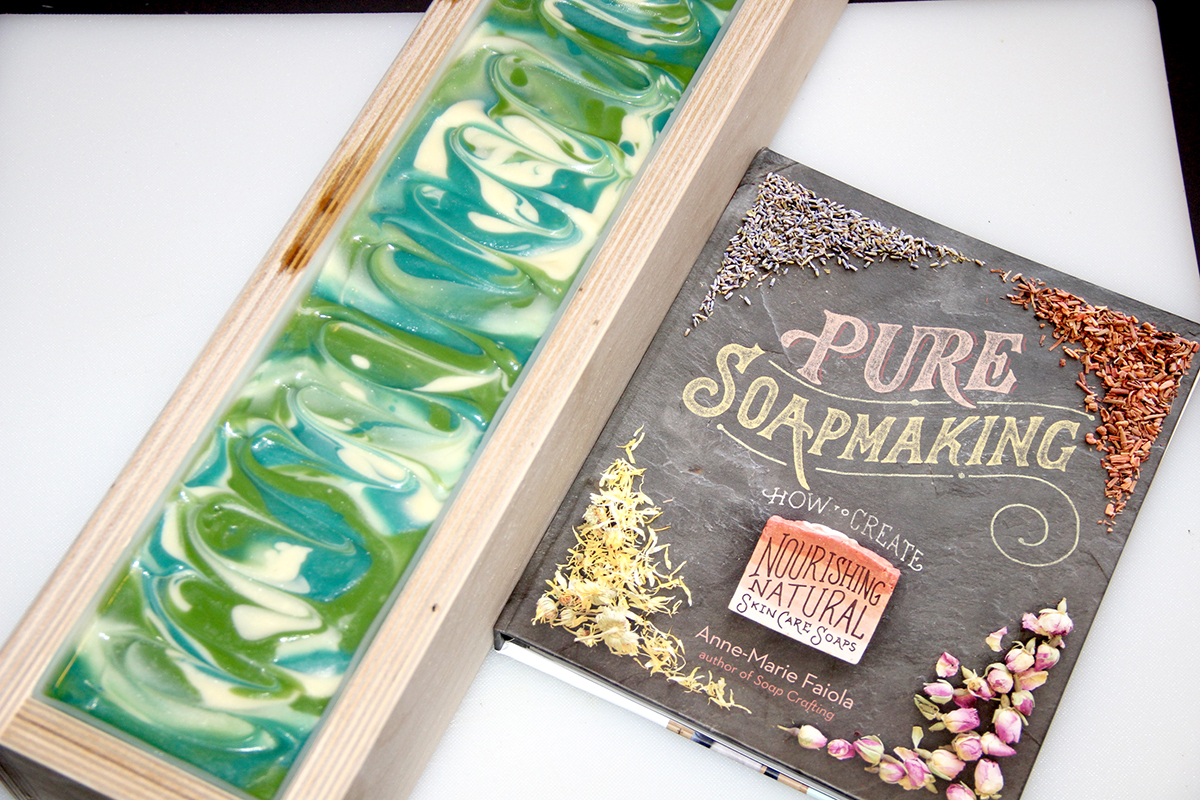
I was super delighted when Bramble Berry asked me if I would like to try a recipe from Anne-Marie’s new book, Pure Soapmaking. They even let me choose a kit and sent along a signed copy of the book! I chose the Aloe Vera Hanger Swirl Soap Kit.
I was blown away by the kit, which included every single thing needed to make the Aloe soap, including a 5lb Sliding Bottom Wood Mold.

Pure Soapmaking by Anne-Marie Faiola is an excellent book for both beginner soapmakers and experienced soapmakers.
It focuses on more natural recipes with herbs and spices for color. Some recipes do use mineral pigments such as oxides and ultramarines. The recipes include skin-loving oils and butters and are scented with essential oil blends. The book contains simple recipes and then moves on to more intricate swirls and designs. The photography is stunning and step-by-step photos allow you to really grasp the design directions. I was very impressed with Pure Soapmaking and highly recommend it to all of my soapy friends! You won’t be disappointed.
I used the ingredients sent but modified the recipe so that I could share it on my blog. This recipe uses aloe vera liquid in the lye solution and mineral pigments to color the soap.
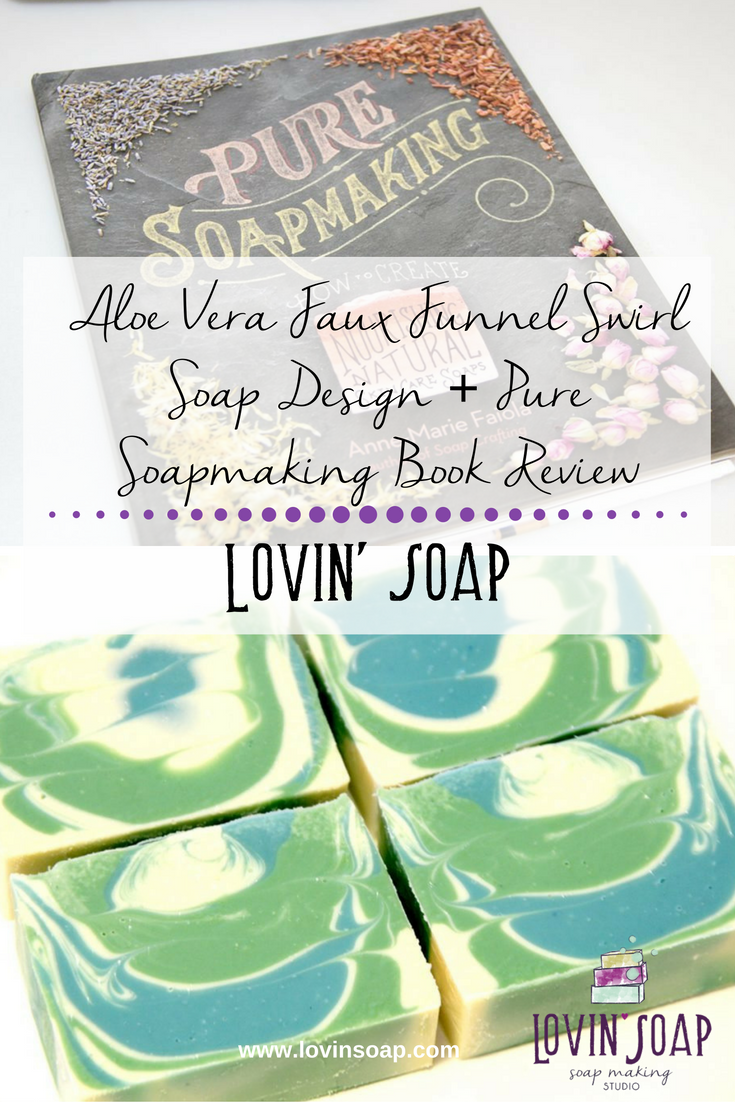
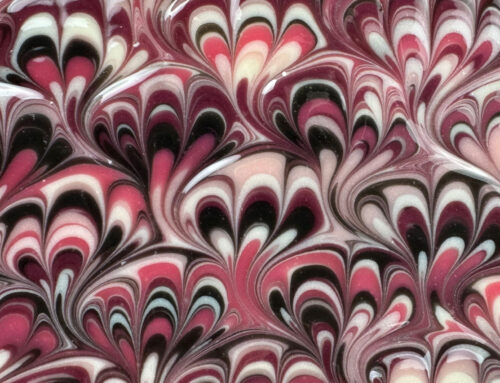
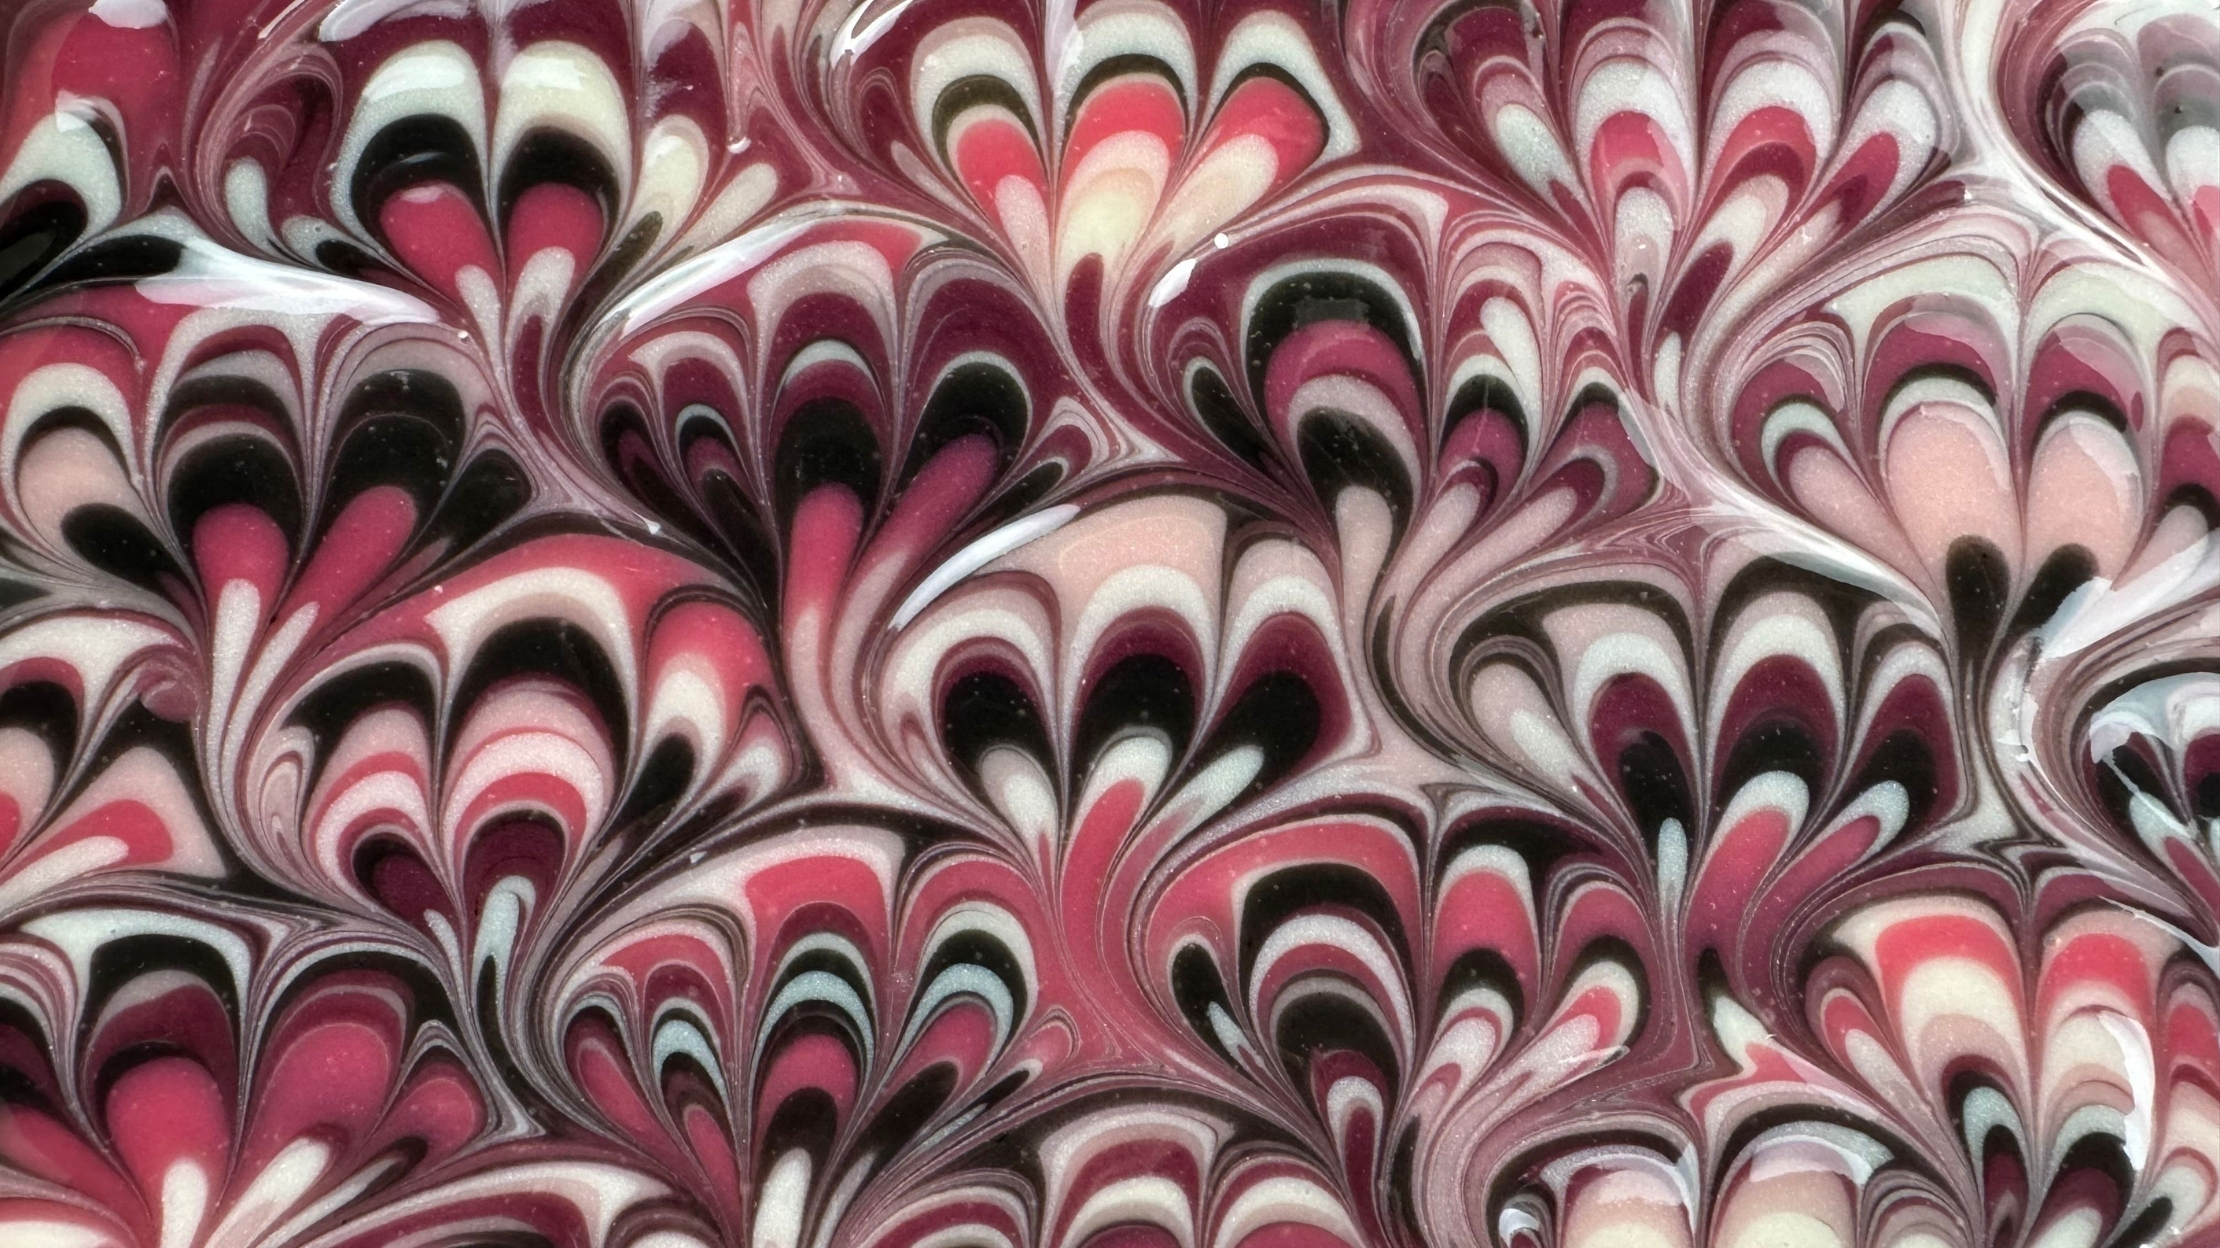
The design I used is called a faux funnel swirl. It is pretty much a funnel pour without a funnel! Then you use a swirling tool (traditionally a bent coat hanger) to swirl the soap. You can also use a gear tie from Home Depot for this type of swirl.
Check out my Funnel Swirl / Coat Hanger Swirl from 2011! My photography and blogging skills have gotten better since then! 🙂 This one came out waaaaaay better.
Aloe Vera Faux Funnel Swirl Recipe
- Cocoa Butter – 5.5 oz. (10%)
- Coconut Oil – 18 oz. (32%)
- Olive Oil – 20 oz. (36%)
- Rice Bran Oil – 12 oz. (22%)
- Sodium Hydroxide – 7.8 oz.
- Distilled Water – 7.8 oz.
- Aloe Vera Liquid – 7.8 oz.
- Lemongrass EO – 2 oz.
- Lavender EO – 1 oz.
- Green Chrome Oxide – 1/2 teaspoon
- Hydrated Chrome Green Oxide – 1/2 teaspoon
- Zinc Oxide – 1 1/2 teaspoons
Safety Warning: This recipe is for soapmakers who have a basic knowledge of the soapmaking process and know the correct safety procedures to use when handling lye. If you are new to soapmaking, visit our free soap making guide or check out our Basic Soapmaking eBook. Be sure to wear safety goggles and gloves while soaping.
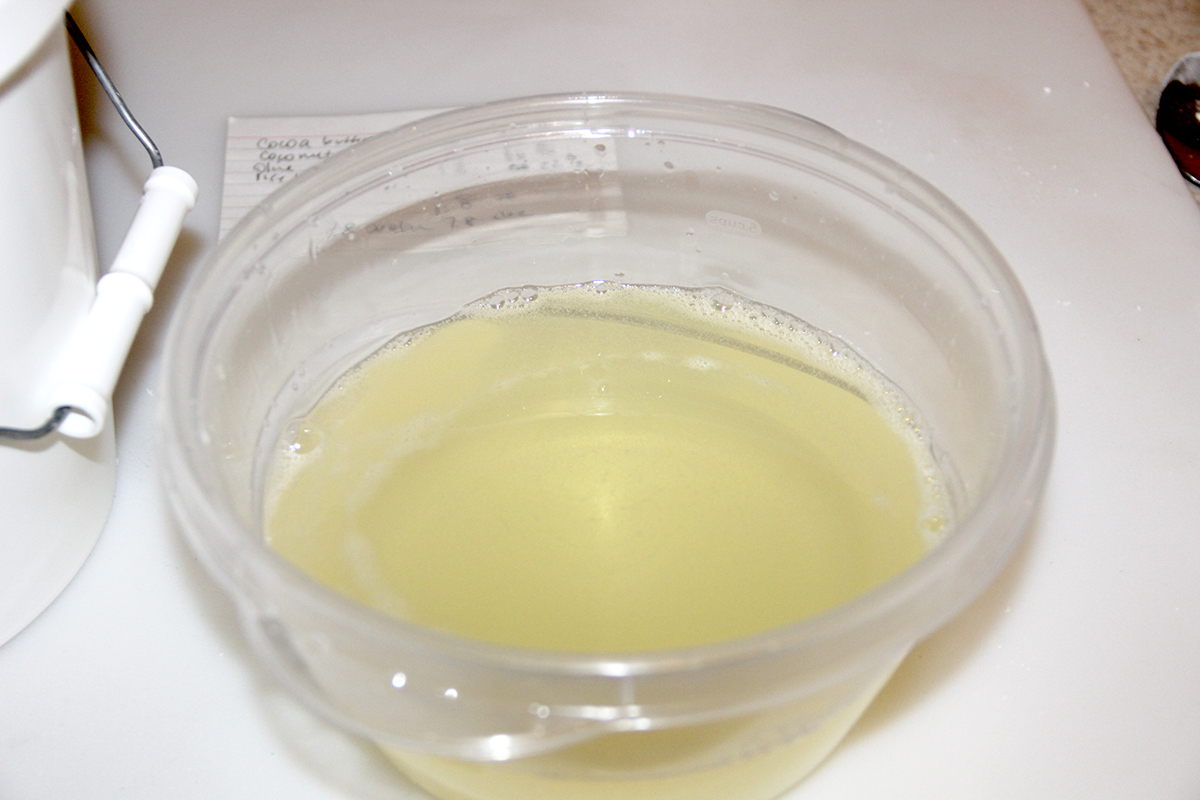
Step 1 – Create your lye solution. Weigh the Aloe Vera Liquid and water into one container. Weigh the sodium hydroxide into a separate container.
Step 2 – In a well-ventilated area, sprinkle the sodium hydroxide into your Aloe Vera Liquid/water while stirring slowly. Stir until dissolved and set aside to cool. Your solution might turn yellow or orange. This is normal when making a lye solution with Aloe Vera Liquid or fresh Aloe Vera.
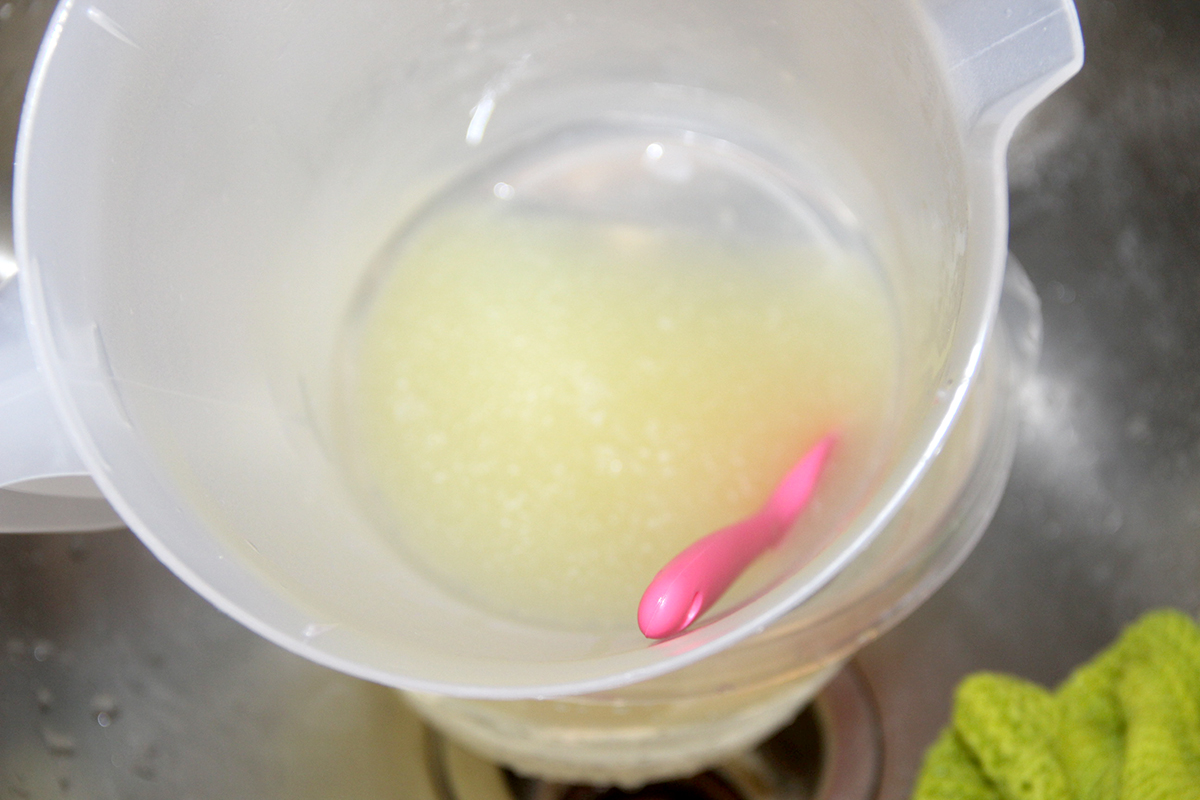
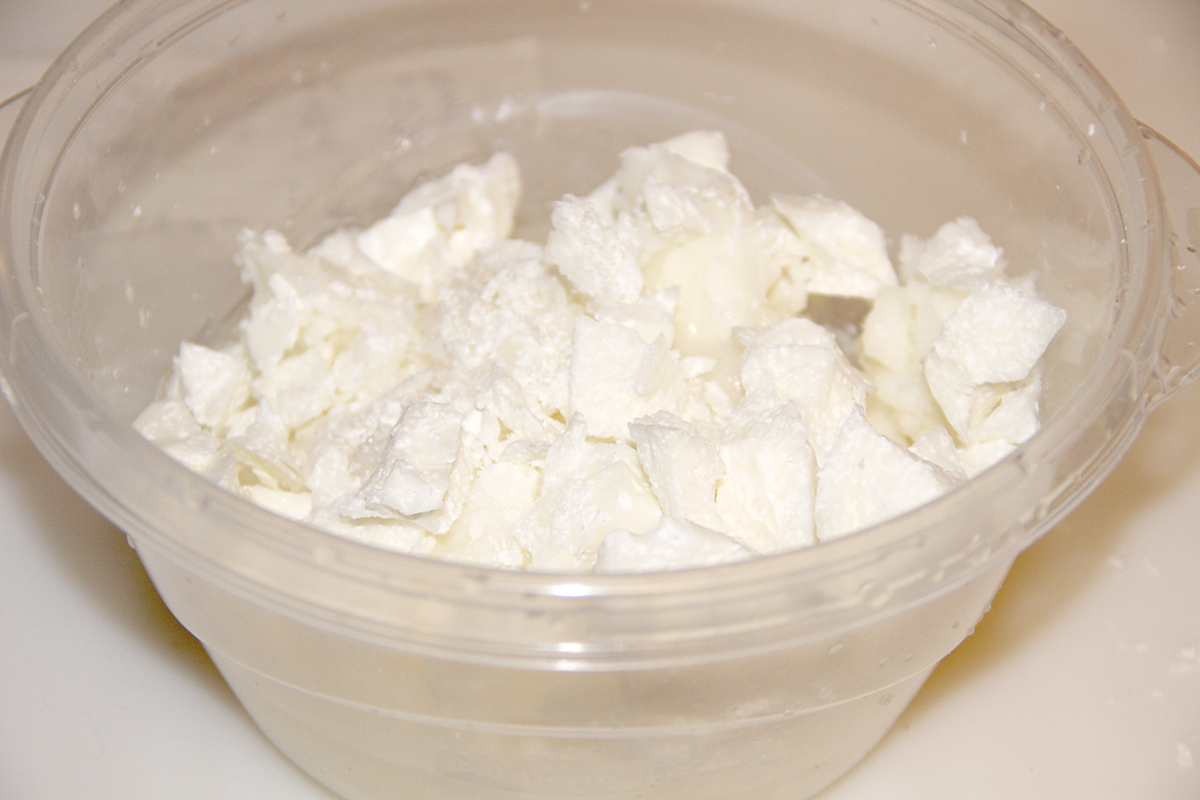
Step 3 – Weigh out the cocoa butter and coconut oil and melt.
Step 4 – Weigh out the liquid oils.
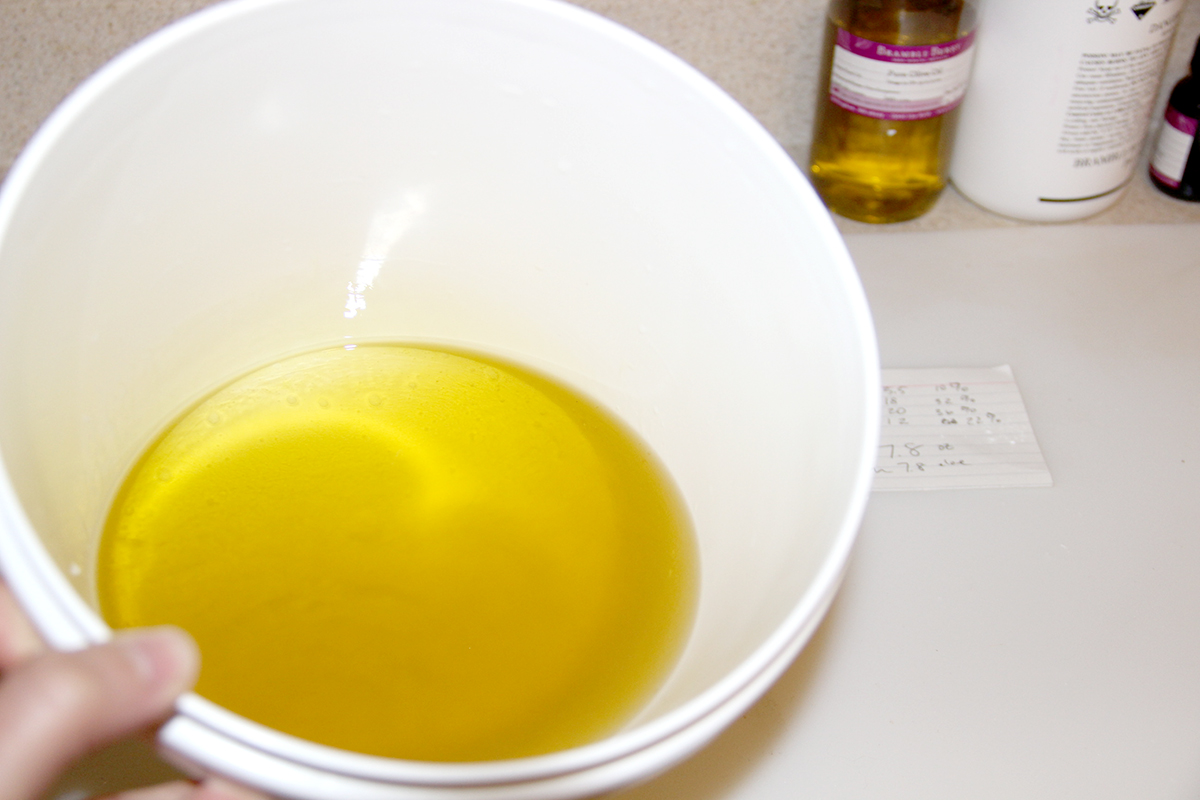
Step 5 – Add the melted oils to the liquid oils. This helps to keep the temps cool.
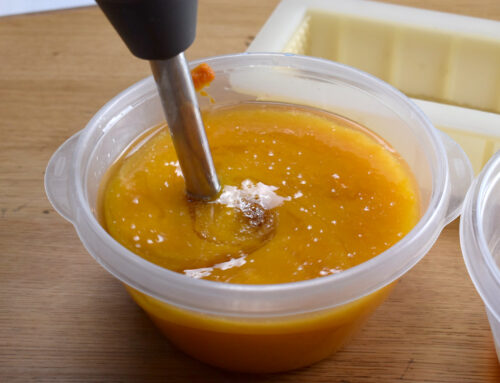
Step 6 – Prepare your colorants. I added each colorant to a cup and then added 2 tablespoons of oil mixture (from your batch) to each cup. Mix using a mini mixer. This helps to disperse the color for use.

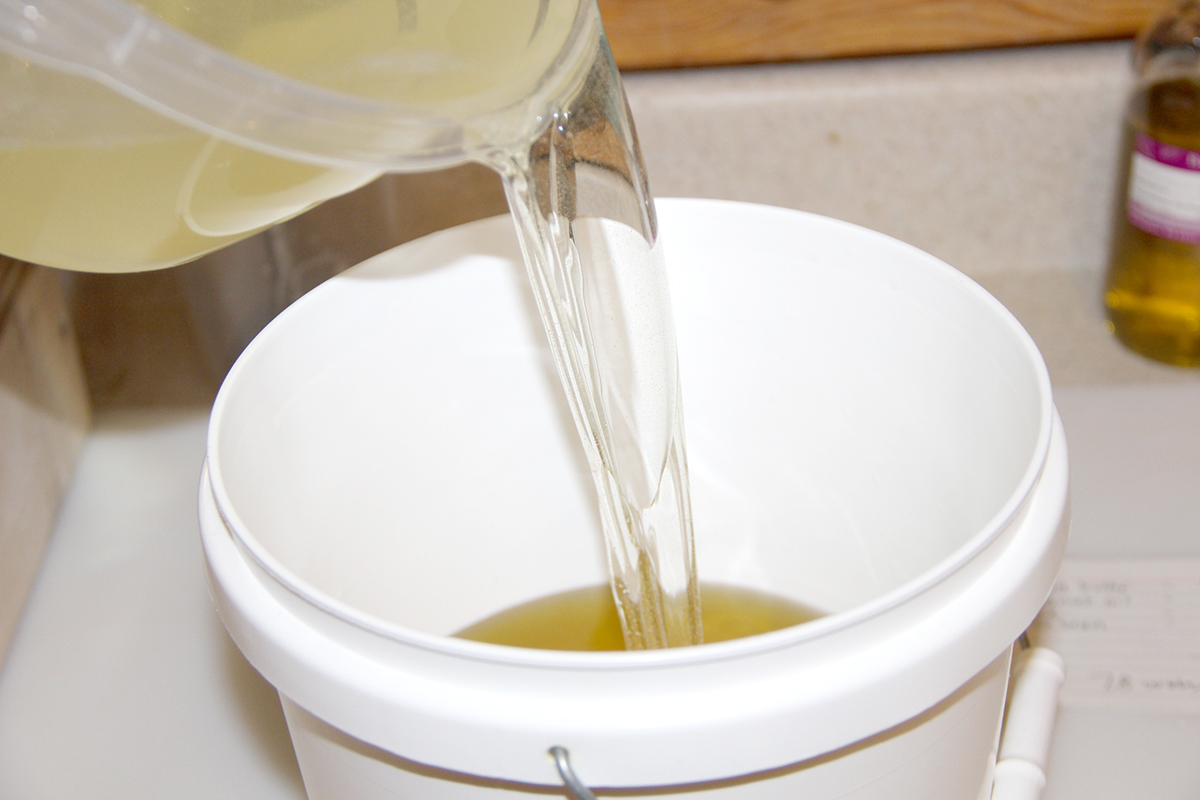
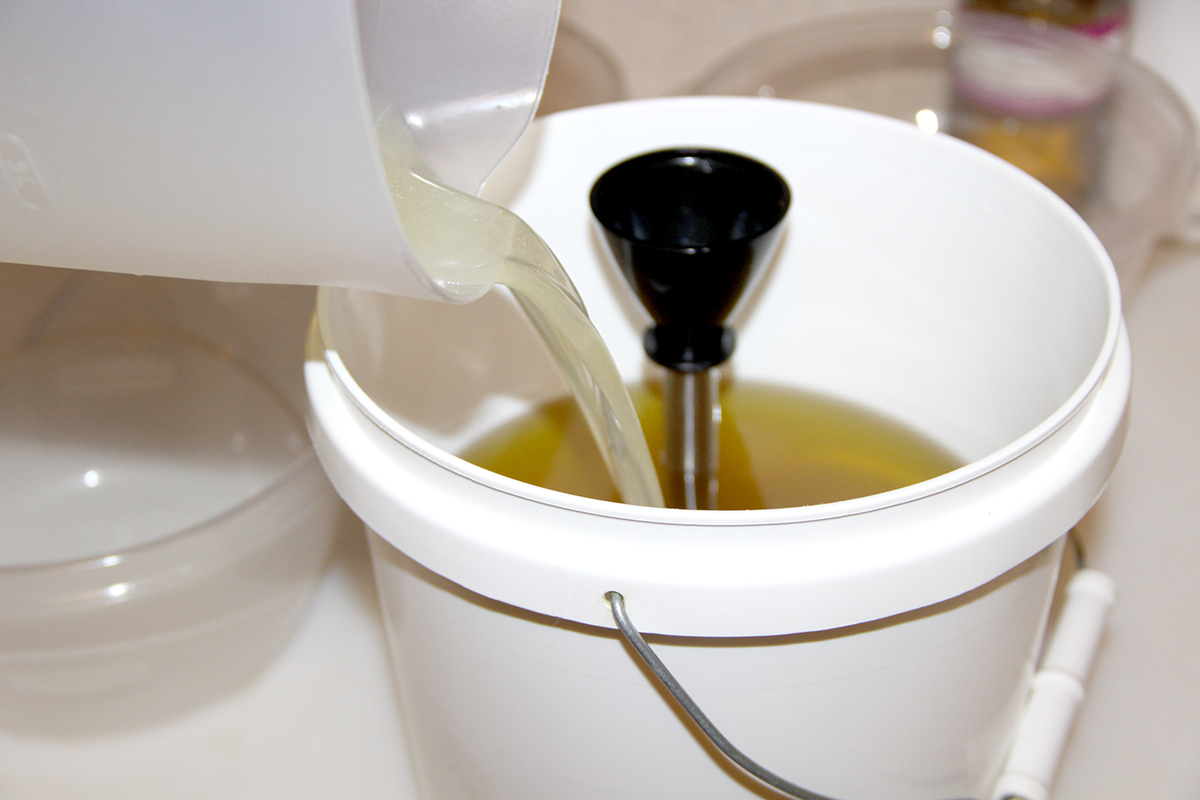
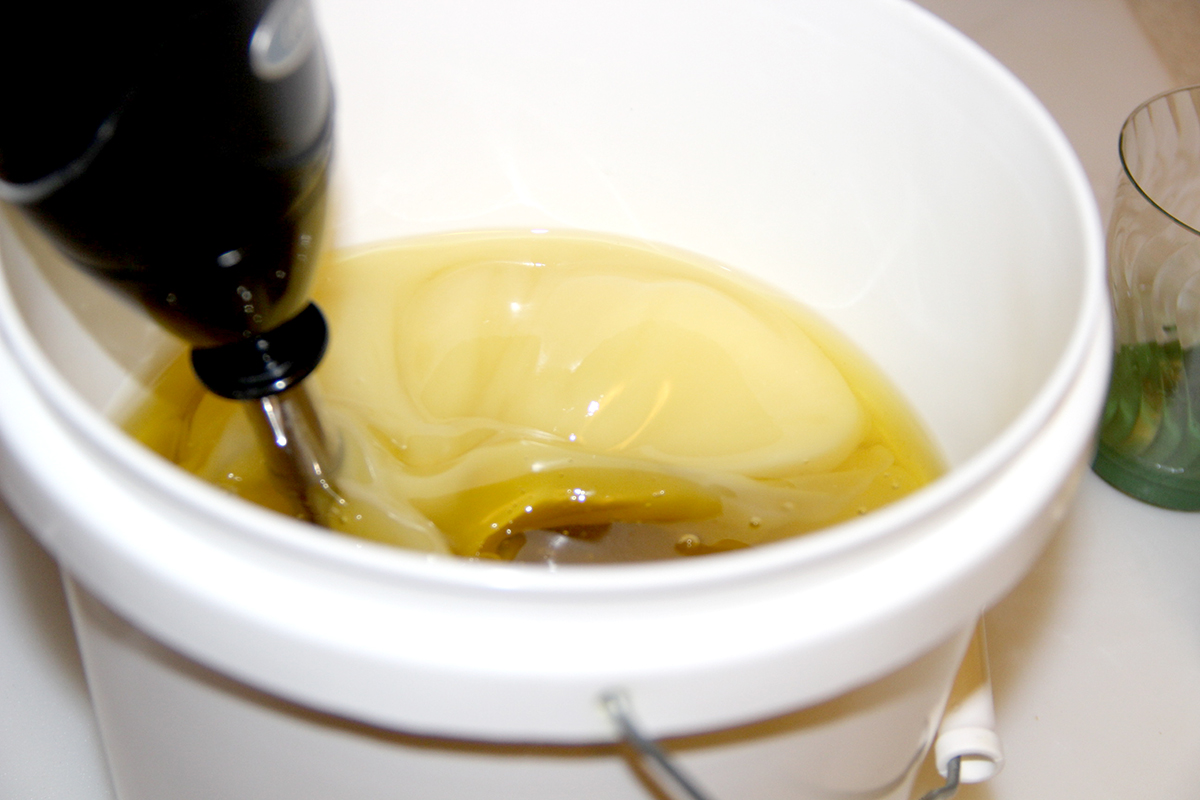
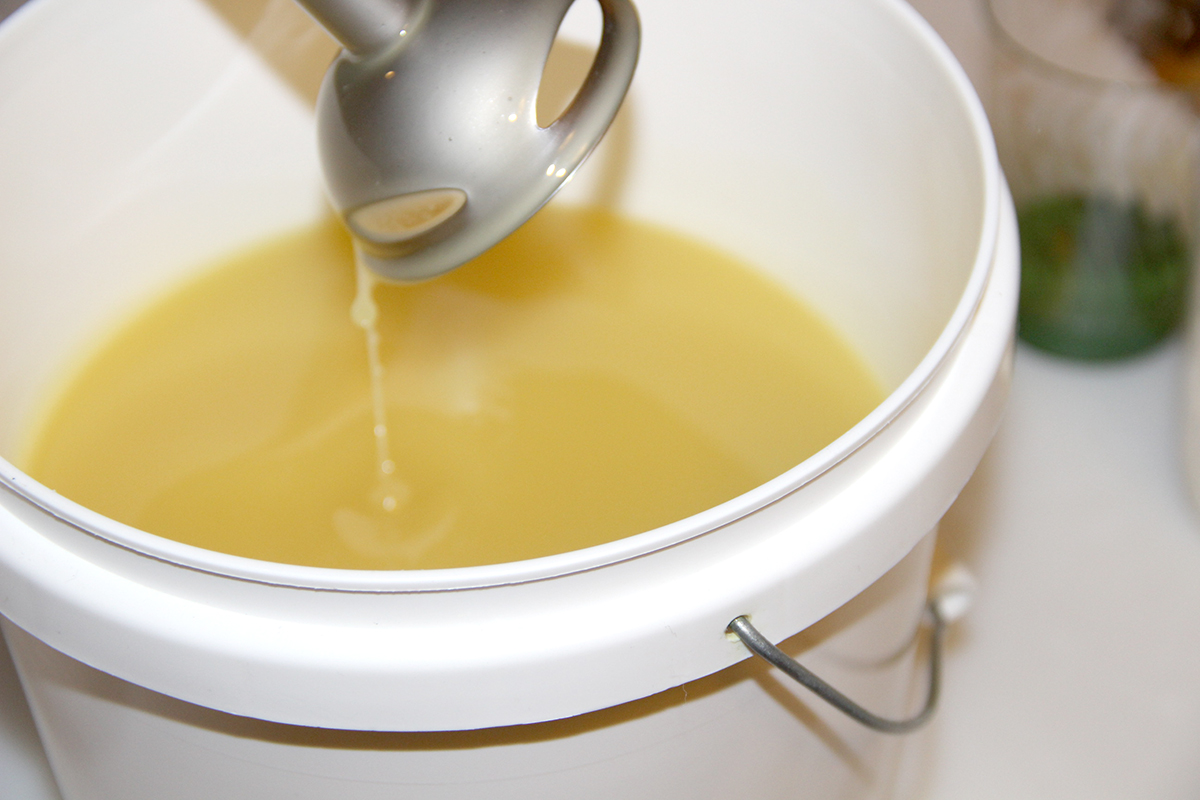
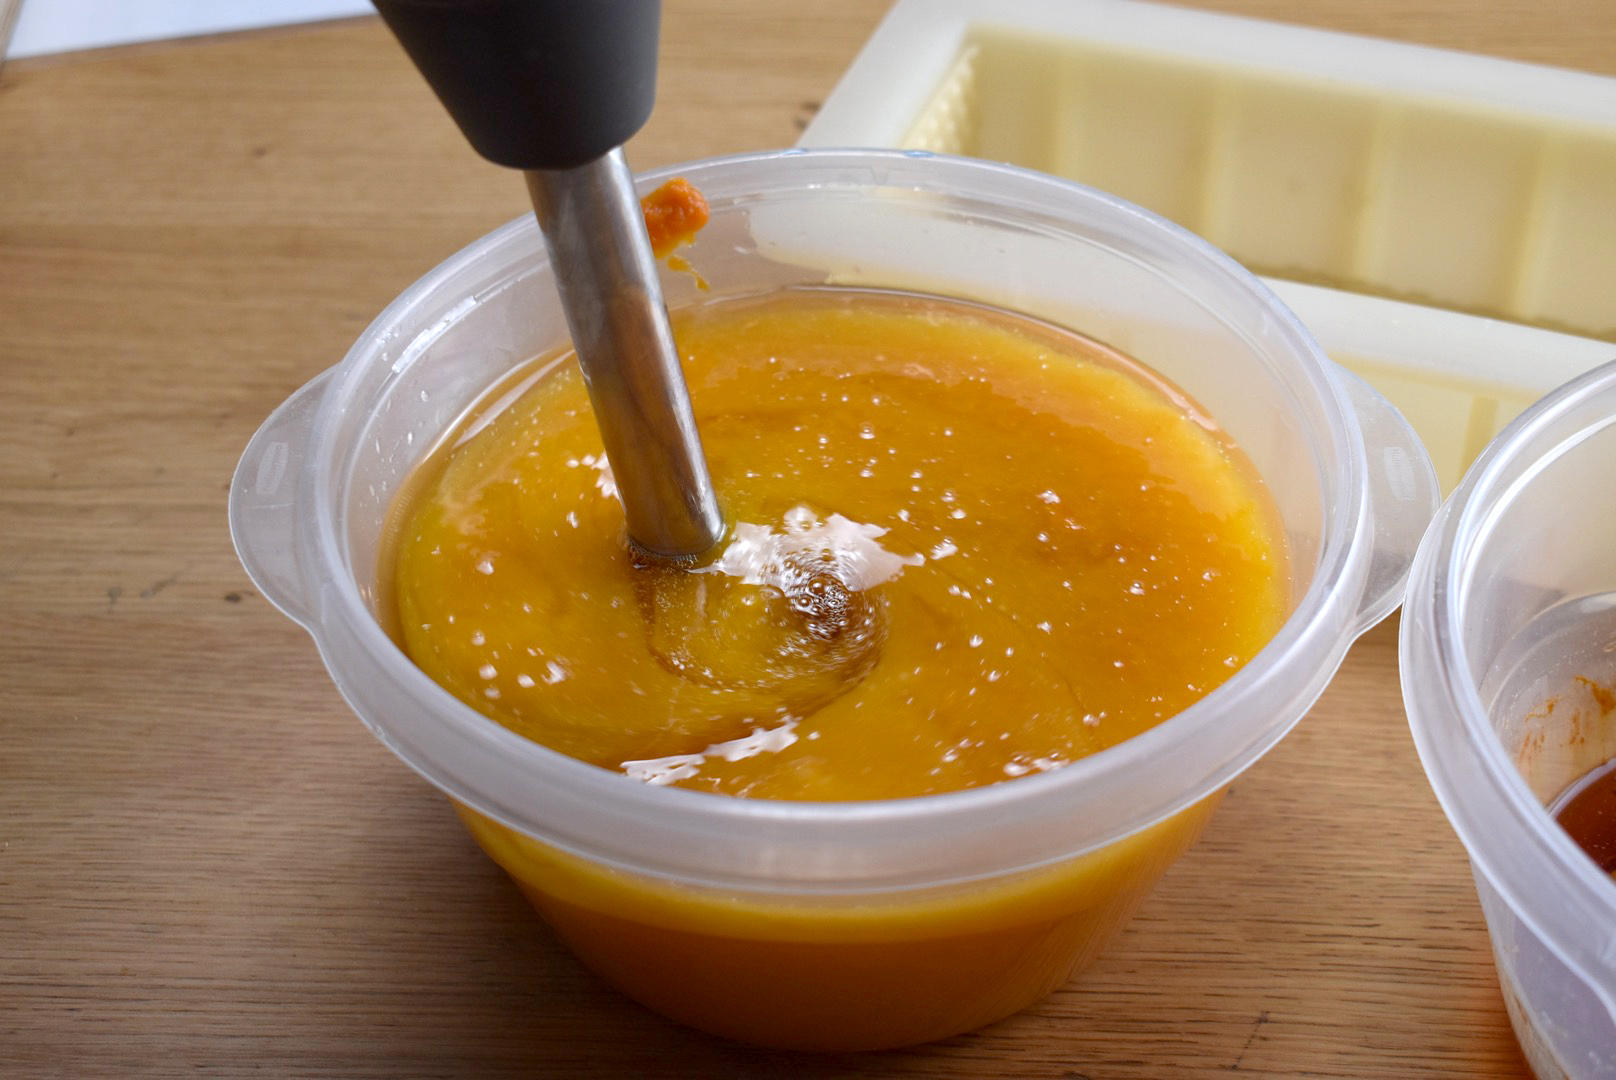
Step 7 – When your lye solution and oil mixture are both below 90 degrees F, pour the lye solution into your oils and bring your soap to emulsion. You know your soap is emulsified when it is the same color and there are no oil streaks. If you get to trace, you might not have enough time to mix each individual color.

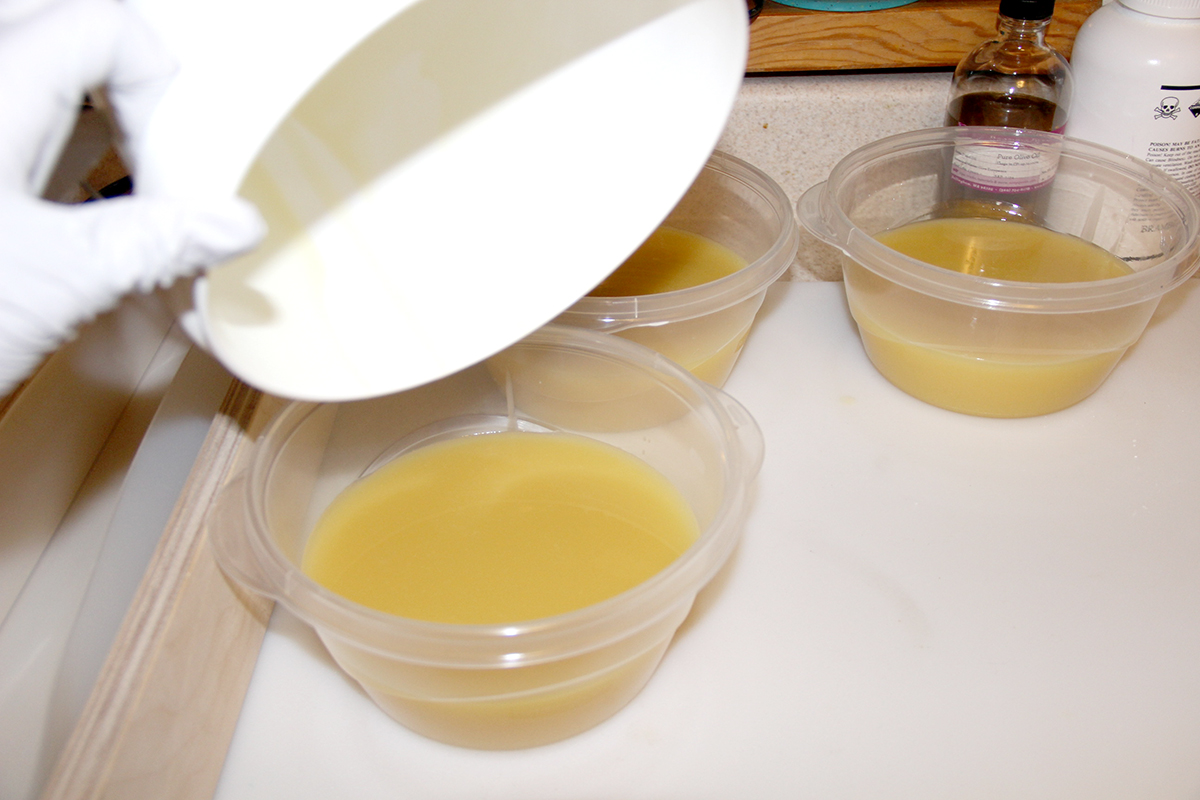
Step 8 – Divide your soap mixture evenly into three containers. Color each one with one of the mineral pigments. Use your stick blender to mix the colors in.
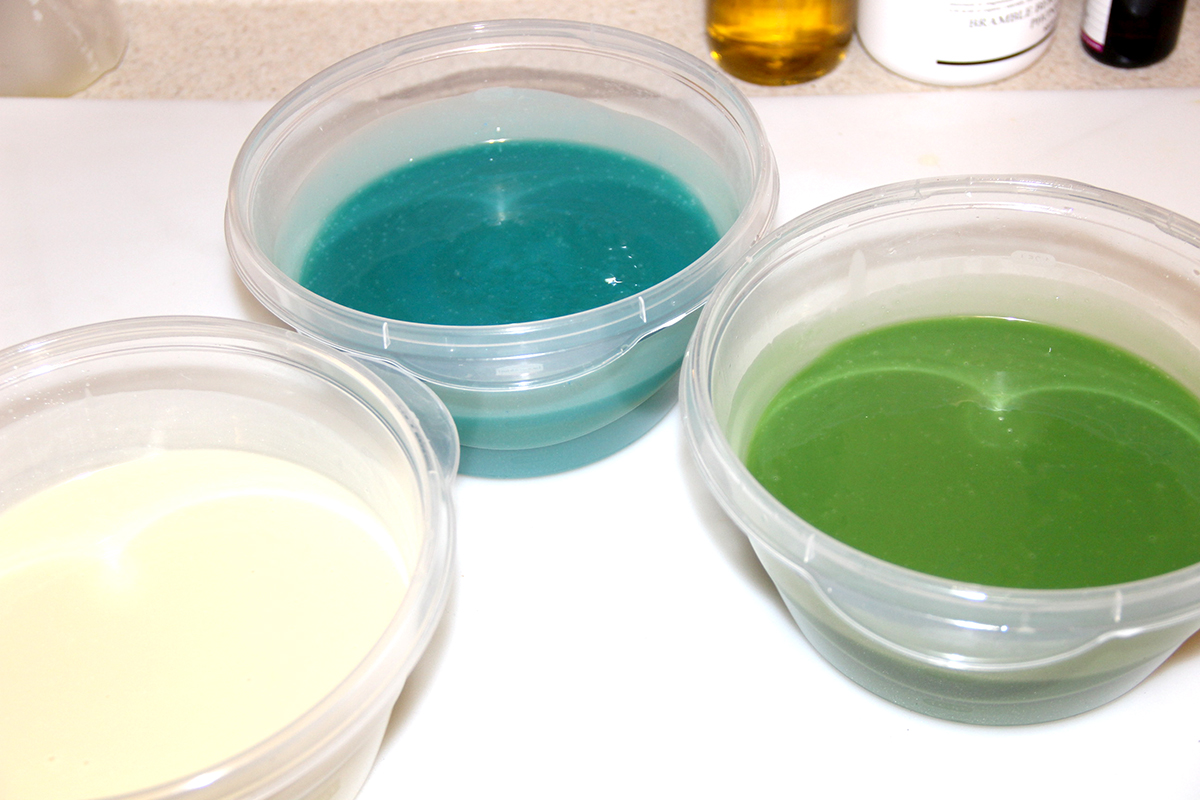
I wasn’t happy with the color of the hydrated chrome green. It looked too similar to the green chrome so I added some Mermaid Blue Mica. 🙂
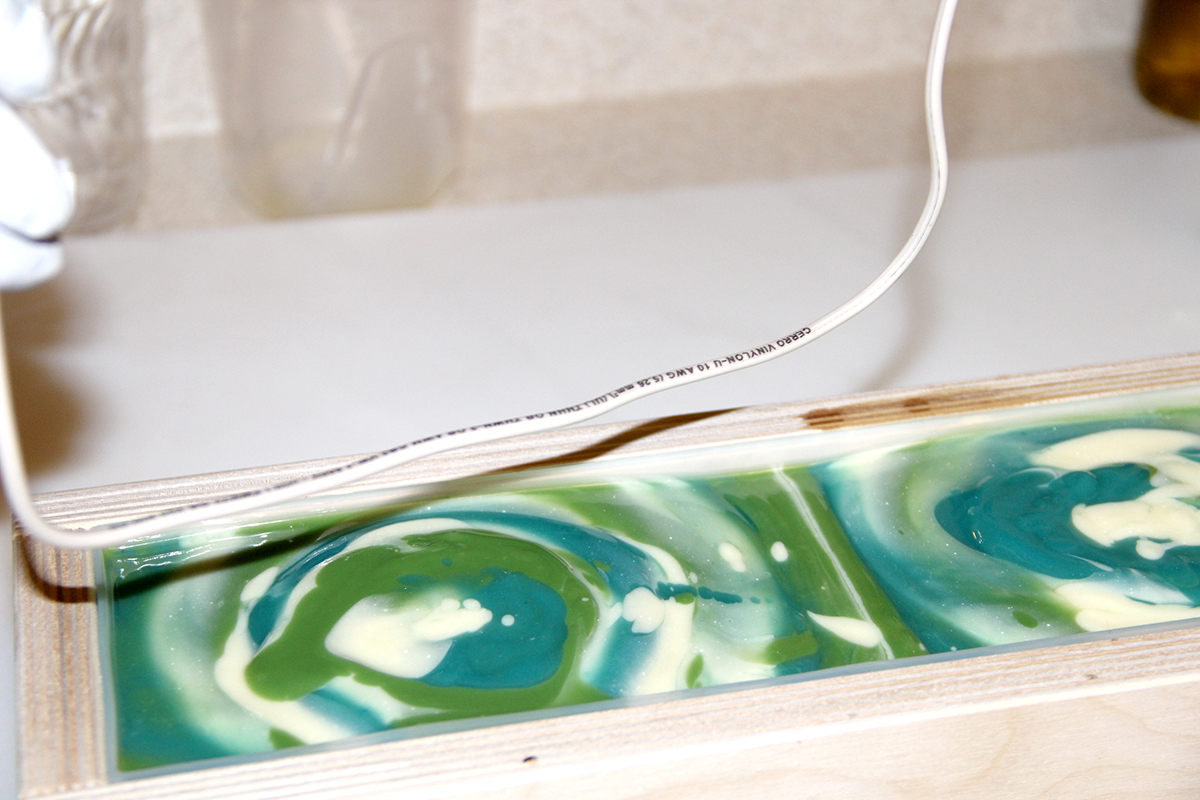
Step 9 – Since the mold is so long I faux-funnel-poured the soap into three spots, rotating through each color about 6 times.


Step 10 – Once you have all of your soap poured you’ll take the swirl tool and use it to swirl. Start by putting it down to the bottom of your soap on one side…then sweep from side to side as you pull it up and out of the mold. I only did it on one side so I could see the difference between using it and not.
Then you can take a craft stick and swirl the top if you want.


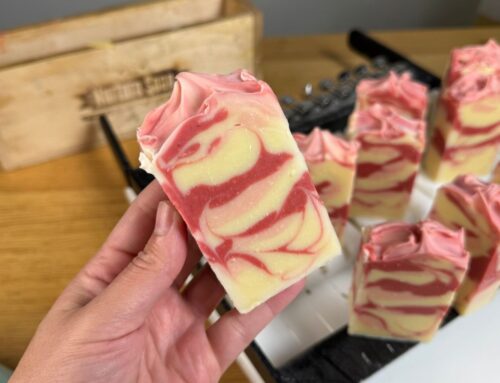
After 24 hours, cut and cure your soap for a minimum of 4 weeks.
Get Pure Soapmaking here and if you want to really treat yourself, get this kit!

-Happy Soaping!
Amanda Gail


Hi, when mixing clays/colourants before adding to the main mixture, would I mix with the oils before adding the lye or would I take some from the mixed batch of oils/lye, to mix with the colours? Hope this makes sense!
You could do either! I would use fresh oils just so the uncolored soap would have plenty of superfat. 🙂
Hi, so u mean use fresh oil to mix clays etc then add to mix at trace?
Your faux funnels look a whole lot better than mine! Even before the swirl. Thanks for the post ?
What is the difference between using zinc oxide and titanium dioxide? Is it easier to mix and not leave white specks? Does it cause glycerin rivers like TD can?
I do not think so, Margaret when the colors are pastel it is not gelled, I love the swirl, thank you Amanda
did this go through the gel stage?
Hi Margaret! No gel phase.