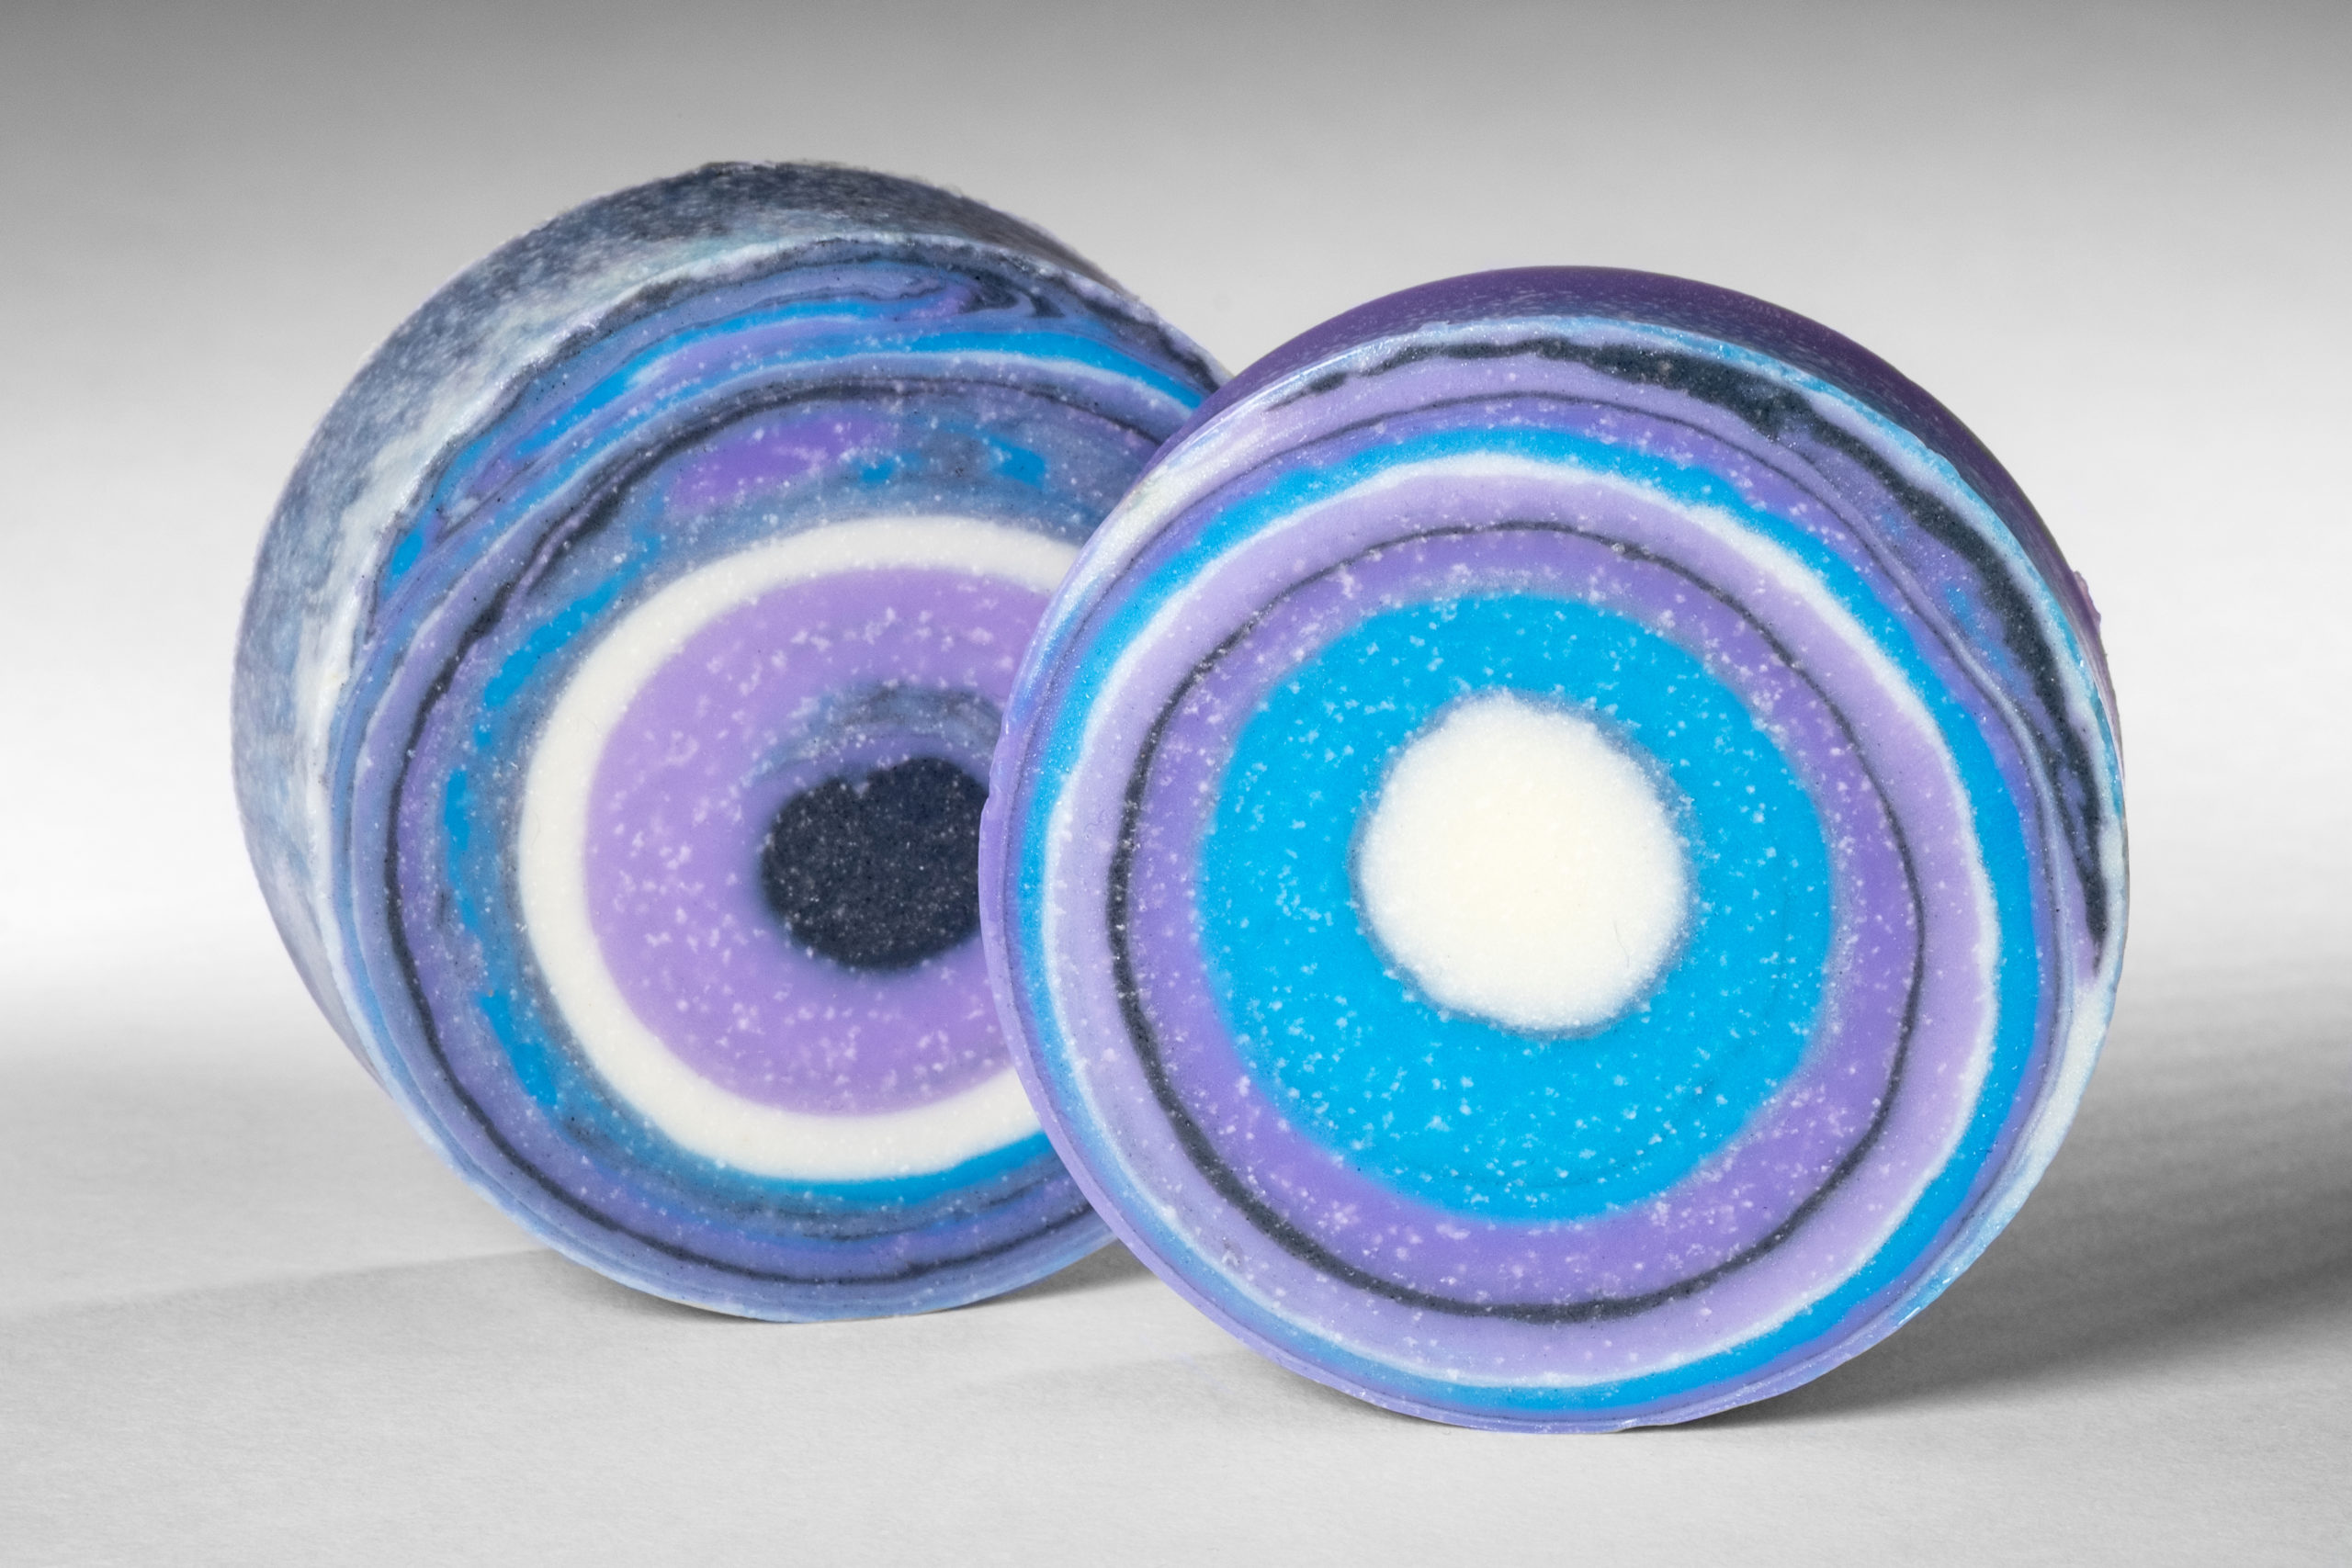
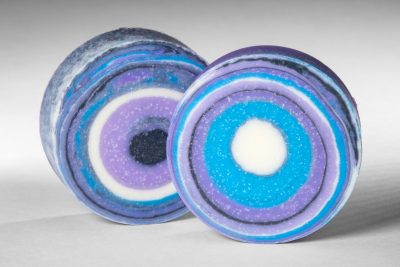
A funnel pour is probably one of my favorite soap designs. It is so easy and looks great poured into a loaf mold. But I really like pouring into a round column mold or PVC pipe. The resulting design is absolutely stunning. As you pour, concentric rings are formed.
(Disclosure: Some of the links below are affiliate links, meaning, at no additional cost to you, I will earn a commission if you click through and make a purchase.)
Funnel Pour Soap Design Recipe
You’ll want to use a slow moving recipe so that you have time divide and color your soap. In case you need one, here is a slow-moving palm-free cold process soap recipe, perfect for this design. It fits in a 9” tall 3” wide PVC pipe.
- Coconut oil – 10 oz.
- Shea butter – 2 oz.
- Olive oil – 12 oz.
- Avocado oil – 2 oz.
- Rice bran oil – 6 oz.
- Sodium Hydroxide – 4.5 oz.
- Water – 9 oz.
Colorants from Mad Mica!
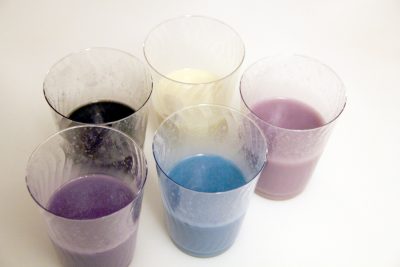
- Grape Nehi Mica – 1/4 teaspoon
- Harold’s Purple Crayon Mica – 1/4 teaspoon
- Key West Blue Mica – 1/4 teaspoon
- Activated Charcoal Powder – 1/4 teaspoon
- Snow White Mica – 1/2 teaspoon
Scent
- Lemongrass Essential Oil – 1 oz.
You can use your favorite slow-moving fragrance oil if you don’t want to use lemongrass. If you’re looking for a good place to get essential oils, I HIGHLY recommend Appalachian Valley Natural Products. I love their products and their shipping is super fast!
Safety Warning: Let’s make soap! If you are new to soapmaking, be sure to download our free guide, How to Make Cold Process Soap! Gear up in your gloves and your safety glasses.
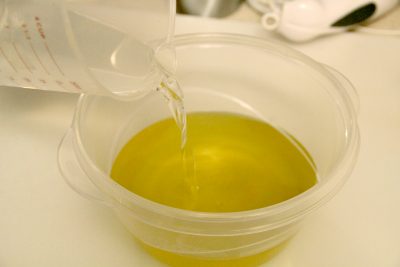
Step 1 – Create your lye solution and set aside to cool.
Step 2 – Weigh and melt the coconut oil and shea butter.
Step 3 – Add the liquid oils to the melted oils. This helps to cool the temperature of your base oils down.
Step 4 – Add your fragrance or essential oils to the base oils.
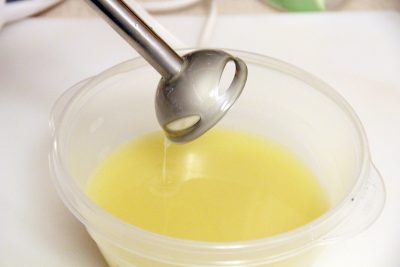
Step 5 – Once your lye solution and oil mixture are down to 90° F, emulsifiy the mixture. You don’t want to mix to trace or you might not have enough time to color your soap.
You know it is emulsified when it is the same color and opaque. You don’t see any oil streaks in the mixture.
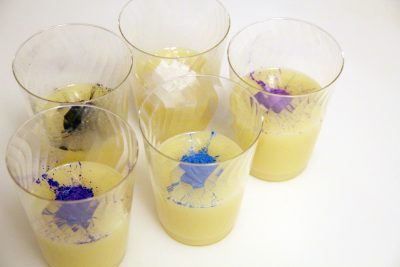
Step 6 – Divide your mixture out into separate containers. You don’t have to be precise. You can just eyeball it. Color each a different color.
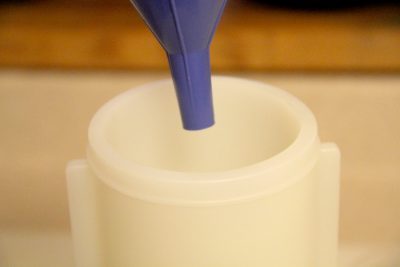
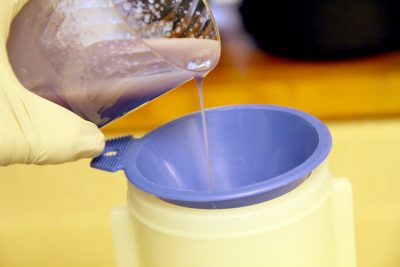
Step 7 – Holding a funnel over your mold, pour a bit of each color into the mold. Repeat until you fill the mold. Longer pours will create bigger/thicker rings and shorter pours will create thinner rings.
The funnel helps to keep your soap pour centered so that it falls in the middle of the mold.
Step 8 – Let your soap saponify for 24 hours. Unmold and cut. Let cure for a minimum of 4 weeks.
Happy Soaping!
Amanda


Hi,
I’m wondering what the little white flecks are in the soap? I’ve noticed some of my soap has them too but I’m not sure what causes it. Can you explain?
Thanks!
This looks really cute! The ingredients it’s containing is are really nice. I would love to try this. Hope the outcome will bearable, :-p
hello, I use this technique with the tip of a pet bottle
I saw a similiar idea which, I would love to try; just gathering up my supplies, right now. It’s just like this technique, except I saw someone use a plastic dish strainer instead of the funnel. So instead of each colored batter pouring in a single stream to form circles, it would pass through a striped plastic object. I believe the strainers were at Walmart. The dish strainer is all plastic with a 1″ silicone flower-petal lip, that fits on the 3″ PVC tube perfectly. Love the technique!