
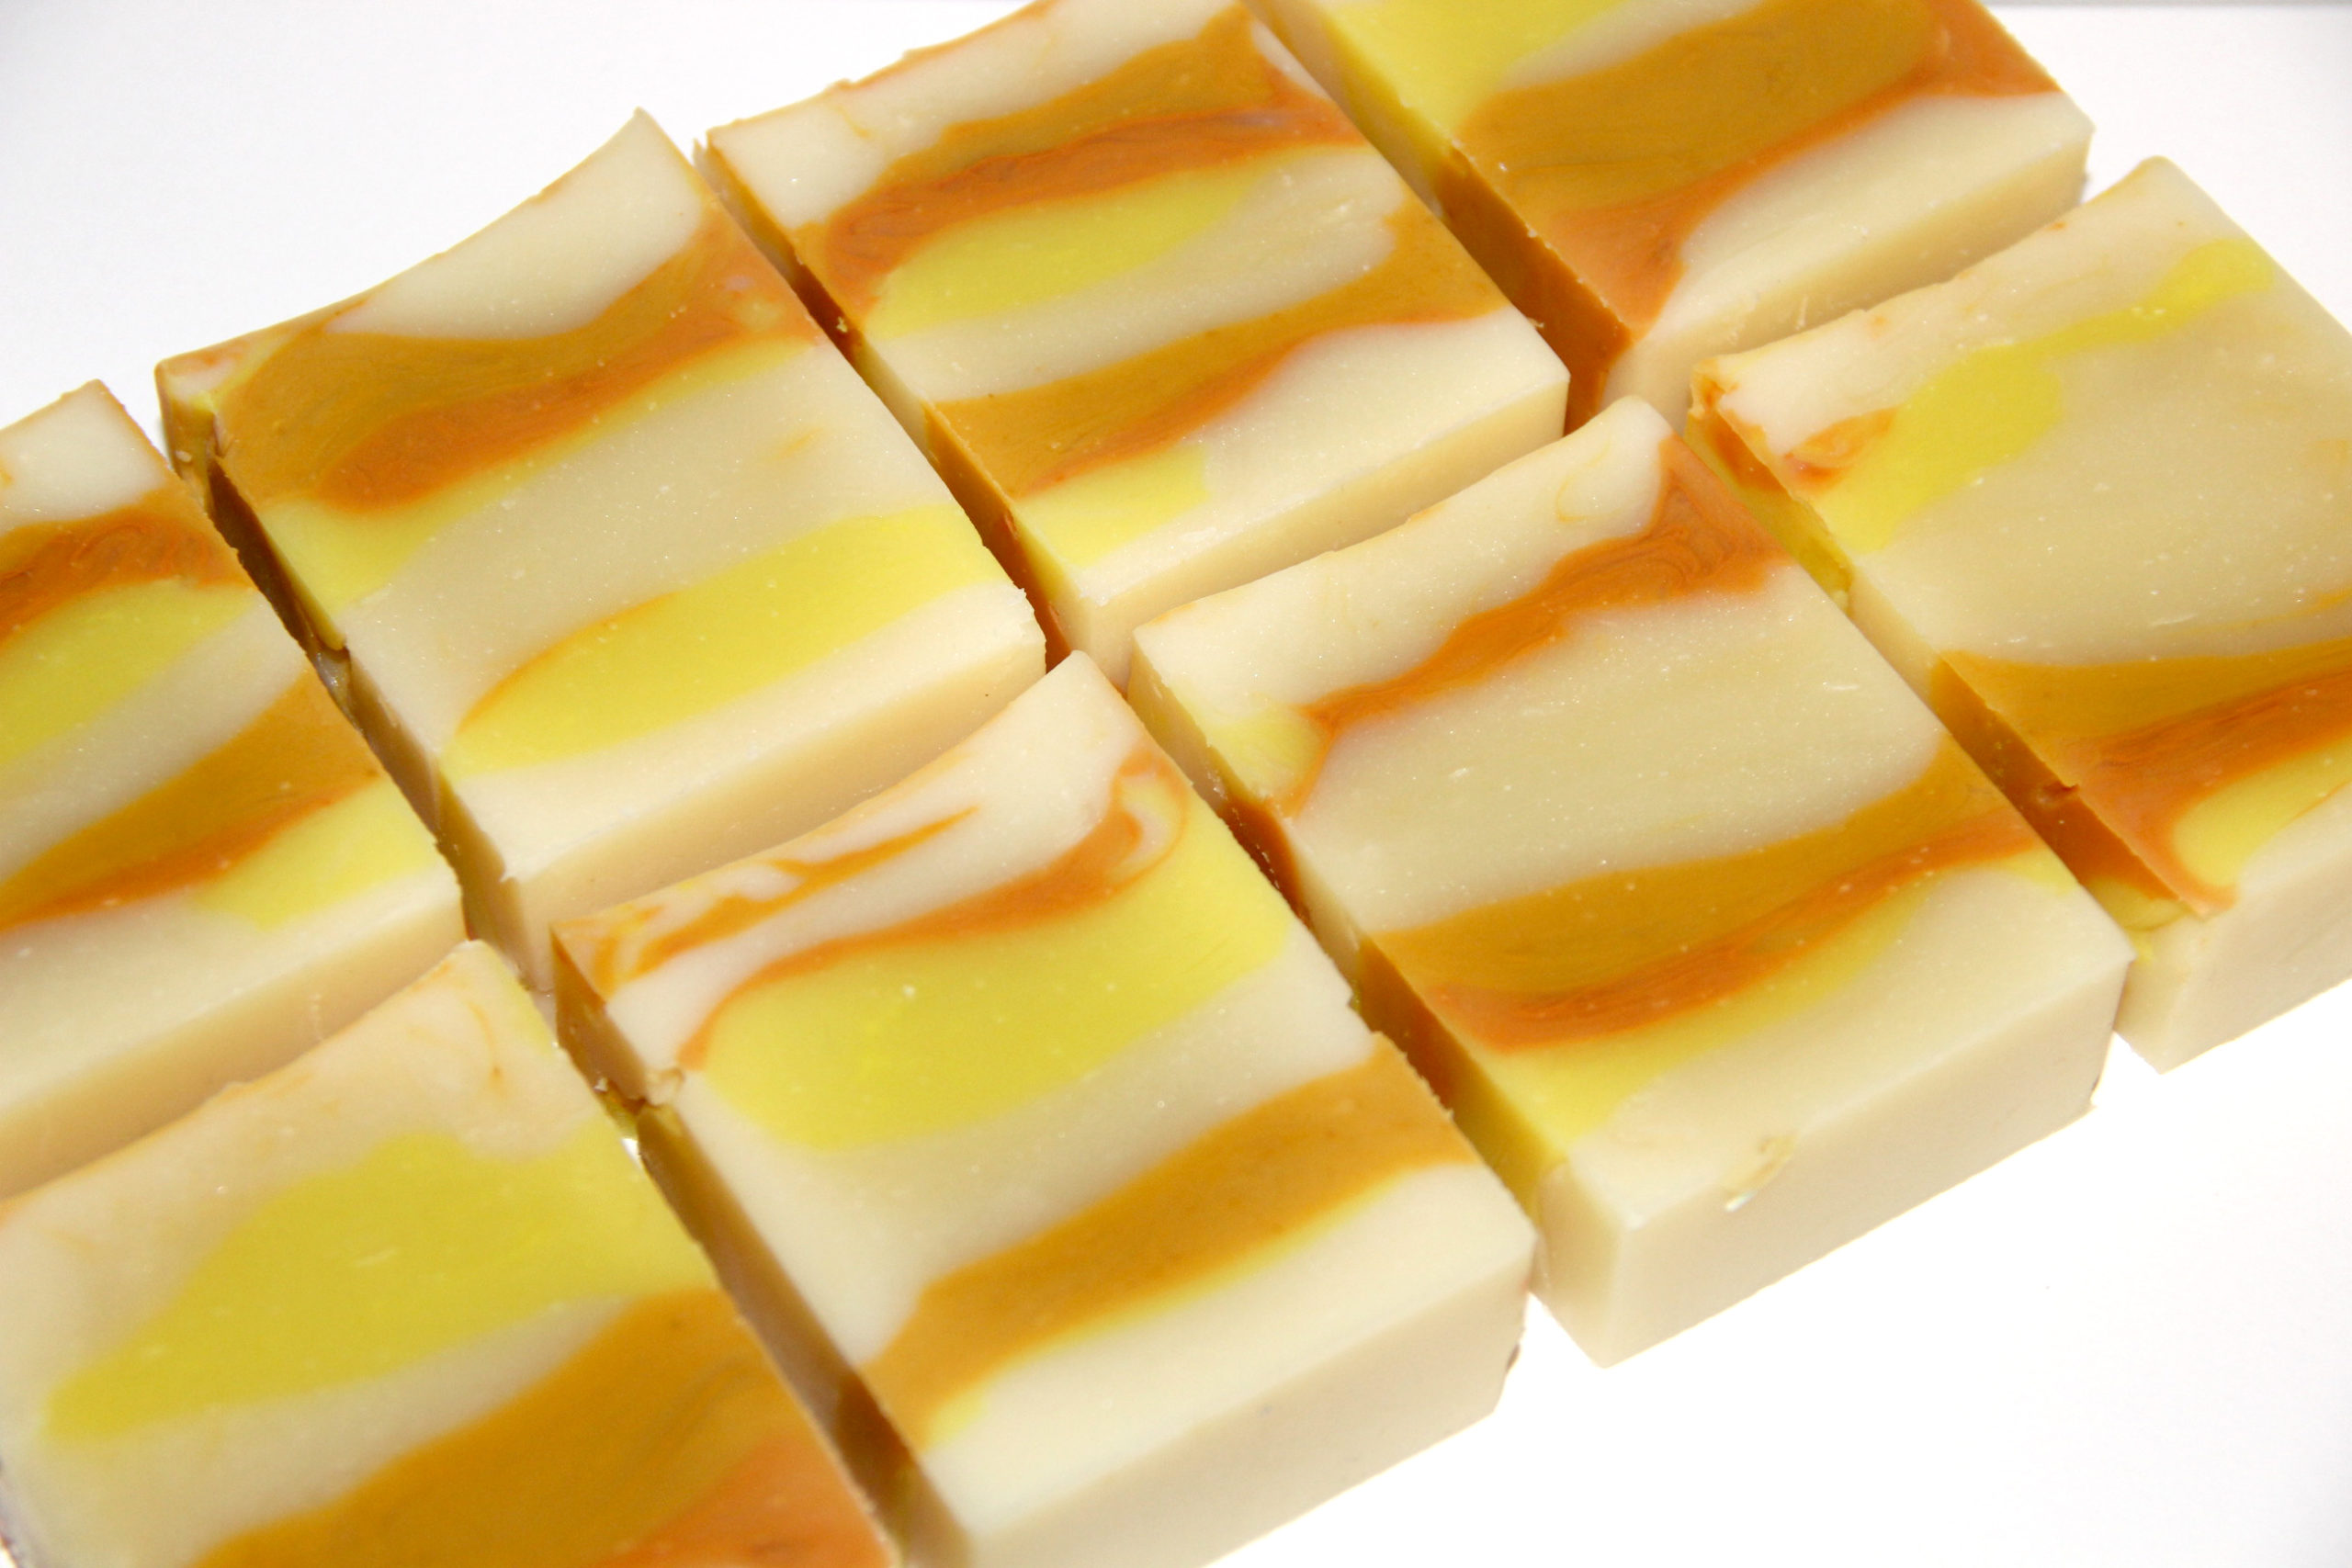
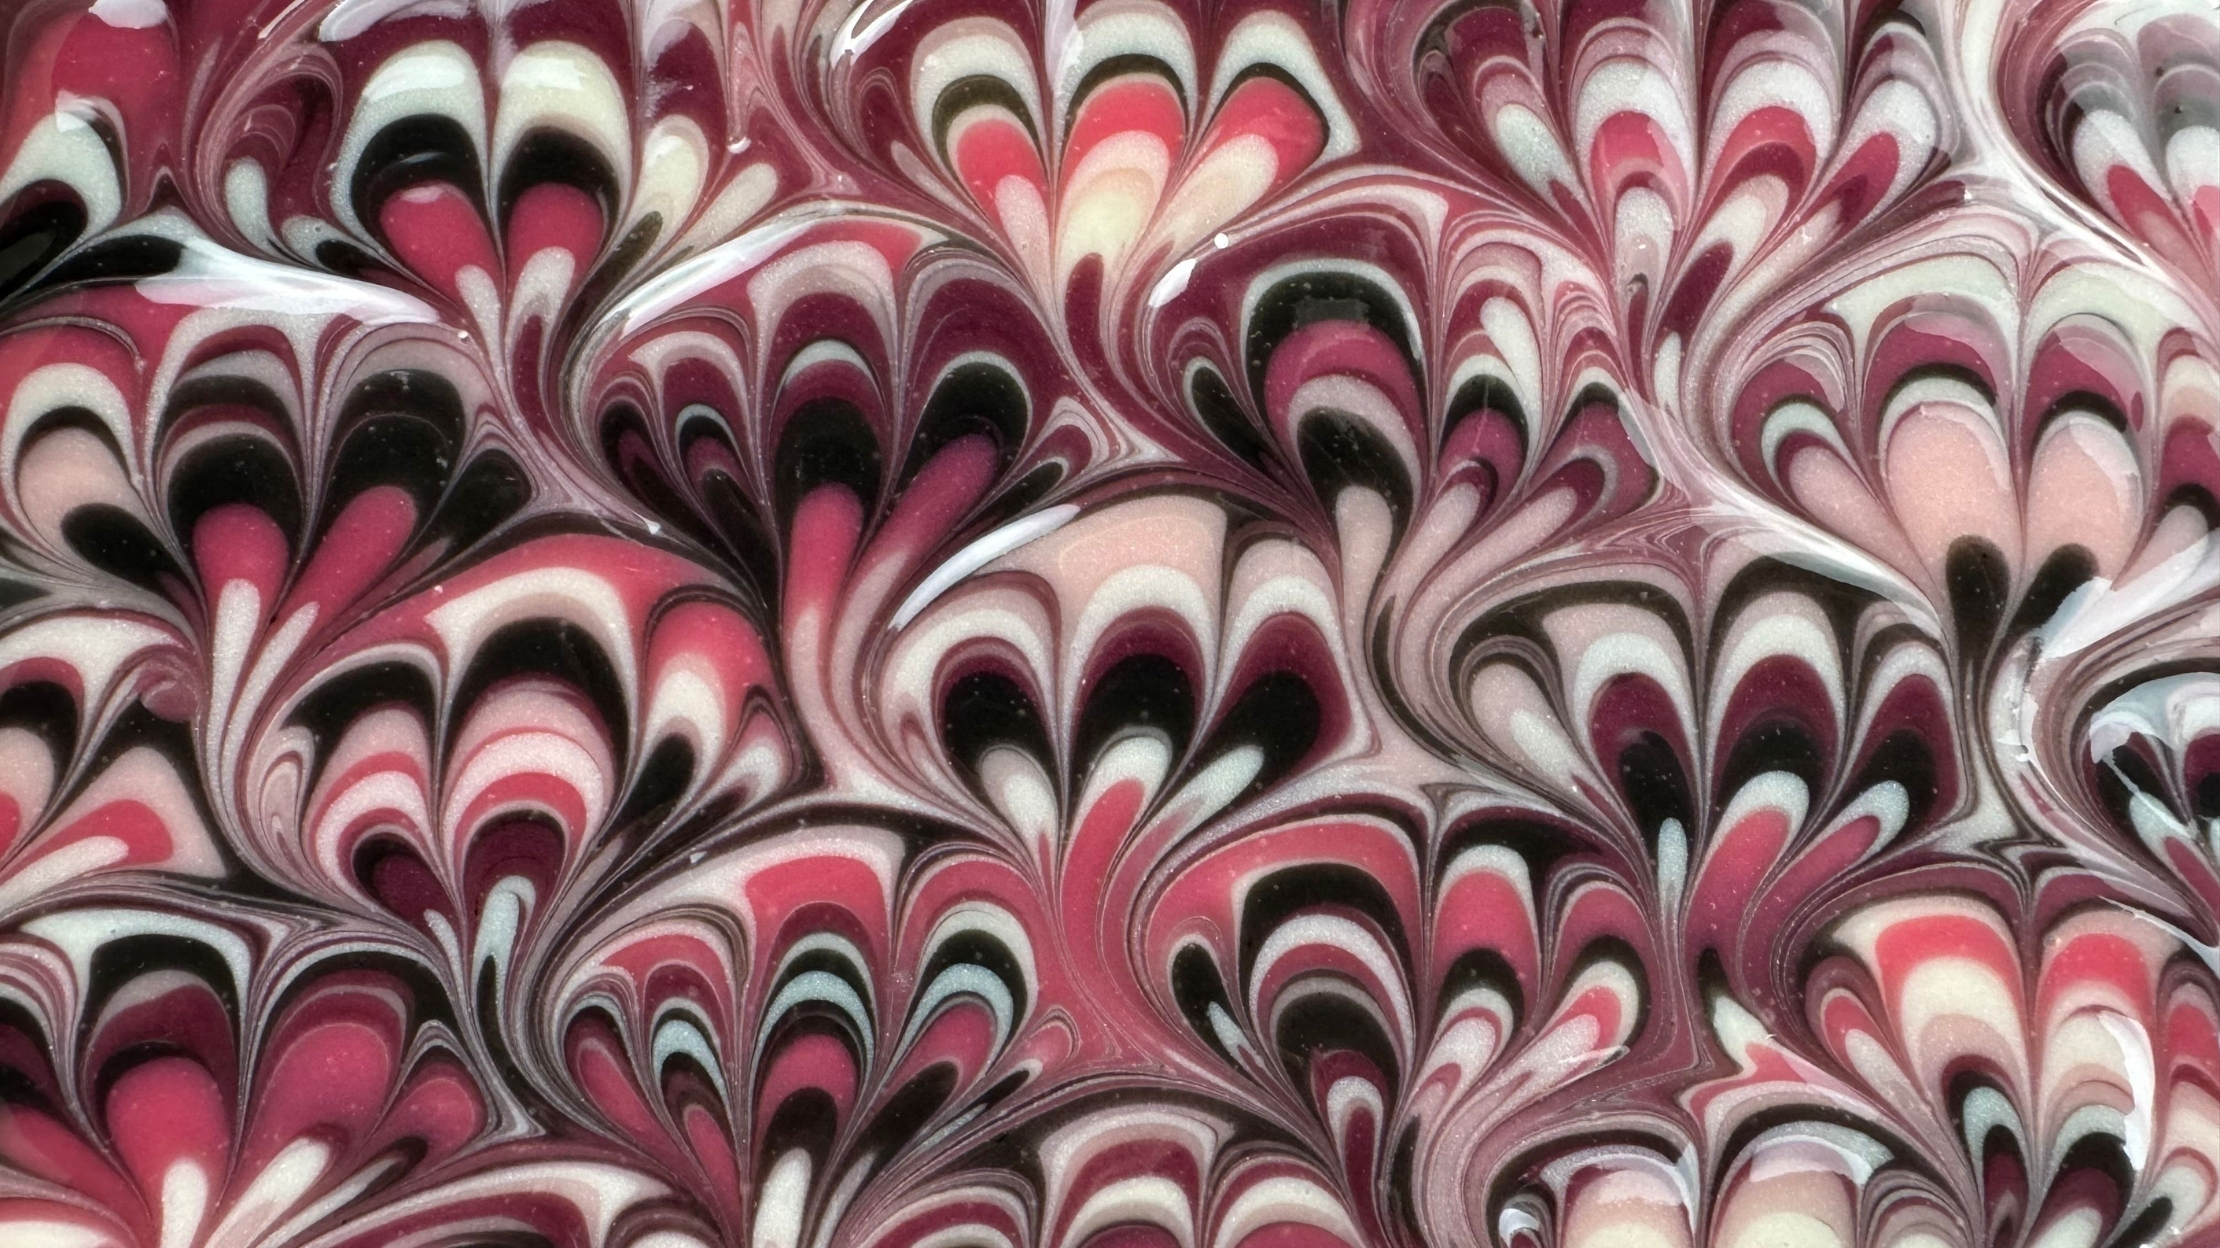
This is my second yellow soap design for Bramble Berry’s #SoaptheRainbow series. For a yellow soap design using natural colorants, check out Natural Calendula and Yellow Brazilian Clay Soap Design.
I had the intention of creating a drop swirl with these colors, but the super yummy smelling Lemon Verbena fragrance oil thickened the soap a bit (BB warns that it does on the fragrance page). So what design is good for thicker soap? The plop design of course! For a pumpkin and goat milk plop design soap, check out How to Make Pumpkin Goat Milk Soap + Plop Swirl (Spoon Swirl Soap) Tutorial.
Let’s make soap!
Safety Warning: This recipe is for soapmakers who have a basic knowledge of the soapmaking process and know the correct safety procedures to use when handling lye. If you are new to soapmaking, visit our free soap making guide or check out our Basic Soapmaking eBook. Be sure to wear safety goggles and gloves while soaping.
This recipe fits into a 12″ tall and skinny silicone loaf mold from Bramble Berry.
Lemon Verbena Soap Recipe
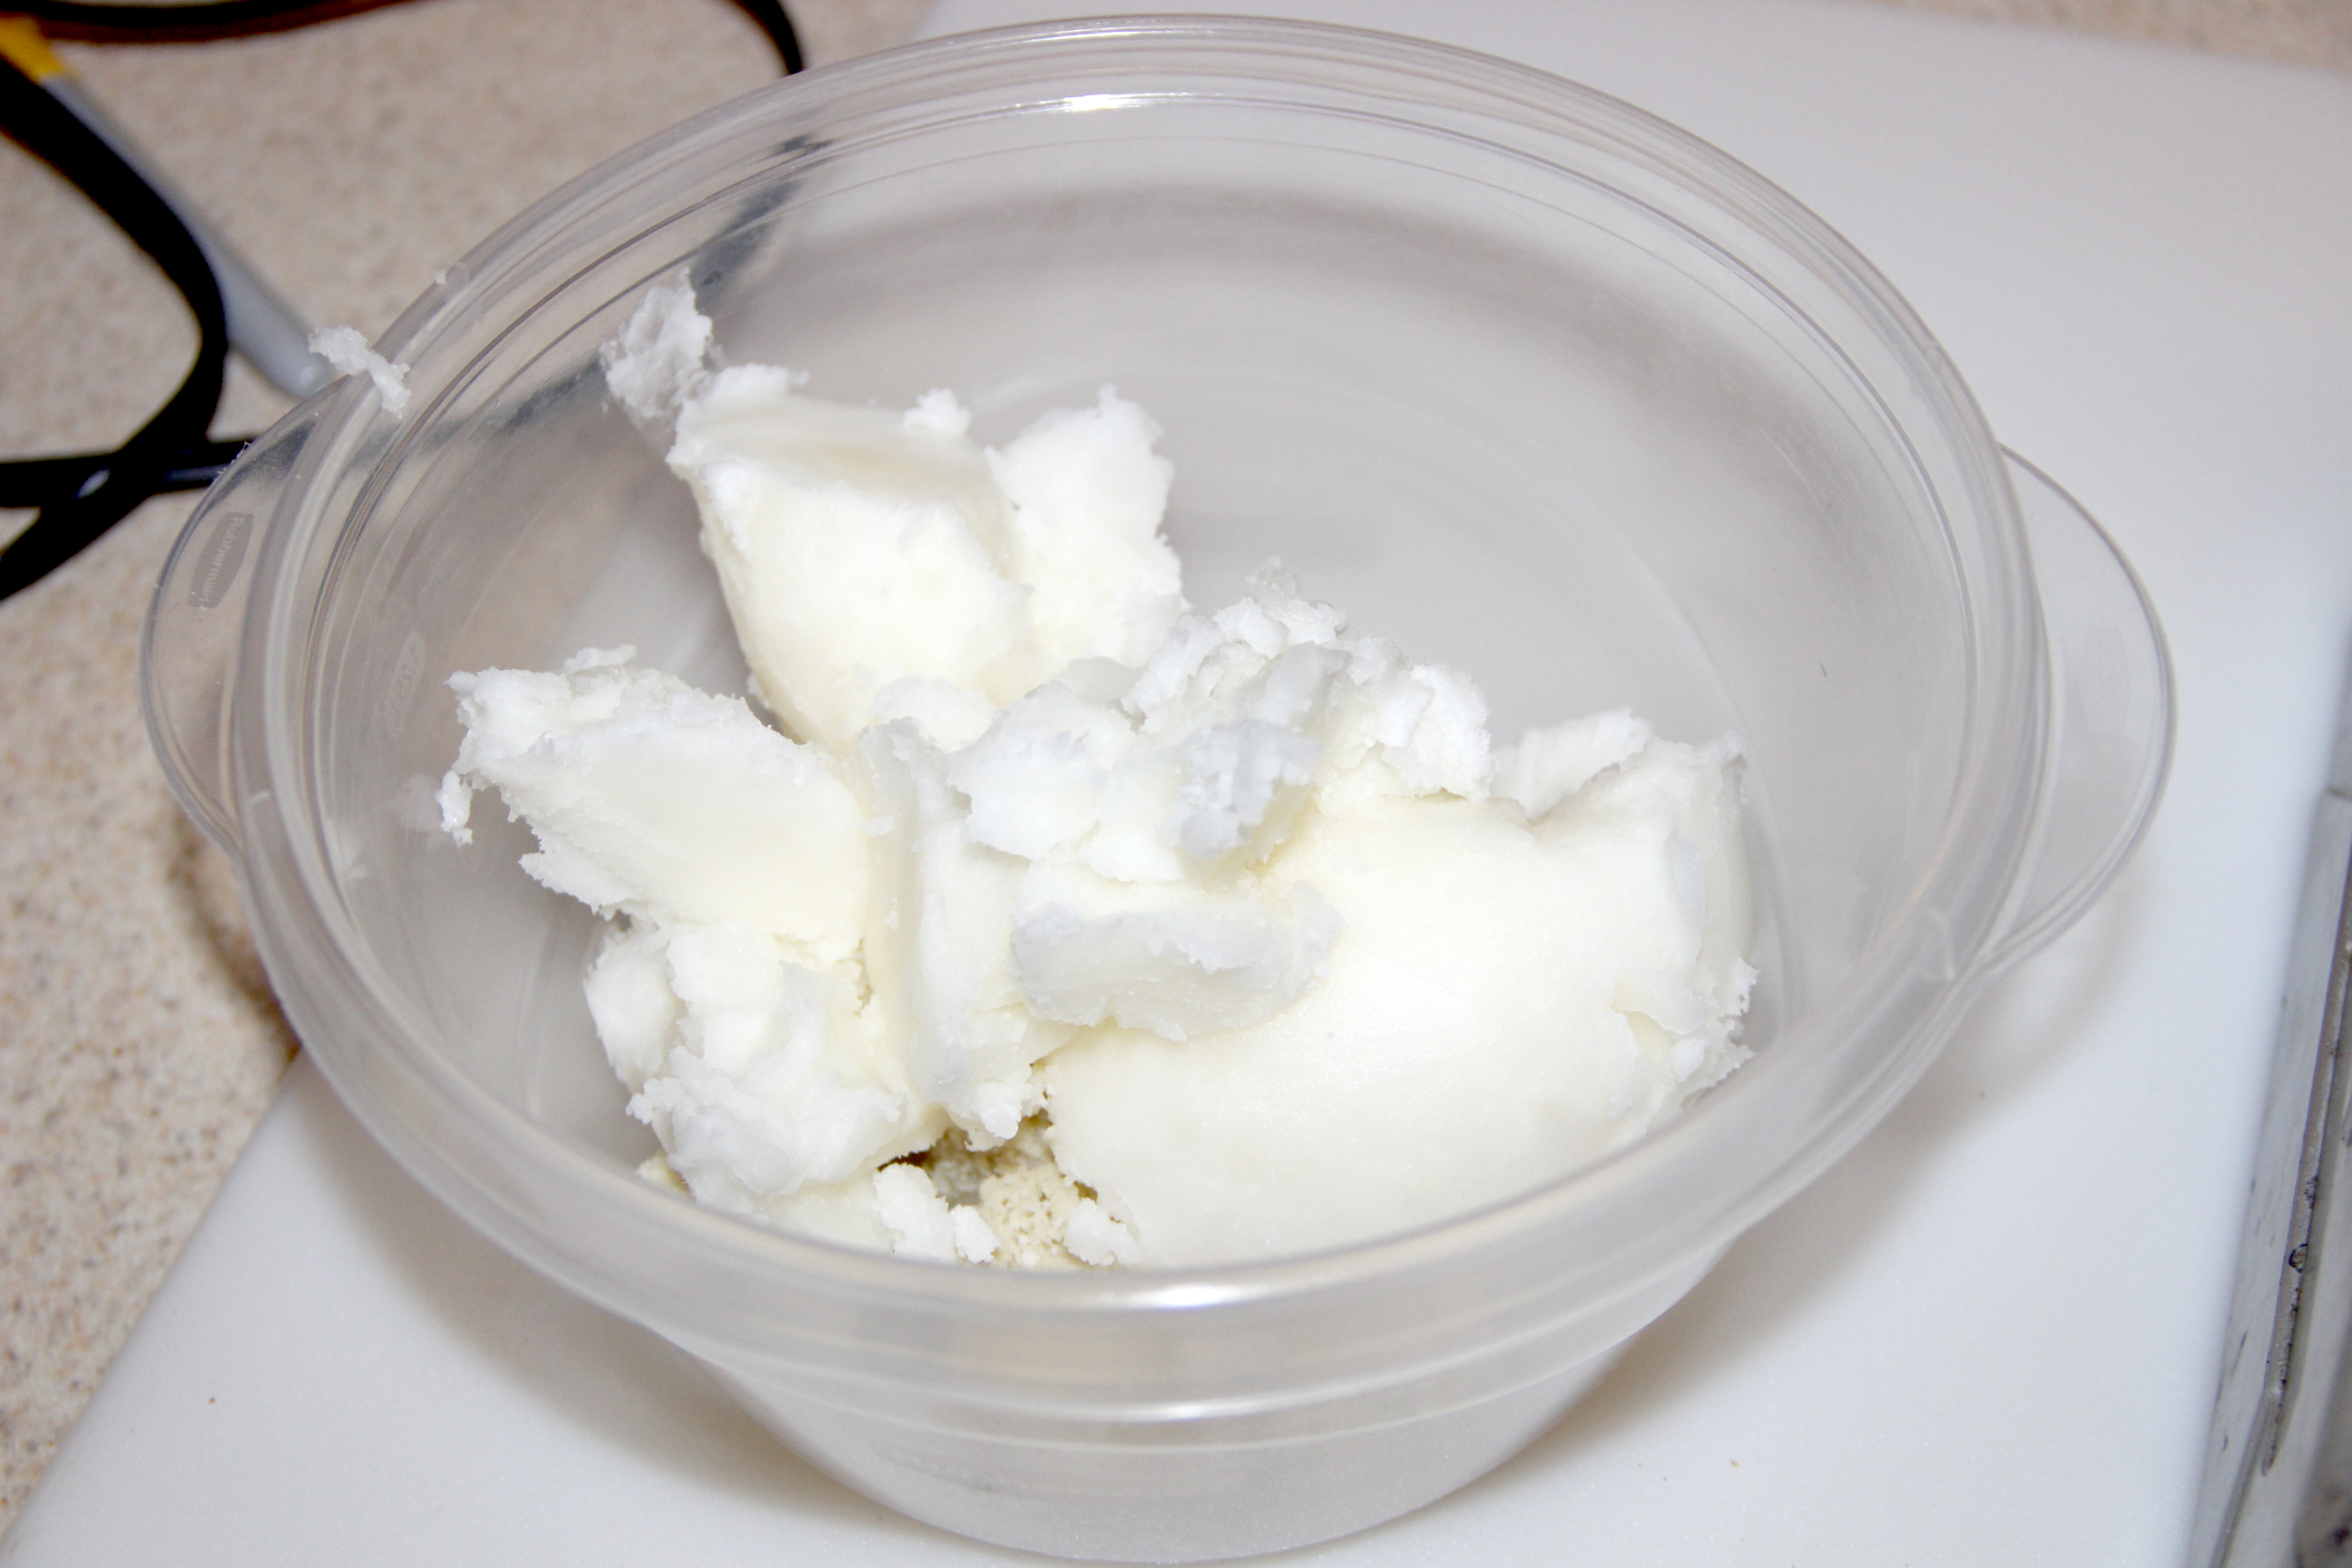
Coconut Oil – 10 oz. (31.25%)
Shea Butter – 4 oz. (12.5%)
Olive Oil – 12 oz. (37.5%)
Rice Bran Oil – 4 oz. (12.5%)
Avocado Oil – 2 oz. (6.25%)
Sodium Hydroxide – 4.5 oz.
Water – 9 oz.
Fizzy Lemonade – 1/4 teaspoon
Yellow Oxide – 1/4 teaspoon
Kings Gold Mica – 1/2 teaspoon
Lemon Verbena Fragrance Oil – 1.5 oz.
Color Prep
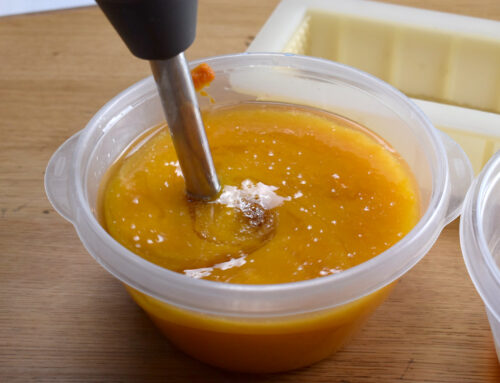
Measure each colorant into a container for mixing. Fizzy Lemonade will need to be pre-blended with some glycerin (1 teaspoon) to help it mix into your soap. I leave the mica and oxide dry and use a mini-mixer to help mix them with the soap.
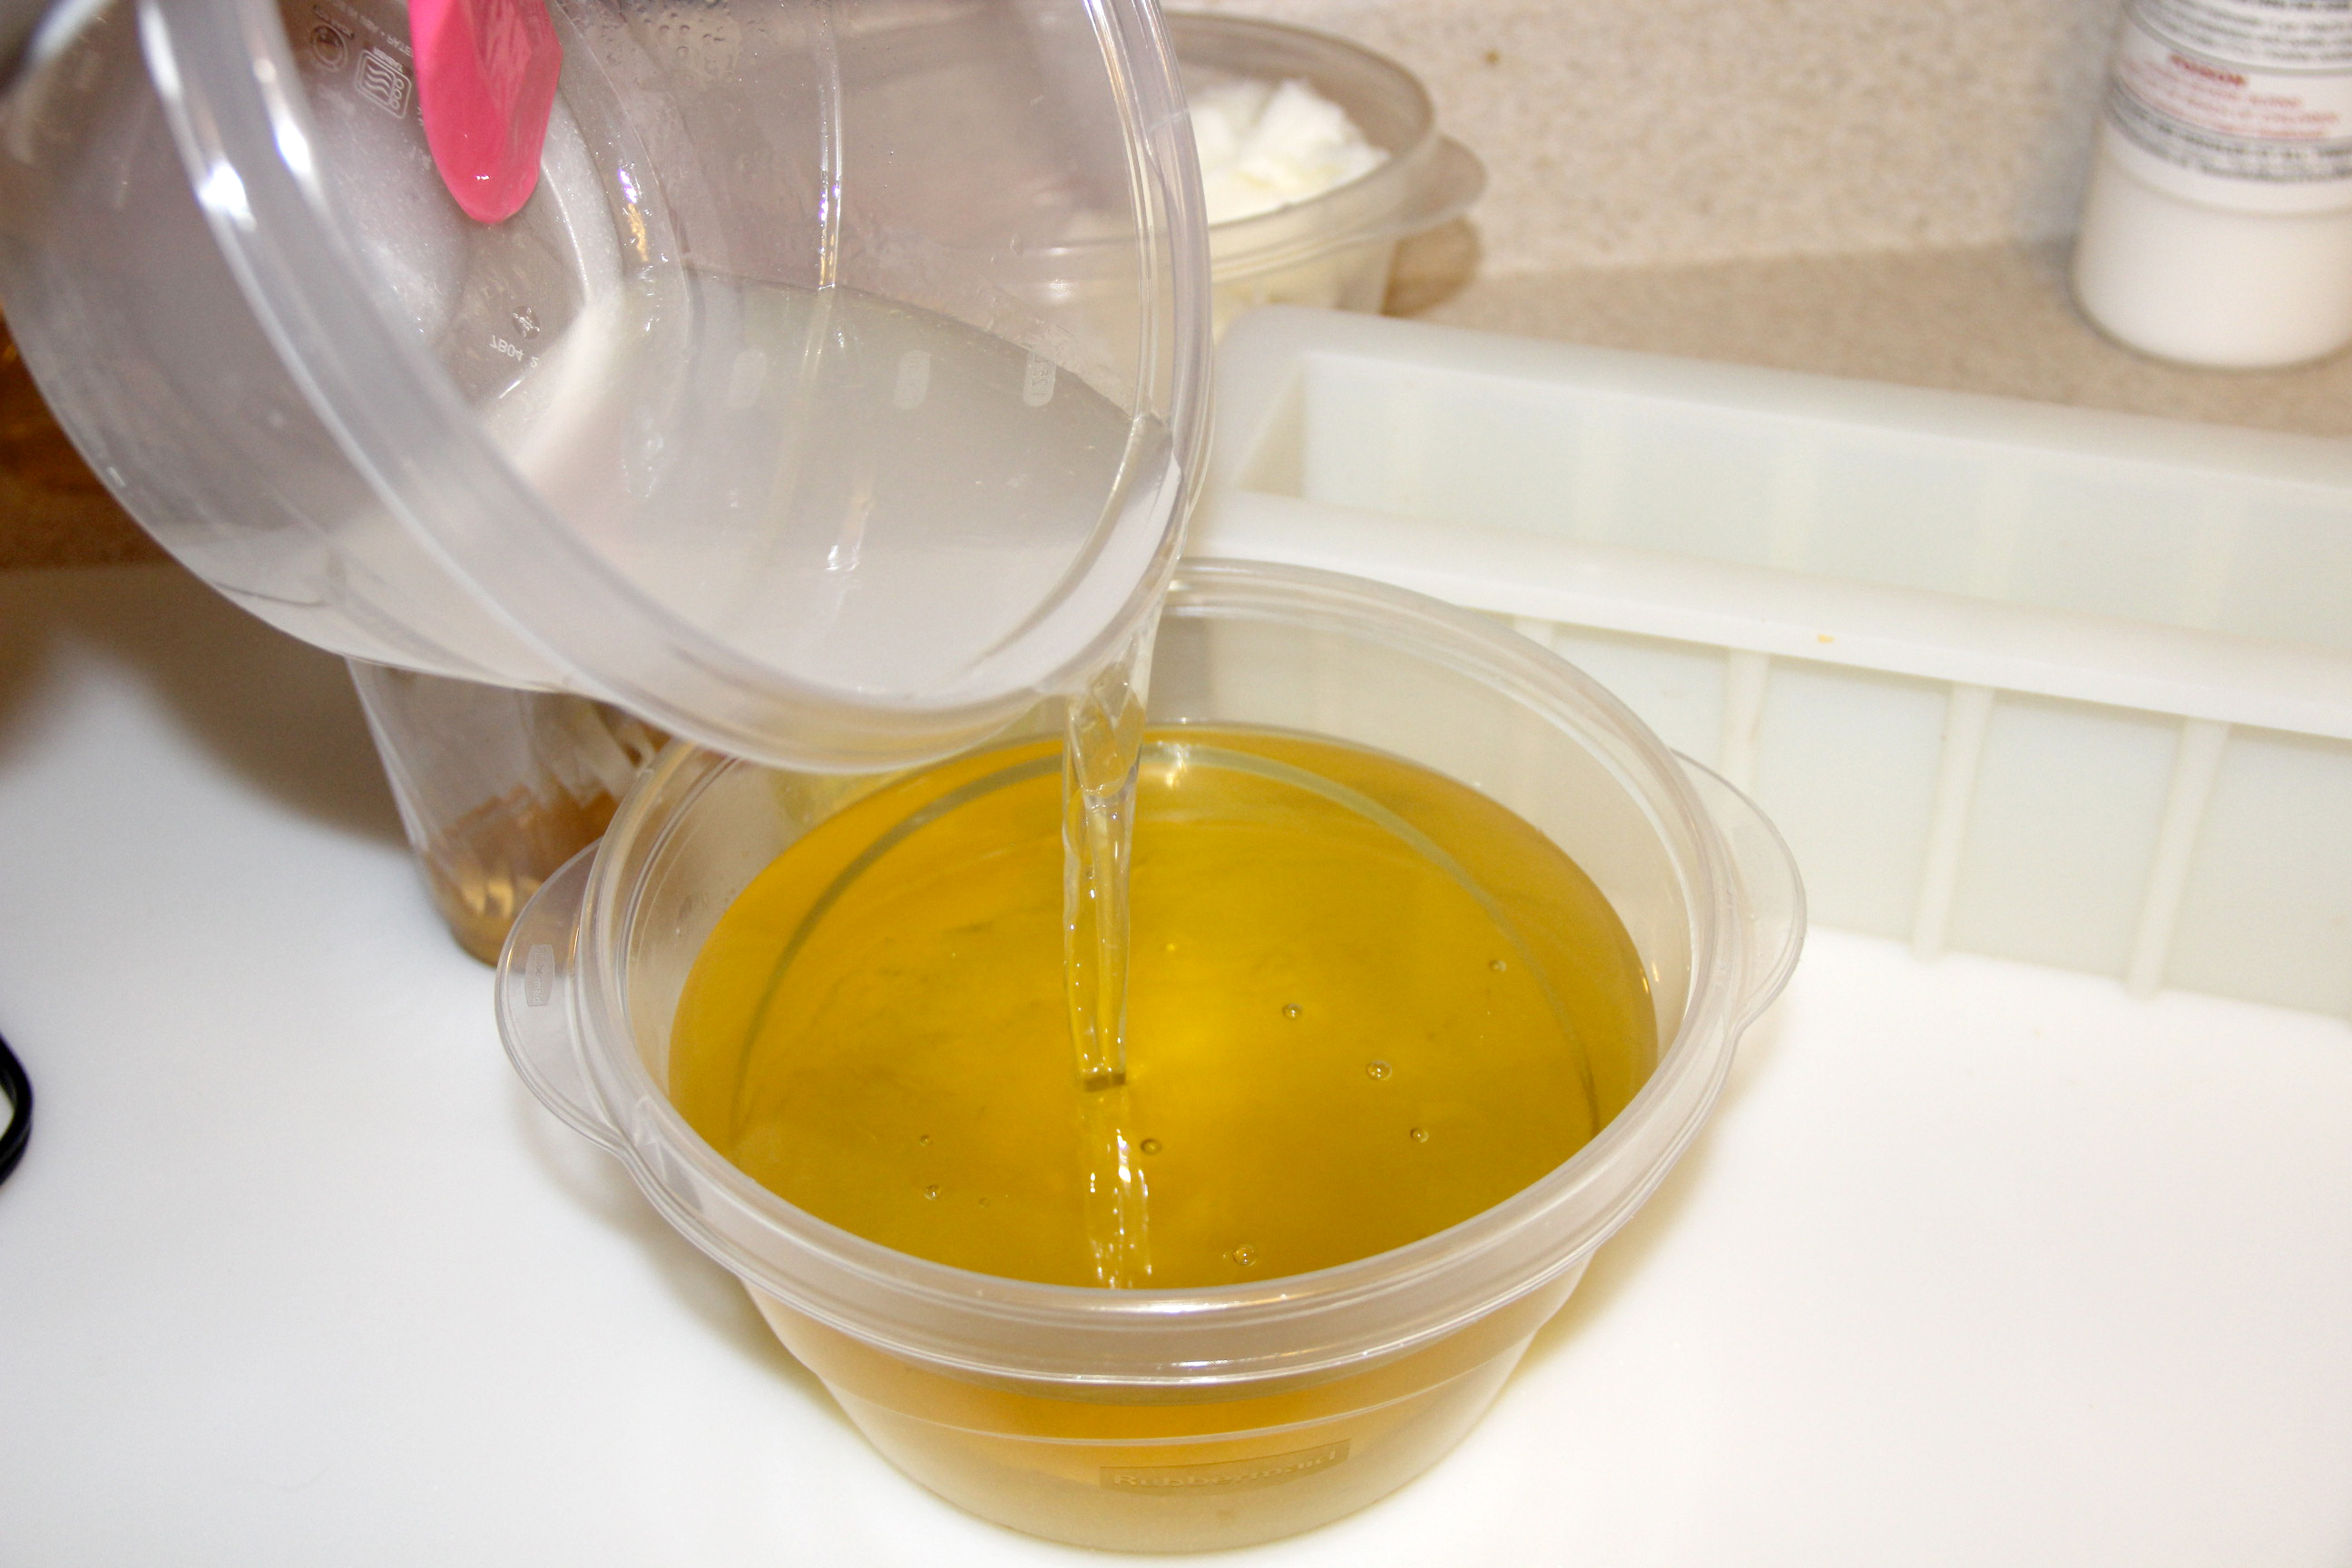
Step 1 – Create your lye solution. Weigh out the water and sodium hydroxide into separate containers.
Step 2 – In a well-ventilated area, sprinkle the sodium hydroxide into your water while stirring slowly. Stir until dissolved and set aside to cool.
Step 3 – Weigh out the coconut oil and Shea butter and melt, just until melted.
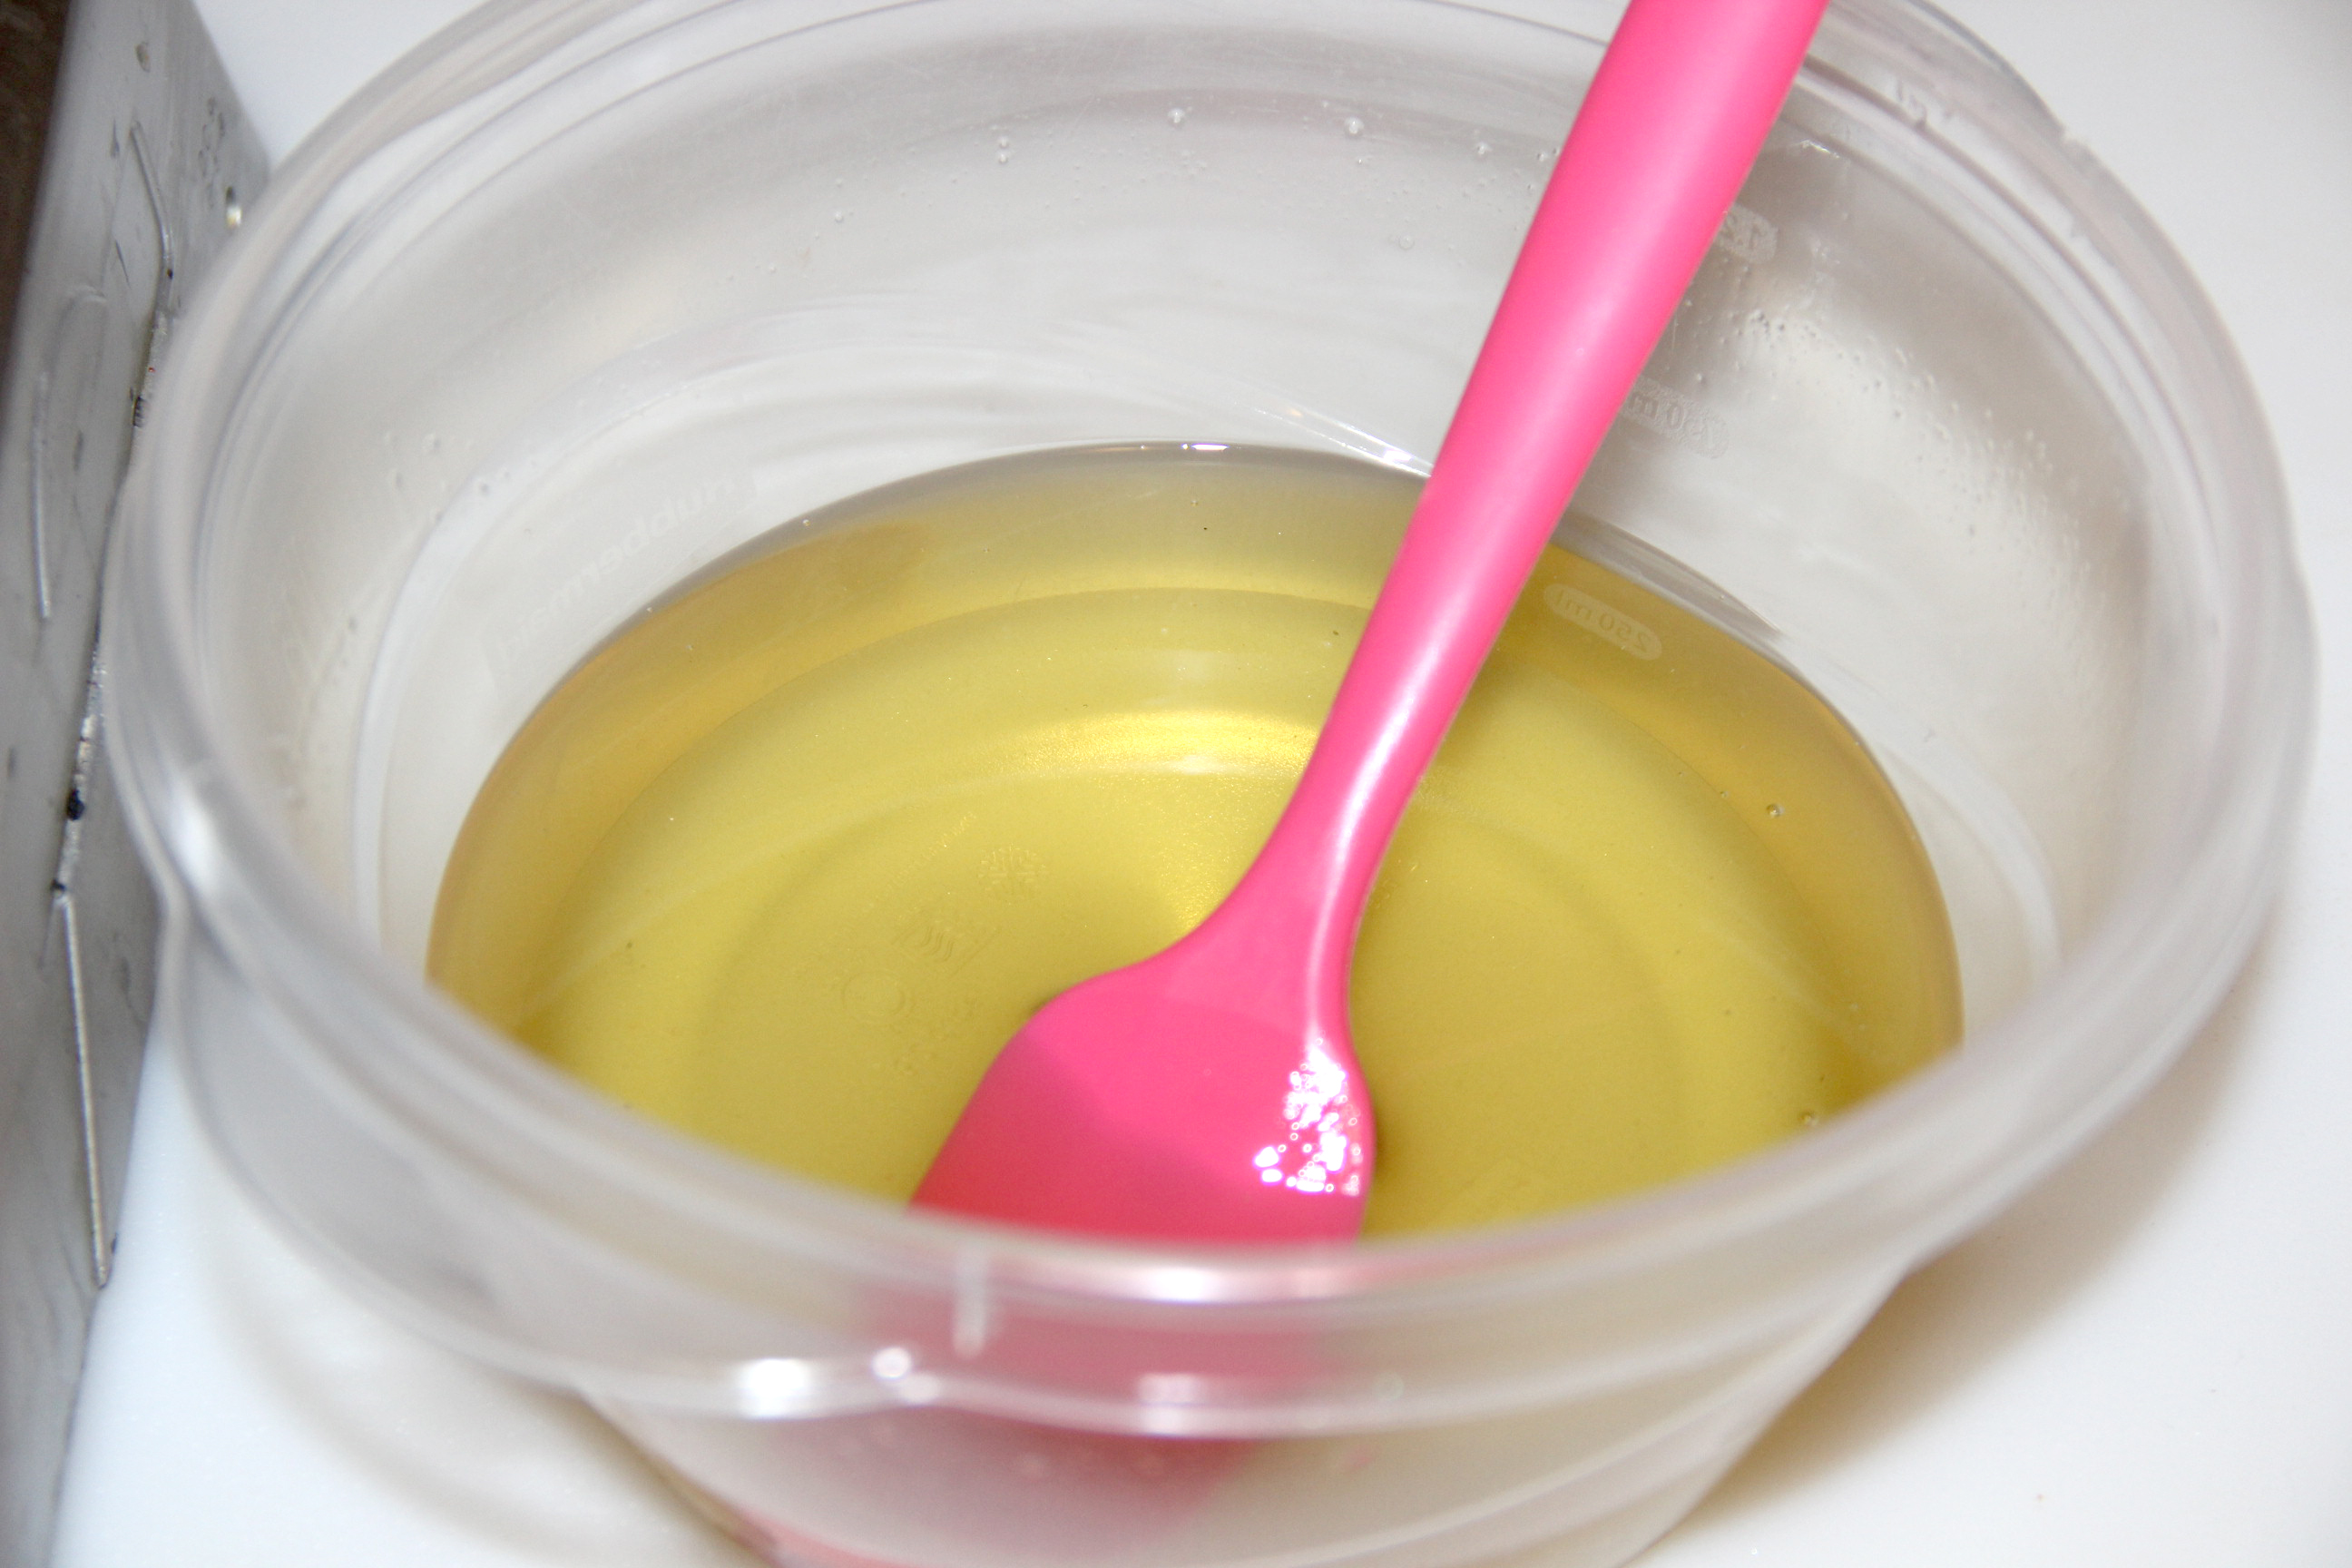
Step 4 – Weigh the liquid oils and add to the melted oils. Weigh the fragrance oil and add to the oil mixture.


Step 5 – Once the temperatures of your lye solution and oils are about 90 degrees F, pour the lye solution into oils and bring to light trace. Gear up in your goggles and gloves if you took them off to prepare your oils.
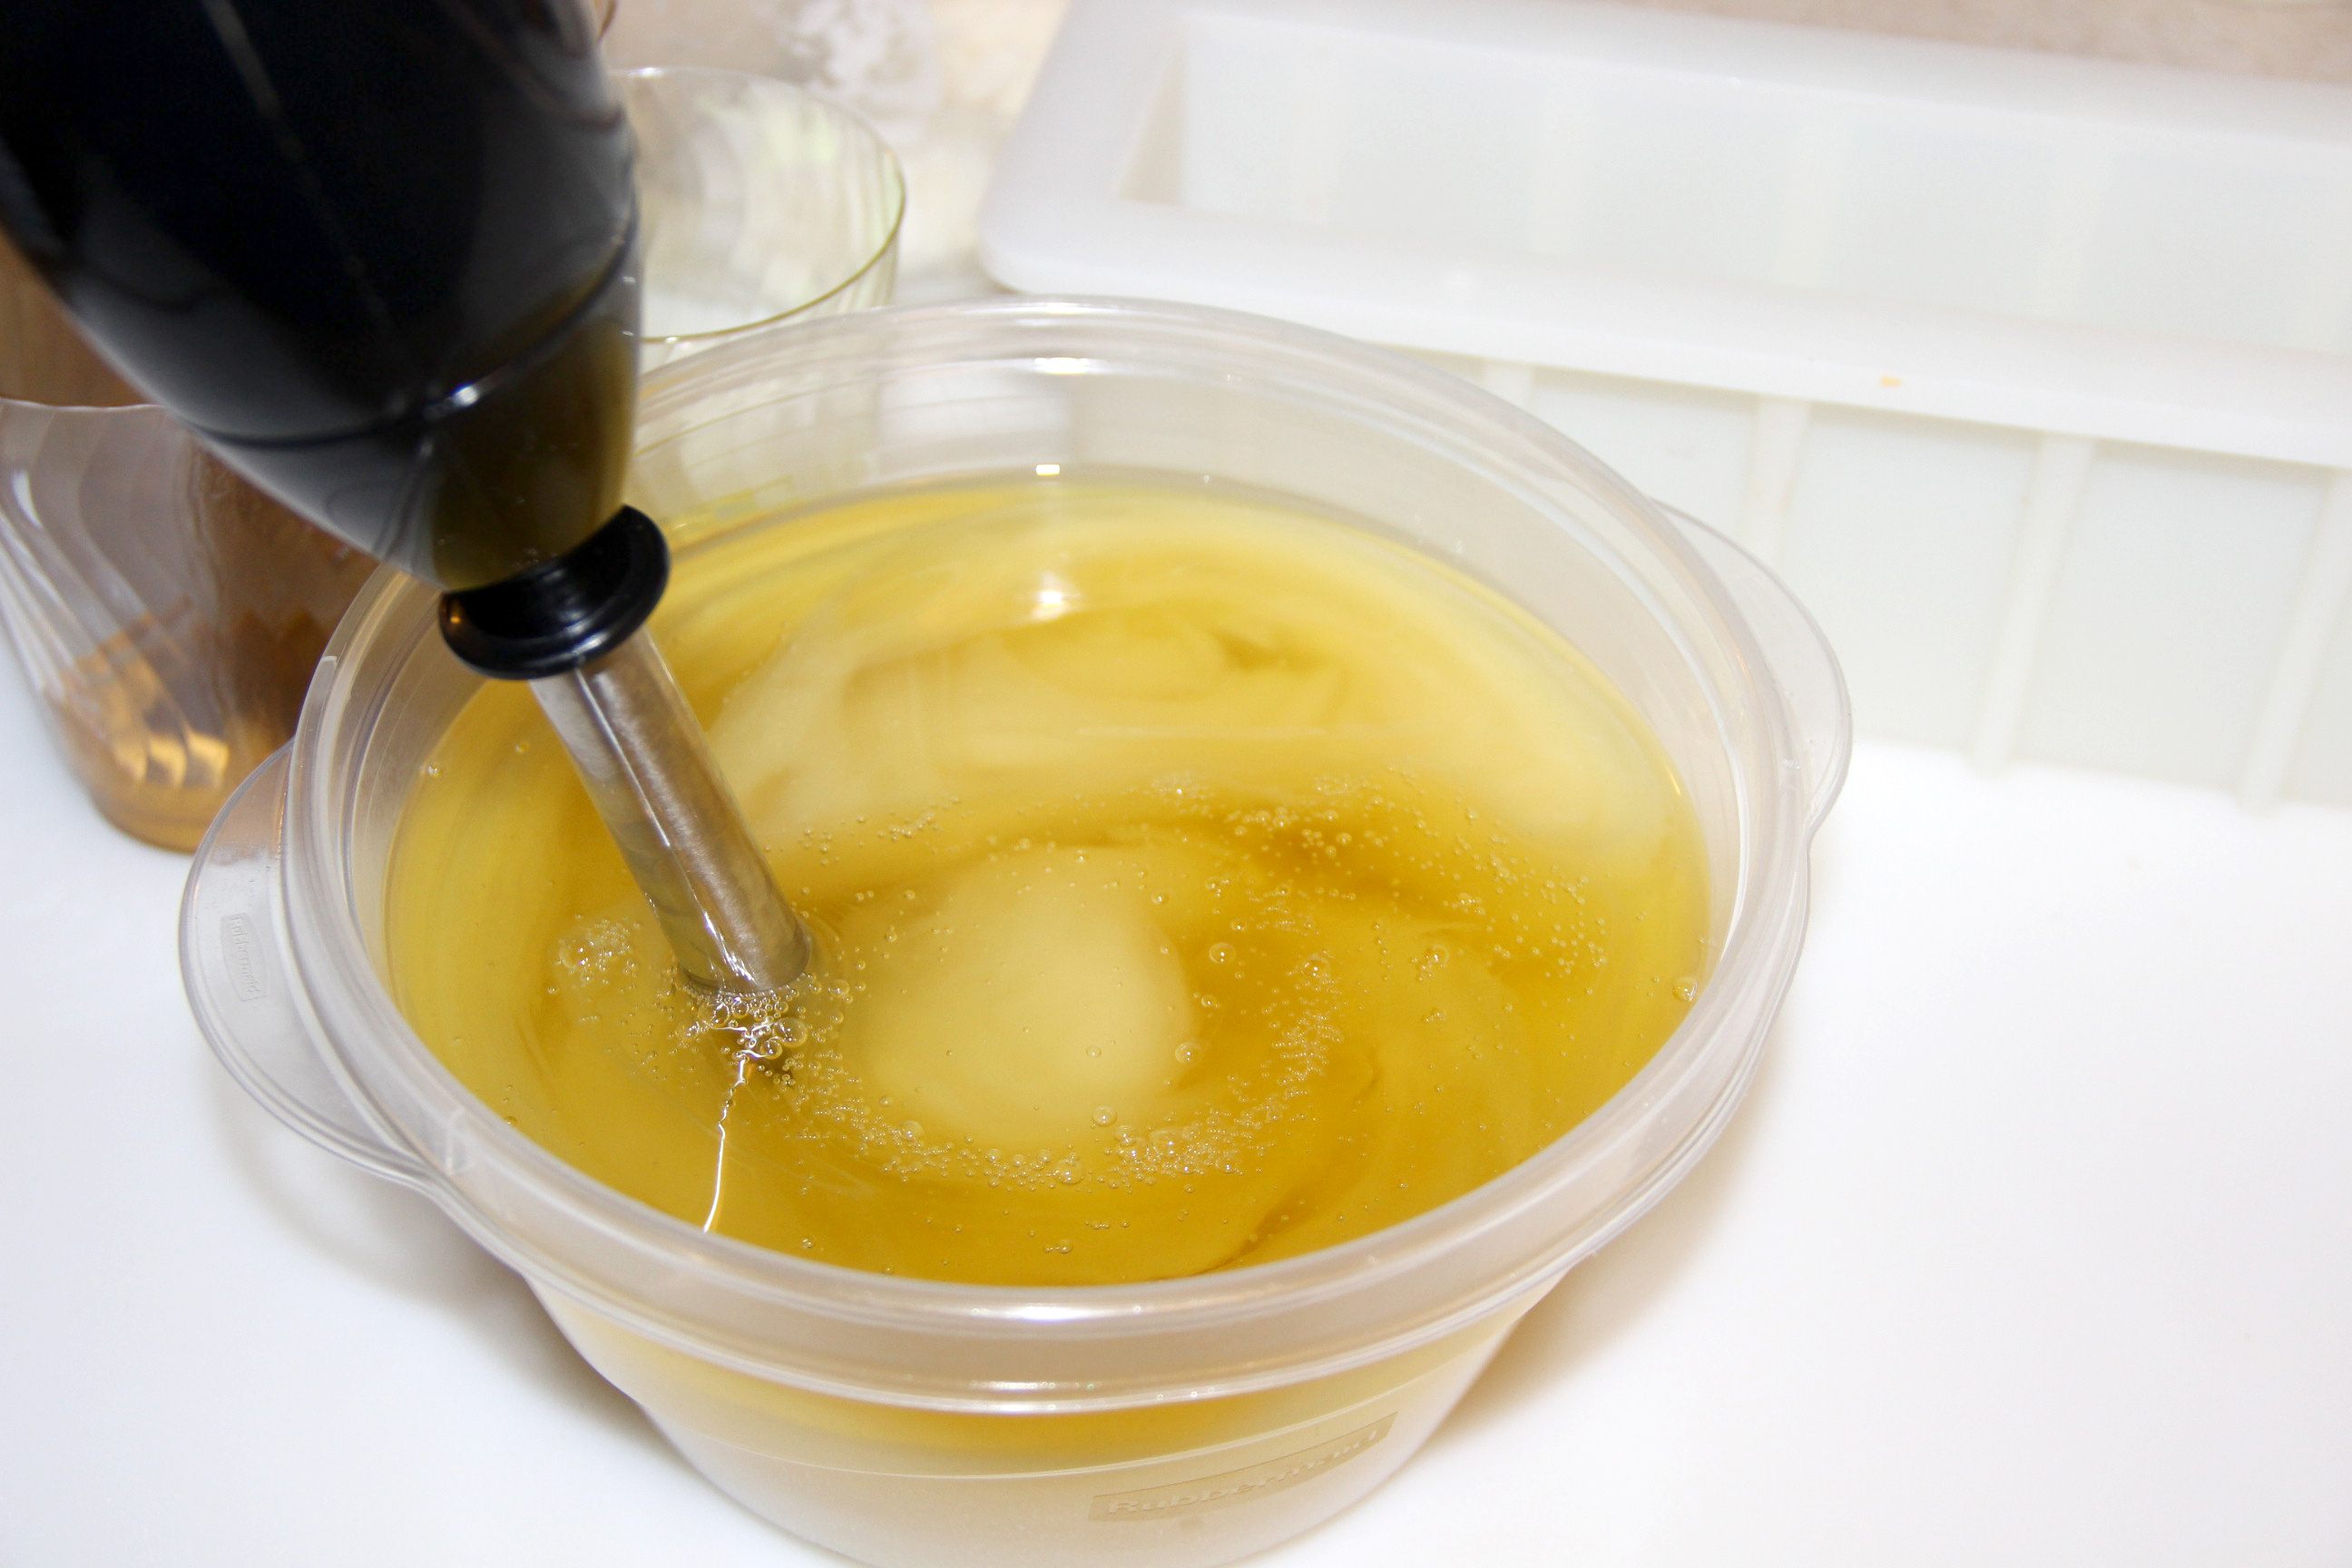

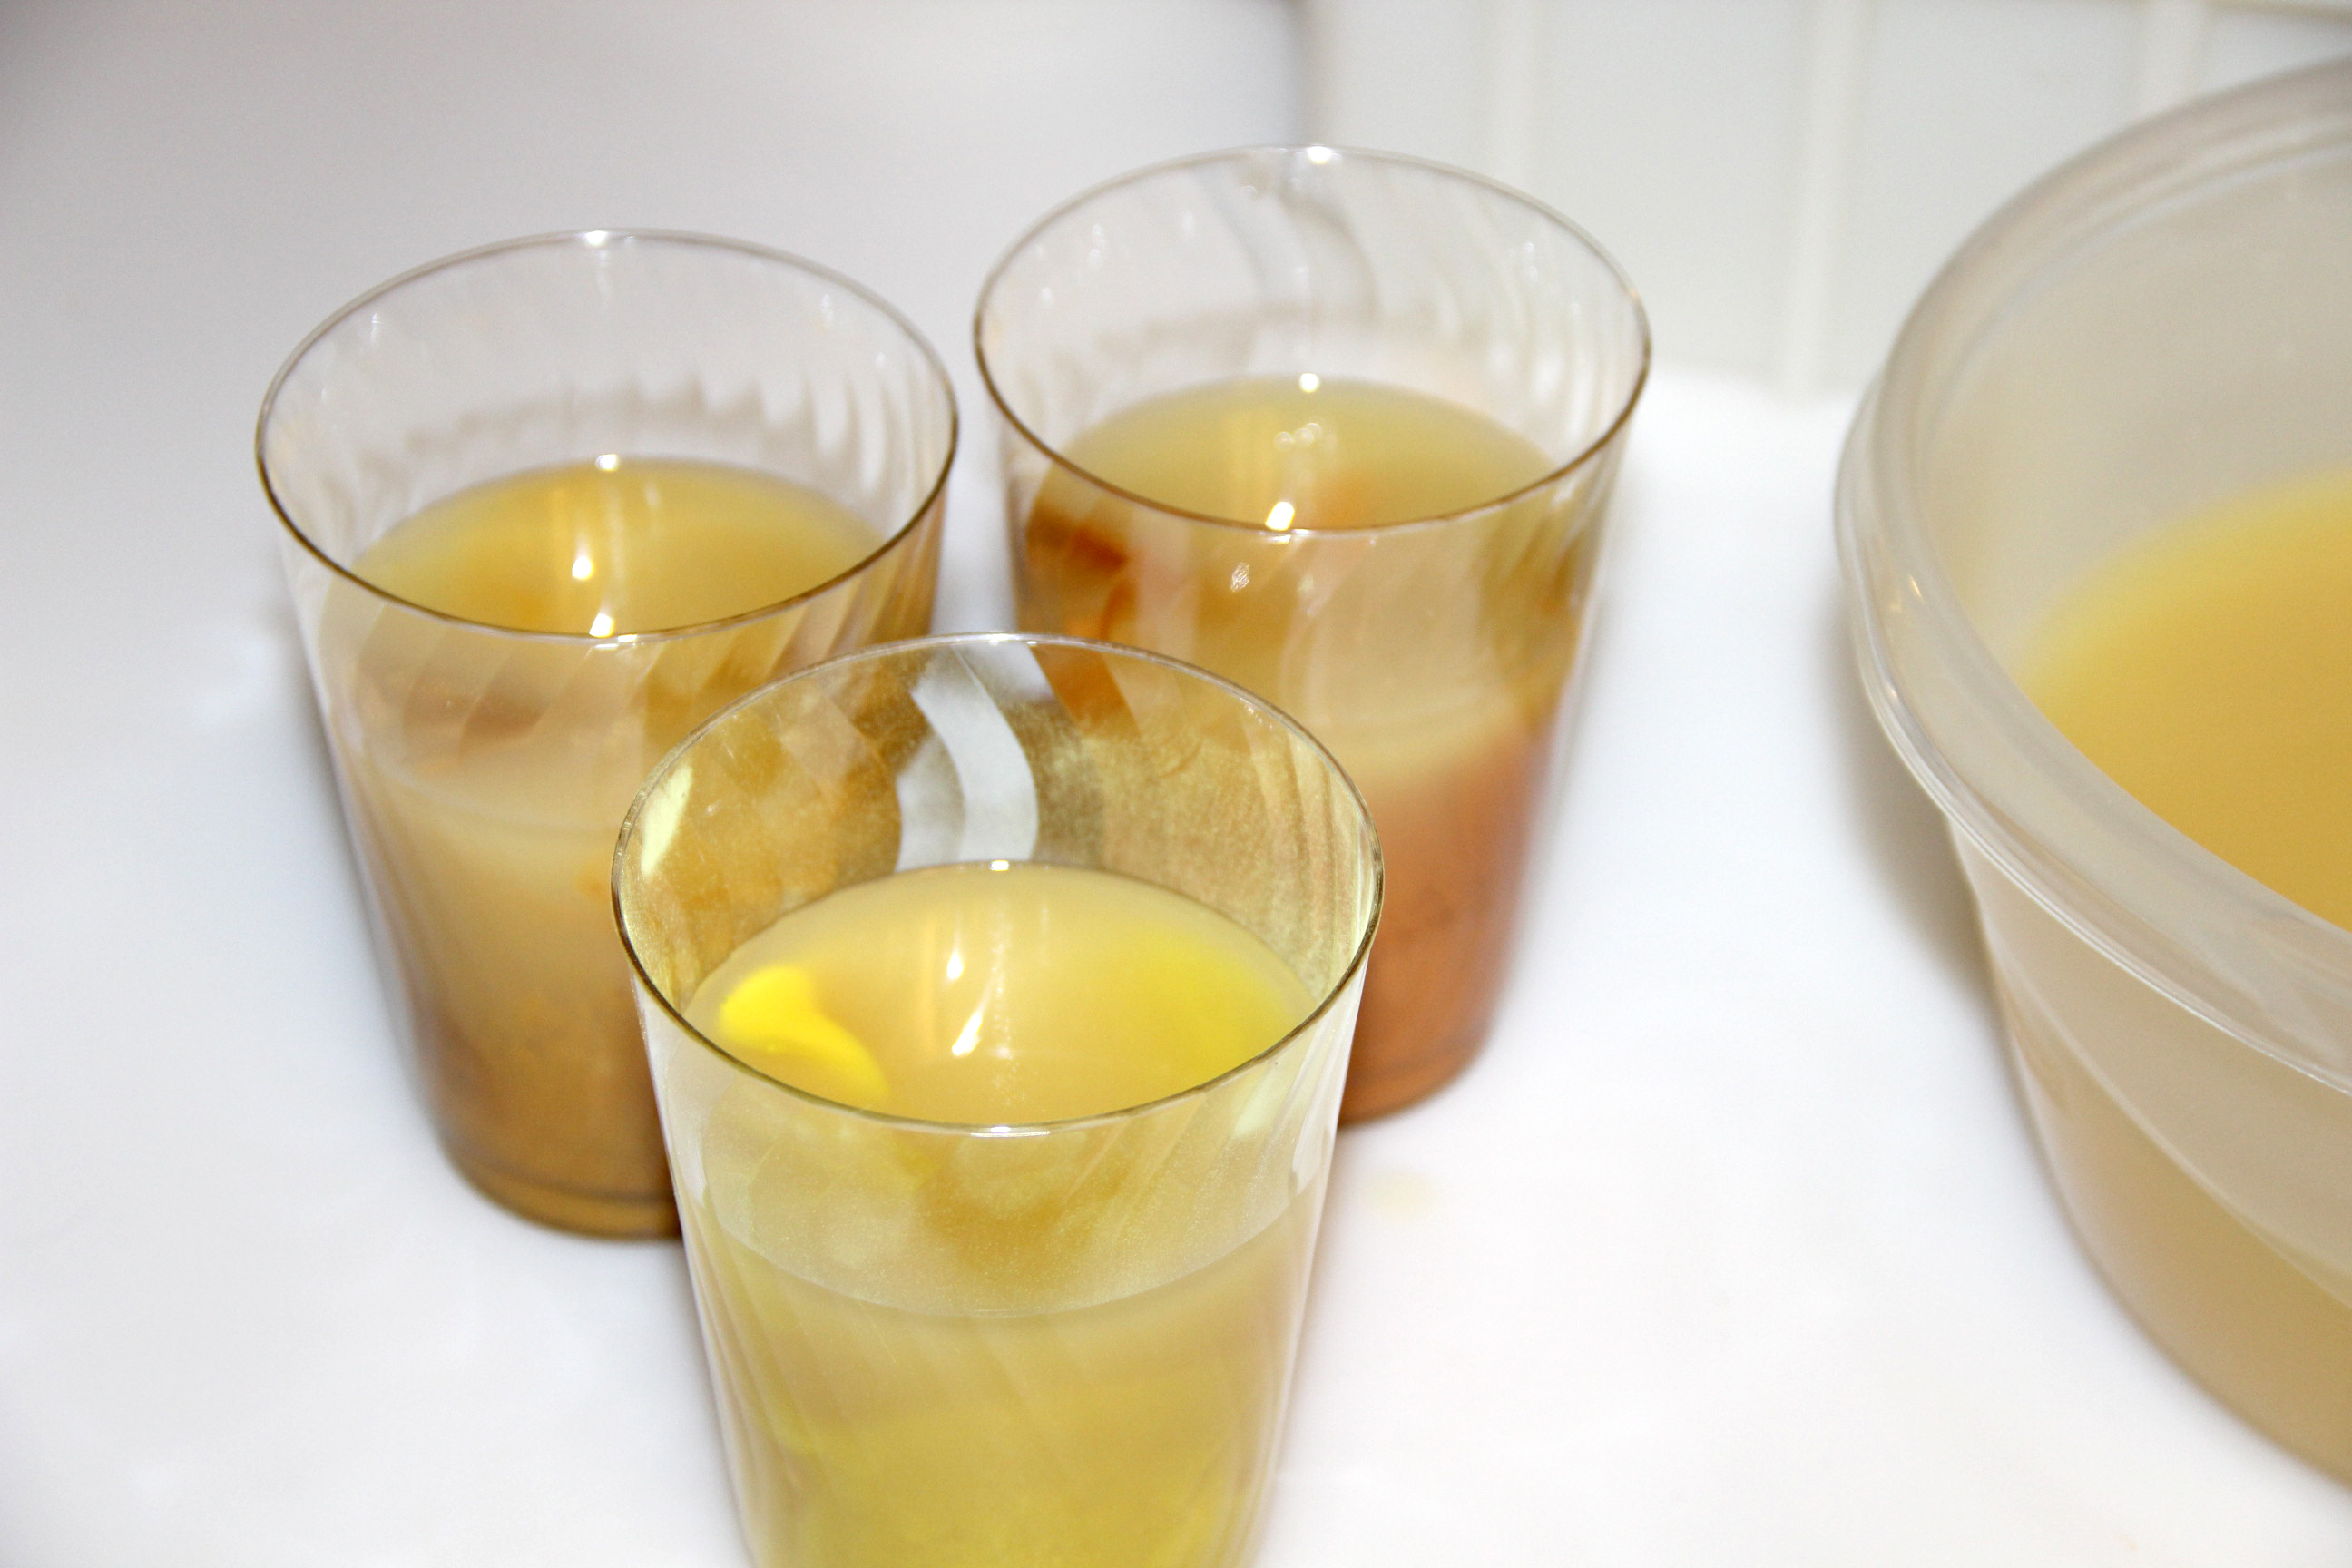
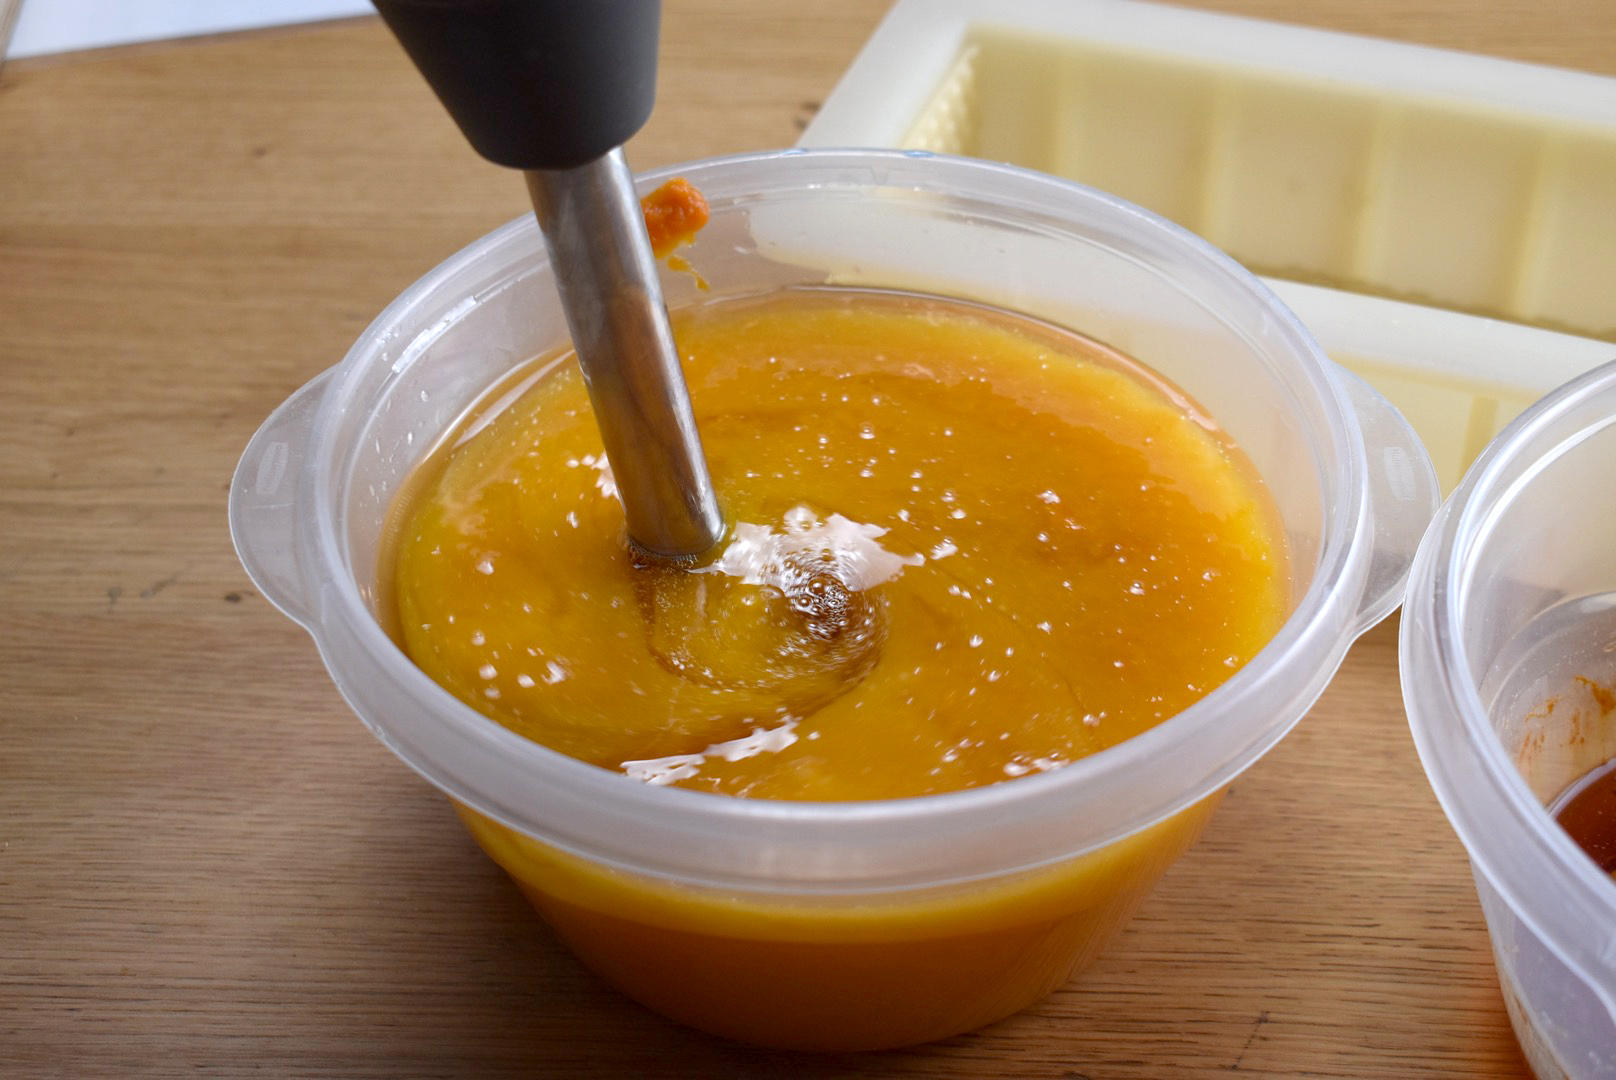
Step 6 – Pour a bit of soap into three containers.
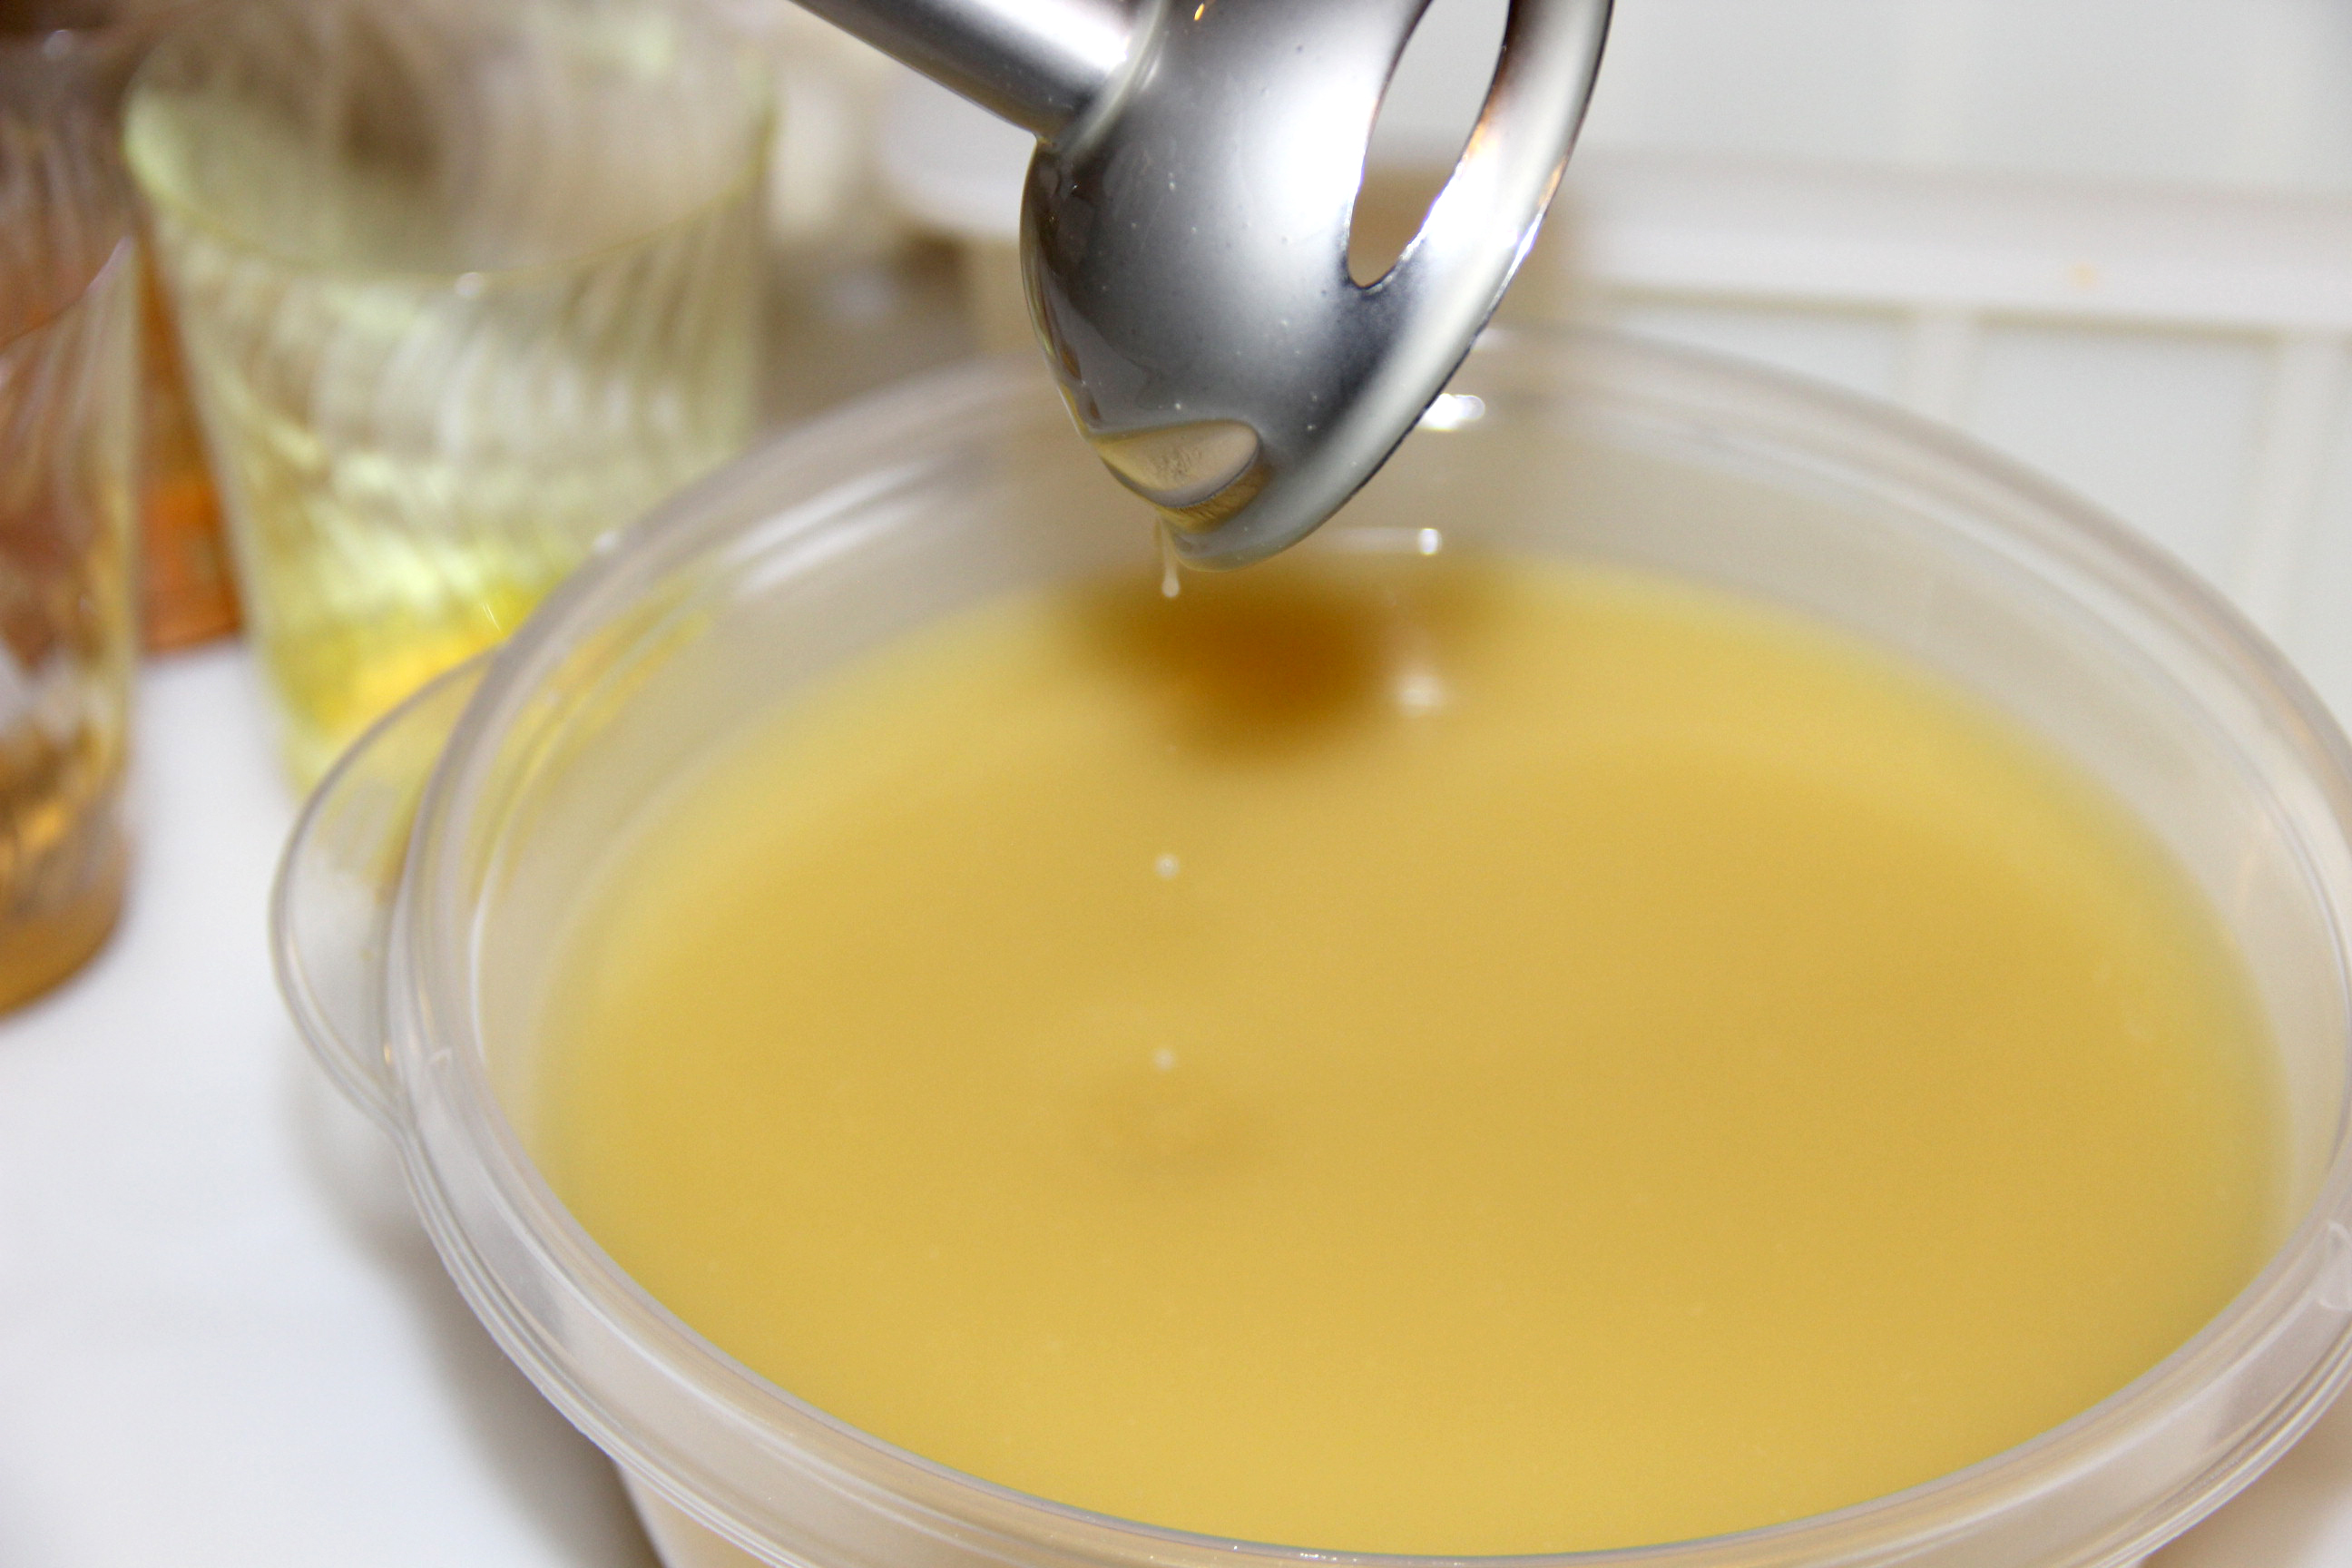
Step 7 – Use a mini mixer (coffee frother) to mix them up well.
Step 8 – Rotating colors, plop each color into the mold. There really is no right or wrong way to do this. Alternate colors as you move up the mold.
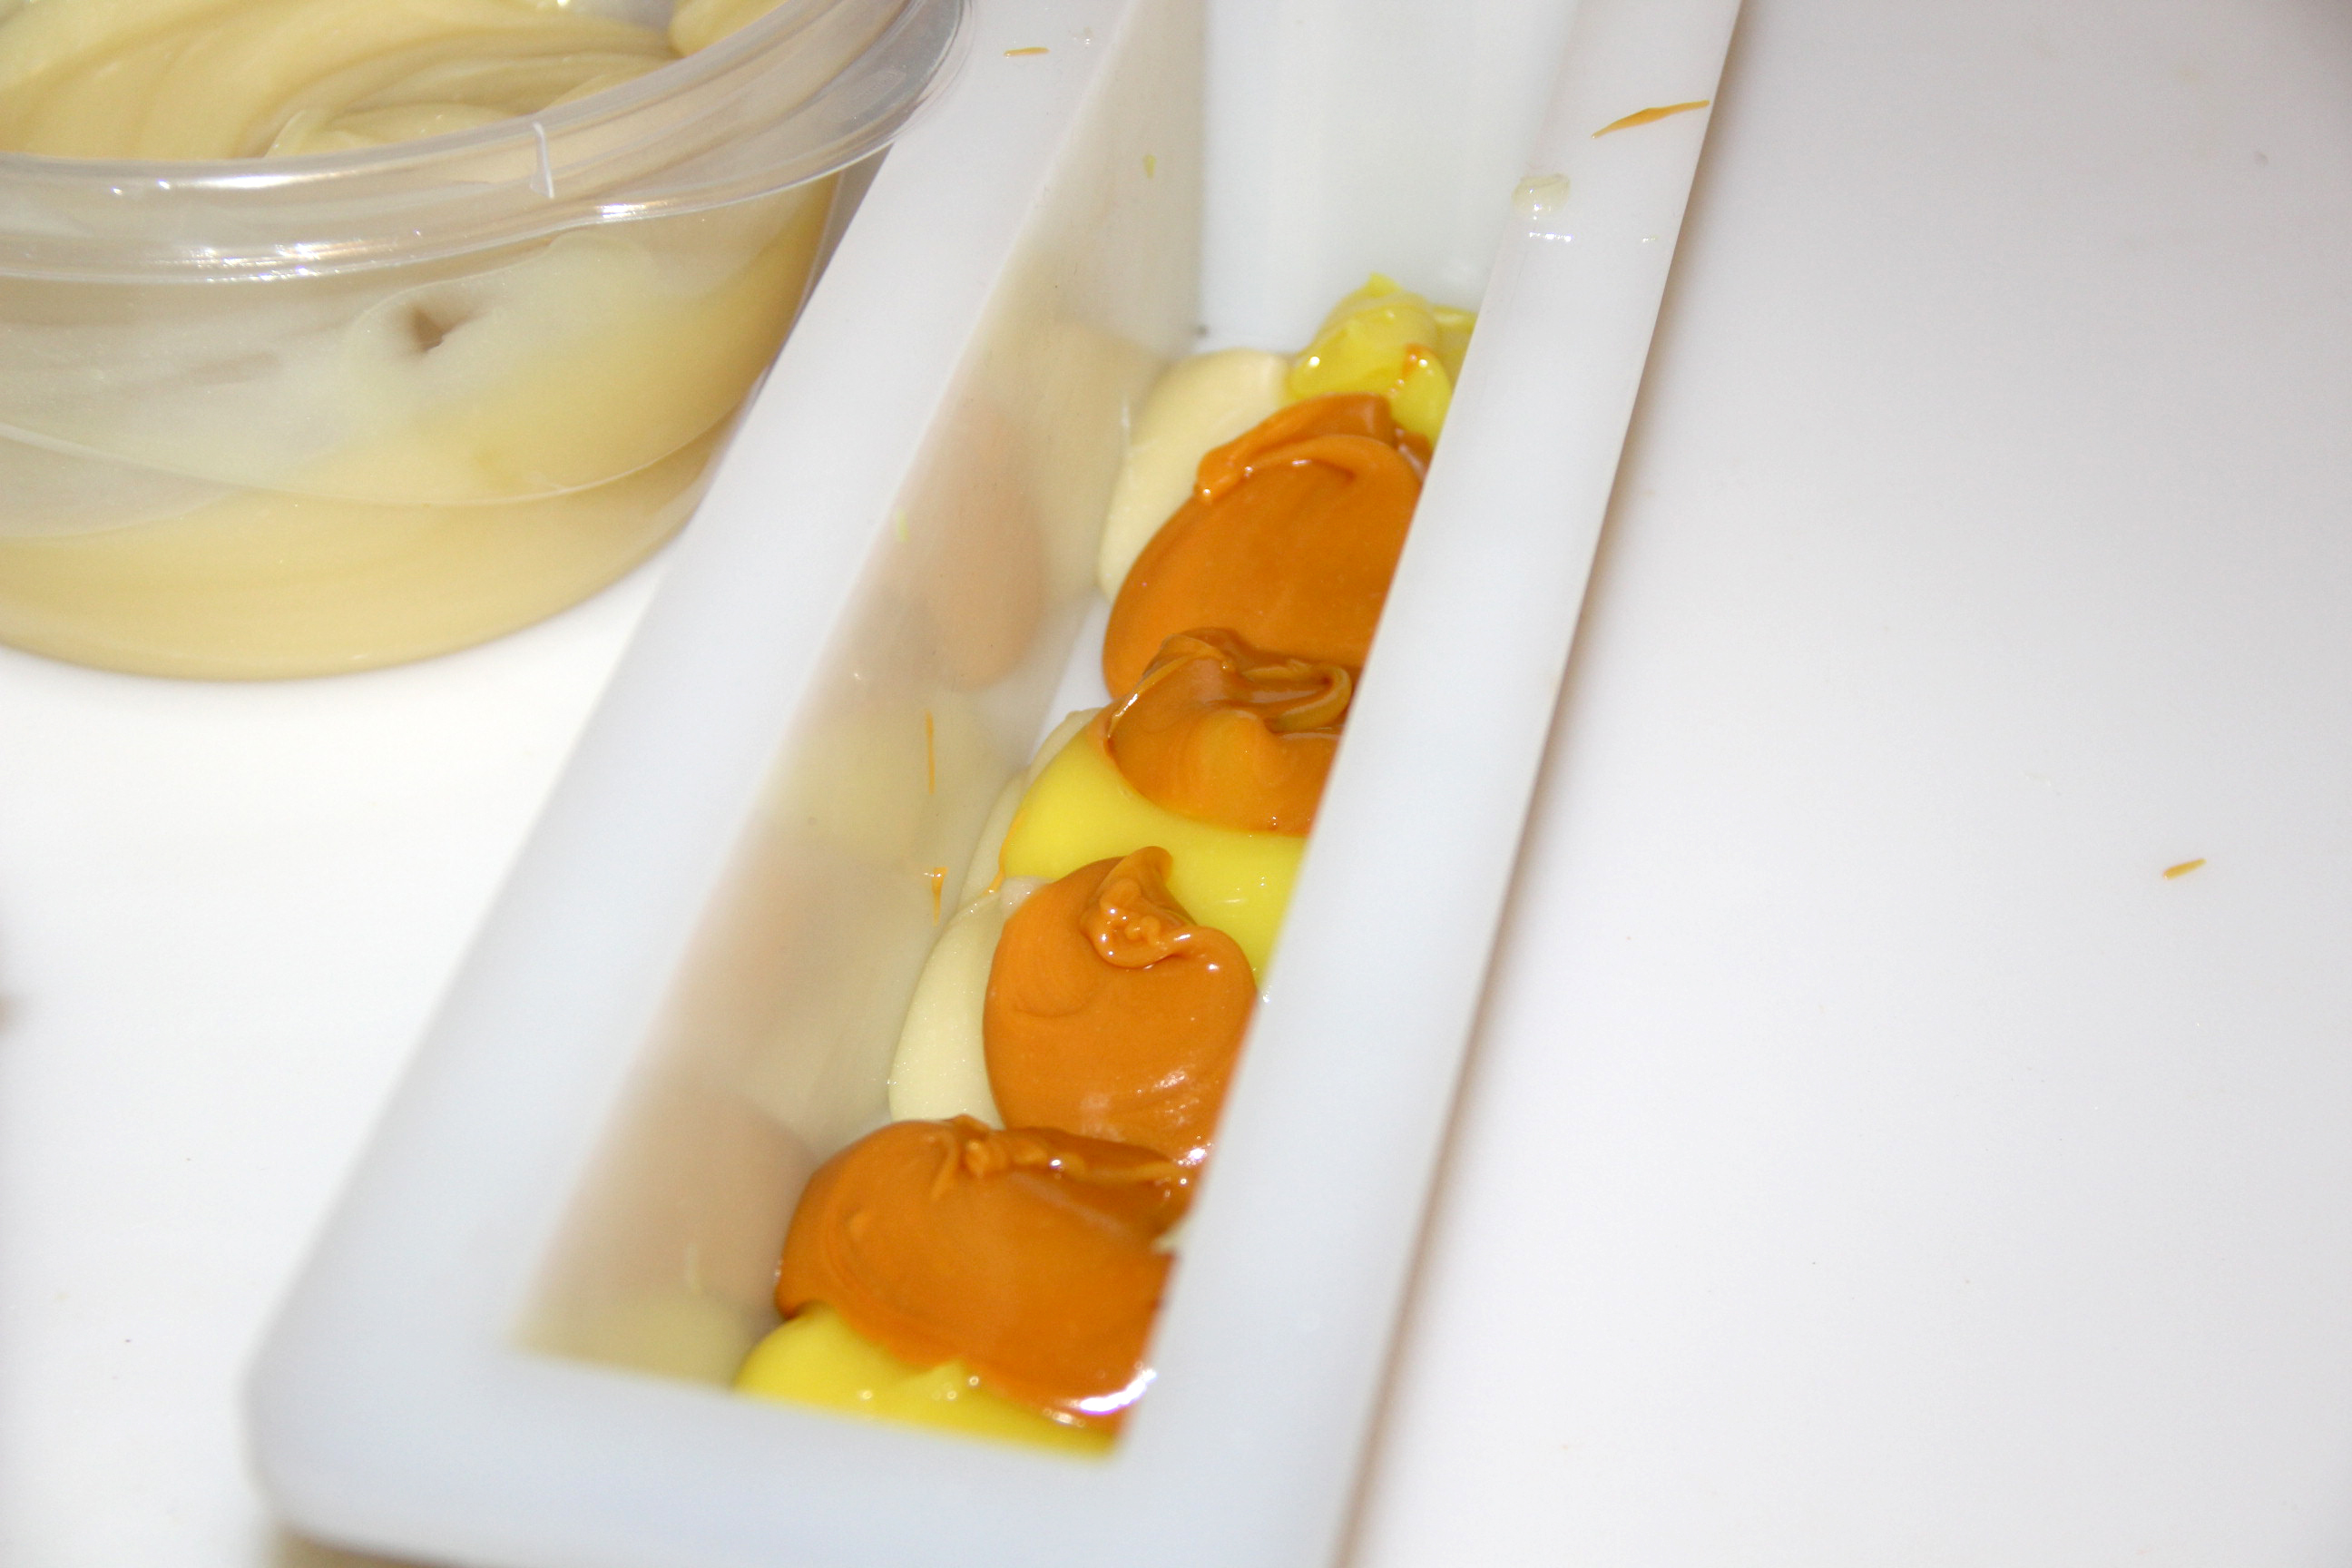
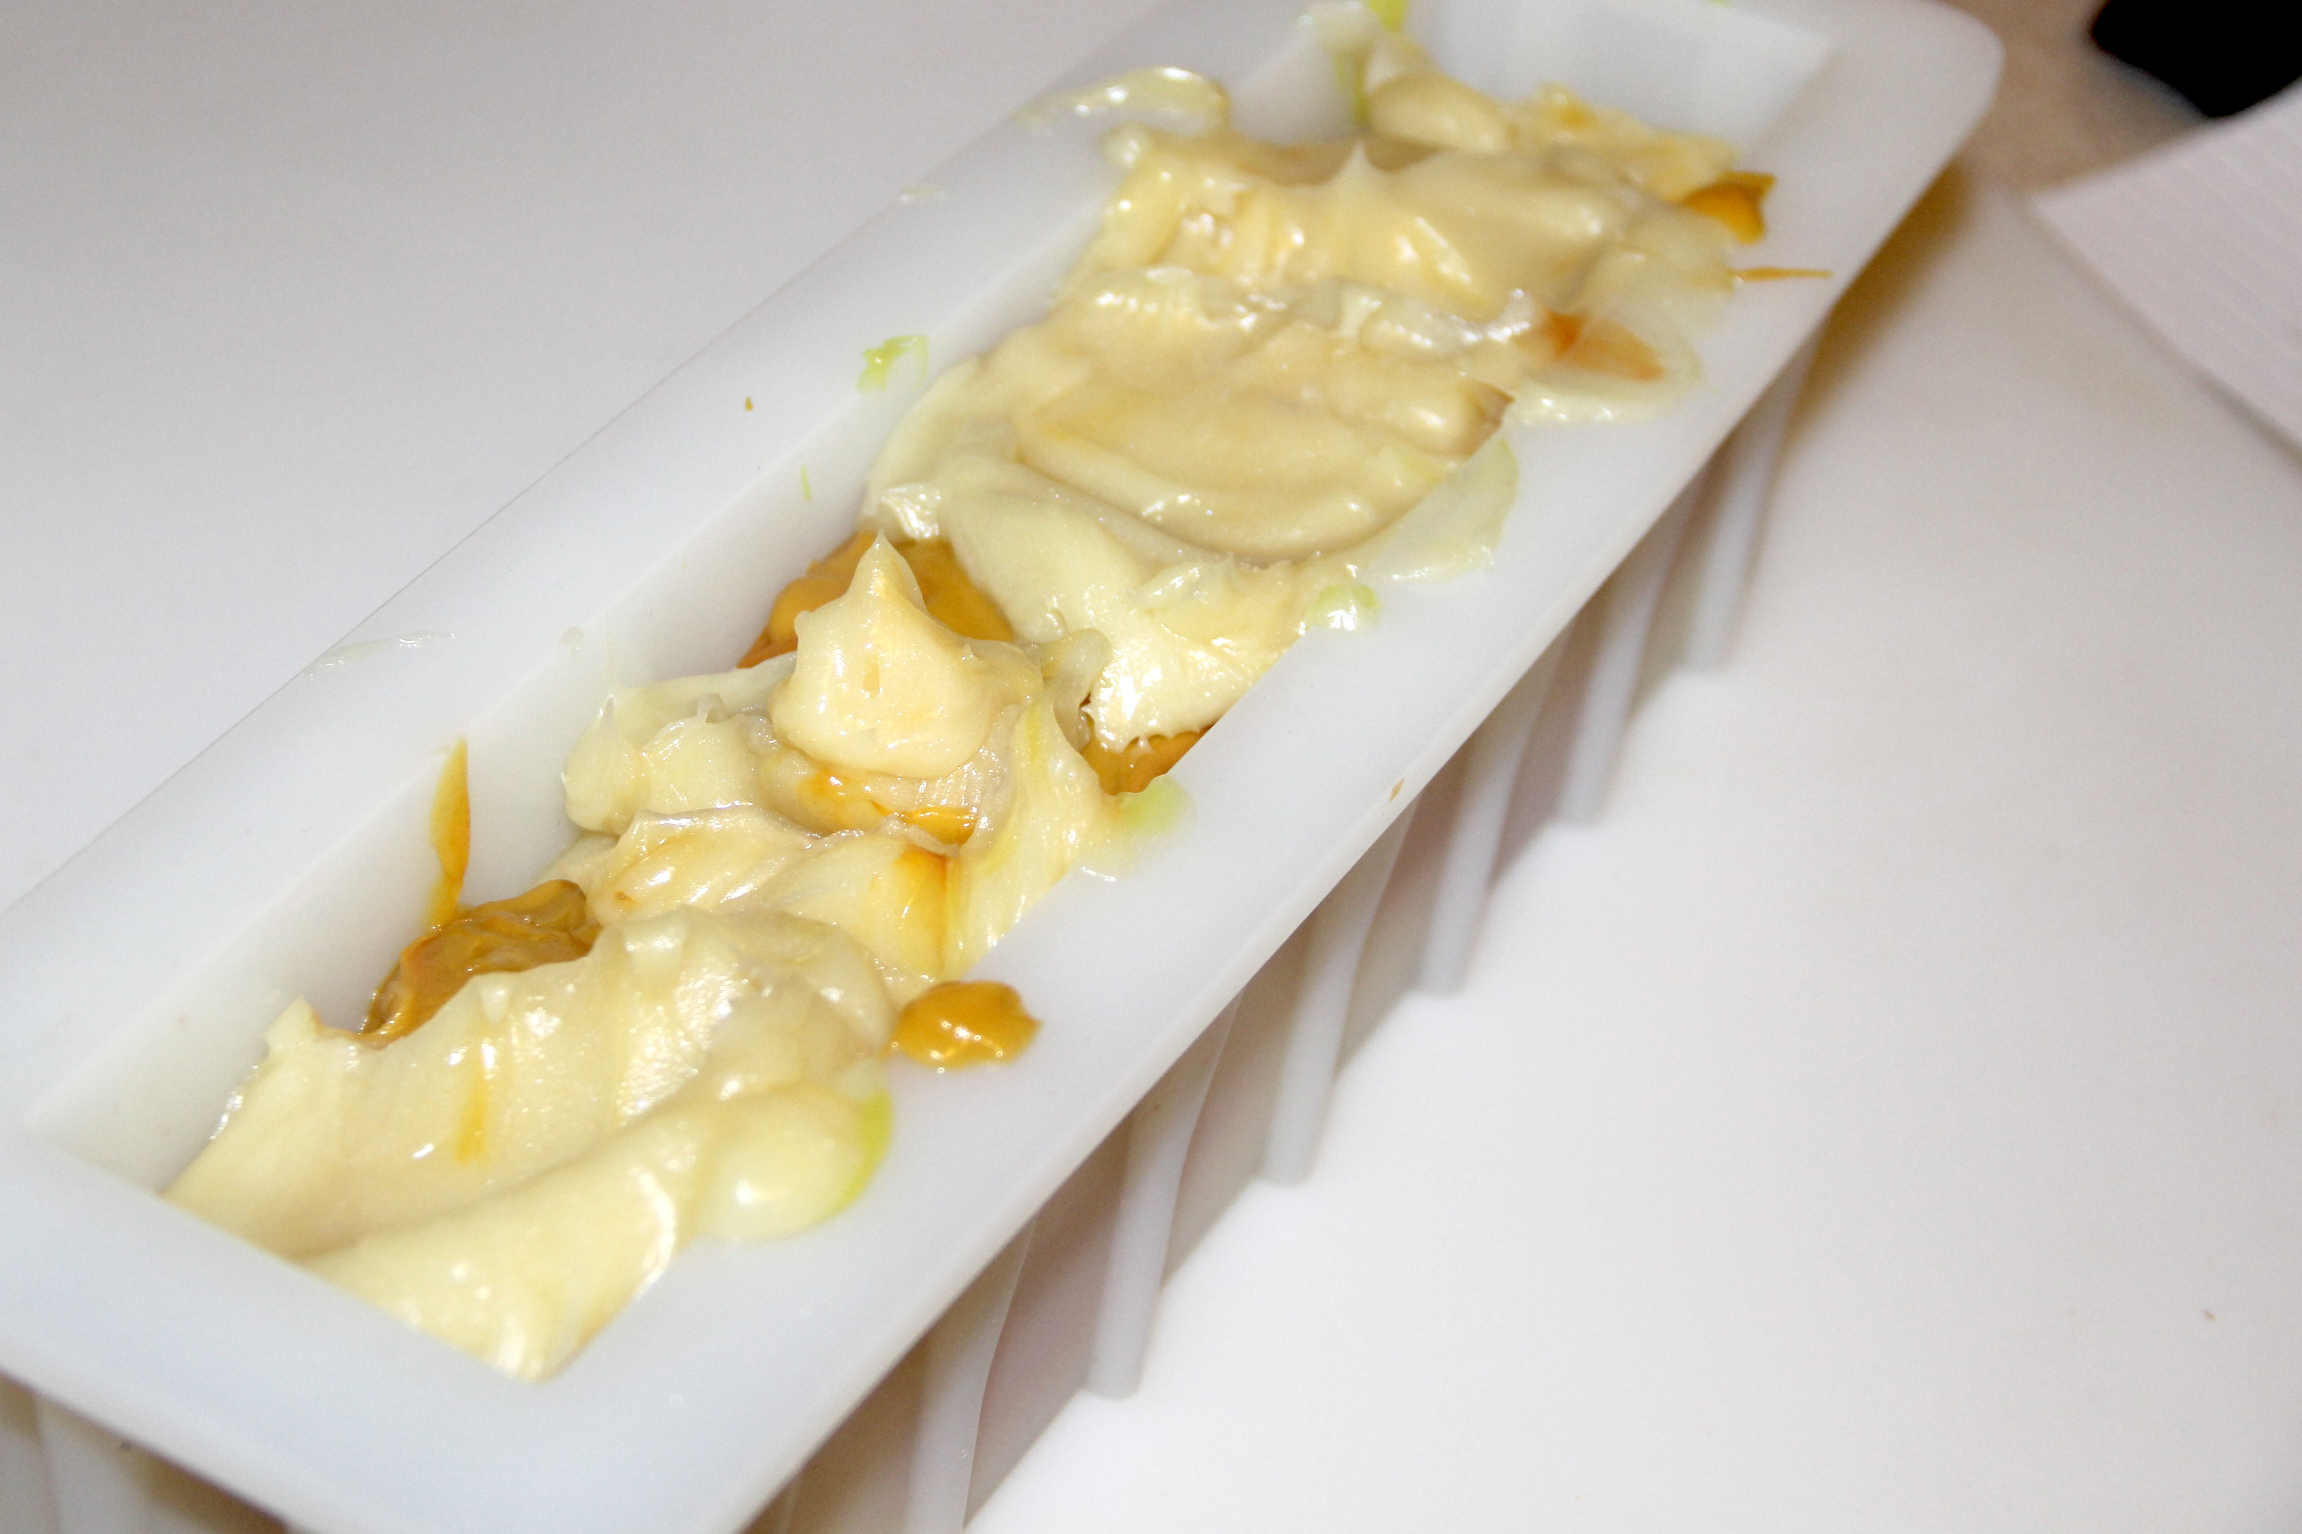
Step 9 – You can texture the top or make it smooth. I decided to smooth it out.
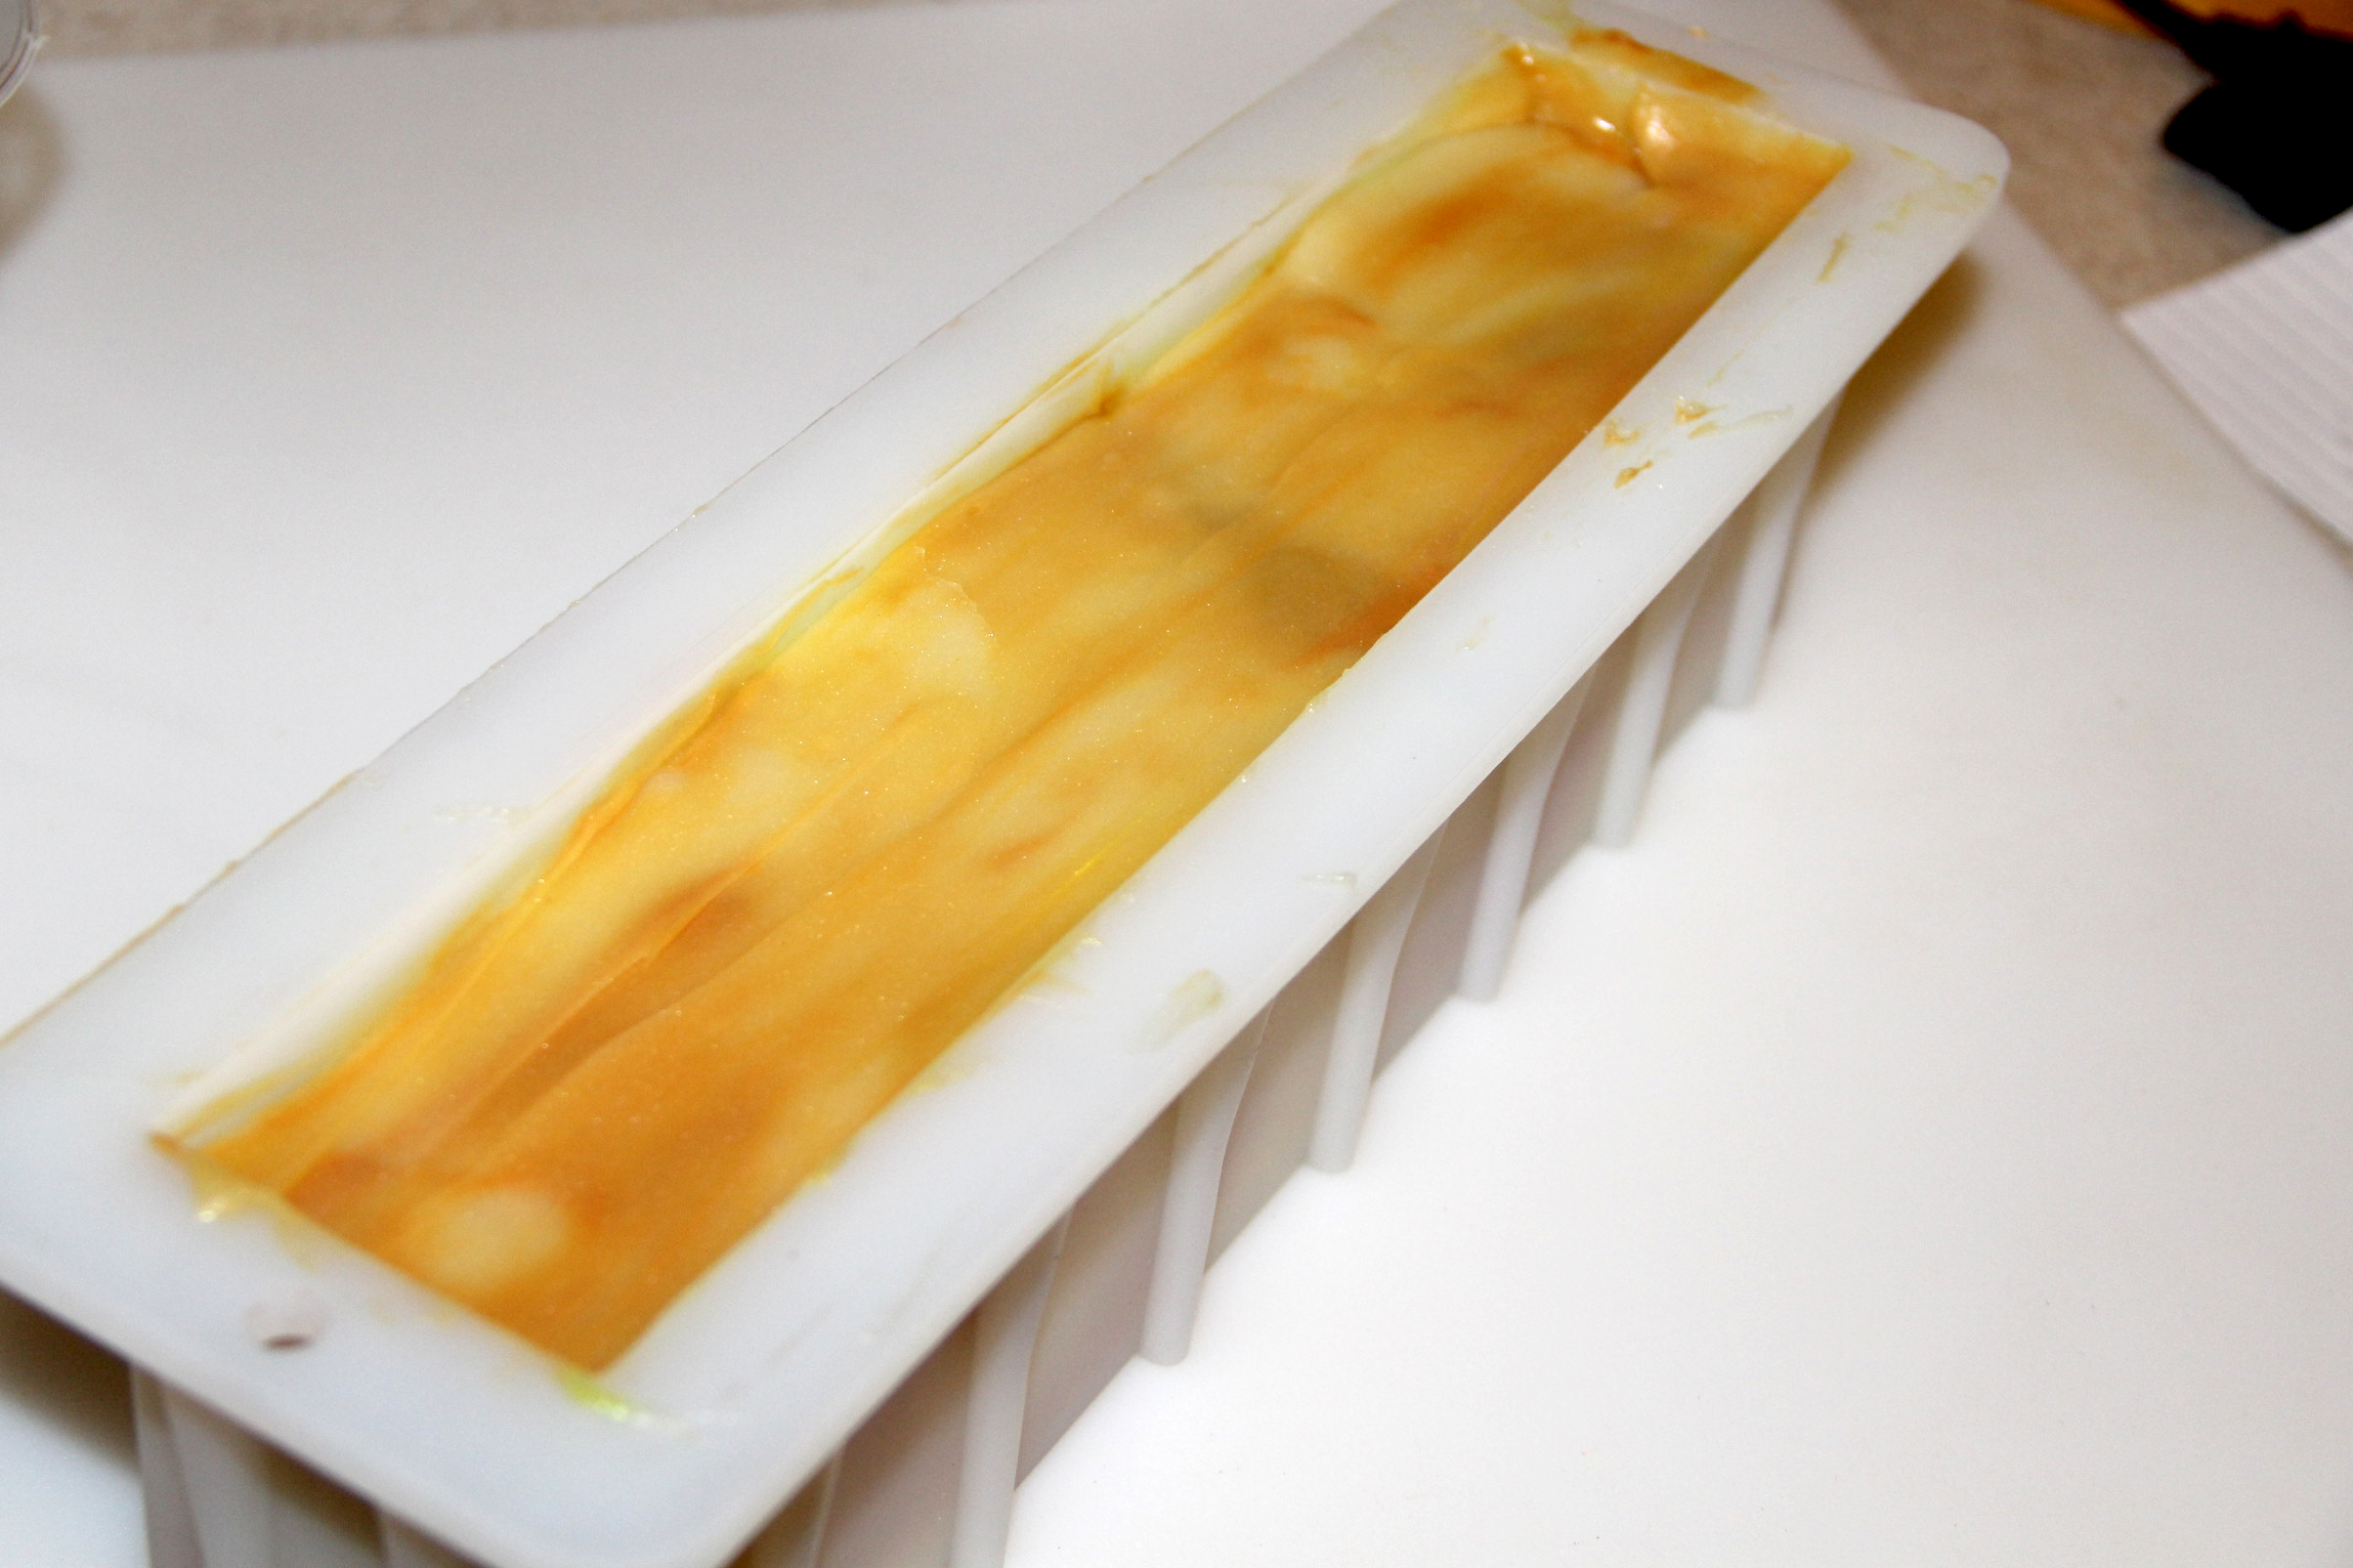
Let the soap saponify for 24 hours. Remove the next day, cut and cure your soap for 4 weeks.
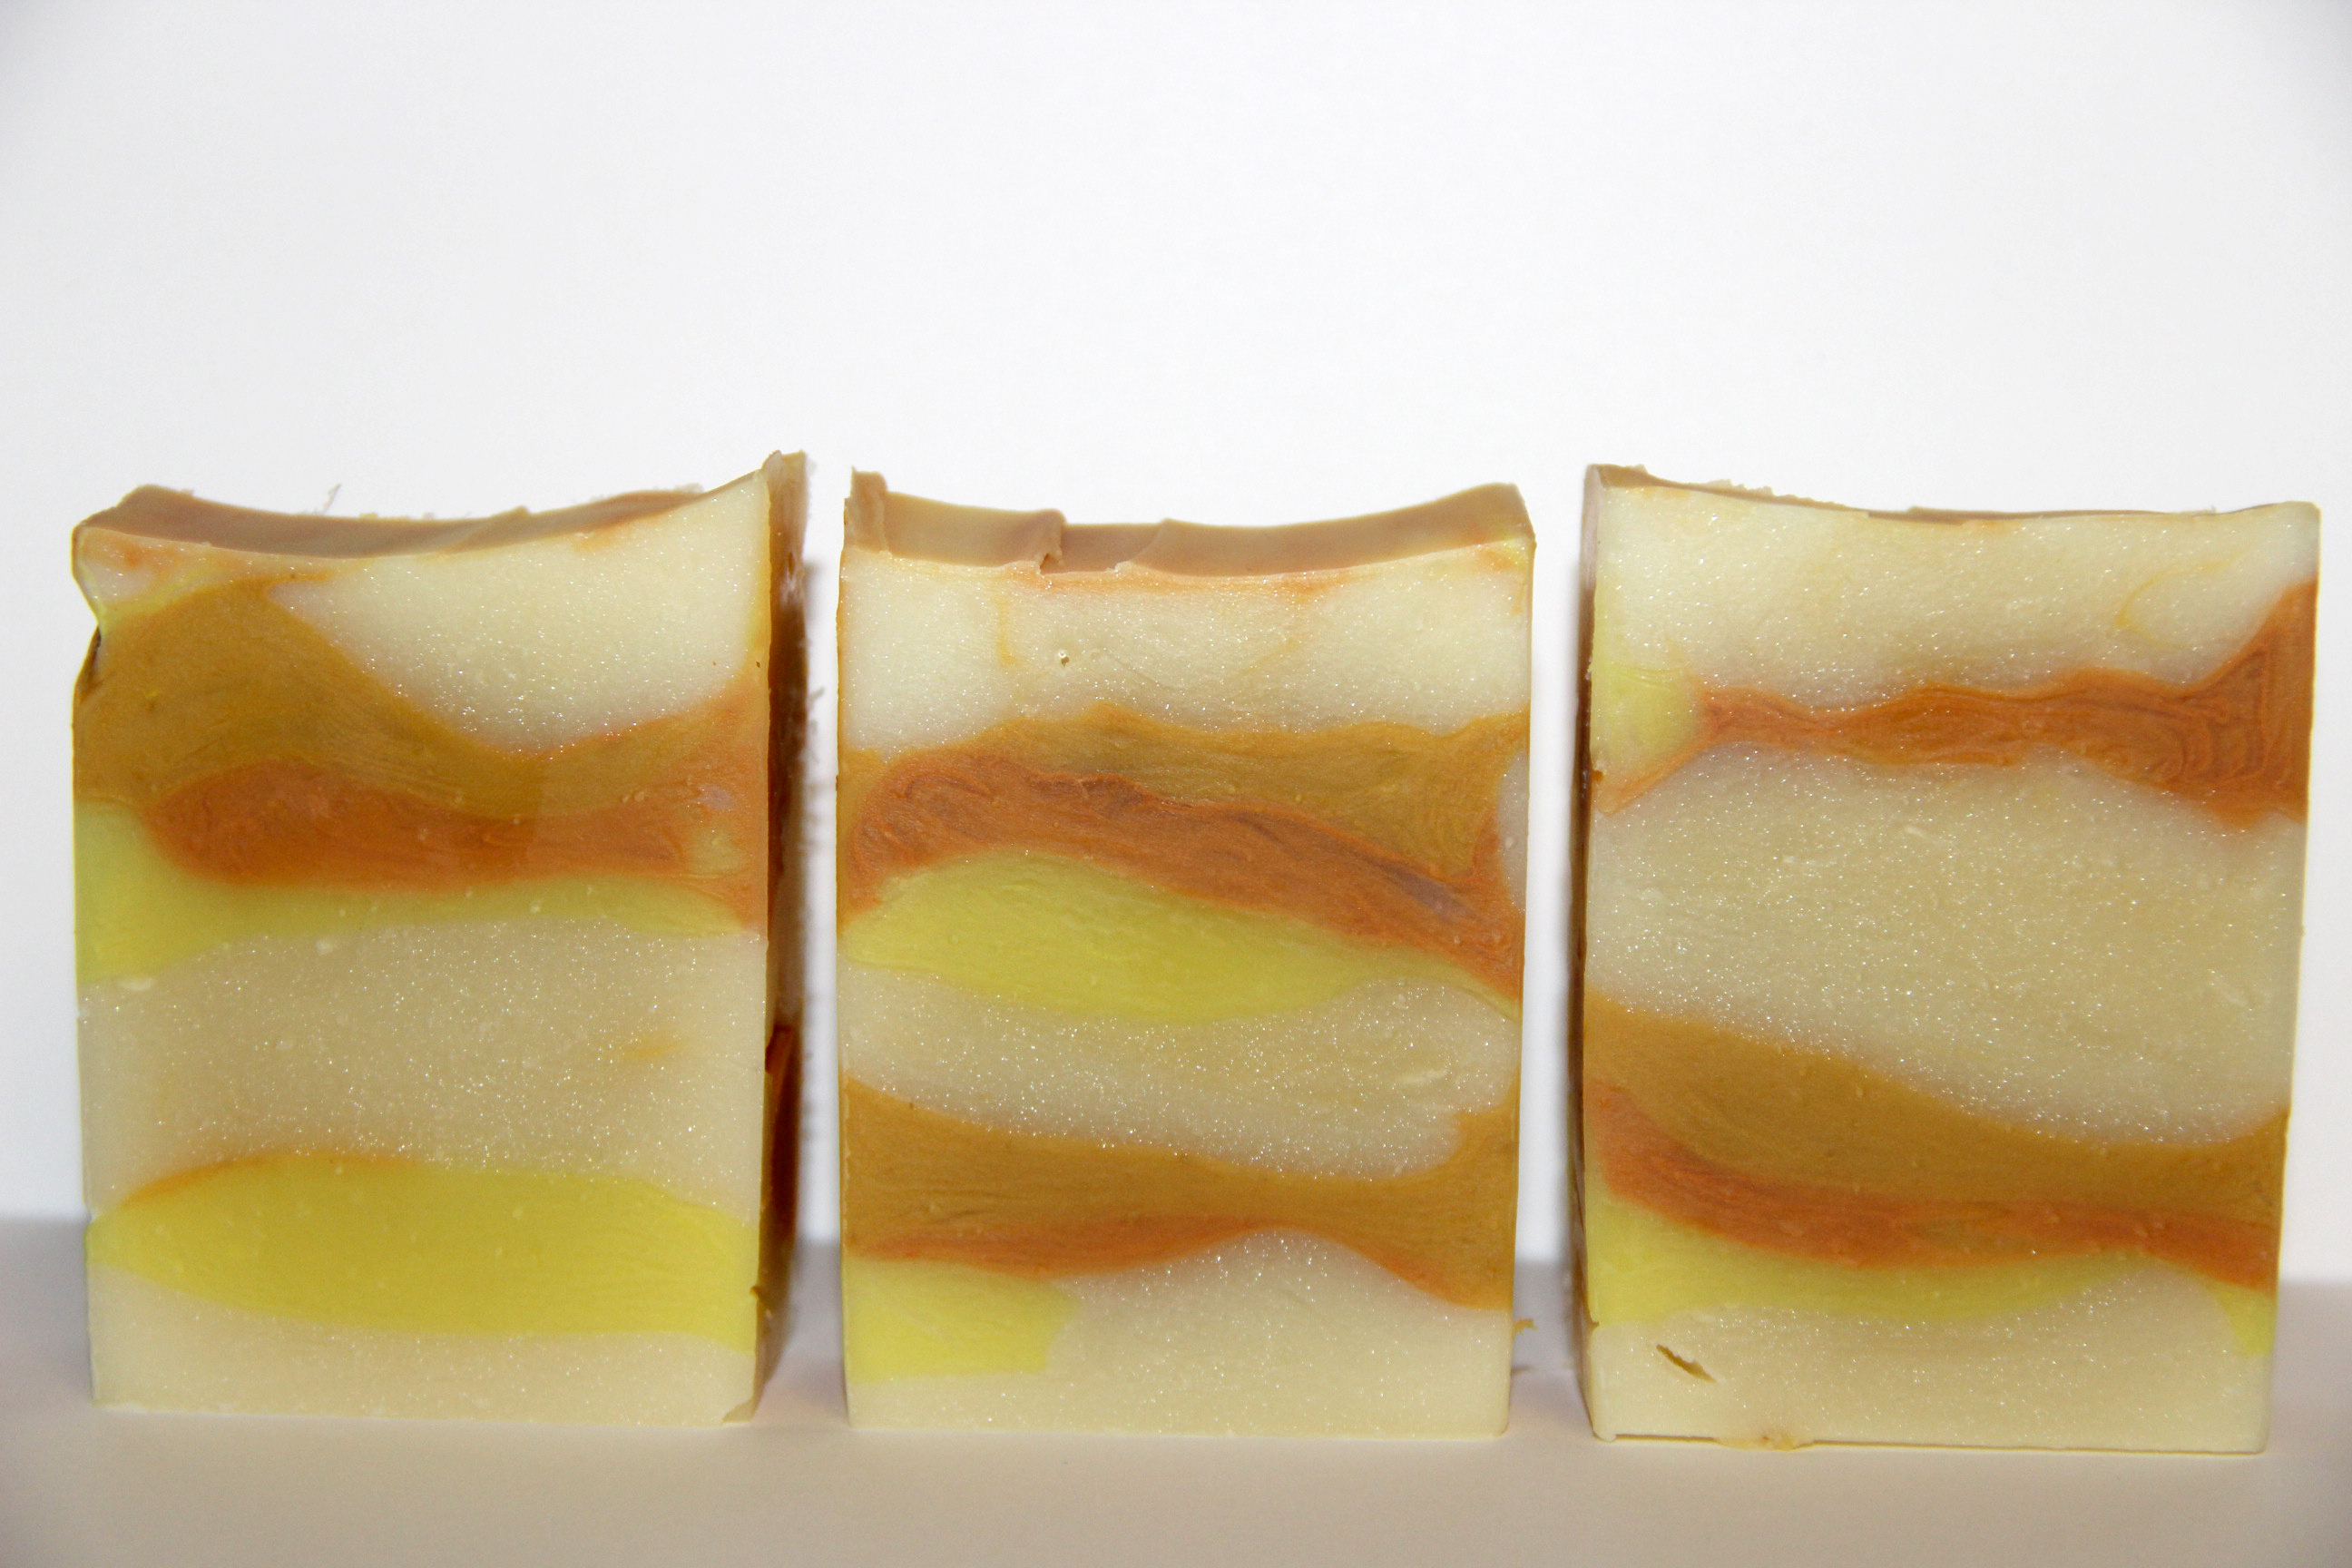
I really love the different shades of yellow in this soap!
Happy Soaping!
-Amanda Gail
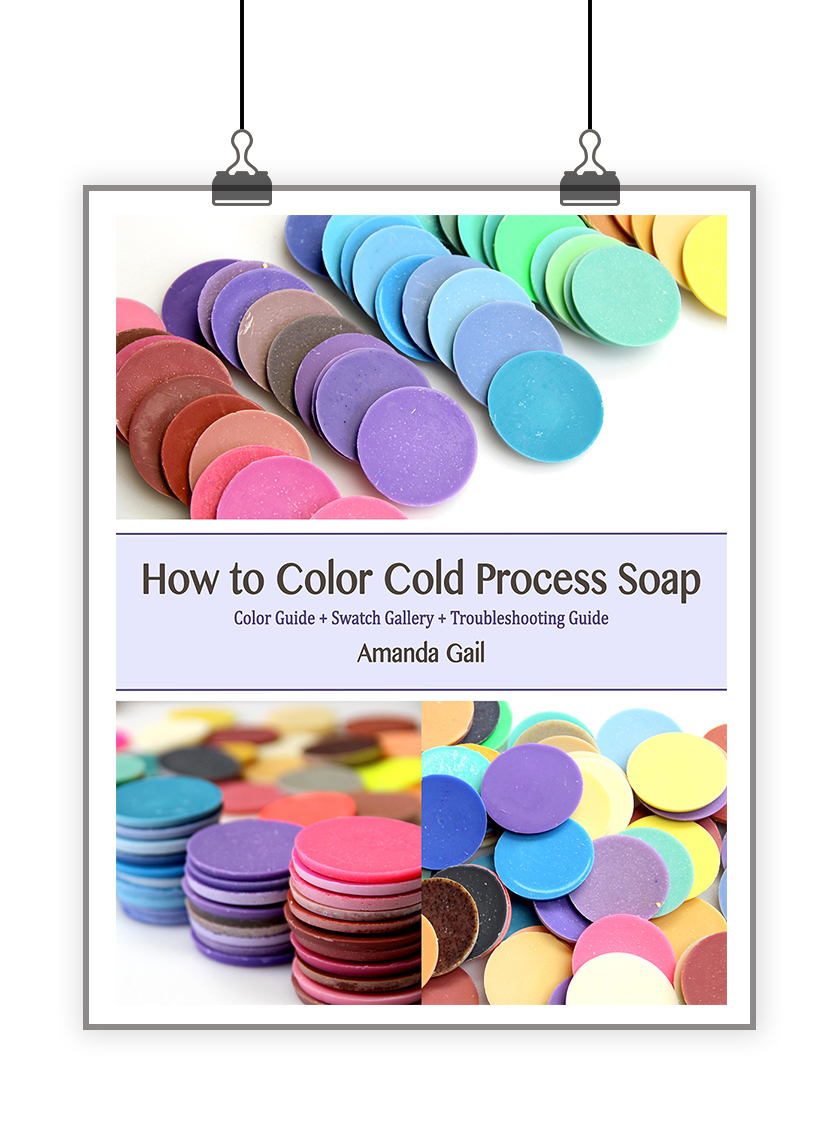
p.s. For more info on coloring your cold process soap, check out:
How to Color Cold Process Soap eBook + Swatch Gallery + Troubleshooting Guide
Coloring soap can be confusing, especially when first starting out.
- Do I have to pre-mix oxides?
- Why is my soap speckled?
- Why did my beautiful blue soap morph to gray?
- What is Bis(Glycidoxyphenyl)propane / Bisaminomethylnorbornane copolymer and why is it in my colorant?
- How do I use herbs to color my soap?
- Is this colorant natural or synthetic?
- This color has a dye in it, why does the supplier say it won’t bleed?
All of these questions, plus many more, are answered in this detailed guide. Whether you are soaping with mica, mineral pigments, cosmetic pigments, dyes, clays or natural spices and herbs, you will become a master at coloring cold process soap.


Which colorant is the darker, caramel color in the soap? It would be perfect in a caramel apple soap I’m making
That would be the yellow oxide
I love the plop and drop as well! The ones I do that way usually end up being my quickest sellers. Go figure!
That must smell really yummy and love the happy colors!
I can smell it from here!! 🙂
Looks lovely. I love yellow, such a happy color.
You make it soon easy to make soap! Great directions and visuals.
I love the “plop” method of making a soap. It’s pretty useful with those quick-to-trace scents. 🙂