
I have a confession to make. When I first started making soap I hated the thought of making a lavender soap. It just seemed so cliche and I personally didn’t really like lavender. I refused to make it. I sold my soap at the local farmers market. After the 100th customer asked for it (ha!) I decided to break down and make lavender soap. It was certainly my best seller. It is a classic; people just love it.
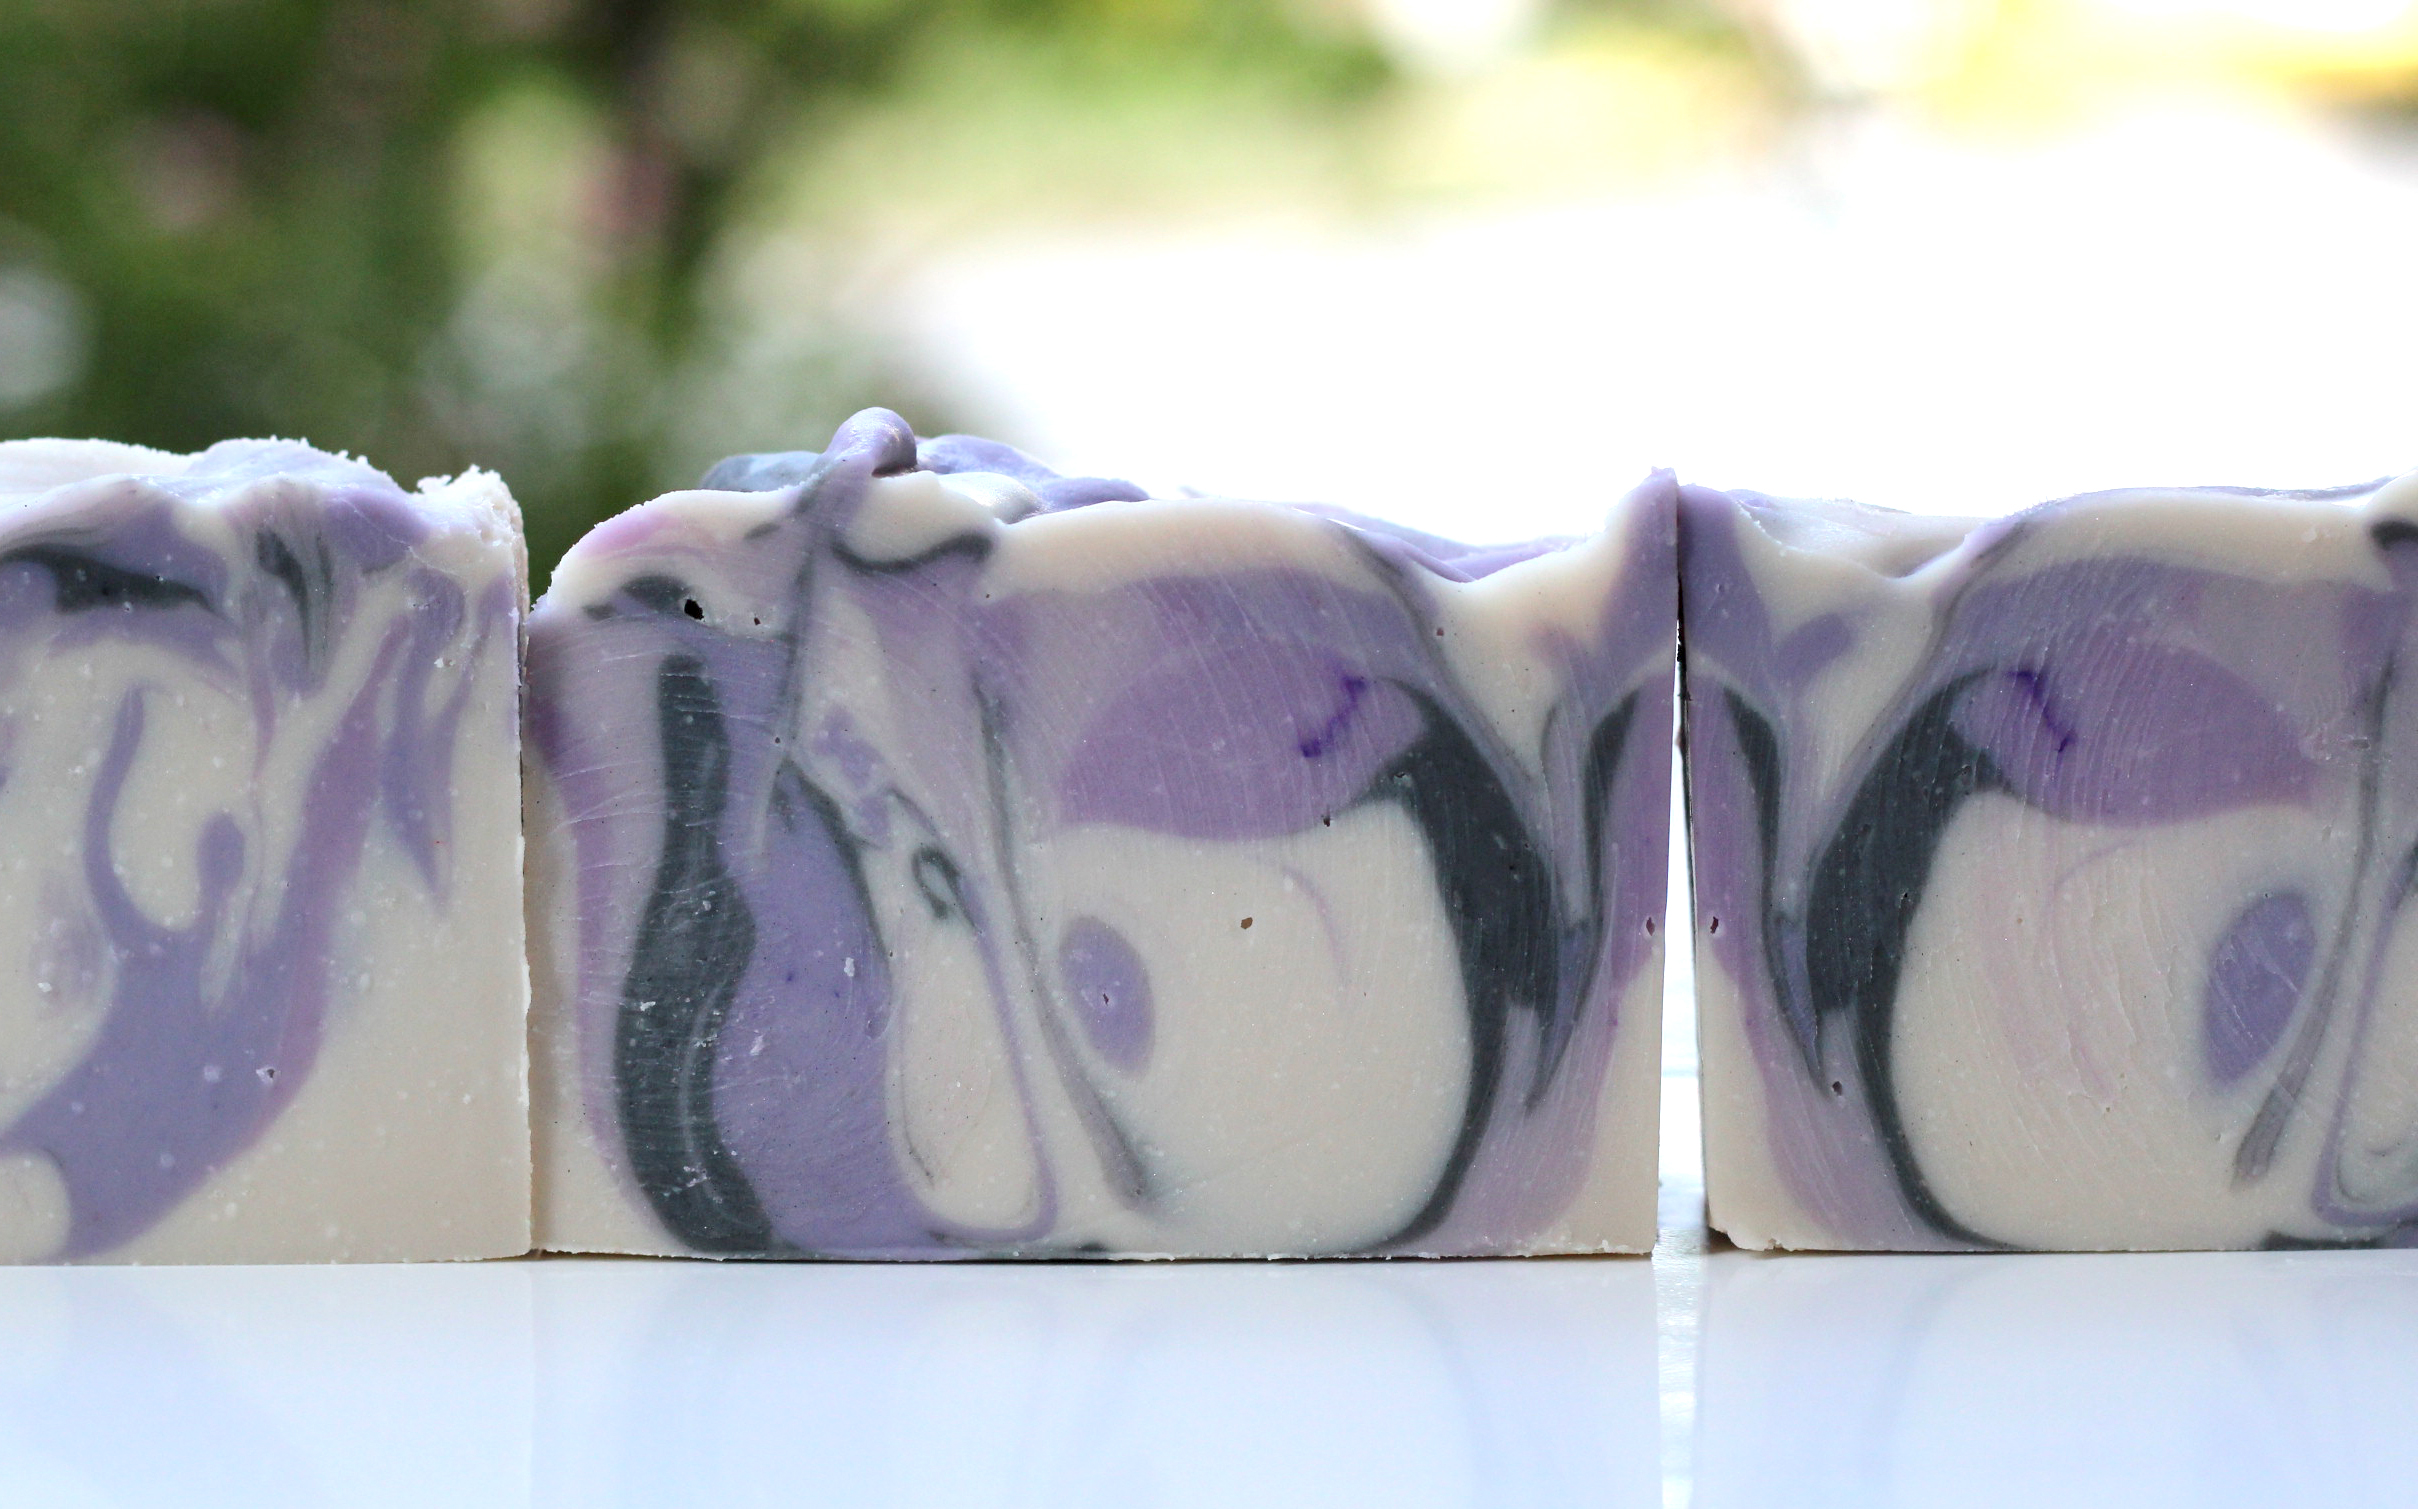
And now I’m a fan! I LOVE lavender soap. This soap recipe is scented with lavender essential oil and colored using different shades of purple mica.
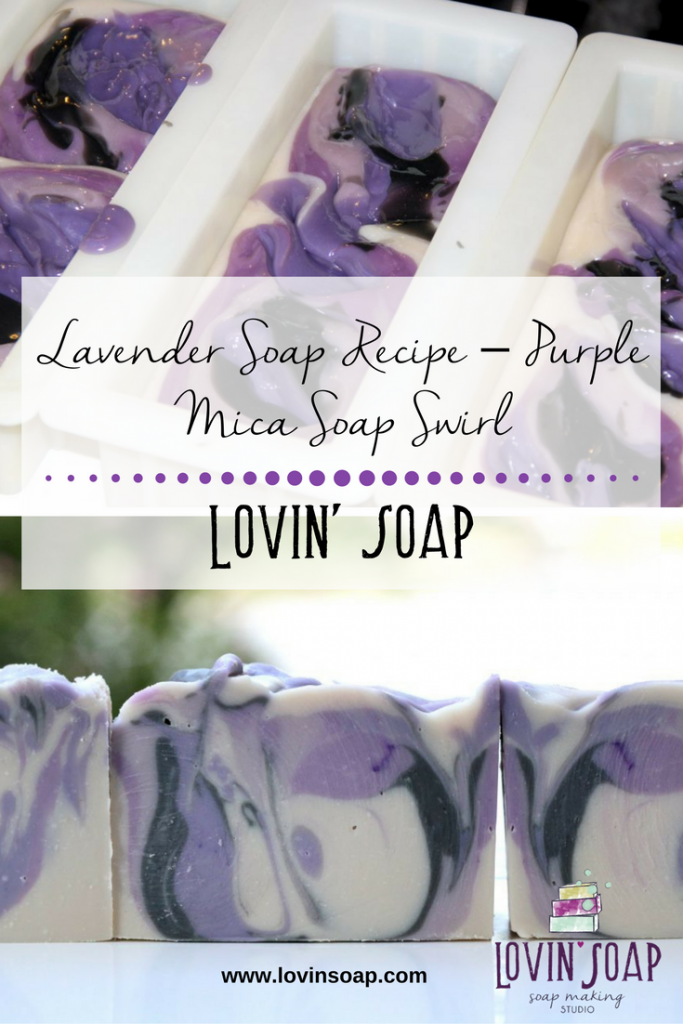
Lavender Soap Recipe
This recipe fills 3 10″ loaf molds from Bramble Berry.
- Coconut Oil – 32 oz.
- Shea Butter – 9 oz.
- Olive Oil – 32 oz.
- Avocado Oils – 3 oz.
- Castor Oil – 4 oz.
- Rice Bran Oil – 16 oz.
- Sodium Hydroxide – 13.6 oz.
- Distilled Water – 26 oz.
- Lavender Essential Oil – 4 oz.
Colorants (All from Bramble Berry! They have the best purple mica.)
- Lavender Mica – 2 teaspoons
- Orchid Mica – 2 teaspoons
- Queen’s Purple Mica – 2 teaspoons
- White Mica – 1 tablespoon
- Charcoal – 1 teaspoon
Safety Warning: This recipe is for soapmakers who have a basic knowledge of the soapmaking process and know the correct safety procedures to use when handling lye. If you are new to soapmaking, visit our free soap making guide or check out our Basic Soapmaking eBook. Be sure to wear safety goggles and gloves while soaping.
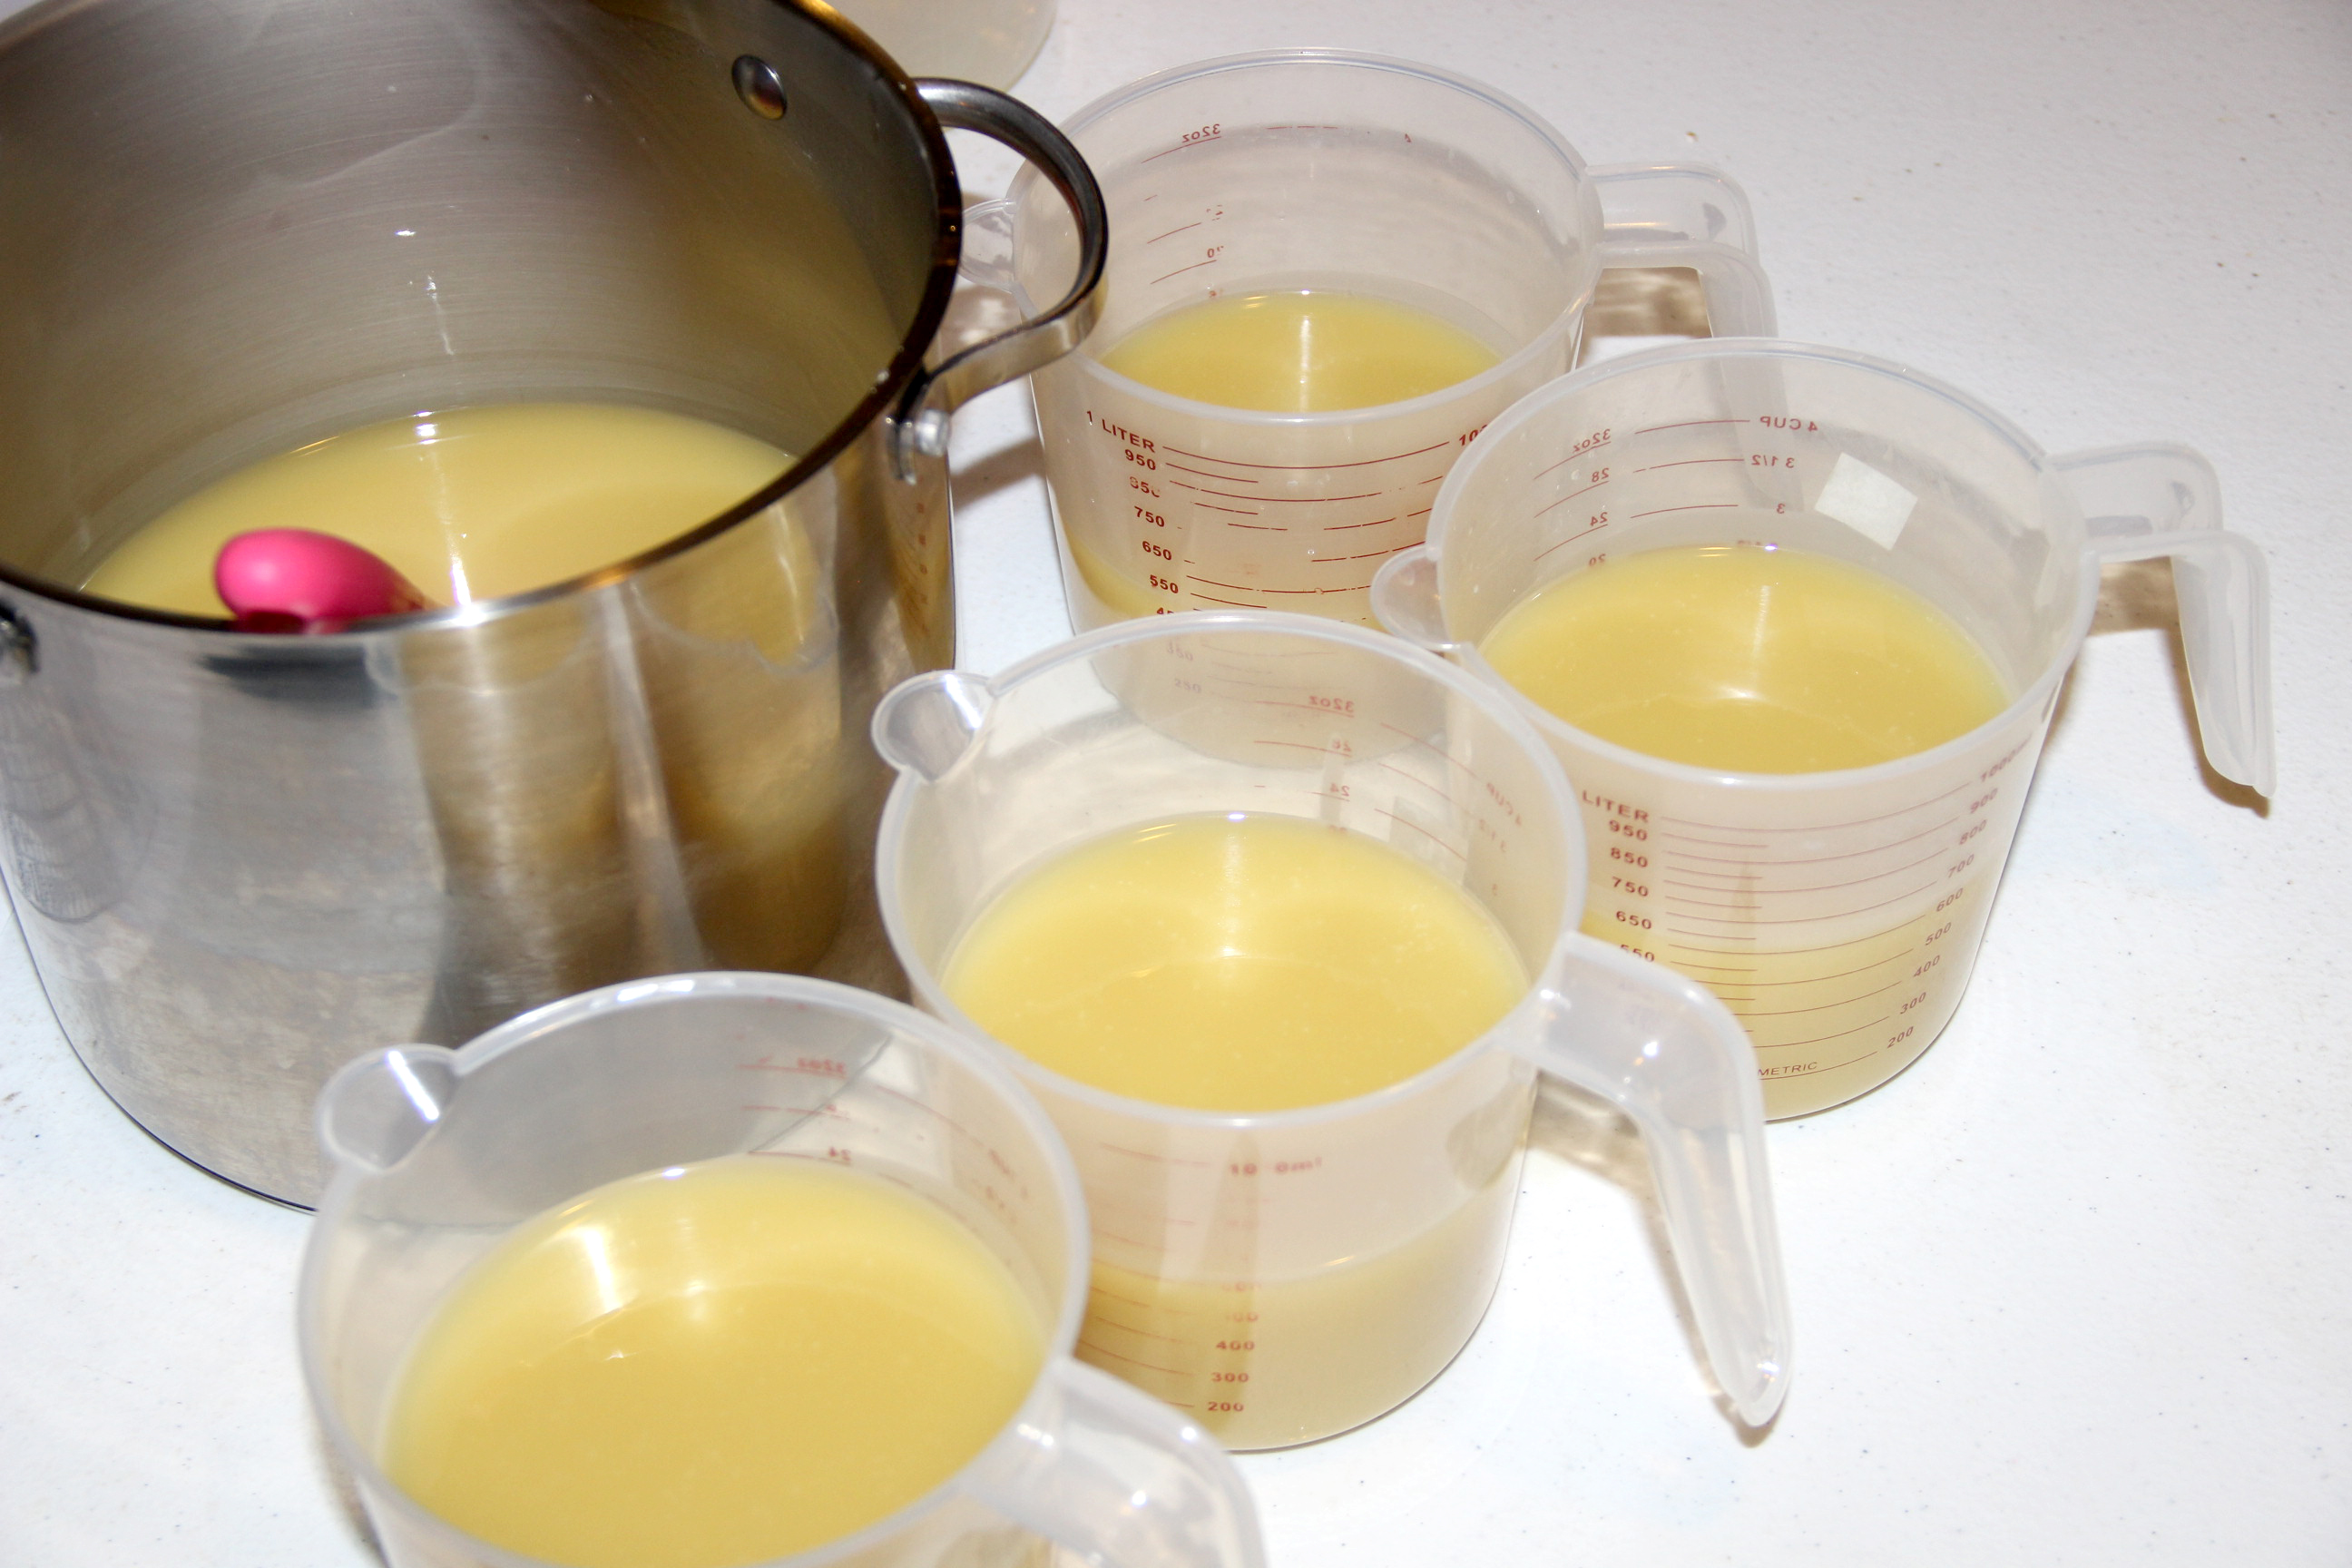
Step 1 – Create your lye solution and set aside to cool.
Step 2 – Weigh and melt the coconut oil and shea butter.
Step 3 – Add the liquid oils to the melted oils. This helps to cool the temperature of your base oils down.
Step 4 – Add your fragrance or essential oils to the base oils.
Step 5 – Once your lye solution and oil mixture are down to 90° F, emulsifiy the mixture. You don’t want to mix to trace or you might not have enough time to color your soap.

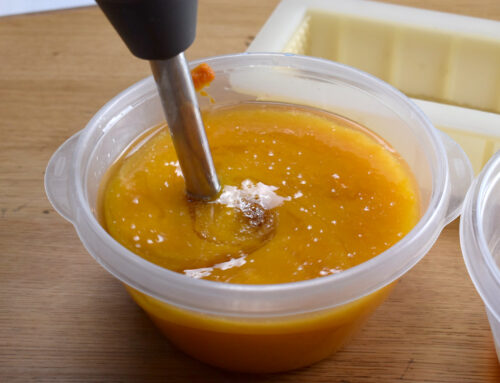
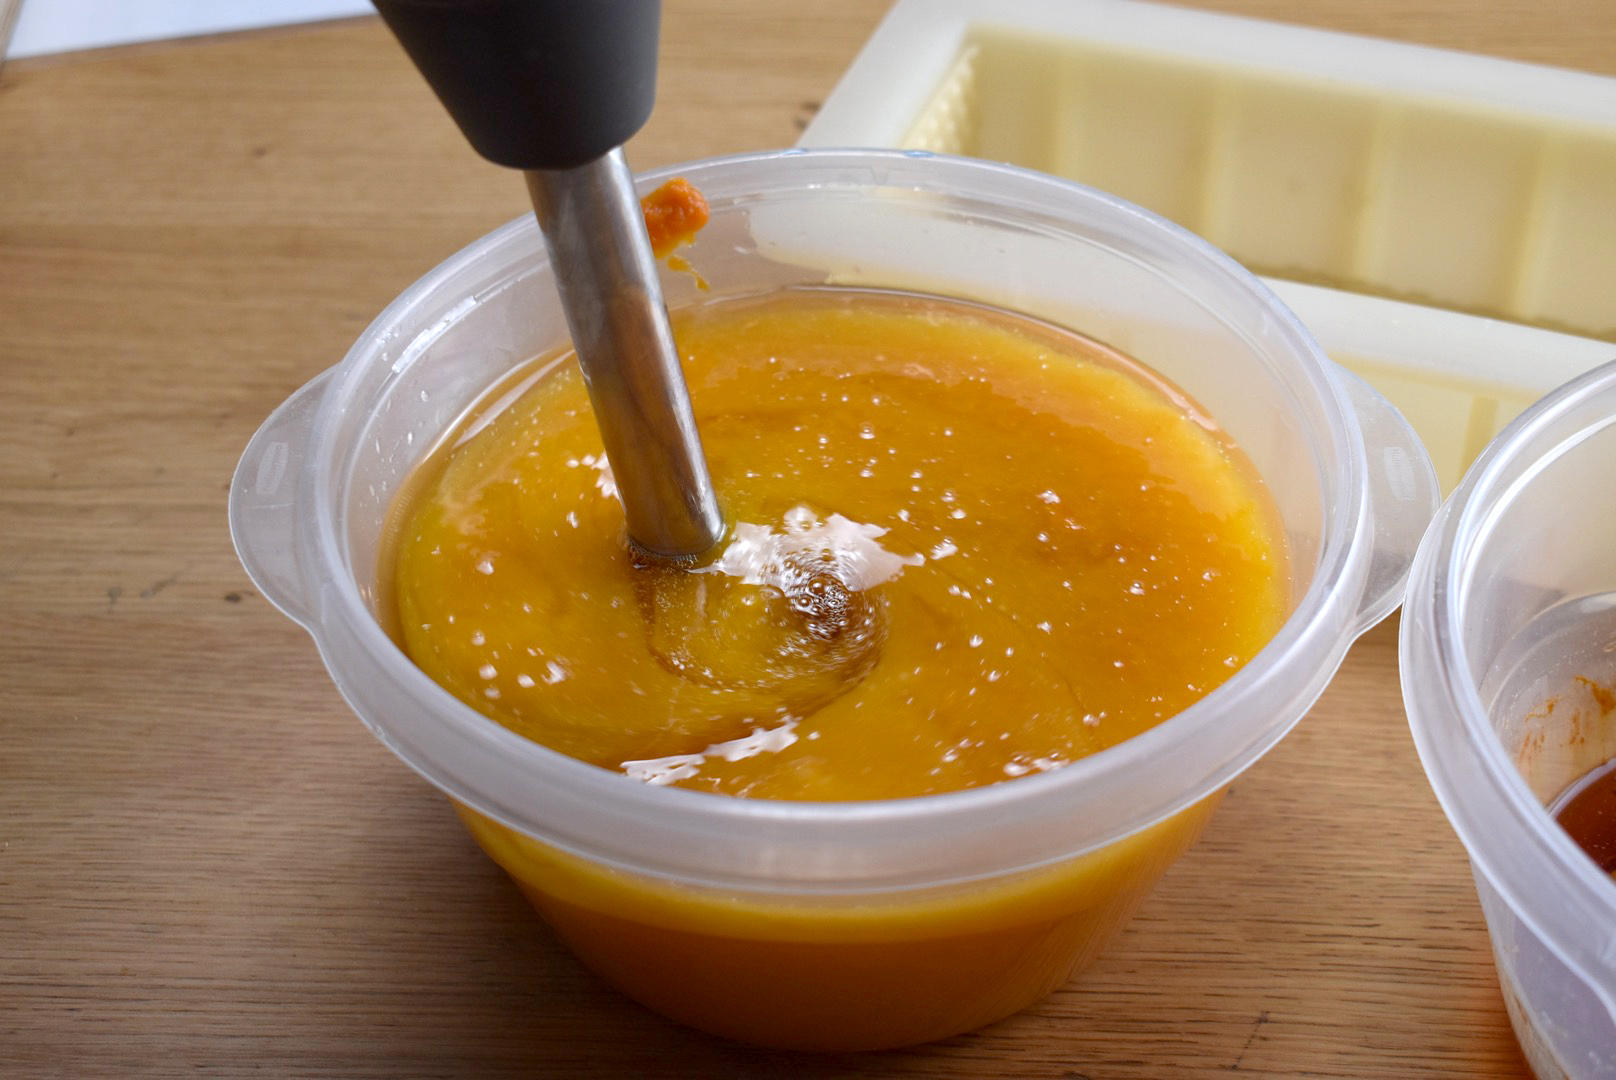
Step 6 – Divide your soap out and color. I use a mini-mixer (coffee frother) to mix each color. You can eyeball how much you want of each color.
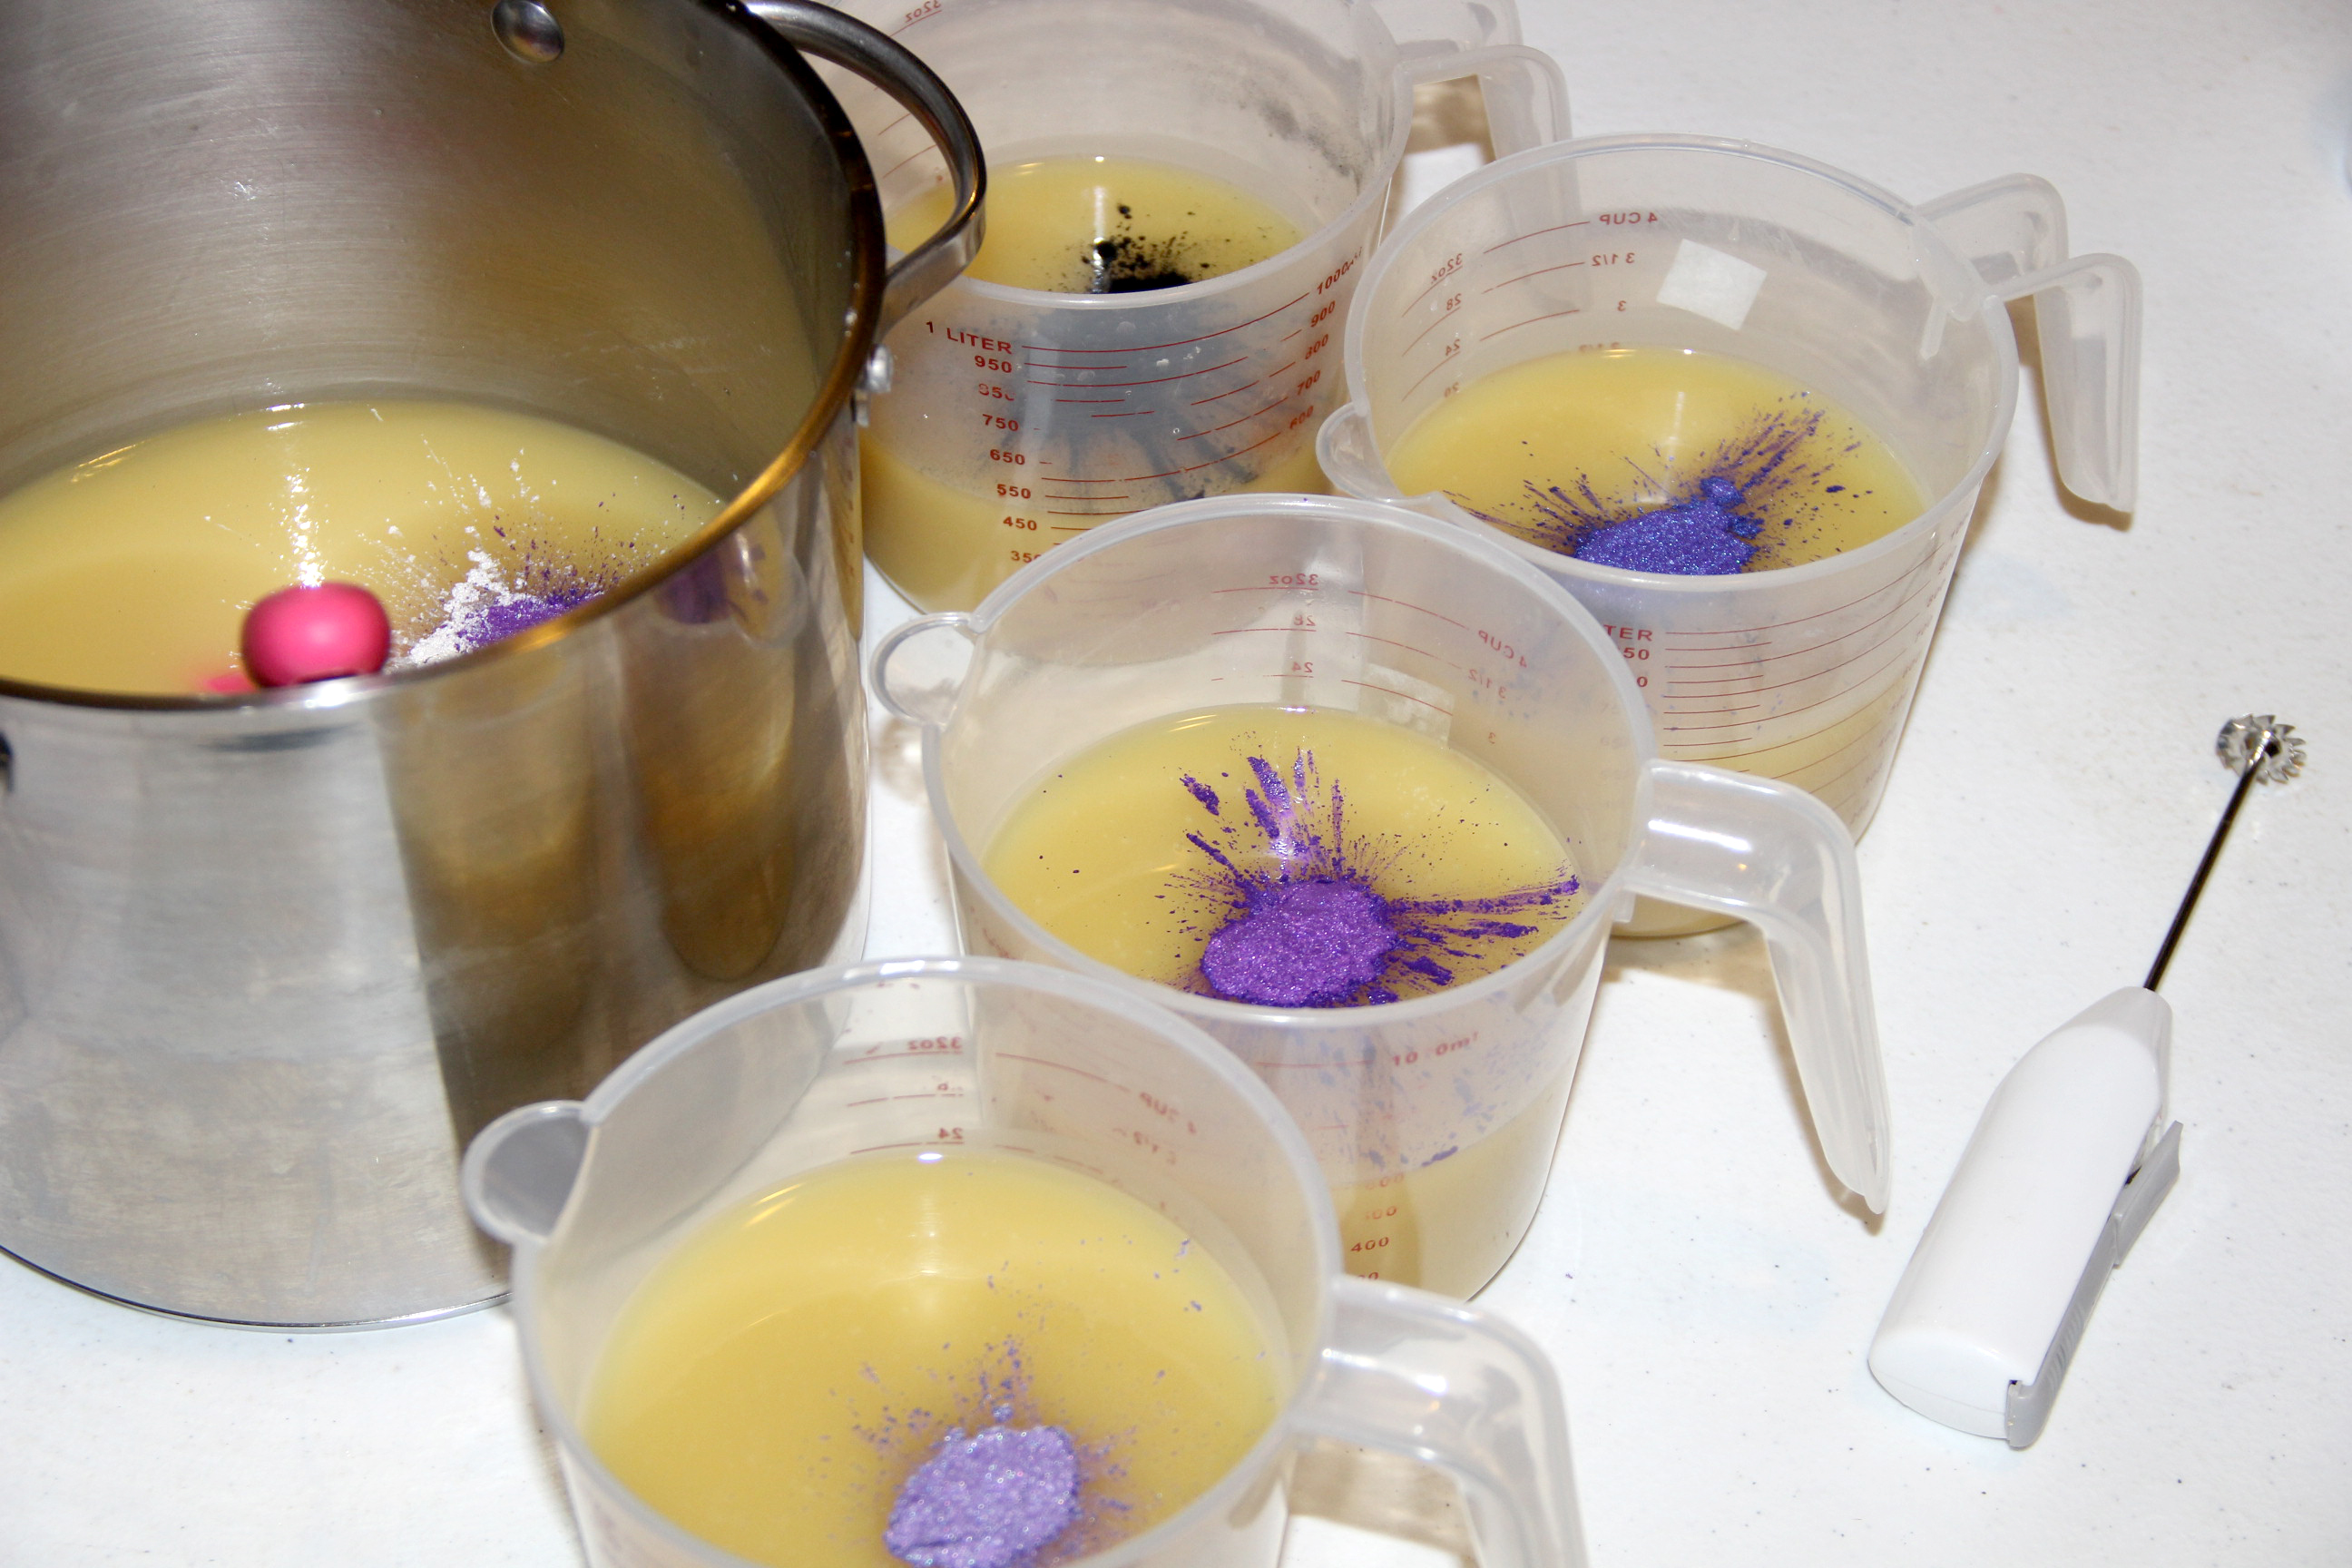

Step 7 – I simply poured the base into each of the three molds.
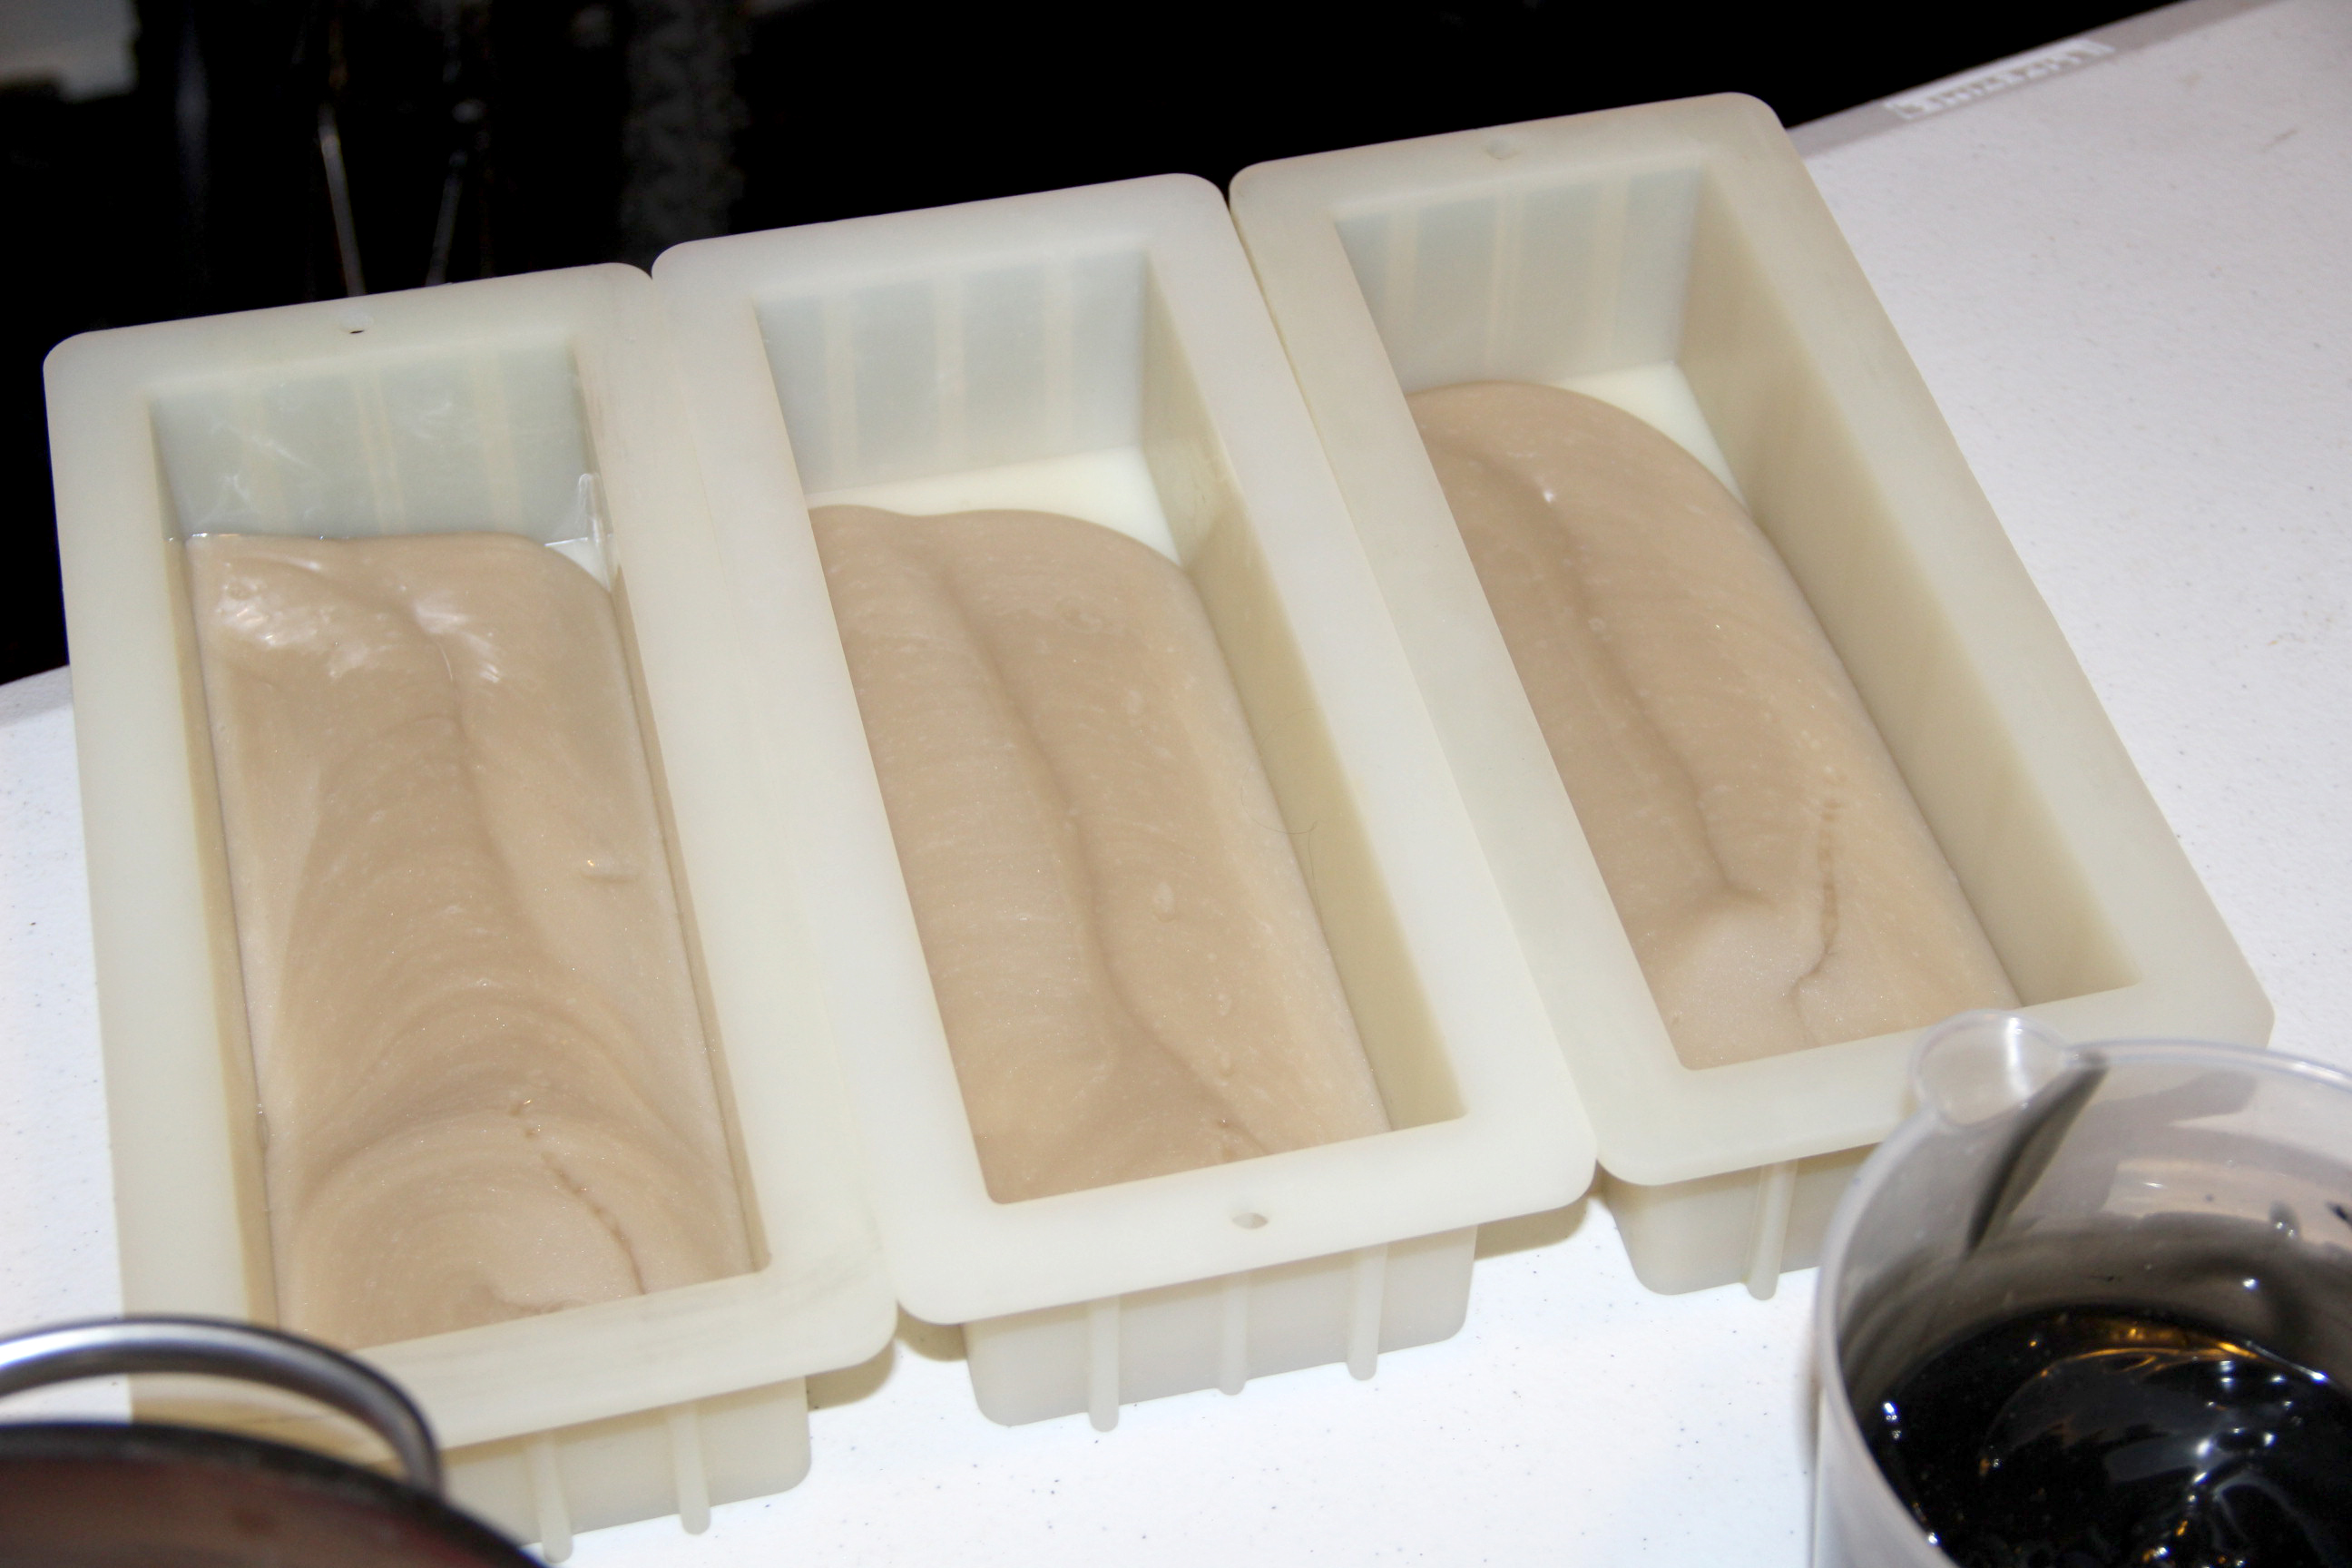
Step 8 – The soap thickened up a bit so I just plopped each color into each mold. I rotated through them about three times.
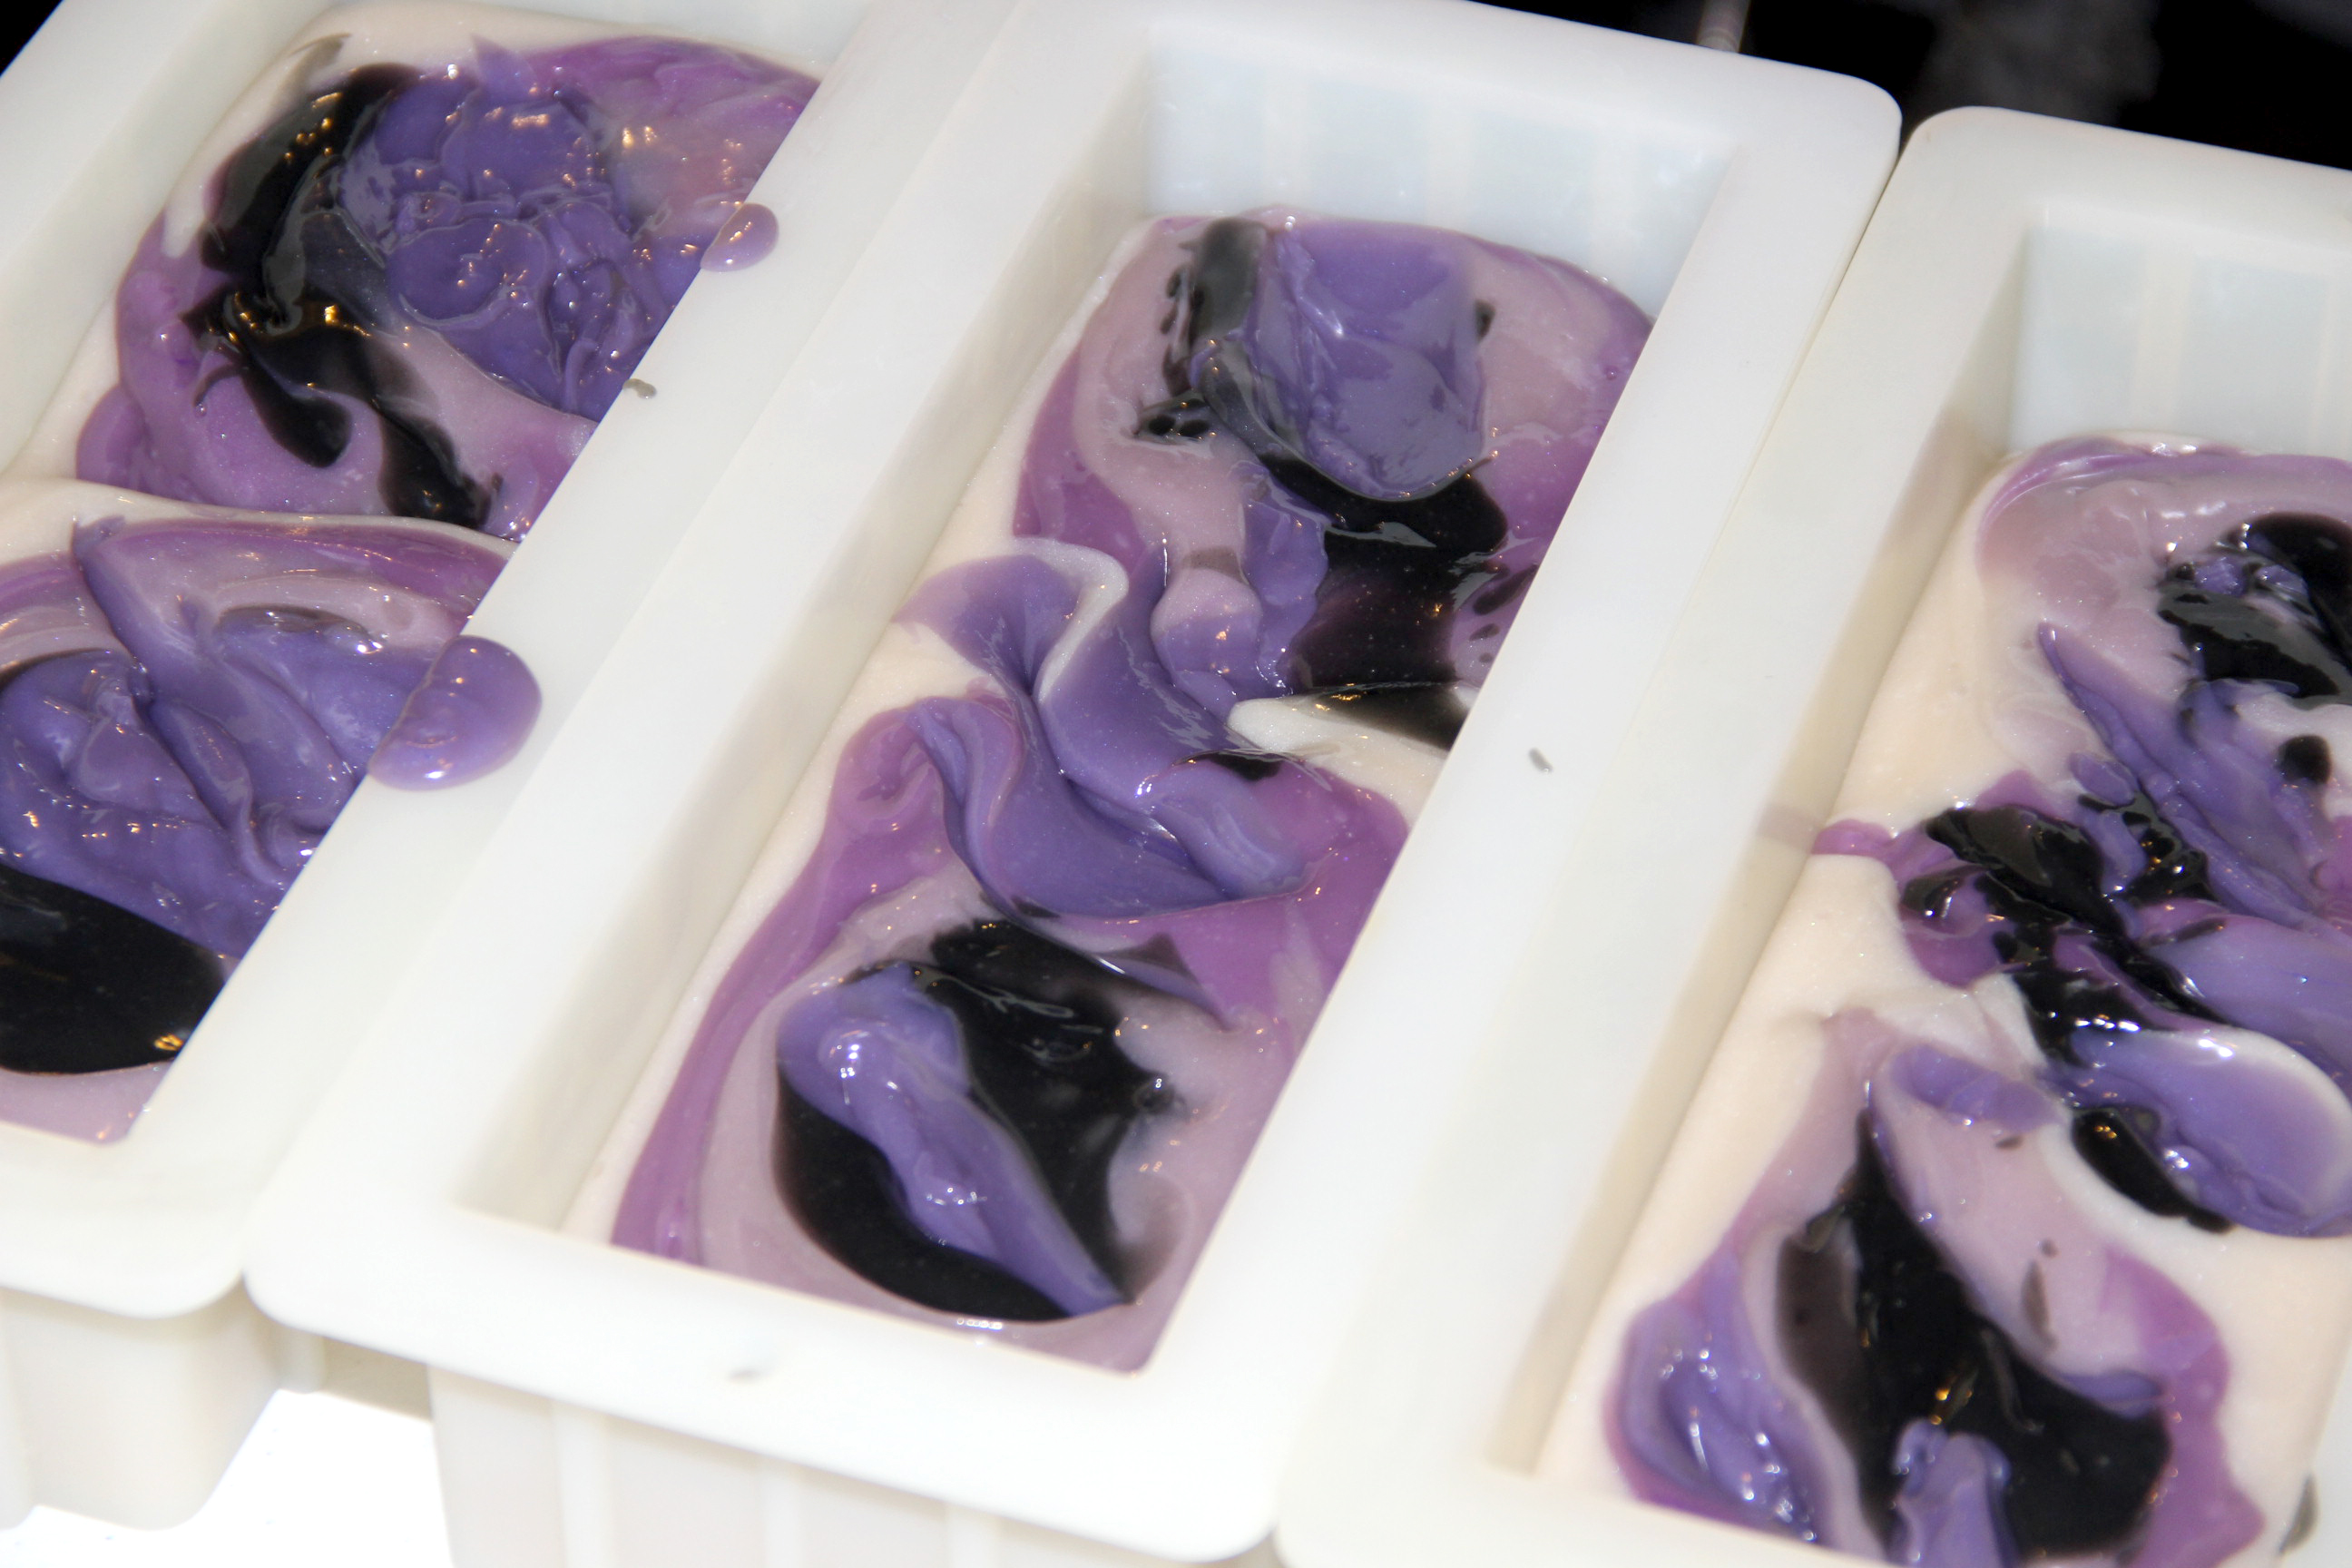
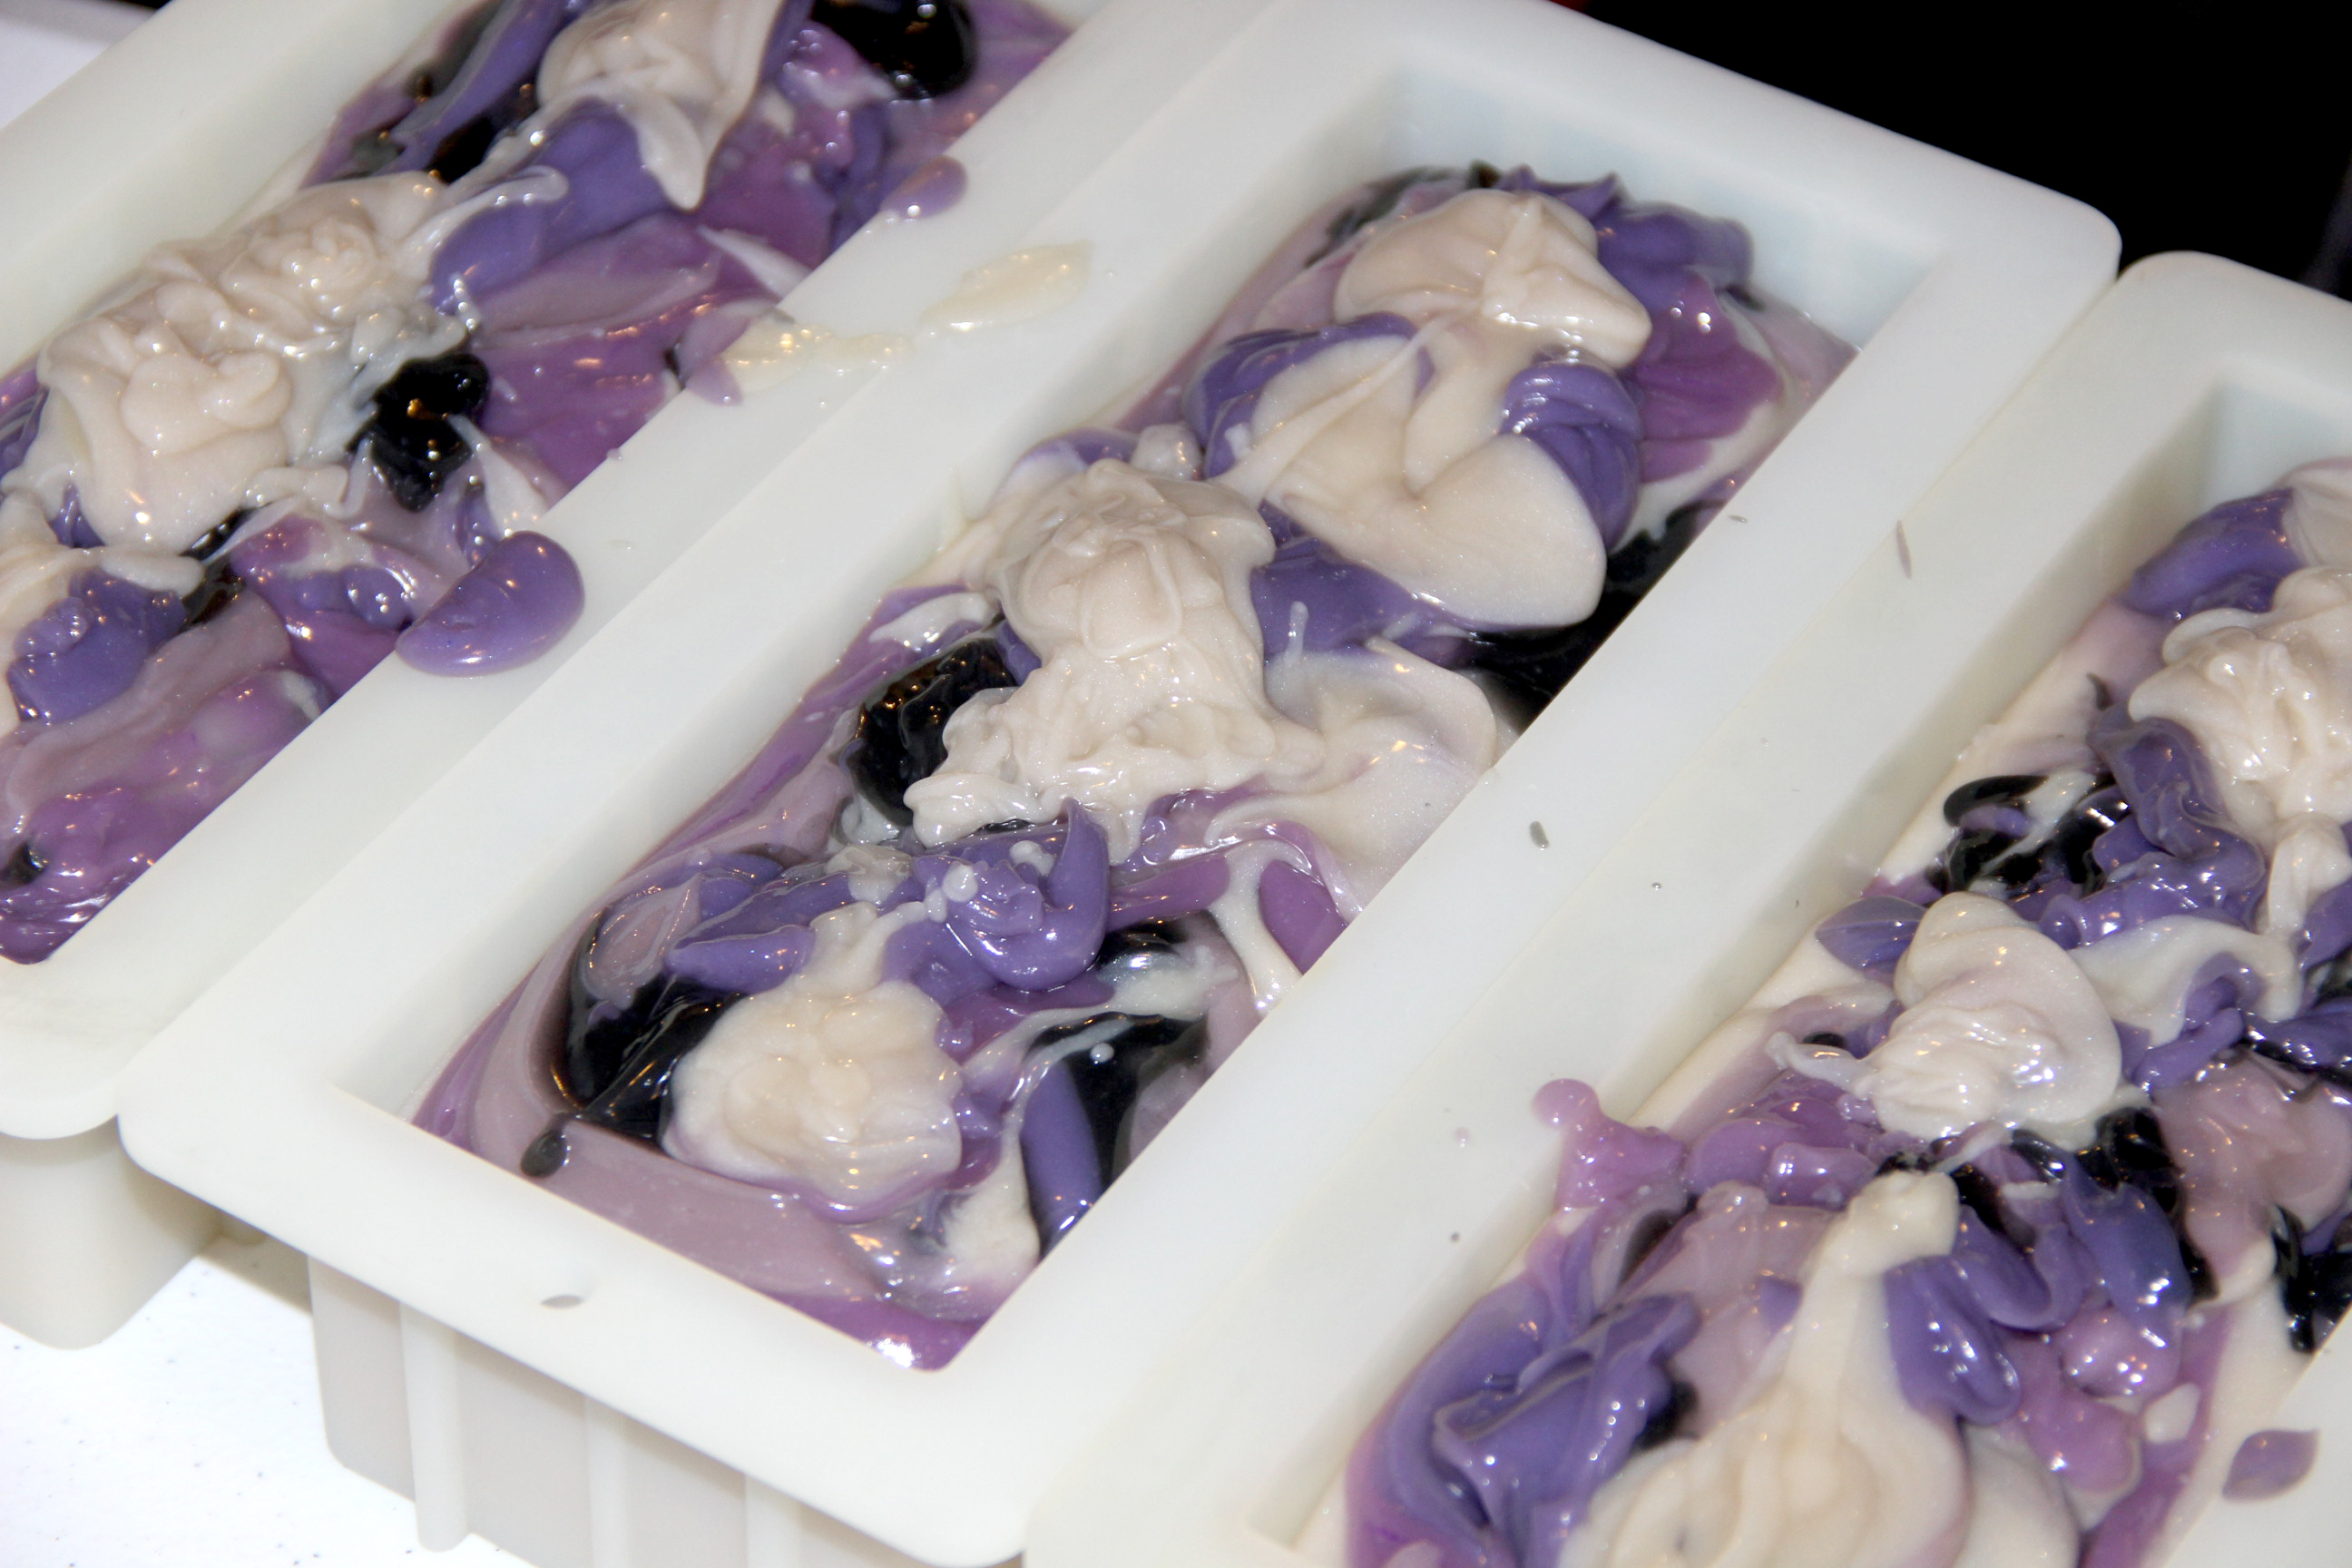
Step 9 – I used the handle of a plastic spoon to swirl the inside of each soap.
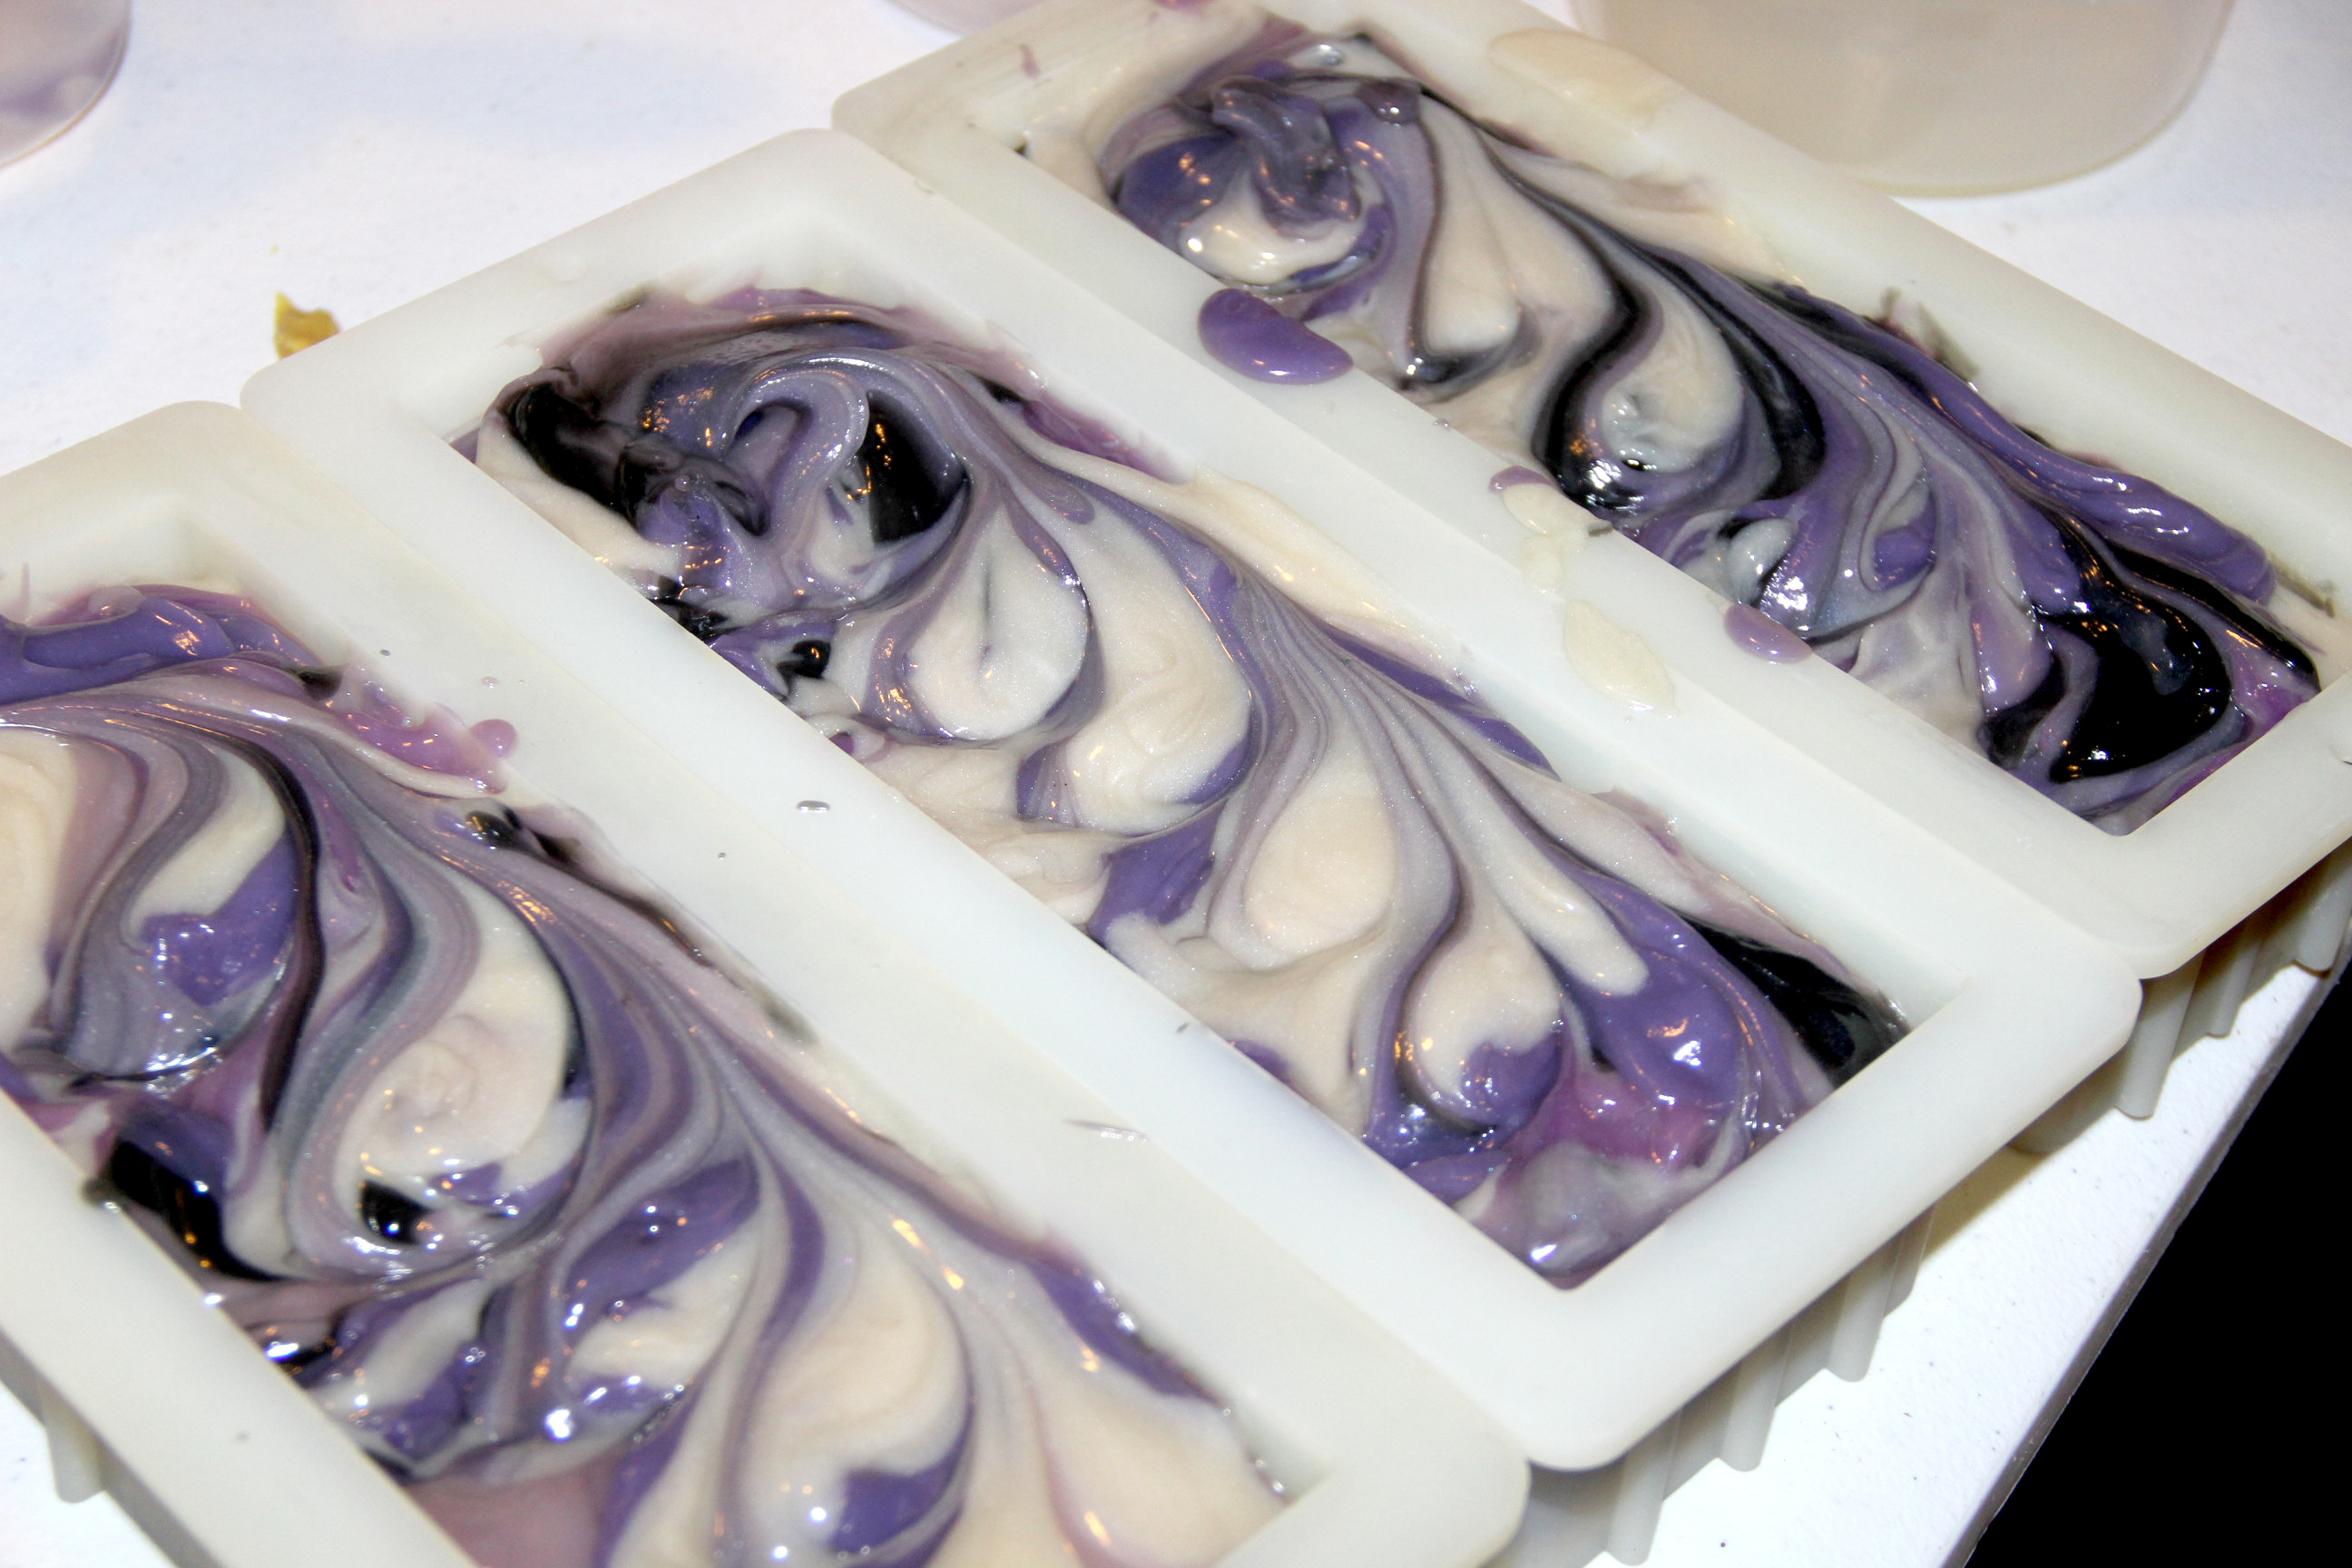
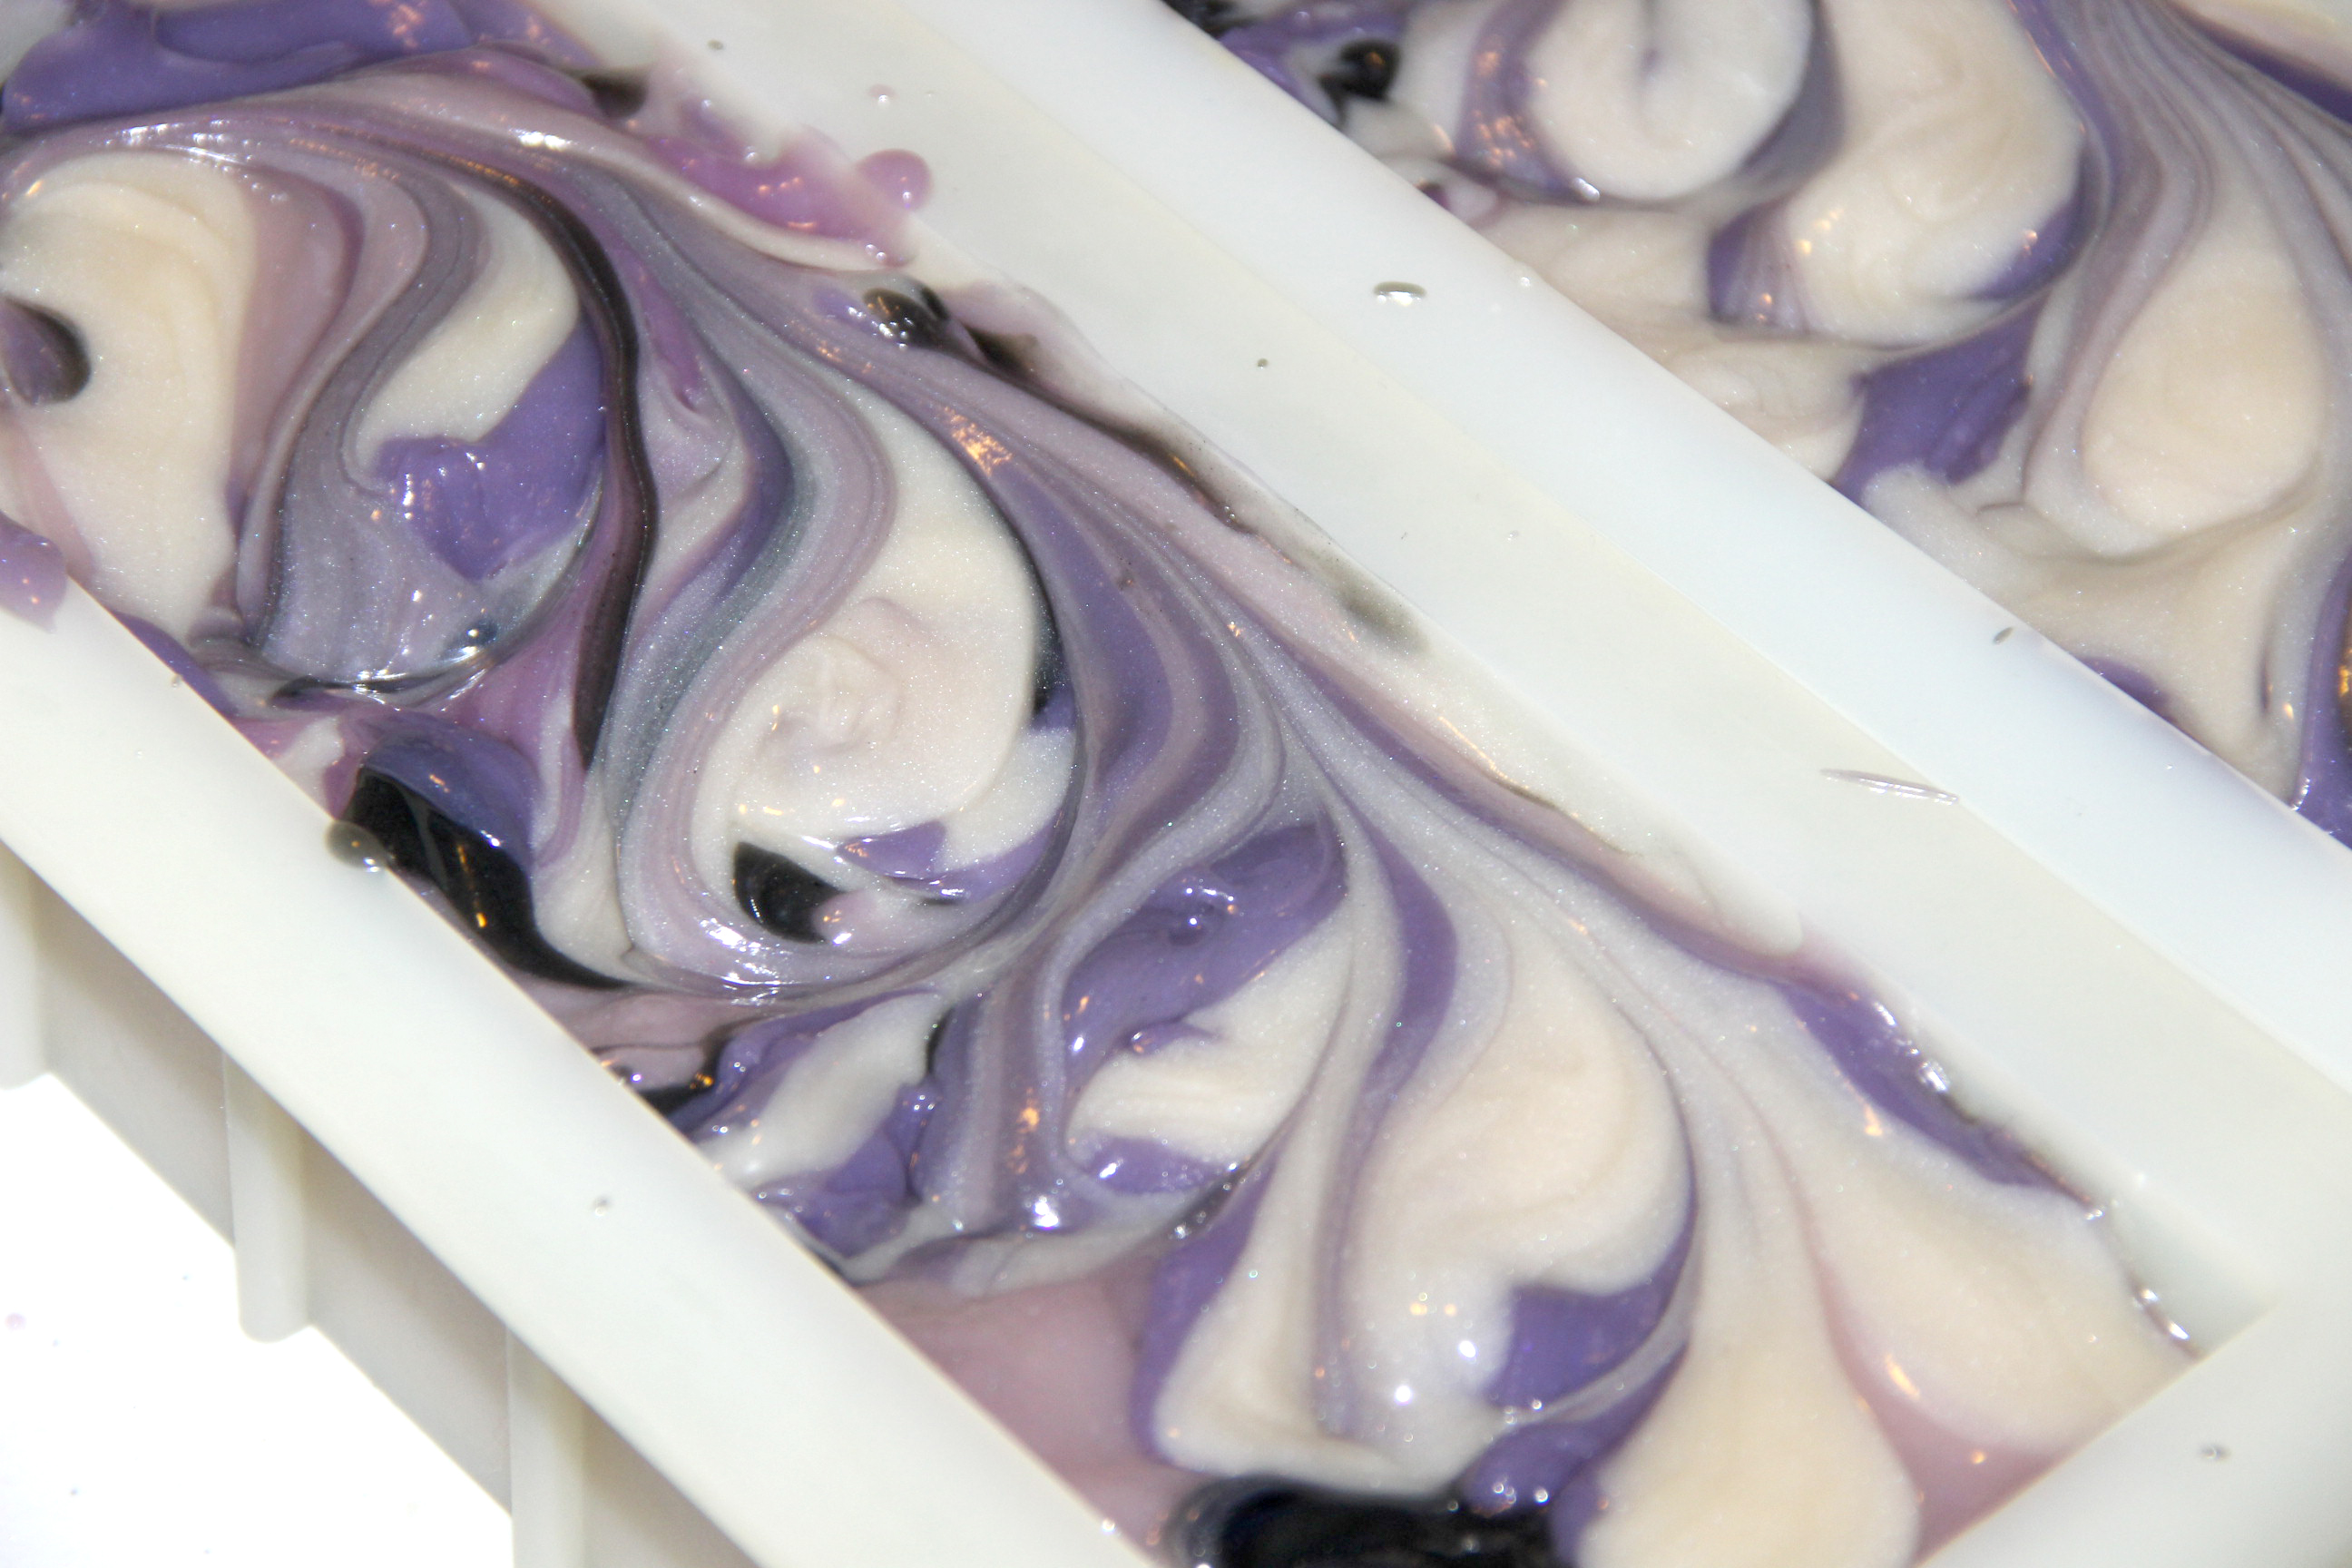
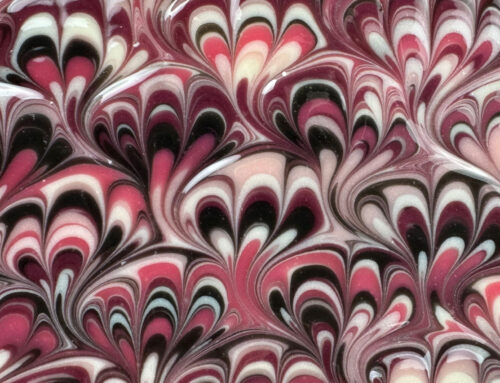
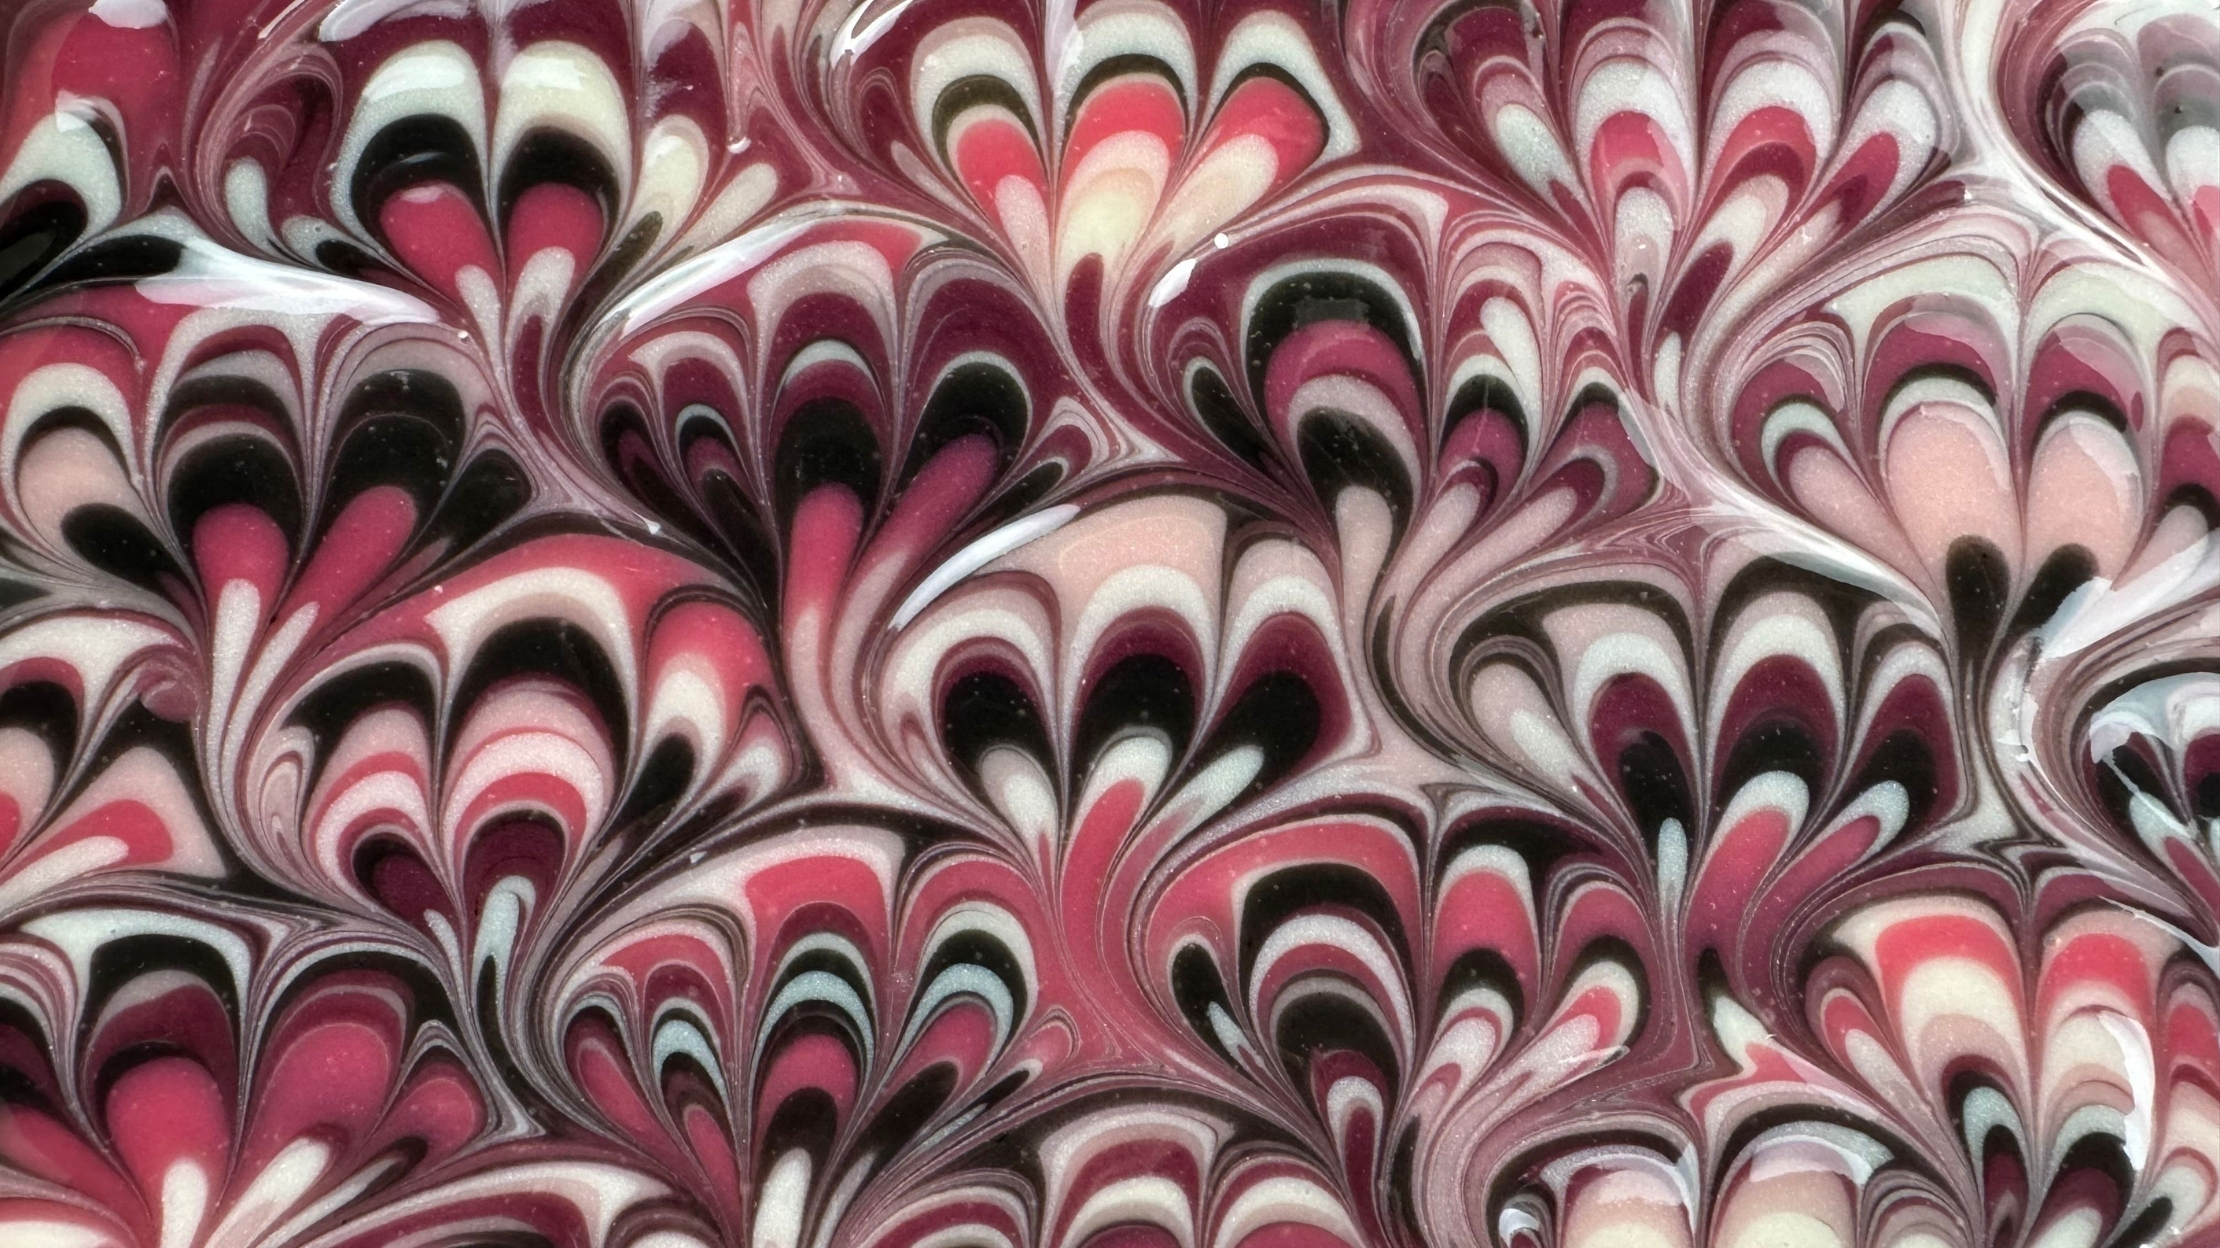
Aren’t these colors just beautiful!

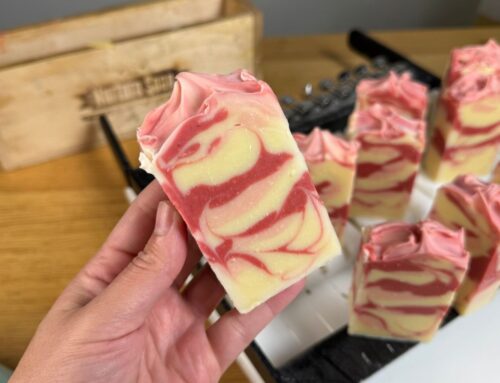
After your soap has saponified for 24 hours, unmold and cut.
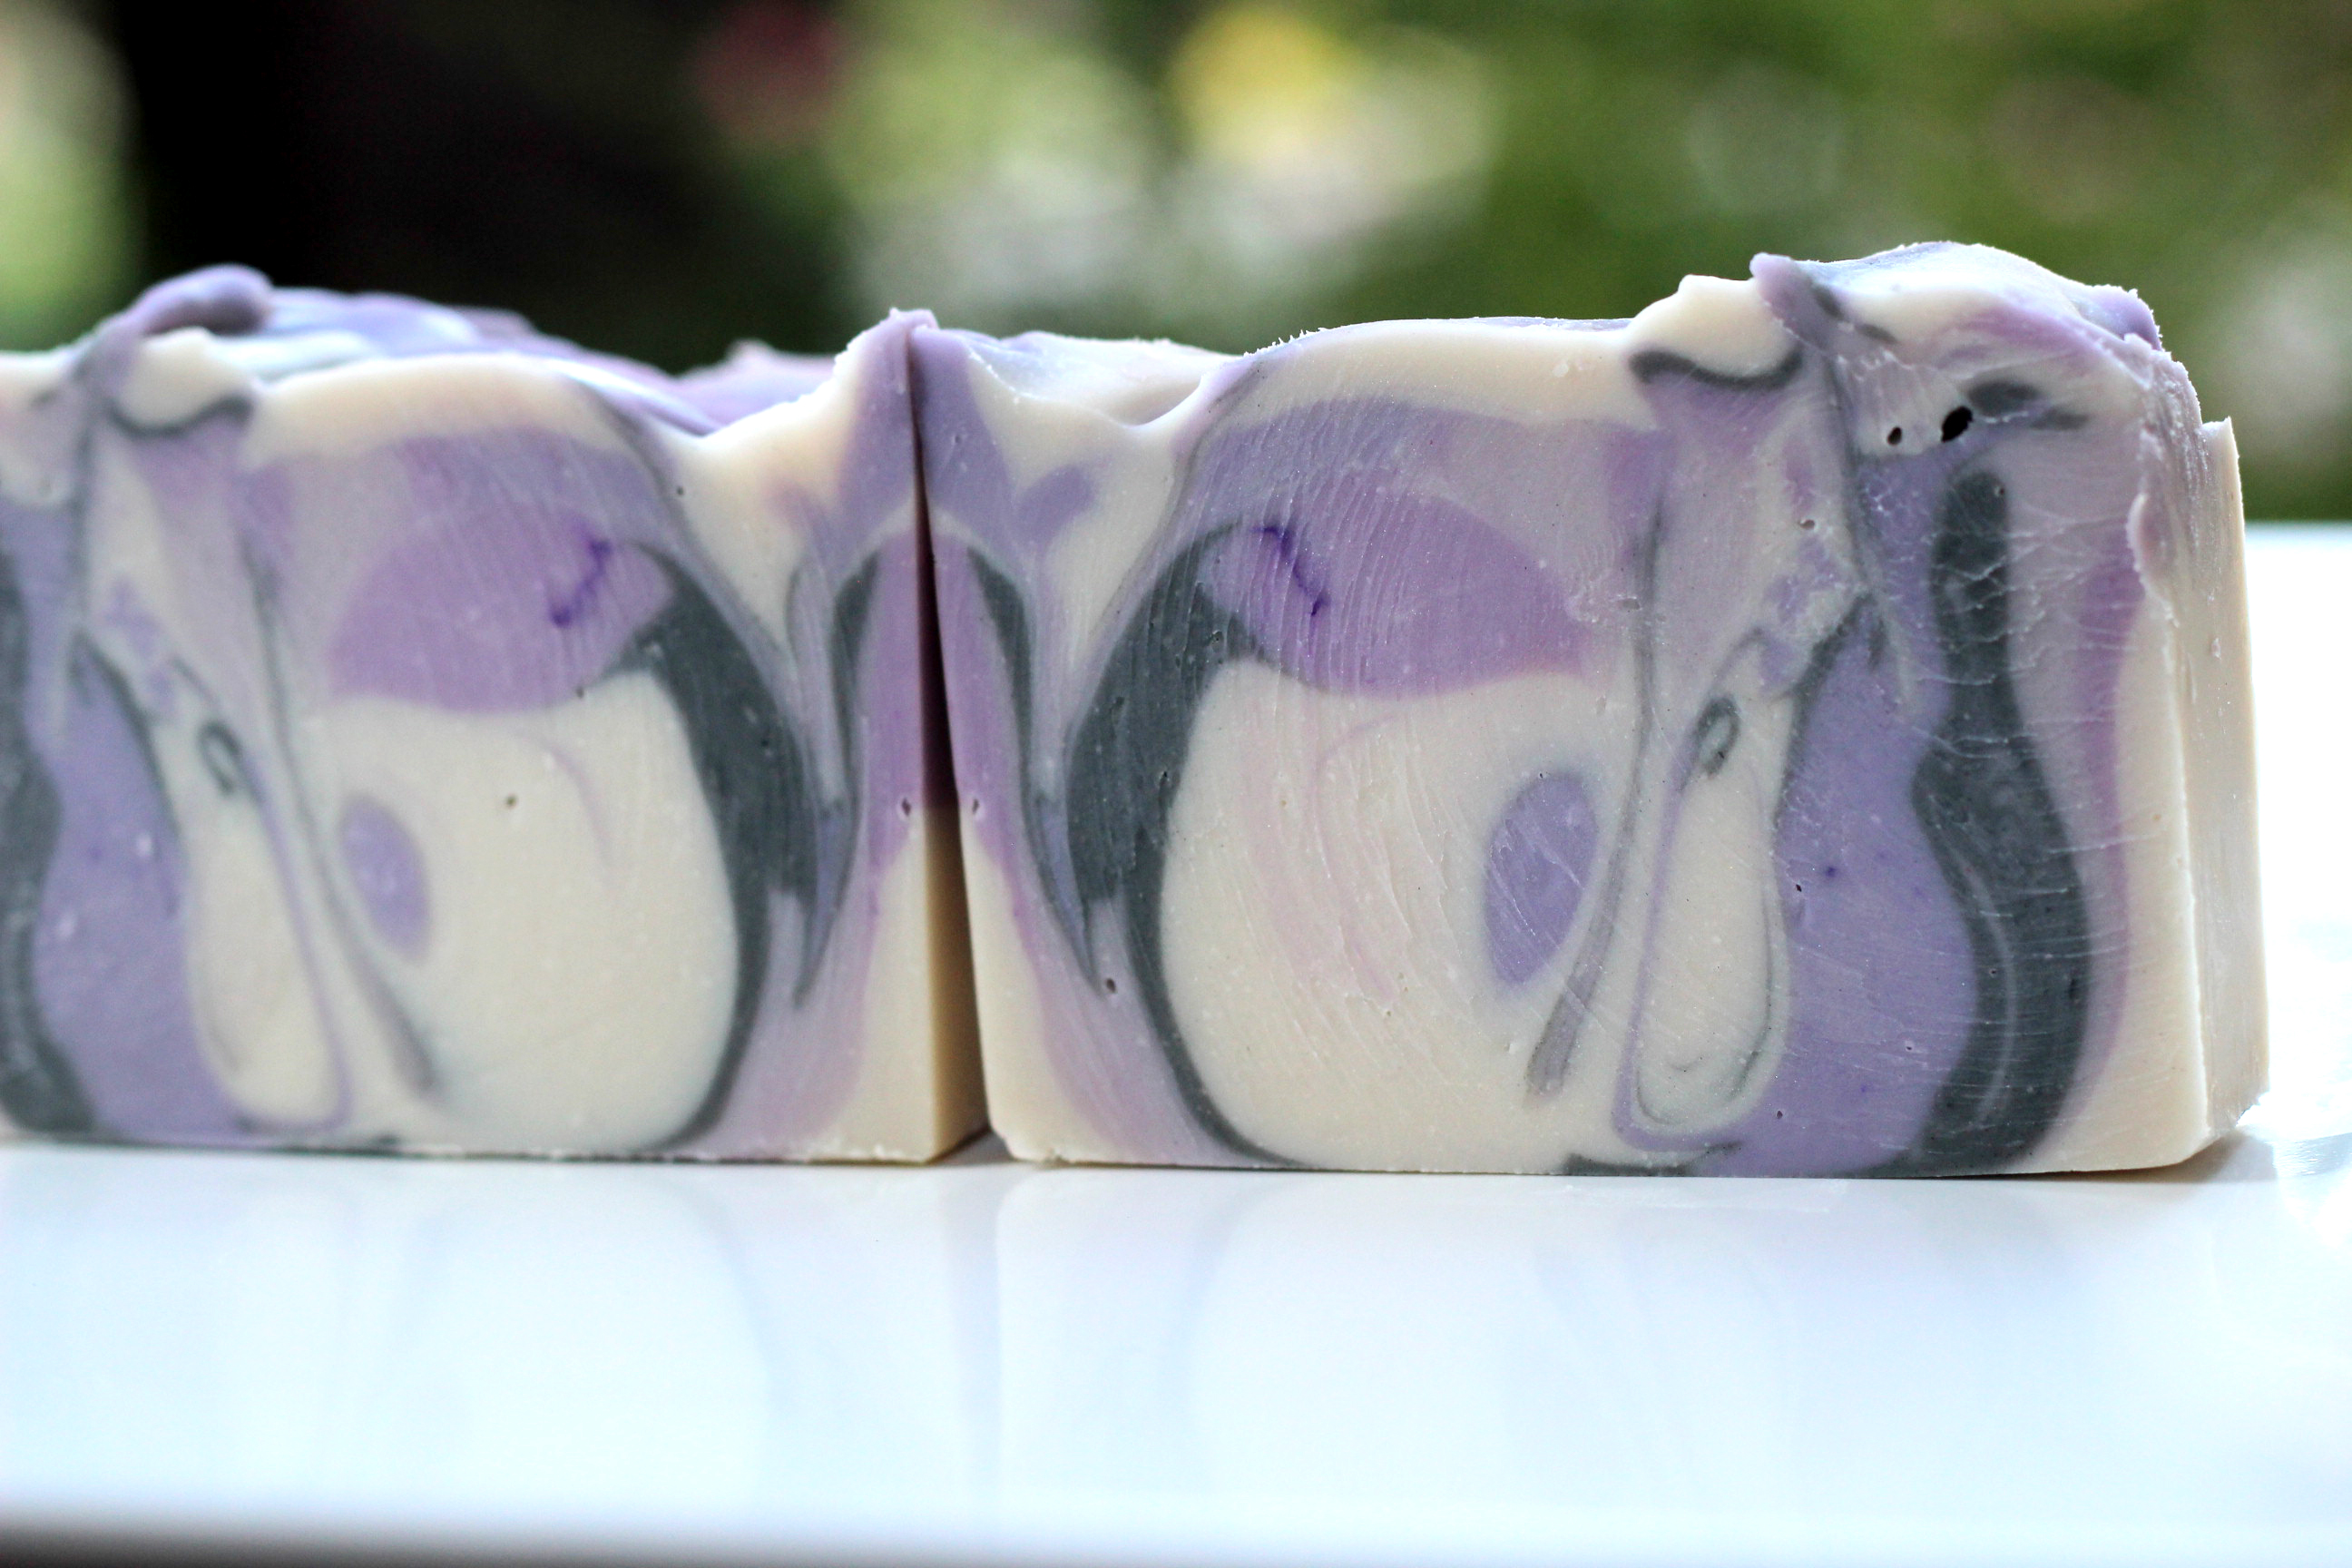
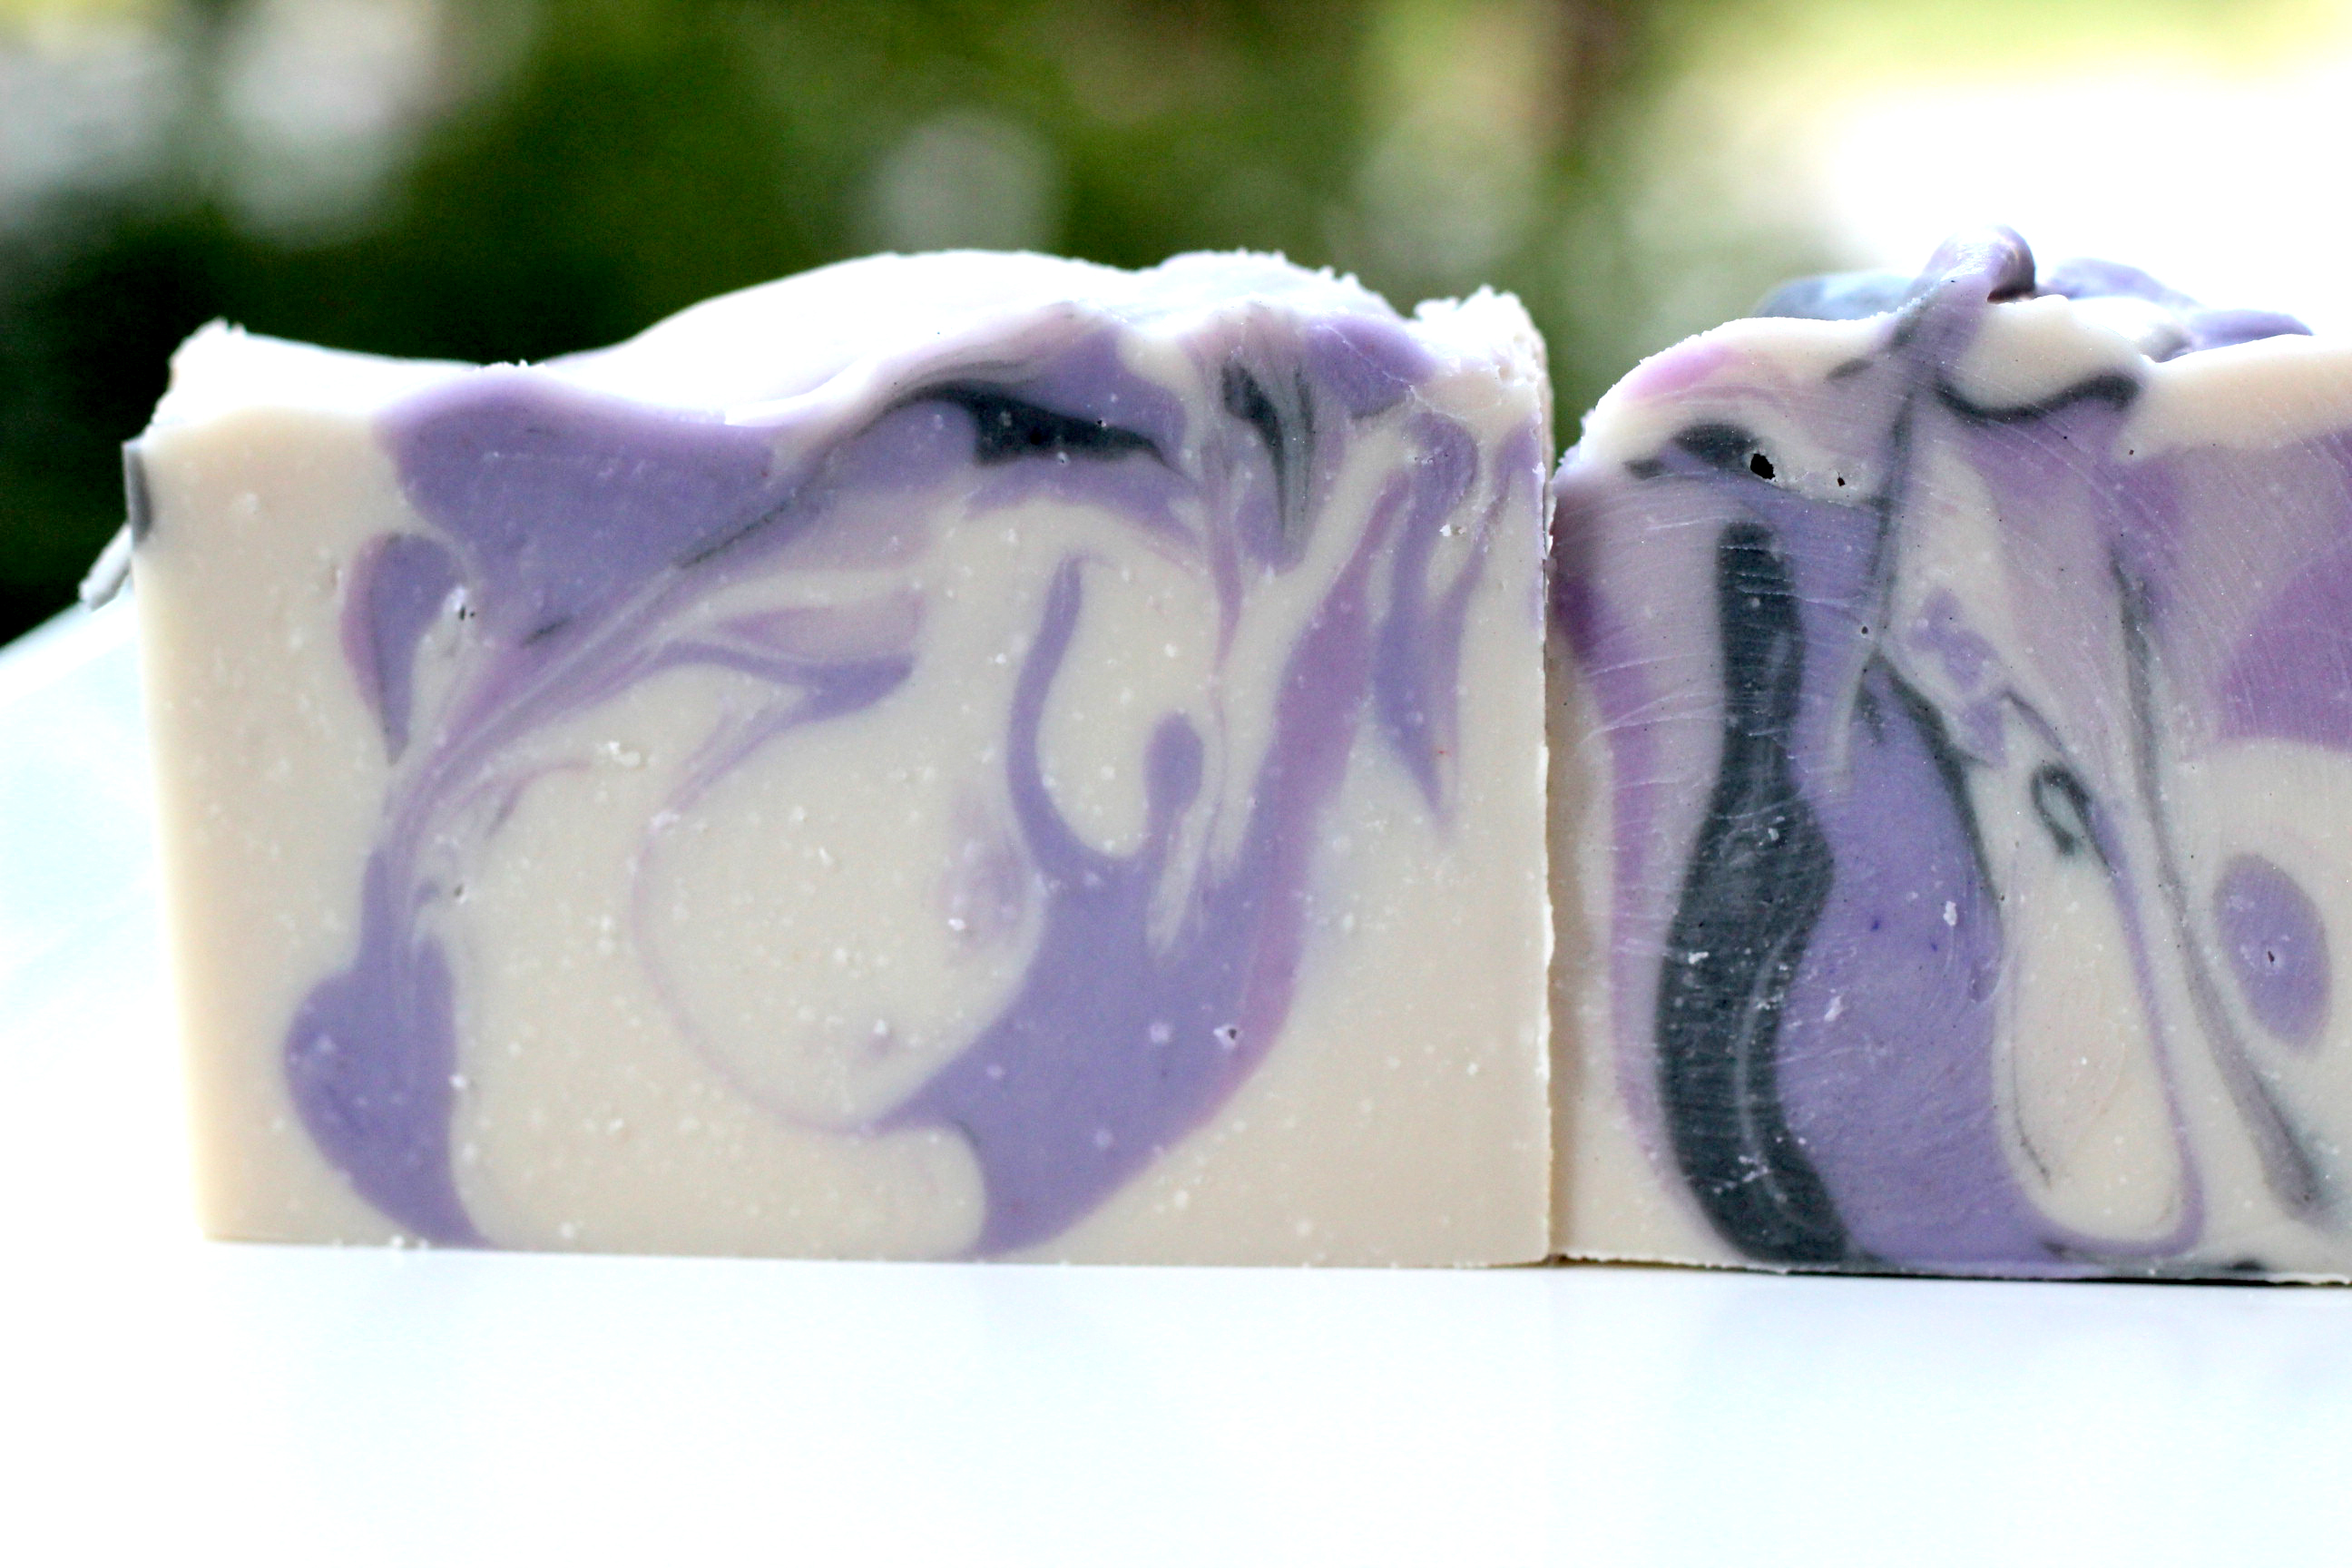
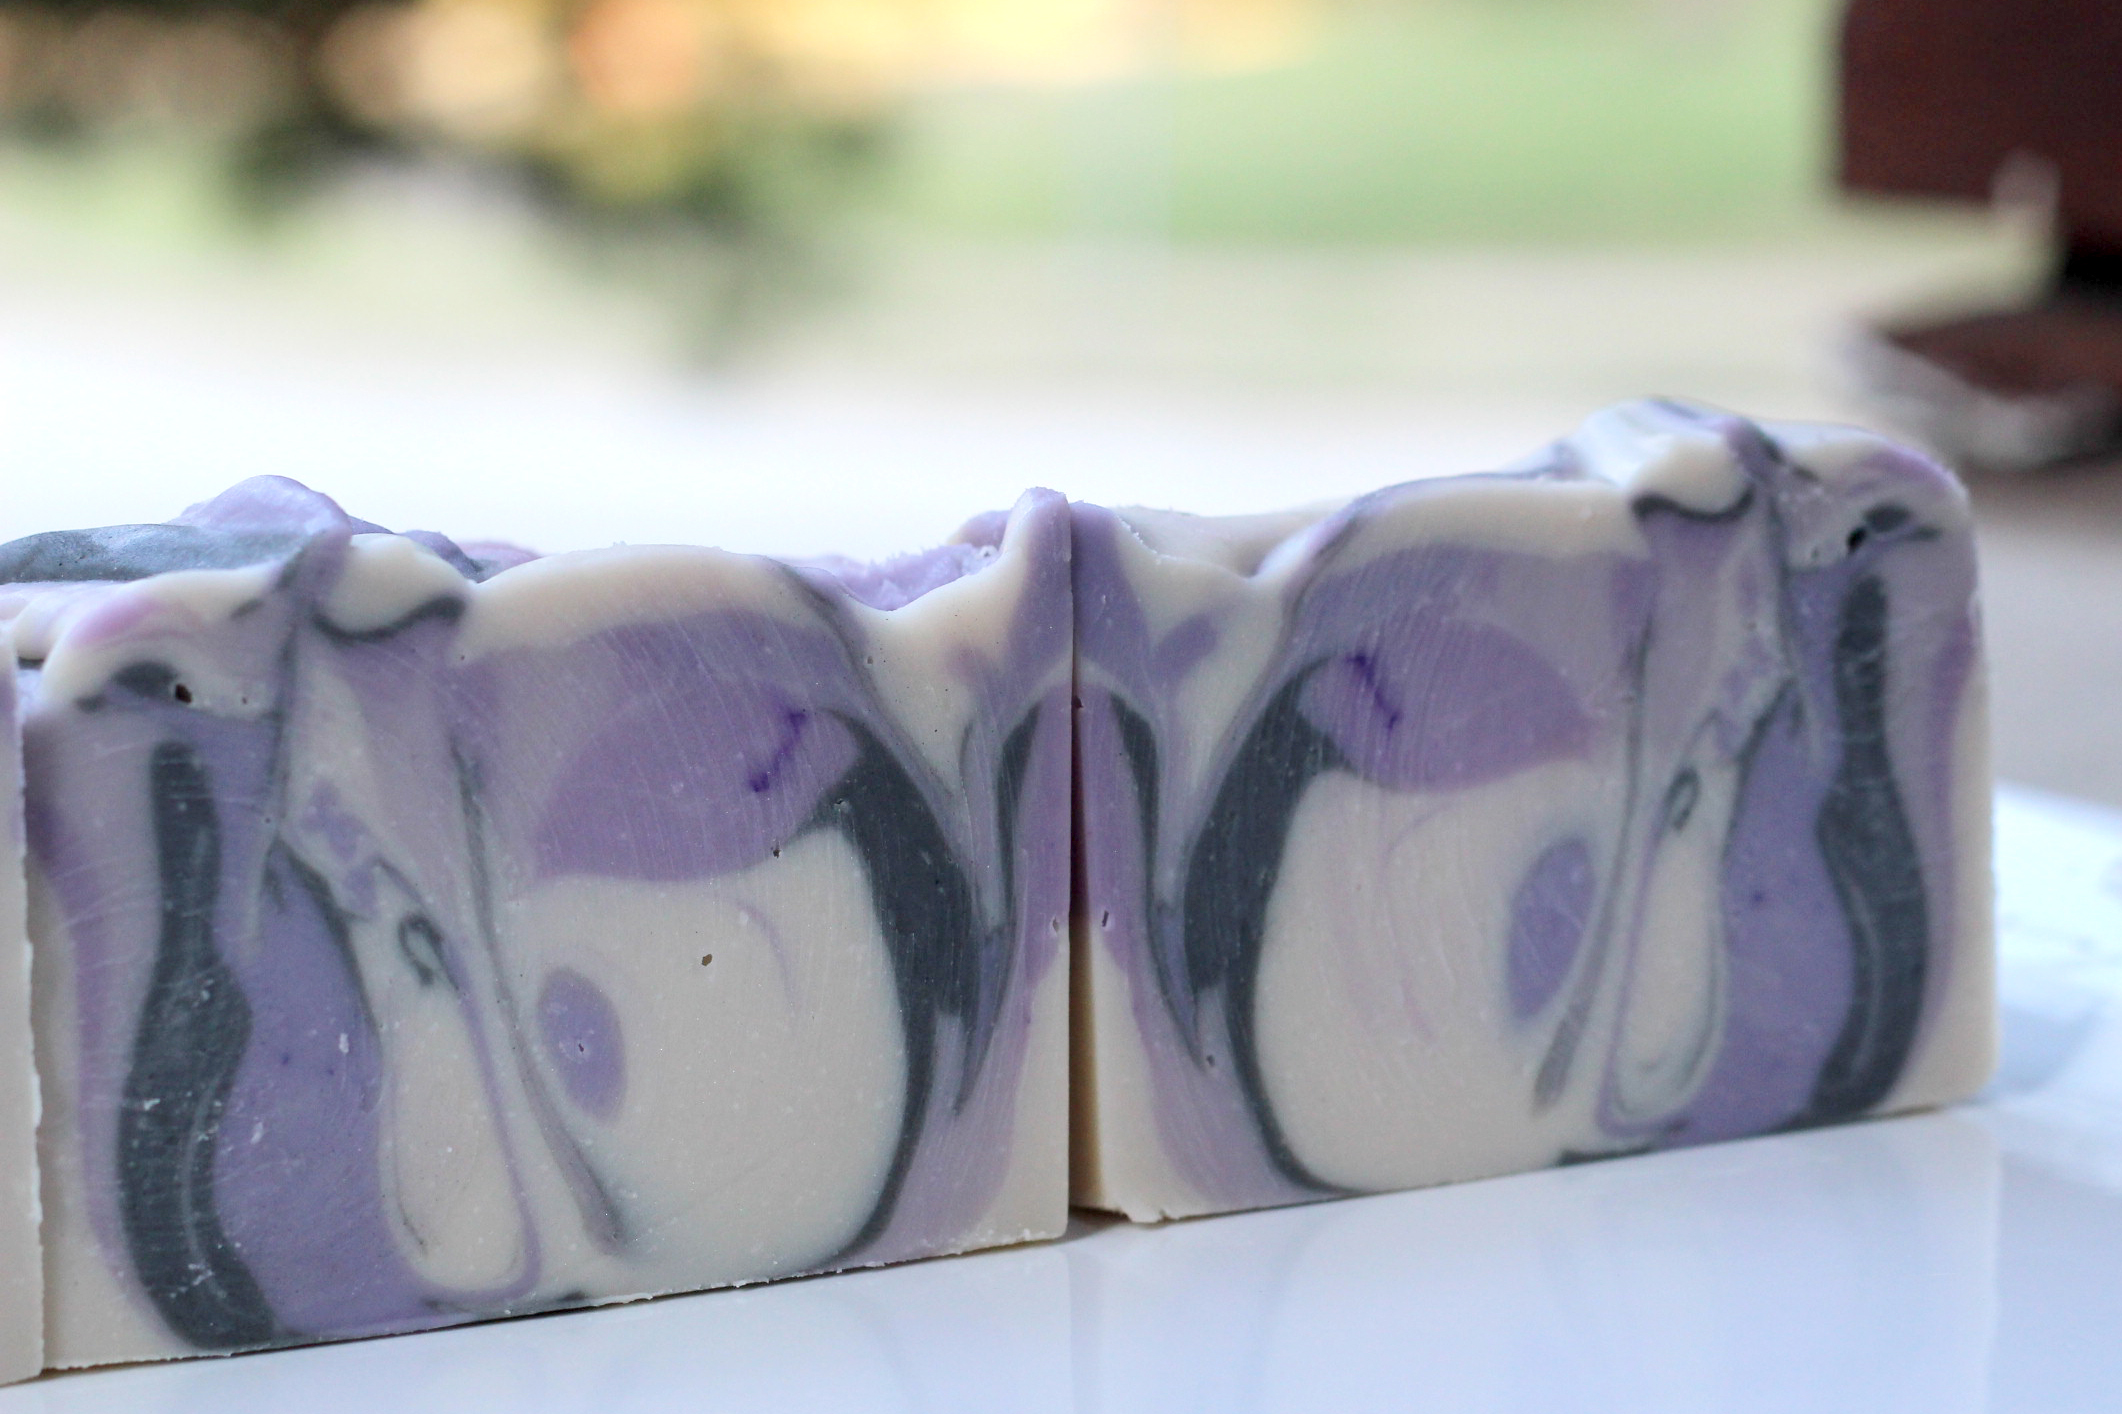
(I cut my soap waaaaaay to soon because we’re going out of town tomorrow. That’s what the drag-smoosh marks are. 🙂 )
Cure your soap for four weeks!
Happy Soap!
-Amanda Gail


Hi Amanda
I have hung onto your recipe until i understood cold process – lye safety and until i had a big enough mold because i knew one day i would want to make a huge batch
i have made CP soap now for a couple of years – and today is the day i feel i can cope with your above soap
My only niggle with this soap is – i wish people would read what you have written – e.g. the lye quantity is in the recipe along with the amount of water that is required – melt and pour soap cant be used to colour a CP soap – ask google for oil substitutes in CP soap there is a list and its easy to find – when to add the white mica?? easy its in the directions – its all there but only if you read the article fully
I for one – fully appreciate you sharing this recipe – for free – to all us soapers
Am I daft or where is the lye mixture recipe? Thank you
Sodium hydroxide is Lye
I guess I need to break down and make some lavender soap, too. Thanks for the push! Pretty soaps!
Hi.. can you make this and color it with goats milk melt and pour base ?
Where and when is the white added? Your soaps are beautiful.
No avacado oil. Can you suggest an alternate?
The charcoal color and the purple go so well together!
The outcome seems really good. Lavender contains anti fungal properties. This soap may going to be helpful for my fungal skin infection. As the ingredient of the soap is sounds really good, I’ll definitely going to try this. Thanks for sharing!