

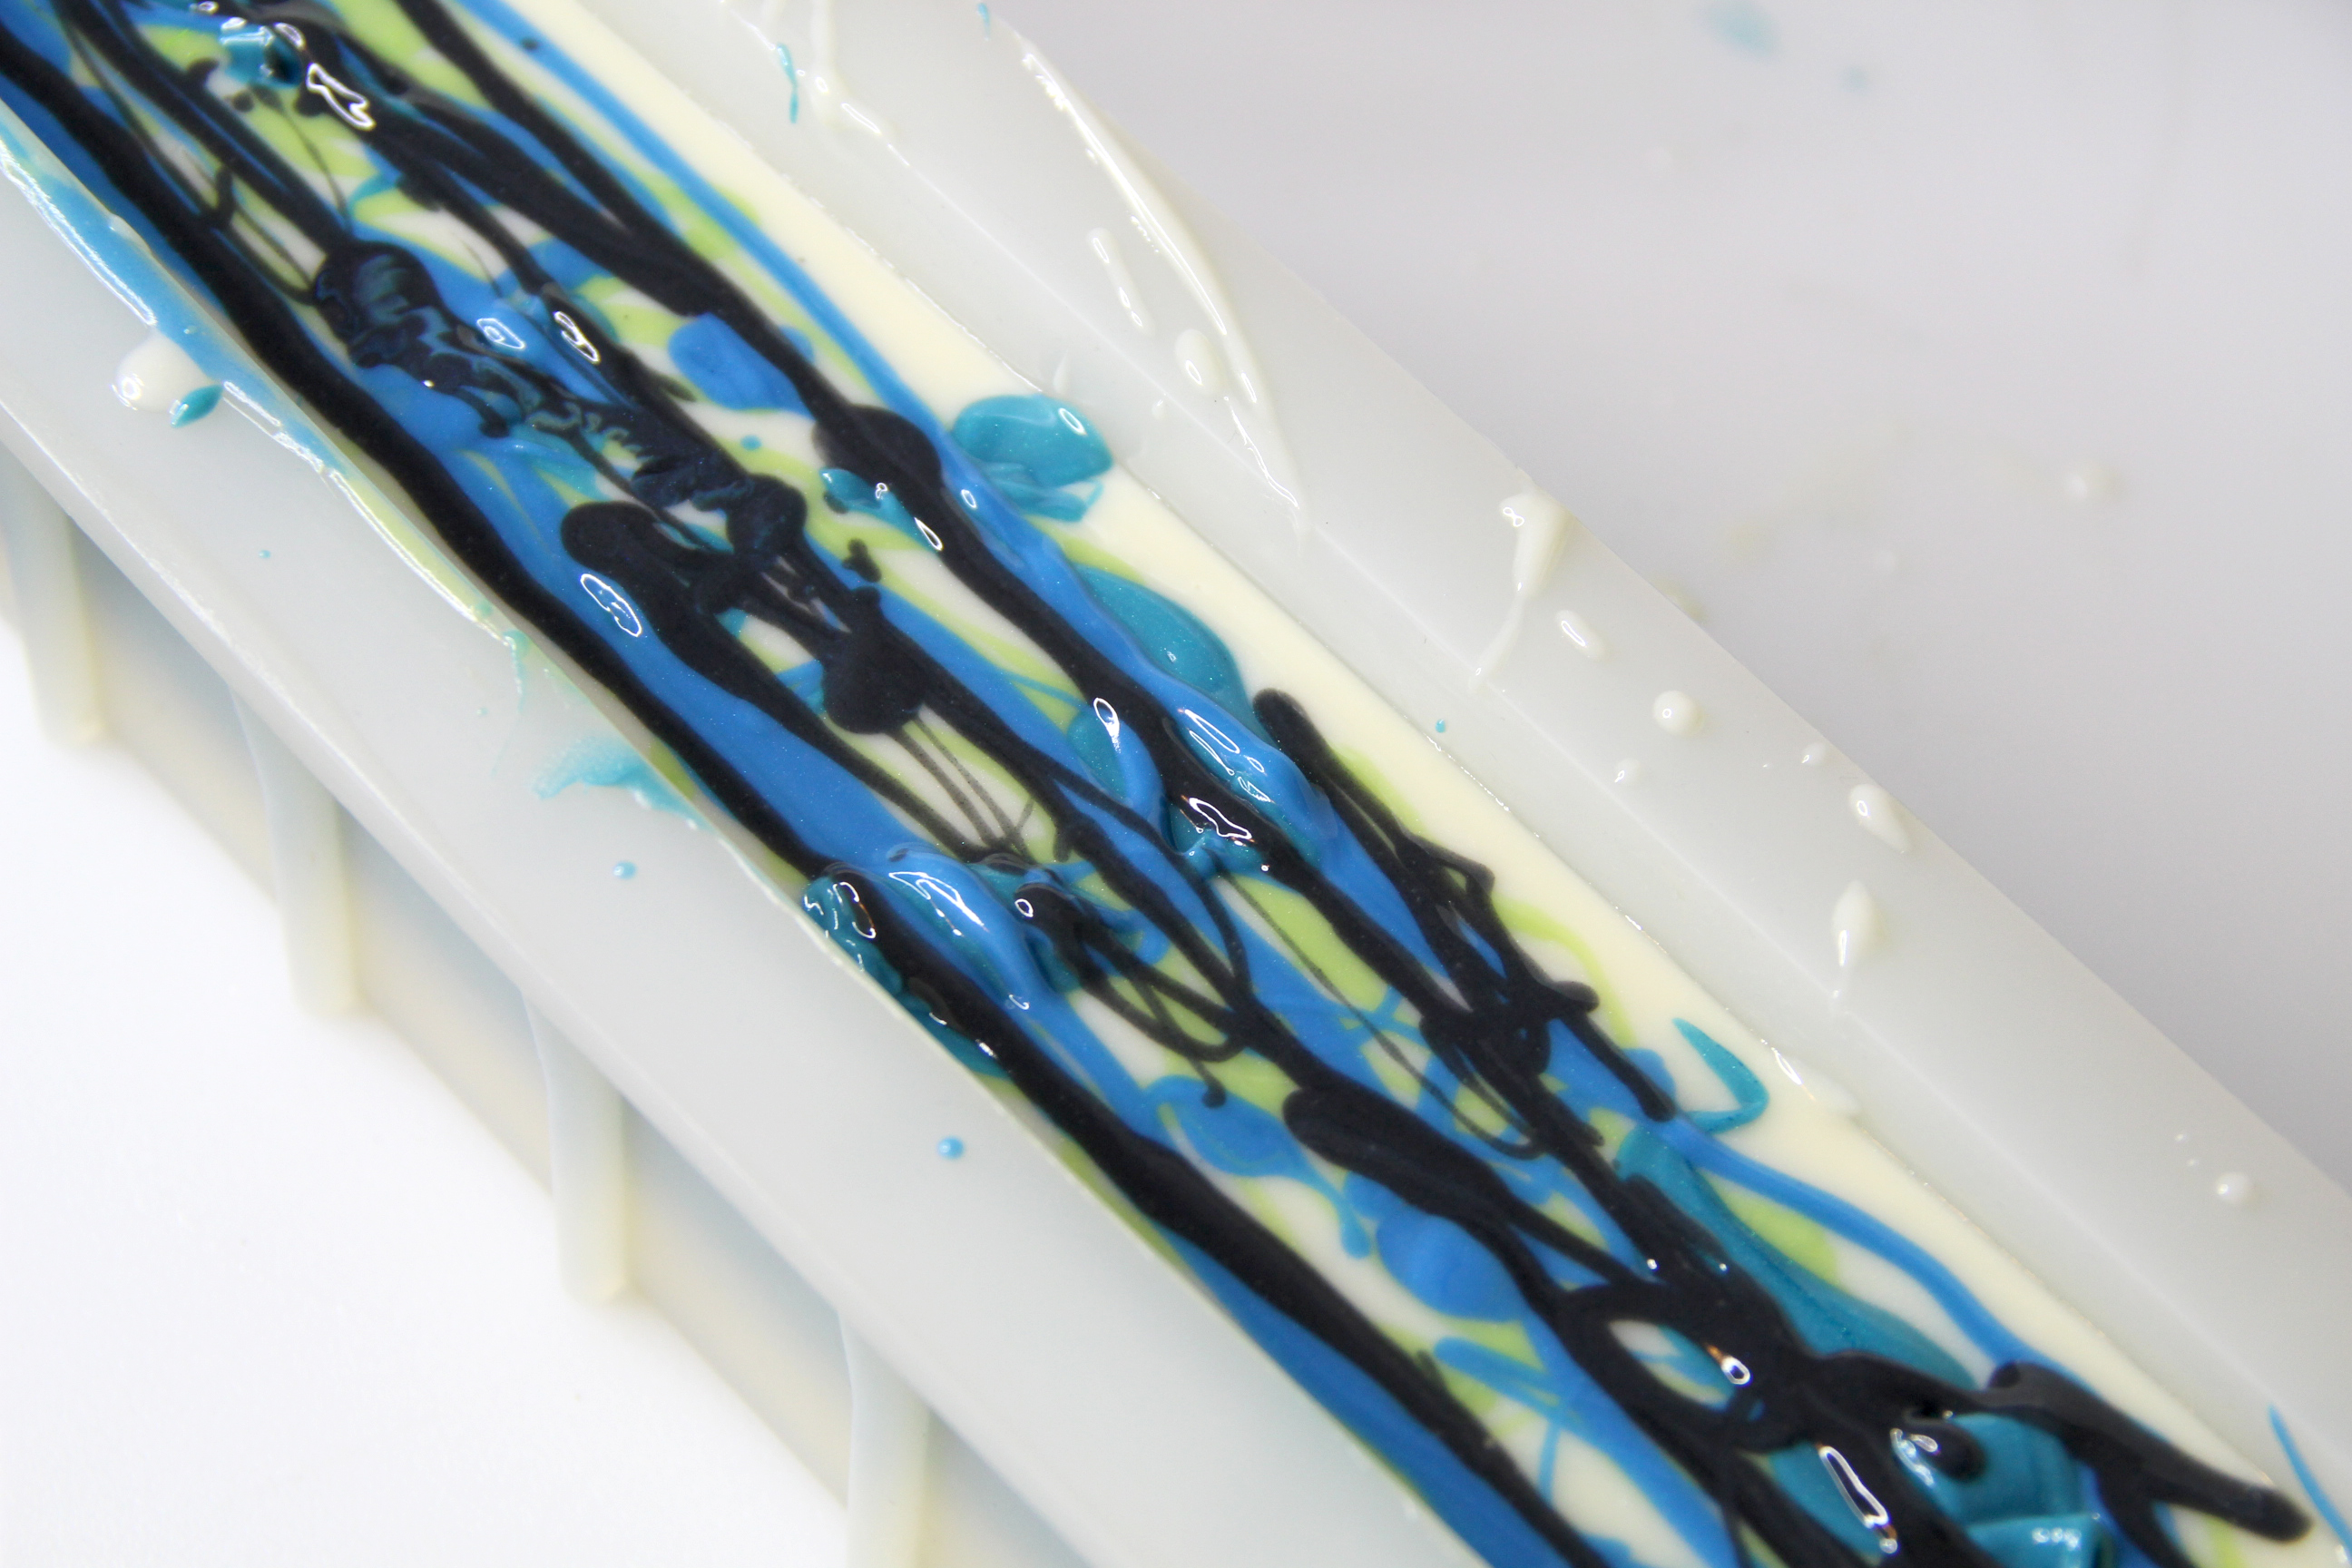
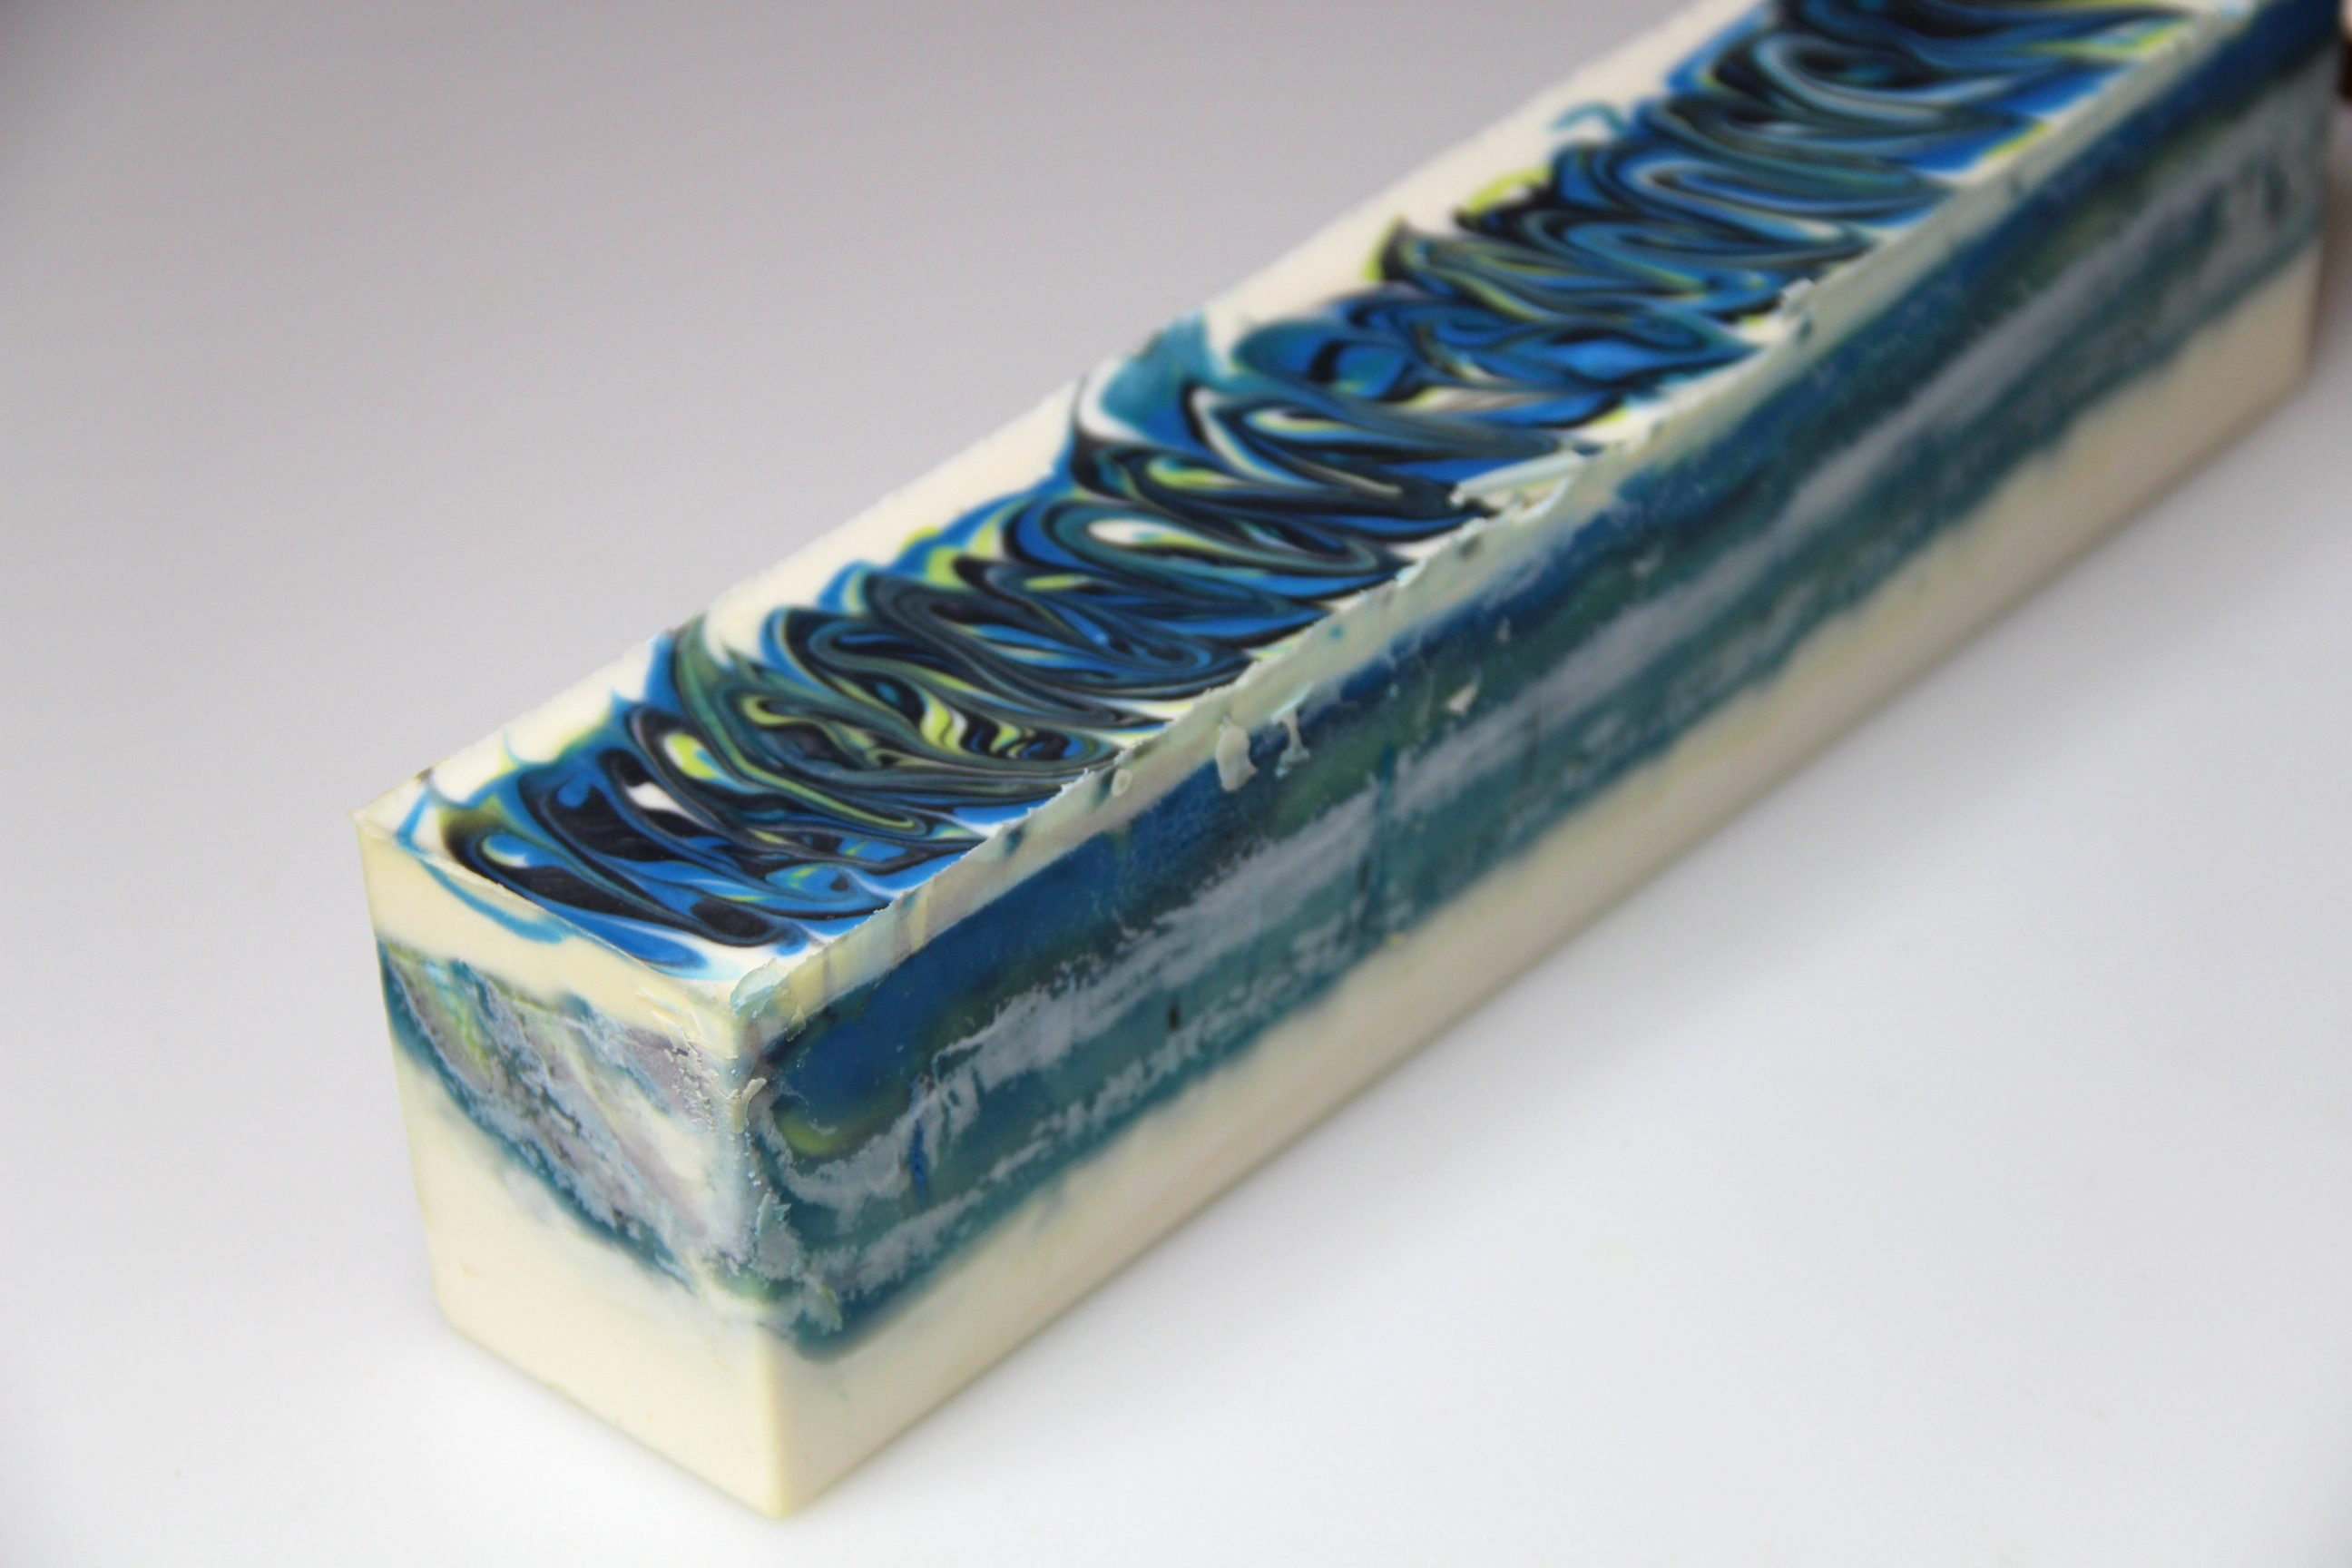
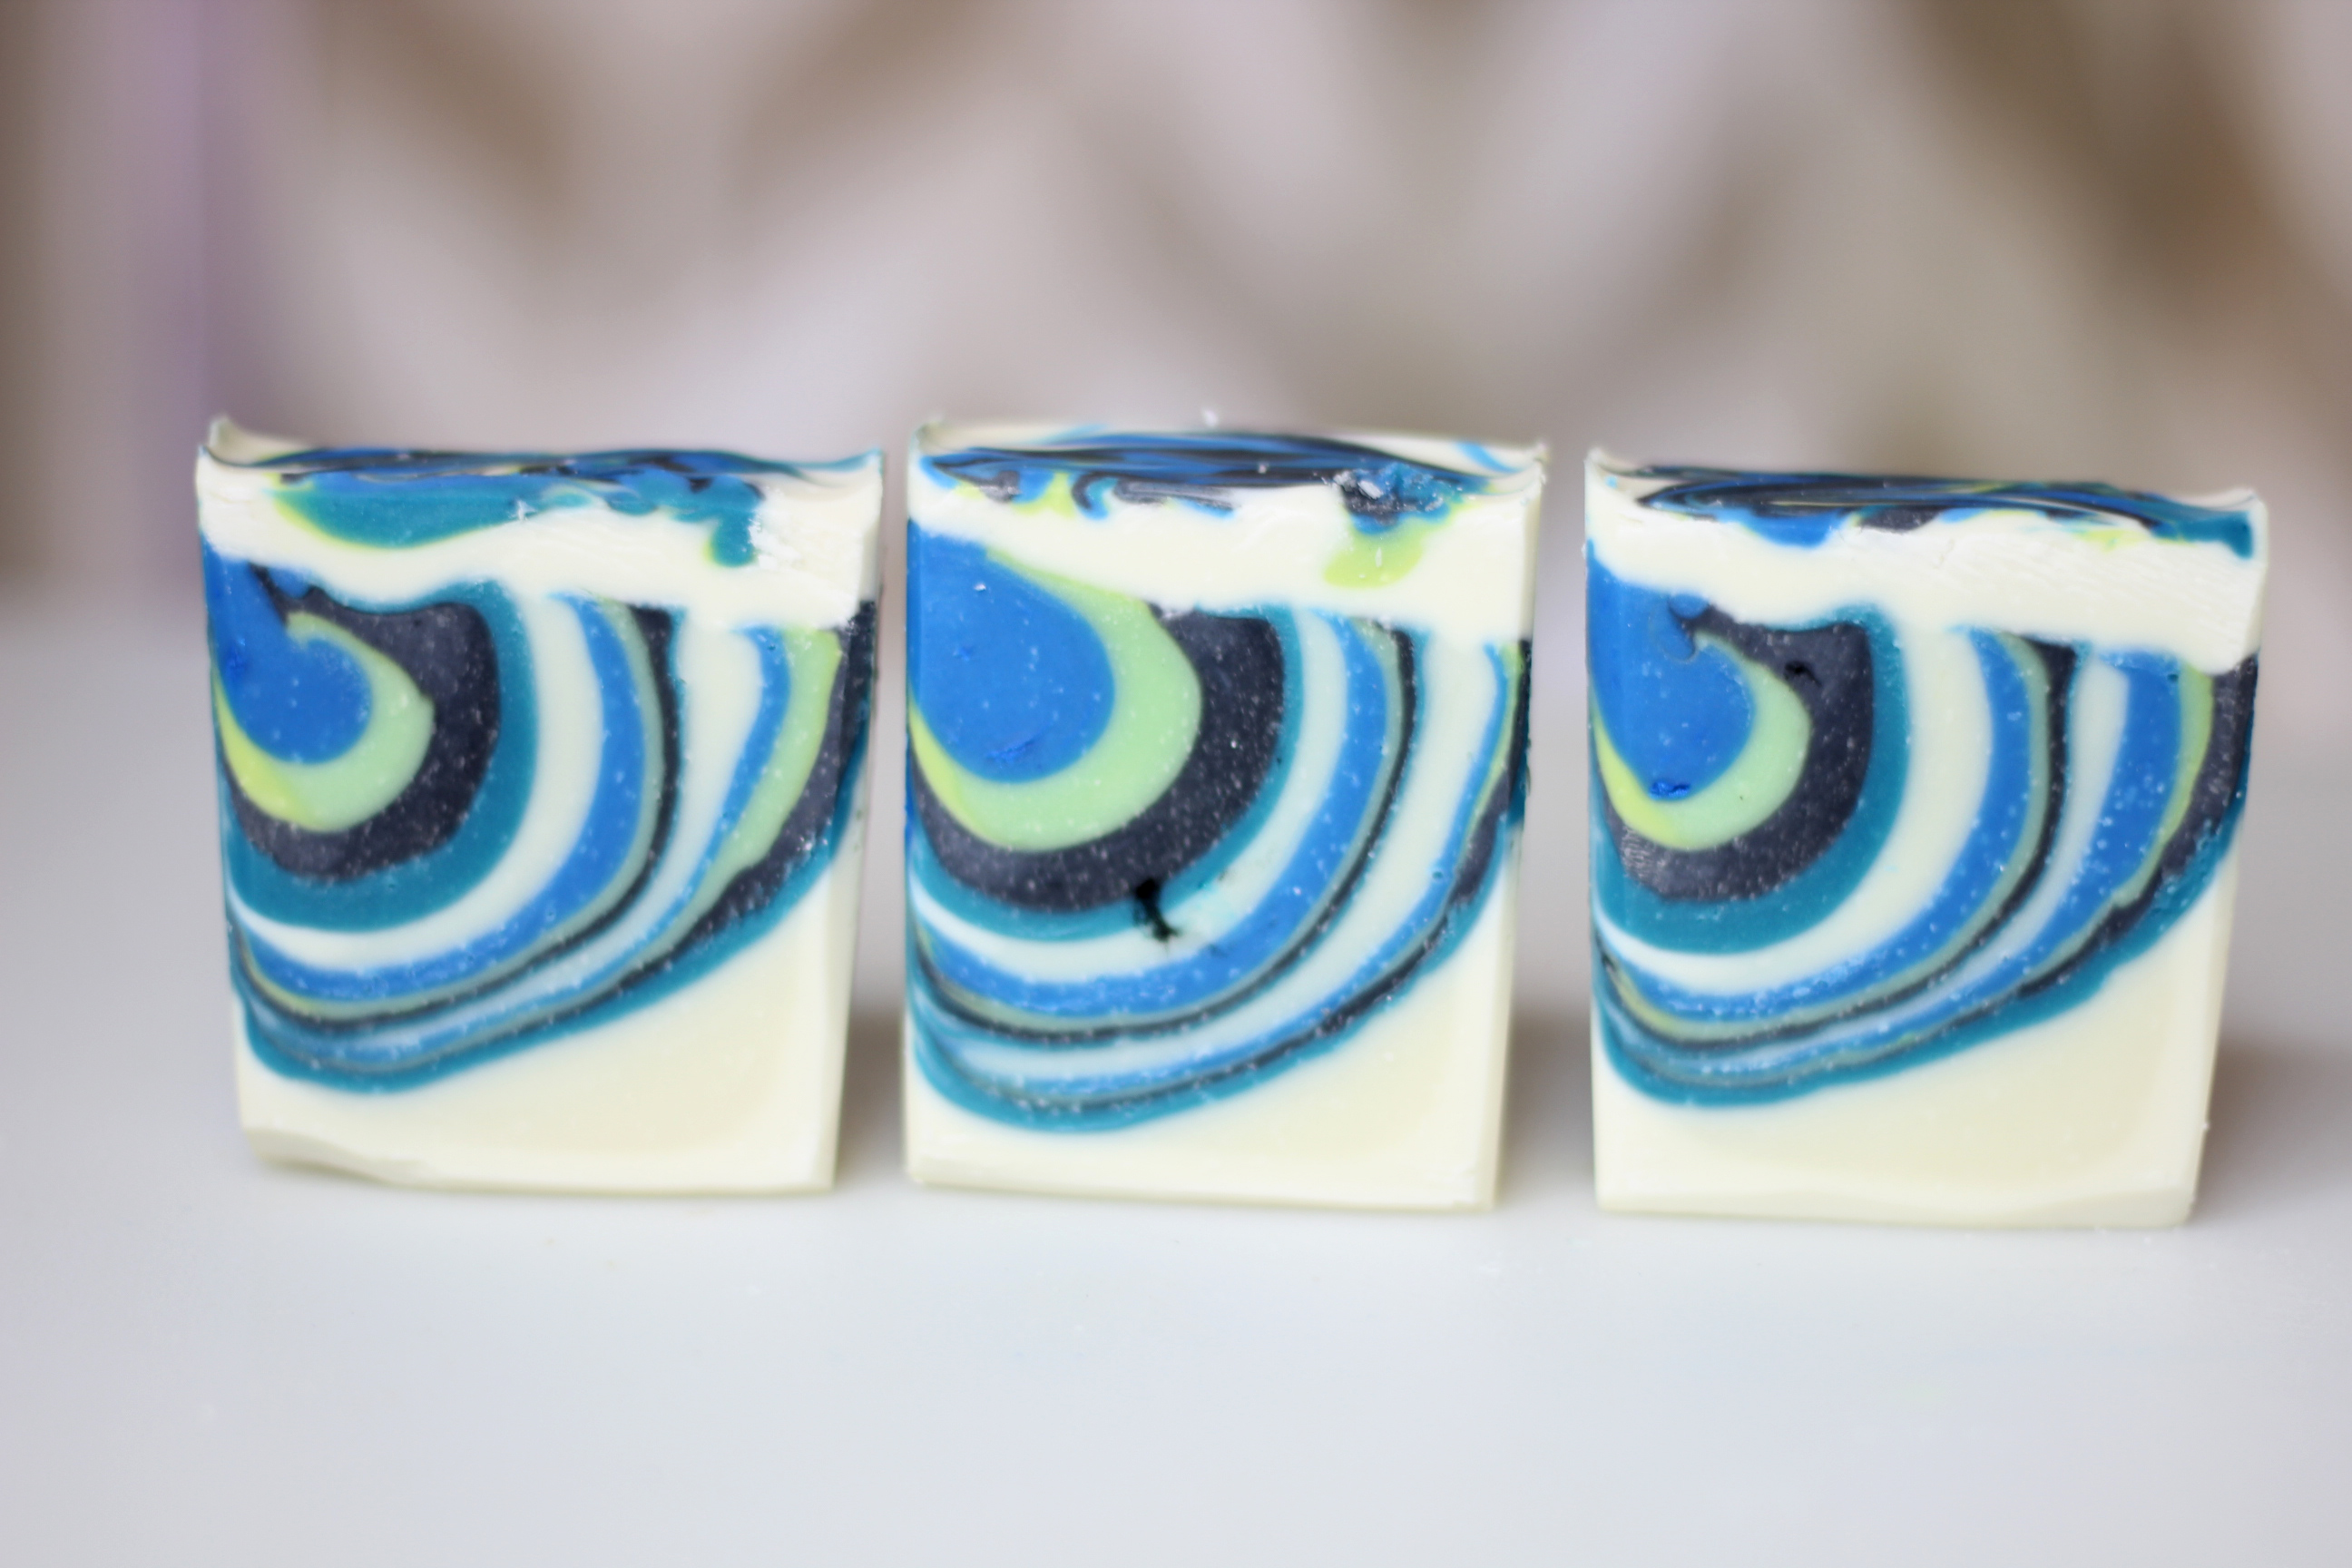
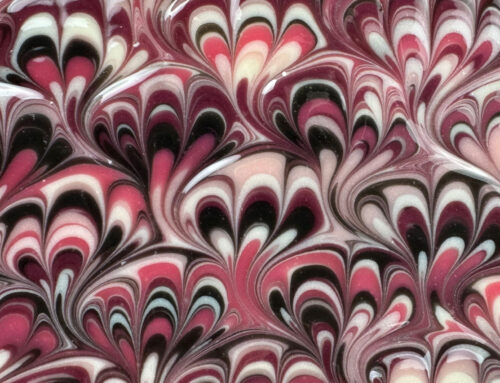
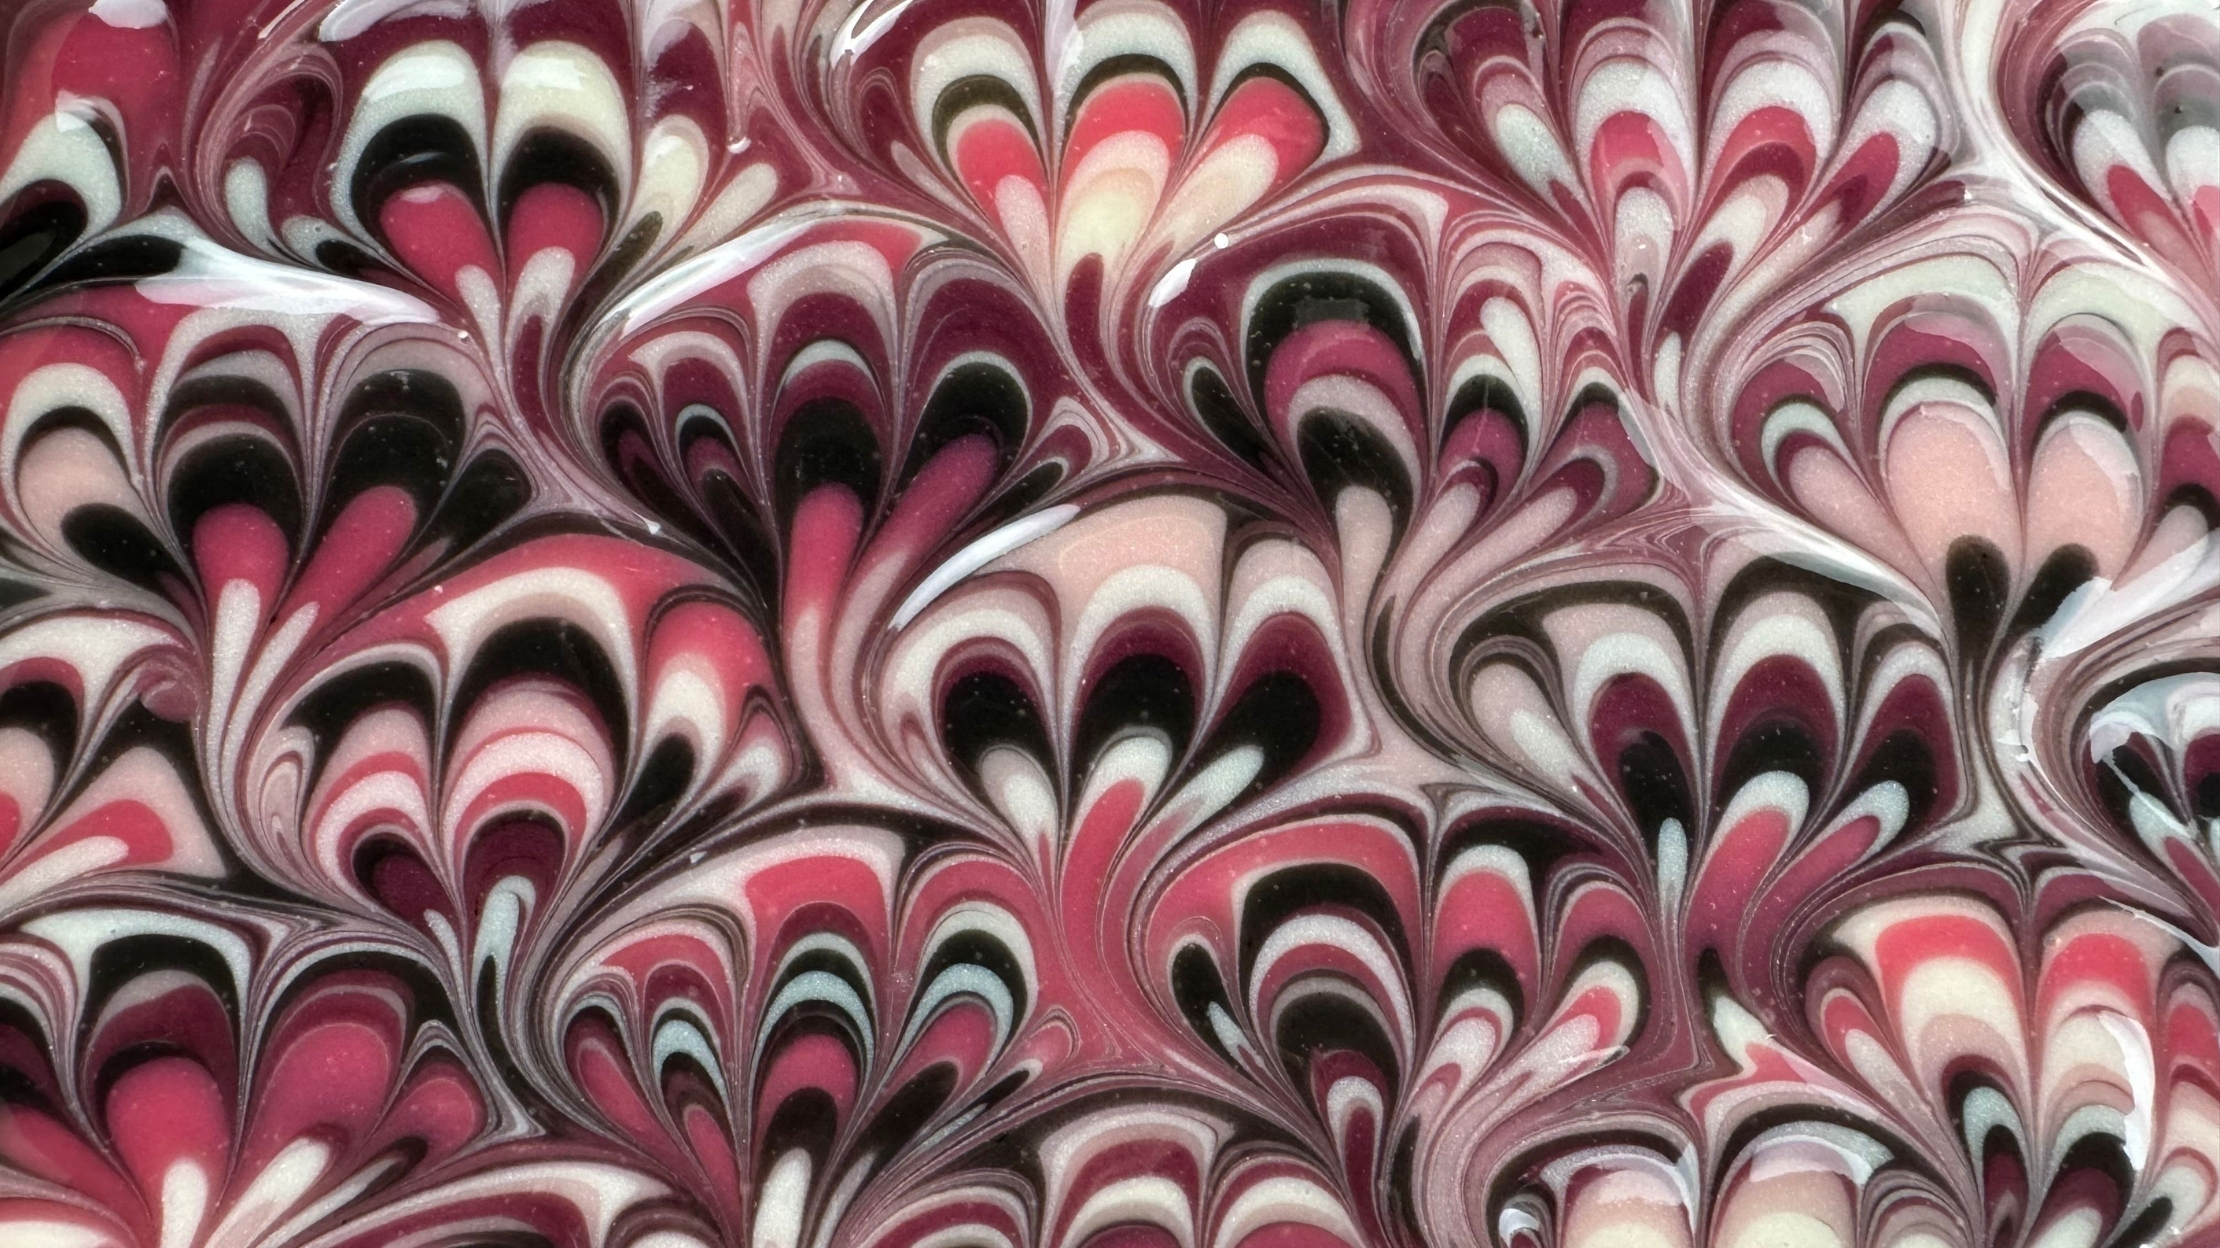
I call this a floating tiger stripe swirl design because the design doesn’t take up the whole soap. It is almost as though it is floating on top of a white base. 🙂
I really loved this color combo and how sharp the colors came out. So here is how I did it.
You’ll need a slow-moving recipe perfect for swirling. Check out our freebies page and grab the Swirling Tips Guide.
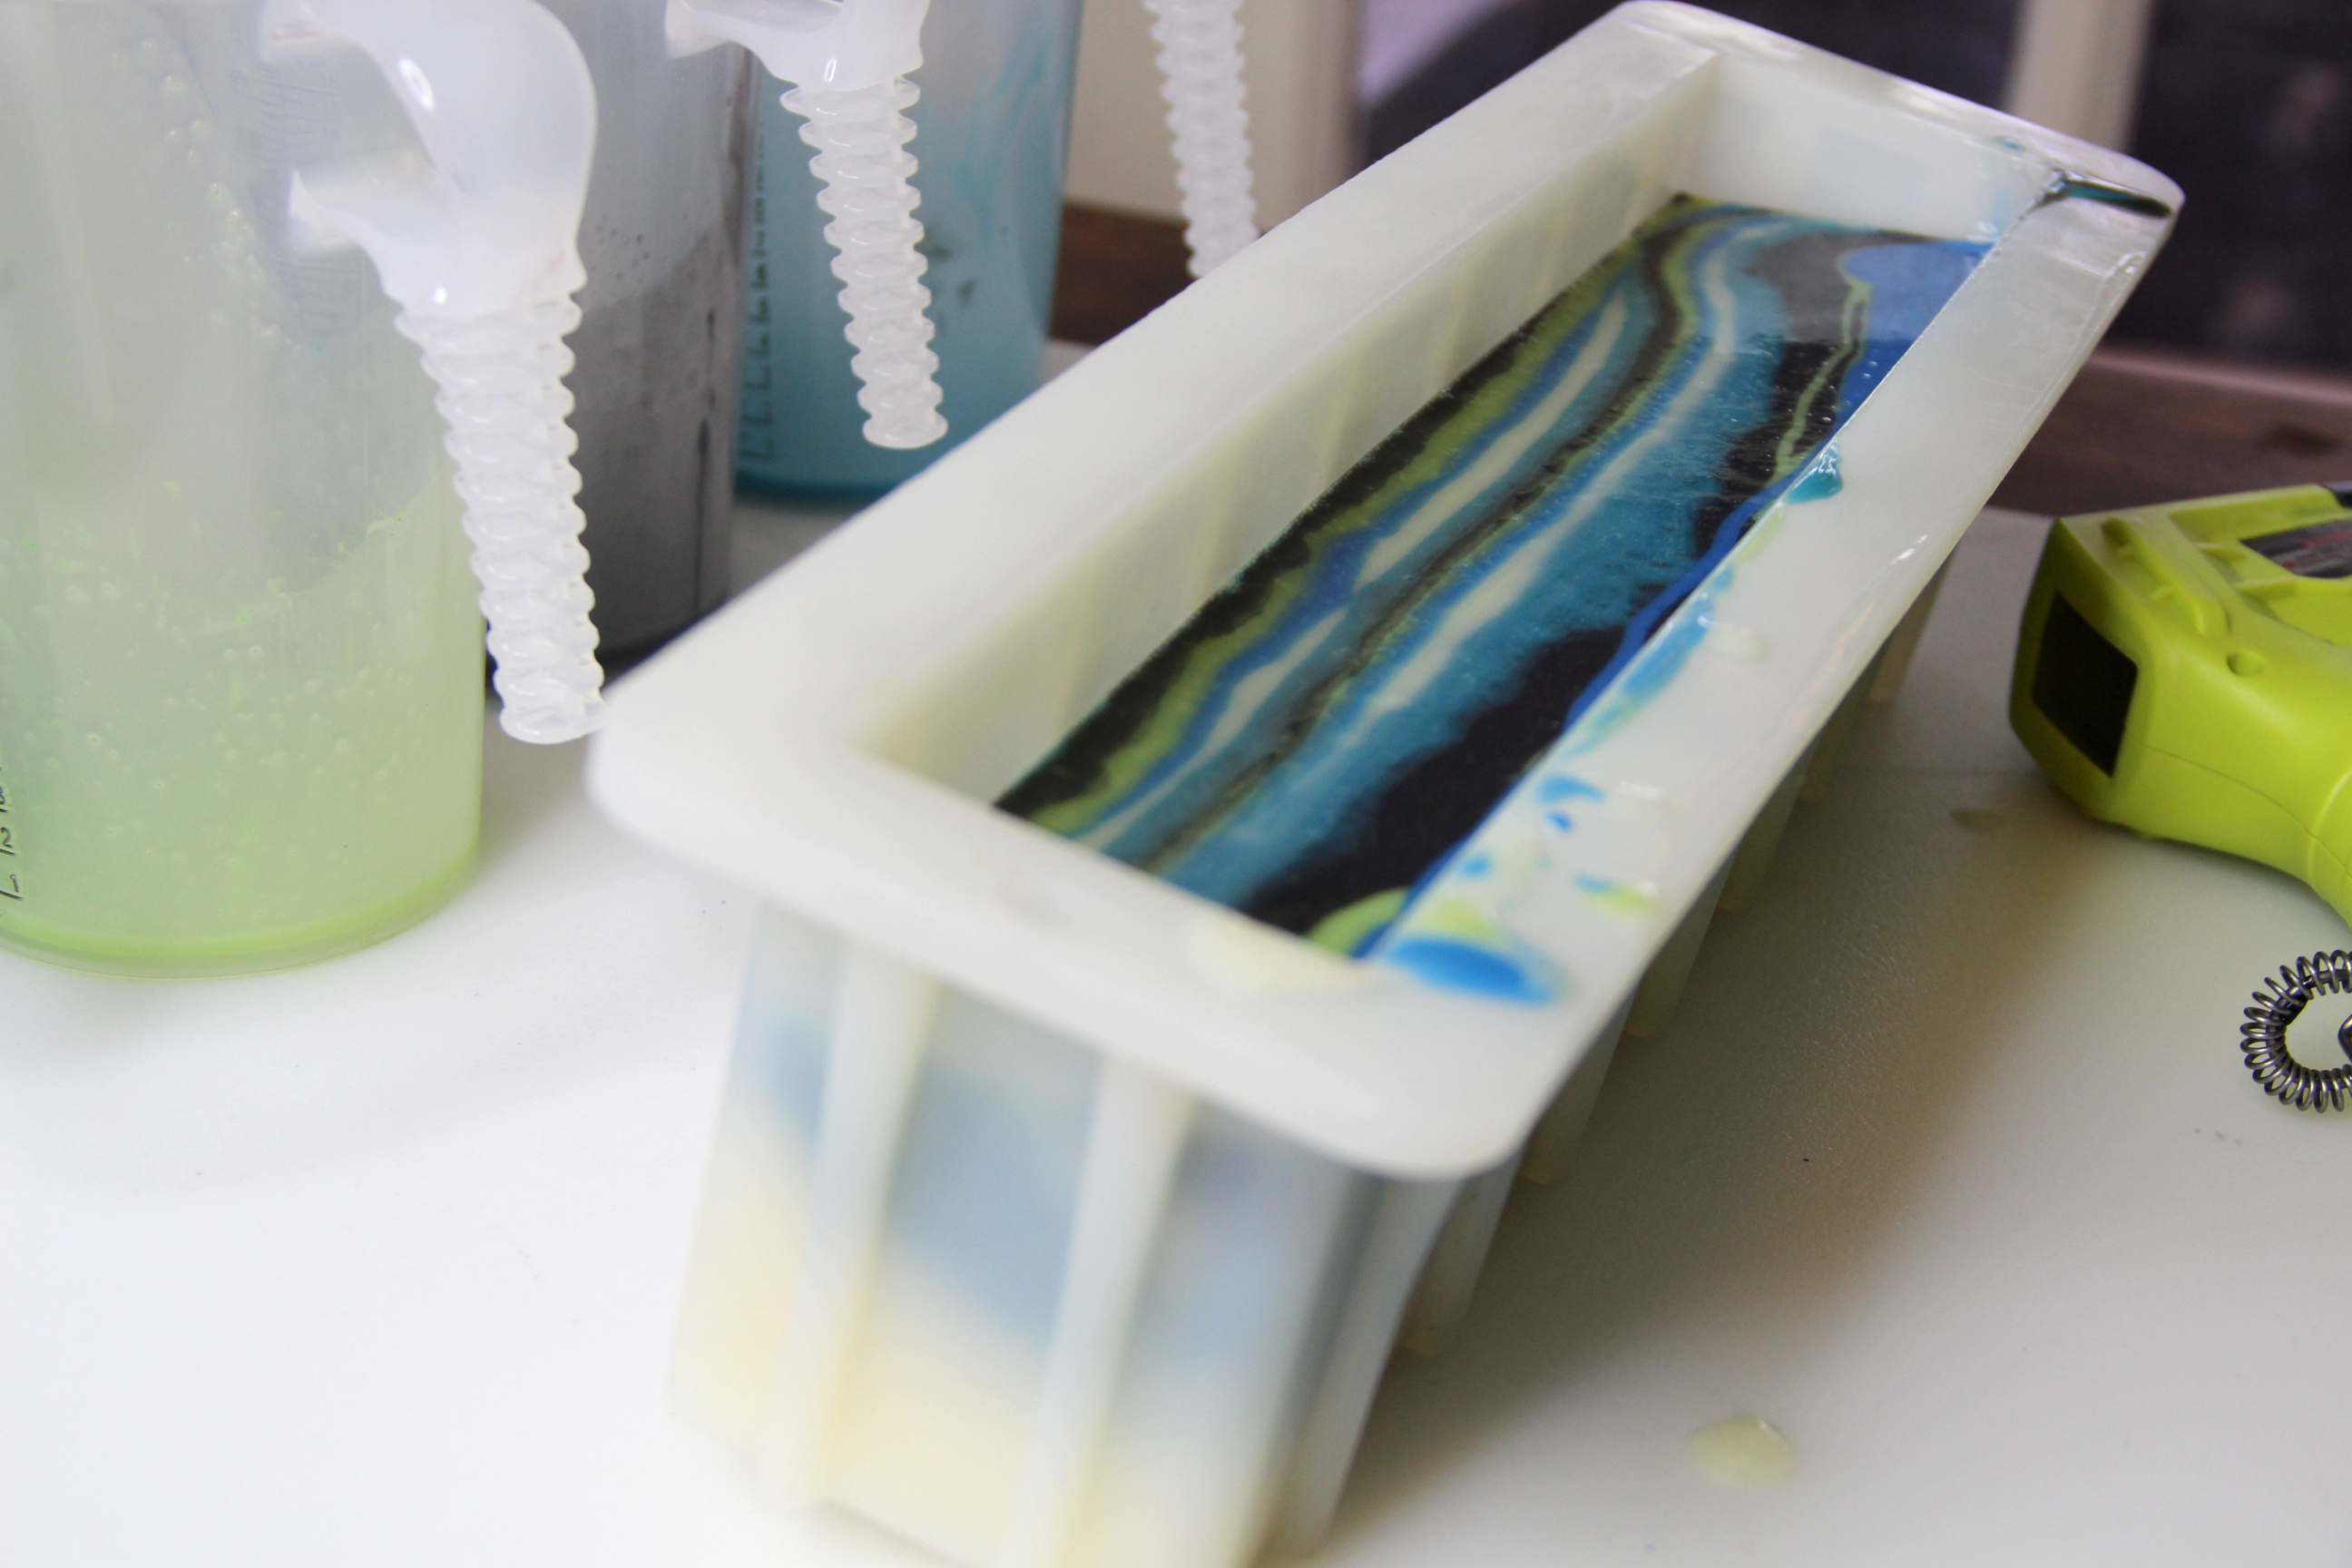
I used a 12″ silicone tall and skinny loaf mold from Bramble Berry.
Floating Tiger Stripe Swirl Design Recipe
- Coconut Oil – 306 grams (34%)
- Shea Butter – 45 grams (5%)
- Olive Oil – 360 grams (40%)
- Avocado Oil – 54 grams (6%)
- Rice Bran Oil – 135 grams (15%)
- Sodium Hydroxide – 128 grams
- Distilled Water – 256 grams
- Slow-Moving Essential Oil or Fragrance Oil – Per manufacturer
- Caribbean Blue, Mermaid Blue and Kermit Green Mica from Bramble Berry (about a teaspoon each)
- Charcoal Powder – 1 teaspoon
Step 1: Make your lye solution. Weigh the water and lye into separate containers. Pour the lye into the water while stirring. Be sure to mix your lye solution in a well-ventilated area. Set aside to cool down.
Step 2: Weigh the hard oils/butters and melt, just until melted.
Step 3: Add the liquid oils to the melted hard oils/butters. Add the essential oil to the base oils.
Now, you should have your lye solution and base oils ready to go.
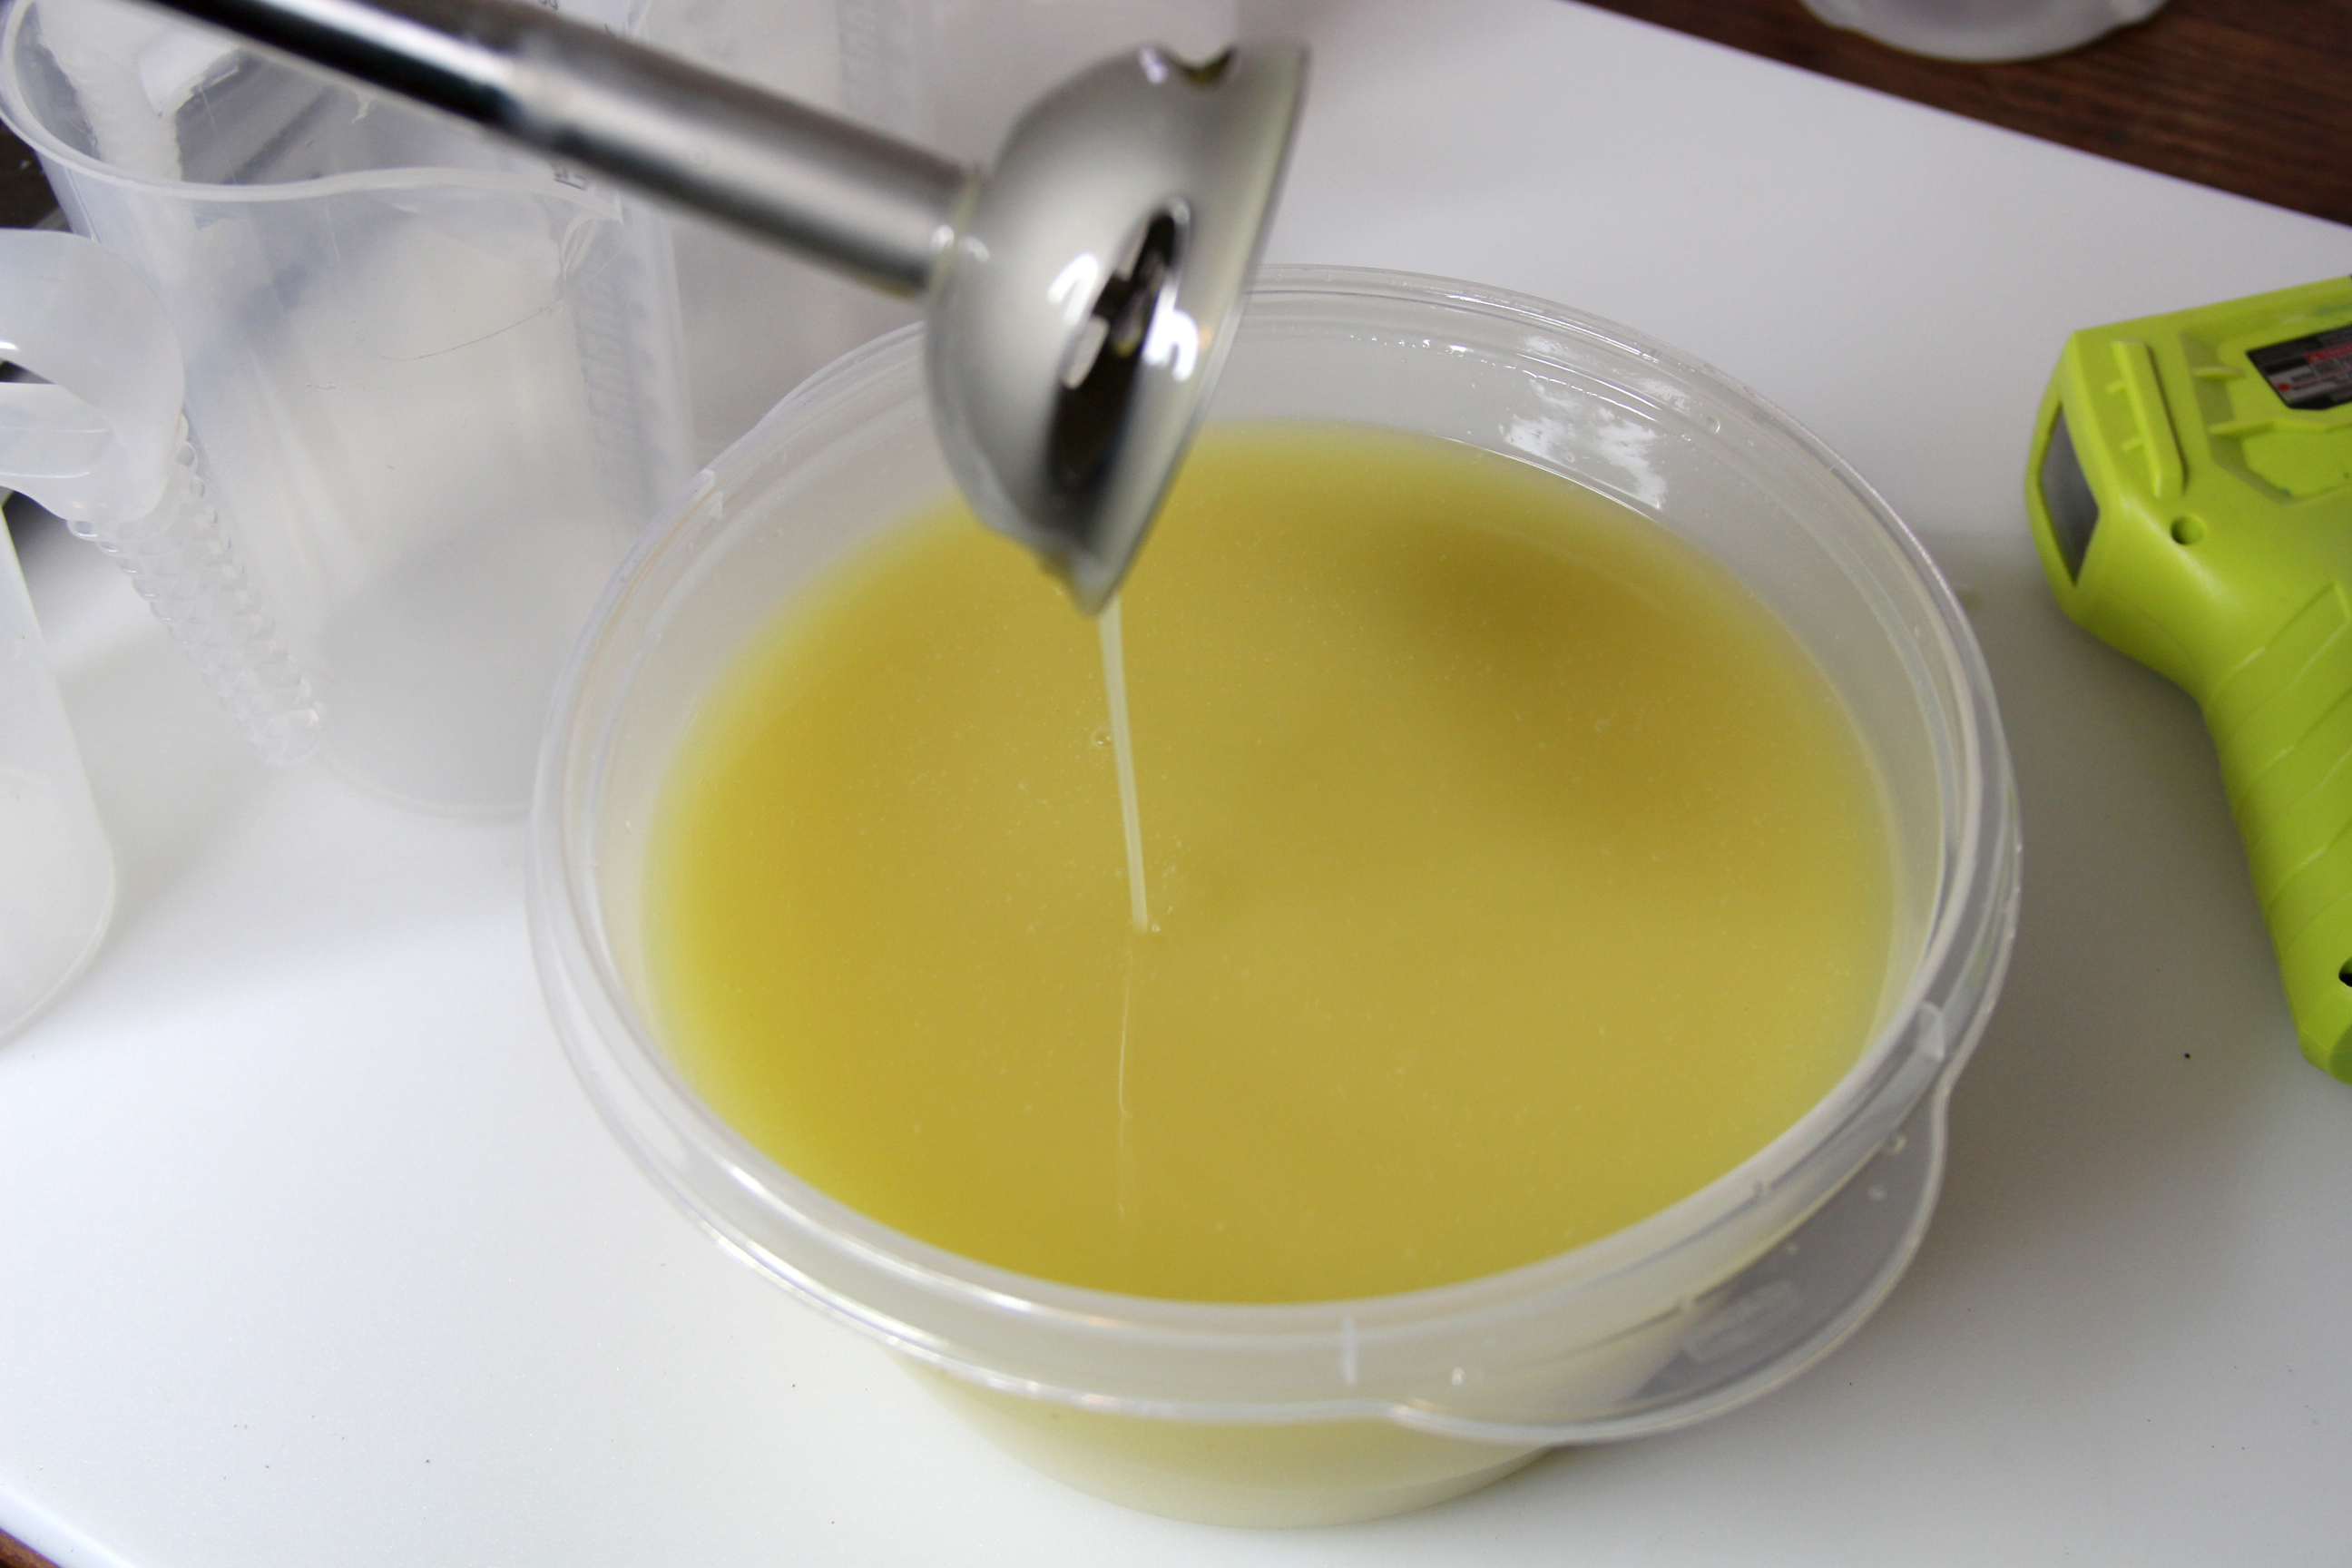
Step 4: Once the lye solution and oils have both cooled down to about 90-100 degrees F, pour the lye solution into your oils and mix to emulsion.

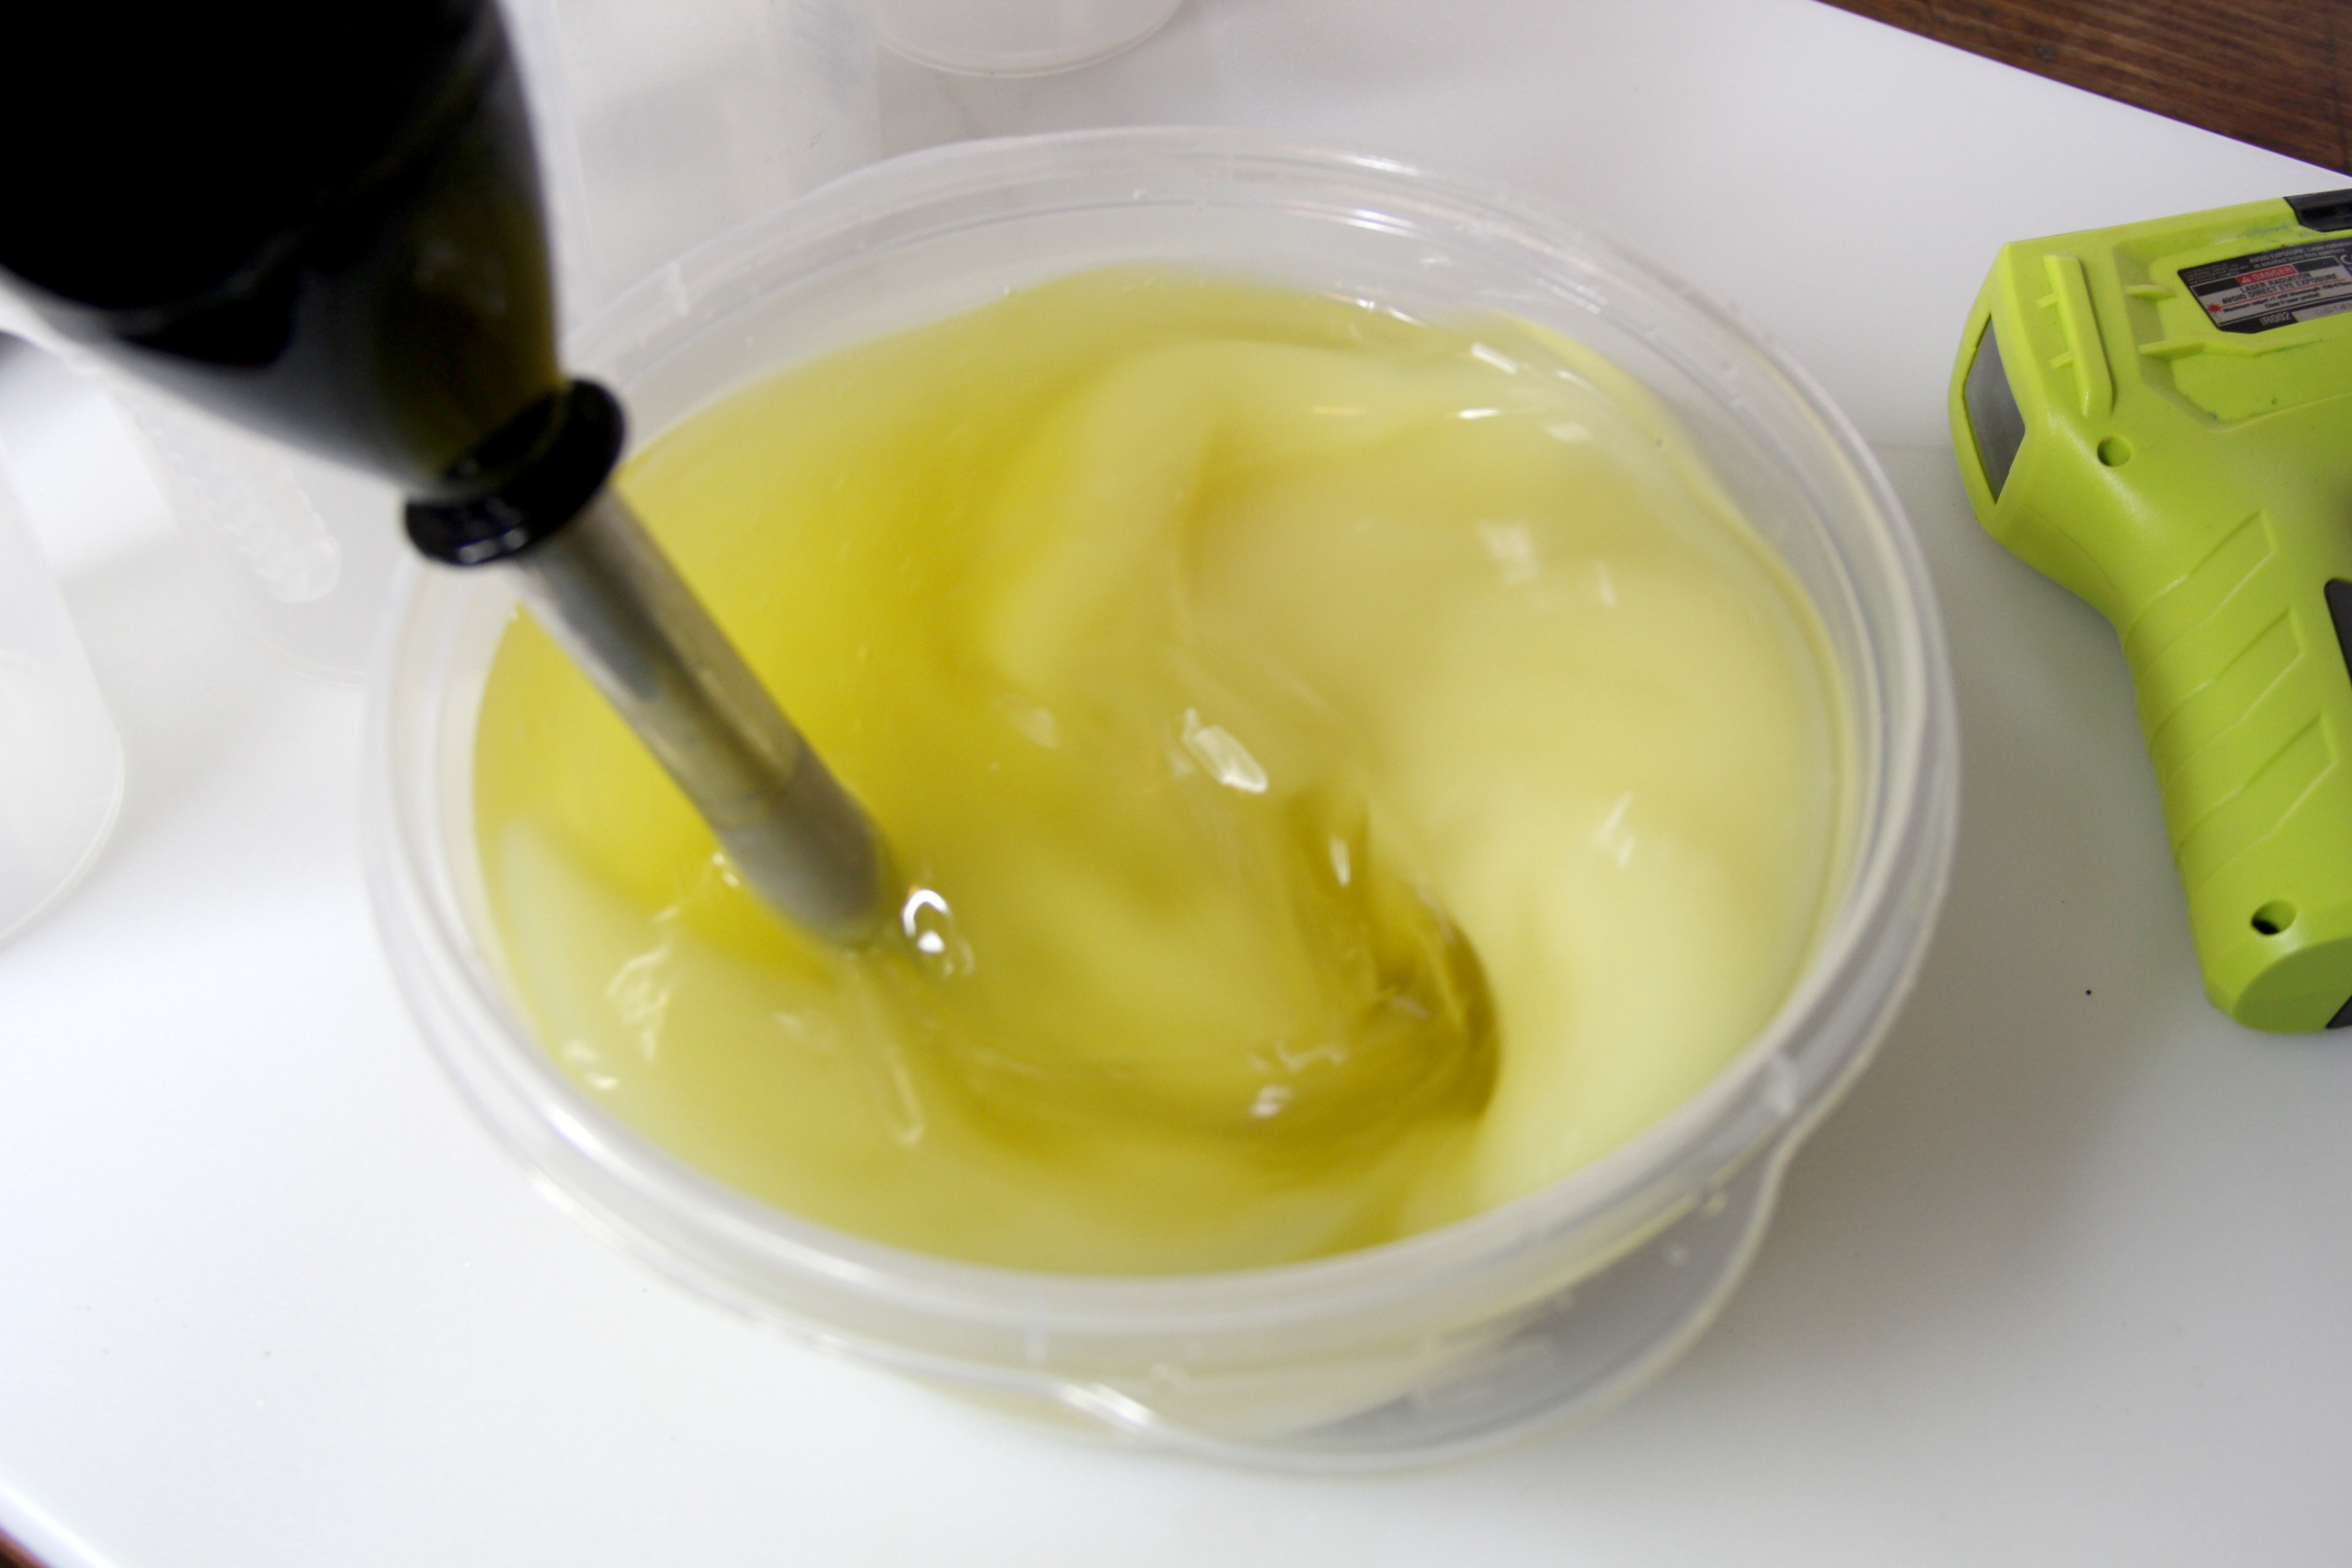
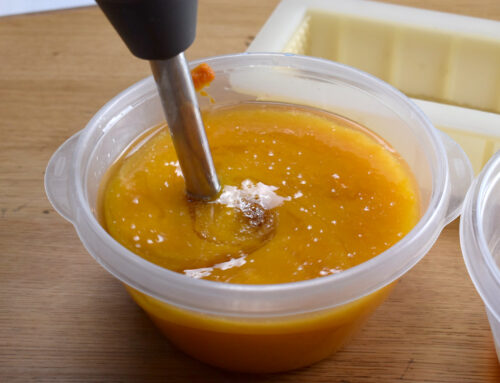
Step 5: Pour about a cup of soap into four containers and color using micas and charcoal powder.
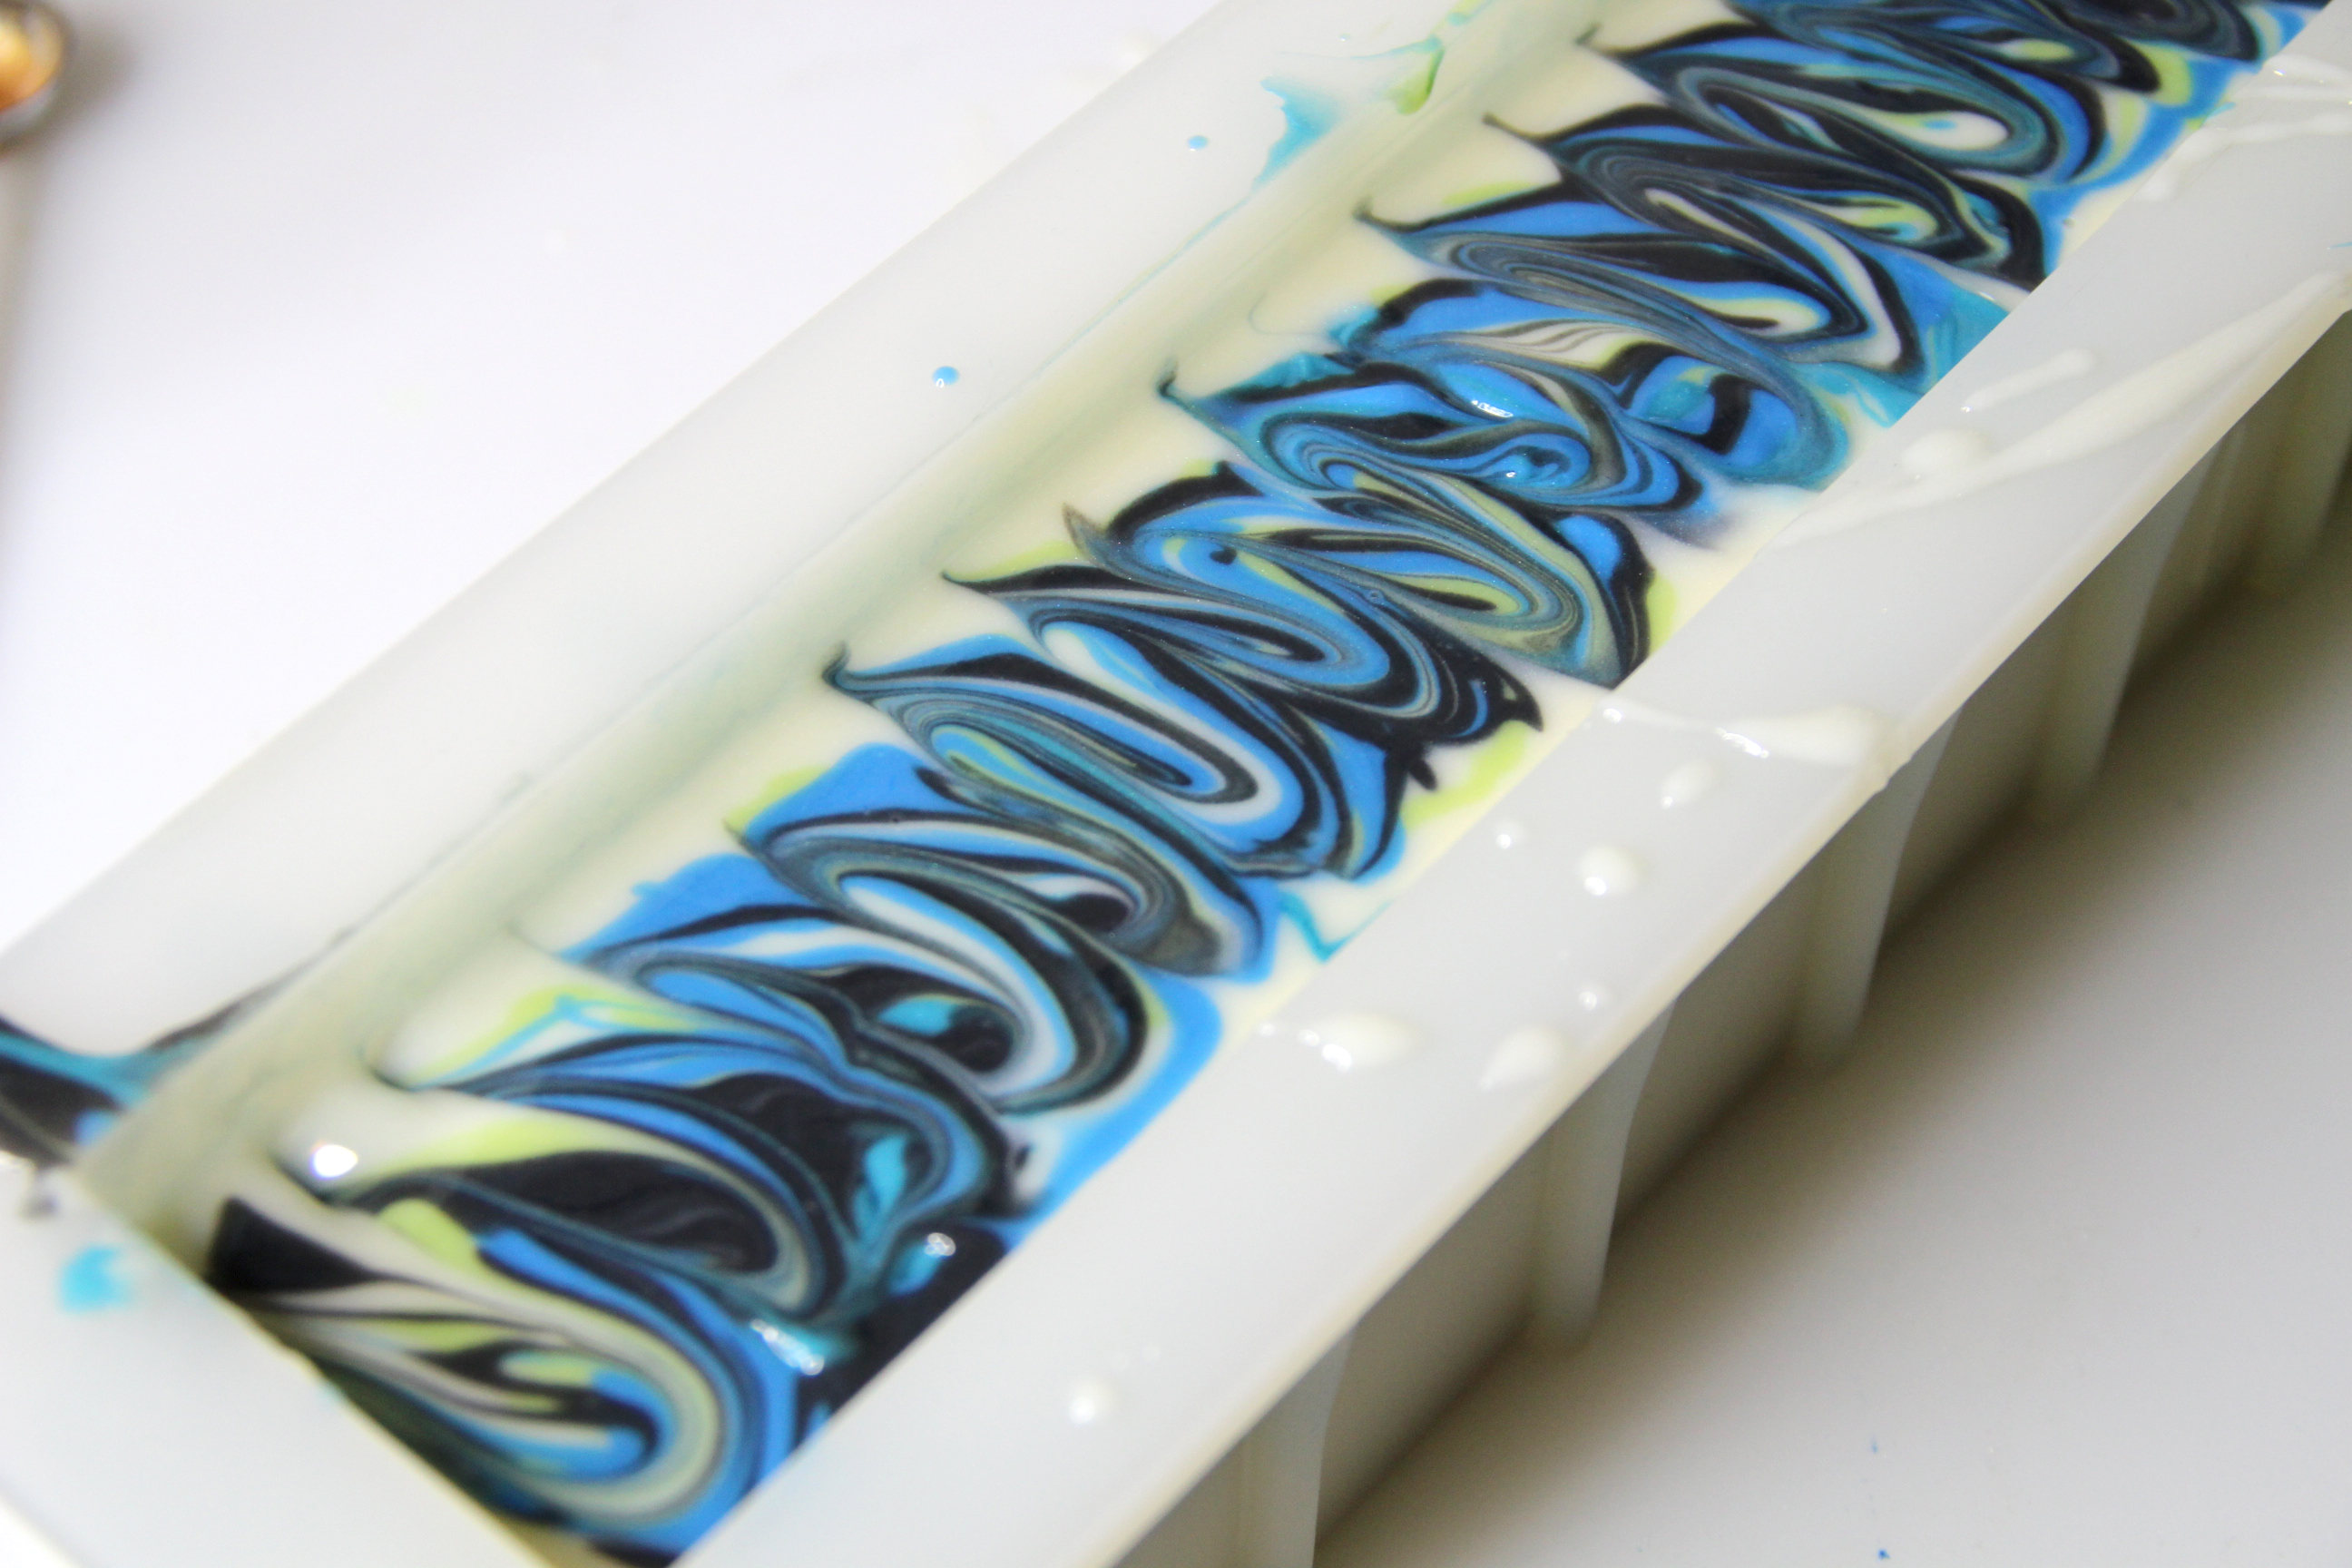
Step 6: Bring the base mixture to a light trace.Pour about 2/3 of it into the mold.
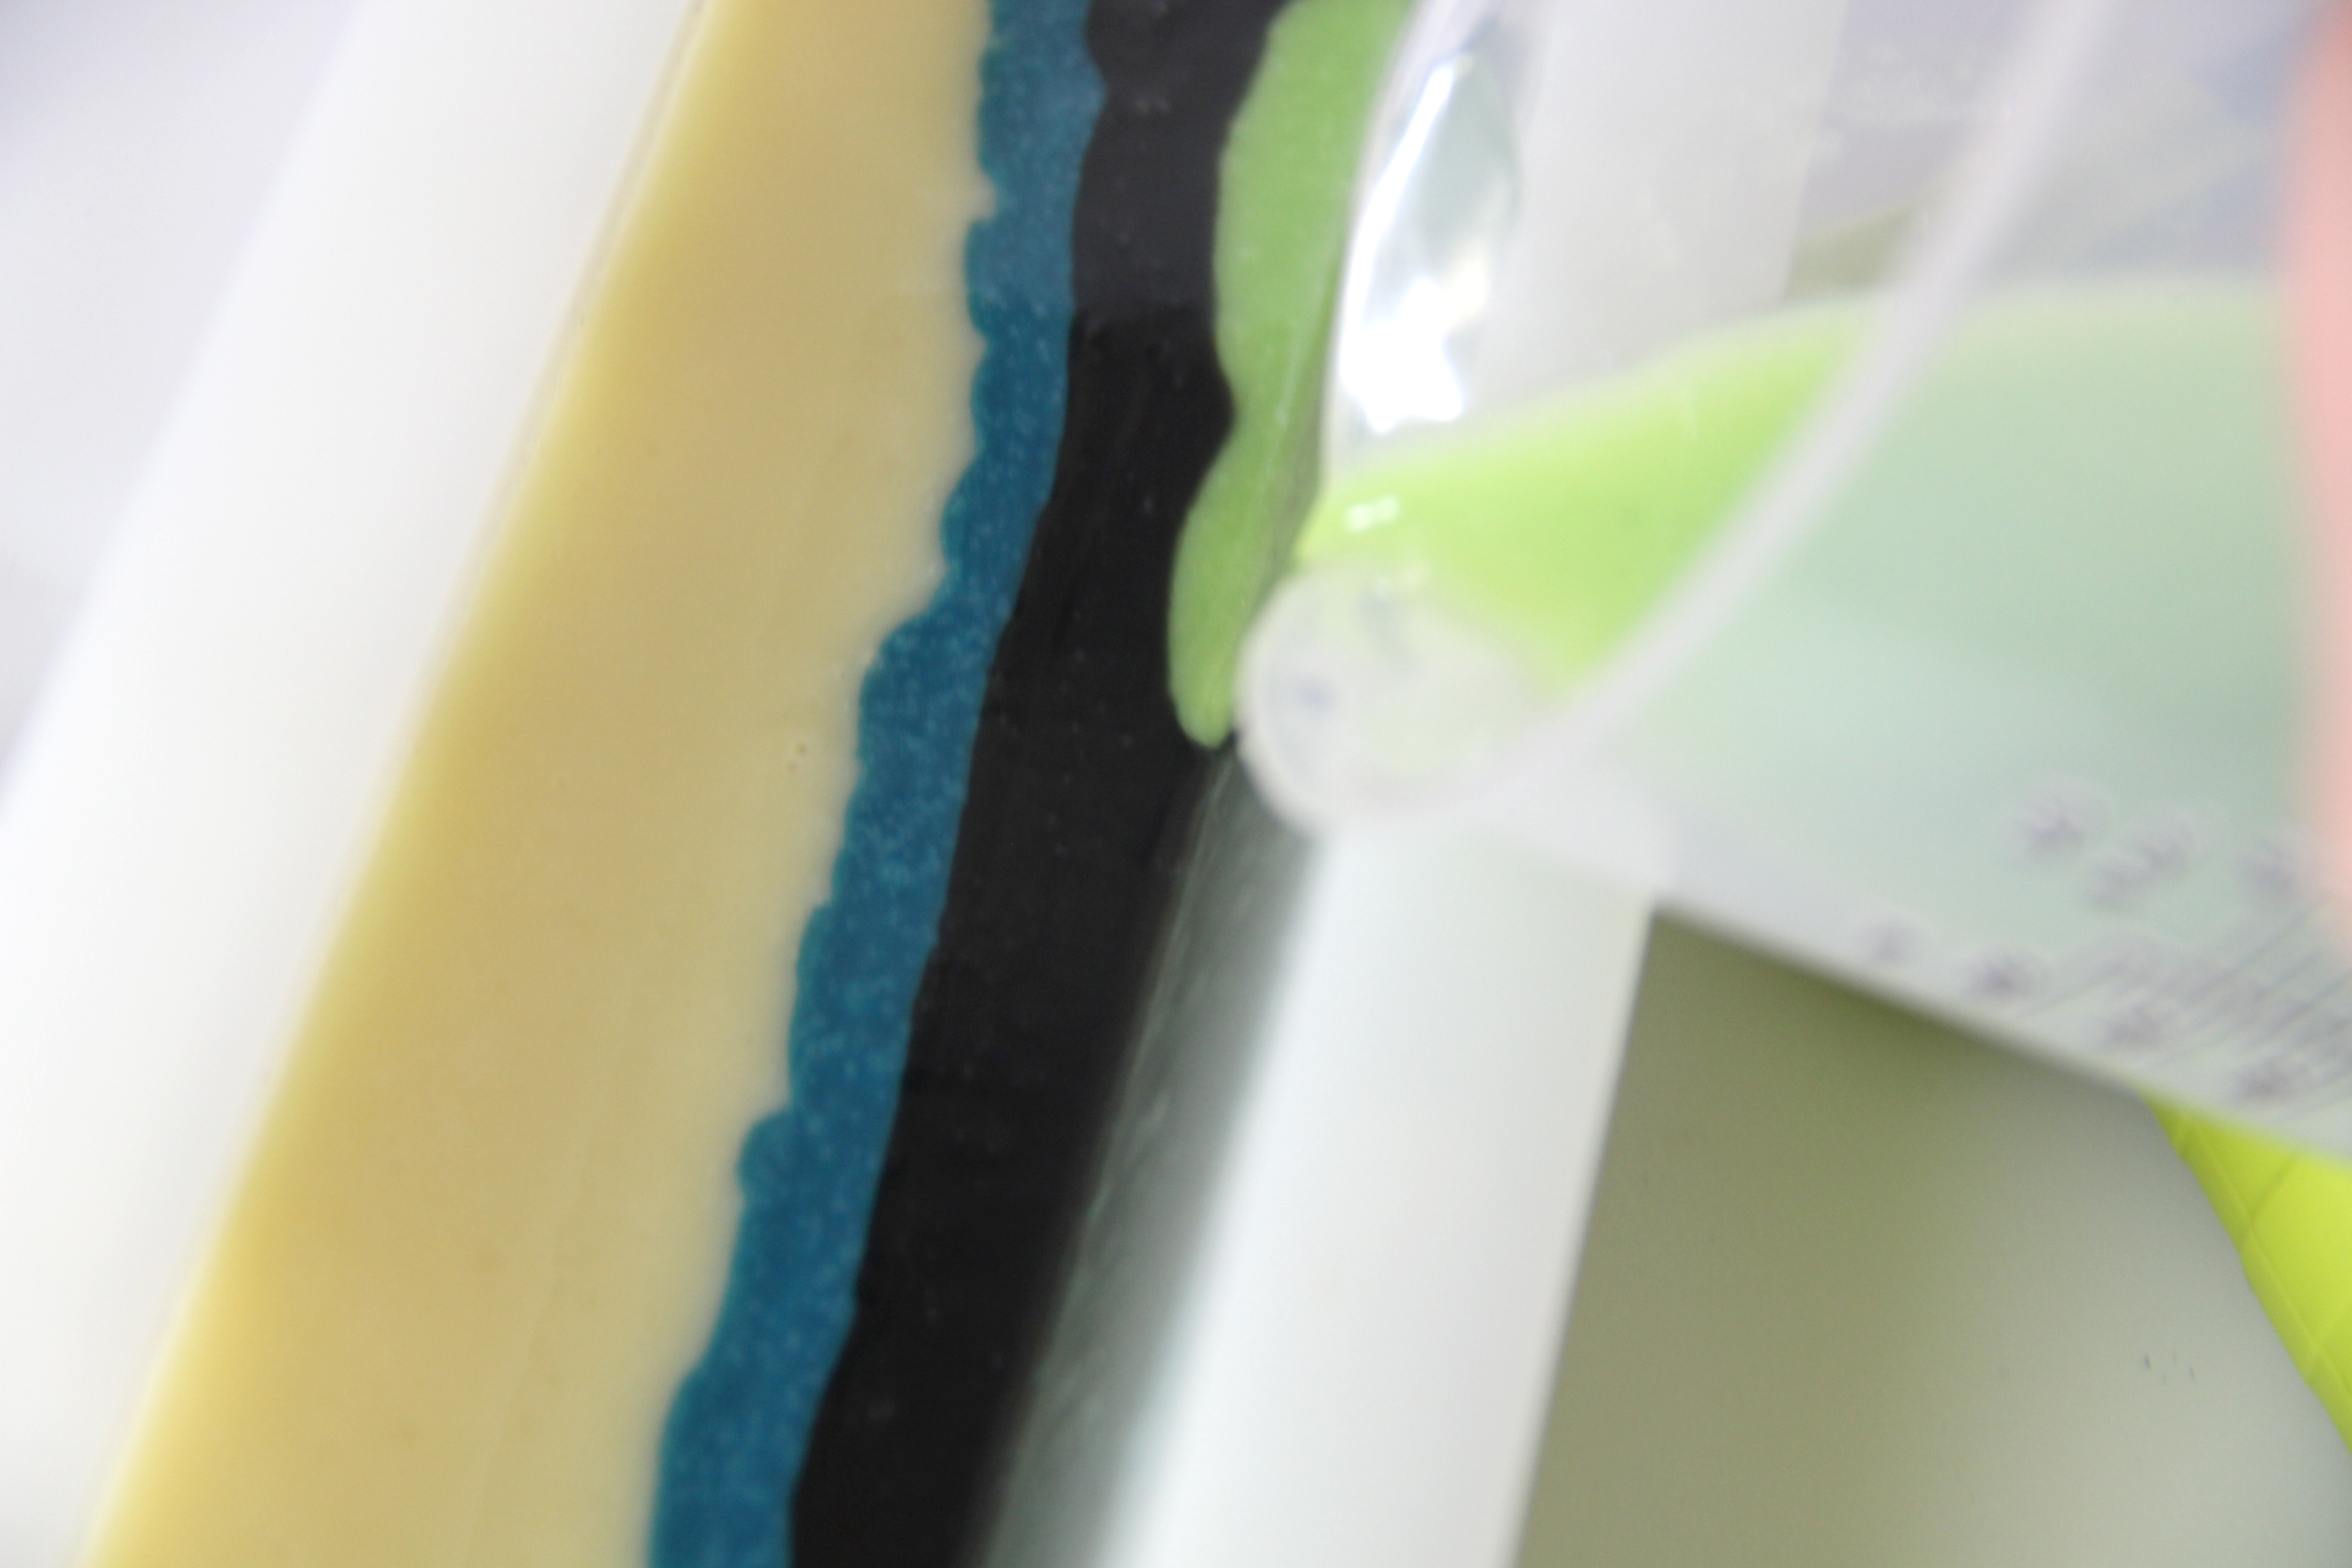
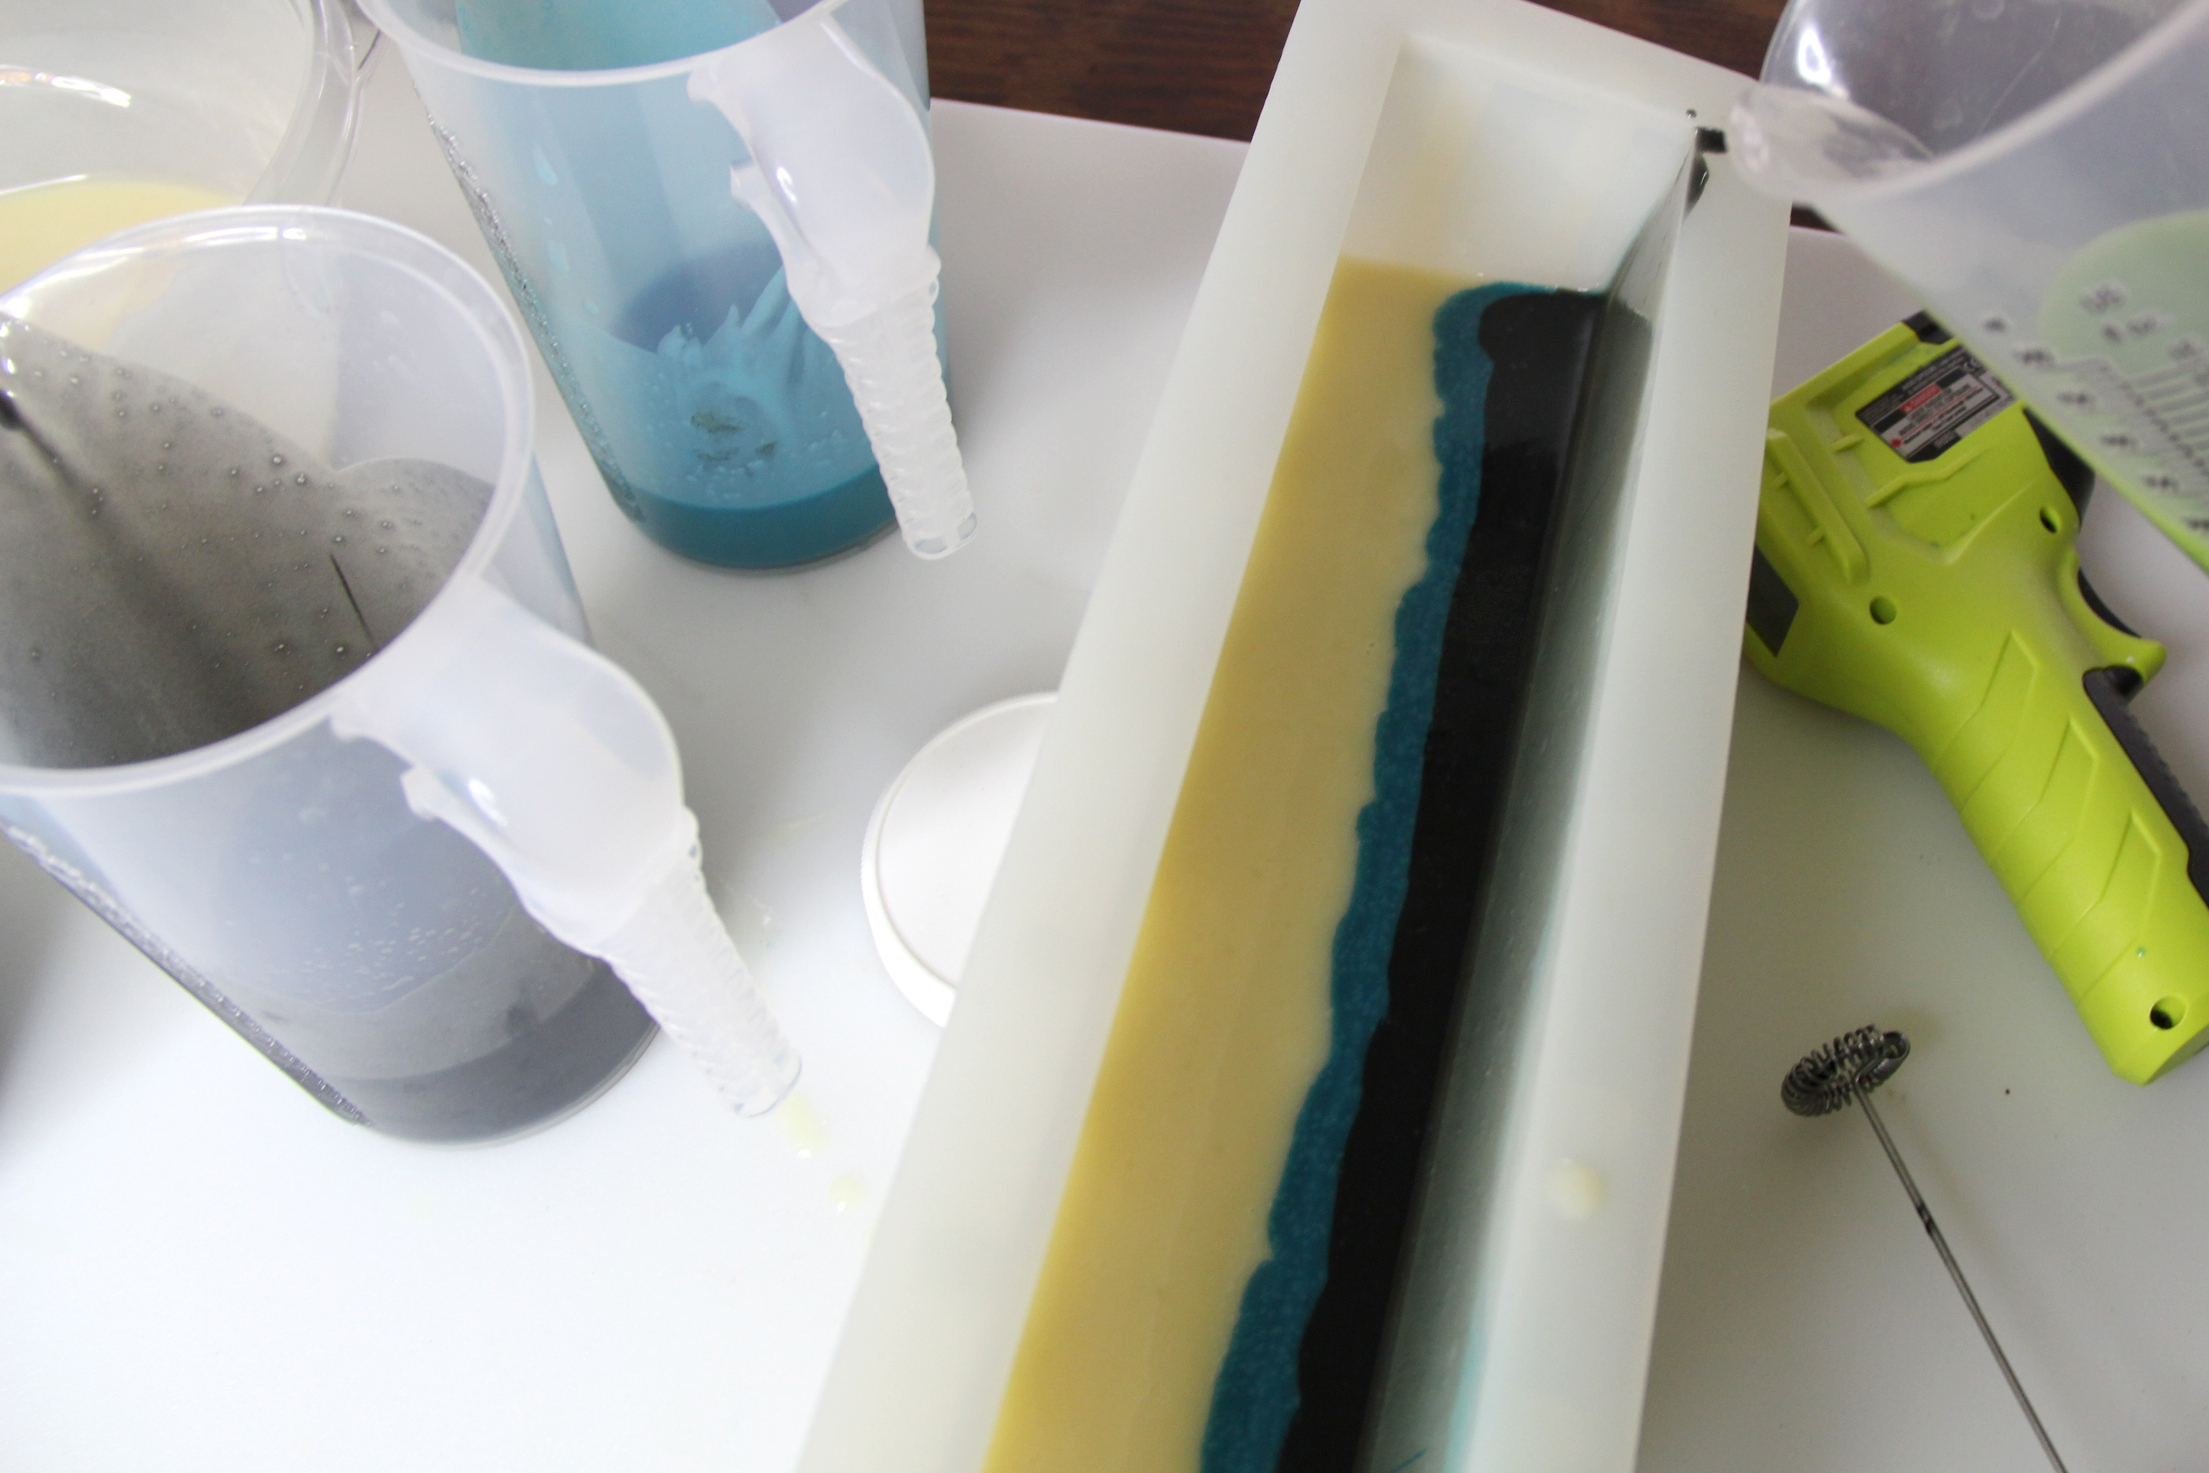
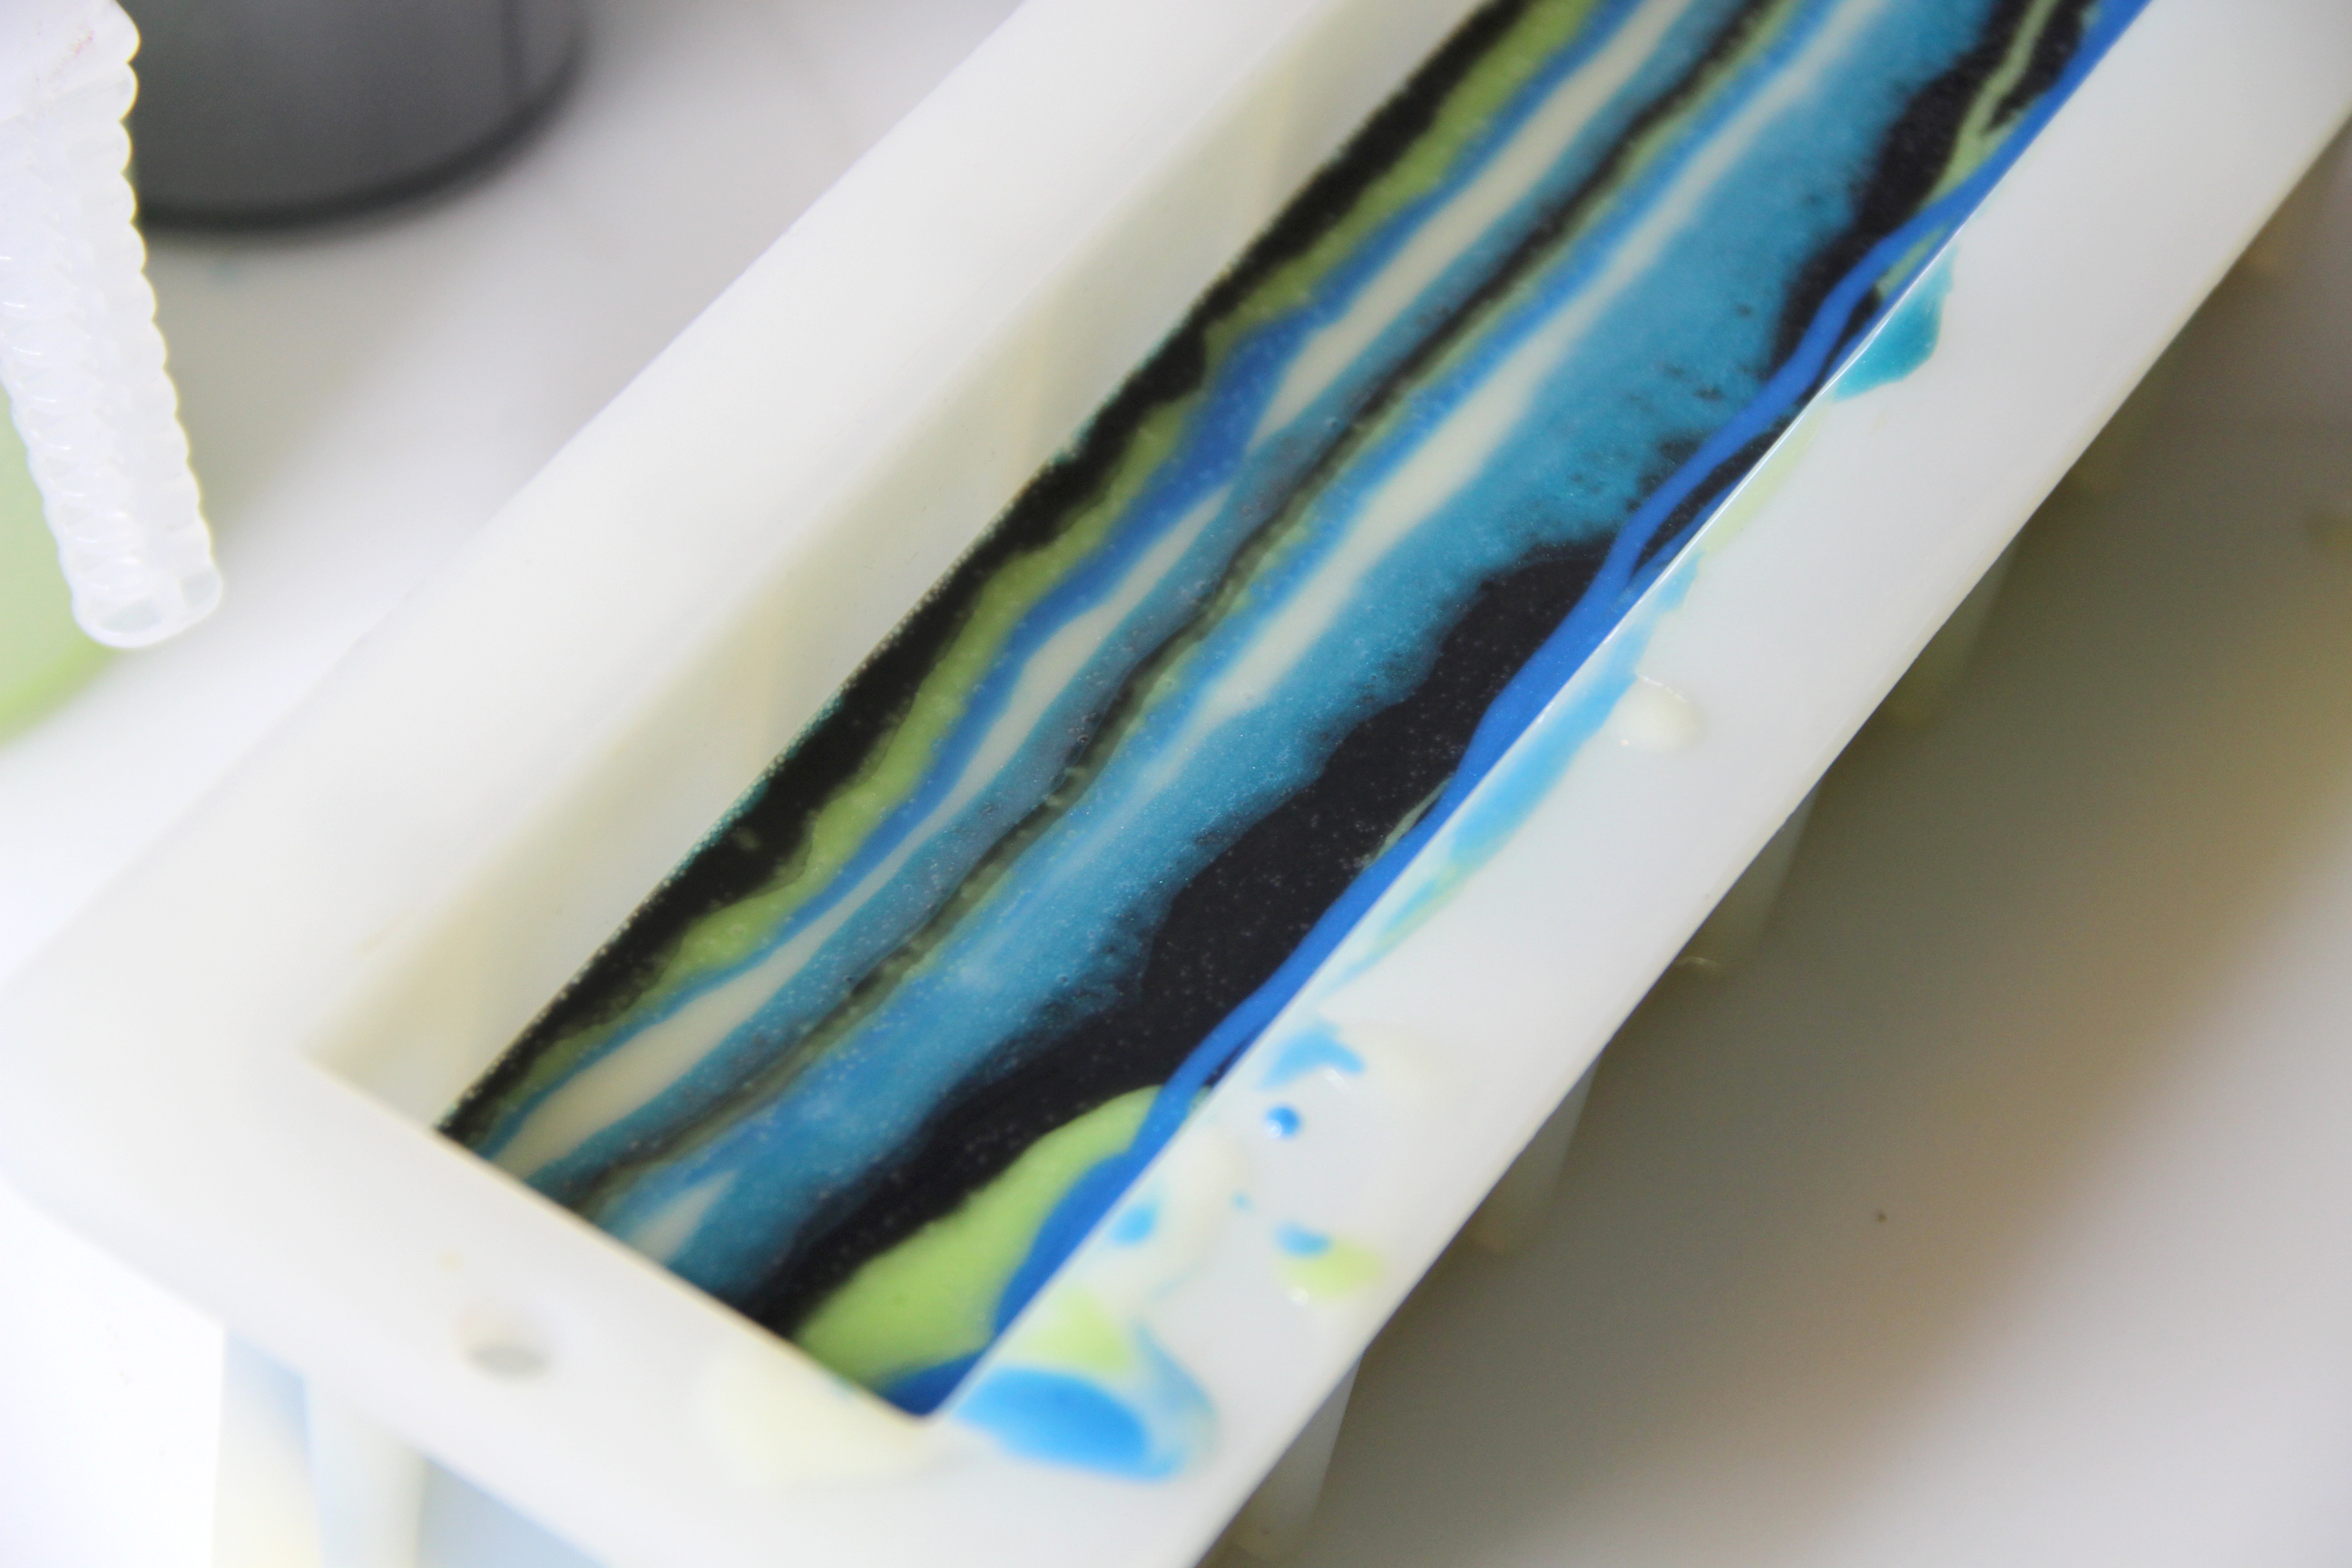
Step 7: Use a pencil under one side of the mold to tilt it (like when you’re doing a Tall and Skinny Shimmy.
Step 8: Pour using a tiger stripe technique along one side of the mold. Simply rotate through your colors until you’ve pours all of your colored soap. Save a tiny bit of each color to swirl on the top.
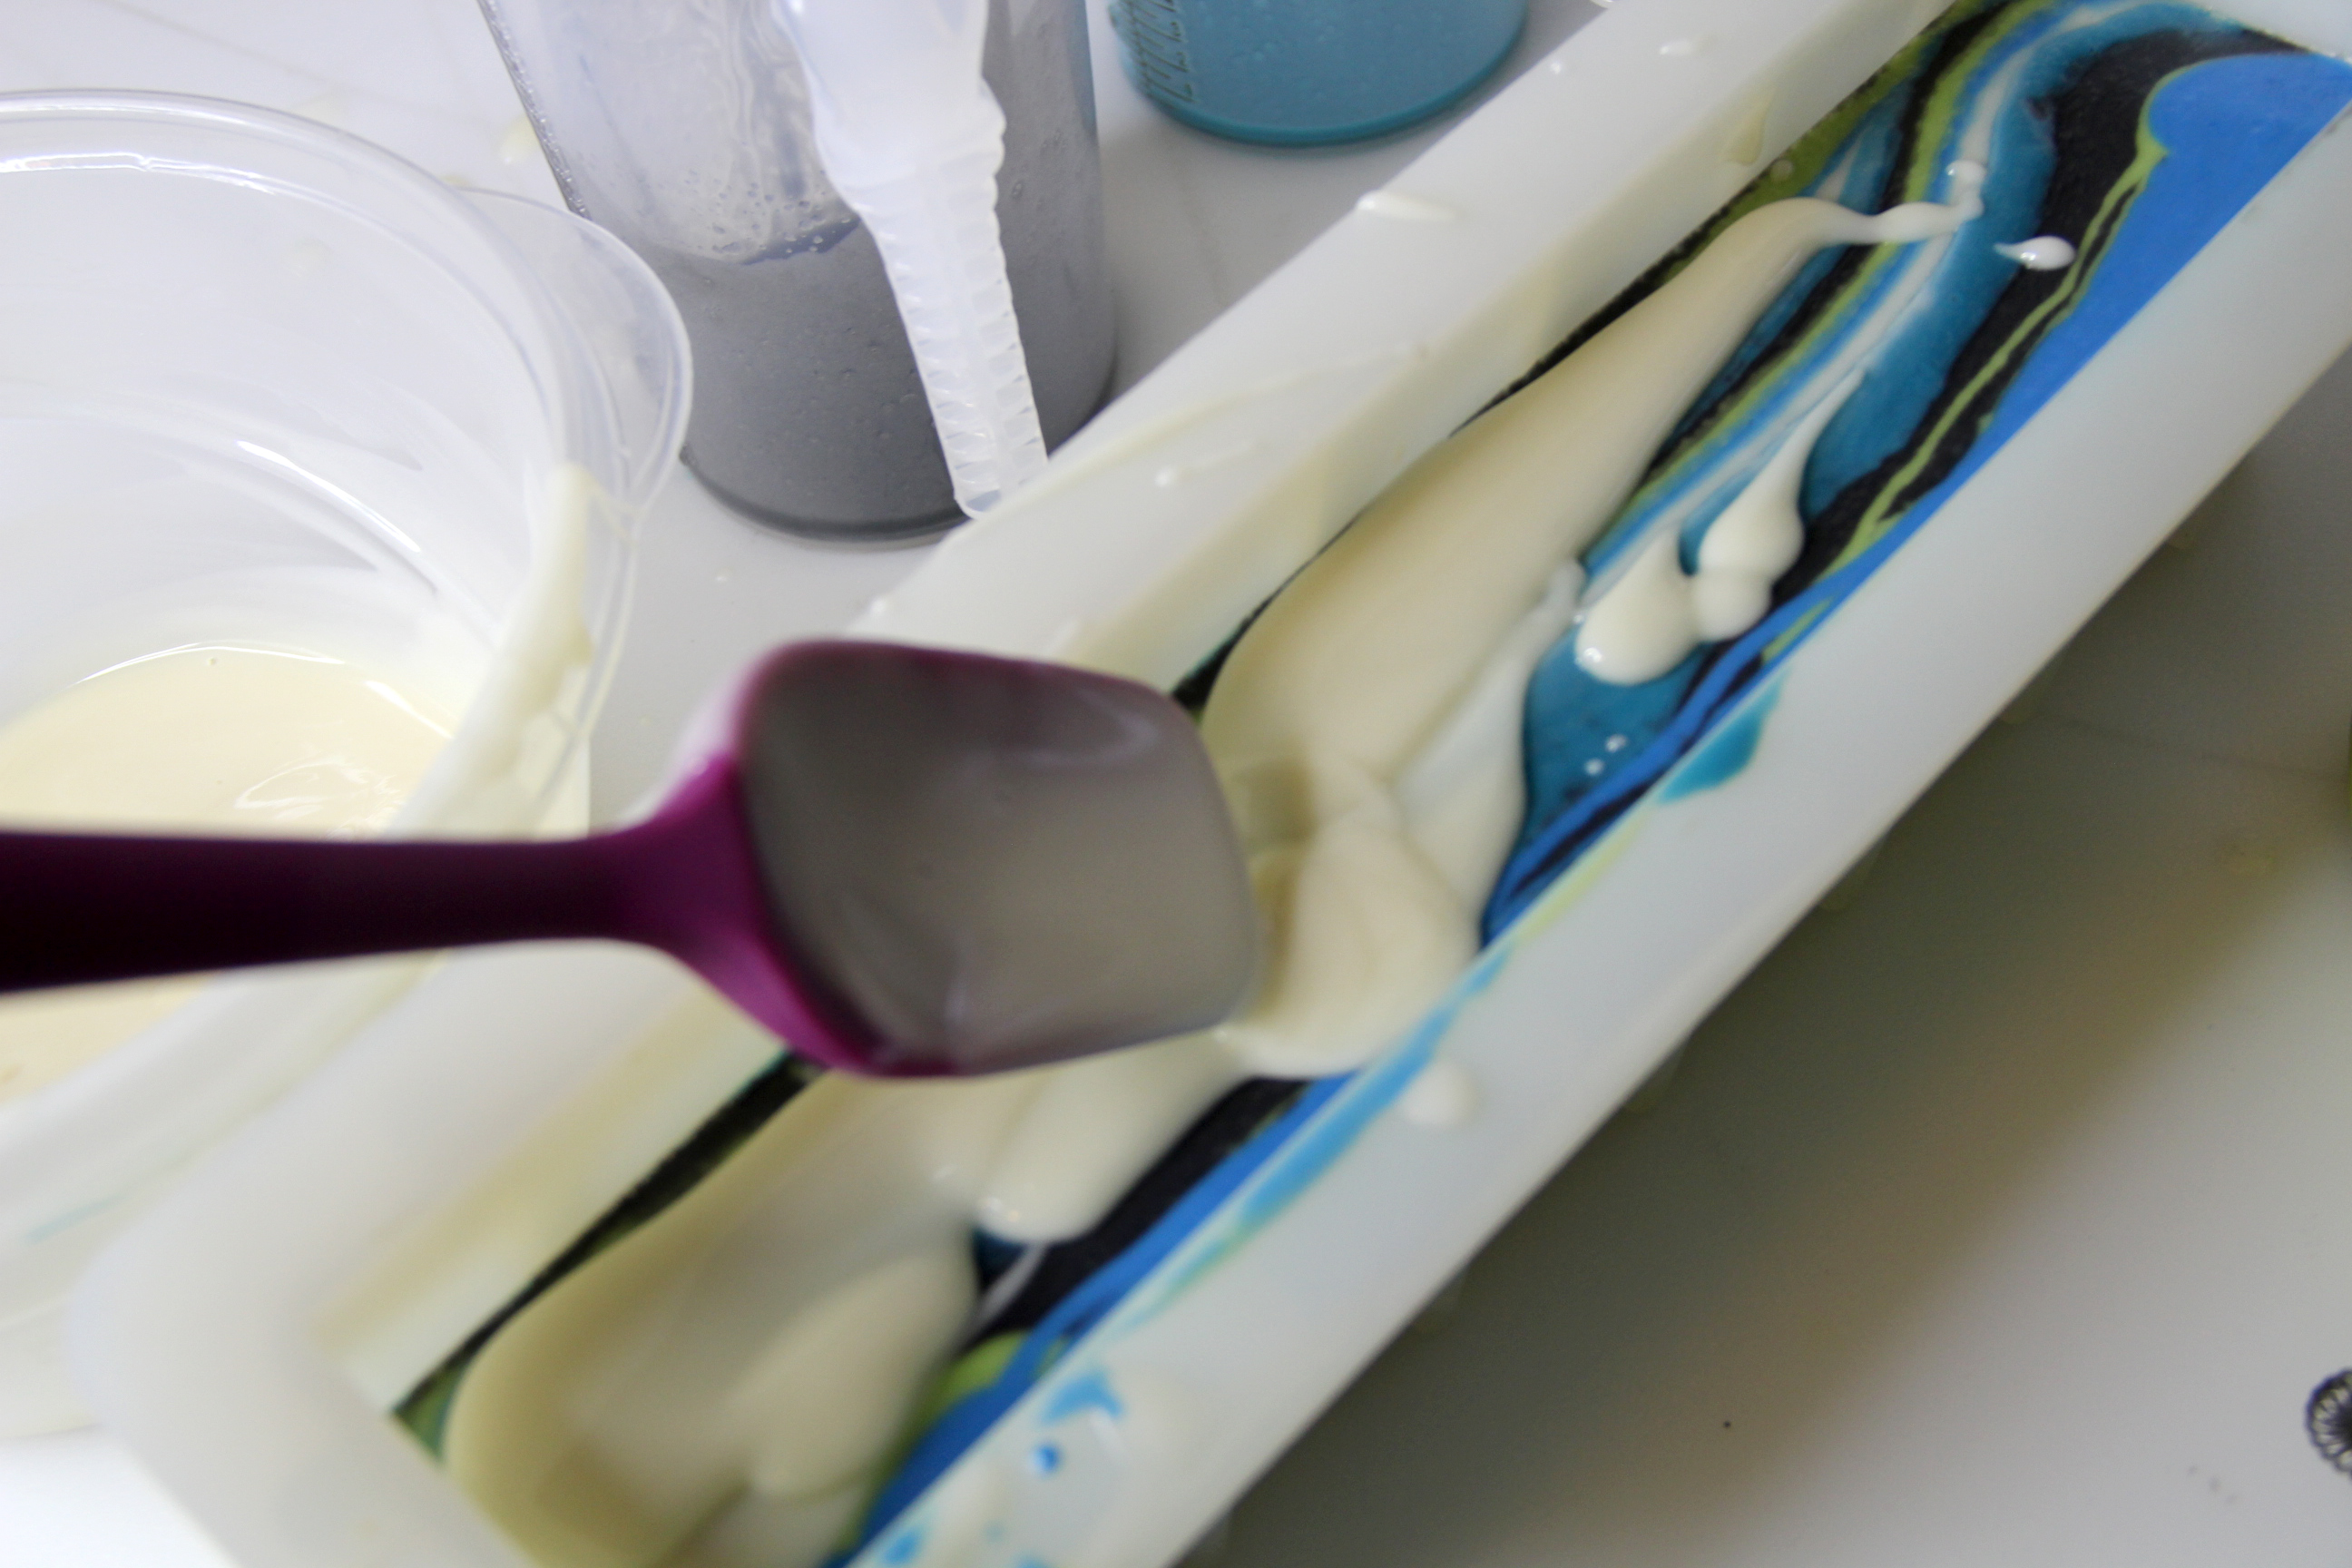
Step 9: Let everything sit around for a bit to thicken. Once the soap in the mold is thick enough to support the top layer, spoon on the rest of your white base. I had to literally wait about 30 minutes for it to thicken enough.
Step 10: Spoon on the top layer.

Step 11: Swirl the rest of the colored soap onto the top.

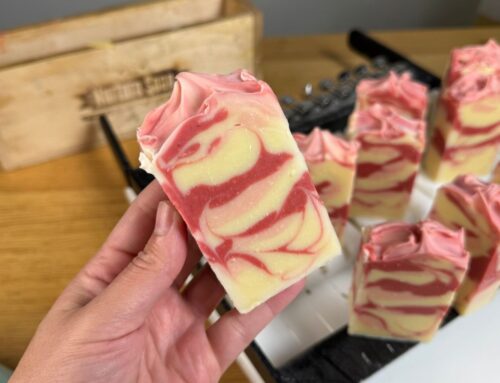
Step 12: After 24 hours you can cut your soap. Let it cure for 4 weeks.

Happy Soaping!
-Amanda
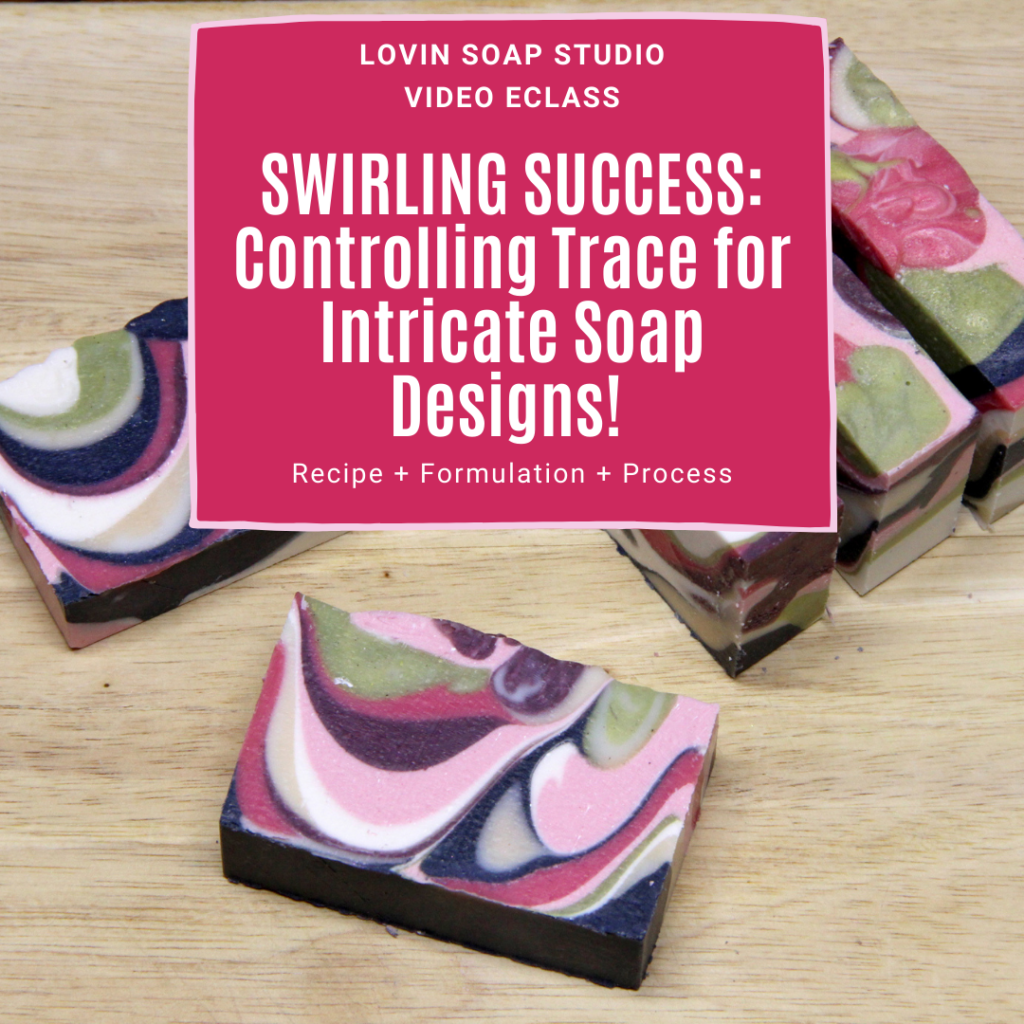
Grab our new eCourse, Swirling Success!
Learn to control trace, so it doesn’t control you!
This detailed video training explores the difference between emulsion and trace, so you know when to stop mixing your soap, allowing enough time to color and execute intricate designs. You’ll leave the eClass with a greater understanding of how water/liquid, temperatures, base oils, fragrance oils, essential oils and additives all affect the movement of your soap to trace.


Thanks Amanda, Great tutorial !