
(This post contains Amazon affiliate links, which means I will receive a small commission from items purchased through them. Thanks so much for your support and for helping us create free content like this blog post!)
I’ve noticed quite a few people posting in our Facebook Group Saponification Nation (Join us!) asking for a vegan and palm-free soap dough recipe.
Coincidentally, I happened upon making one the other day so I wanted to share. I am in no way, shape or form a soap dough expert. But this recipe might be a good starting point for those looking to formulate this type of recipe themselves.
UPDATE! This recipe still works amazingly! Though, since writing this blog post I’ve done my homework – and we now have a super fun video eClass, all about Creating and Using Soap Dough to create adorable embeds and embellishments for your soap creations! You’ll see how to make watermelon cane embeds, citrus cane embeds, and mermaid tails! I’ve slightly updated my favorite recipe and give tips, tricks, and troubleshooting advice, too! You can check it out here!
So what is soap dough?
Soap dough or soap clay is a mold-able soap that you can use just like you would clay to form little embeds and figures for embeding on soap.
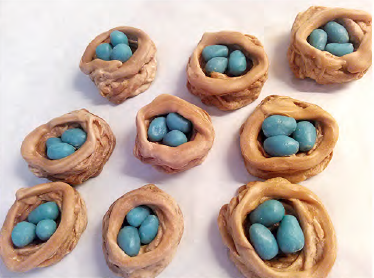
I first saw soap dough being done by the whimsical Sarah Chapin of Whimsical Soap Works. She wrote an article for Soap Collaborative (a soap magazine that isn’t being published right now) teaching how to make adorable nests with robin’s eggs.
Do you have a favorite soap dough resource? Please share in the comments!
So like I said, I came upon this recipe by accident. I was making piped flower embeds. The next day I didn’t use all of the embeds so I rolled them into balls for another soap design. It rolled easily and was nice and smooth. I immediately thought soap dough!
So I made a new batch, increased the water a bit and it was even better. Here is the recipe that I came up with and how I made the dough.
This recipe makes a small batch (447 grams total), perfect for testing. If you are new to soapmaking, be sure to download our free Basic Soapmaking Guide.
I used a 5% superfat and used water at 2.5 times my lye. If you wanted a softer dough (that takes longer to cure) then you can use water at 3 times the lye. This soap did not go through gel phase.
Vegan and Palm Free Soap Dough Recipe
- Cocoa Butter – 45 grams (15%)
- Coconut Oil – 90 grams (30%)
- Olive Oil – 120 grams (40%)
- Avocado Oil – 30 grams (10%)
- Castor Oil – 15 grams (5%)
- Sodium Hydroxide – 42 grams
- Water – 105 grams
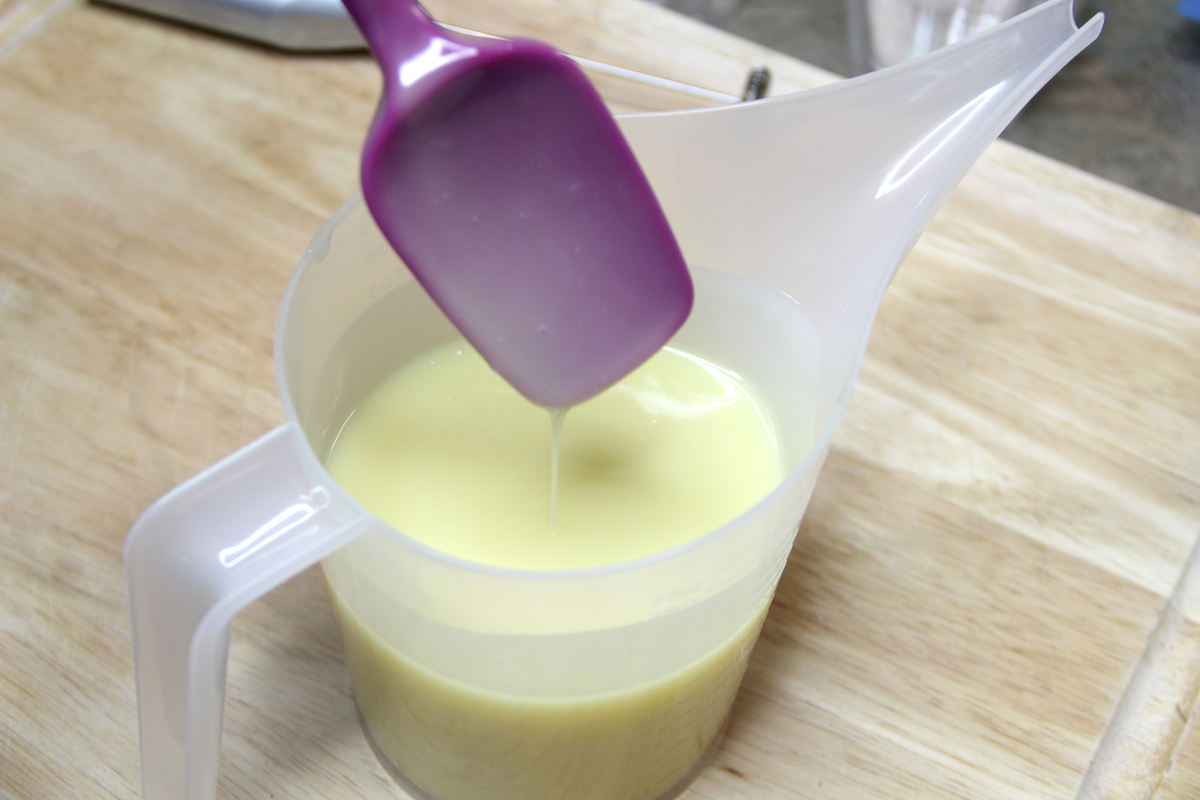
So here is what I did!
I made my soap as usual, bringing it to a light trace.
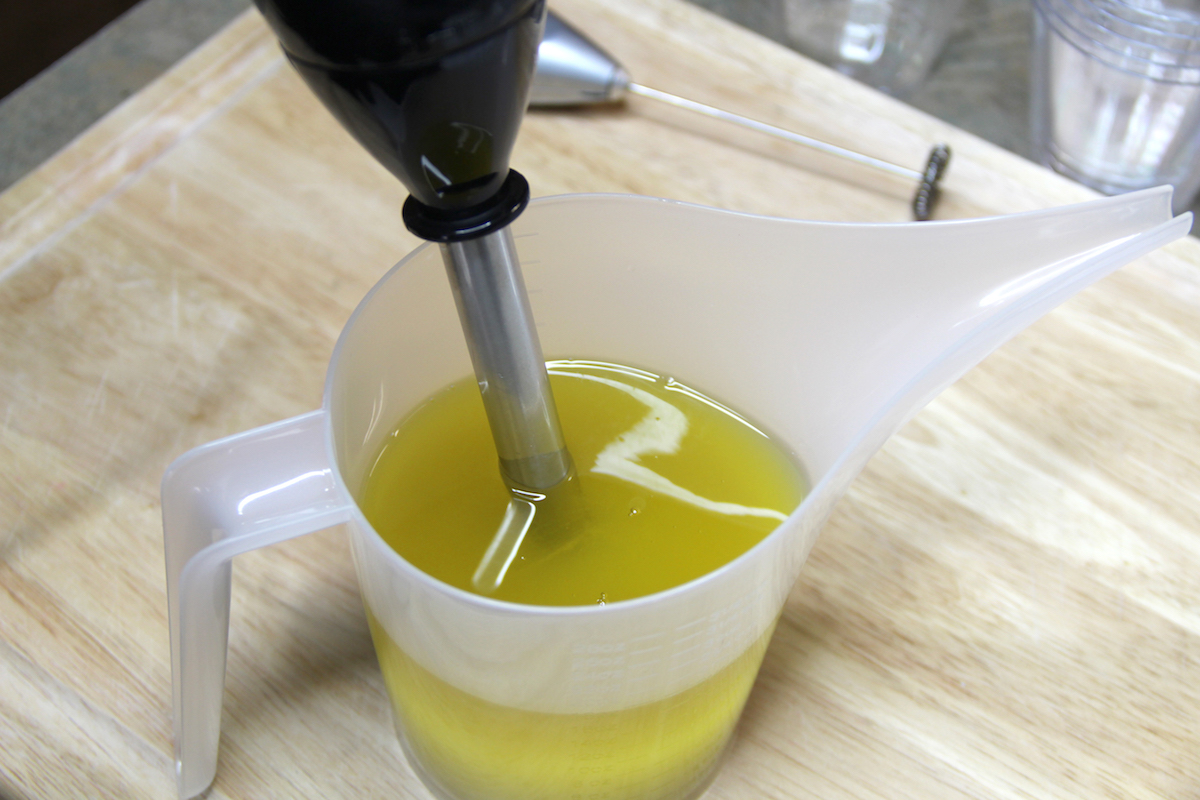
I then decided how many colors I wanted and grabbed some plastic cups. You could also use individual silicone molds or pour directly into plastic food storage containers.
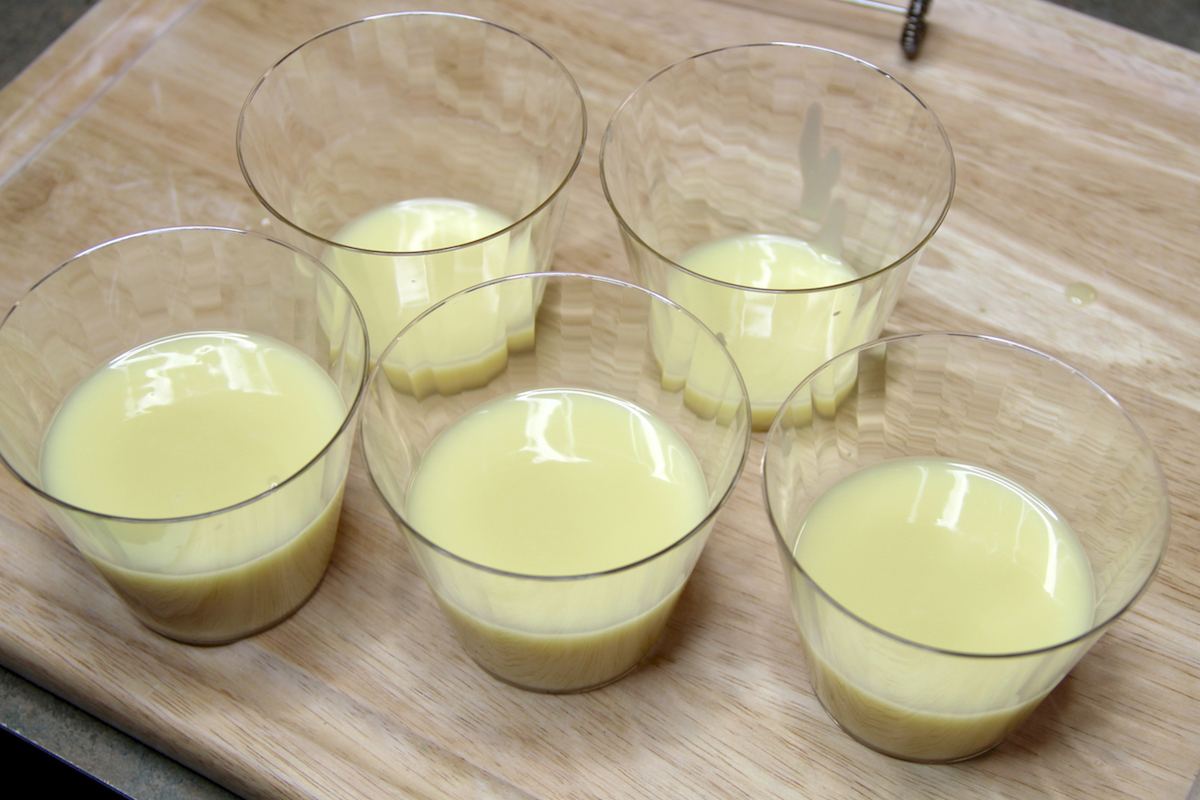
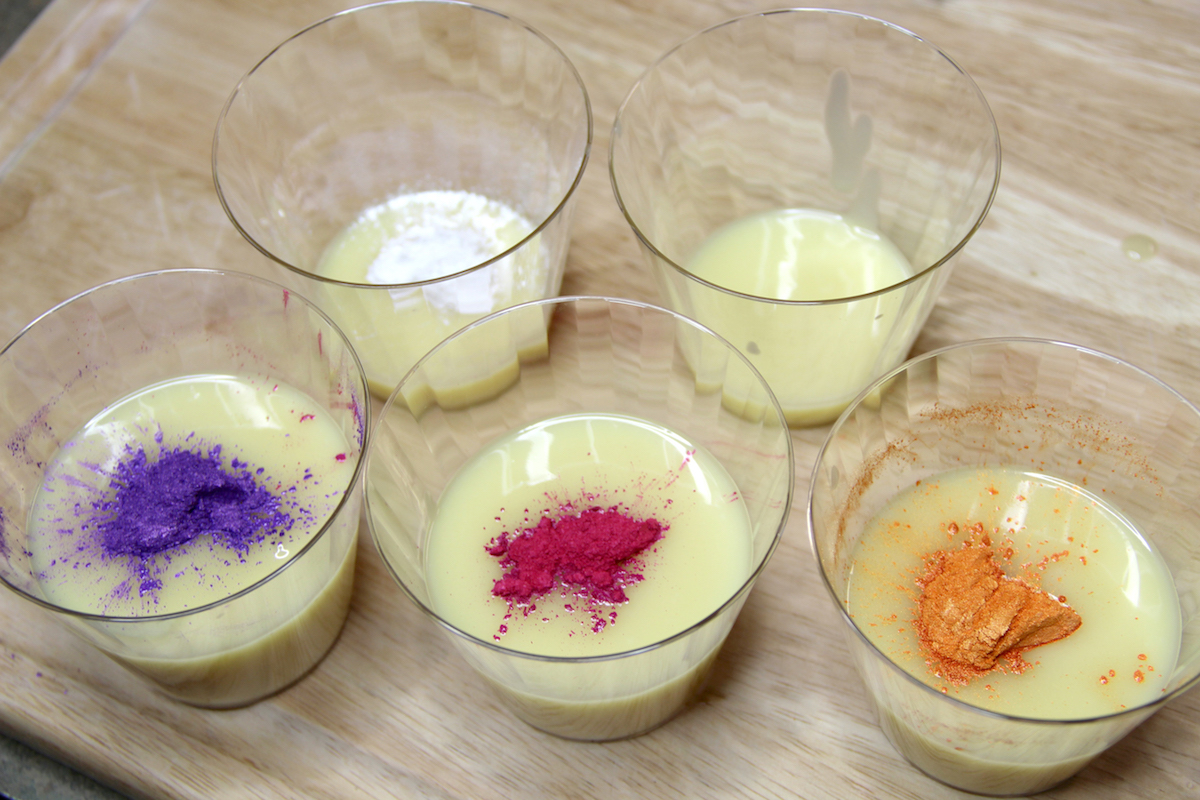
I colored my soap using mica for the colors and charcoal for the black. I added about 1/4 teaspoon each. I wanted it nice and saturated.
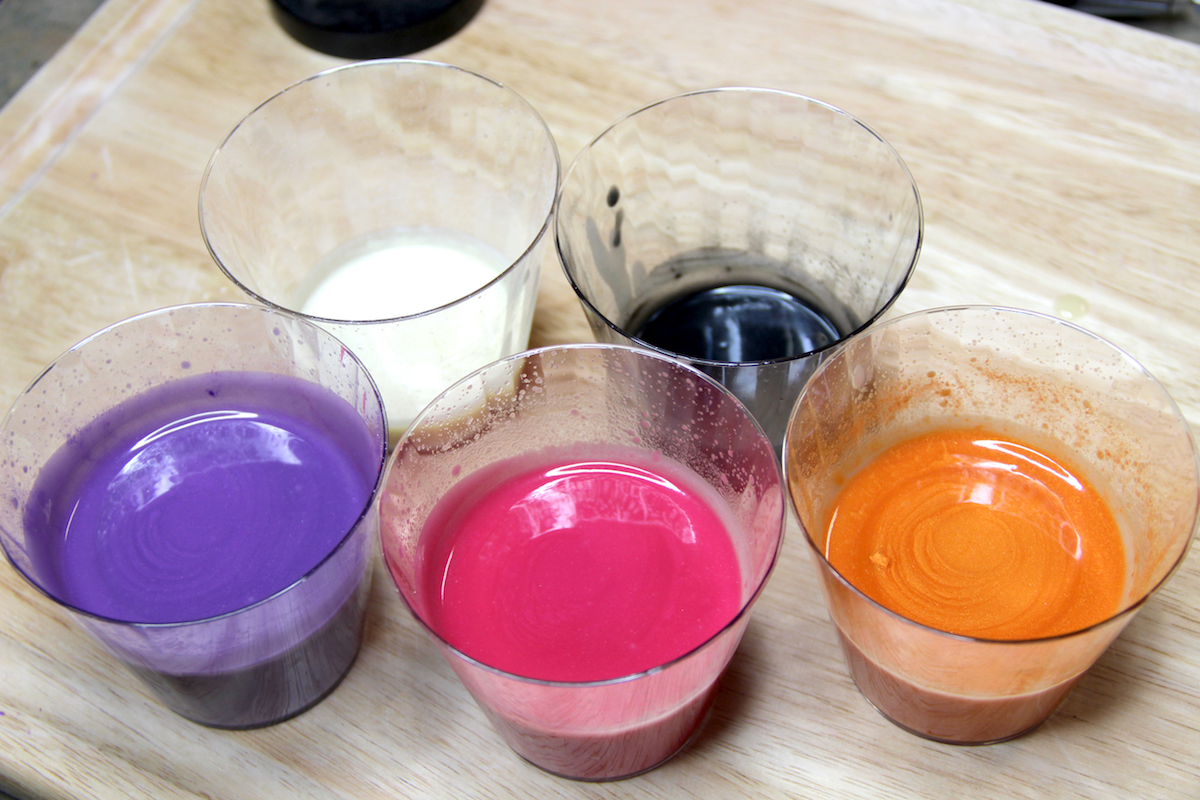
Once I got them mixed up, I put the cups in a bag so that air would not dry them out.
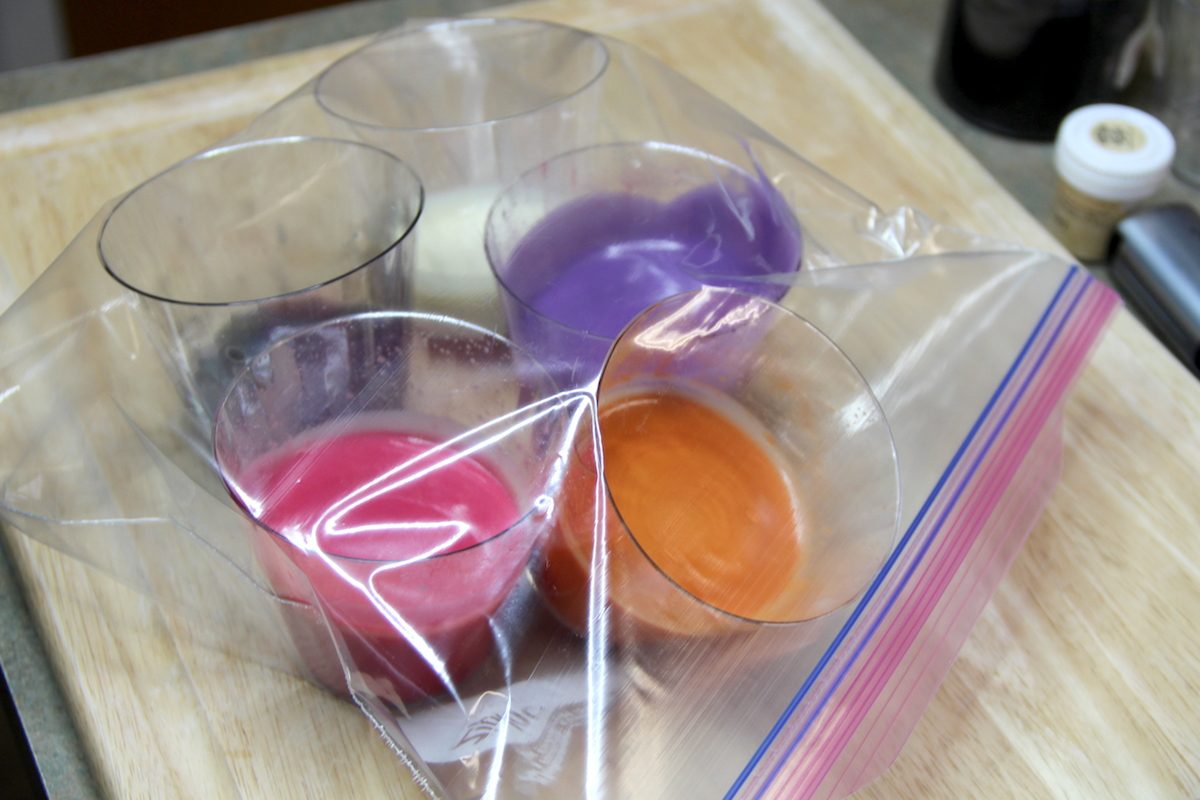
Again, you can even pour straight into food storage containers and put the lid on them.
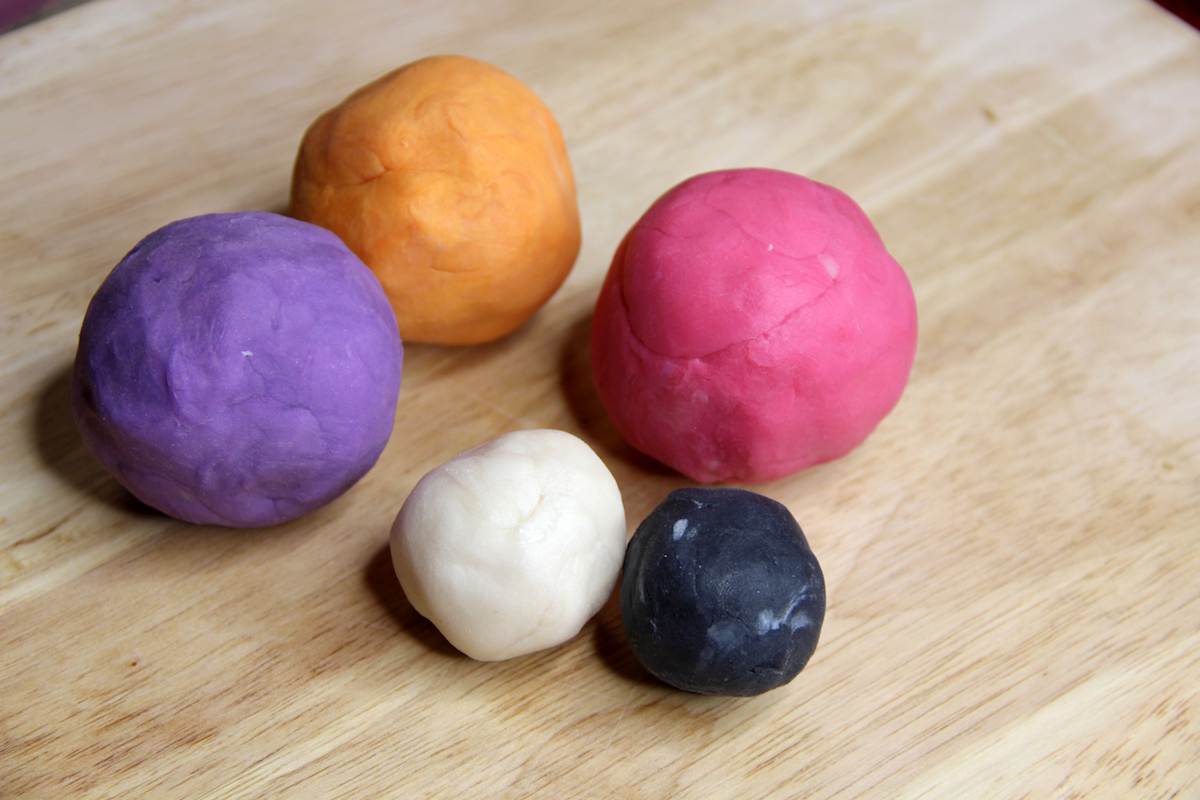
I ended up using my soap dough about a week later and they were still perfectly pliable.
The main thing is to store so that air doesn’t touch them. You can wrap in plastic wrap and put into bags upon unmolding.
Here they are unmolded.
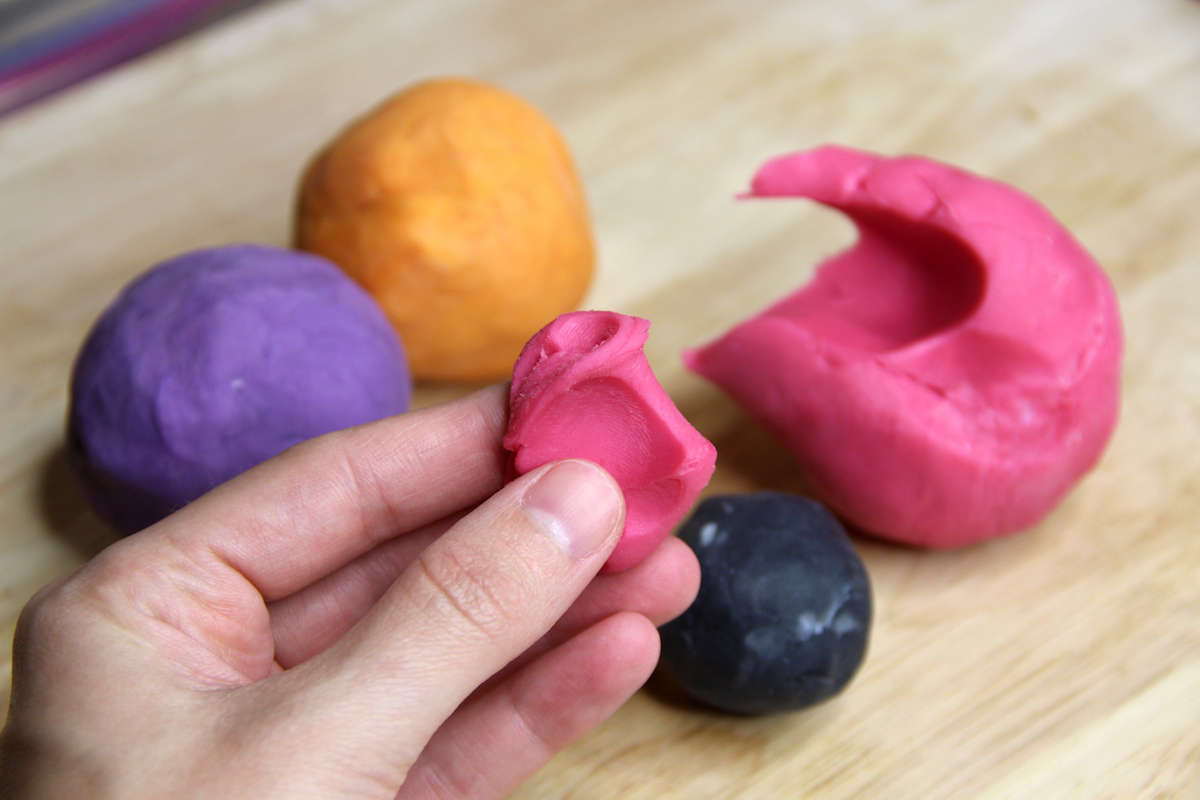
Grab a pinch and work it in your hands to warm it up. This makes it more pliable and easy to shape.
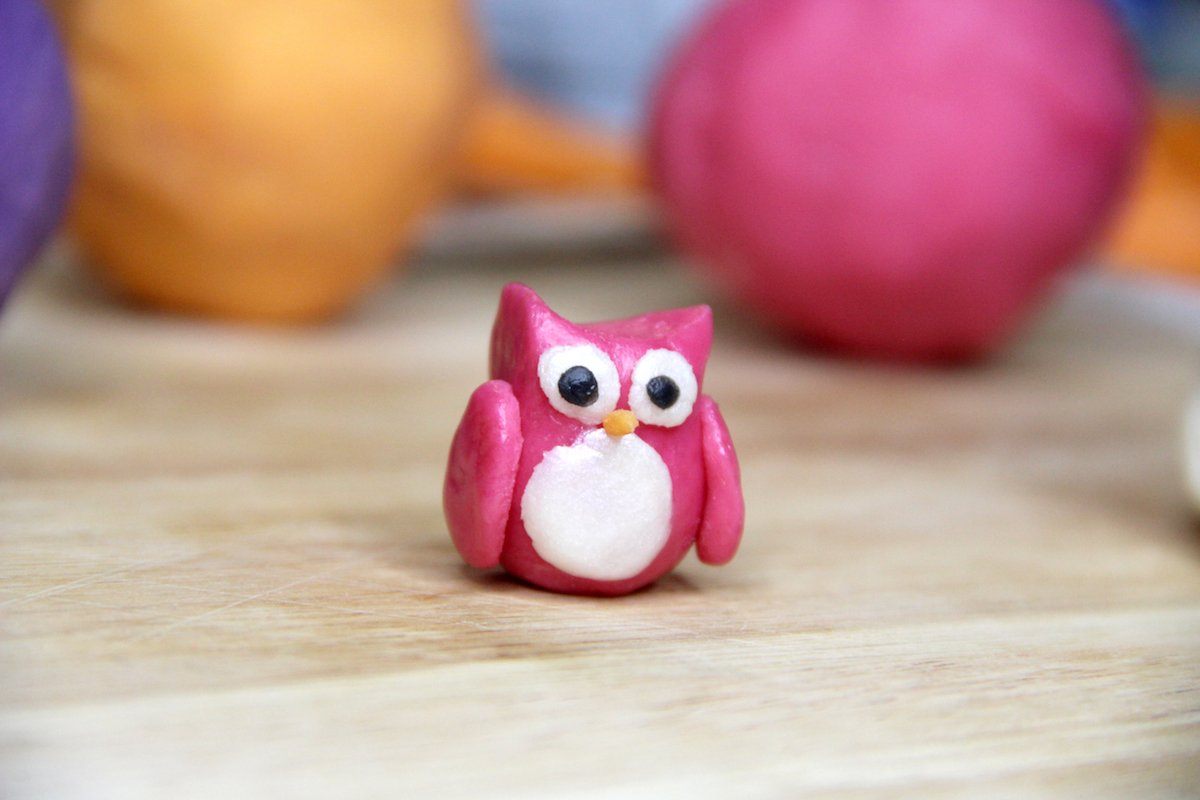
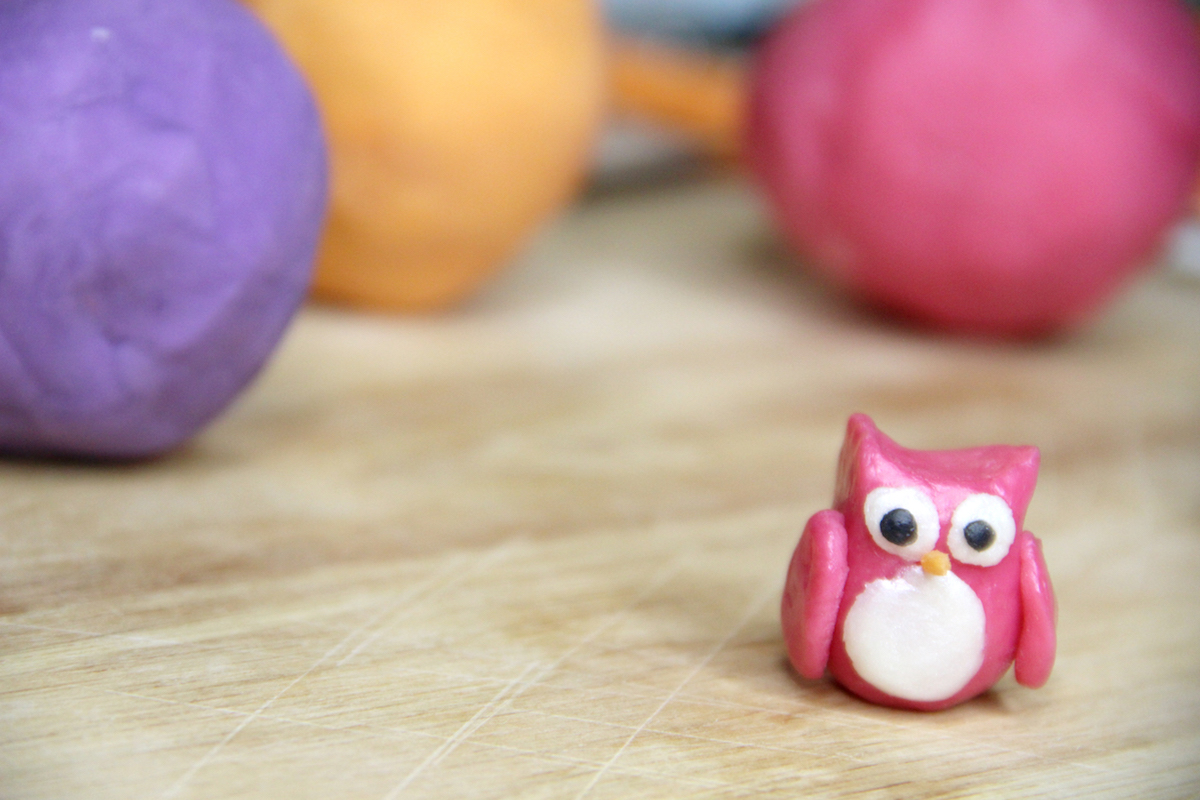
I searched YouTube for easy polymer clay tutorials and one of the first ones to pop up was this owl tutorial. This looked easy enough!
So I gave it a shot. Not bad! But I do have a lot to learn. 🙂

There are tons of YouTube videos of people making soap dough. Do a search and spend a bit of time browsing for tips and tricks.
I hope this was helpful if you’re looking to jump into making soap dough! 🙂
Happy Soaping!
-Amanda Gail


Hi Amanda! What can I replace the avocado oil with? I don’t have access to it here in my locality & would really like to try this recipe out! Thank you!
Yo can use sweet almond oil
I used this recipe to make soap dough for the February Soap Challenge club and it worked beautifully! I did have to substitute shea butter for the cocoa butter and it still worked great. Thank you for sharing!
exactly what I came to read , thank you
I was wondering….if you put the soap in the bag, does it get condensation? Wouldn’t it still be warm or get warm as it saponifies?
New to soaping, so just started researching and watching tons of videos. To add to the list of awesome soapers that use soap dough, I have watched Lisa Cunningham of I Dream in Soap…amazing artist….
Thank you for the resources and the recipe …it’s on my list of things to try!
Wow..love this idea. Can I use Shea butter instead of Cocoa butter?
This is a great little recipe! I’ve been seeing so many designs with soap dough and haven’t had time to look it up yet, definitely something to try 🙂
Electronic mail Marketing – e mail and eCommerce?
Amanda thanks for sharing the above recipe! Ive tried a few but is either too watery, too dry or too sticky. I can’t wait to try yours, it looks good from the picture! Thanks again!!!
Wondering if I can use this recipe to make balls, that would be embedded in CP soap, and then how long it would take to cure the whole loaf and slice? Does the heat of the fresh CP then cure these dough balls?
there’s a difference between cure and saponification …. saponification happens through the heat …. the “cure” is the drying out ….
Saponification is done after 24 hours with a CP the drying process “cure” takes 4 weeks to 6 weeks but in fact you can use the cp soap after 24 hours …
greetings
I feel so blessed to have come across your site and you’re soaping. I’m extremely new to it but read about it for months before hand I was a quilter for years but had to give it up and soaping allows me to have artistic expression like my quilts did I am so grateful for all the information that you provide and the recipes and overwhelmed that you are willing to share them I have found that has been a problem although I totally understand the hard work that goes into a creation again thank you for all your help and tips that you offer and your wonderful recipes I admire you and your husband so much
Hi friends I have one question
How much time does soap dough will take to get hard
I made rat 4 days back still it is soft and playable
It takes 4-6 weeks
This is my favorite dough recipe I’ve found so far! Very easy to make and comes out perfect every time. Now if I could just improve my artistic skills…
Yay! I’m so glad to hear that! Thank you! 🙂
Hello Amanda!
I have all the stuff to make cp soap, loaf molds, slicer, etc. and I have been hesitant to make a loaf of soap the first time.
How can I take a formula and reduce it down to just a 4 ounce bar of soap. I have a digital scale and switching it to metric is no biggie. I can’t seem to get my math right switching from imperial to metric. I live in the USA.
Will you help me? Please. 🙏
I see it says that the soap dough did not go through gel phase. My question is would it be possible to gel it or would it loose its shape?
I’m not real sure if it would change the consistency or not. Give it a try and see.
Thank you Amanda for sharing the soap dough recipe. I love the cute owl, I really appreciate it especially a recipe that is palm free. I will try it out. Love all the posts that you share, Thank you once again 🙂
Thanks for the recipe. I am new working with soap dough and I love it. Will try this recipe.
How long to cure? Still the same 4 week to 6 weeks?
Look good..
Aww, your Owl is such a cutie !!!
Hi what can I replace the Coca Butter with I don’t have any Shea Butter and I was thinking of making it for kids just in case they are allergic to nuts with the Sha Butter ? Thanks ?
Hi,
Also interested if it hardens. Would it be good for embellishments on top of CP soap? Thinking Holly Berries, etc for Christmas decorations.
Yes, it hardens. It is simply soap that hasn’t cured. 🙂
How long do they need to stay in the plastic bags before I can use them? 24 hours? one week?
You can mold them right after unmolding. So after 24 hours. Keeping them in the plastic bags makes sure that they don’t dry out and remain moldable for a long time.
I meant form them, not mold them. 🙂
Does this harden after it sits or does it stay soft?
Great idea and tutorial. Thanks so much!
Yay! So excited to try this new recipe. I knew you would have one soon. Thanks so much and I will post pics of some of the creations we do for the kids’ classes.
So,you can mold with it right after making and the lye doesn’t hurt your hands? Then does it have to cure just like regular cp soap? Thanks for the info.
After the soap is saponified it is safe to handle. It is regular CP soap, so yep, it will need to cure. 🙂
Thanks for the Palm Free Soap Dough recipe Amanda, you are always so generous!