Taking excellent product photos is paramount when operating an eCommerce site selling your soap. People do judge a book by its cover…and they can judge your products by your product photography. Your images can shape a customer’s first impression and inspire them to keep shopping and eventually purchase. You could certainly pay to have your products photographed, but if it isn’t in the budget, with some planning and thought, you can take your own. Let’s dive in!
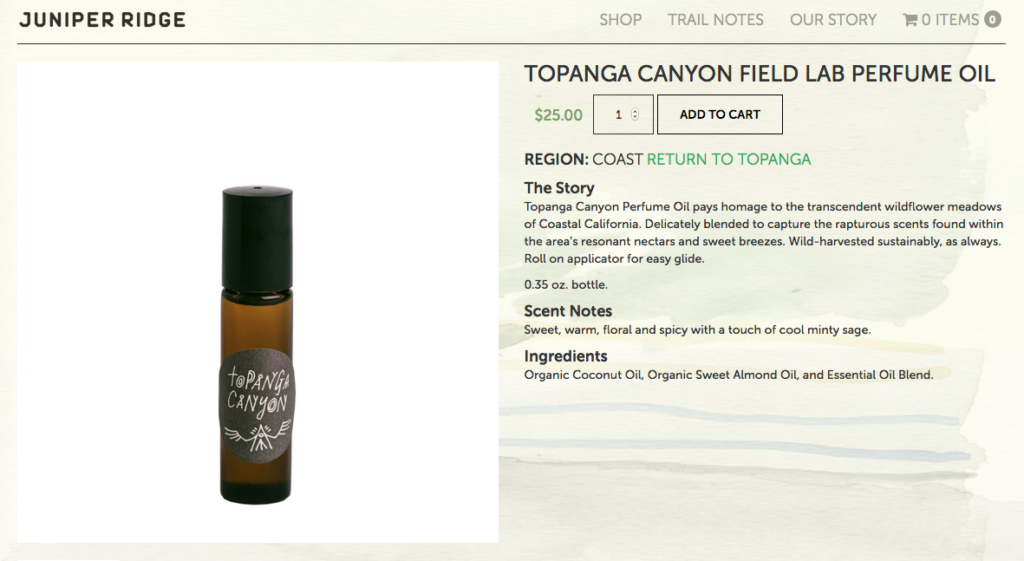
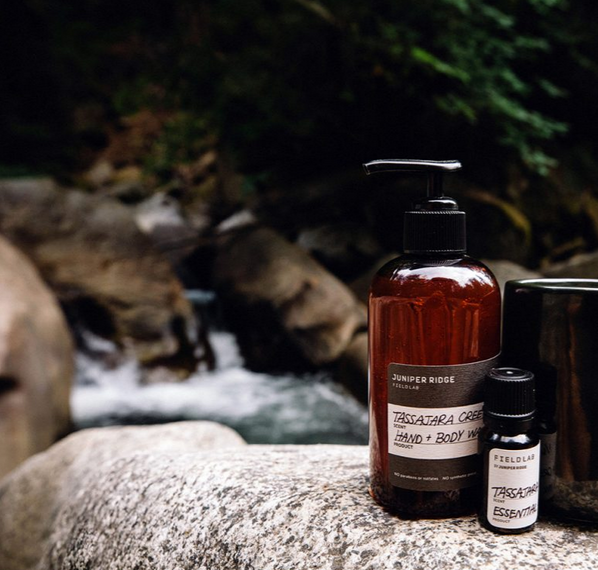
There are two main types of product photography. The first is a clean, usually white background, image. You’ll see these used for product pages and wholesale catalogs. The second is a lifestyle image. Lifestyle images have more elements incorporated into them, including backgrounds and props. Lifestyle shots can certainly be used on product pages, but they are more suited for social media, blogging and wholesale catalog covers…etc. Here are two examples from one of my favorite companies.
Here are some tips for better product photography.
Be consistent with your backgrounds and staging.
Consistency breeds trust. If you have a jimble-jamble of different backgrounds, staging designs and even colors, customers might get confused by your branding. You can DIY your backgrounds using large tile from the home improvement store, scrapbooking paper, cardstock, poster board, foam board…etc. You can also purchase photography backgrounds.
I recently got to try out some photography backgrounds from Replica Surfaces. Their surfaces are easy to maintain and wipe-able! They seem like they’ll last a long time. I love the variety of textures…including wood, marble, concrete, shiplap, slate, and more. Check out their website here for inspiration and join their Facebook Group to get inspiration from people who are using them.
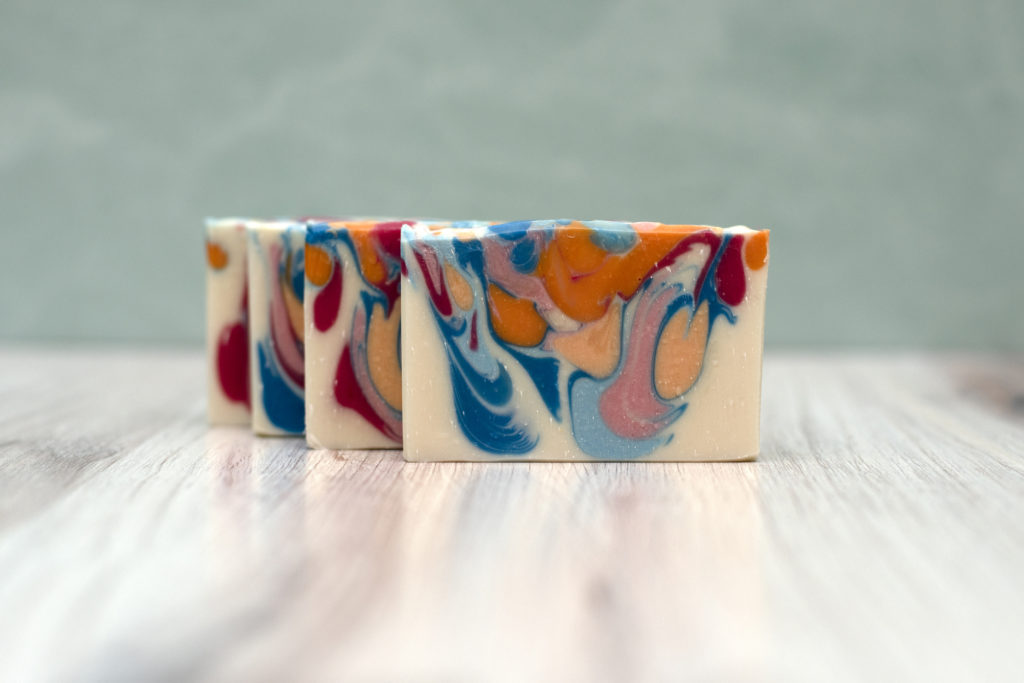
Here is a shot using Seafoam and Beachwood.
You need good lighting.
Whether you use natural light or studio lighting, you must put some thought into the lighting when taking your photos.
Natural light works well! If you have a nice sunny room in your house to take photos, take advantage of it. North or South facing windows are best since the light is less direct. You never want direct light so if you find that your light is too harsh, you’ll need to diffuse it. You can either bounce it off of something white or hang up a sheer white curtain to filter. You can also make an easy DIY light box.
Here is a helpful article when it comes to using natural light.
When it comes to studio light (artificial light), I have two favorite lights that I got off of Amazon.
- A ring light works well when it comes to product photography.
- I also bought some of the LED bar lights.
You need a camera.
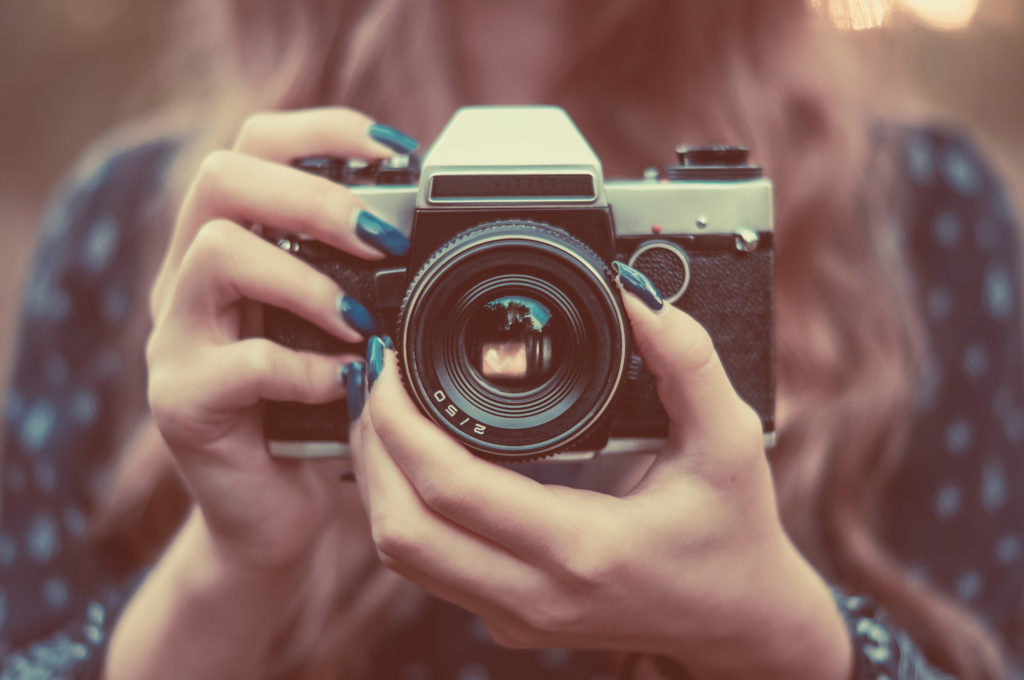
I highly recommend purchasing a DSLR camera. You’ll use it for product photography as well as behind the scenes photography and other pictures for social media (your probably already have one!). There are tons of different camera choices out there. For years, I used my Canon Rebel T3i and a 50 mm lens. I would create a budget and start researching cameras. There are great used options that you can find online and at your local camera store. I currently still have my Canon Rebel T3i, a Nikon D5600 and my fancy camera, a Nikon D750.
What about a cell phone? If you don’t have the money to purchase a new camera, no big deal. Cell phones do take decent photos these days; so if that is all you have, learn to use it well!
If you have any of these phones, you’re in luck and should be able to get great photos.
- iPhone 8 or newer
- Google Pixel 2
- Samsung Galaxy S8 or S9
- Samsung Galaxy 8 Note
Here are a few articles about getting good product photos using a cell phone.
- How to Take High-Quality Product Photos With Your Smartphone
- How to Use Your Smartphone for High Quality Product Images
Learn to edit your photos!
Editing your photos might seem intimidating, but it is quite easy these days. You simply need to choose an editing program and learn to use it. Be sure to read reviews so that you can choose the right one.
I personally use Photoshop to edit my photos. I use it to crop and to adjust the exposure if needed. Gimp is a free program that you can use to edit photos. Here is an article that lists some apps you might want to try. Some programs cost a bit and some are free.
I love using an App called Super PhotoCut. I downloaded it to my Mac but you can probably download it on a PC, iPad, etc. This app cuts the background from an image so you’re left with just the product. It is easy to use!
I hope these quick tips help you get started with taking better product photos! Good photography should not be an afterthought in your business! It needs to be front and center!
Happy Soaping! -Amanda
Don’t forget! Soap. Brand. Launch. – the leading business eCourse for the Soap and Skin Care Crafter, is included in our Business Membership! To learn to start and grow a profitable Soap and Skin Care business, or take your existing one to a whole new level, sign up here!




I think after photography for marketing photo editing is also important.
What an amazing think you have written about photography. I have read and admired this well blog. You have a great thanks for such effective shared.
First i appreciated you thing about photography and this written was a more educative specially for me. You don’t know this will how much helpful .
This is great!!! So many tips, and you have a wonderful aesthetic sense for product photography!!! I’ve learned so much, so I really appreciate you taking the time to write this article!
Awesome post! I have been following your posts for a while and I wanted to say
that they are always very useful to me. Keep up the good work.
Amazing research on the products, I am appreciating your hard work. Thanks a lot for such informative article.
You did a great research about the product and really loved reading it. I must say I’ve no idea about before and not even heard that word. While i’m writing this i am using buffer and hoot suite to monitor my social media’s. Both are good by the way I’ve to admit. I’m thinking to try and i will share my feedback after trying it Lovely ideas and I would like to thank you for the efforts you have made in writing this article and I am hoping the same best work from you in the future as well.