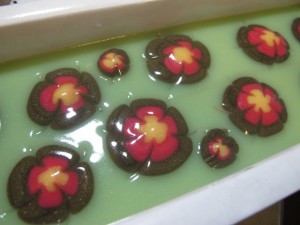
This is a fun flower design that you can make using cold process soap. I simply used squeeze bottles to help get the affect. Here is another tutorial showing you how to make flowers on cold process soap.
Update: I should have been wearing gloves while making this! Please always wear safety goggles and gloves.
New to making soap? Check out our free cold process soap making guide or basic soapmaking eBook.
Flowery Suds Soap Design Recipe
Palm Oil – 6 oz
Olive Oil – 6 oz
Coconut Oil – 5 oz
Castor Oil – 1 oz
Water – 6 oz
Lye – 2.5 oz
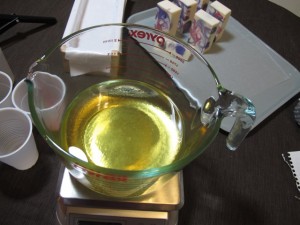
Make your lye solution and set in a water bath to cool. Melt the coconut oil and palm oil and let cool.
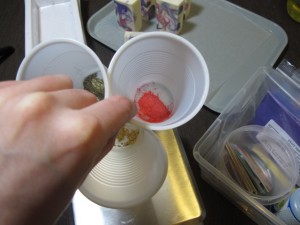
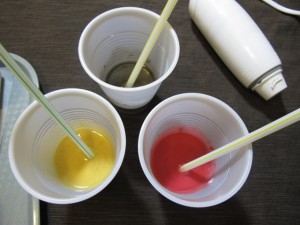
While things are cooling down measure out your mica into plastic cups. I used TKB micas Antique Gold, Brilliant Gold and Raspberry POP. Scoop out about 2-3 pea sizes. It seems like alot but you really want the colors to pop.
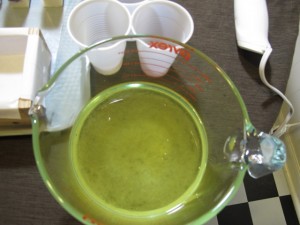
Add your soft oils to your melted oils and mix.
Add the lye solution.
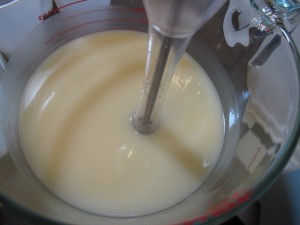
You’ll want to mix with your stick blender just until emulsified. You don’t want to see any signs of trace. It really takes a couple of pulses (depending on your recipe) and then stir by hand for a bit until you see a solid emulsification.
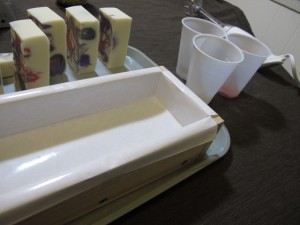
Make sure your mold is ready and your coloring cups are ready.
Pour a bit of your soap mix into each color cup and stir until its nice and mixed together. Leave this part unscented. Adding scent to your colored soap can make it get too thick. I pour to the first line of the cups. Probably about 1/4 cup.
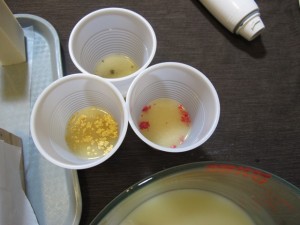
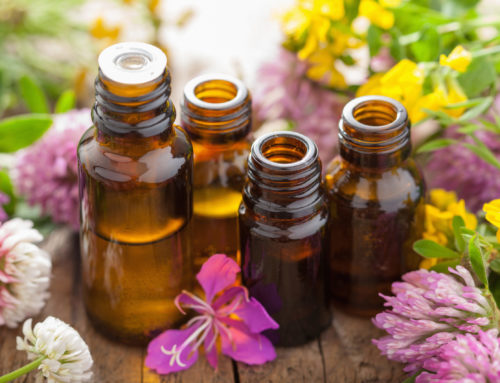
Add your scent and color. I used an EO blend Lavender, Tea Tree and Geranium for the scent and TKB Breath of Spring Mica for the color.
**Make sure you don’t use a fragrance that accelerates!**
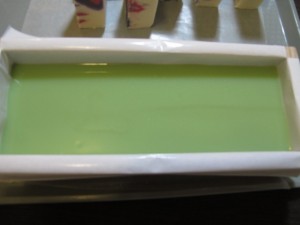
Pour your base into your mold.
Then pour your colors into squeeze bottles (didn’t get a pic but you’ll see in the next steps).
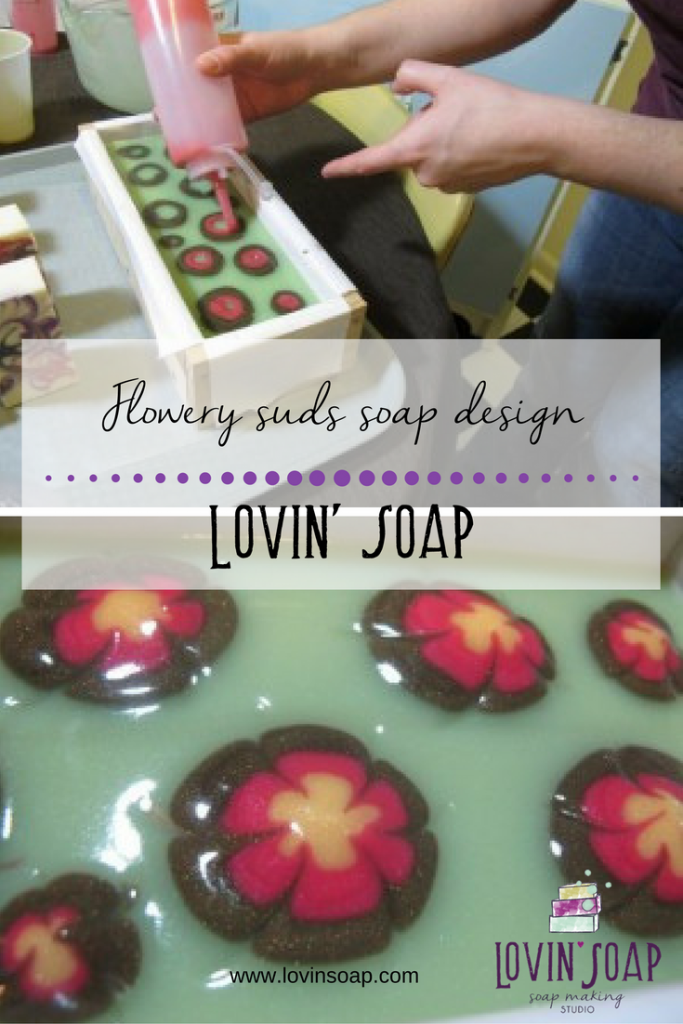
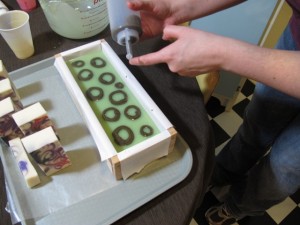
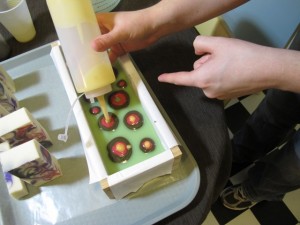
Pick our your flower’s outer color and draw circles on your base.
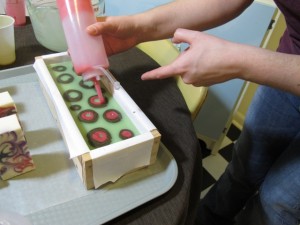
Draw circles with your next color just inside the first color.
Then repeat with your third color, but fill in the whole middle.
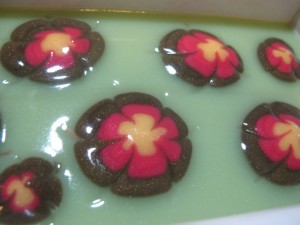
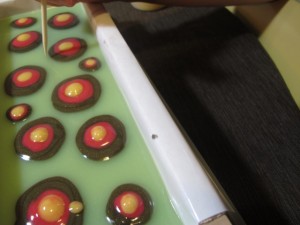
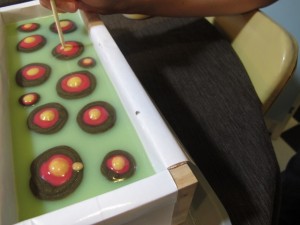
Then take a skewer and from the outside of the outer color drag inward to just inside the middle color. This forms the petals.
Start on outside…
…and drag inward.
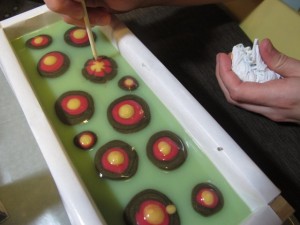
Repeat…repeat…repeat…as quick as you can. I wipe on a paper towel between each stroke so it doesn’t put color on the outside of the flower where you start your drag.
Mine actually got a bit thicker than I prefer. I really like the flowers to fall even with the surface…but the raised look rocks also!
Some tips!
- Your mix should be just emulsified with no signs of trace.
- Don’t use fragrance that accelerates.
- Have everything laid out, planned, lined, measured out and ready to go!
- Move quickly!
- Oh…and wear gloves!
I hope you enjoy and please send me pics if you do this. I’ll post them on the blog.
Happy soaping!
-Amanda Gail
For swirling tips, click the image below.



Great designs, it want to try these soon.
Great final design. I will try this soon at home.
They turned out real purdy!! Not as nice and polished as yours (practice makes perfect), but I like them and I’ll definitely try again to perfect my technique.
I just made this, Amanda! It was so fun! I felt like I was in elementary school with the squeeze bottles full of color. Thanks for sharing this!
Yay! Glad you like! How’d it come out?
This looks really great. I am going to try this next week, as I have a few days off anyway.
Thanks for the tutorial and inspiration to create something quite wonderful.
Well, now I’m going to have to try this for sure! Thanks to Holly for sharing the link! 🙂
Another amazing and very creative tutorial. Thank you so very much for sharing your creativity and knowledge.
Thanks Hazel, Holly, Anne-Marie and Wonder Turtle!
Wow, what a gorgeous soap! Those flowers are so pretty. Great tutorial – thanks so much for sharing your technique! 🙂
Great tutorial – what a fun final look and a very simple step by step. Love it!
Amazing tutorial! I thought I had it figured out and I did. 🙂 I’ve not used any micas other than the pop micas so now you may have inspired a TKB order. Thanks for your hard work on this!
Thanks for posting this tutorial. You’re so creative and it’s very generous of you to share your knowledge.