
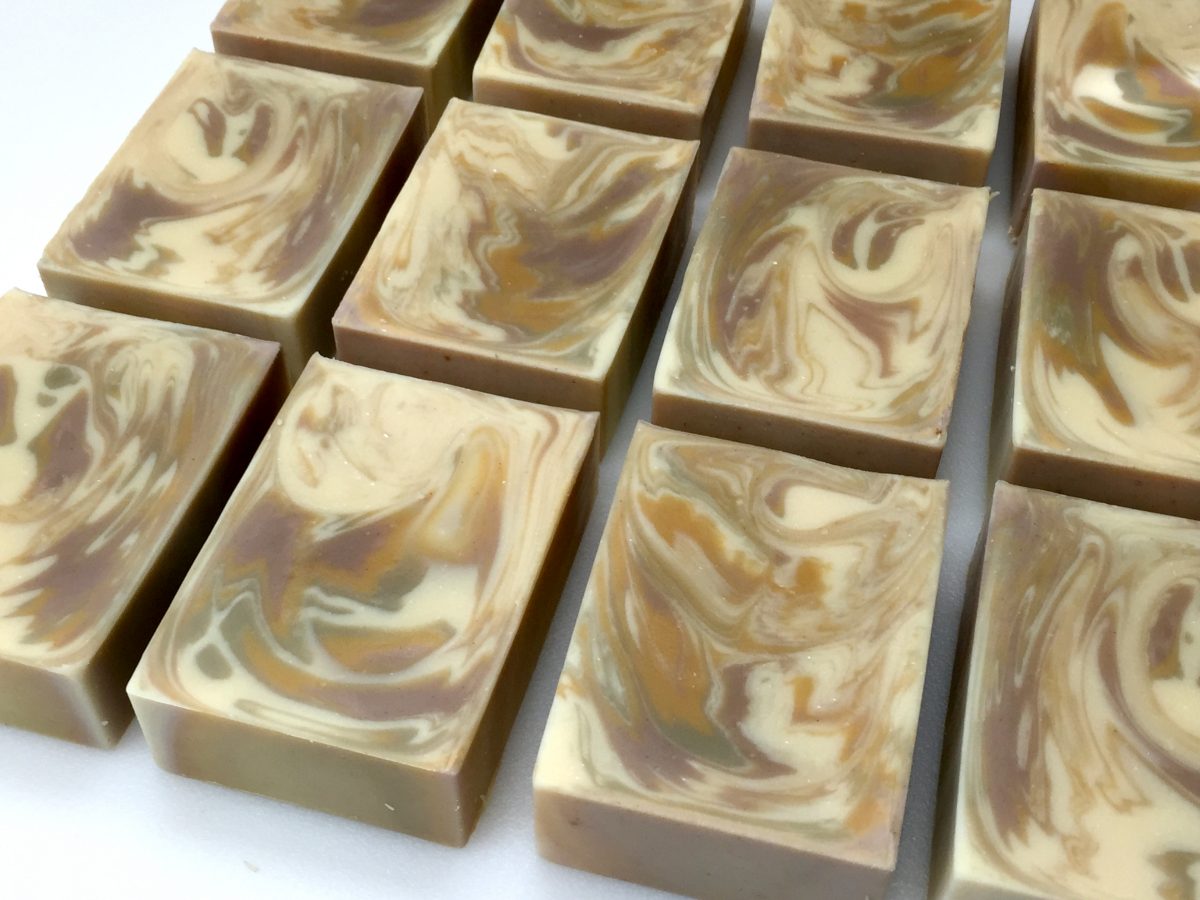
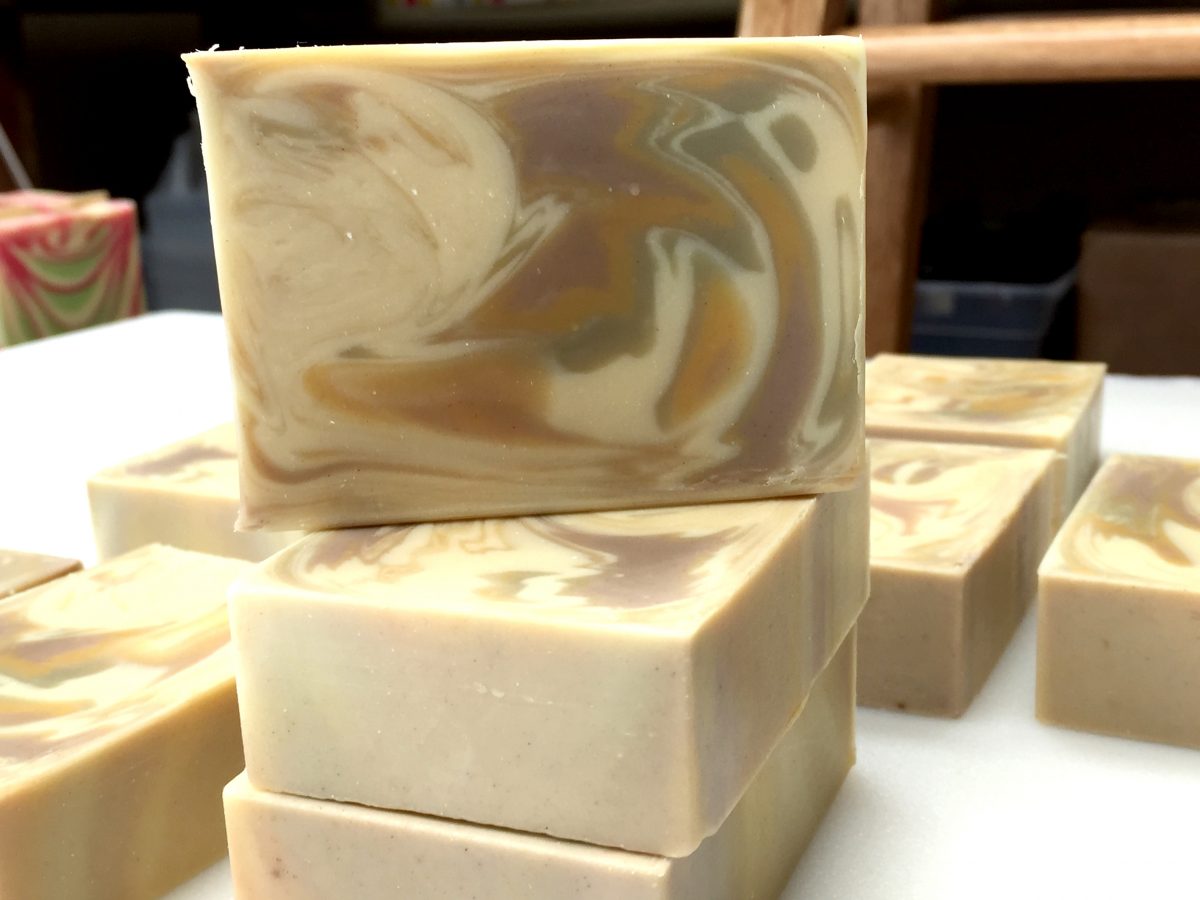
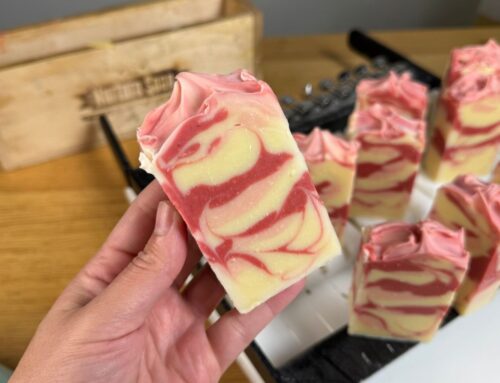
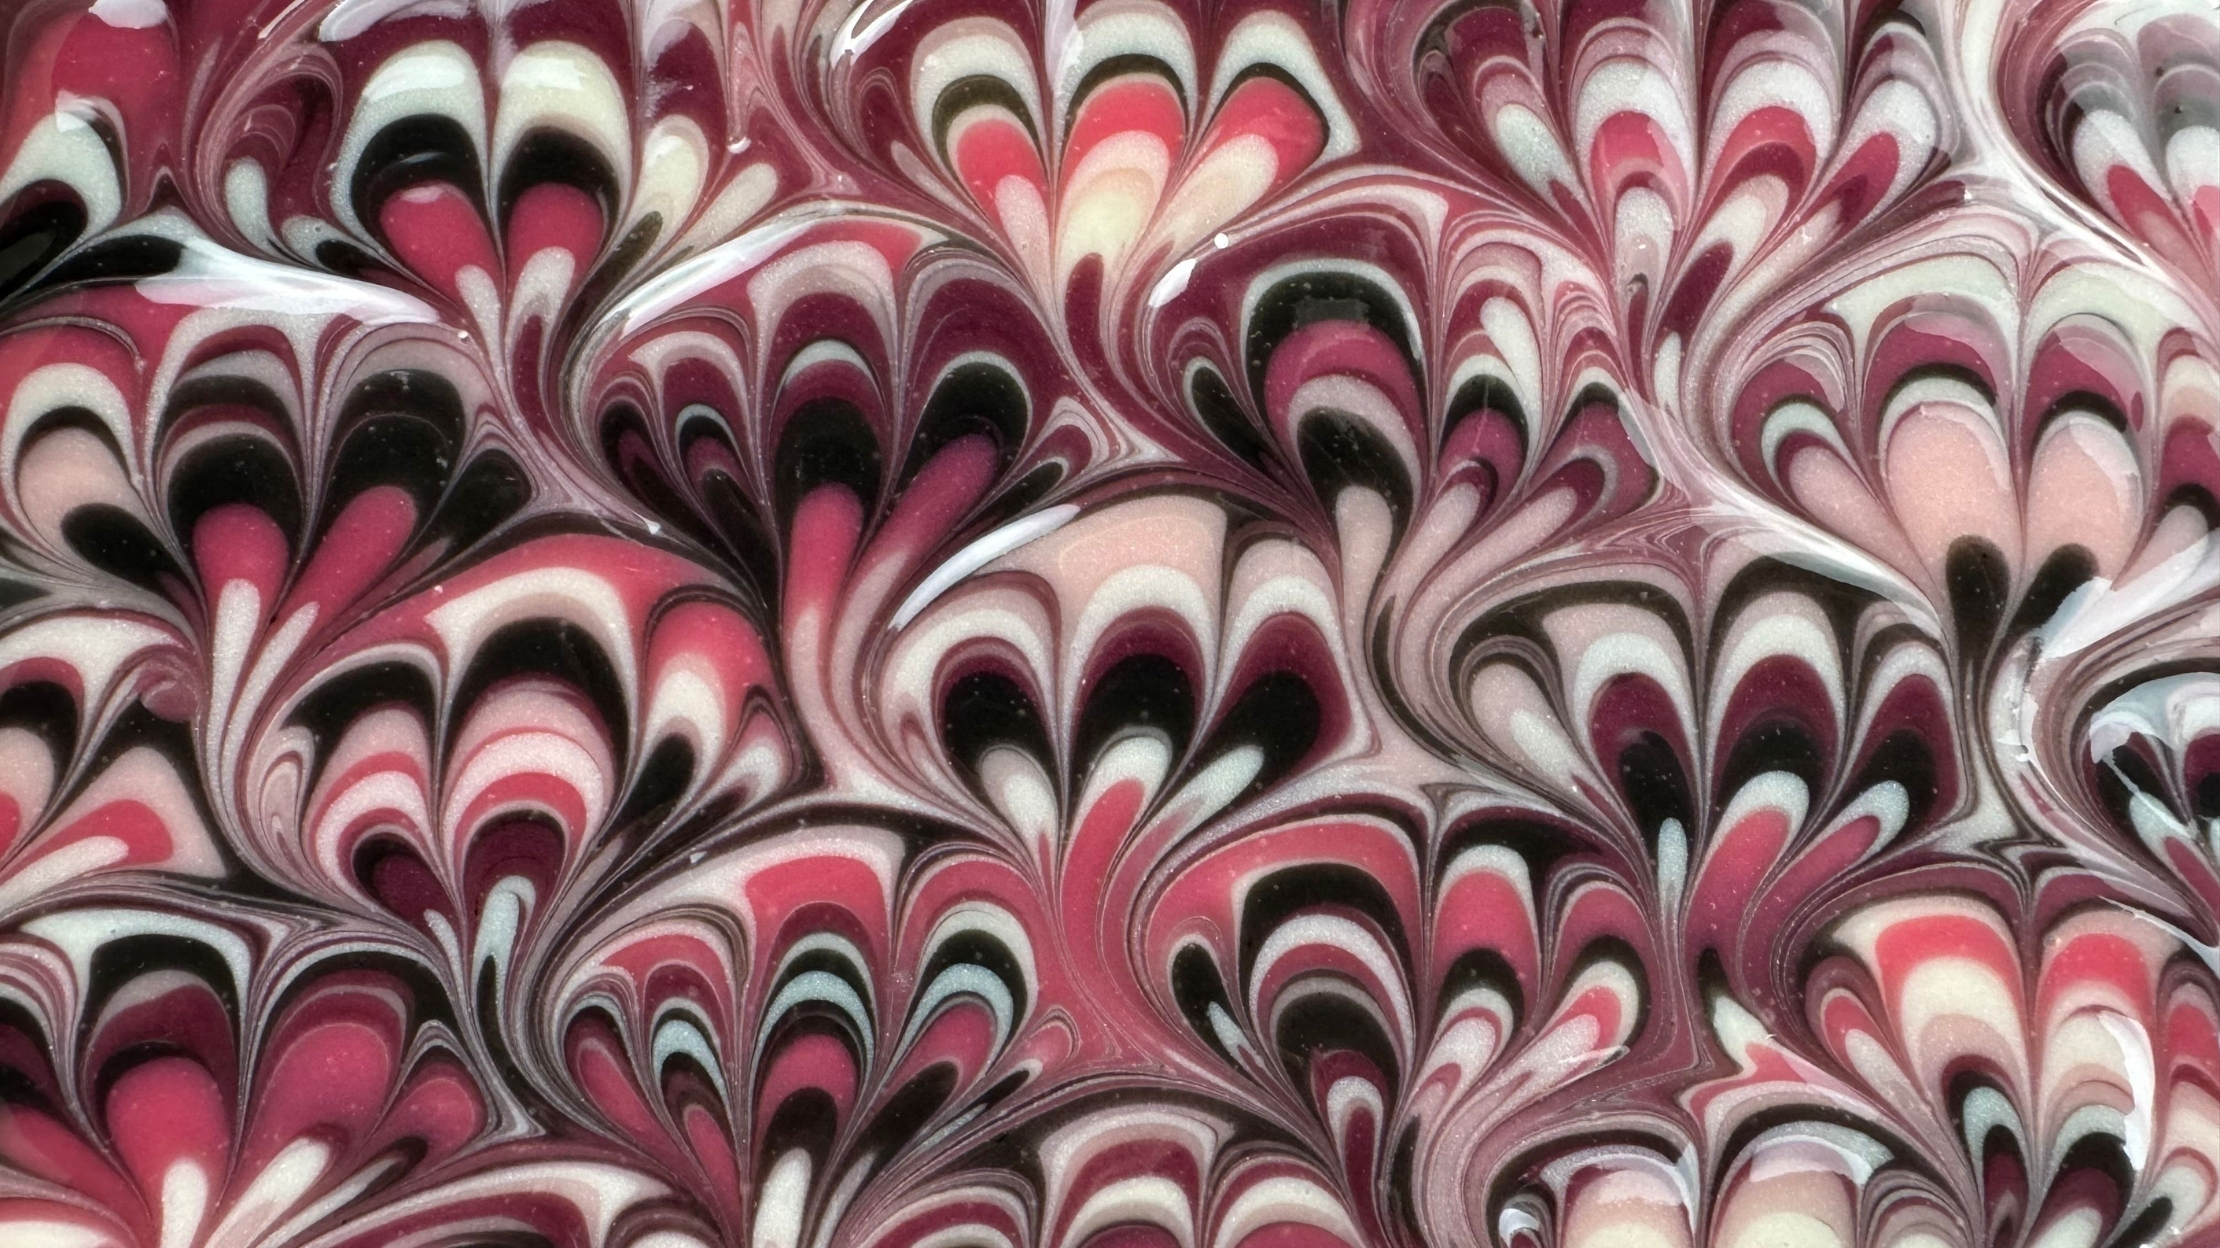
I LOVE the way this soap turned out! I used natural clay to swirl with and used an in-the-pot swirling technique for the design. This is also my first video in a long time. You can view it below to see how I created the design.
New mold! Bramble Berry sent me a 12″ tall mold to play with. I really like it! The bars are adorable (smaller than the regular loaf mold) and it is a breeze to use and unmold.
(Some links below are affiliate links. The income from affiliates helps to pay for supplies and materials for soapmaking tutorials on this blog. Thank you!)
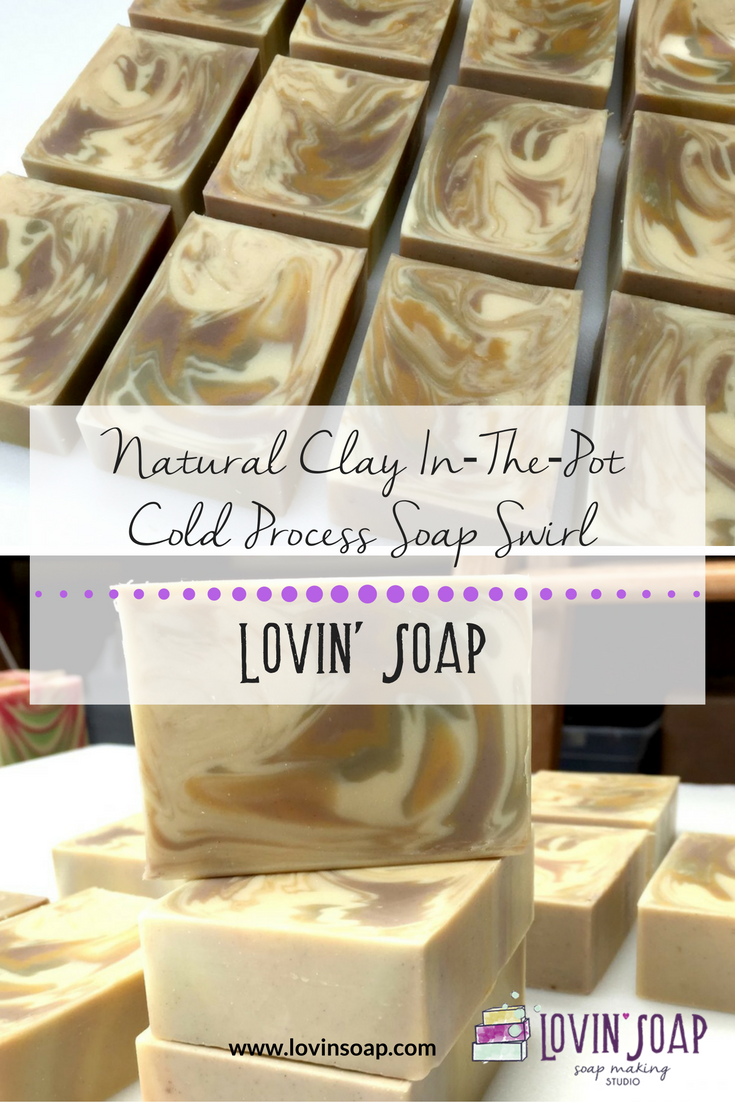
Natural Clay In-The-Pot Cold Process Soap Swirl
Coconut Oil – 15 oz.
Shea Butter – 2 oz.
Olive Oil – 12 oz.
Avocado Oil – 2 oz.
Rice Bran Oil – 4 oz.
Sodium Hydroxide – 5.1 oz.
Distilled Water – 10 oz.
Sea Clay – 1 tsp
Purple Brazilian Clay – 1 tsp
Yellow Brazilian Clay – 1 tsp
Zinc Oxide – 1 tsp
Slow-moving Fragrance or Essential Oil – 1.5-2 oz.
Bramble Berry Tall 12” Silicone Loaf Mold
Safety Warning: This recipe is for soapmakers who have a basic knowledge of the soapmaking process and know the correct safety procedures to use when handling lye. If you are new to soapmaking, visit our beginner instructions. Be sure to wear safety goggles and gloves while soaping.
Step 1 – Make your lye solution and set aside to cool down.
Step 2 – Weigh the coconut oil and shea butter into a microwave container. Melt, just until melted.
Step 3 – Add the liquid oils to the melted oils. This helps to cool the temperature down.
Step 4 – Once the oils and lye are cooled to under 110 degrees F, pour the lye into the oils and emulsify.
Step 5 – Add the fragrance or essential oil.
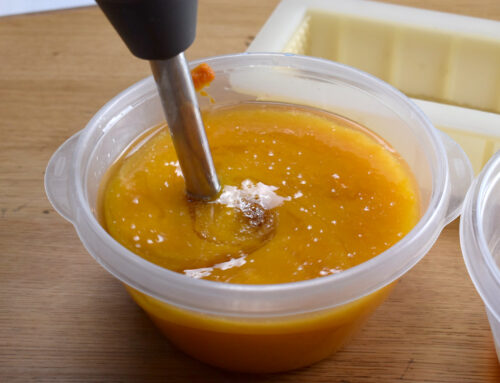
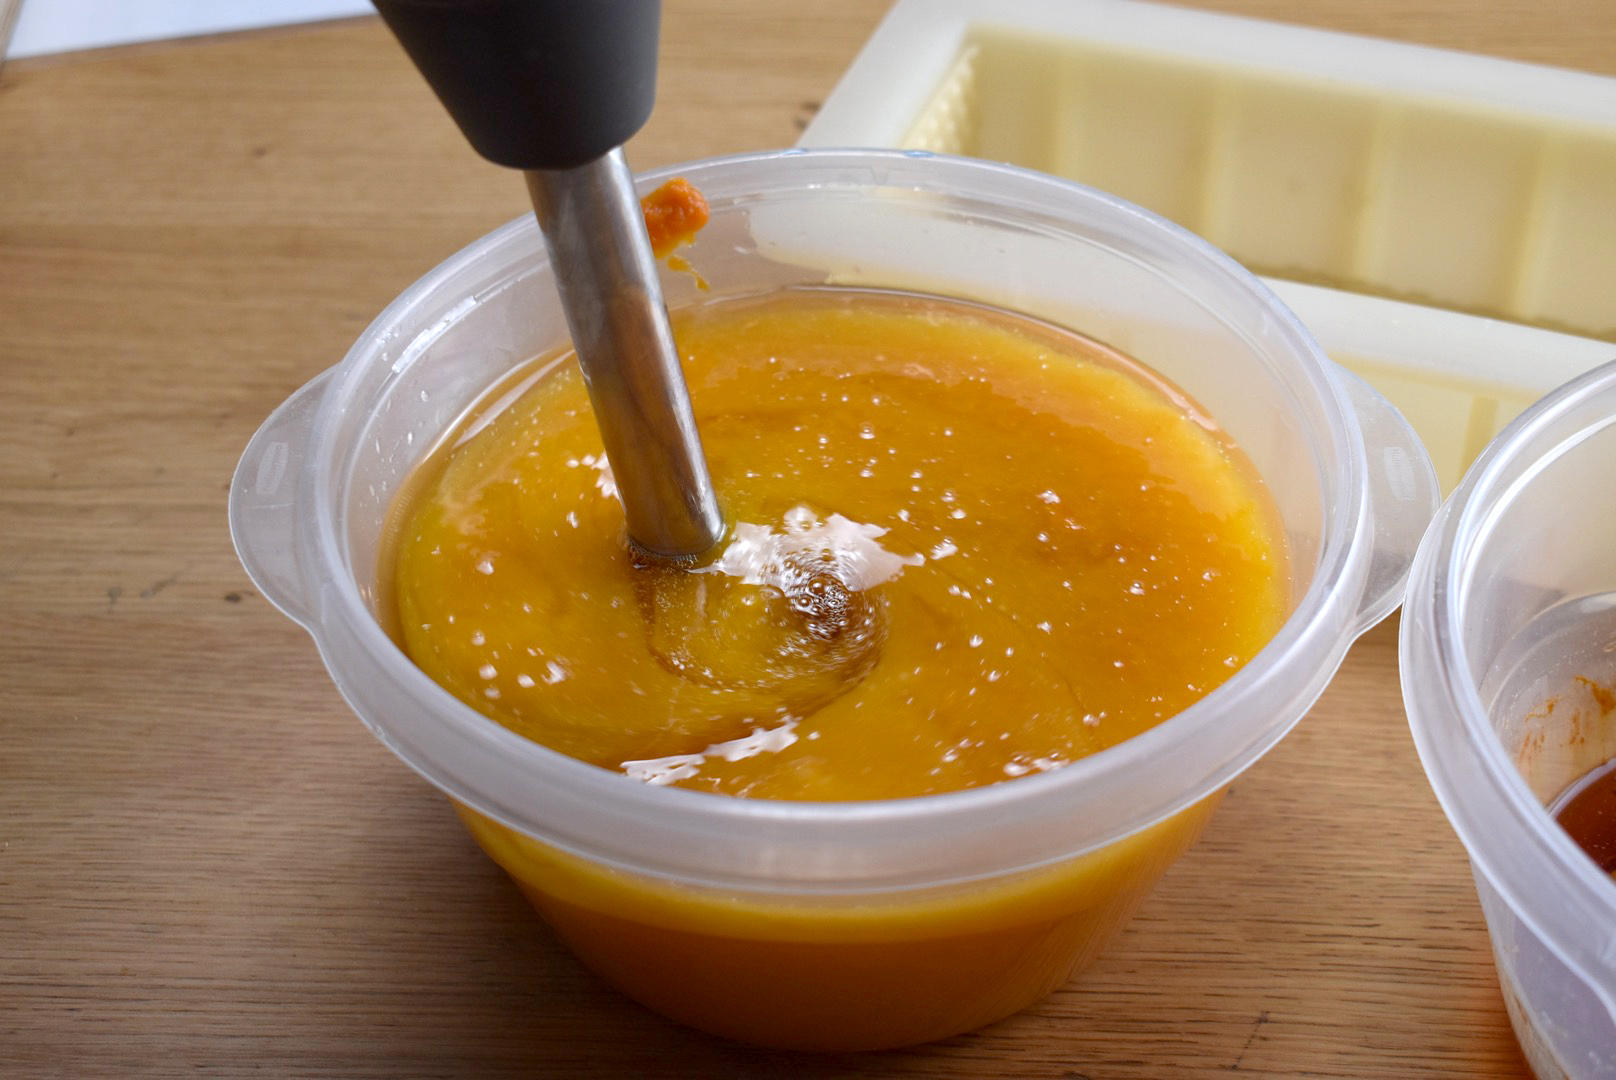
Step 6 – Pour one cup of soap base into three containers.
Step 7 – Add 1 tsp zinc oxide to the main base. Add 1 tsp of each clay into the other three cups. Mix.
Step 8 – Pour the colors into the base as shown in the video below.
Step 9 – Let the base sit until it becomes a bit thicker, around medium trace. If you pour right away when it it super loose, it will create a muddy swirl. The longer you let it sit, the cleaner the colors will come out.
Step 10 – Pour into your mold.
Step 11 – Let sit overnight to saponify.
Step 12 – The next day, unmold and cut your soap.
Step 13 – Cure for a minimum of 4 weeks.
Happy Soaping!
-Amanda Gail


Hi Amanda
How is soap batter so fluid what percentage of oil and lye ratio are you using ?
Hi Amanda,
Is it okay to use oil-soluble titanium oxide (vs zinc oxide as per your recipe) to dye the soap batter white?
Hi, Amanda. Thank you for making this video. I have a question. I noticed that you didn’t hydrate your clays before adding them to your containers. Did you allow for more water in your base mix to account for the clays tending to soak up water? Thank you.
I’m curious. why does your oils add up to 35 oz and not 32 oz?
Great Video, Amanda! You make it all look so easy and are such an inspiration!! I need to try this! Love that soap cutter. Can you tell me where you purchased it?
Hi Amanda, I’m just getting back into soap making so I need to reeducate myself a bit. What is the zinc oxide for in the main base?
Hi Mary! It is simply used to whiten the soap (instead of using titanium dioxide). 🙂
Hello there!! Great video – I am about to start using clay in some of my CP soap recipes and was looking around for any tips or tricks for it online. I did have one question for you, albeit completely unrelated to clays 🙂 I just have a standard cutter for my CP logs right now (and a ton of silicone molds of course), I have been thinking about getting one of the many great looking wire cutters on Etsy. I was wondering exactly which one it was that you were using and if you would recommend it to others. Thanks in advance!
Pretty, I like this soap! I need more clays in my life. I haven’t experimented with them too much, but now I am inspired! I was just checking out your YouTube channel and noticed that you don’t have too many videos… Do you plan to produce and upload more frequently at some point? I hope so! 🙂
This looks so beautiful! I’ve only used the crock pot method so far for soap making but have been looking into CP. I’m still not sure I’m patient enough, lol, but I think I’d like to give this a try! I don’t have (and won’t be) avocado oil or rice bran oil. I do have sunflower, palm and castor. Can I use any of these in place of the ones I don’t have? And your video is awesome!
Hi Amanda, love your recipe. Do you think I could exchange the water with sheep milk? I know the colors would come out a little different but I am assuming the base recipe would work.
You could for sure! That would be really nice. 🙂
Thank you for your speedy response! I will let you know how it comes out!
OMG I have made several batches of hp soap but wanted to try cp and use the swirl. Thanks to you now I know how. Thank you!
Would I get a similar effect if I used beet root powder infused in oil?
Beet root powder turns yellow/tan in soap. You can use any natural colorants that you want.
This technique is very cool! The design turned out great and I love the natural colors you used. =) I watched the video too and love the giant spatula top swirl.
Amanda, a question on the recipe. Is it really 42.9% coconut oil with only a 5% superfat? I popped the recipe into SM3 to check it out and my eyes nearly popped out of my head. 🙂 If that is the right amount of coconut, do you find this drying or super cleansing at all?
Hi Jen! It is correct. The high amount of coconut oil is balanced with the high amount of olive oil (+rice bran and avocado). I like a 5% superfat, but you could certainly do one higher (up to 8%).
Great!!! Love this video… I learned so much… Thank you!!!
Great!!! Love this video and learned so much… Thank you!!!
Awesome! Thank YOU! 🙂