Have you seen this tutorial by Suzana Sukisu of Soap Insomniac? If not, check it out! After seeing this design and how she did it, I immediately wanted to give it a go. Here is how it went!
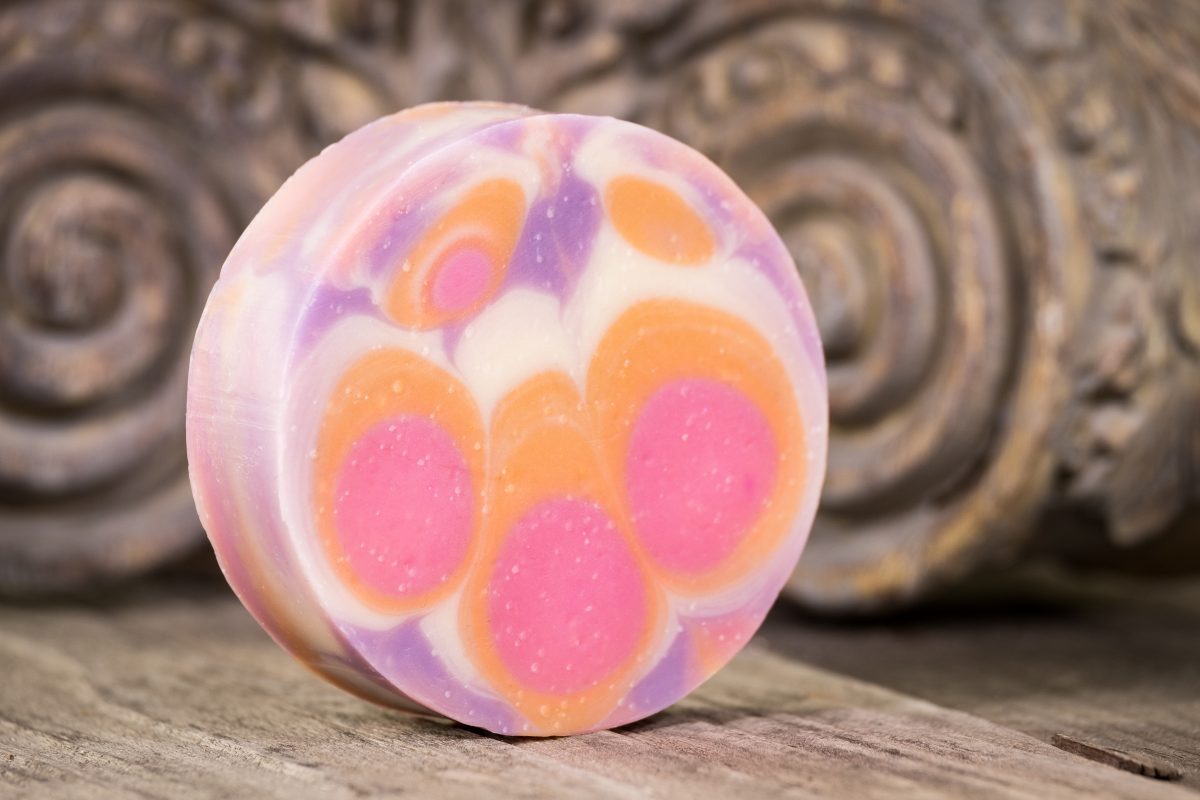
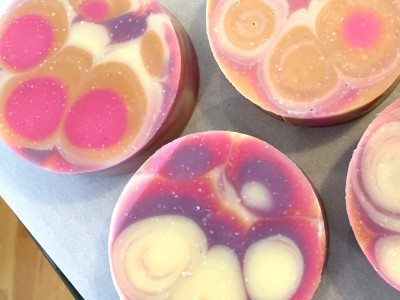
This design makes a millefiori design in the soap. If you don’t know that term, look it up. It is a glasswork technique that produces multiple flower like shapes in glass.
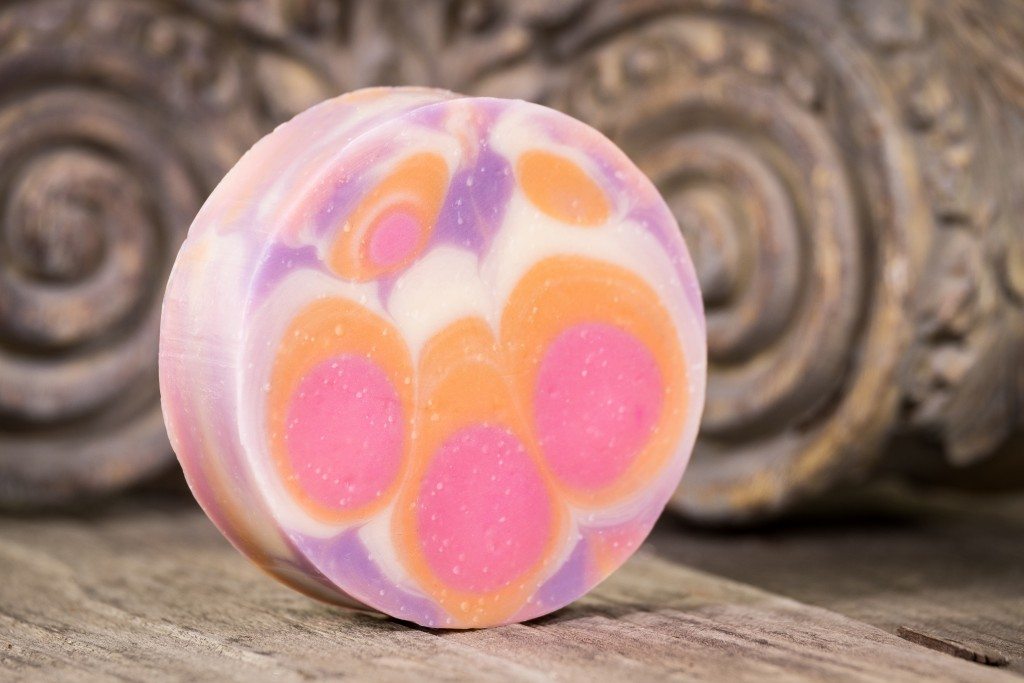
Photo by Busy Bee Creative – Product Photography
To accomplish this in soap, we simply take the funnel pour concept and multiply it by five using a water bottle bottom.
You can use any slow moving recipe; here is one in case you need one.
Millefiori Soap Recipe
Olive oil – 10 oz.
Coconut oil – 14 oz.
Shea butter – 2 oz.
Avocado oil – 2 oz.
Rice bran oil – 4 oz.
Sodium hydroxide – 4.7 oz.
Water – 9 oz.
Juniper Essential Oil – 15 grams
Geranium Essential Oil – 15 grams
Lemongrass Essential Oil – 30 grams
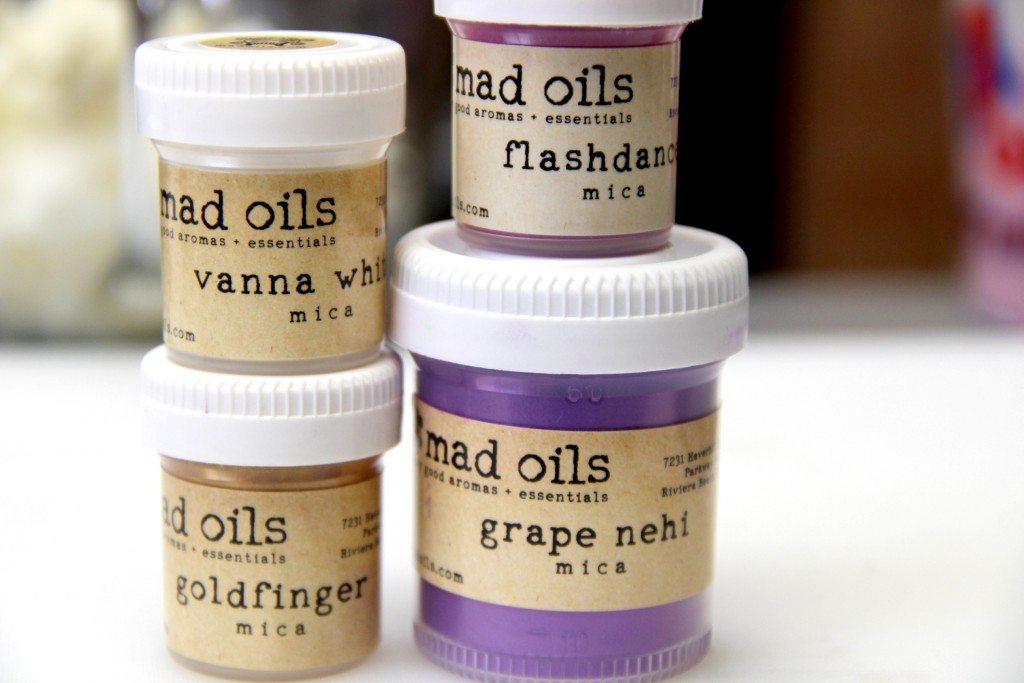
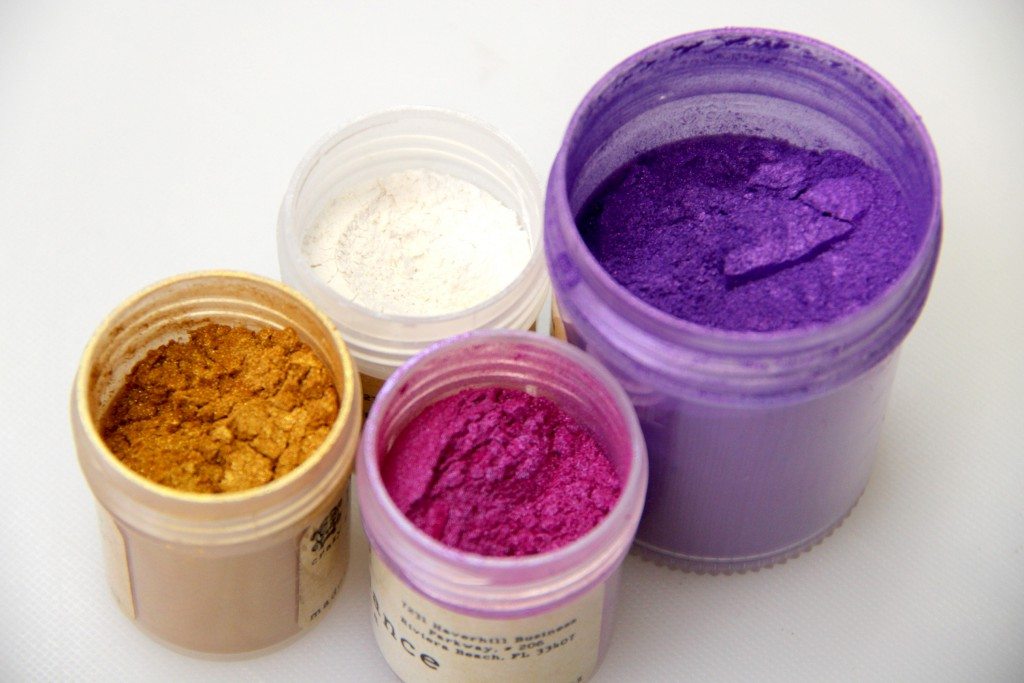
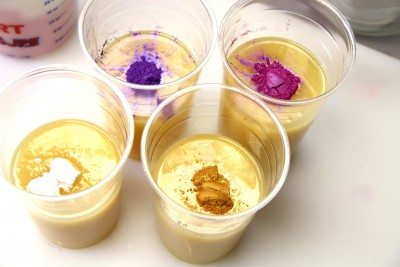
To color this soap I decided to try out Mad Oils mica. They have amazing colors with creative names! Check out their mica selection here.
Vanna White Mica – 1/2 teaspoon
Goldfinger Mica – 1/2 teaspoon
Flashdance Mica – 1/2 teaspoon
Grape Nehi Mica – 1/2 teaspoon
Let’s make soap! Safety Warning: This recipe is for soapmakers who have a basic knowledge of the soapmaking process and know the correct safety procedures to use when handling lye. If you are new to soapmaking, visit lovinsoap.com or soapqueen.com for more detailed beginner instructions. Be sure to wear safety goggles and gloves while soaping.
Step 1 – Make your lye solution. Set aside to cool down.
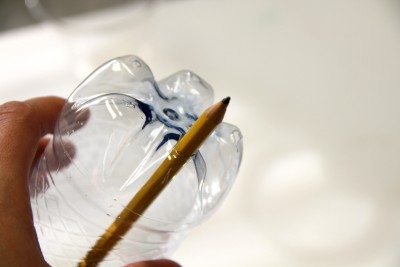
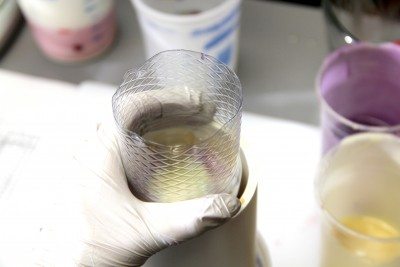
Step 2 – Prepare the water bottle bottom. Cut the top off. Using a sewing needle or thumbtack, poke a hole into each of the five flat bottoms. Use a skewer to push through to open the hole bigger. Use a pencil to push through to open the hole even bigger.
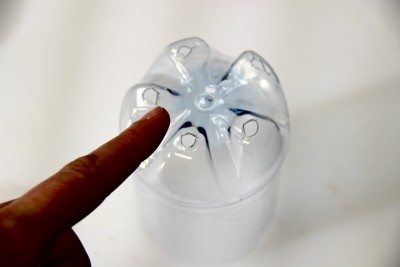
Here is what we end up with. Notice the size of hole. You don’t want them too small in case the soap ends up thickening and not flowing through.
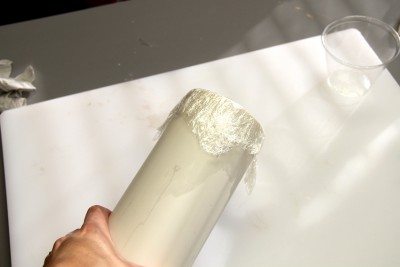
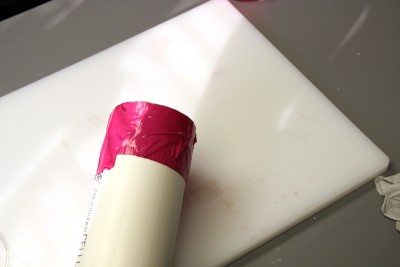
Step 3 – Prepare your mold. I used a 12″ PVC pipe for a mold. You can purchase the bottoms, but I didn’t have any so I used plastic wrap and tape to secure the bottom.
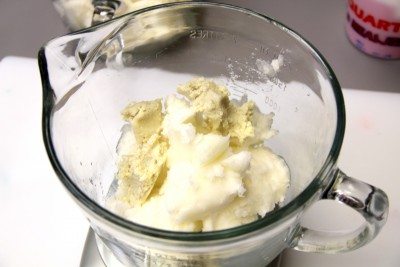
Step 4 – Weigh out the coconut oil and shea butter and melt.
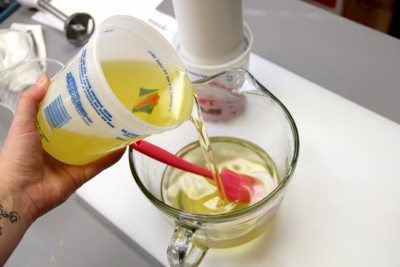
Step 5 – While that’s melting, weigh out the liquid oils. Once the solid oils are melted, add the liquid oils to the solid oils. This helps to cool the temp down.
Take the temp of the oils and lye solution. Wait until both are below 90 degrees Fahrenheit.
Step 6 – Gear up in goggles and gloves! Add the essential oil blend to the oils.
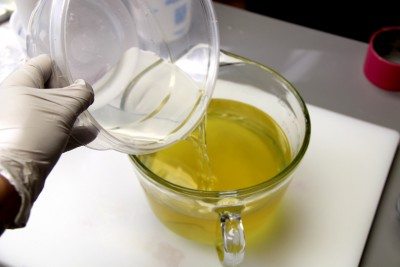
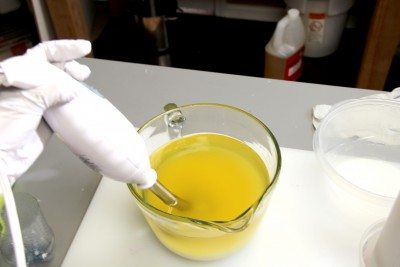
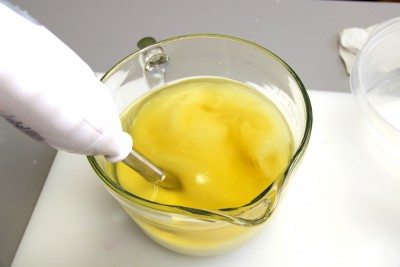
Step 7 – Pour the lye solution into your oils.
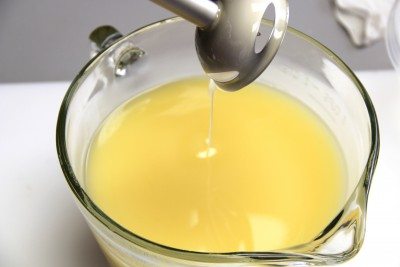
Step 8 – Stir just until emulsified. You don’t want to see trace.
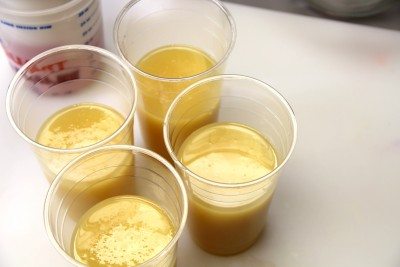
Step 9 – Pour the mixture into four containers.
Step 10 – Add mica to each and mix using a mini mixer (coffee frother). Mix quickly as you don’t want it to thicken up.
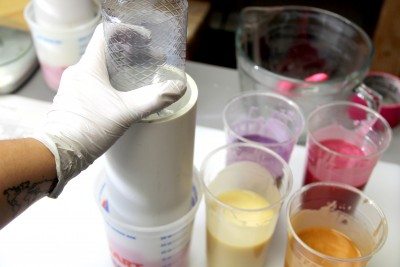
Step 11 – Holding the water bottle bottom over the mold, pour in your fist color. Only pour about a tenth of the mixture. Rotate the colors until you run out.
The water bottle helps to create five mini funnel swirls into the mold creating the Millefiori Soap Design.
Let your soap sit overnight to saponify. Unmold the next day.
To unmold from PVC, it helps to put your mold into the freezer. Remove from the freezer and drop it onto one end (on concrete) to help jar the soap loose. Push out.
Happy Soaping!
-Amanda Gail


Greetings Amanda, I recently found your book and I love it! I am wondering if the Lavender soap and the Red wine soap will produce the same colors if they are CP? I hope you are able to give me some input on this question! Thank you so much! In gratitude, Ina
Looks amazing but why all that amount of essential oils is added ? Another question please why soap makers sometimes add two or more different essential oils in the same recipe?why they don’t just add one ? Thanks for everything
Soap makers like to blend essential oils to create more complex aromas. This is very common. You can use just one essential oil if you like.
Thank you how do you line the pipe
Thank you how do you line the pipe
Thank you Amanda 🙂
Thank you Amanda 🙂
Hi Amanda! Yet again another great tutorial 🙂
While pouring your soap, do you keep the funnel/water bottle in the same position or do you rotate it?
Thanks again. Happy soaping!
Great question! You keep it in the same exact position. 🙂
-Amanda
Do you plan to make a video on this? I am a very visual person and would love to see this in action.
This millefiori design is so pretty! I really enjoy the flowery look this technique gives your soaps. =)
Those are amazing! I have to try once I get some more mica.
This is such a cute idea. Thanks!
Love it!! 1 question though…what is a good width for the pic pipe? I will have to purchase.
Thanks!
Love it!! 1 question though…what is a good width for the pic pipe? I will have to purchase.
Thanks!
3″ is the perfect width. 🙂
Do you still use plastic bags to line your pvc pipe?
Love this! Going to give it a shot. Thank you for all the goodies. 🙂