
Bramble Berry has a hot new set of micas that they just released and were generous enough to give us a set to include in my newest eBook, How to Color Cold Process Soap.
I used four of them in this new soap! Beautiful!
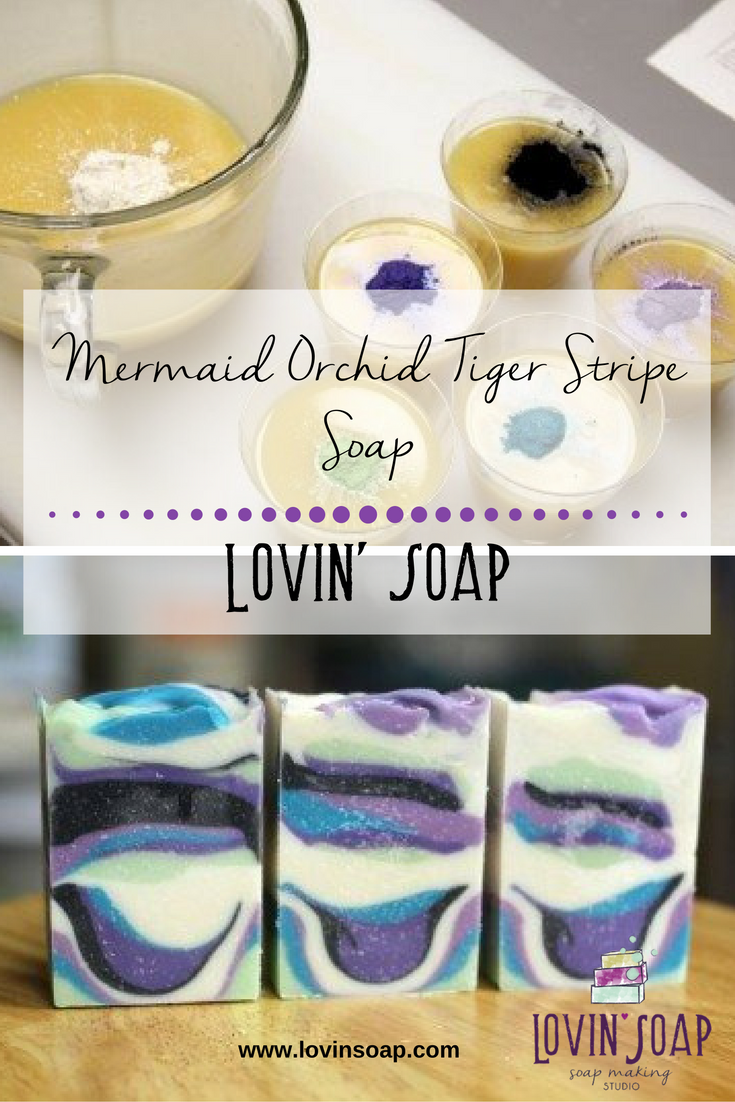
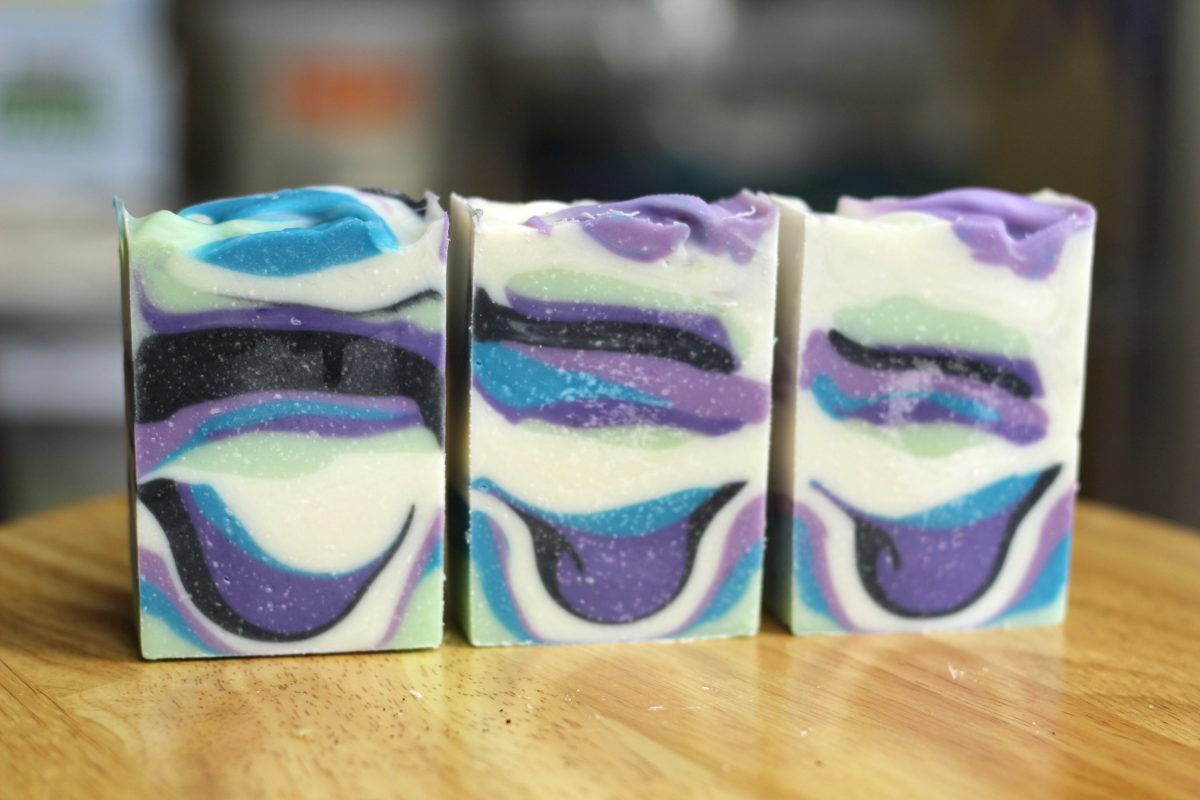
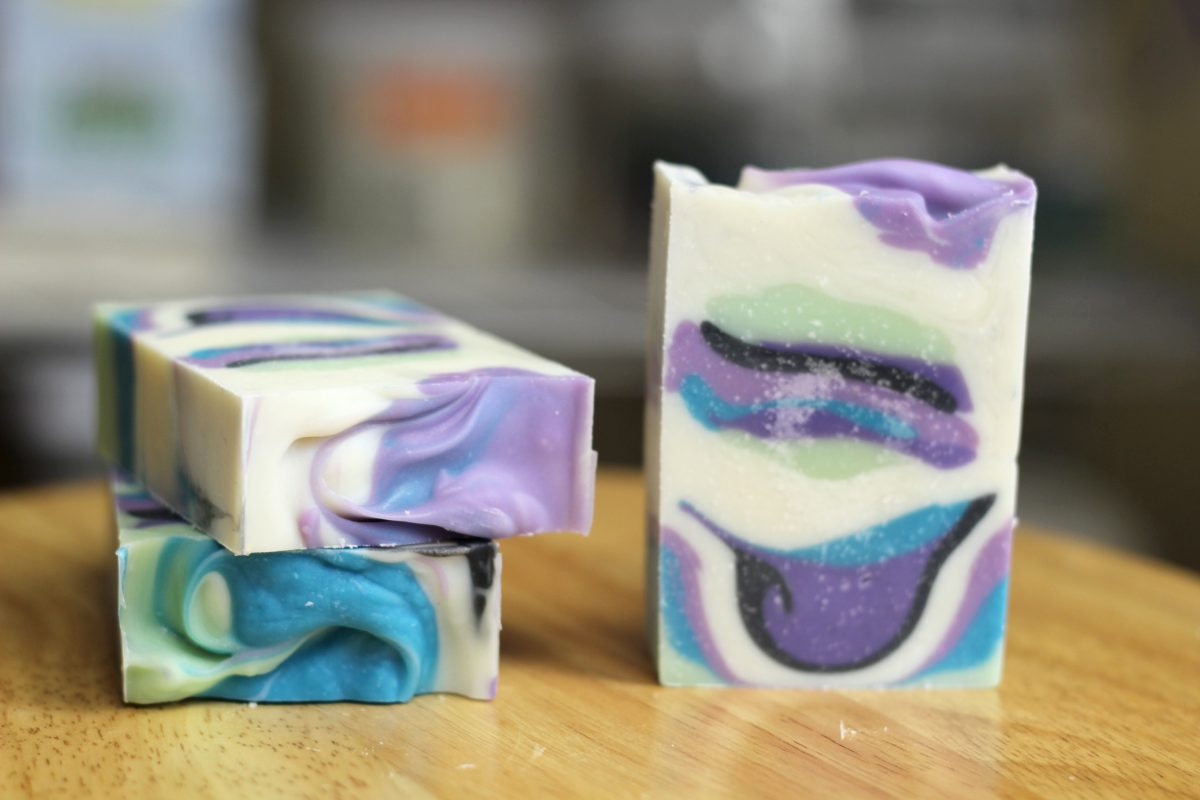
Mermaid Orchid Tiger Stripe Soap Recipe
Coconut Oil – 10 oz.
Shea Butter – 2 oz.
Olive Oil – 14 oz.
Sweet Almond Oil – 2 oz.
Rice Bran Oil – 4 oz.
Sodium Hydroxide – 4.5 oz.
Distilled Water – 9 oz.
Orchid Mica – 1 teaspoon
Lavender Mica – 1 teaspoon
Kermit Green Mica – 1 teaspoon
Mermaid Mica – 1 teaspoon
Charcoal – 1 teaspoon
Super Pearly White Mica – 2 teaspoons
Slow-moving Fragrance or Essential Oil – 1.5-2 oz. (I used 1 oz. lavender essential oil and 1 oz. litsea essential oil.)
Bramble Berry Tall 12″ Silicone Loaf Mold
Safety Warning: This recipe is for soapmakers who have a basic knowledge of the soapmaking process and know the correct safety procedures to use when handling lye. If you are new to soapmaking, visit our beginner instructions. Be sure to wear safety goggles and gloves while soaping.
Step 1 – Make your lye solution and set aside to cool down.
Step 2 – Melt the coconut and shea butter, just until melted.
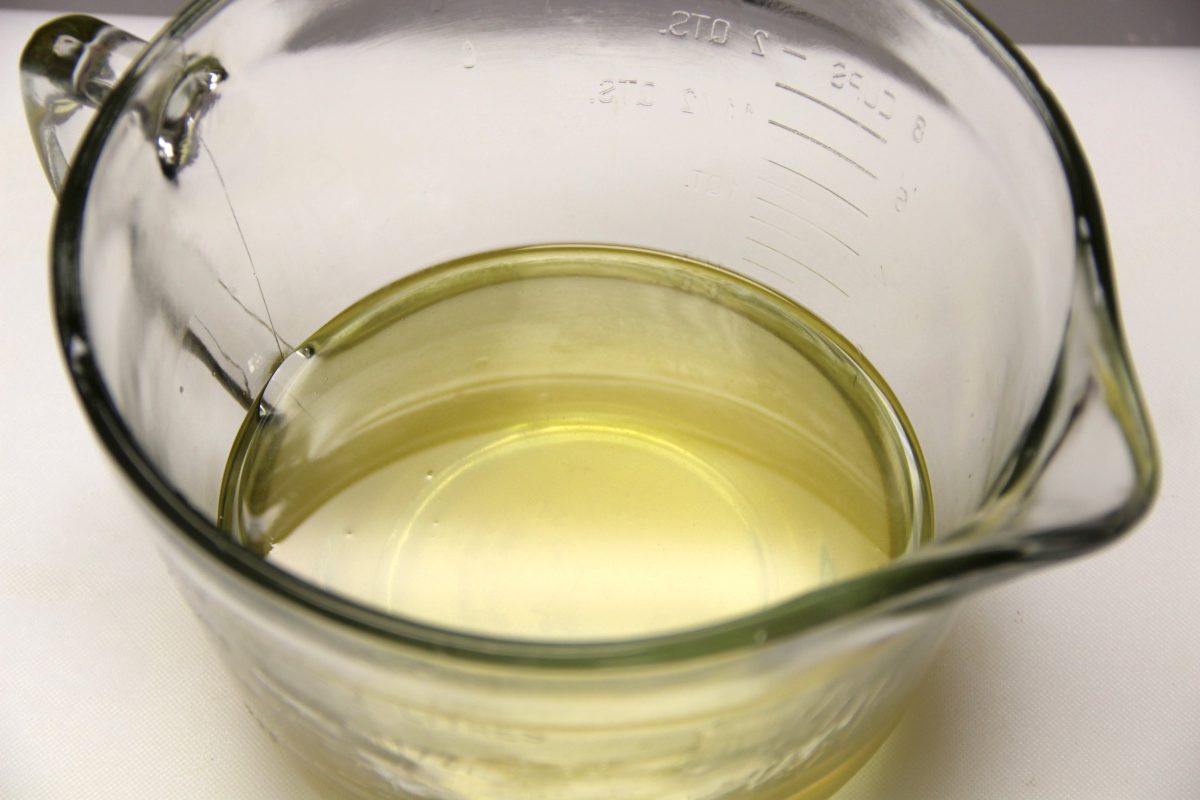
Step 3 – Add the liquid oils to the melted oils. This helps to cool the temperature down.

Step 4 – Add the fragrance or essential oil.
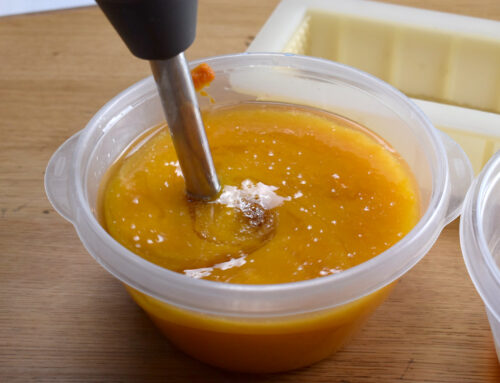
Step 5 – Once the oils and lye are cooled to under 90 degrees F, pour the lye into the oils and emulsify.
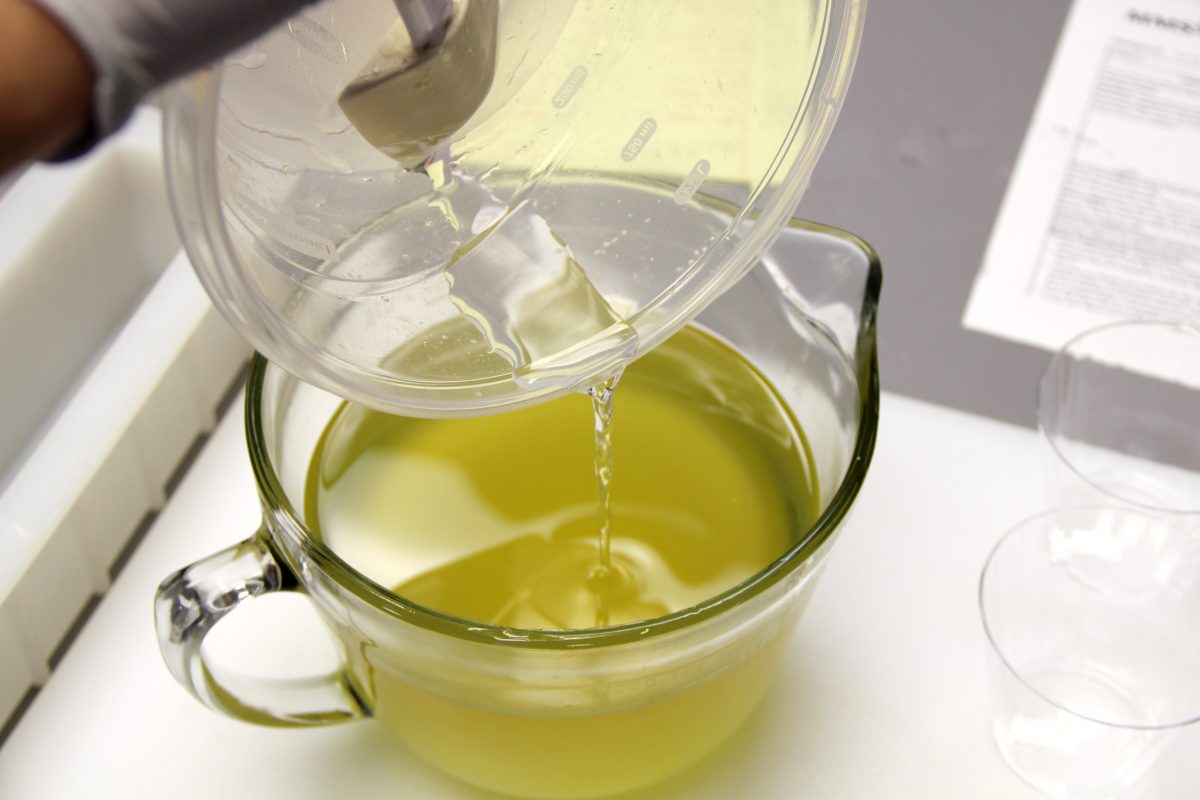
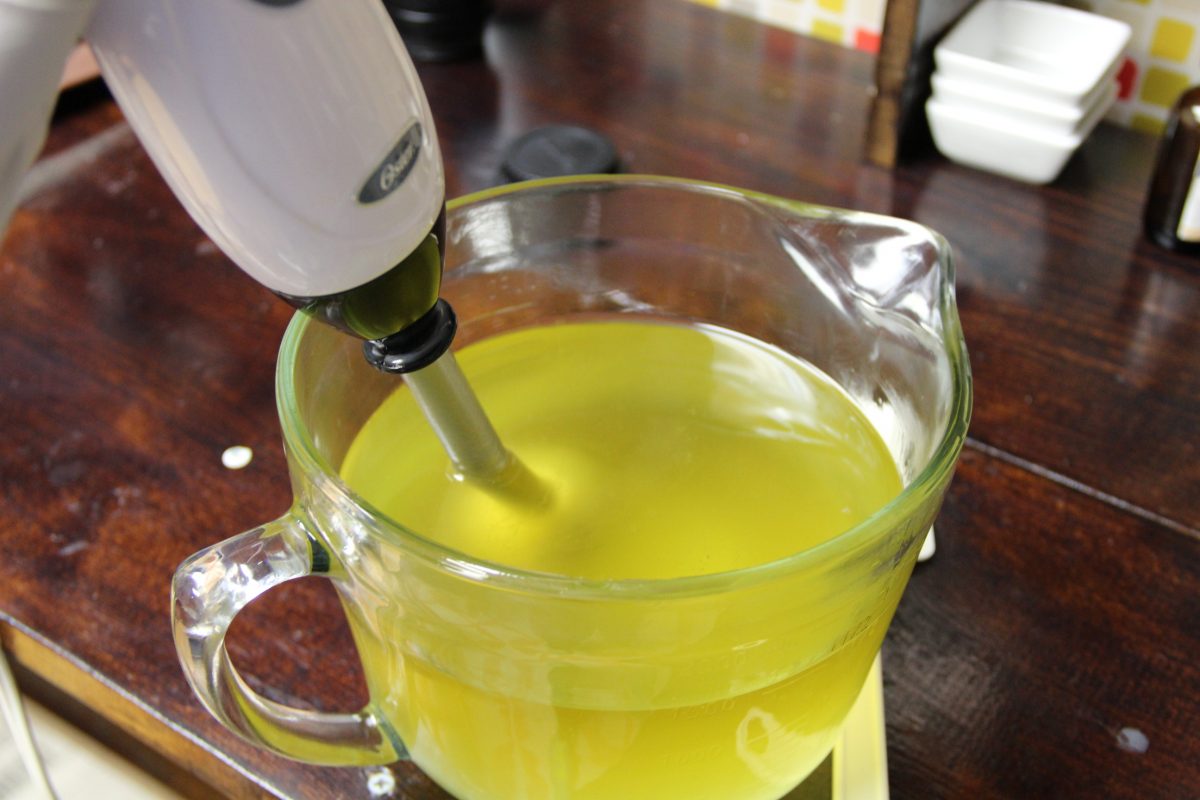


You can tell that the soap is emulsified when the color is consistent and there are no more oil streaks on the surface.
Step 6 – Divide the soap base as shown below.
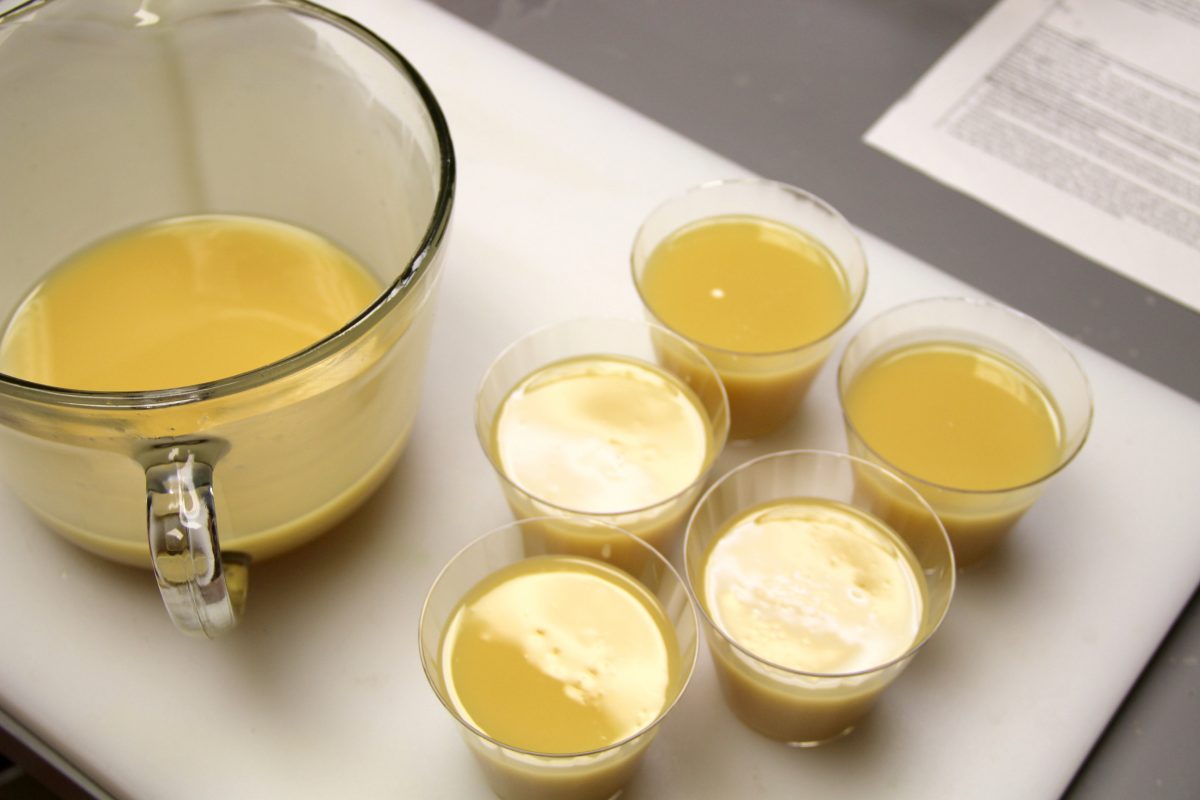
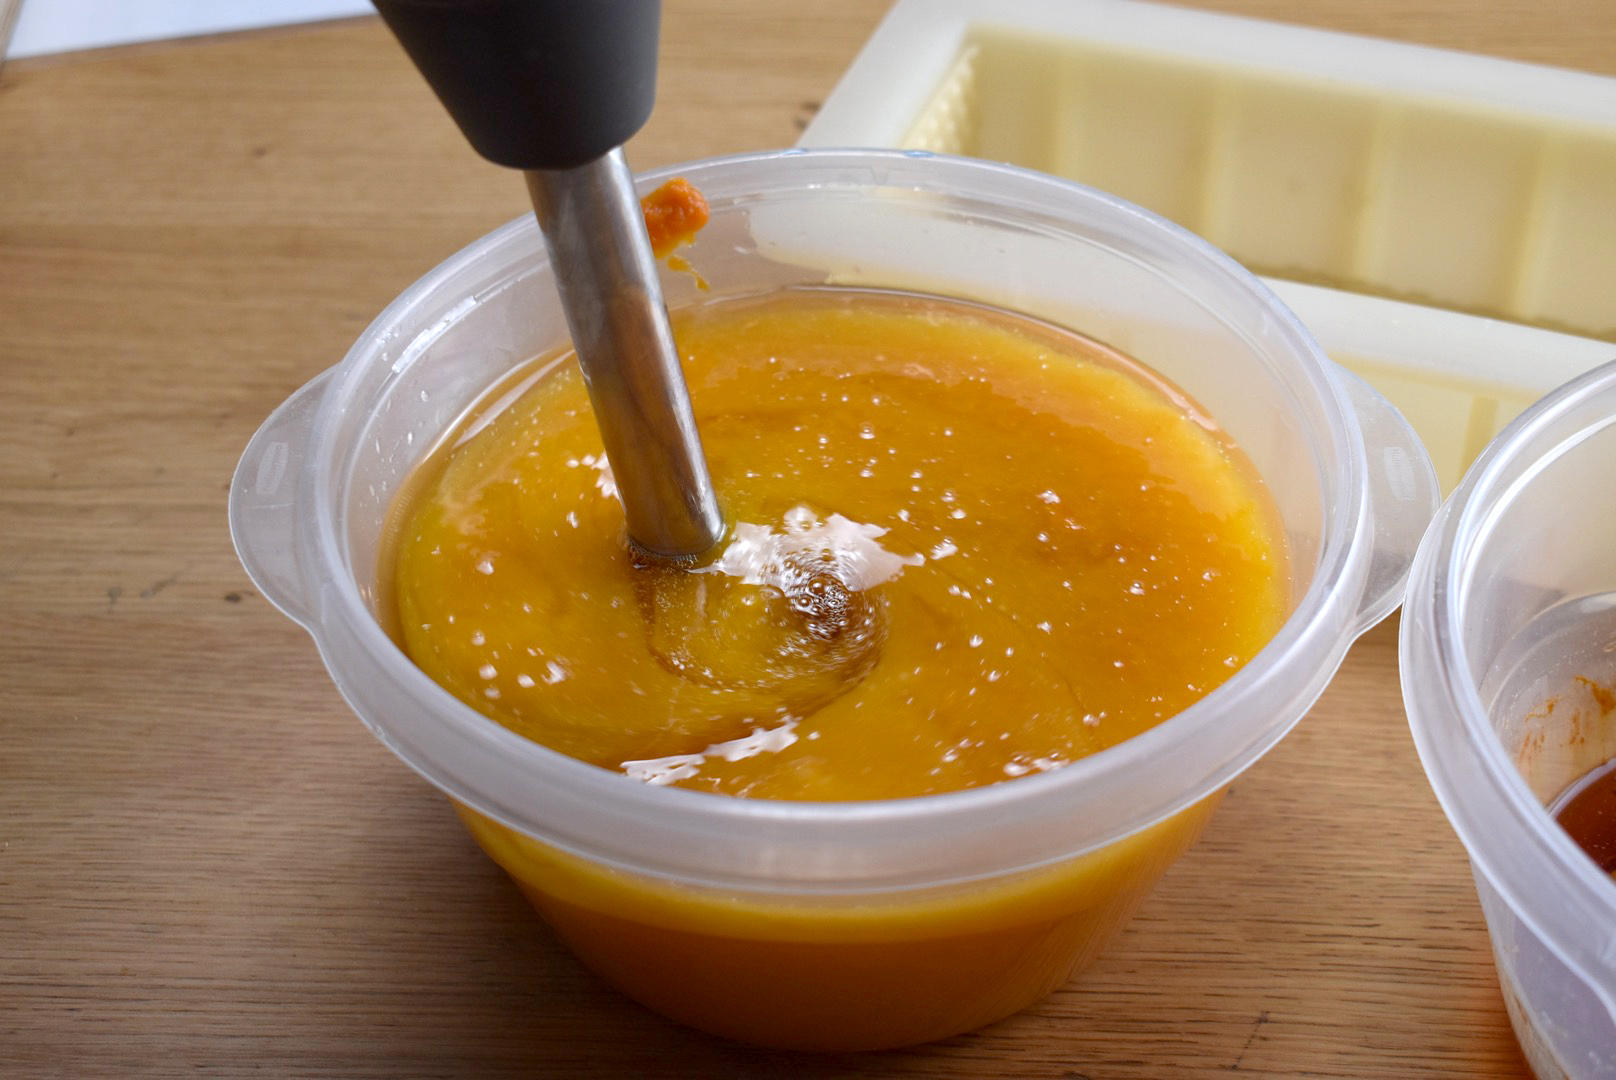
Step 7 – Add each colorant to each container and mix to blend.

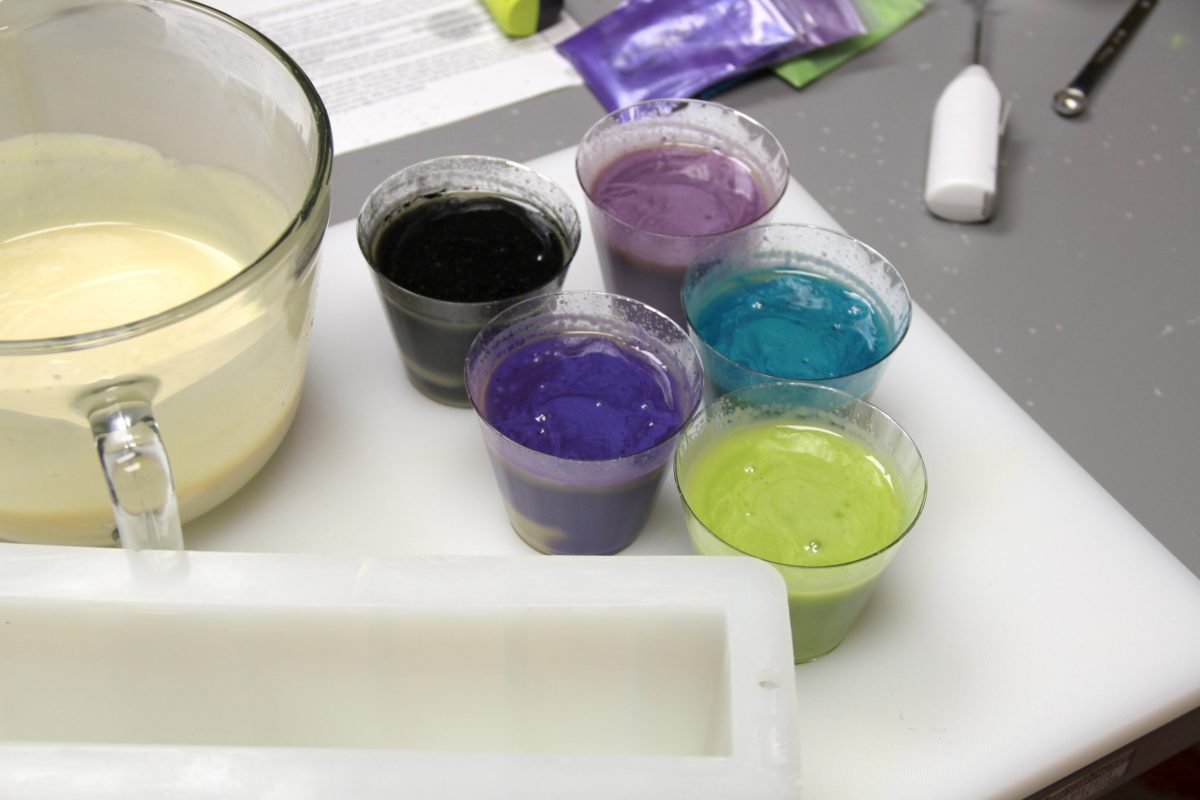
Step 8 – Bring each color to light trace.
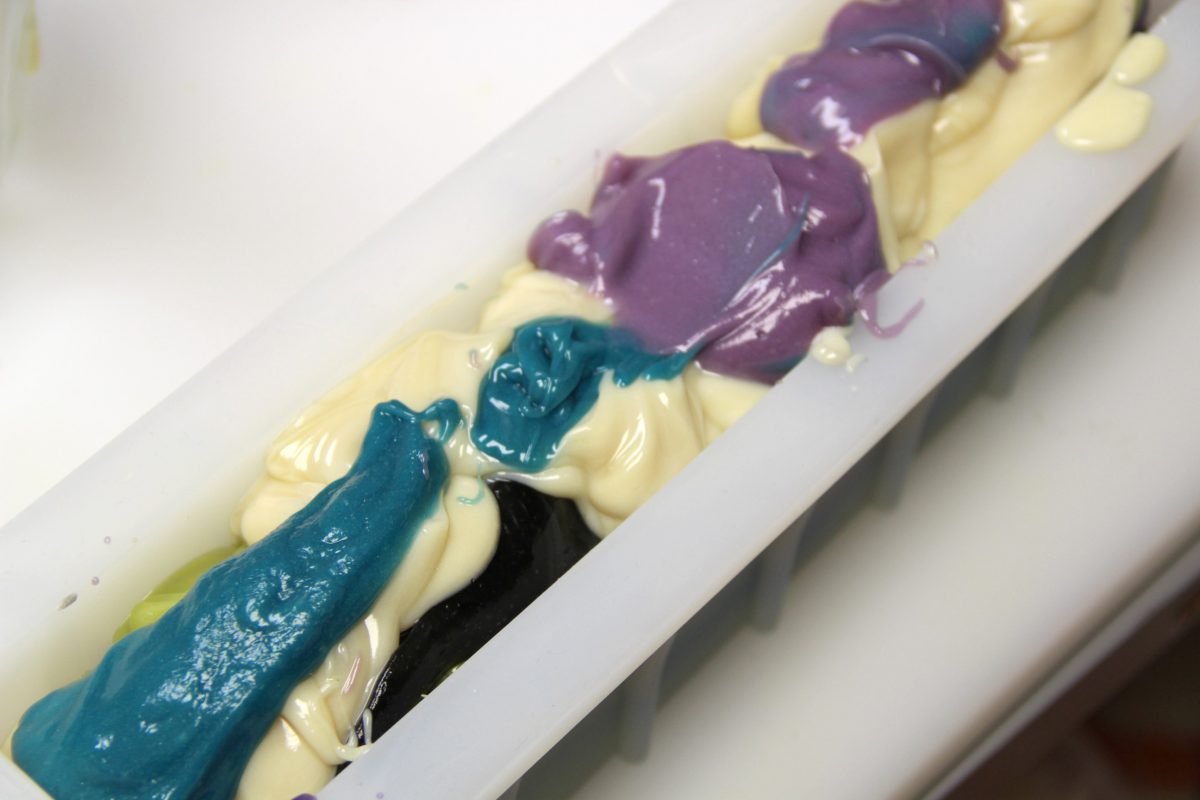
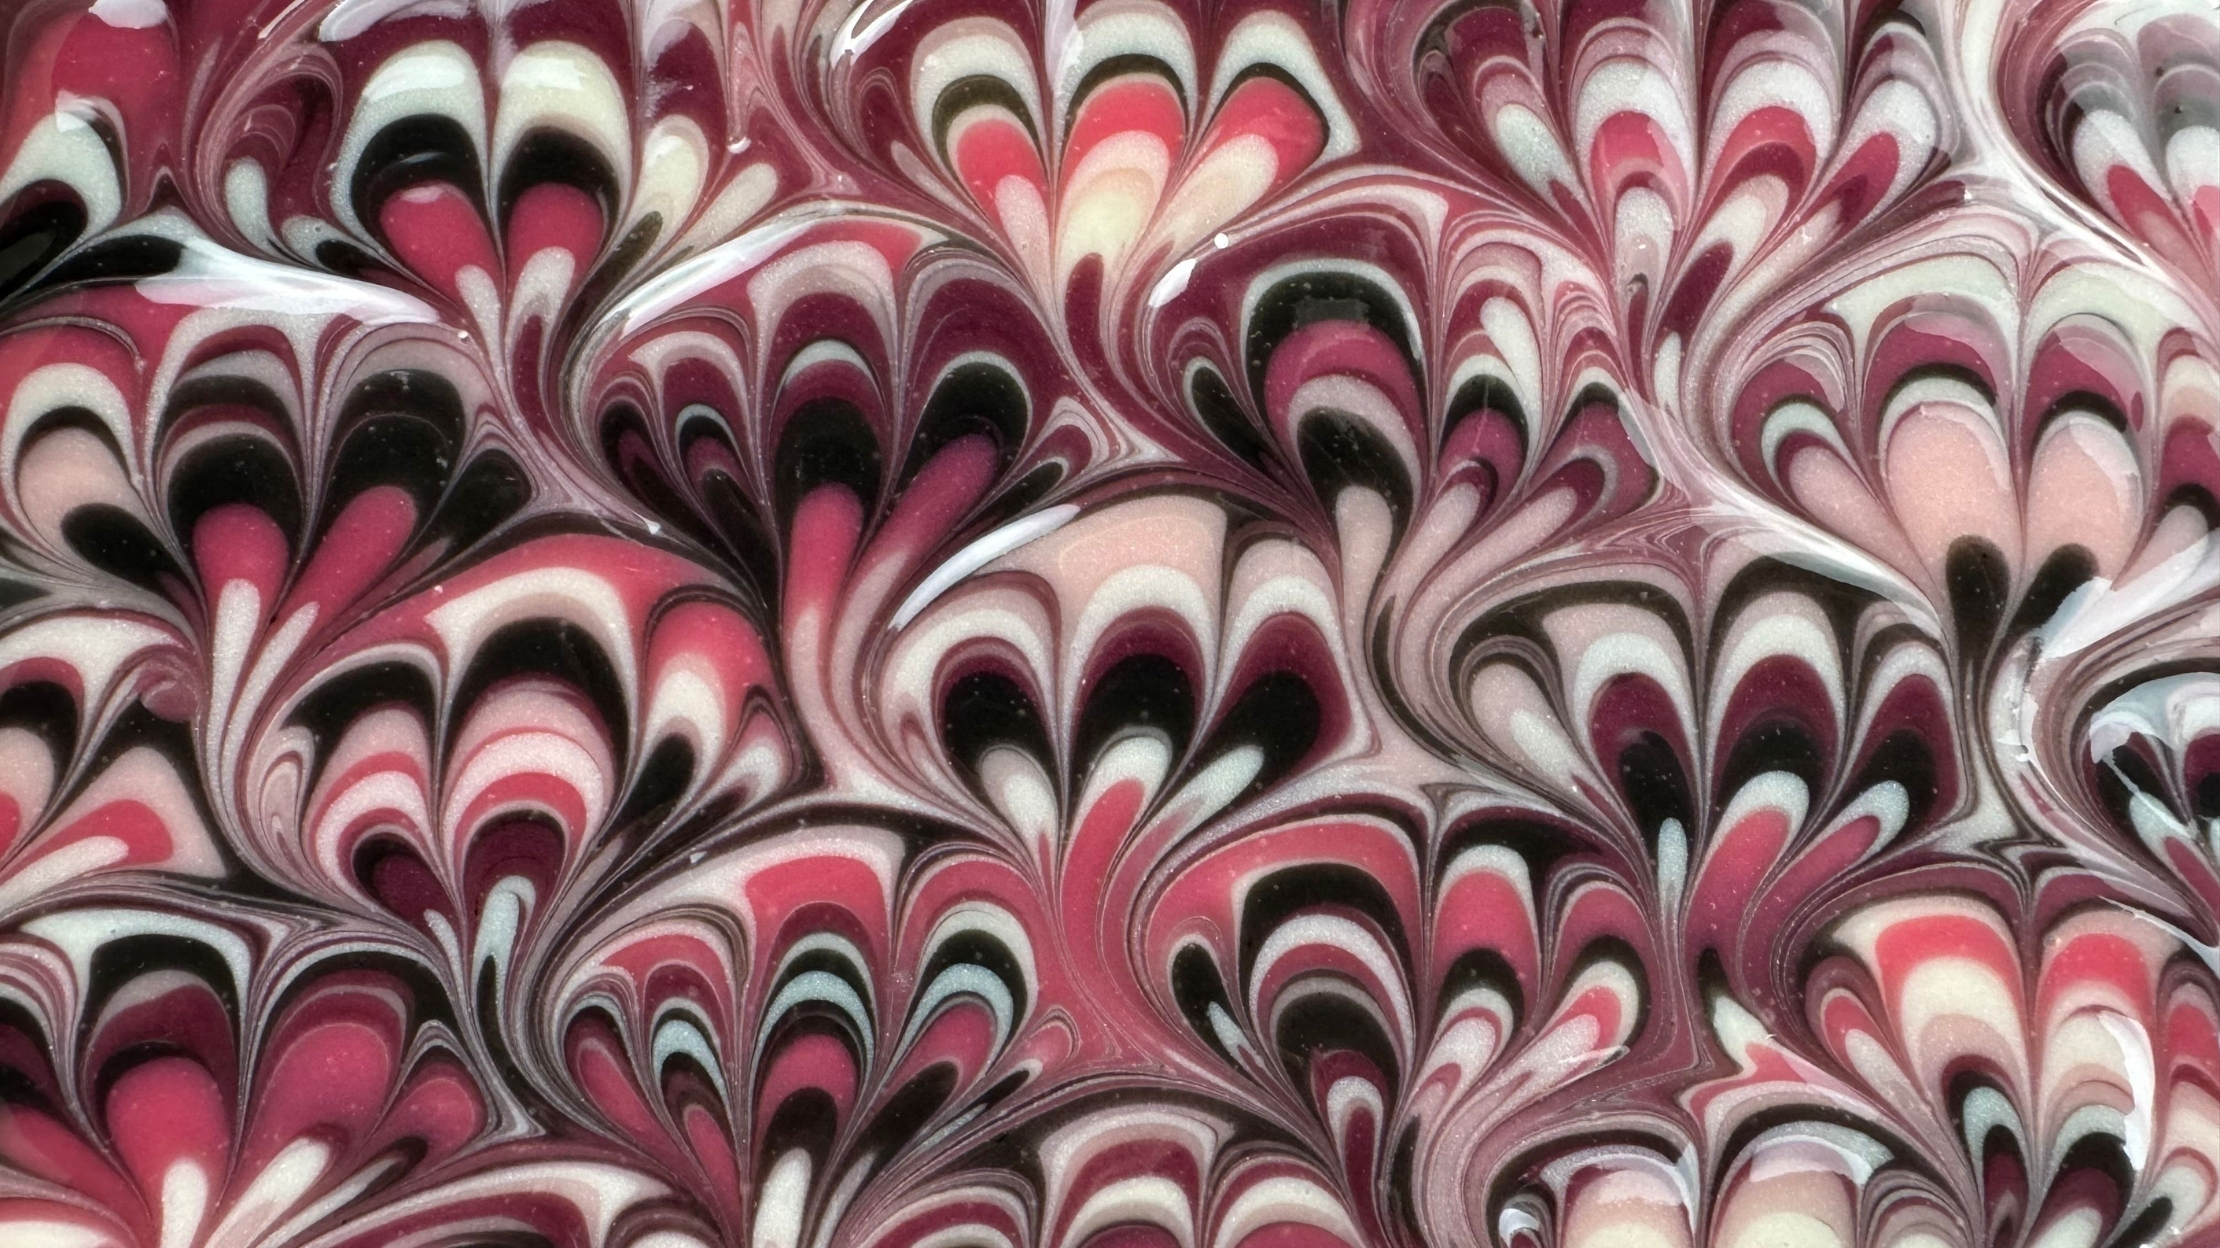
Step 9 – Pour a single stripe of soap down the center of the mold. Repeat for each color, filling the mold as shown in the video below. My soap ended up getting a bit thick, so I plopped into the mold. That’s okay! It will still look awesome!
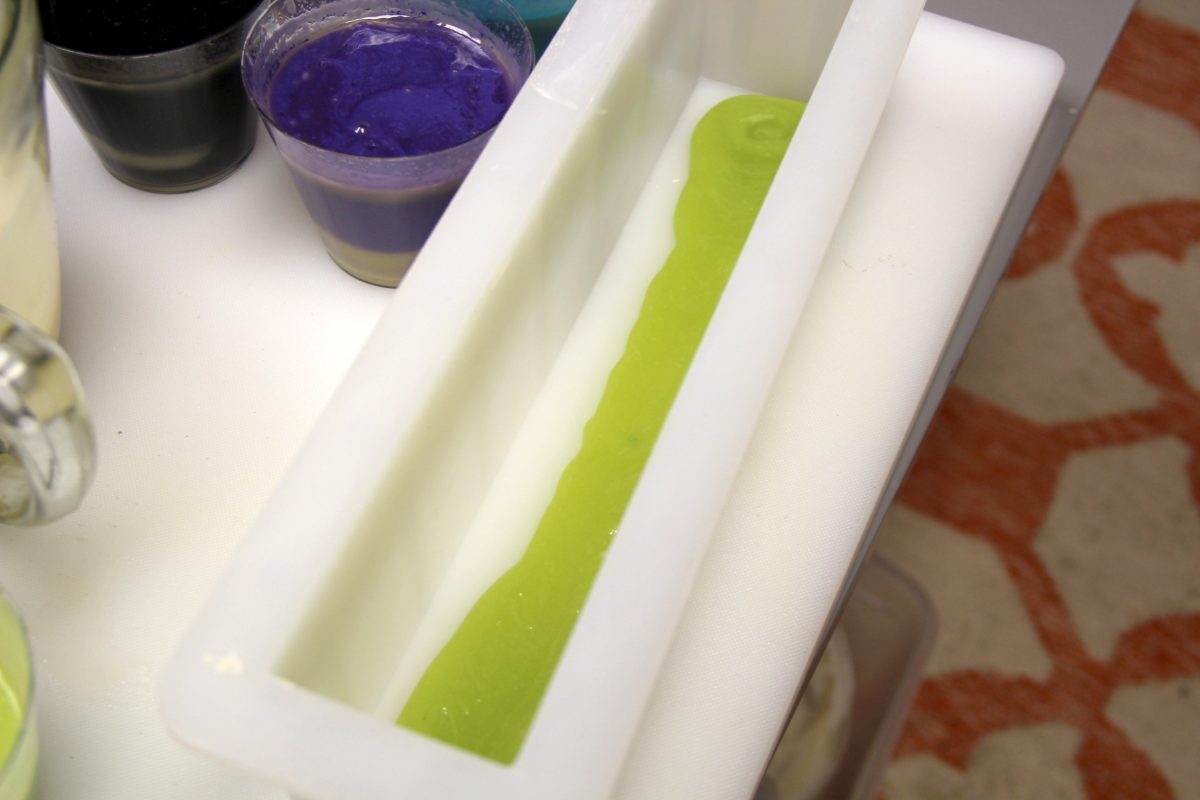

Swirl the top.
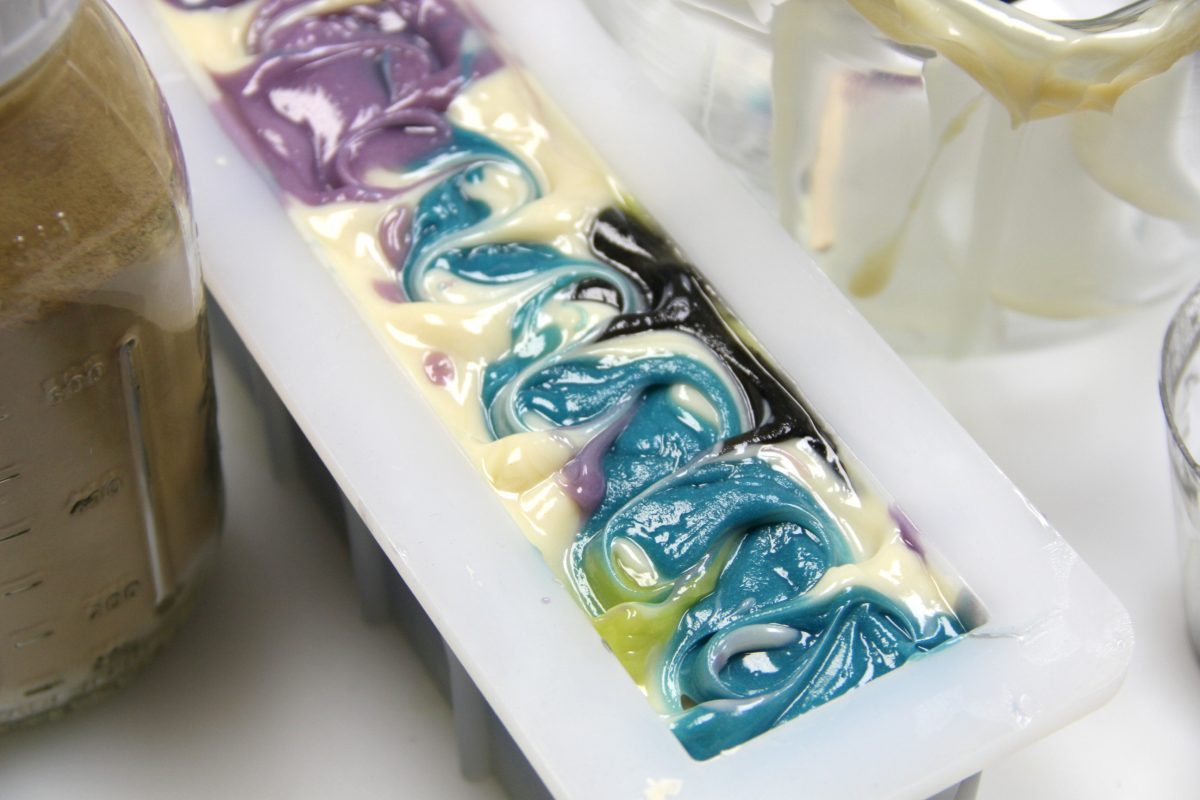
Ahhhhhh beautiful!

Step 10 – Let sit overnight to saponify.
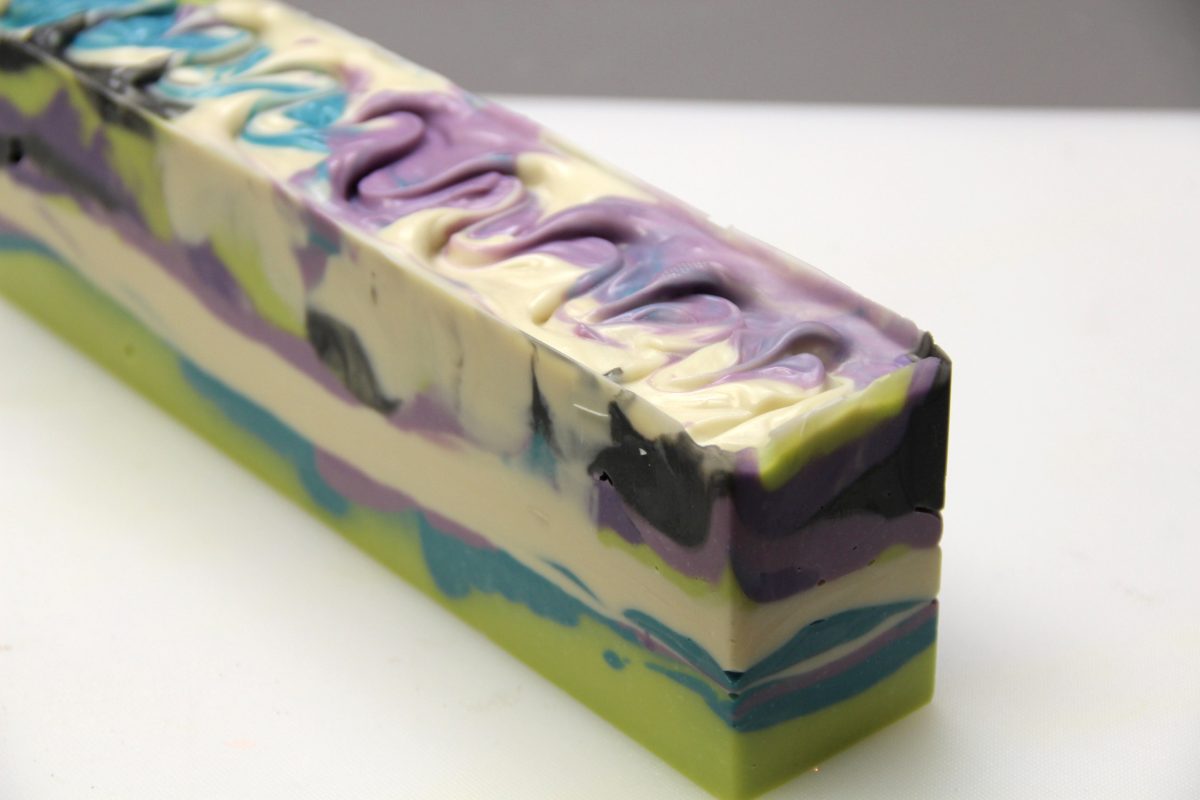
Step 11 – The next day, unmold and cut your soap.
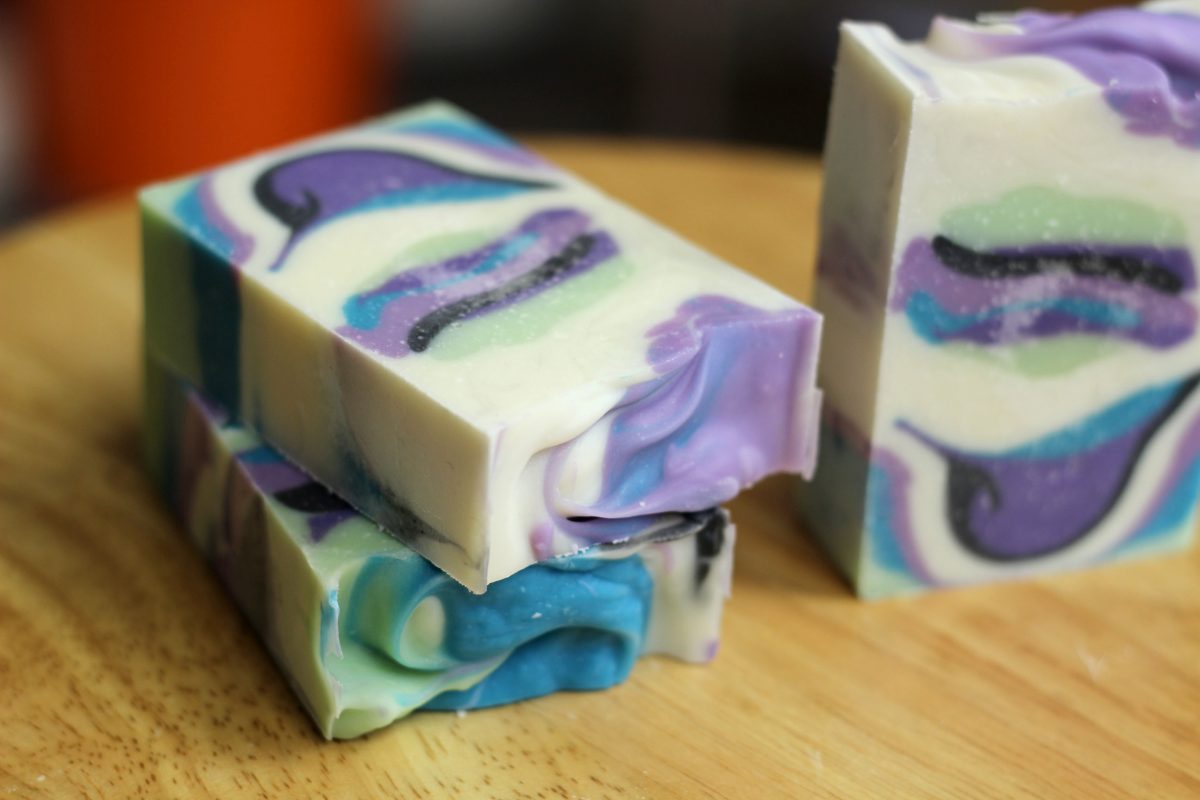
Step 12 – Cure for a minimum of 4 weeks.
Happy Soaping!
Amanda Gail


That is really beautiful soap you made.
I was so in love with this I made a loaf with this recipe, subbing avocado for sweet almond, and rerunning through soap2 calculator. Added 1/2tsp goat milk powder, 1 tbsp kaolin clay, and 3 tsp SL to recipe, so aping around 110 degrees. Total weight 44 oz. Used tall silicone and a fo I used before. It gelled well, and began to crack 4 hours in. Fine cracks with a slight bulge. Removed top cover (cardboard) and soap molds from around mold. I cut soap today and it is cracking throughout the whole loaf. Edges cracking off, fine cracks through the soap and off top and pieces coming while slicing. Omg! I’ve never had this happen. I’ve obviously done something wrong but I don’t know what! I did not water discount and sf was 5%.
These mermaid orchid tiger stripe bars are gorgeous! I am so glad we could inspire some new soaps and get everyone excited about new micas. =)
love those colors; you use this recipe often, I should try it. I enjoy using that mold to, but I may have to cut my bars a little over an inch; I like chunky bars. Thanks Amanda