Niña posted beautiful pictures in our Facebook Group, Saponfication Nation of her river rock soaps. I just thought they were adorable and asked her if she would be willing to share her process and write out a quick tutorial. 🙂 She kindly said yes! So here is her tutorial for making river rock soap designs.
Thank you, Niña!
-Amanda
Rock and Roll! (Everybody Must Get Stoned…) by Niña Thompson
There are many ways to make river rock soap! Experiment with different techniques and have fun. I used two different methods (Hot Process & Rebatch), which I’ll share with you below.
Hot Process Soap Rocks
Using the Hot Process method, I made a basic soap base.
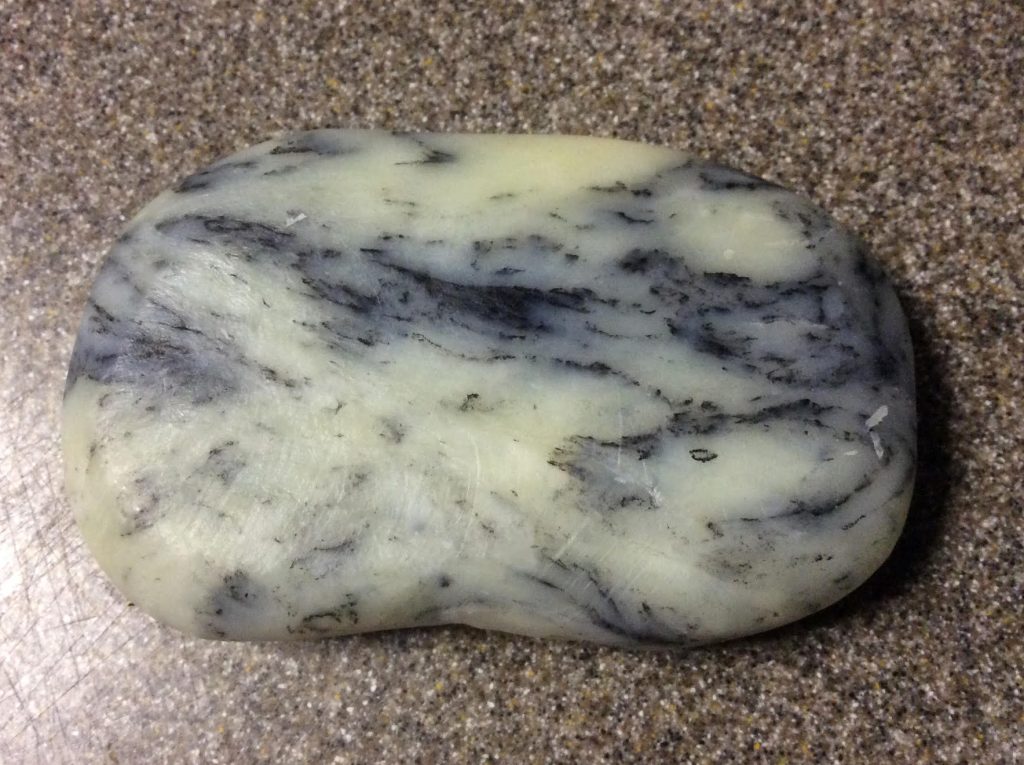
At the end of the cooking, I merely spooned in a tablespoon of activated charcoal powder and folded it into the soap. Don’t over mix, there will be areas of dark and white.
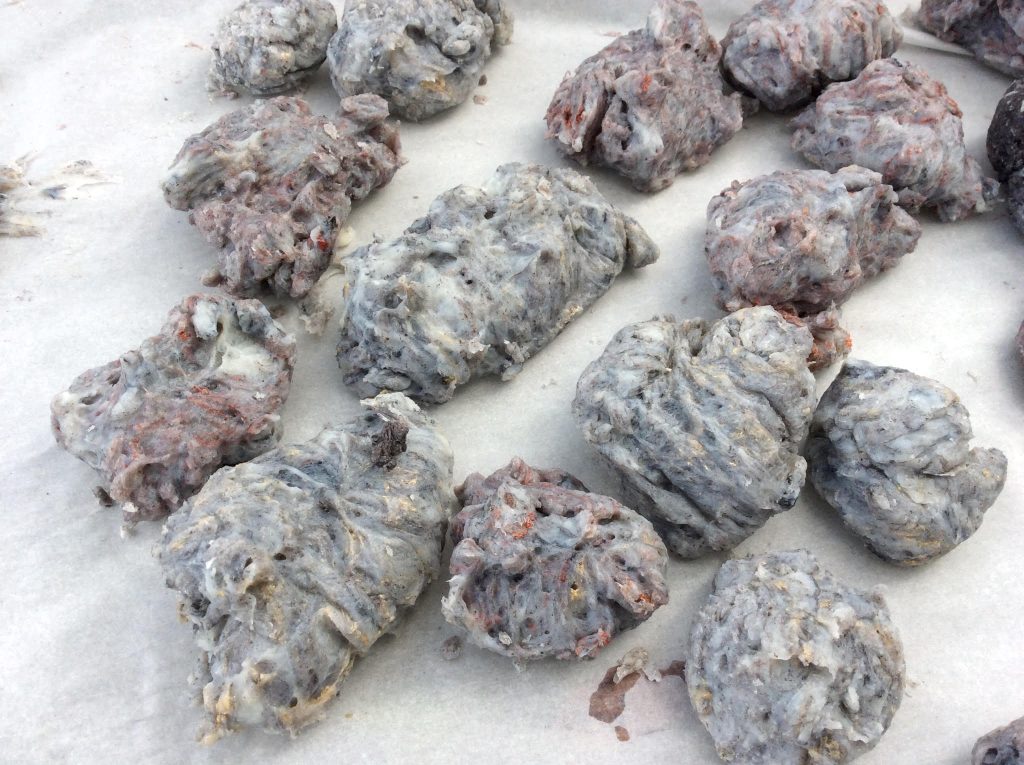
Spoon onto parchment paper, patting the blobs to smooth slightly. Cool until hard.
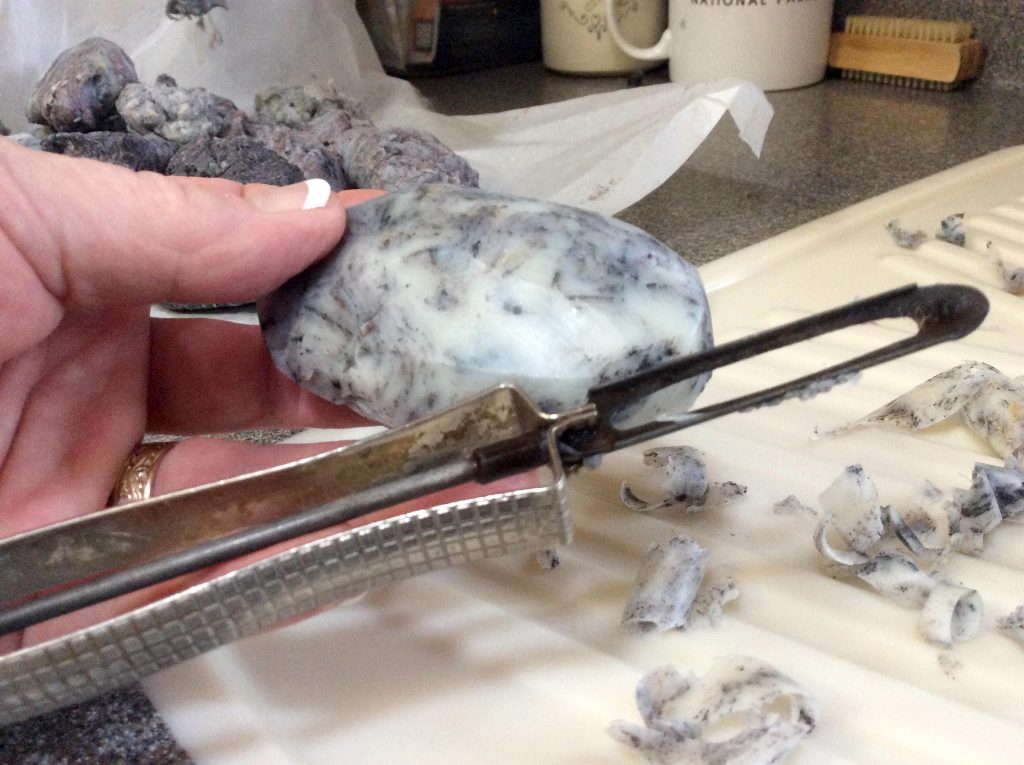
With a potato peeler, remove bumps and shape the soap blobs into rocks. The peelings can be saved and added to your next batch of soap rocks!
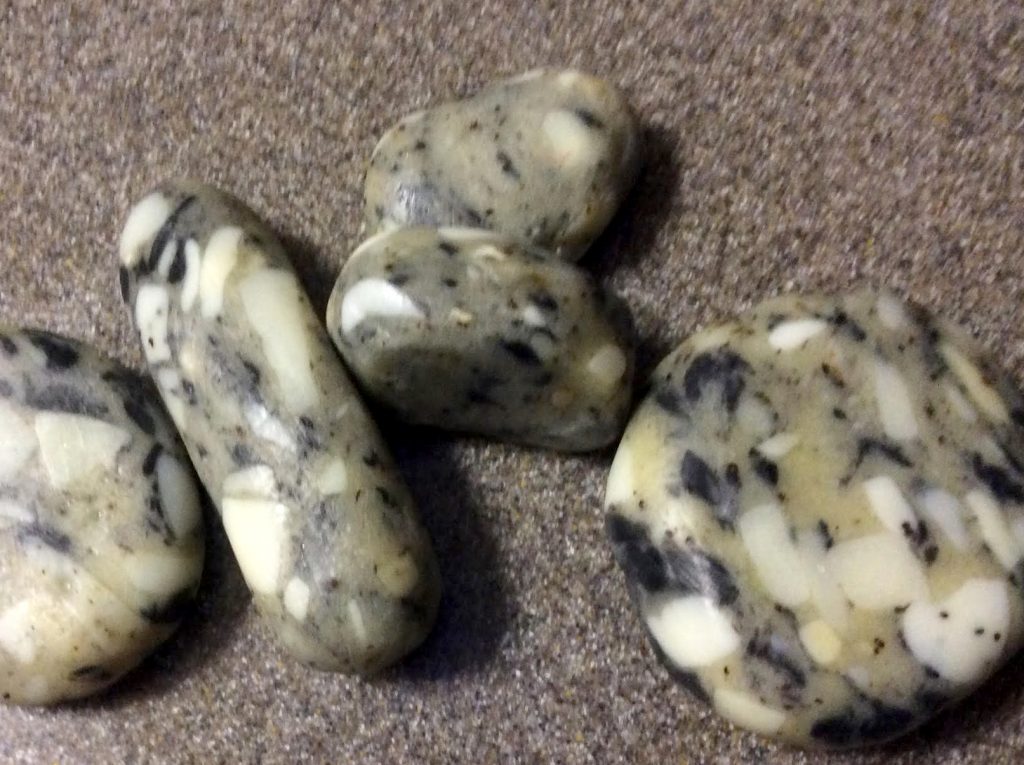
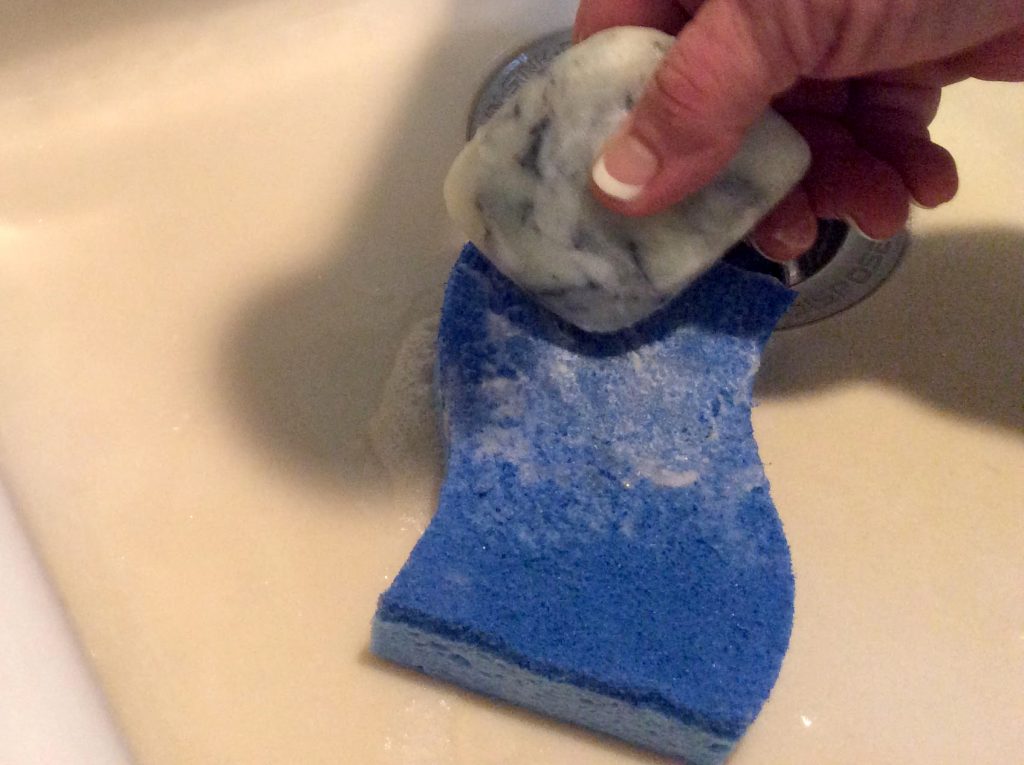
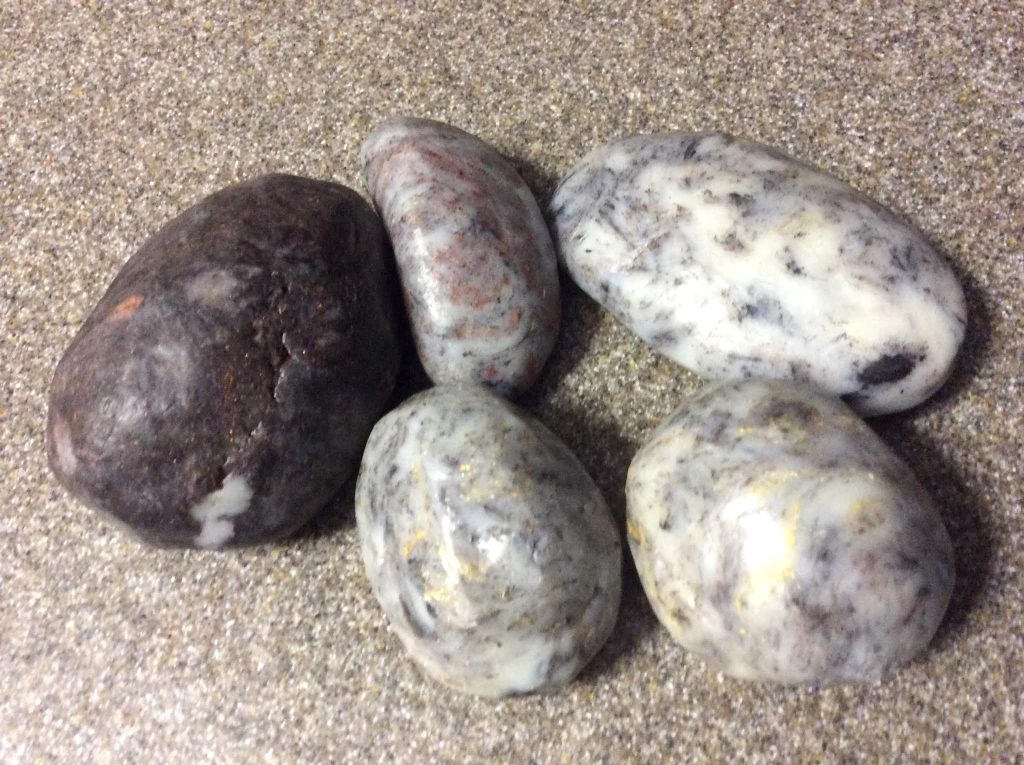
Place under water and smooth further with your hands or a sponge. They then look like this:
Rebatch Soap Rocks
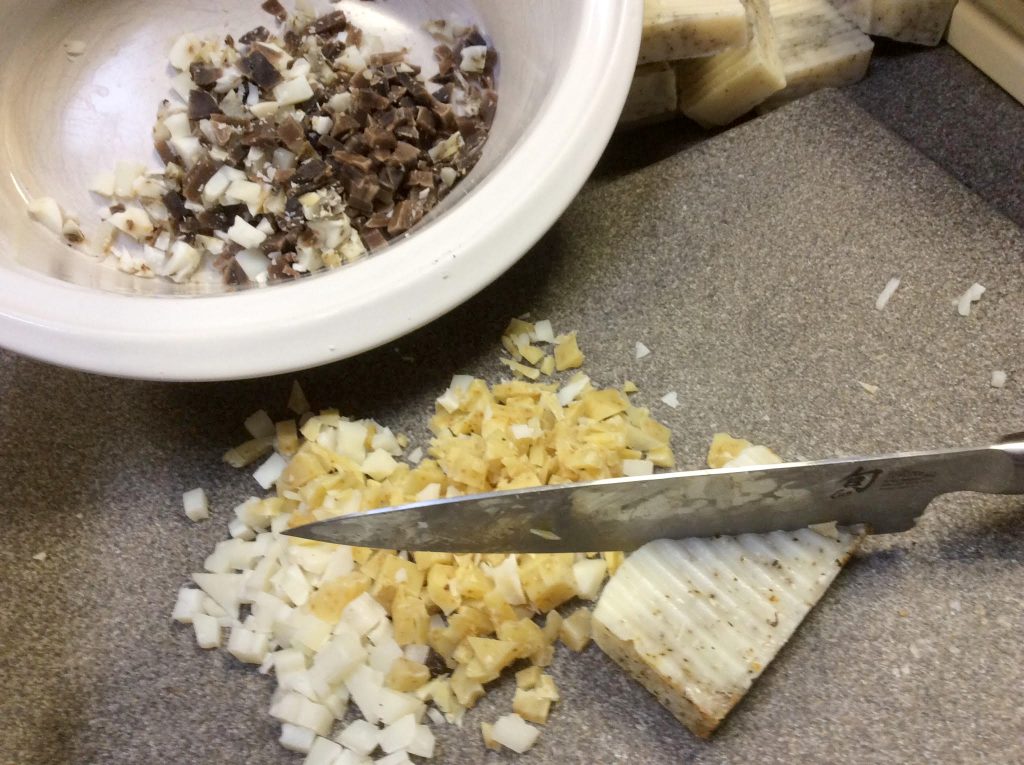
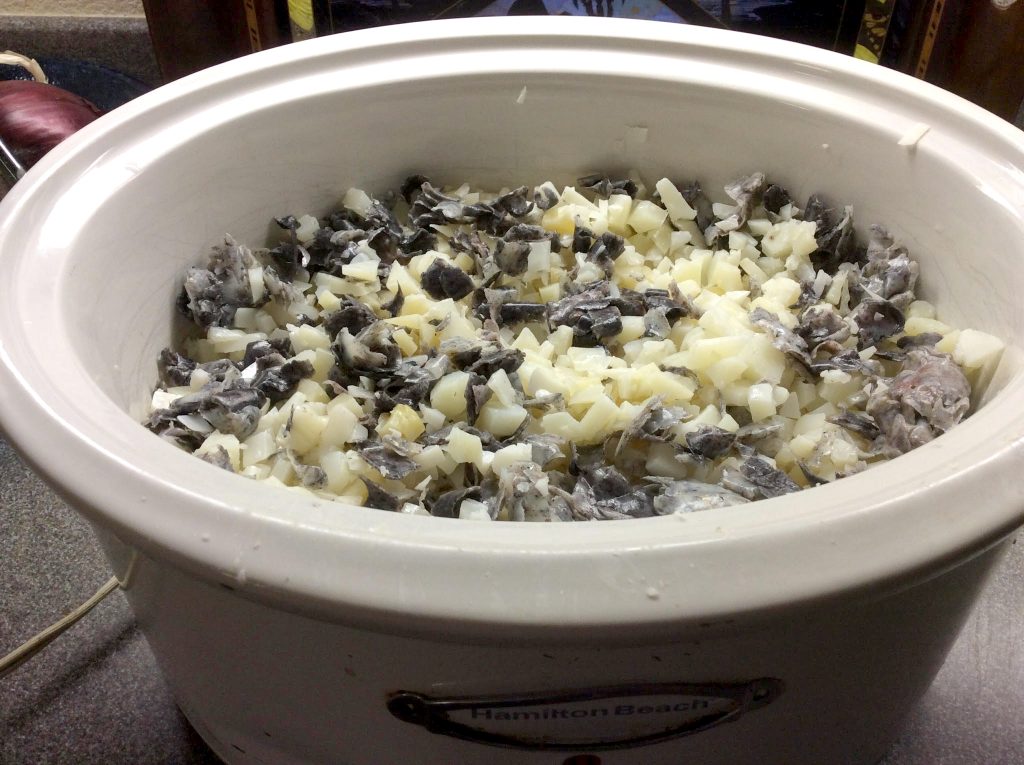
Another method is to chop up any scraps or funky soap into small chunks and “rebatch”. I used whites, beiges, browns and black for this soap.
Heat the soap until it goes to gel phase. Like the first method, spoon onto parchment paper, patting the blobs to smooth slightly. Cool until hard.
Again, shape using a vegetable peeler and smooth after cooling. Here is what they look like.
Hot Process Soap Rocks – Round 2
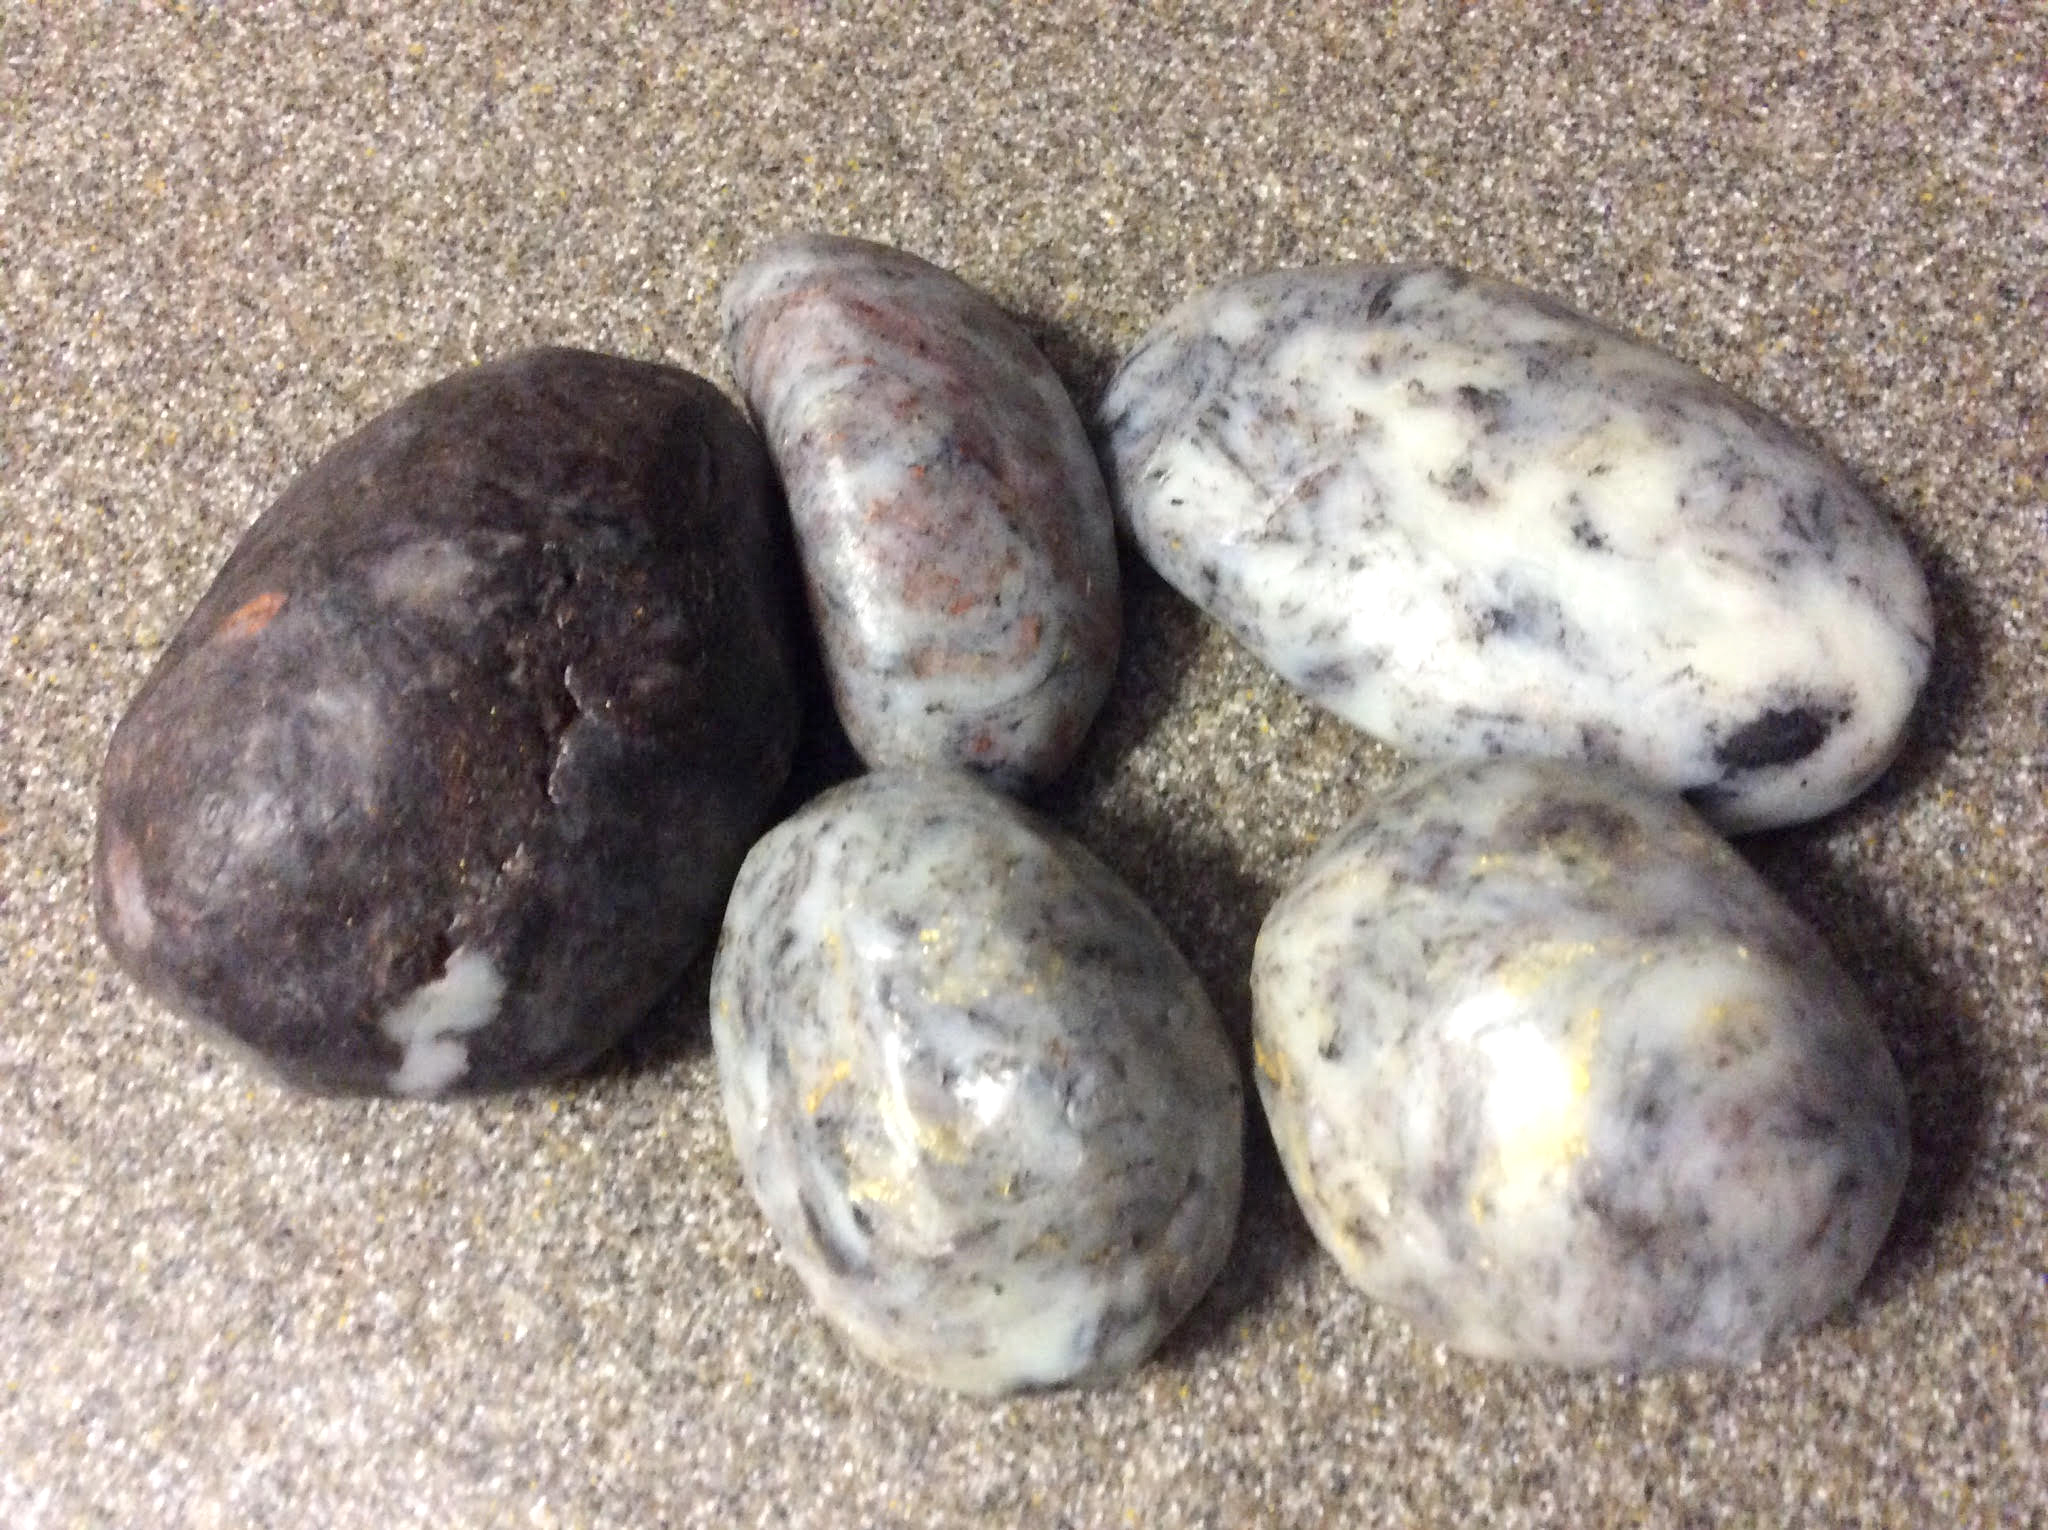
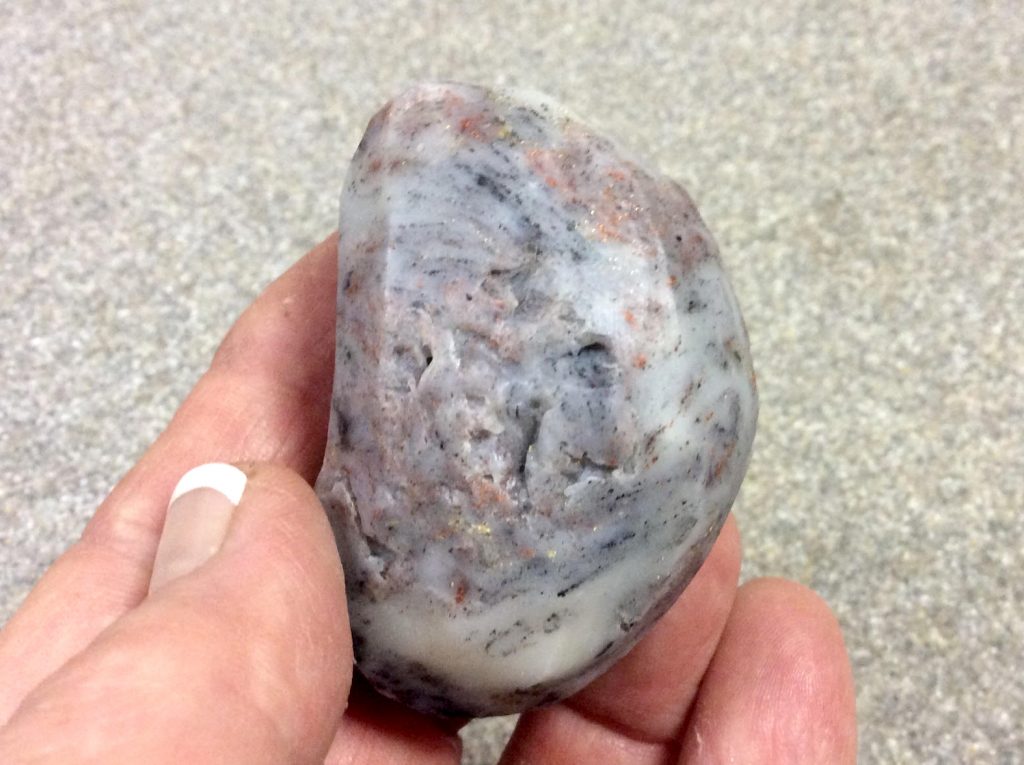
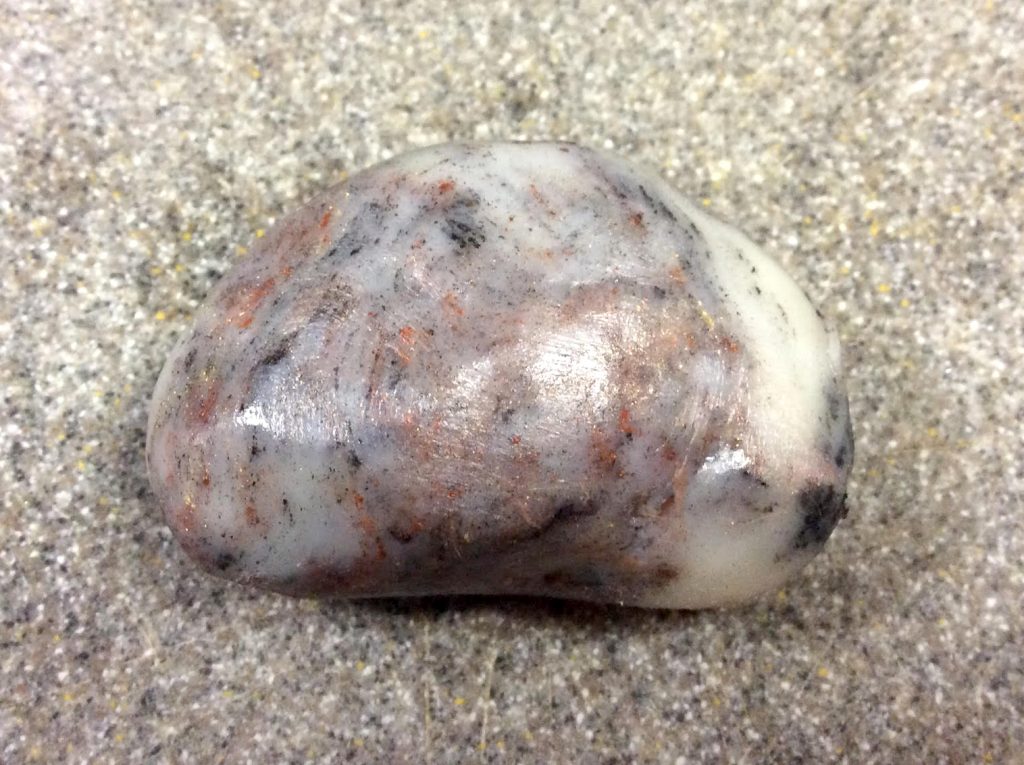
Next I made a batch using a basic batter and added several shades of mica and some red oxide. I added them in powder form to the hot process soap. I did not mix the mica with oil. Be careful not to over stir. You could start with just gold mica and make quartz with gold veins, then add different micas and keep pulling blobs from the batch, getting darker or more colorful as you go along. Activated charcoal is really good for this project, and not too expensive.
Put your soap blobs onto wax paper to cool.
Use a vegetable peeler to shape.
Rinse under water and polish up. Using the rough side of a sponge really helps to smooth the rock out.
Here is what this batch looks like using different colors of mica.
Don’t be afraid that you have messed up; all stones are unique. I thought I had blown it but after shaping with a peeler I was happily surprised.
Your soap rocks can be smoothed more or steamed and made shinier. Below is a happy collection of soap rocks.
Happy Soaping, Stoners!
With love, Ñ


This is such a fun tutorial! One of my batches looks horrible! I was wondering if it makes a difference what oils were used and additives like salt and Castor oil in making this beautiful bunch of rocks?
What a wonderful way to use up scraps! The colours you could get would be amazing. Mind you, some would be fantasy rocks rather than real ones, but still so fun!
I love getting your newsletter in my email, it makes me so happy and I learn so much.
Thank you
Can’t wait to get rocking!
Great idea, Totally gonna have to give this a try !
Can’t wait to give this a go- especially living in an old goldfields area- perfect project! Thank you!
What a great idea…Thanks for sharing.
Thank you so much for sharing.
Thank you for your generosity in sharing this technique! Love HP so will definitely give a try!
This is such a gem how-to! Thanks, Amanda for sharing this, by Niña Thompson. I’ve been wondering. So fun!