

There was a discussion in our Facebook Group Saponification Nation about making soap dough that stayed soft…sort of like Play Doh that bubbled!
I had an idea that I’ve been wanting to try for awhile, but haven’t gotten around to doing. But a few days ago, I was inspired! So here is what I came up with.

I wanted to make a dough that wouldn’t easily dry up. I wanted it to stay pliable so kids could use it like Play Doh and then go wash their hands with it.
There is something called soap dough that many soapers make. You simply make a softer soap and use it to form embeds or little soaps to put on top of loaves. They eventually do dry up though. So that is a bit different. If you’re looking for a good palm/animal-free recipe for soap dough – check out this blog post.
To make this soap dough stay soft and pliable I decided to make a liquid soap paste using potassium hydroxide instead of sodium hydroxide. Then I would combine it with liquid glycerin and powders to make a dough. I went with baking soda and tapioca starch but you could go with any kind of powders that would appropriate in the bath.
It came out awesome! I’m so happy with how it came out. It stays pliable even when left out overnight.
So here is how I made it. Remember, that you’ll need potassium hydroxide instead of sodium hydroxide.
Pliable Soap Play Dough Recipe
Paste Ingredients
- Coconut Oil – 8 oz. (50%)
- Olive Oil – 4 oz. (25%)
- Avocado Oil – 2 oz. (12.5%)
- Shea Butter – 2 oz. (12.5%)
- Potassium Hydroxide – 3.75 oz.
- Water – 8 oz.
- Liquid Glycerin – 4 oz.
Dough Ingredients (Add to the paste)
- Baking Soda – 4 oz.
- Tapioca Starch – 4 oz.
- Liquid Glycerin – 4 oz.
- Various Colorants (I used mica)
- Scent
Creating Your Soap Paste
I used the hot process method to make my soap paste. If you’ve ever made liquid soap before, then you’ll be familiar with this.
Step 1: Weigh your oils, melt and put them in the crock pot on high heat. Don’t worry about them being a certain temp; heat helps liquid soap come to trace and turn into soap faster.
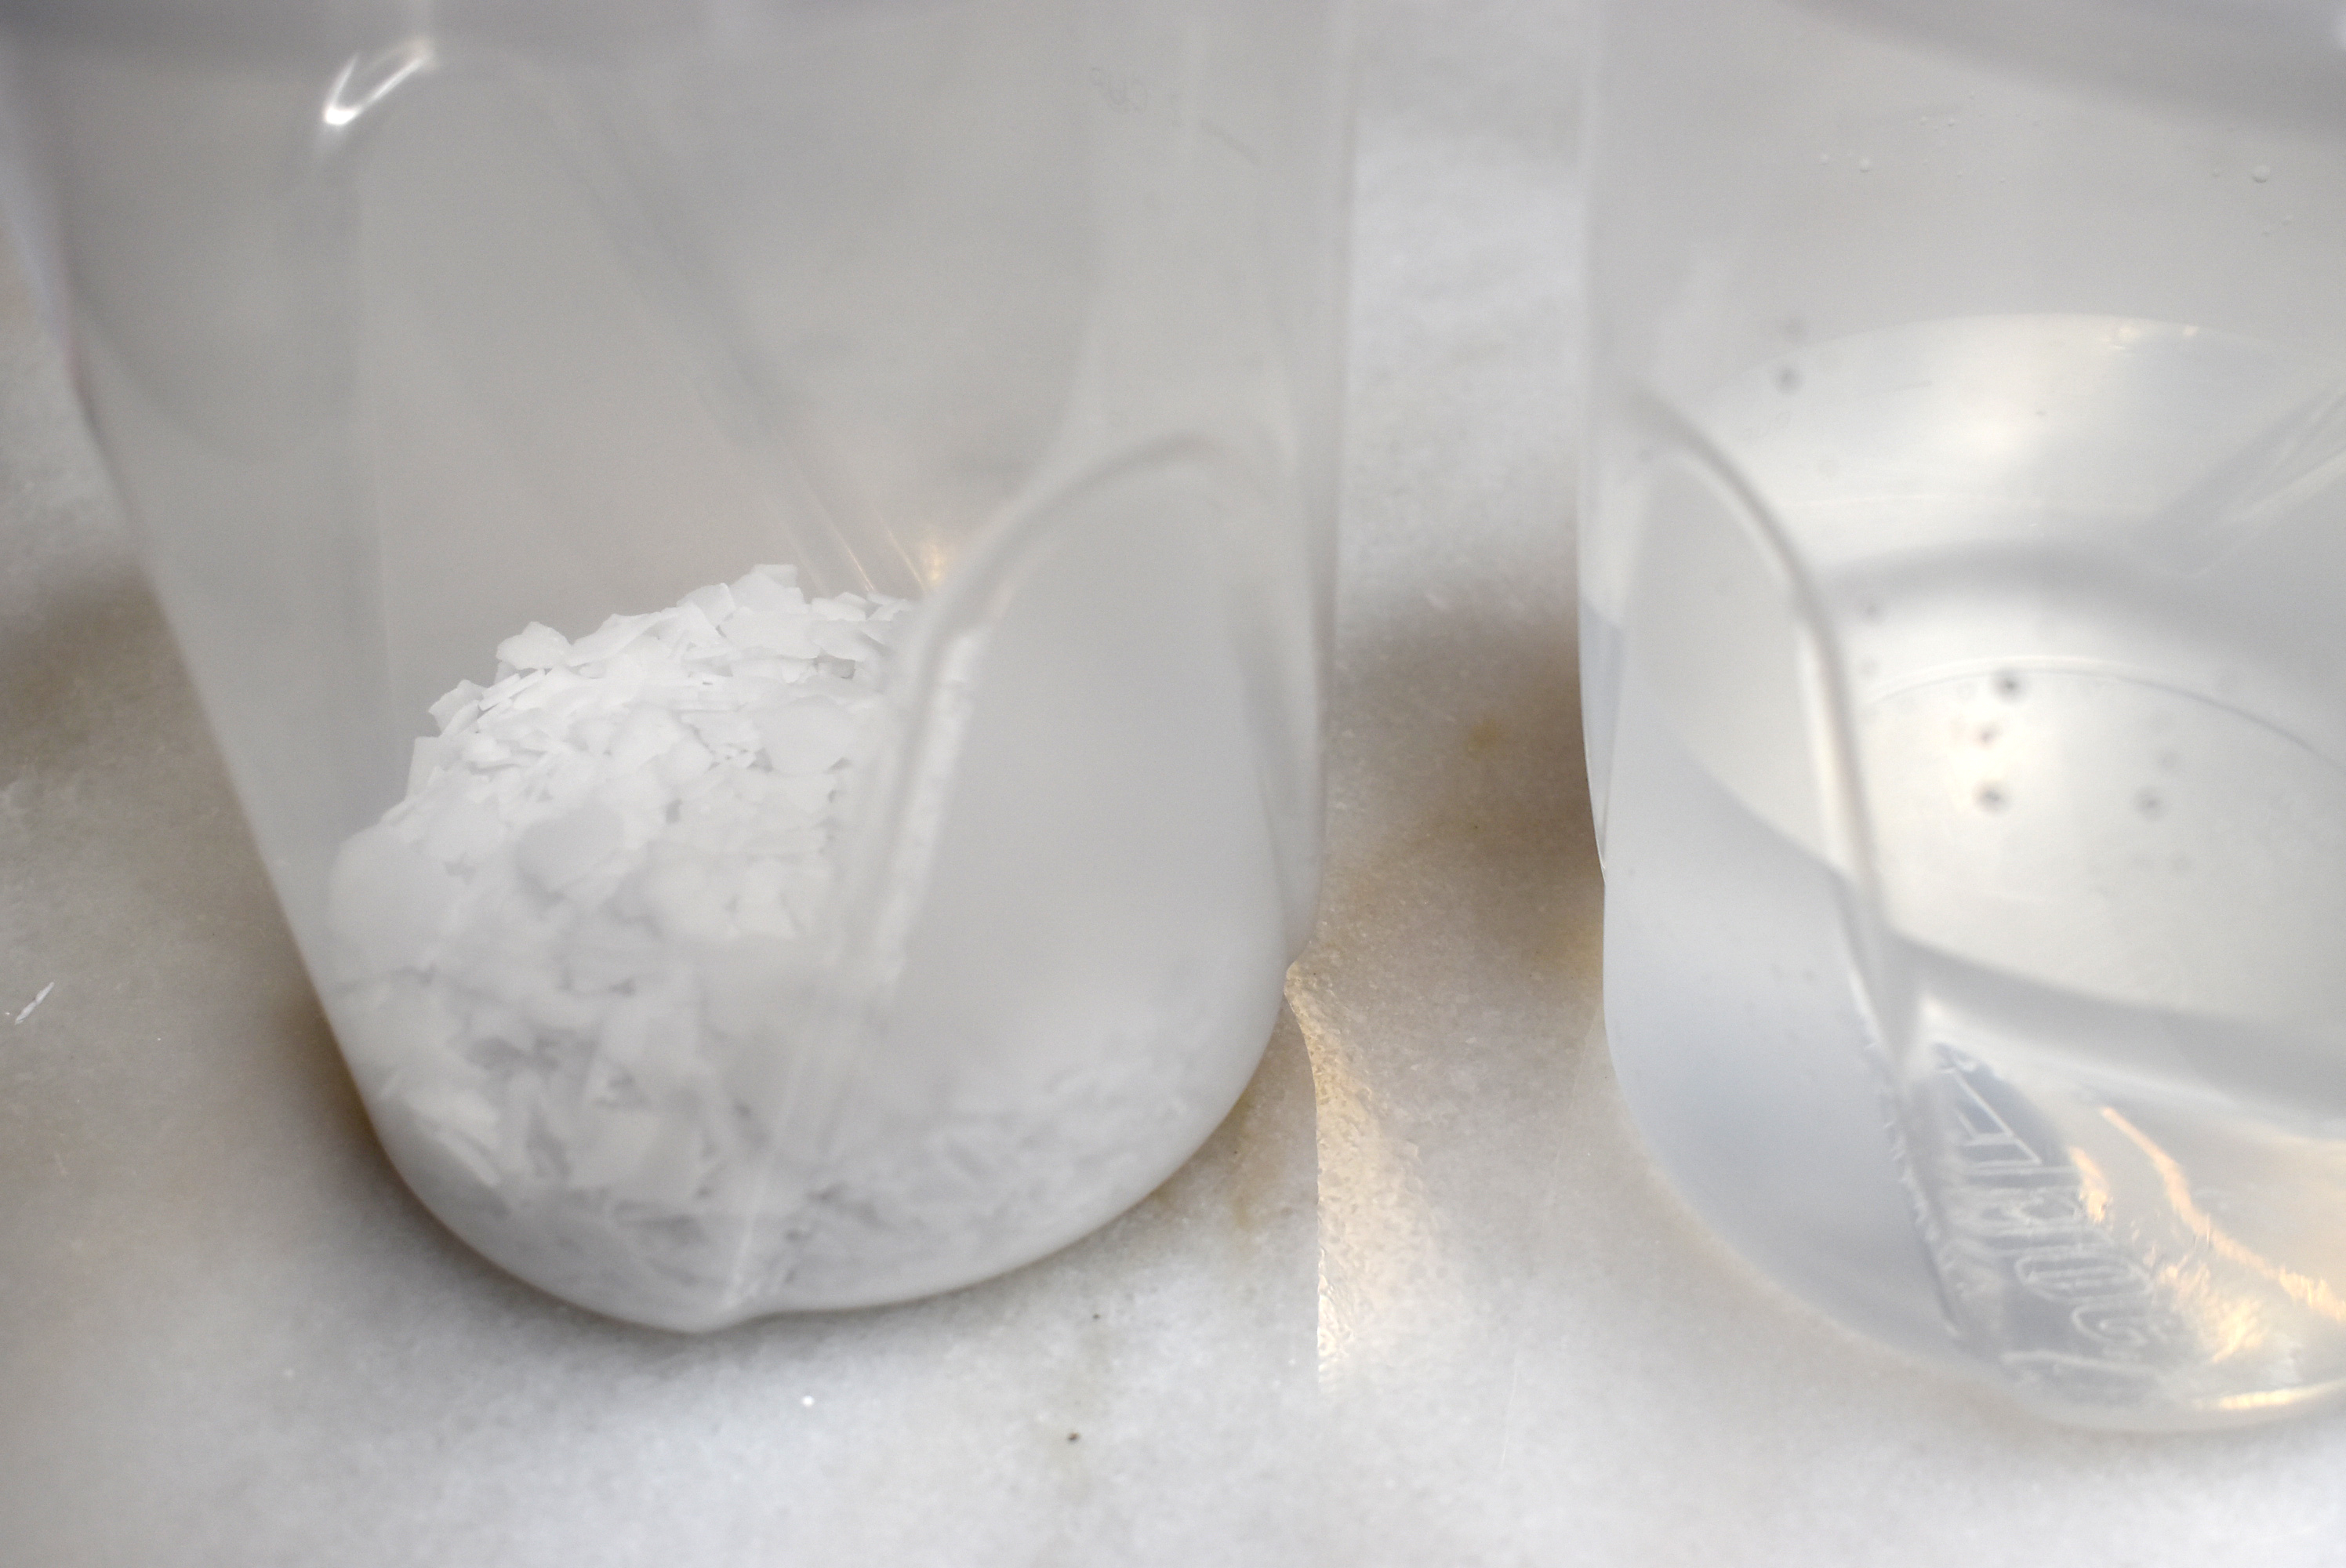
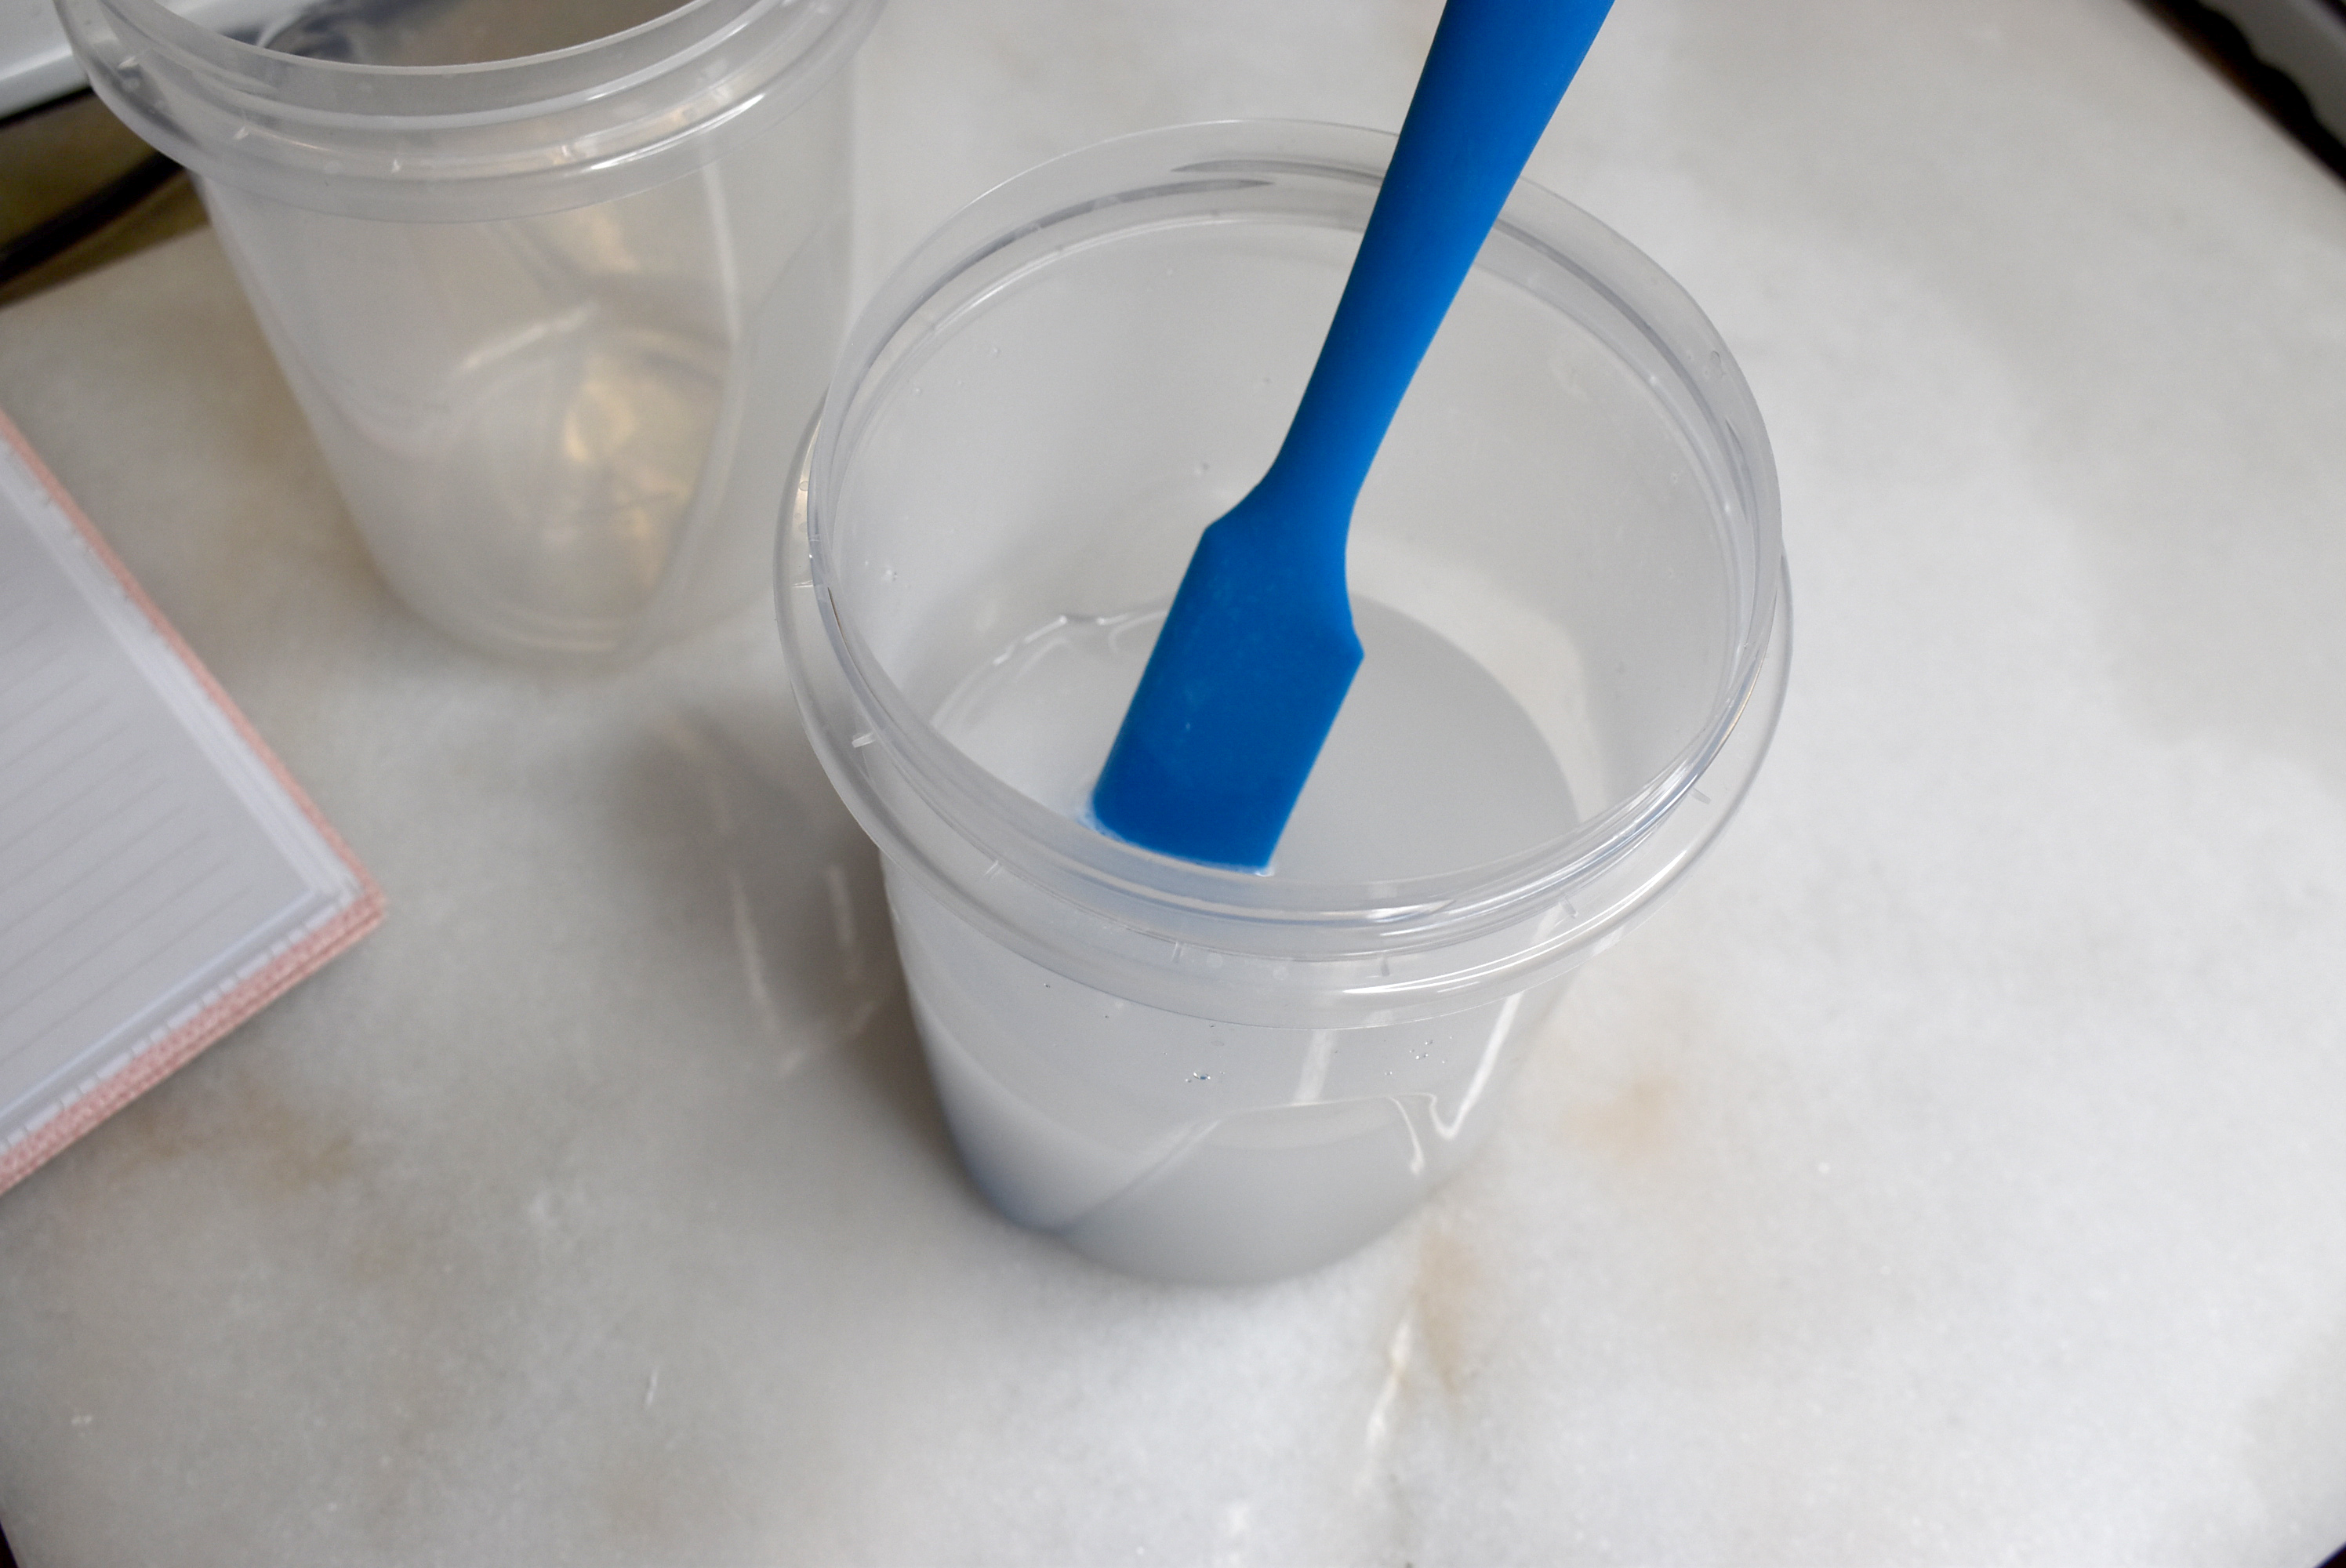
Step 2: Weigh 8 oz. water and 4 oz. liquid glycerin into a container. Weigh 3.75 oz. of potassium hydroxide into another container.
Step 3: Make your lye solution by gently pouring the potassium hydroxide into the liquids while stirring.
Potassium hydroxide is a bit different than sodium hydroxide in that it hisses while it dissolves! So don’t freak out if that happens. 🙂 The reason I add liquid glycerin to my lye solution when making liquid soap is that it acts as a solvent and helps the oils + potassium hydroxide trace and turn to soap faster. (You can even use full liquid glycerin but have to boil and use high heat to dissolve the potassium hydroxide.)
Step 4: As soon as your potassium hydroxide solution turns clear, pour it into your oils. You don’t have to let it cool down. Again, heat helps bring liquid soap together.
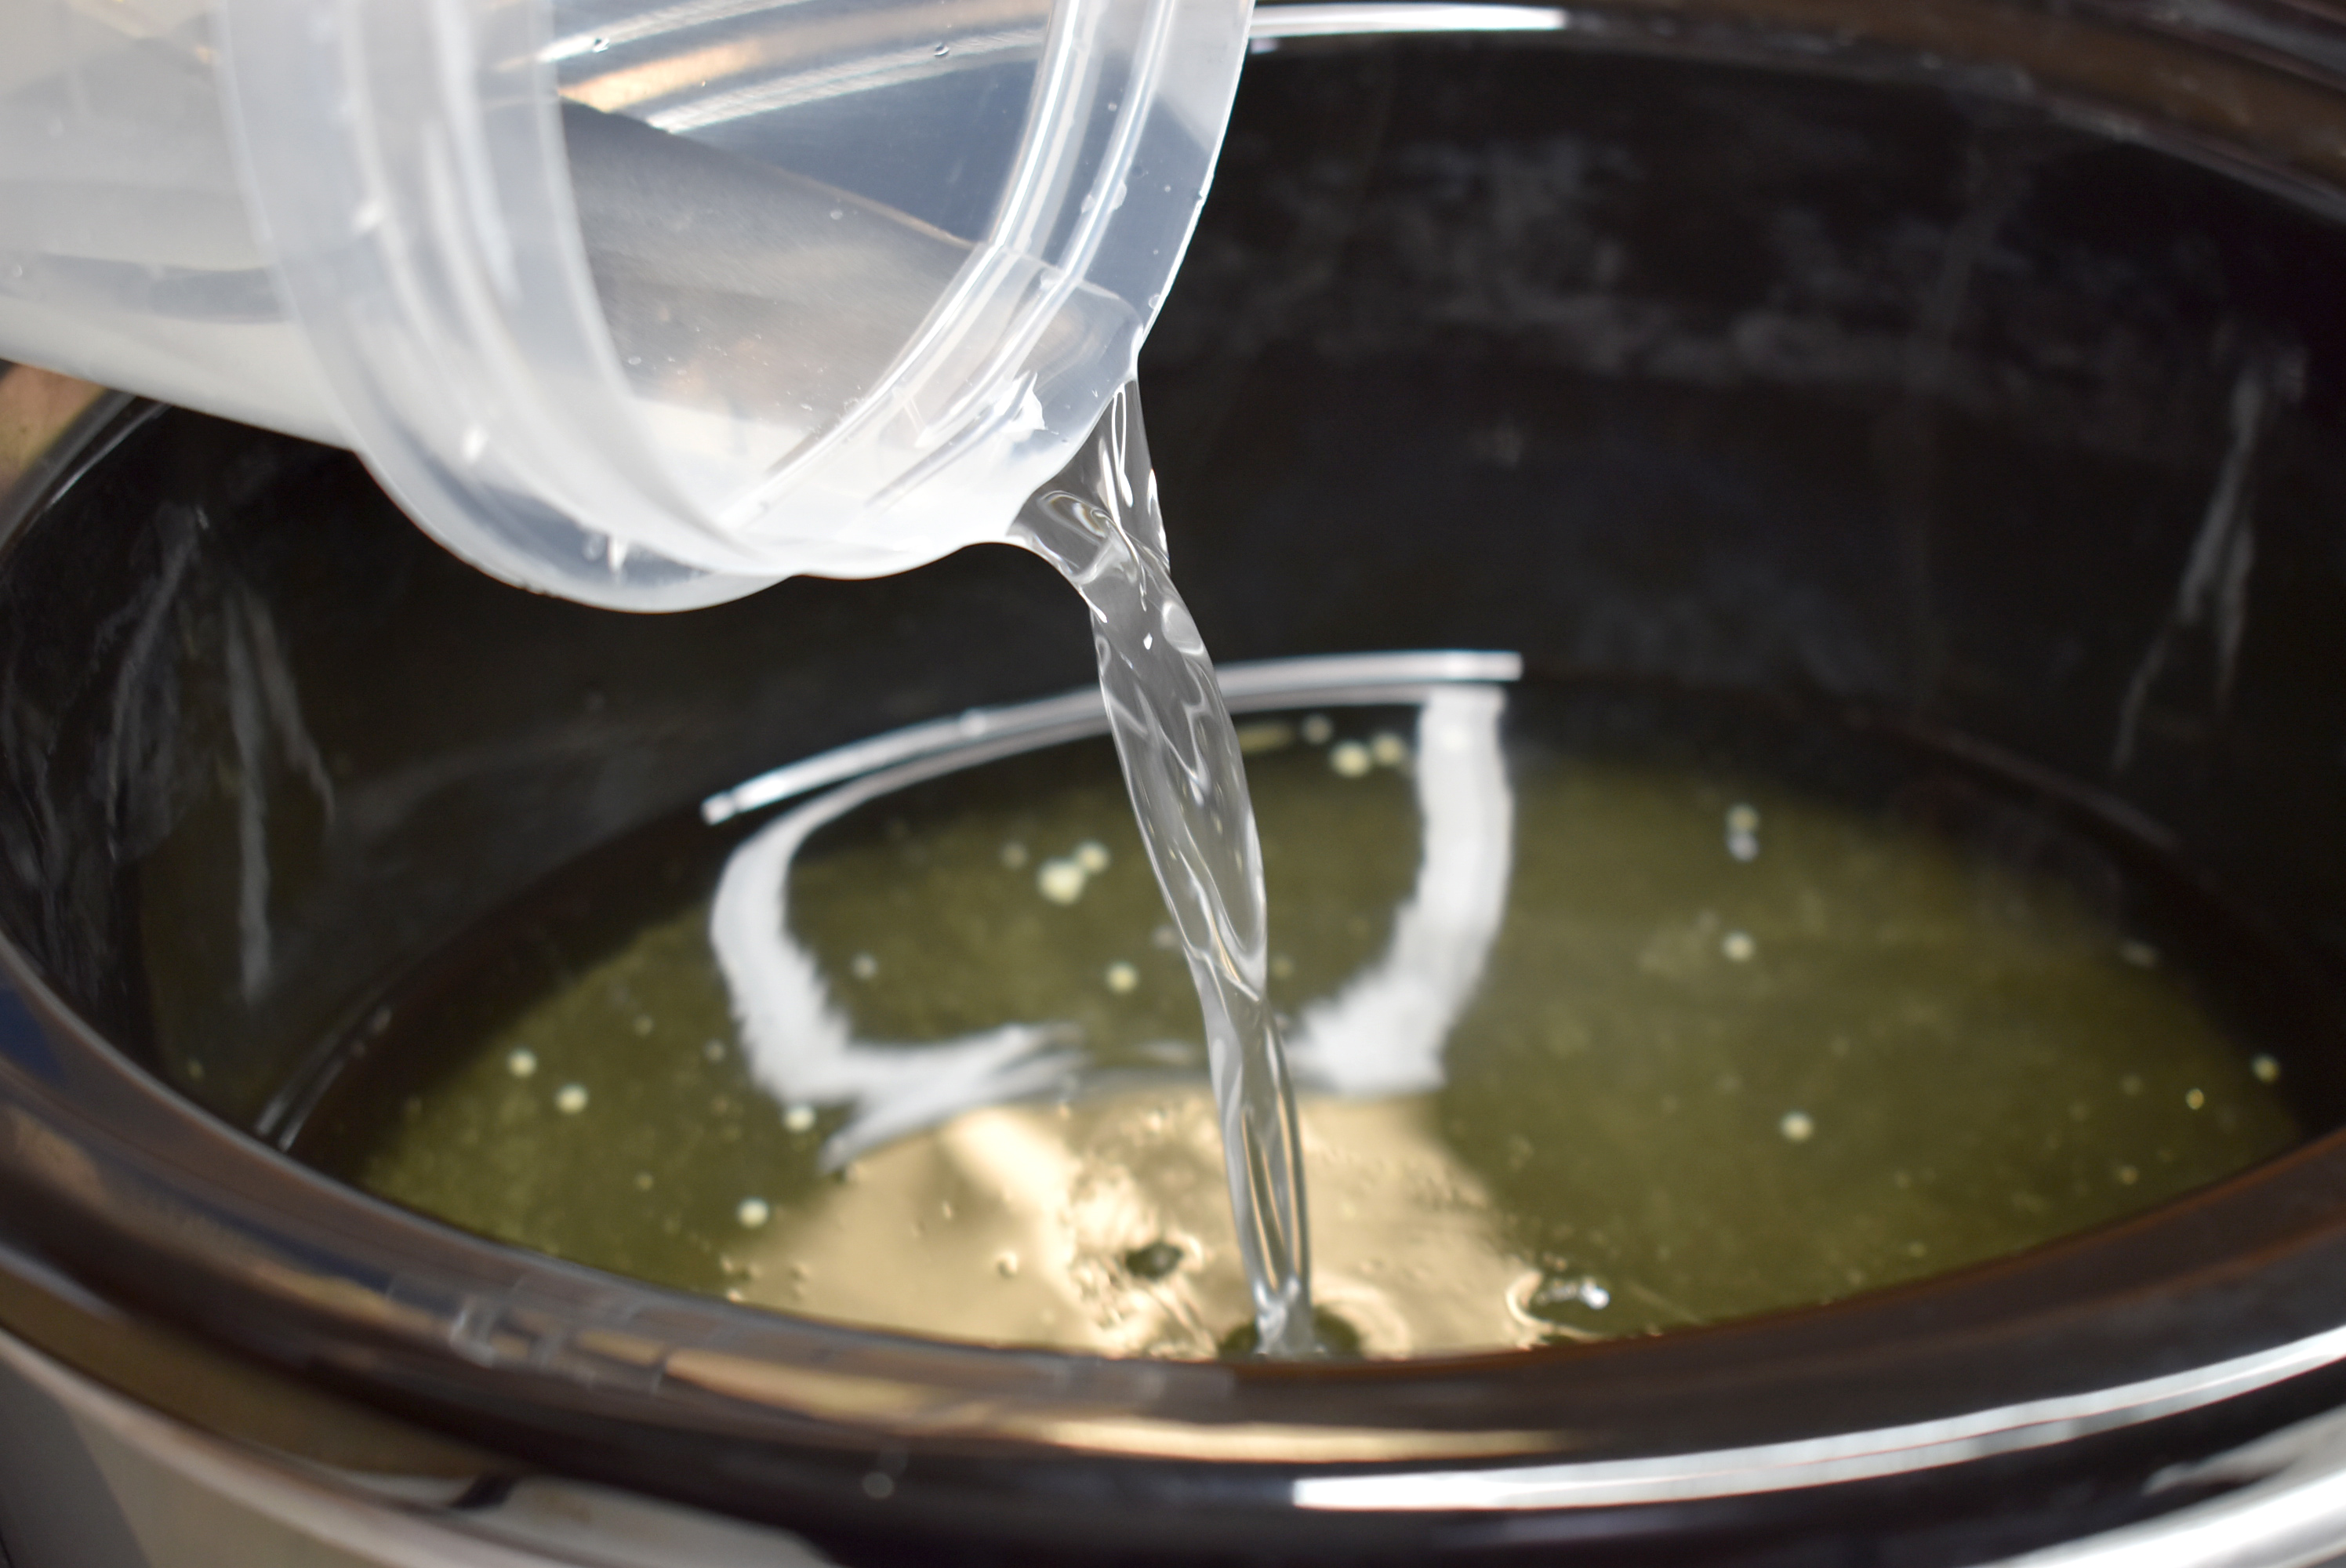
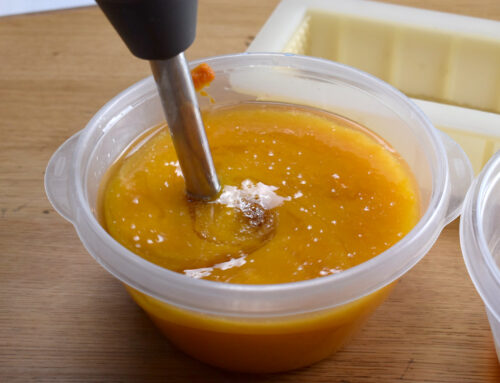
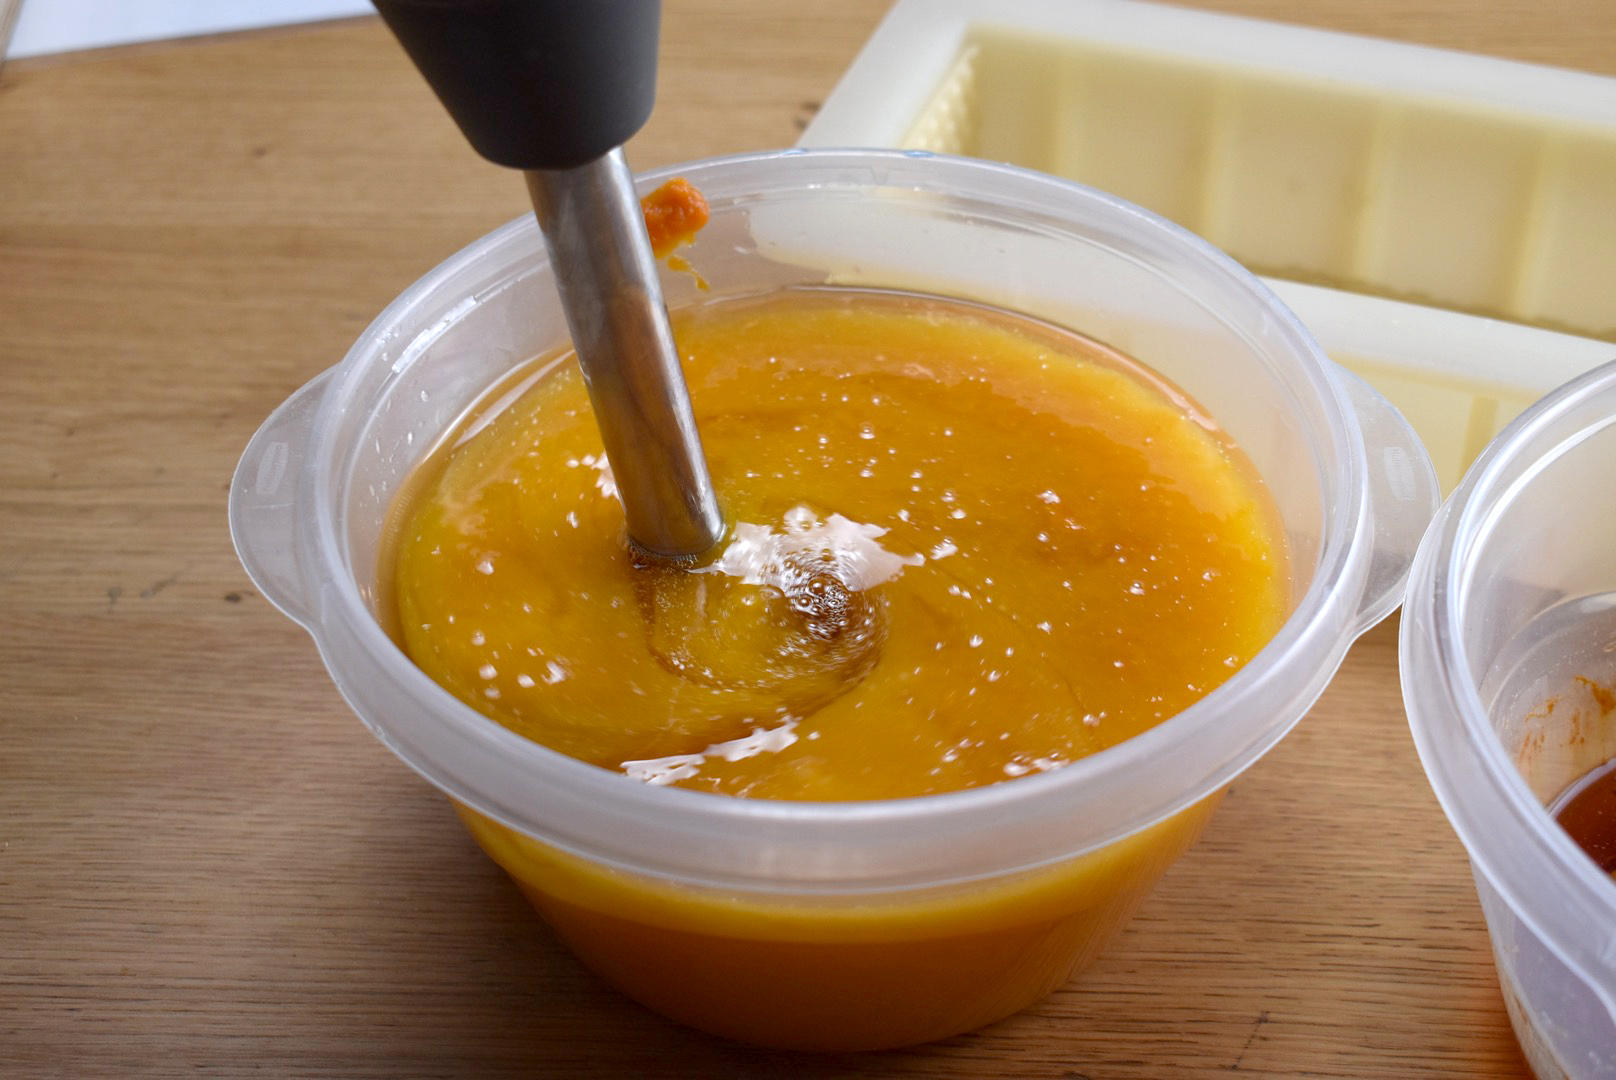
Step 5: Mix and mix. You want to mix your liquid soap base until it get hard. It can take awhile. it took me about 15 minutes to mix this one. It will vary based on your temps and oils that you use. You can mix, walk a way for a few minutes and mix some more.
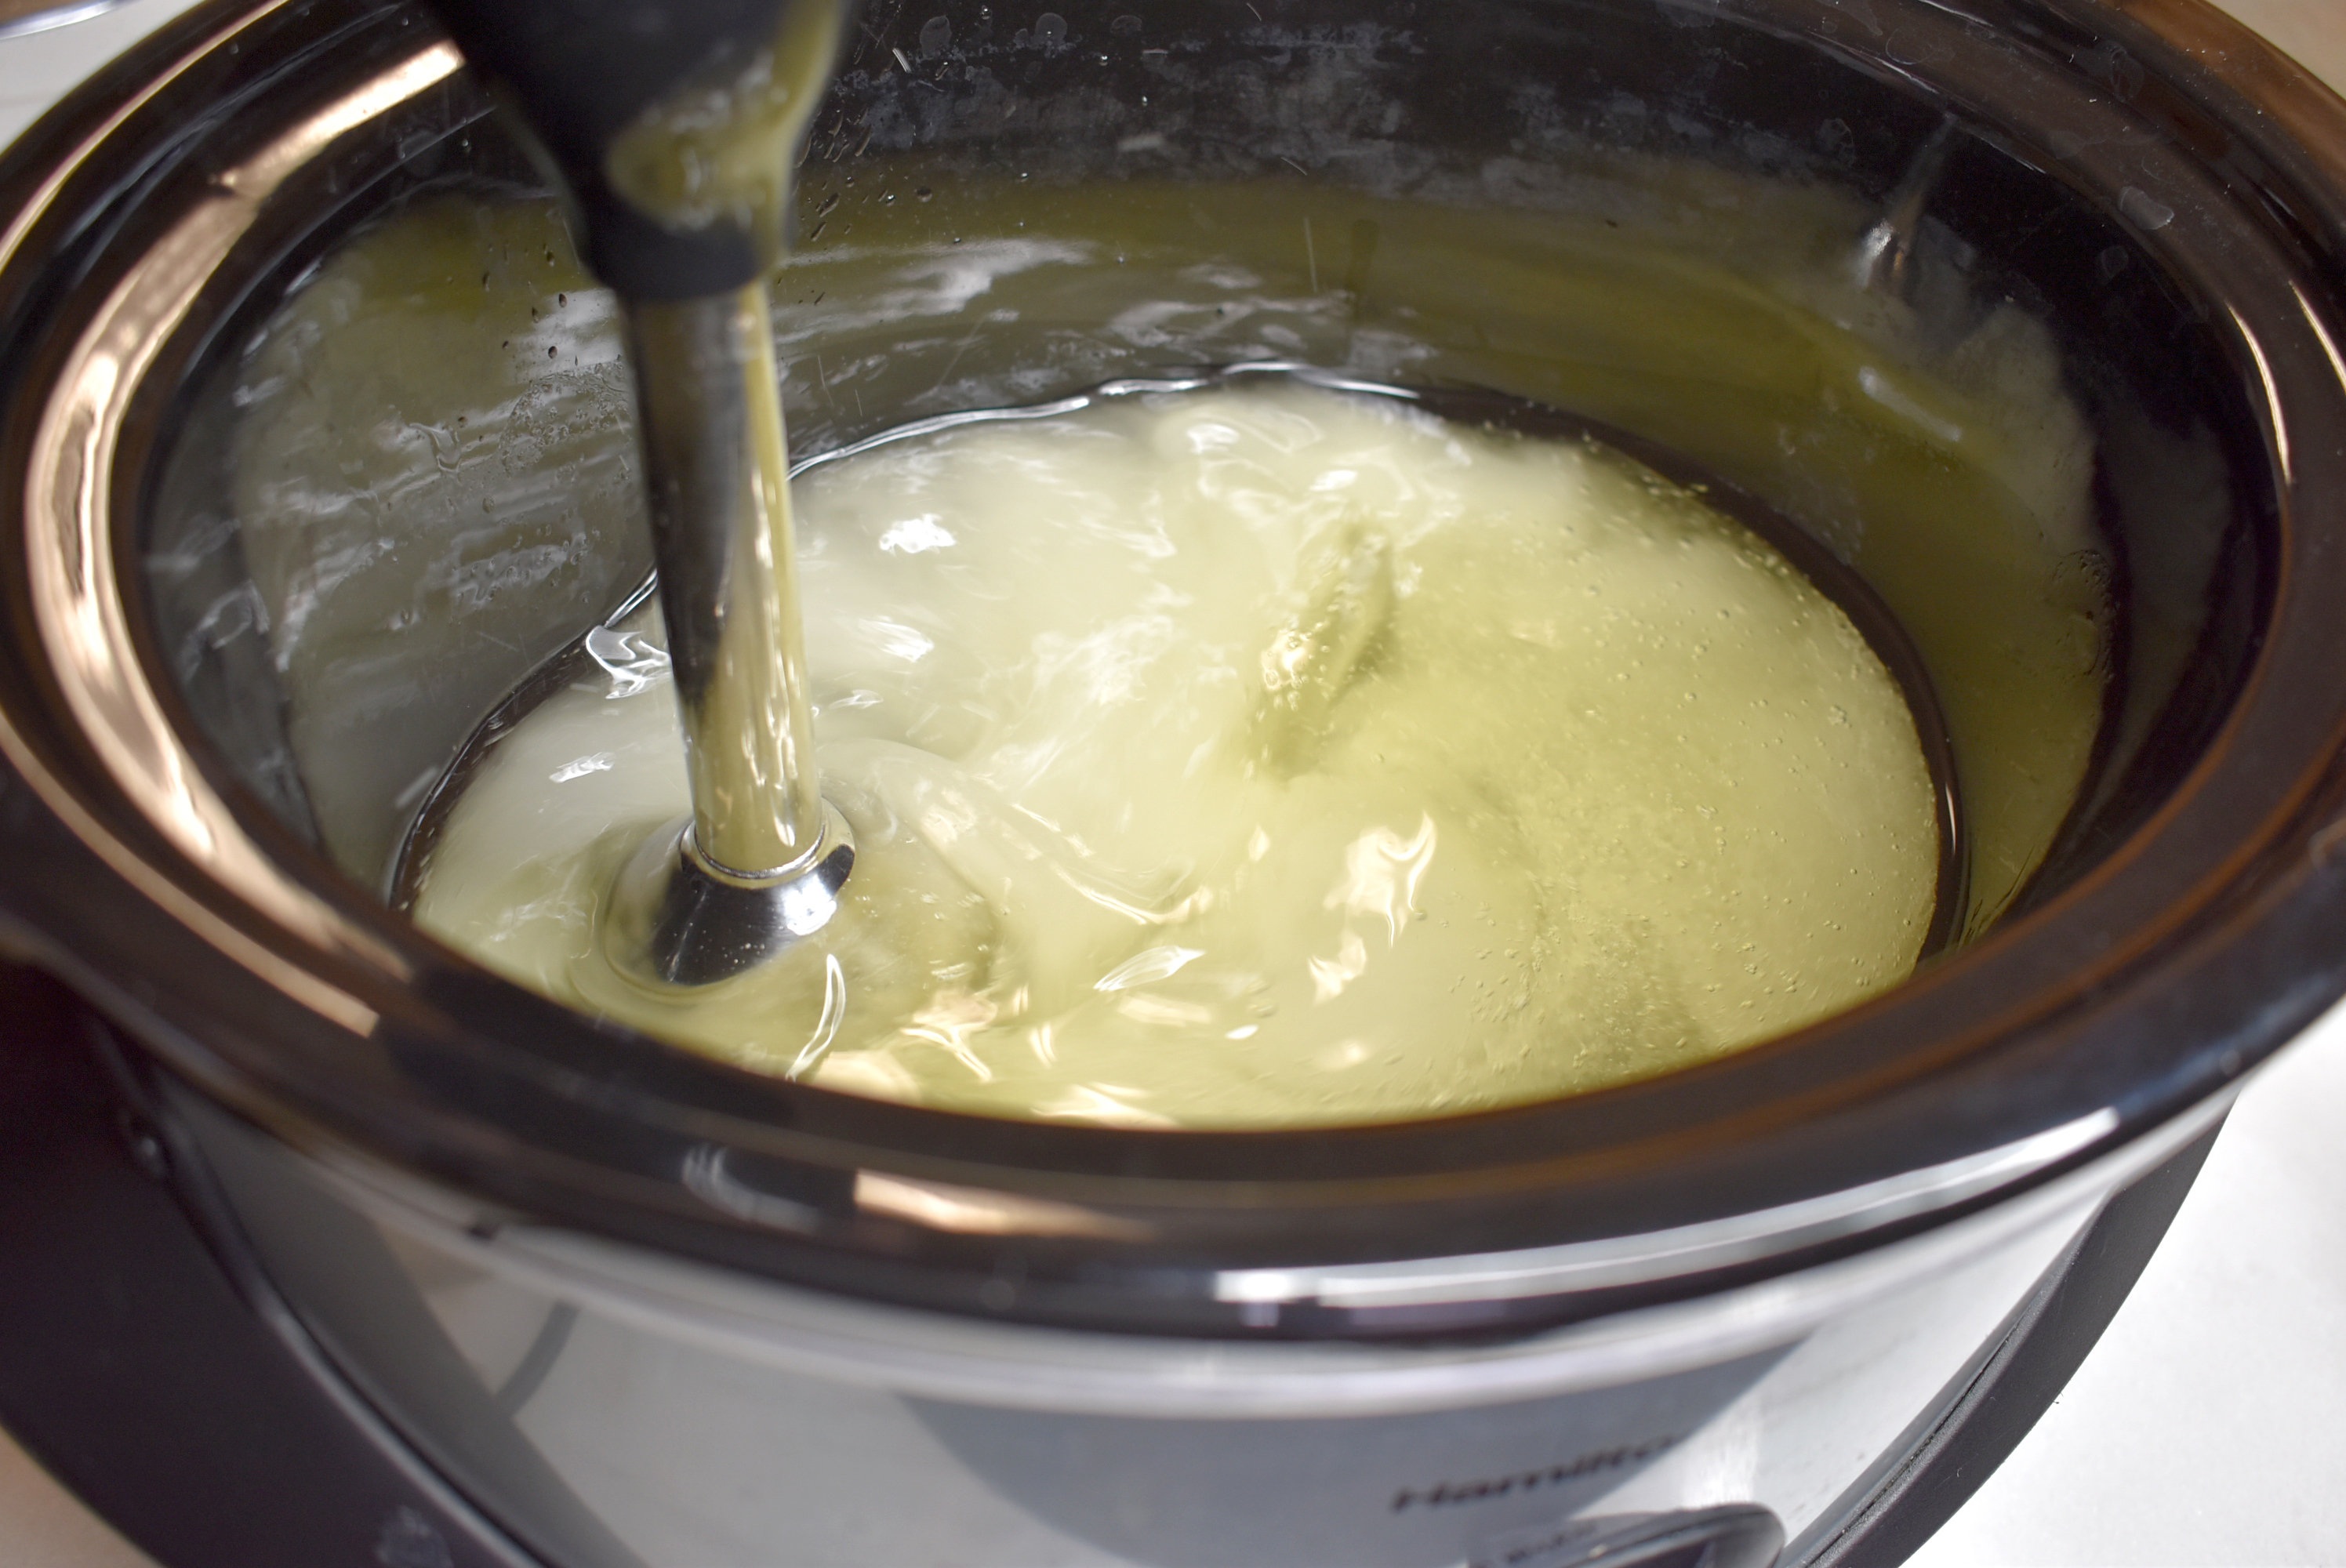
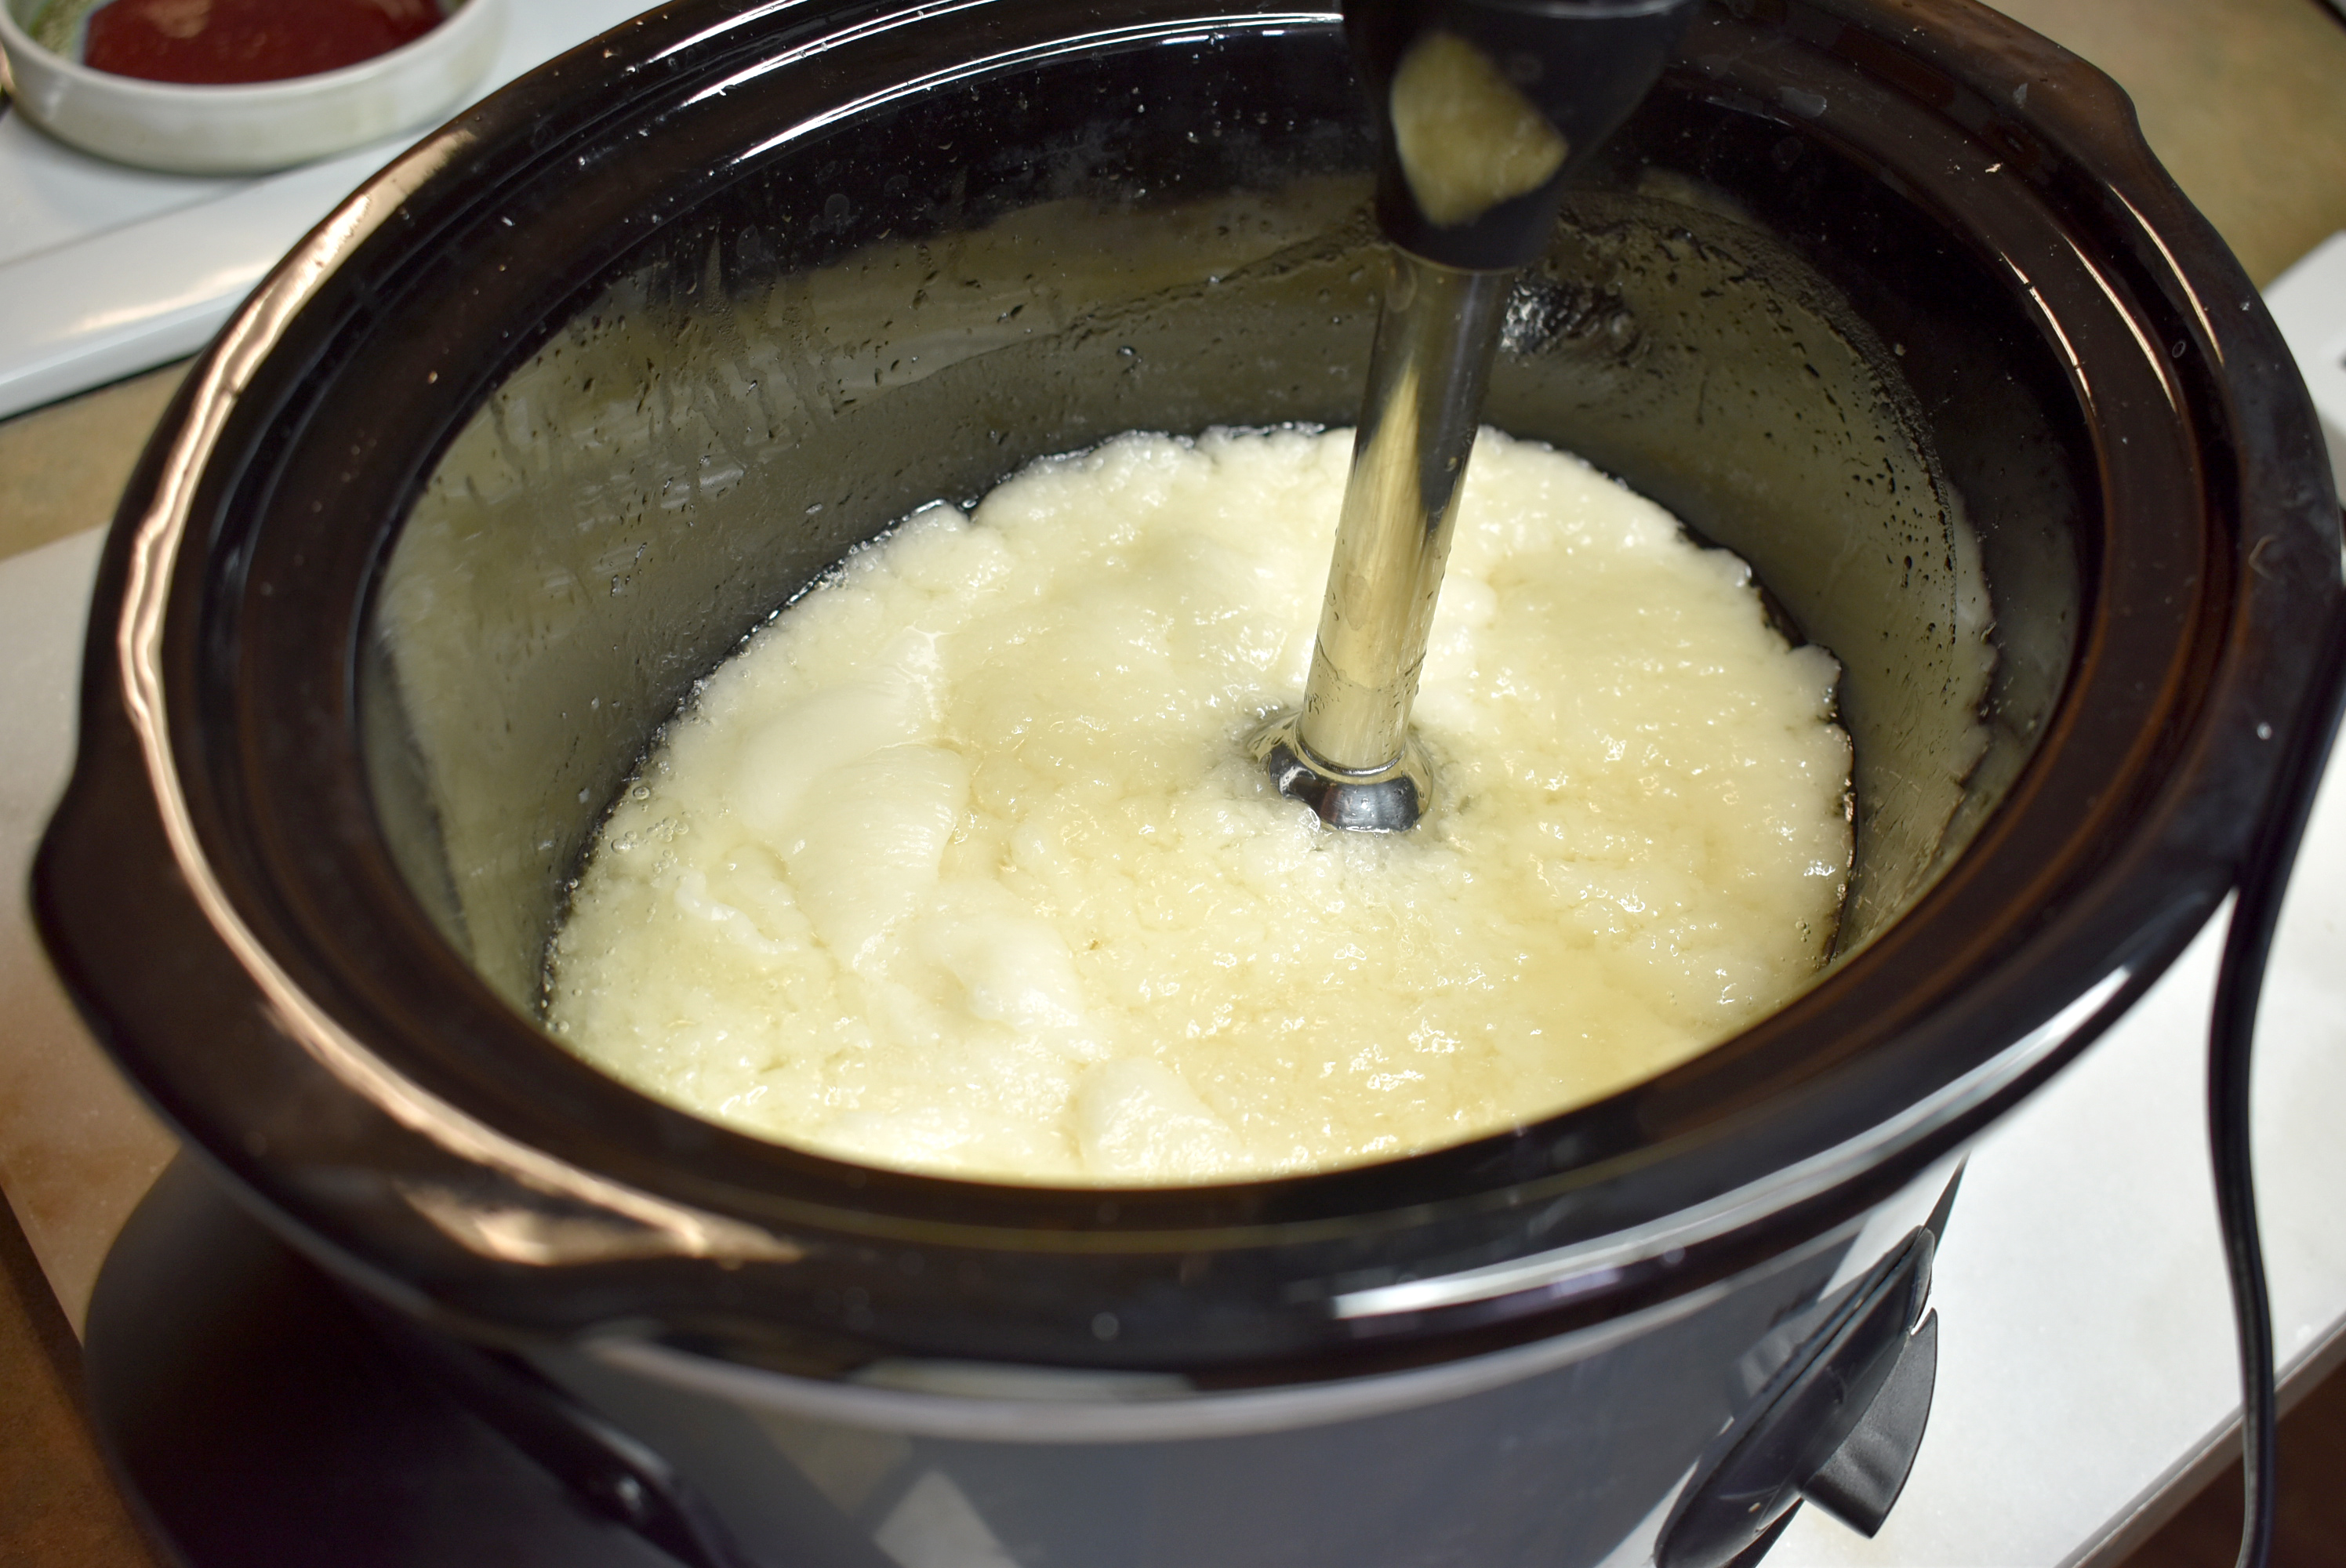
Above: Looking a bit like mashed potatoes with some oils separated out. Keep mixing!
Below: Same as above, just a closer look.

Below: This is what you are looking for. It will stay liquid for a long time and then BAM, it will thicken up to where you can’t even mix it with a spoon. This can take awhile to get here so be patient.

Once you get thick like above, cover and set to cook. I put my cooker on medium.
Step 6: Let your soap paste cook until it doesn’t zap. This means that the lye has all be neutralized.
Zap test – In order to test your soap for active lye you can grab a little on a spoon and touch your tongue to it. If it shocks you (or zaps you) then it still has active lye. Keep cooking. Be sure to blow on the paste before you touch it to your tongue so that it is cool and forms a bit of a skin that won’t come off on your tongue. If you don’t want to zap test, you could probably get some pH drops. I simply do the zap test.
My paste cooked for about 30 minutes until it was done. Yours might take more or less time depending on initial temps, how much you mix and the oils that you use.
Here is our beautiful paste! It will be more transparent that what you started off with.

Step 7: Now let’s make it into dough.
To turn it into dough simply plop it into a Kitchen Aid mixer, add 4 oz. liquid glycerin, 4 oz. baking soda and 4 oz. tapioca starch. Mix. Cover the mixer with a towel so that they powders don’t pluff up while mixing!
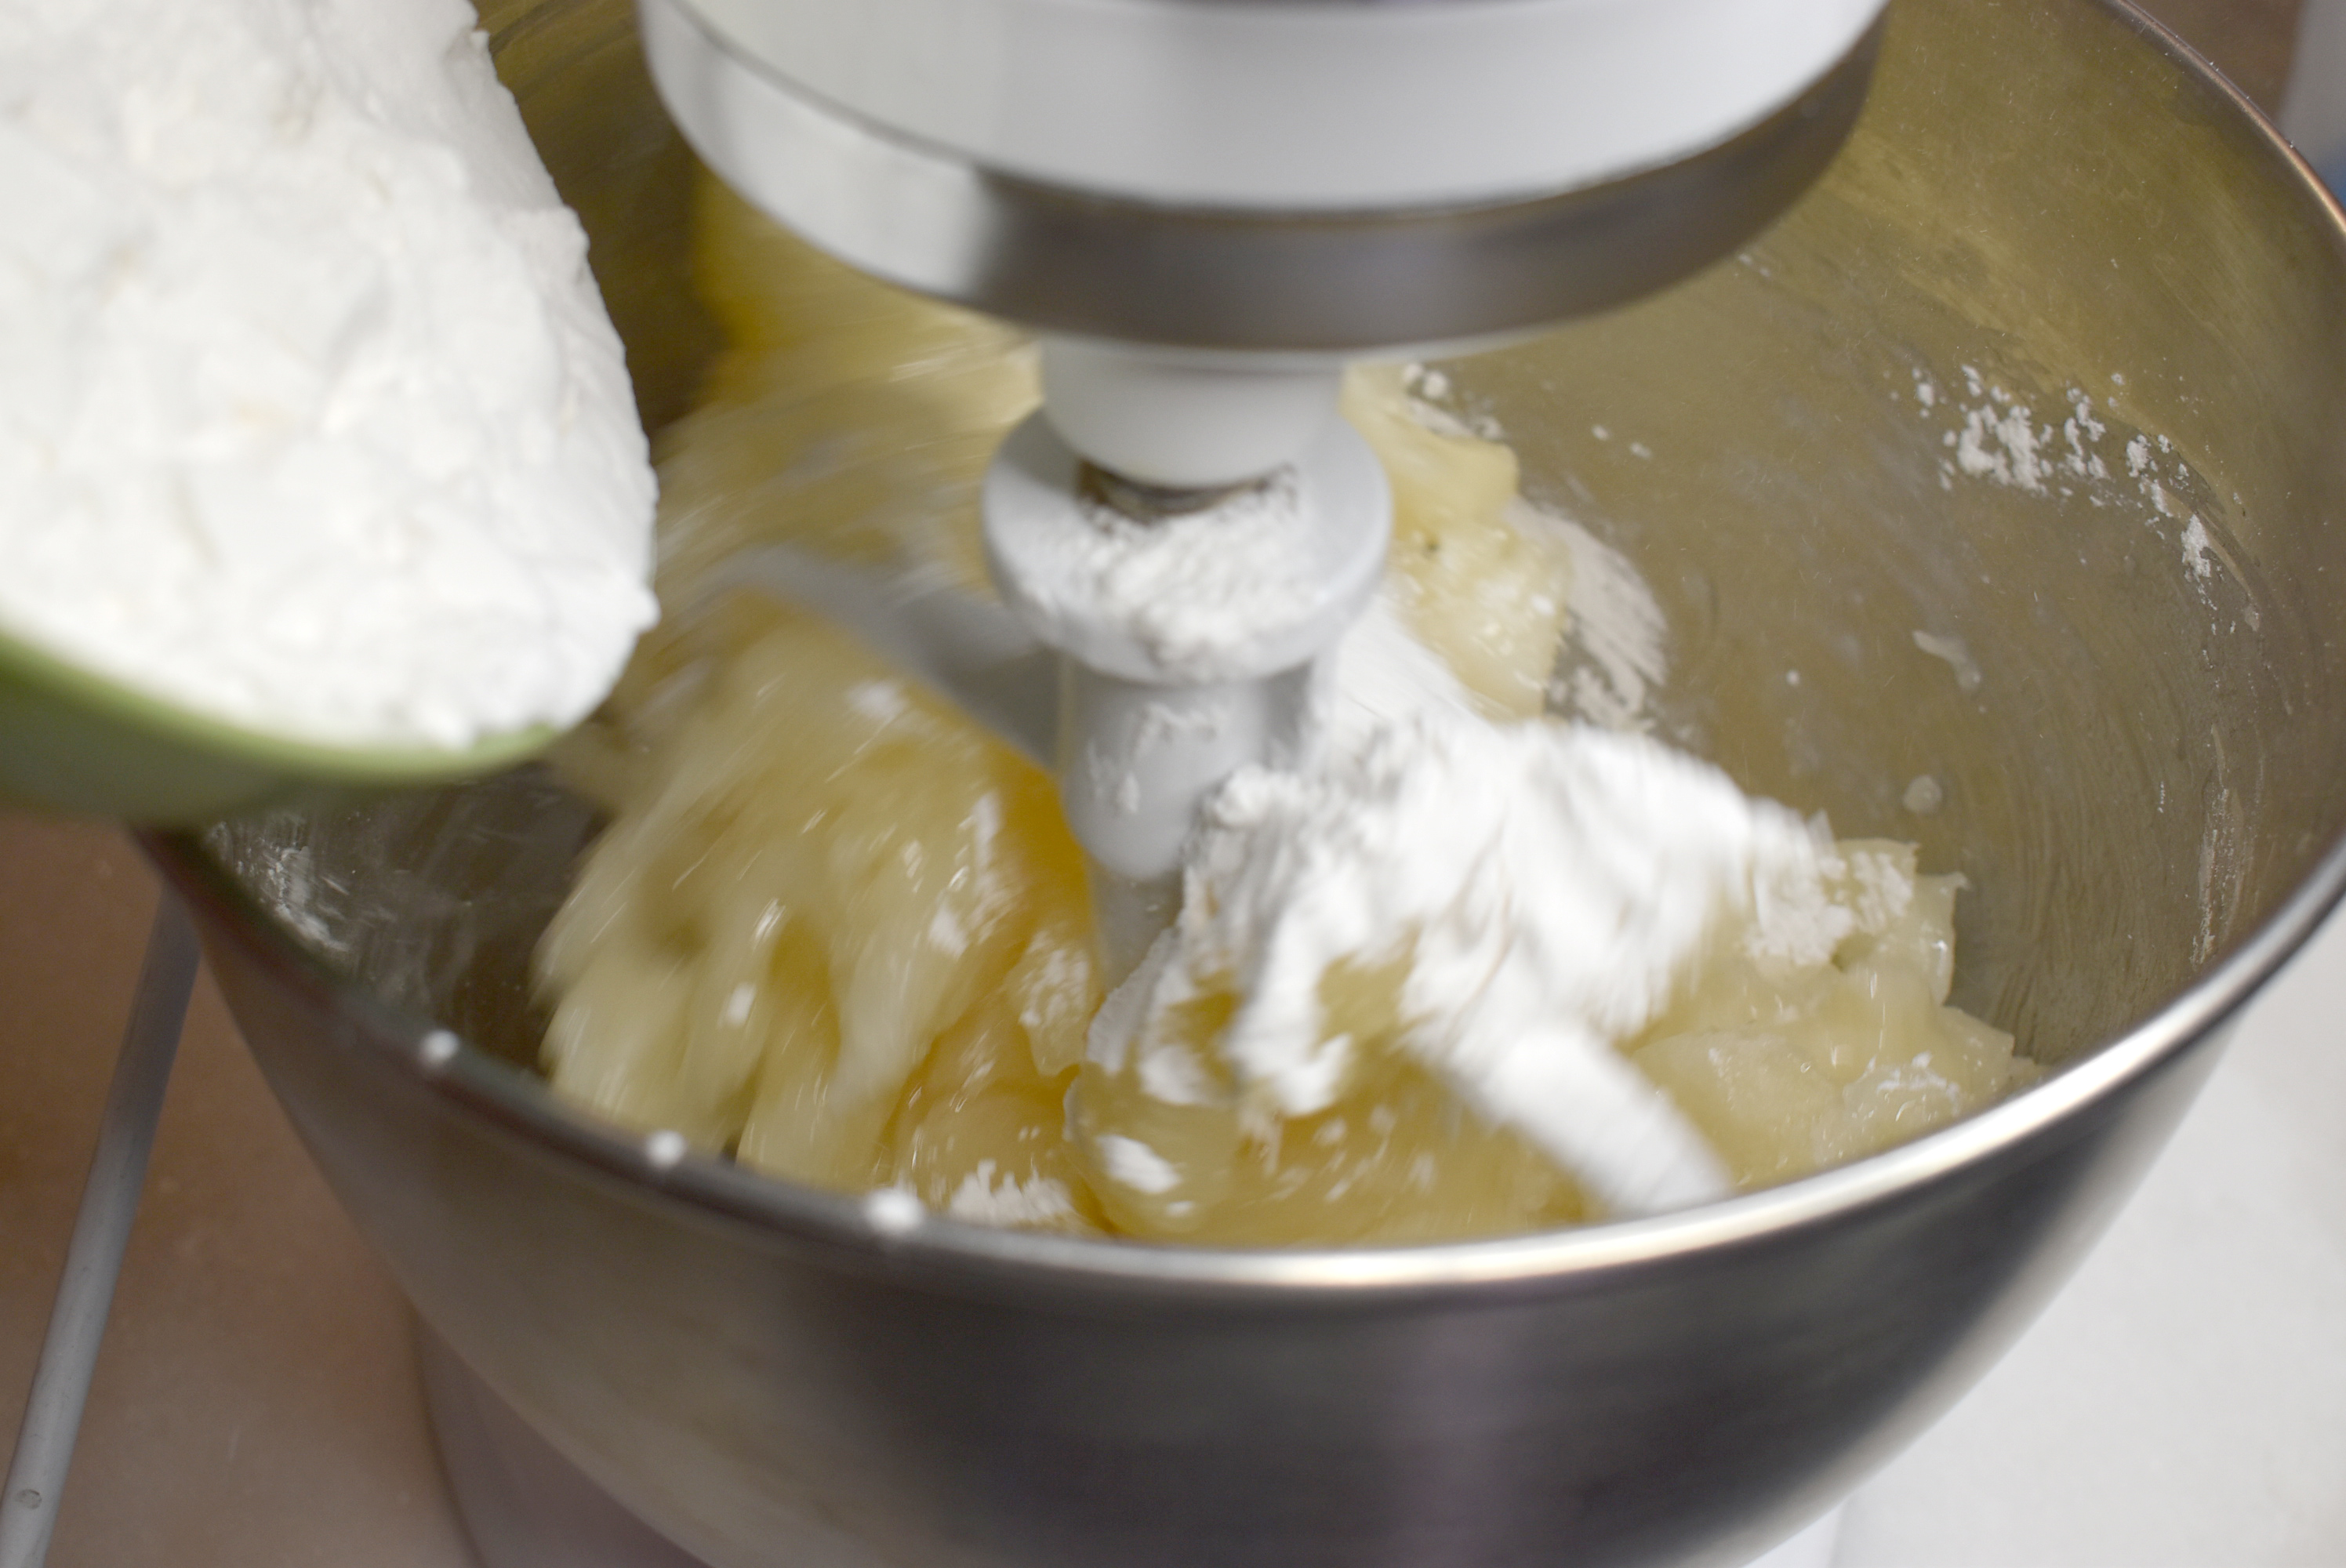
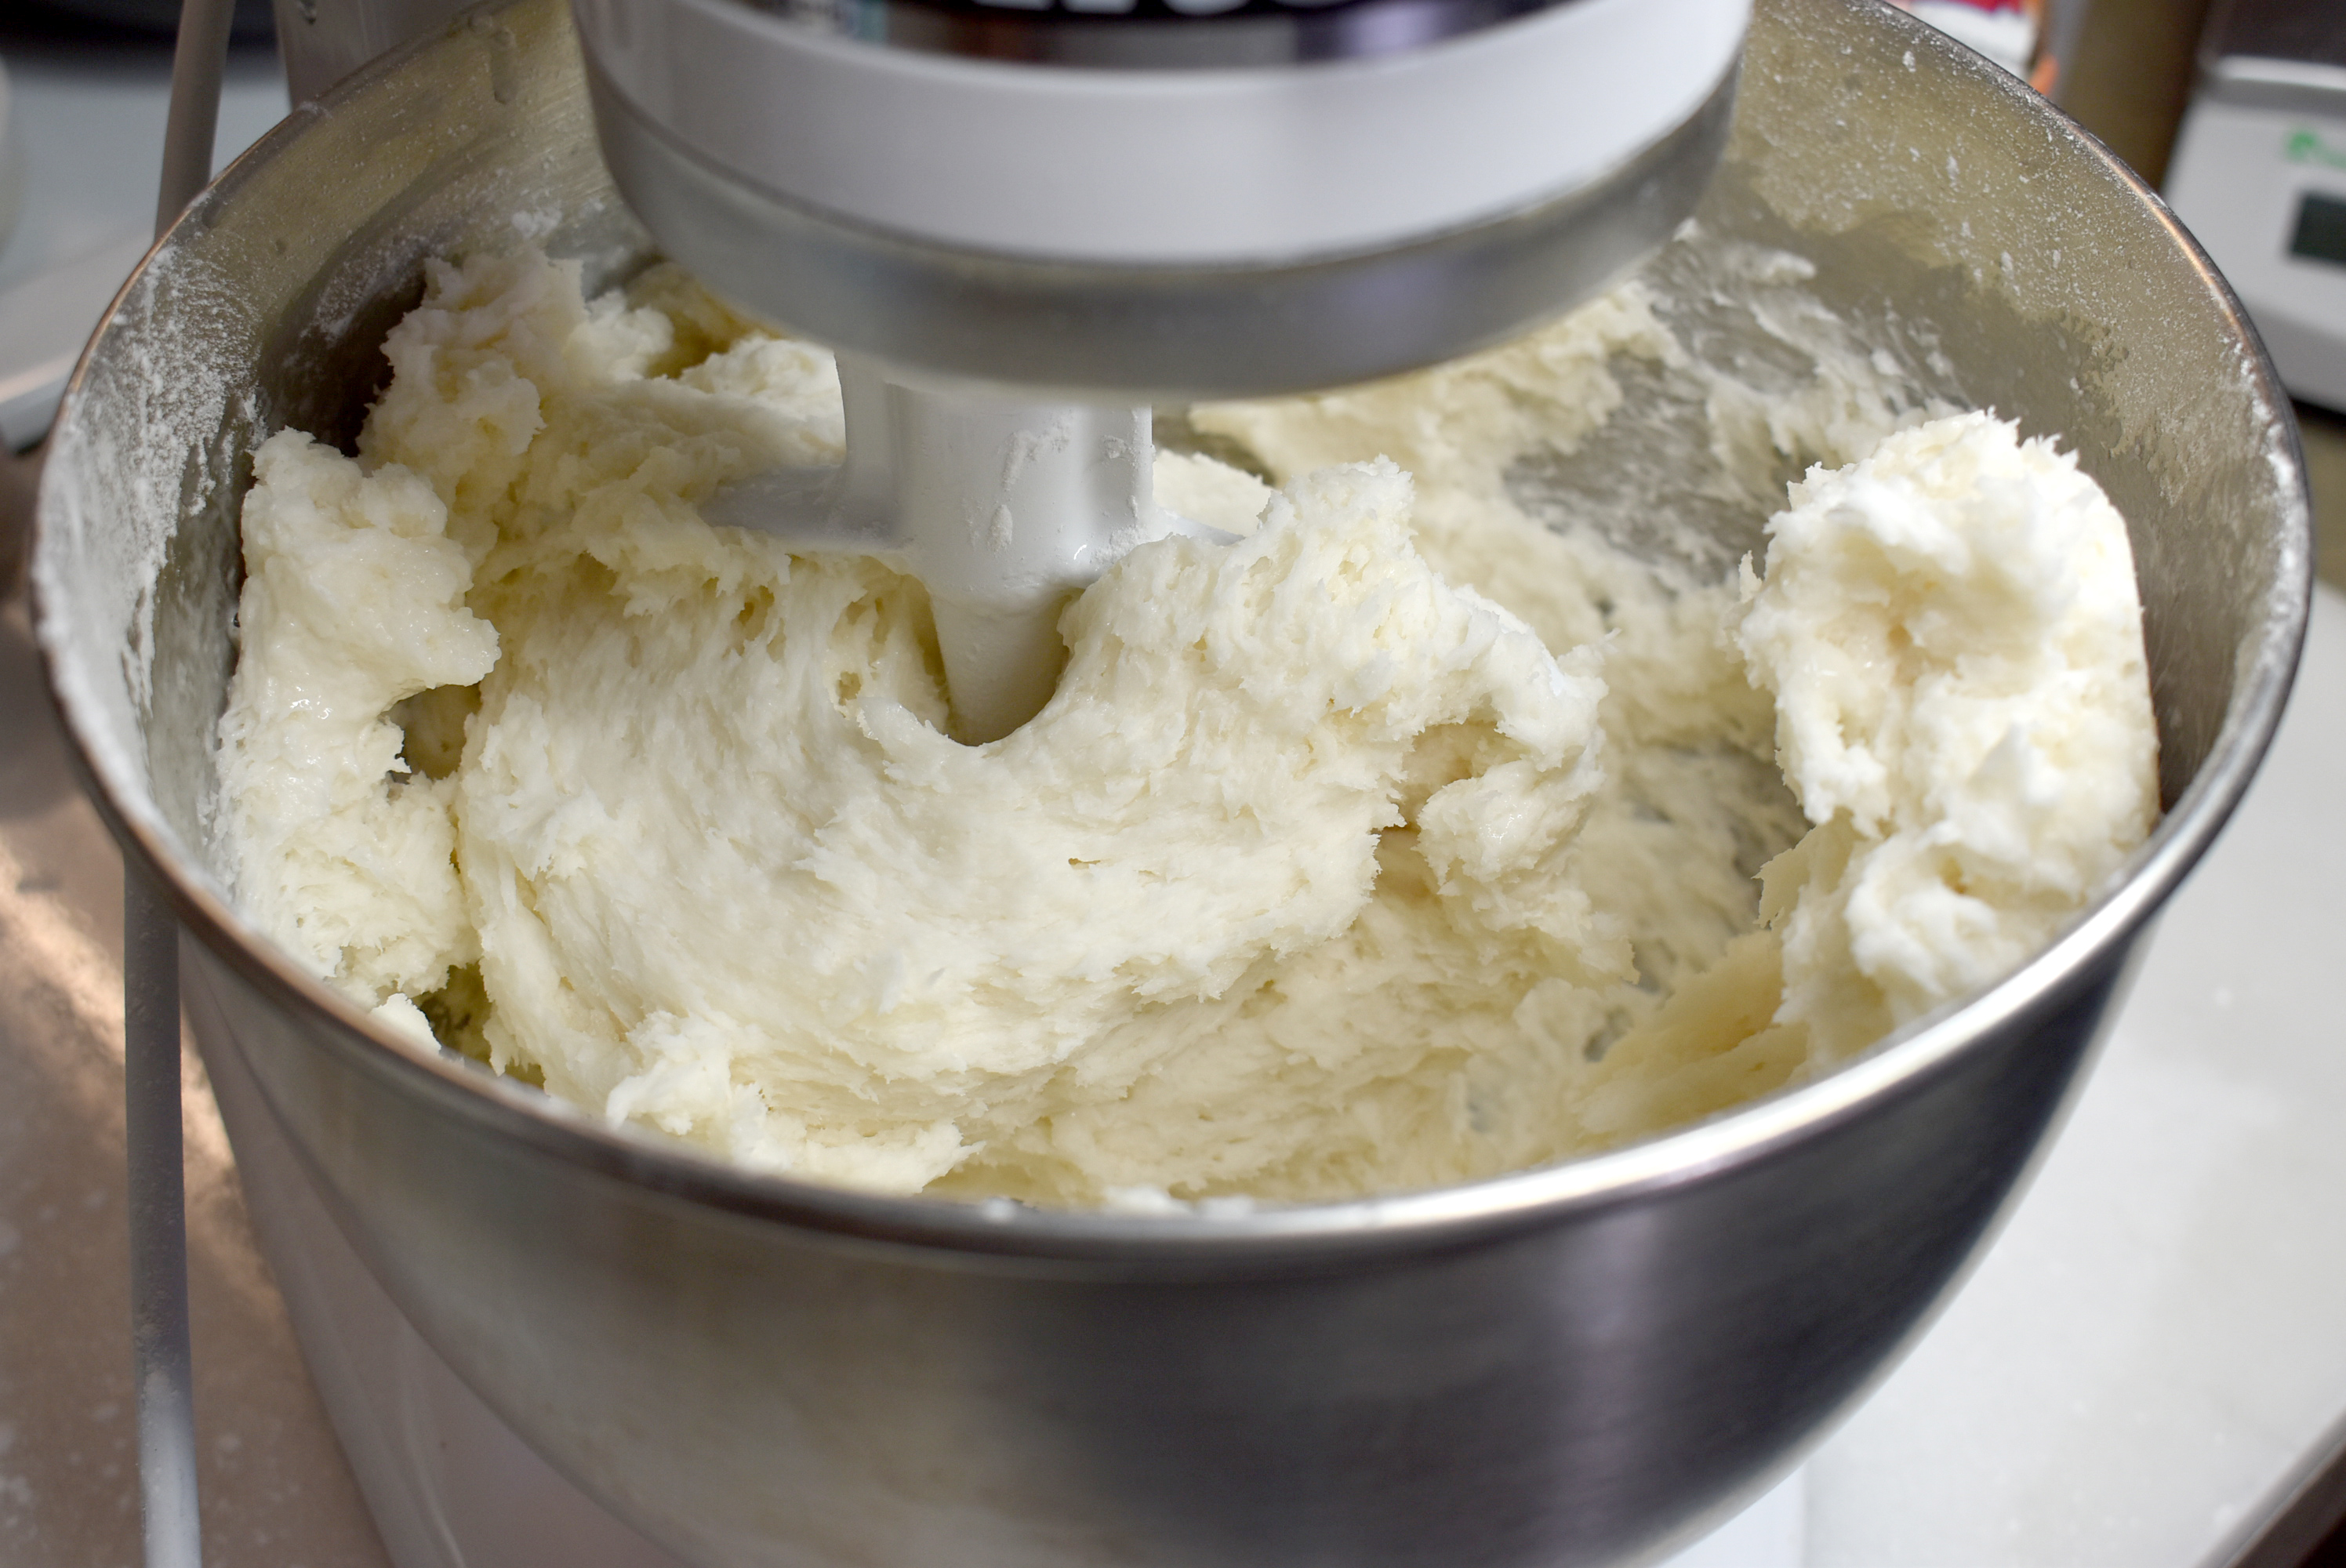
If your dough gets too thick, add more glycerin. If it is too thin, add more powder. 🙂 This is a very forgiving process!
You can also fancy it up by adding clays or other additives. You could even add a scrubby ingredient to make an exfoliating soap dough. Get creative!
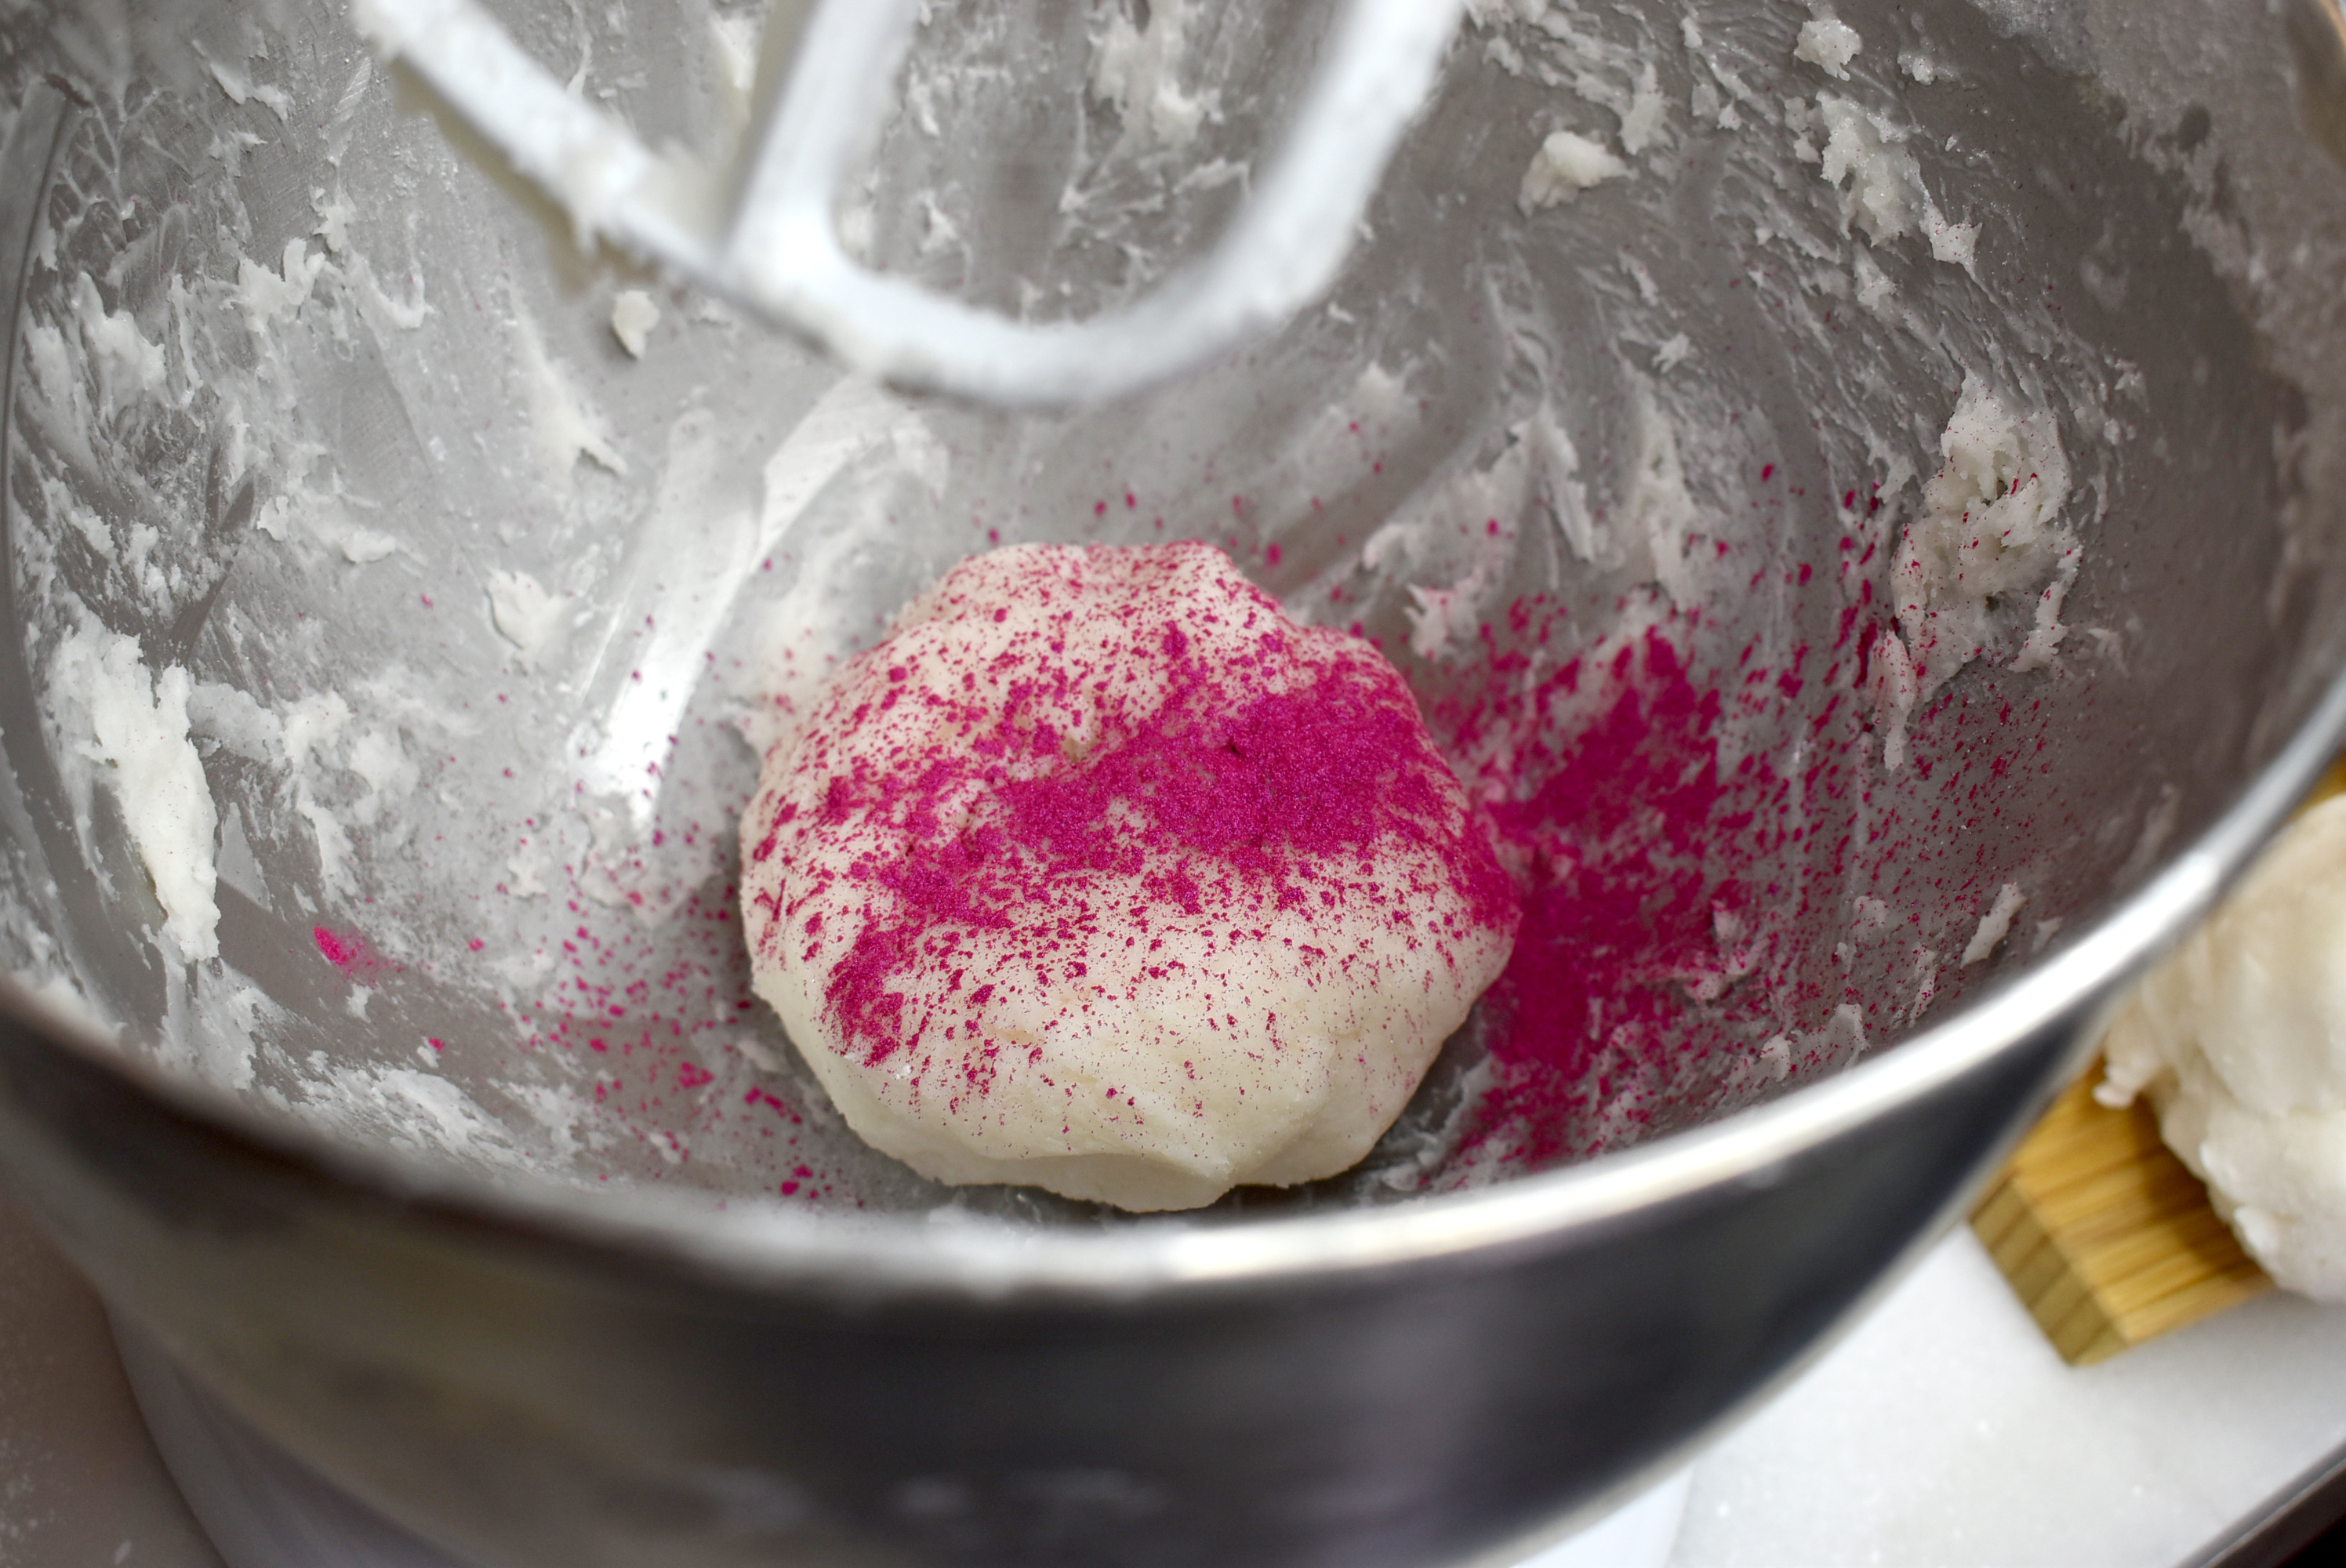
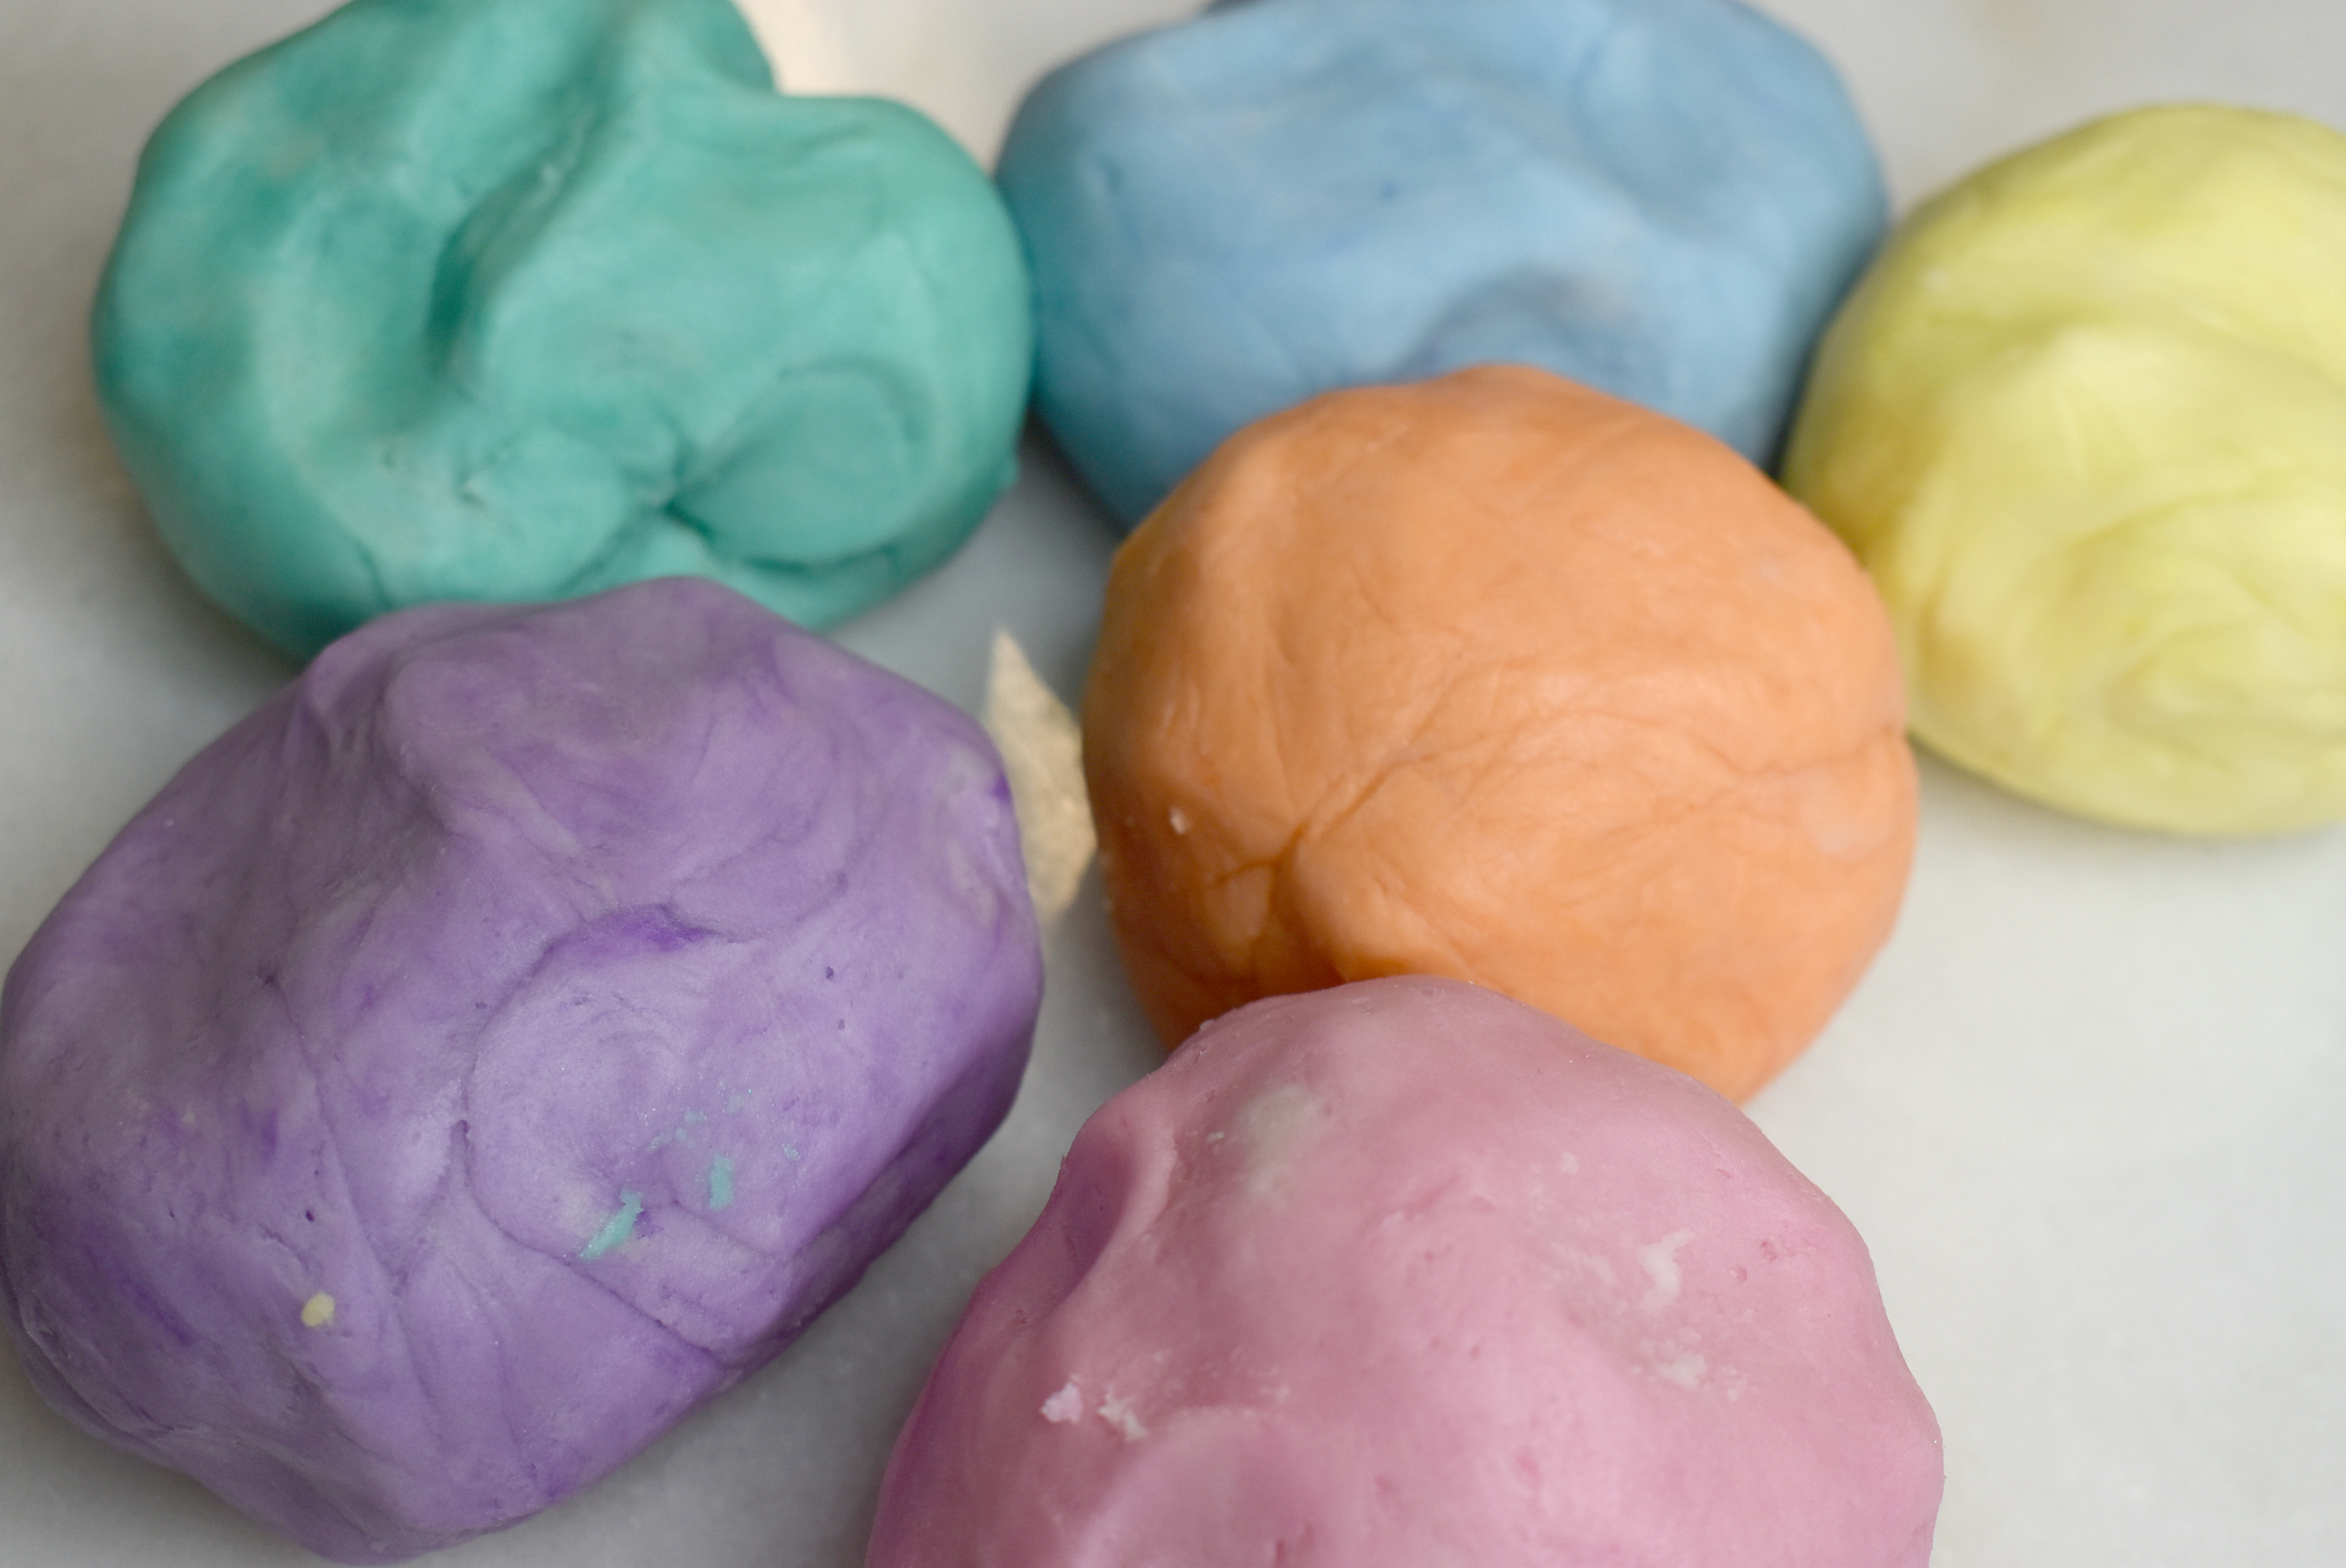
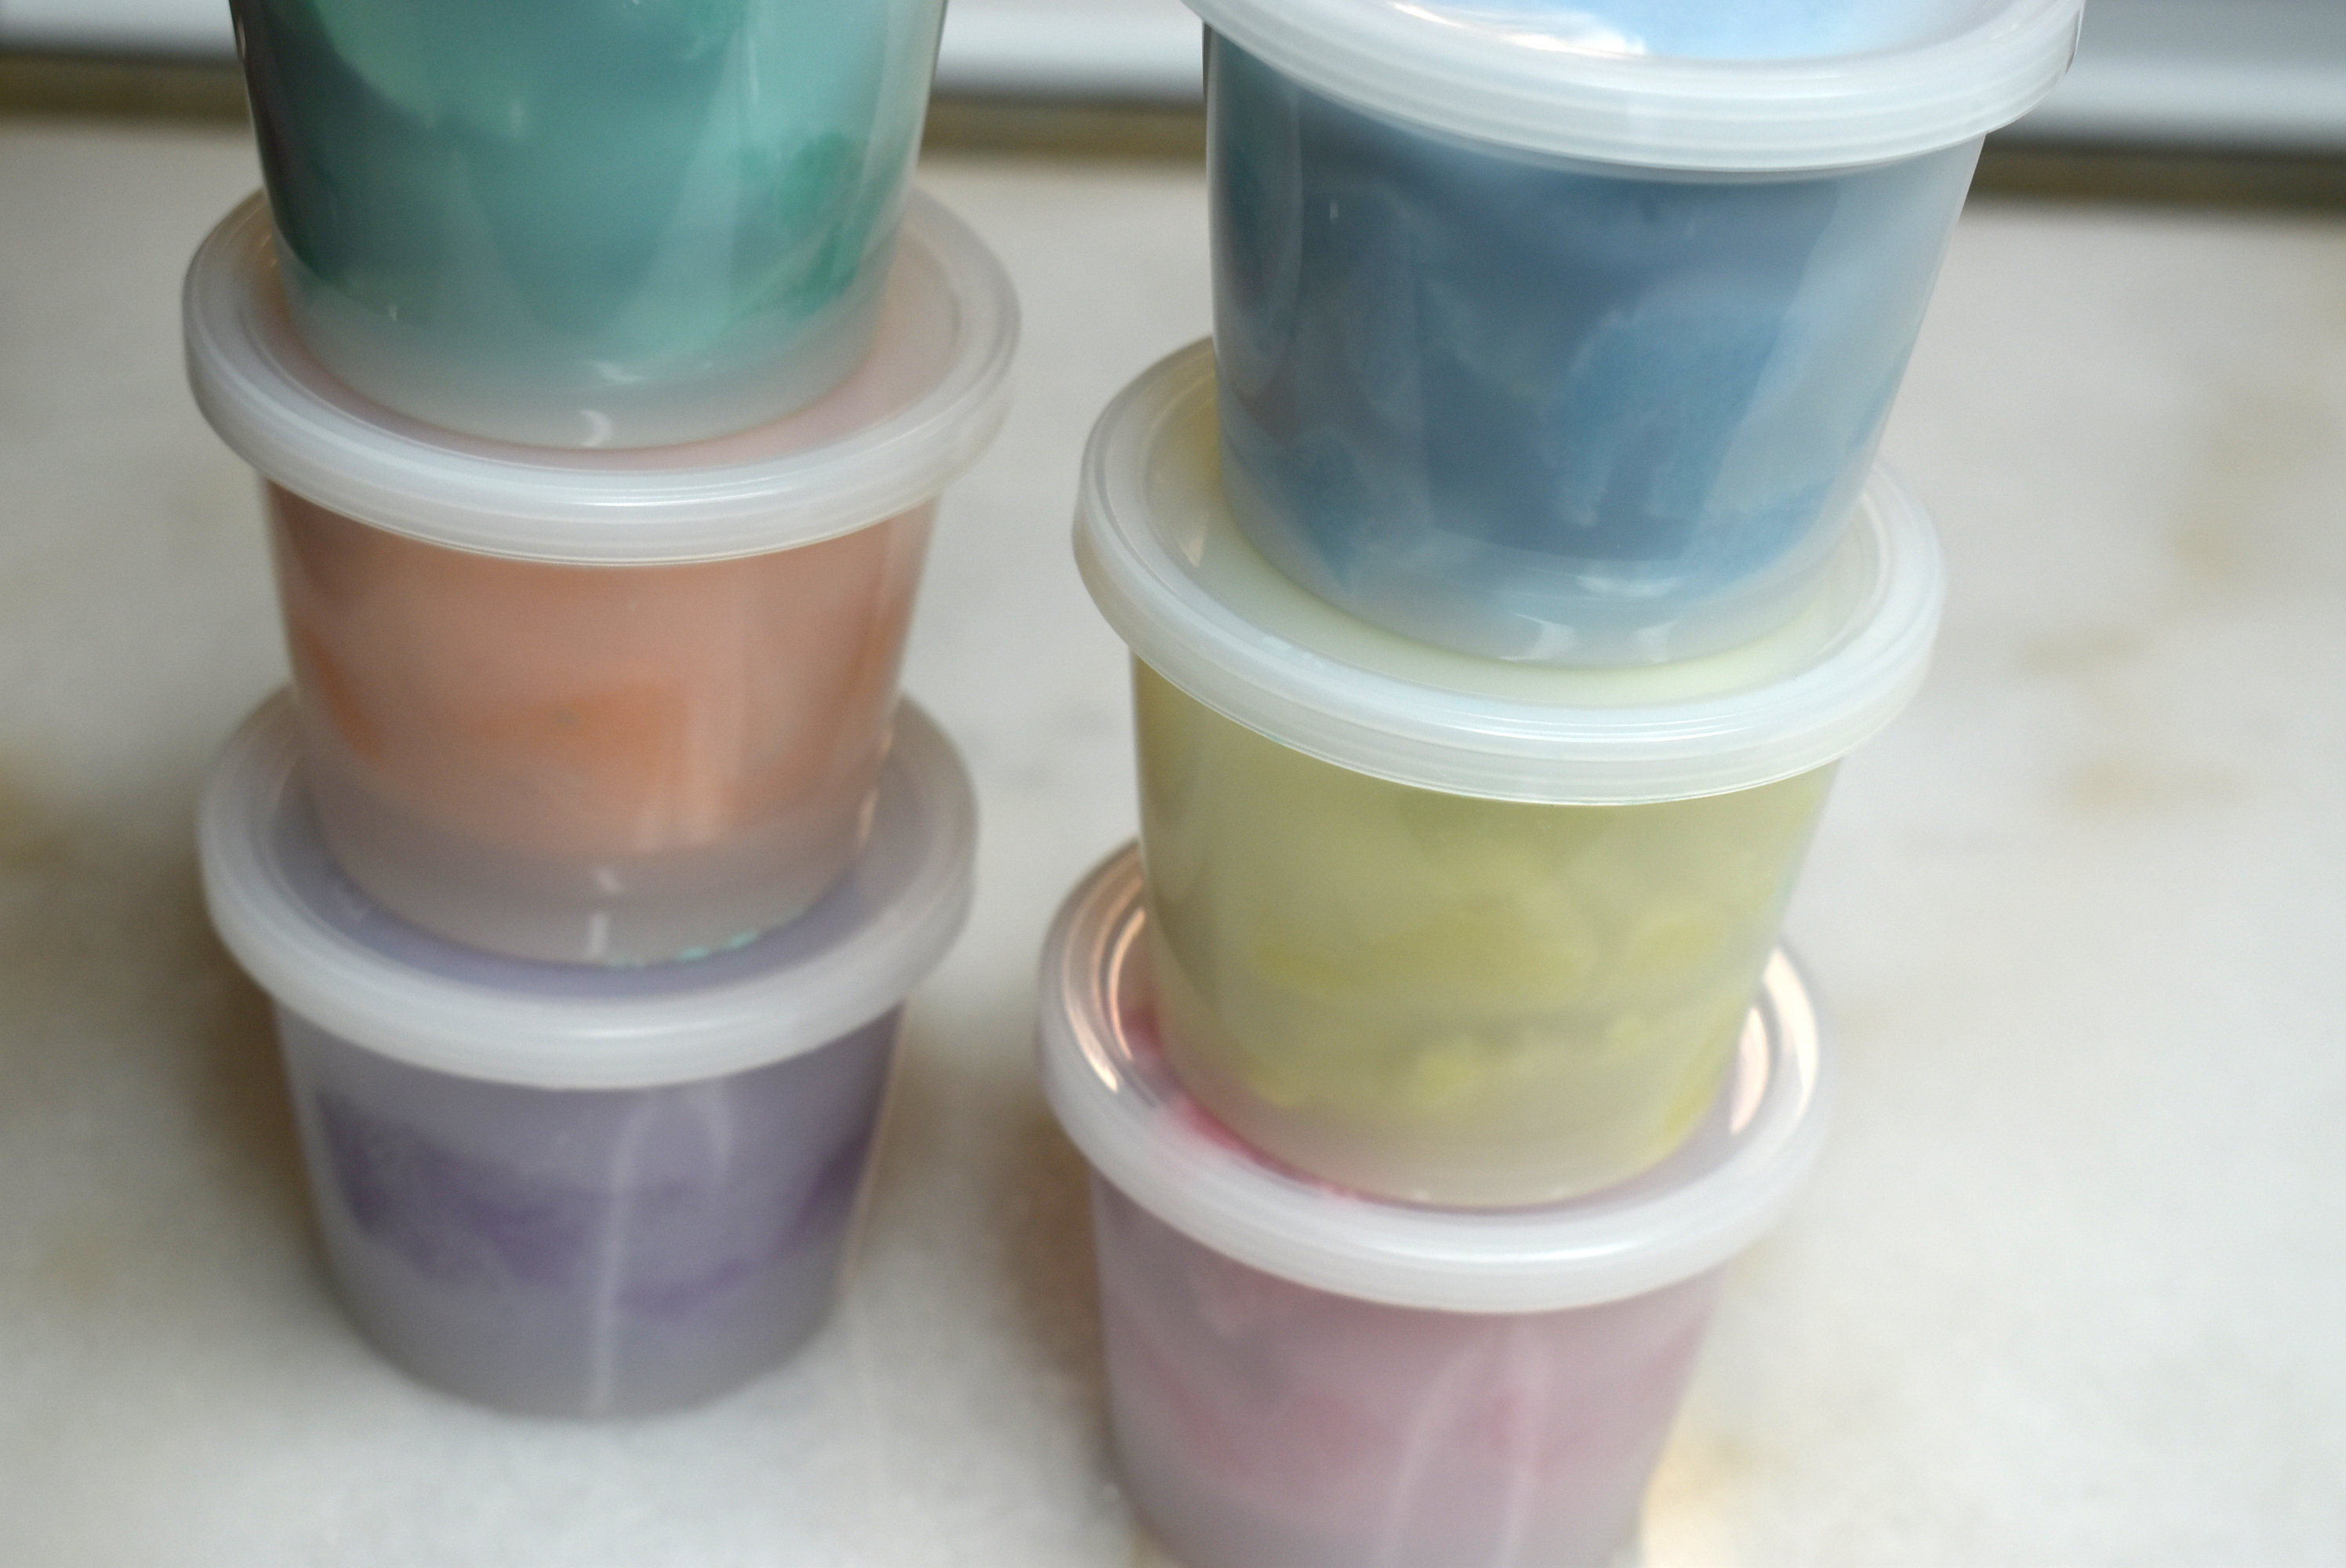
I decided to divide mine out to color different colors.
I didn’t add scent but you certainly could. I would go with 1-3% scent. Simply weigh your dough and calculate 1-3% for fragrance or essential oil. I left mine unscented.
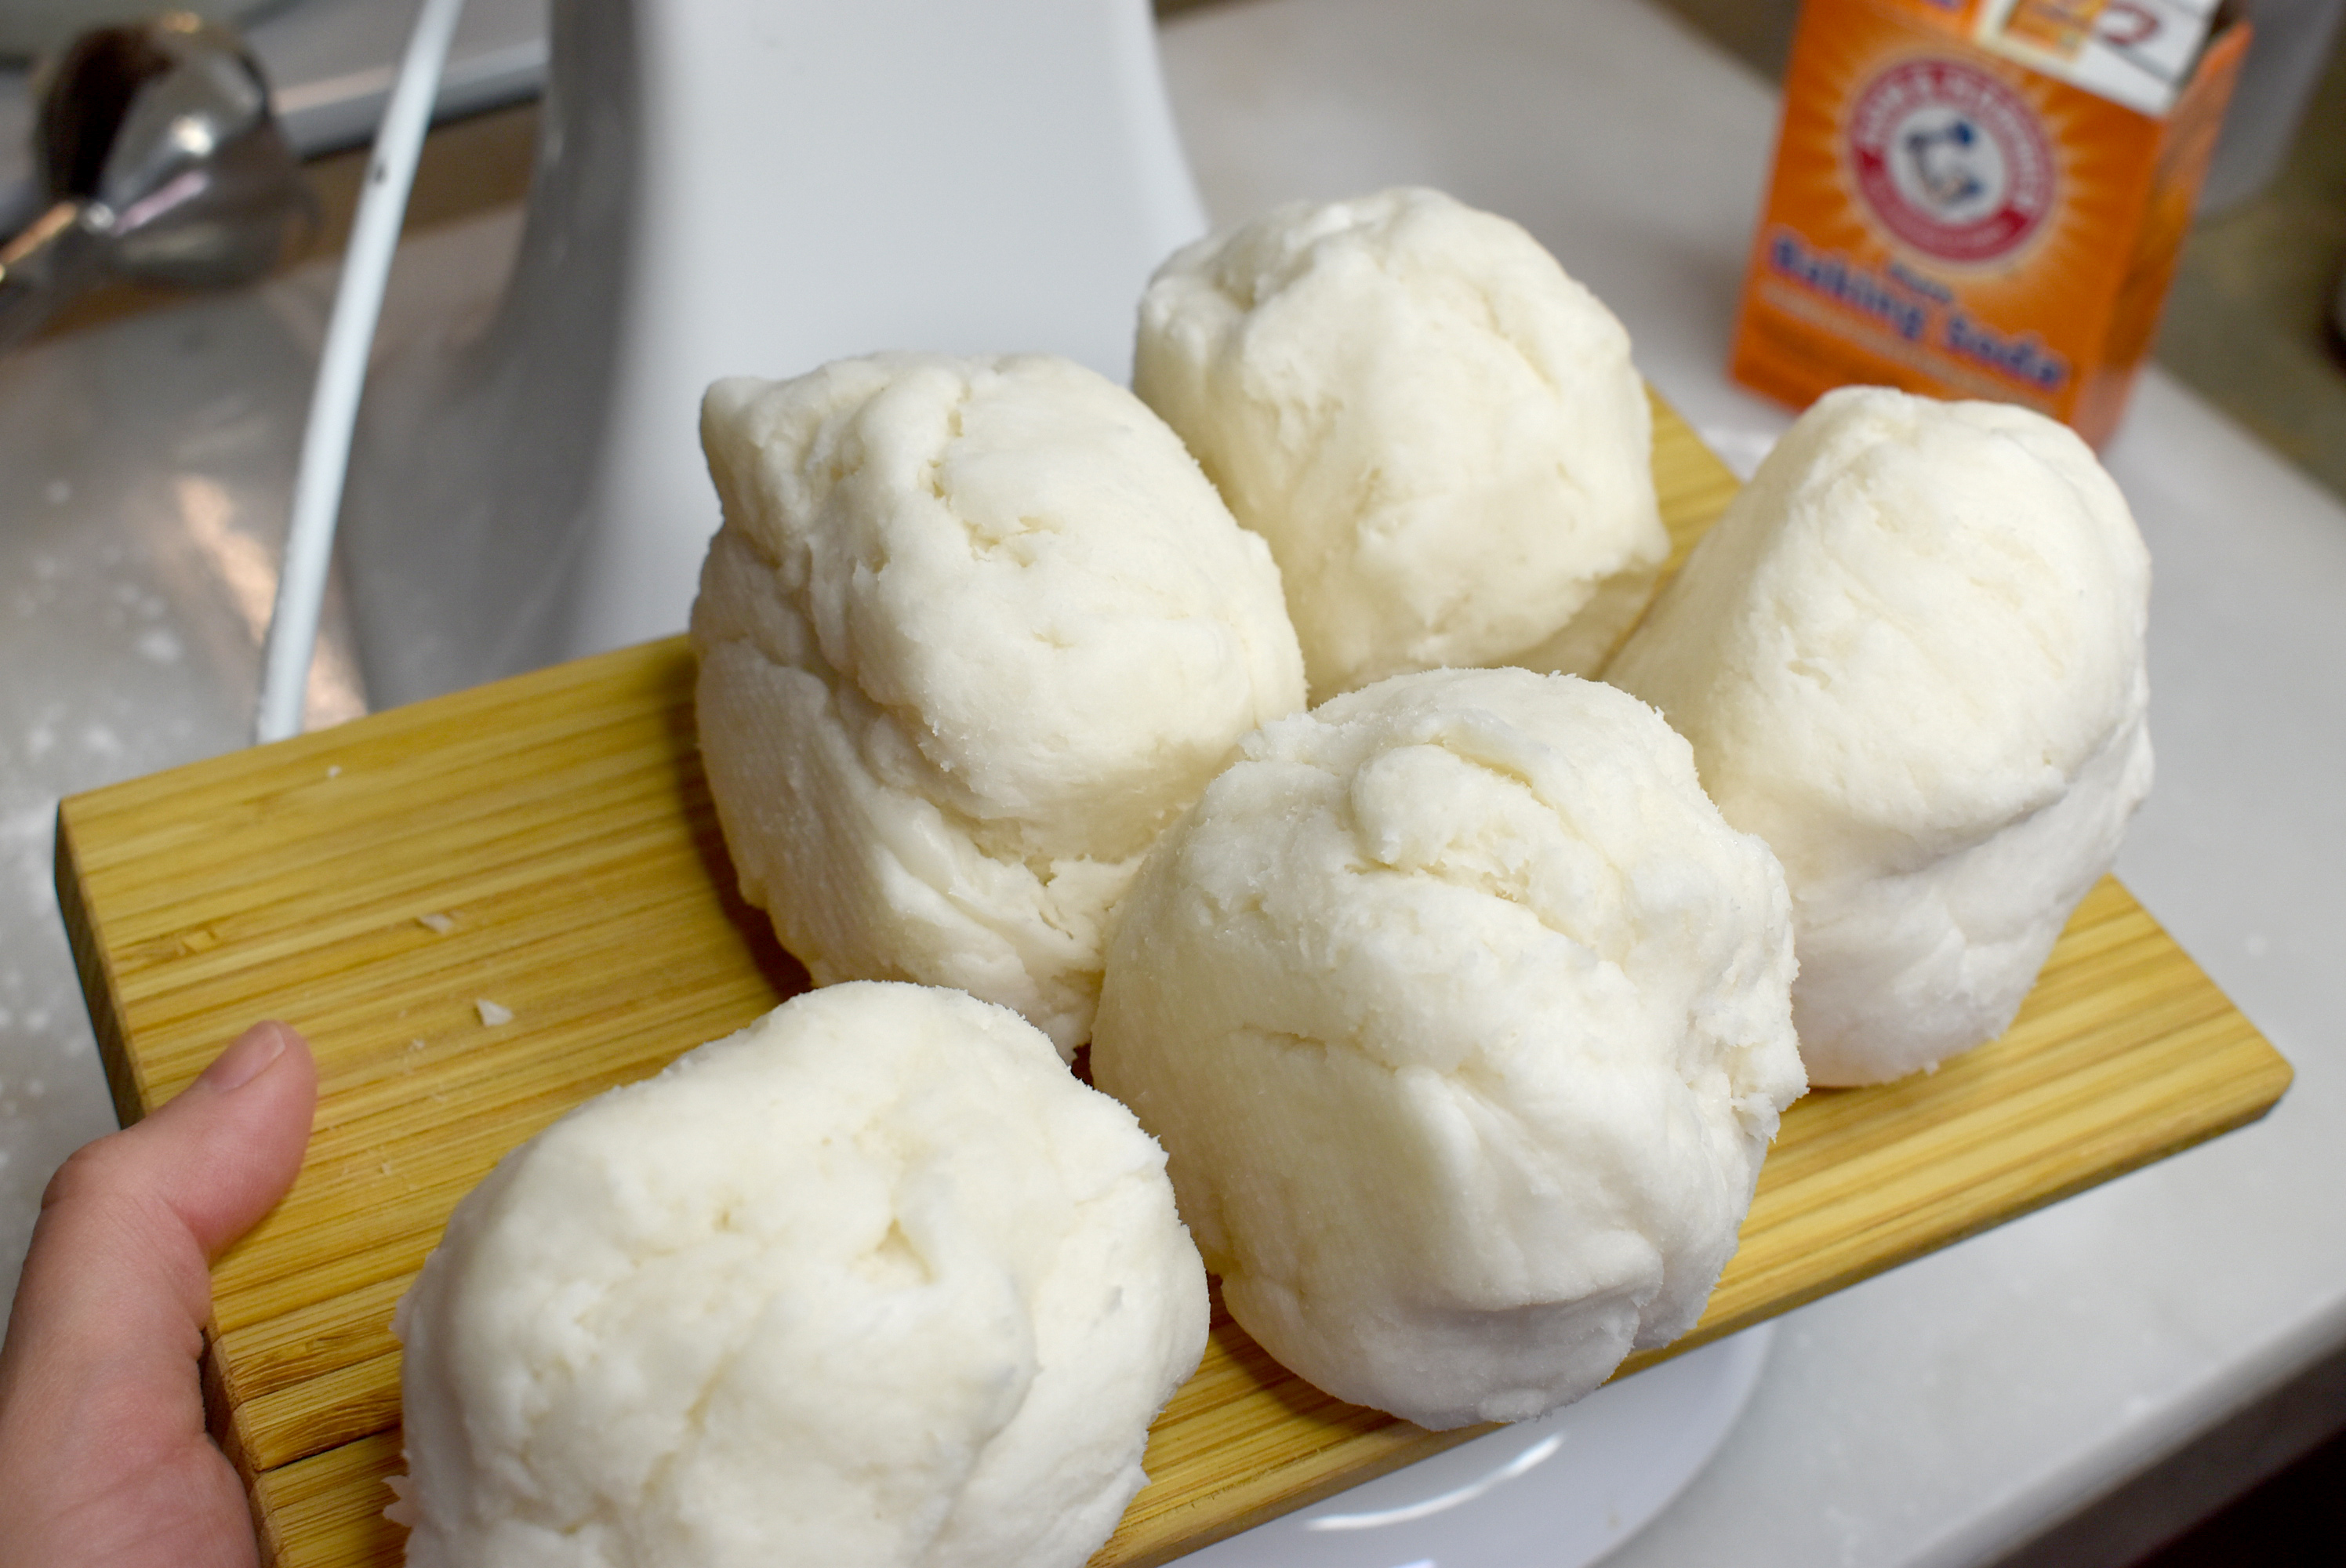
I tossed each back into the mixer and added some mica to color.
Here is what I ended up with!
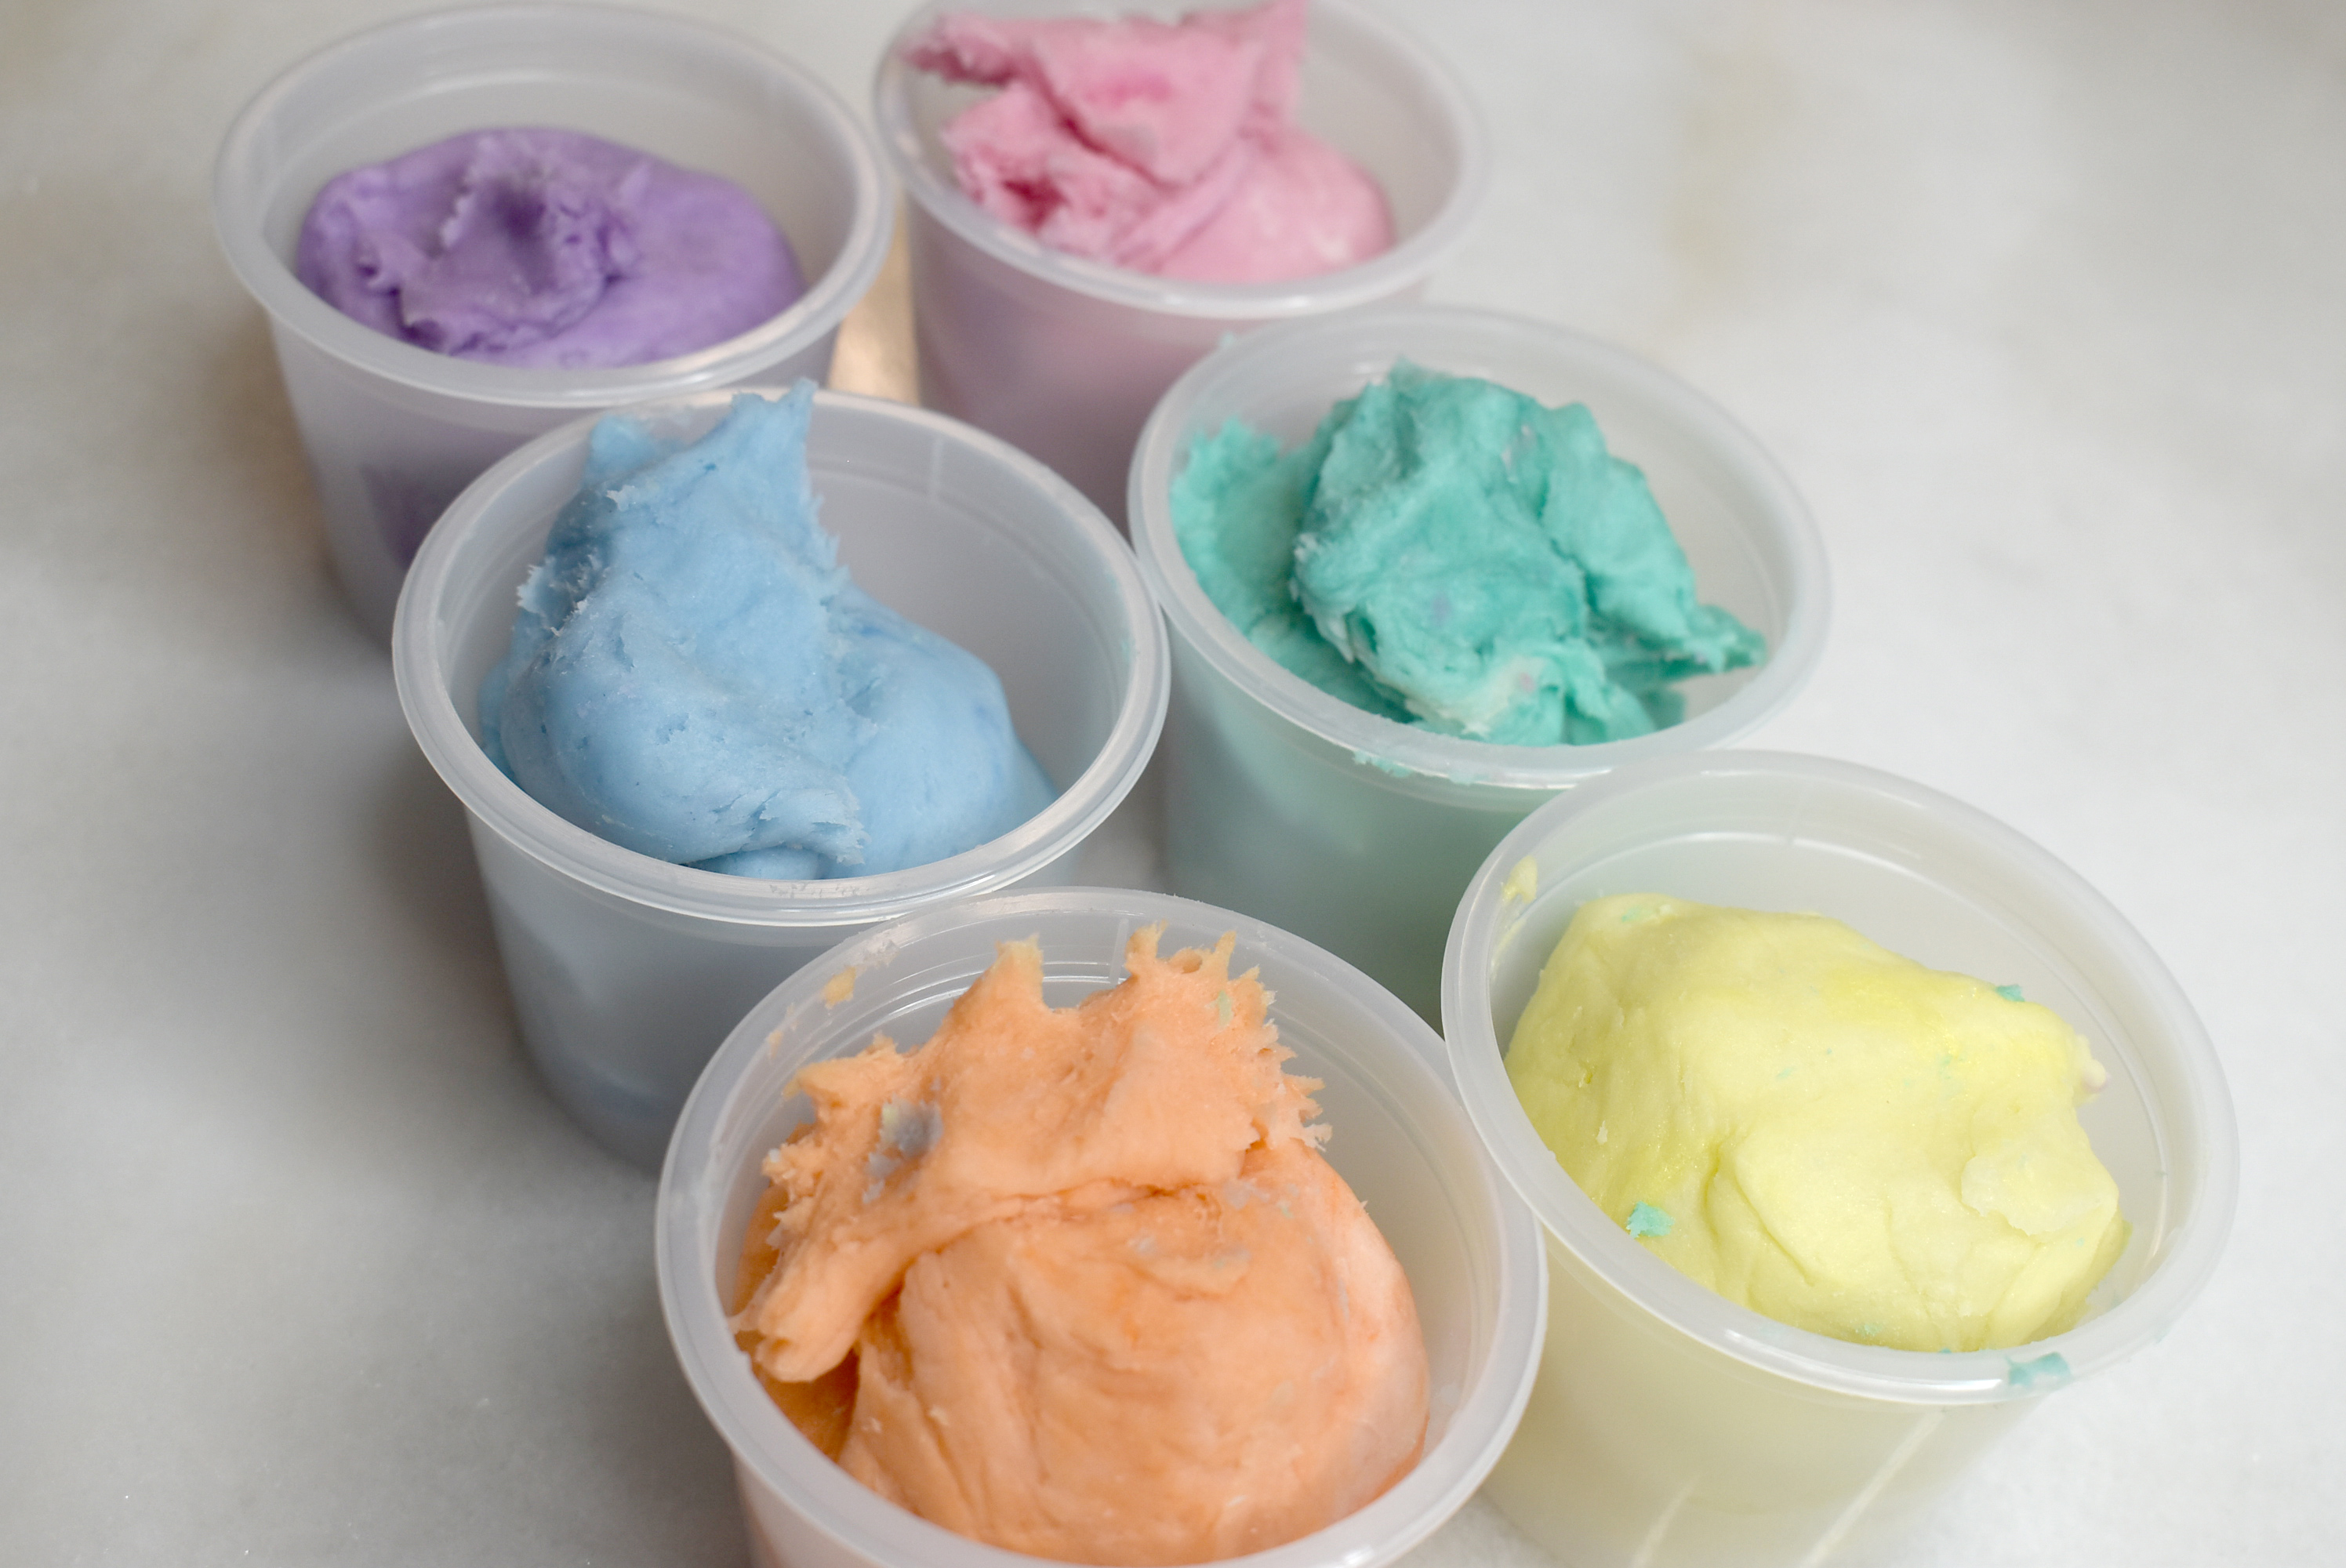
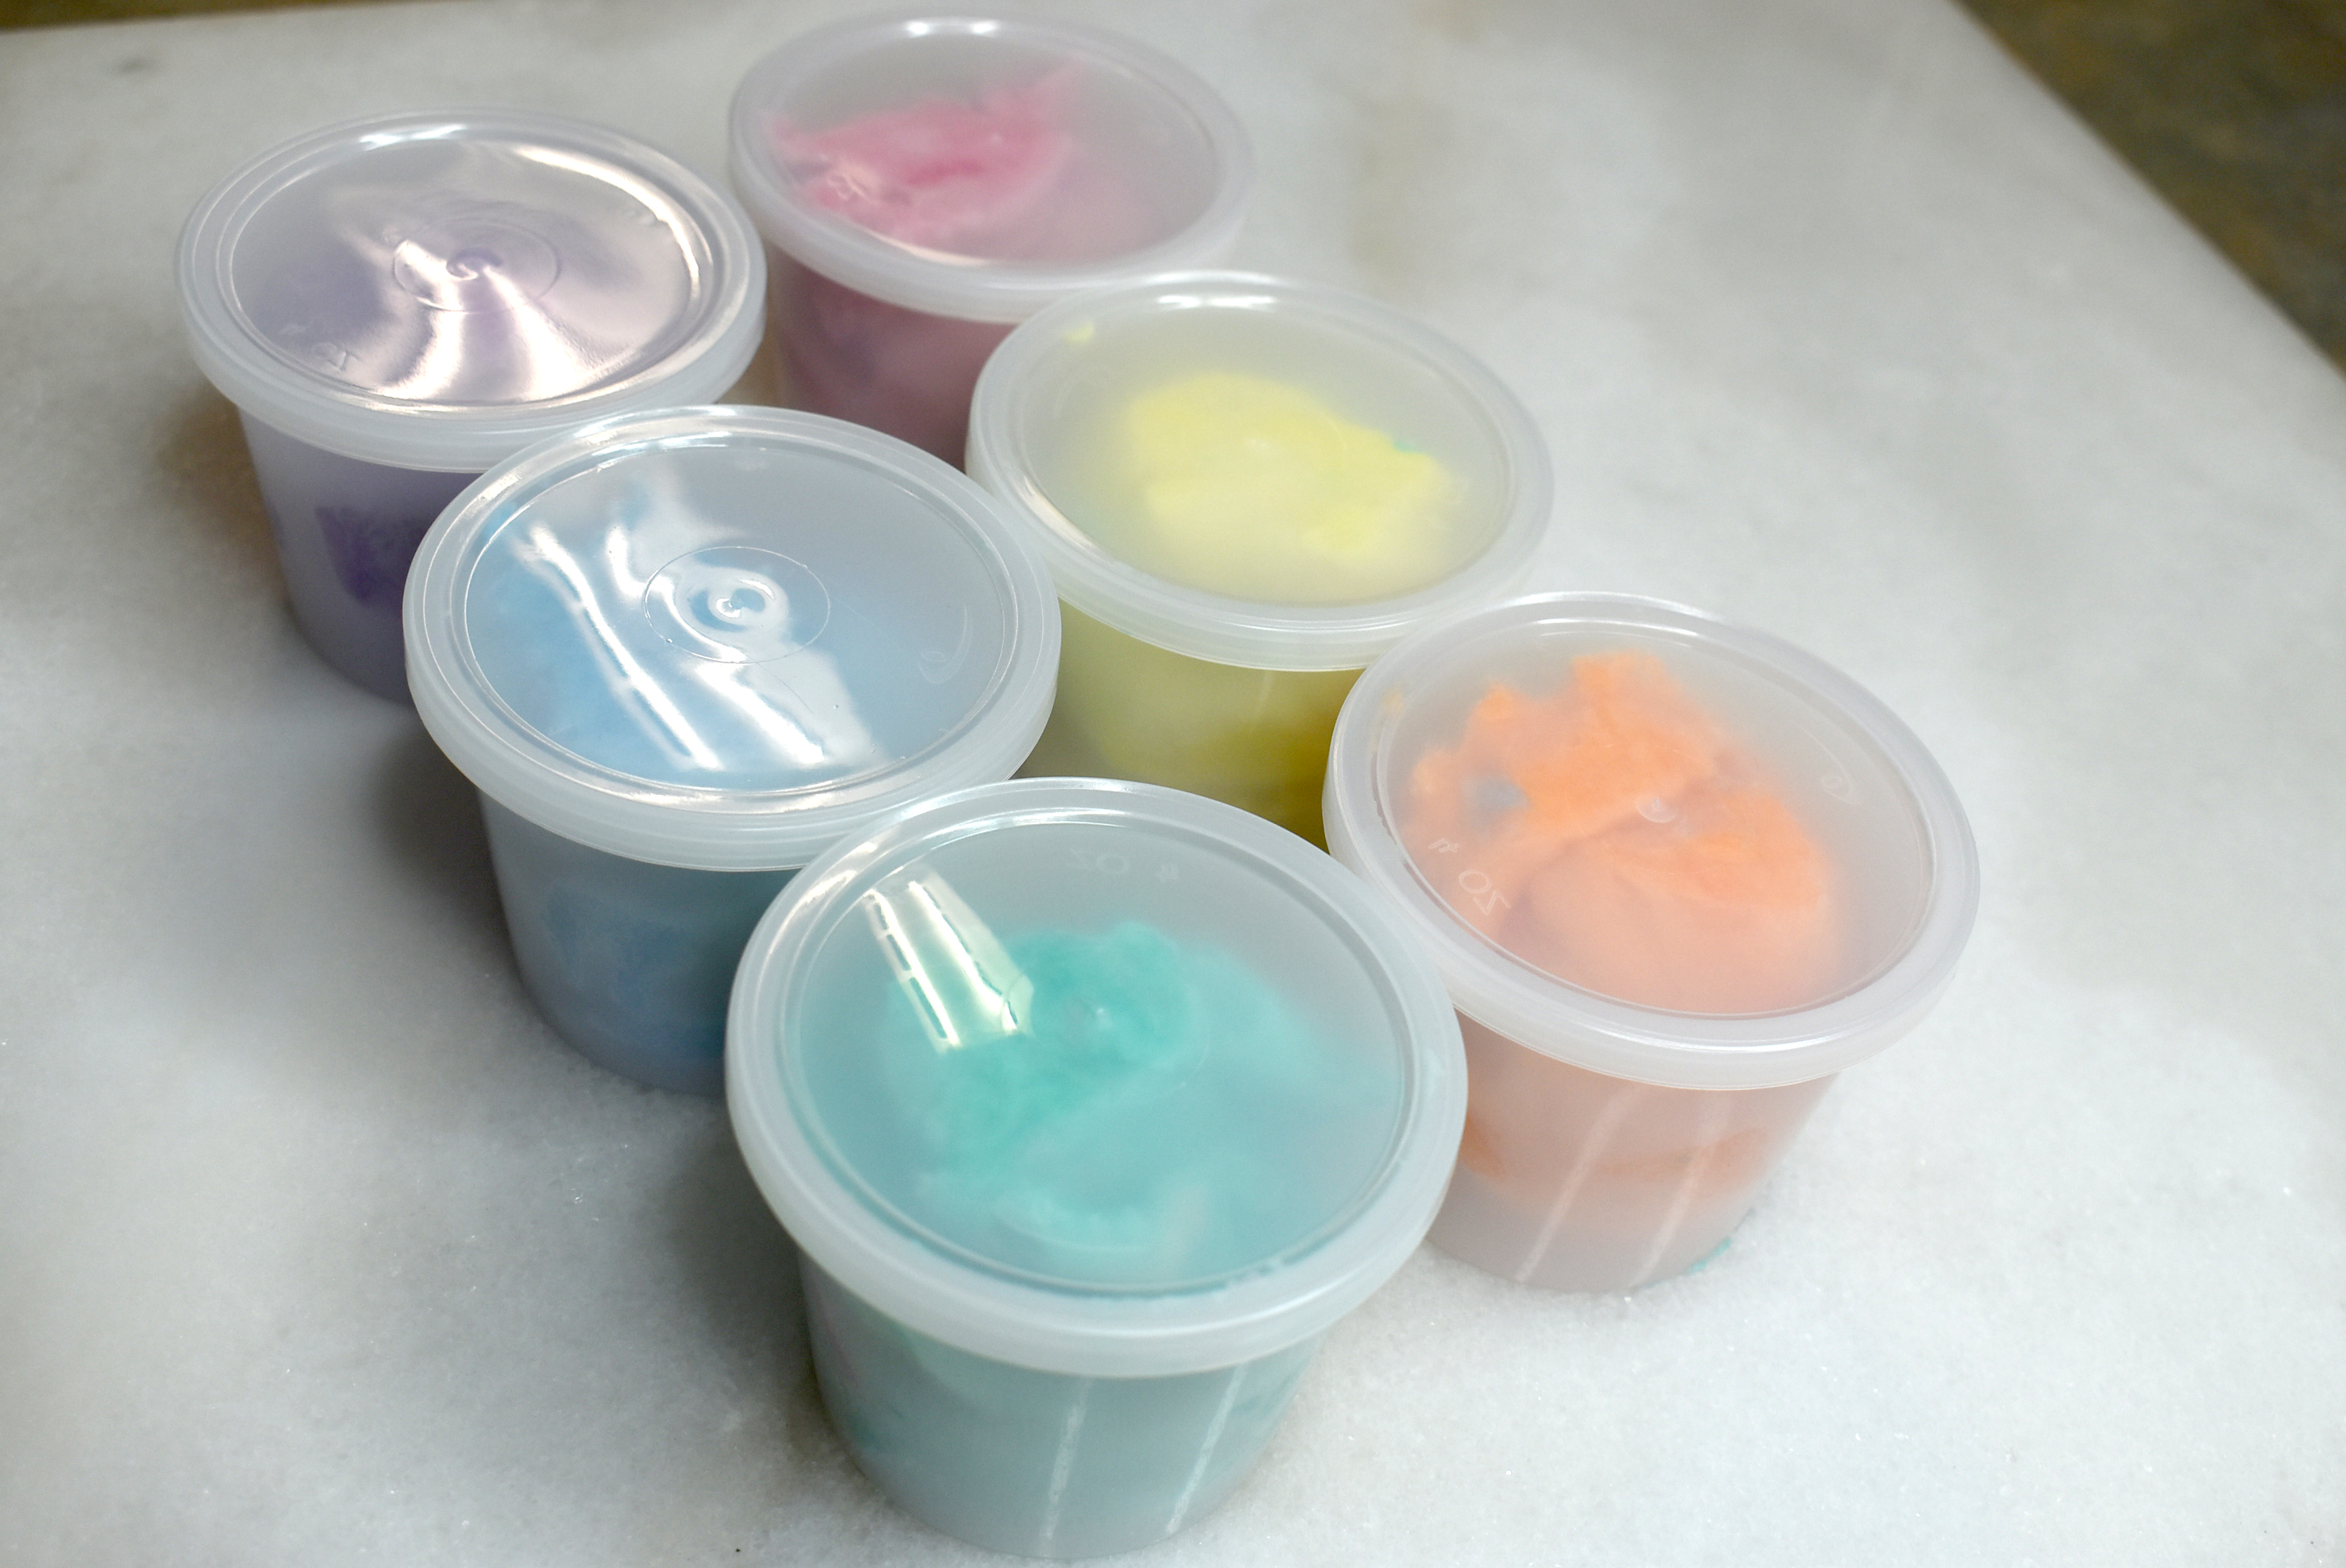
I found the perfect containers on Amazon to package them in. I used the 4 oz. containers but there are 8 oz. as well. (Affiliate link)
So adorable! To measure out simply place the empty container on your scale, hit tare and add 4 oz. of soap dough.

Curing Your Soap Dough
I would still let the dough cure for a couple of weeks. It will make it milder. You don’t want the water to evaporate so simply leave it to cure in closed containers.
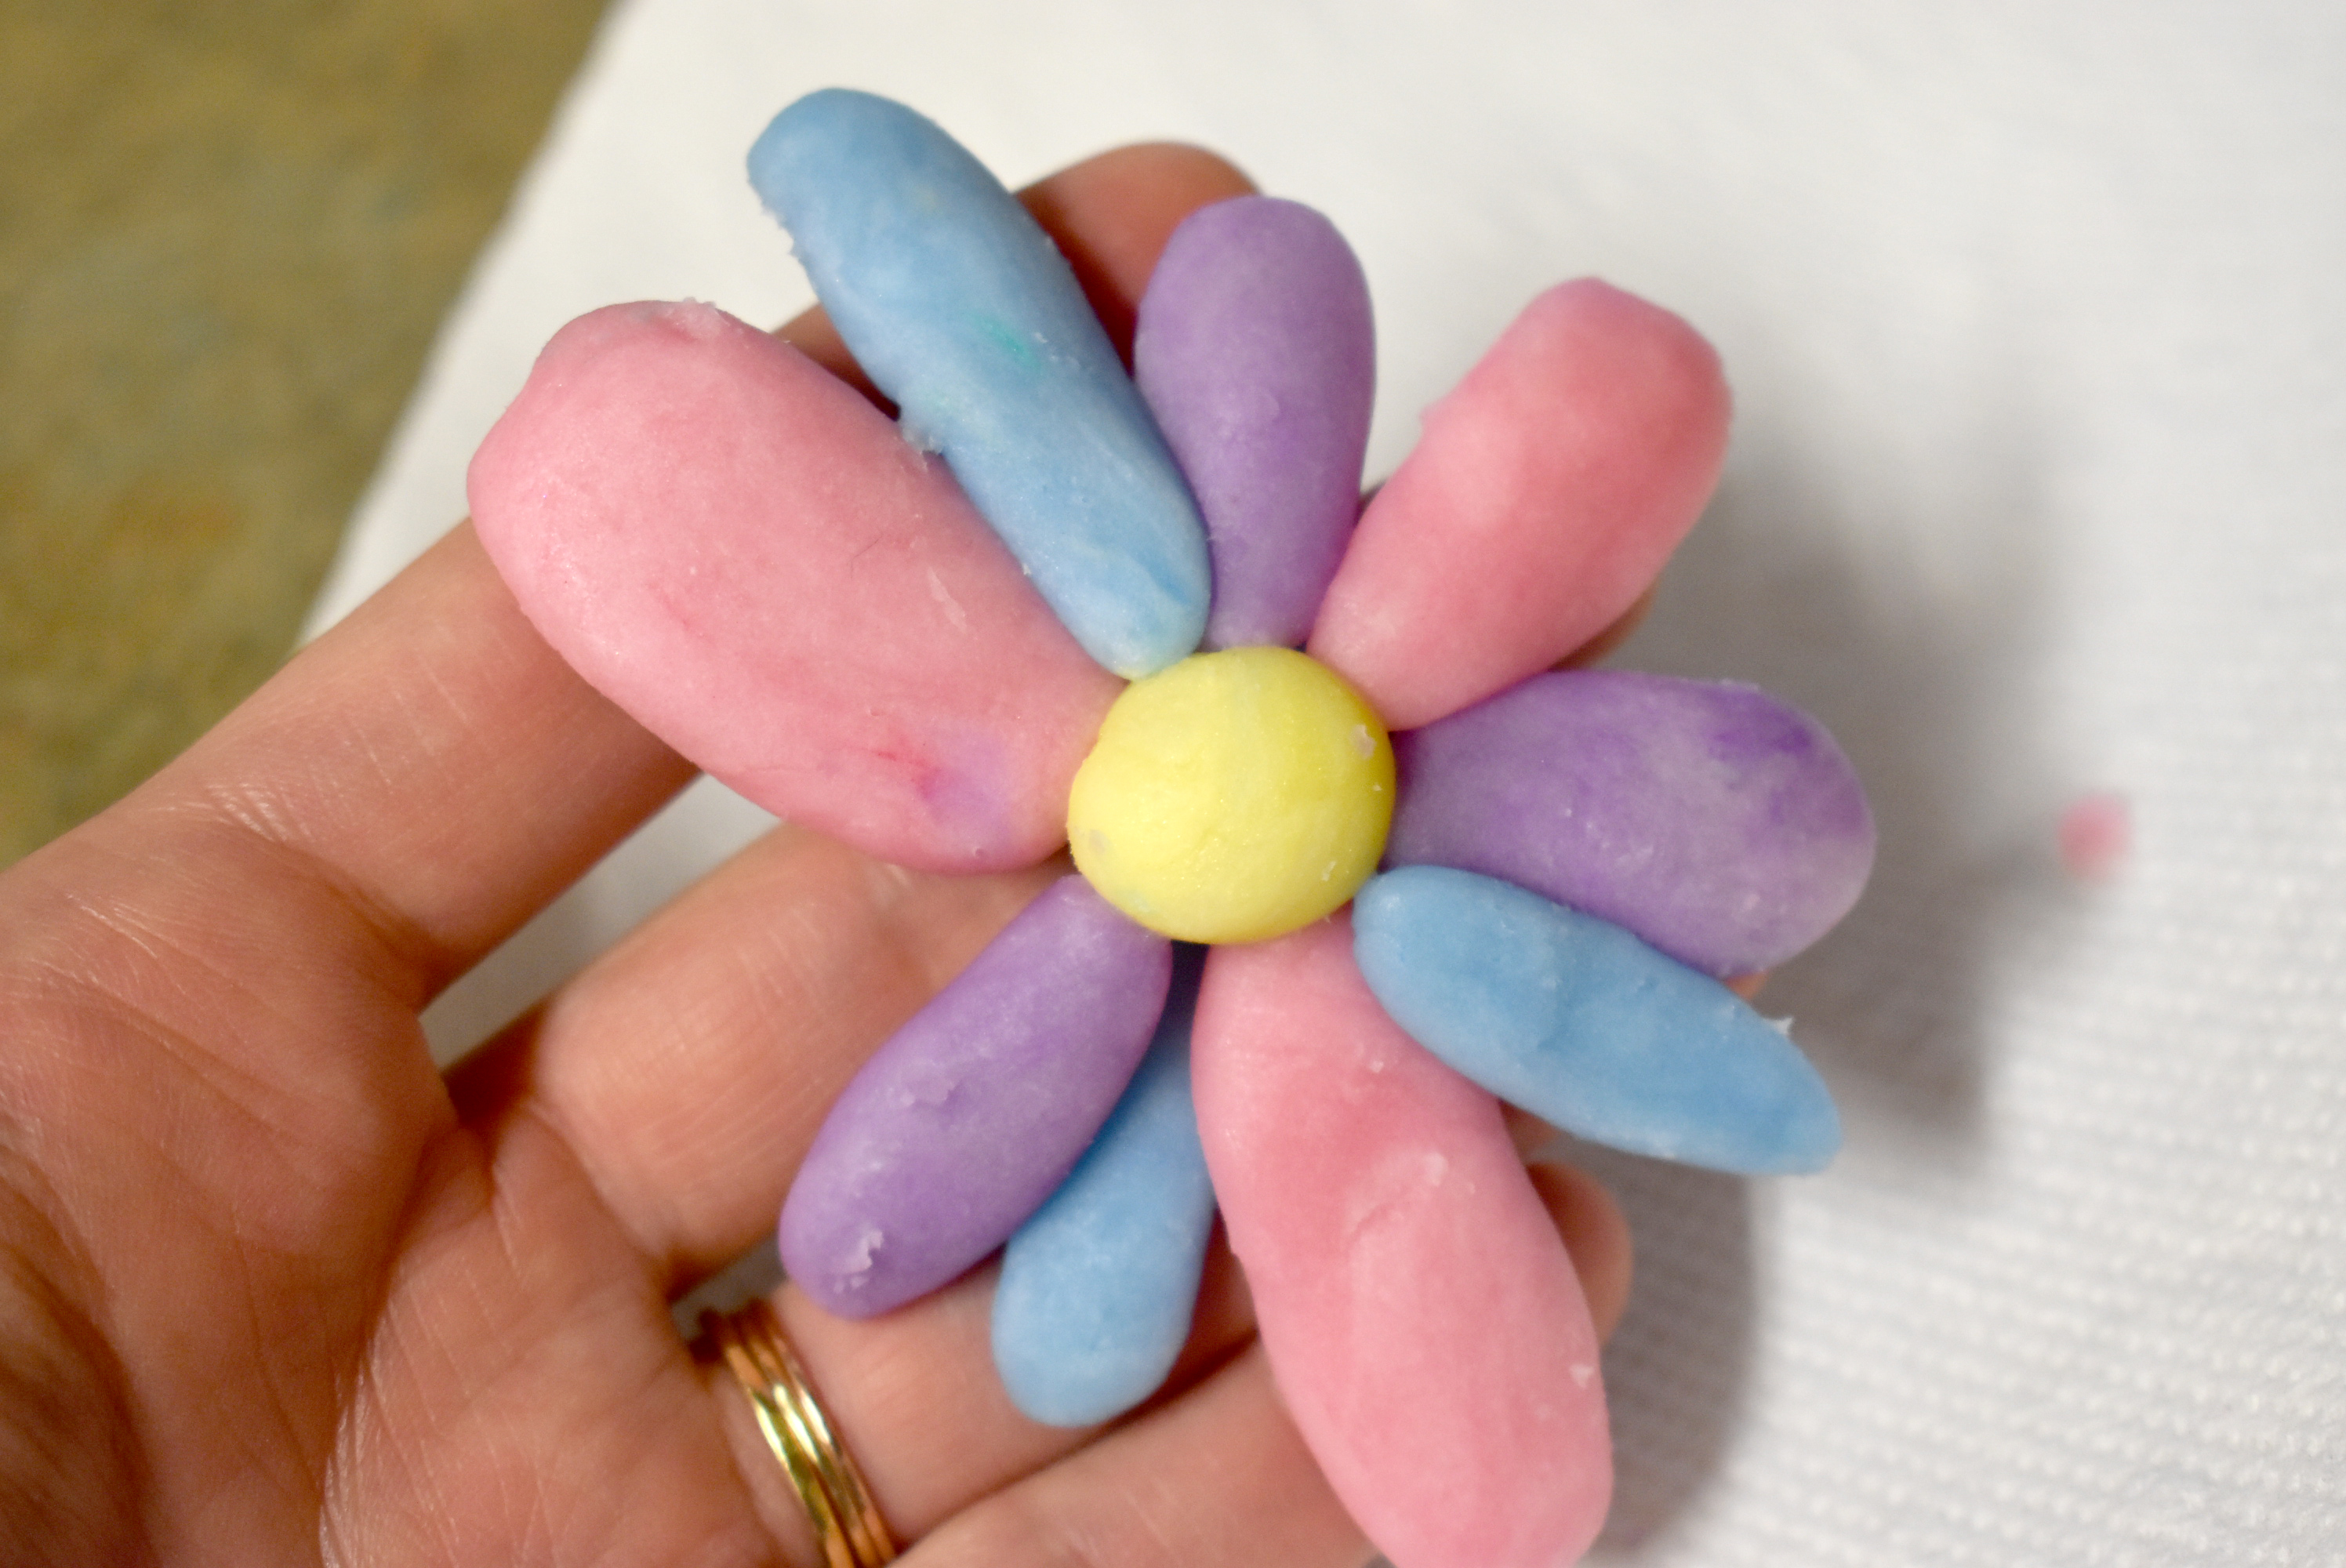
Using Your Soap Dough
To use the dough simply pinch off a bit in your hand. Lather up as usual.

Kids can grab a bit of each color before bedtime, create a character or shape and take it into the bath to wash! How fun!
I hope this tutorial will help you to make your own soap dough!
Happy Soaping!
Amanda Aaron


Do you mind sharing the link for the containers again? I want to make this for Christmas and order the containers to put it in, but it’s not working.
Would it be safe to use a kitchen aid that I also use for foods? Or will I need to have a second separate one?
What do you if you don’t have a crockpot?
So I made this finally! But for some reason it just didn’t turn out fully right. The dough was super sticky and I ended up adding another 6oz of powders to get it to a tacky stage. Left it out on the counter for a few hours and it looks like it is turning back to sticky again. I know my scale is accurate so I am not sure what I did wrong here. Any suggestions?
Hi Amanda, Thank for all your inspiration. I already have soap paste packed in jars, just waiting for a project like this one. How much paste did you end up with? Just so I can figure the percentage you used for the dough. I roughly figured 20% of the paste?
Hi Amanda, I was wondering what colorant you use on your soap dough? I have a few neons that I typically disperse in one of my liquid oils for my CP & HP soaps. Would I be able to work the neon into the dough dry or would the oil method work better?
Wow, how awesome. I have a kids birthday party coming up and I am going to make this for the birthday boy. SO COOL!!!
Just wanted to check with you if the results would be the same using corn starch as a substitute for the tapioca starch?
Thanks!
Thank you so much for sharing! Should I add a preservative to this? Will ‘cooties’ grow on without, say, Germall or the like?
also wondering!
Thank you so much for sharing this. I’m excited to try it!
I really enjoyed this. Thank you for sharing. I always wondered how to do this.
Thanks so much for sharing, Amanda! I’m looking forward to trying this.
Thanks so much. I have been wondering how to pull this off. I haven’t taken the time to figure it out, lol! You are amazing to share so generously.
Thanks for sharing!!!
why with backing soda?
Amanda Gail, thanks! And thanks for sharing your great posts every week!
Thank you so much!!! 🙂 Making this for my kiddos. They are so excited. They loved using the soap dough to make Christmas presents for their friends, and now they can’t wait to have soap playdo!
Does it harden up after awhile? If I were to make shapes to add to use as embeds, would they harden or remain soft?
Nope, it stays soft. For soap that hardens, check out this blog post http://lovinsoap.com/2017/08/a-vegan-and-palm-free-soap-dough-recipe-soap-clay/
Thanks man, really helpful
That is awesome
Hugs to you for generously sharing your recipe. I’ve looked at several others and think your recipe will out do the others! We have Grand kids that will fall in love with special soap.
A whole new take on soap…how great is that!
Thanks!!
Wow Amanda!
Going at it with a fairly new baby in the home, you’re amazing! This idea is amazing as well. Thanks as always for sharing your adventures with the world! I hope you and baby and dad are all adjusting well.
Many Blessing to You and Family,
Brooke
This looks so cute! Thanks for sharing. Thanks for letting us know that it will hiss while we make it, too. That could have been alarming! 🙂