

This post contains affiliate links.
I decided to join in Amy Warden’s Soap Challenge Club this month. If you haven’t heard of the Soap Challenge Club, check it out here. It is a monthly design or technique challenge for soapmakers! It includes written tutorials, video tutorials, prizes and just a general fun community for support.
One of the reasons that I LOVE it is because I am challenged to try something that I might not try otherwise. This month was no exception. I would have NEVER tried this had it not been for the challenge.
The March challenge was “Inlaid Designs.” The challenge was to “scoop out portions of your soap bar and refill them with soap of one or more contrasting colors until the new soap is level with the bar.” Challenge accepted! Here is how it went for me!
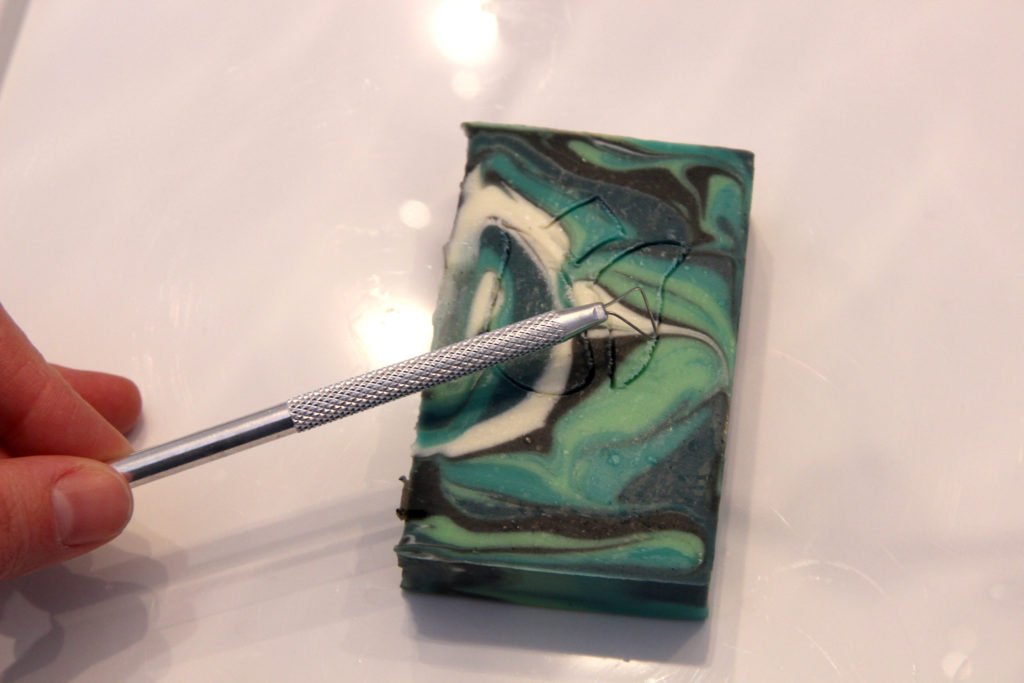
The right tools make this challenge much easier! I used a bamboo skewer to outline my design and I used this (affiliate link) Clay Sculpting Kit from Amazon to scoop the soap out.
I just free-formed my designs. You can cut out templates on paper or even use cookie cutters to to trace shapes.
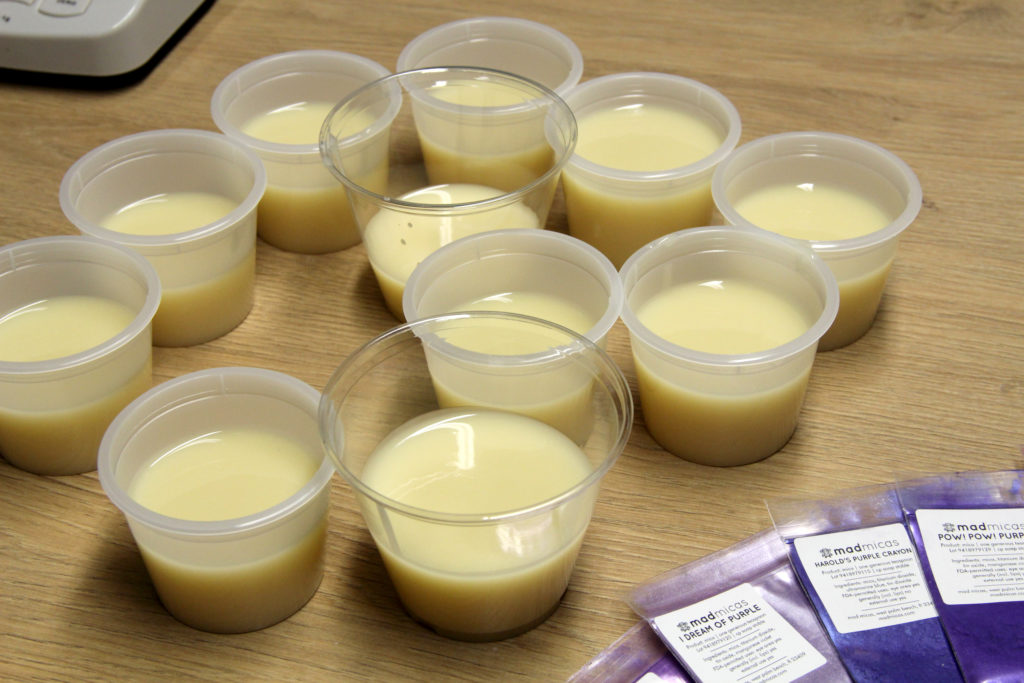
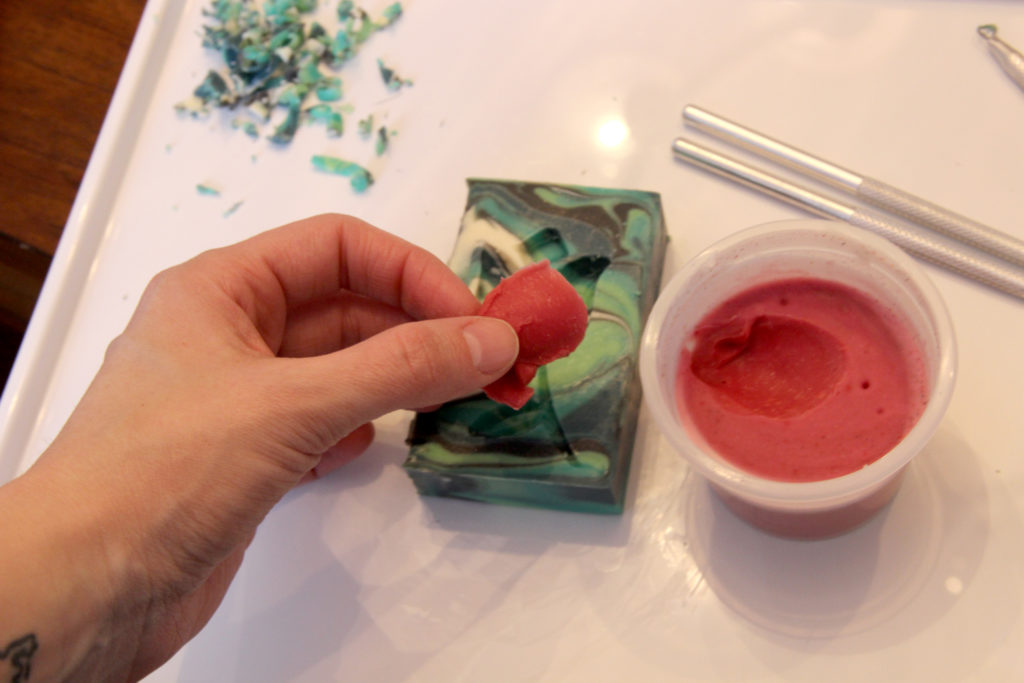
After you scoop out your design, you fill it with soap dough. I used my vegan and palm-free soap dough recipe that you can find here.
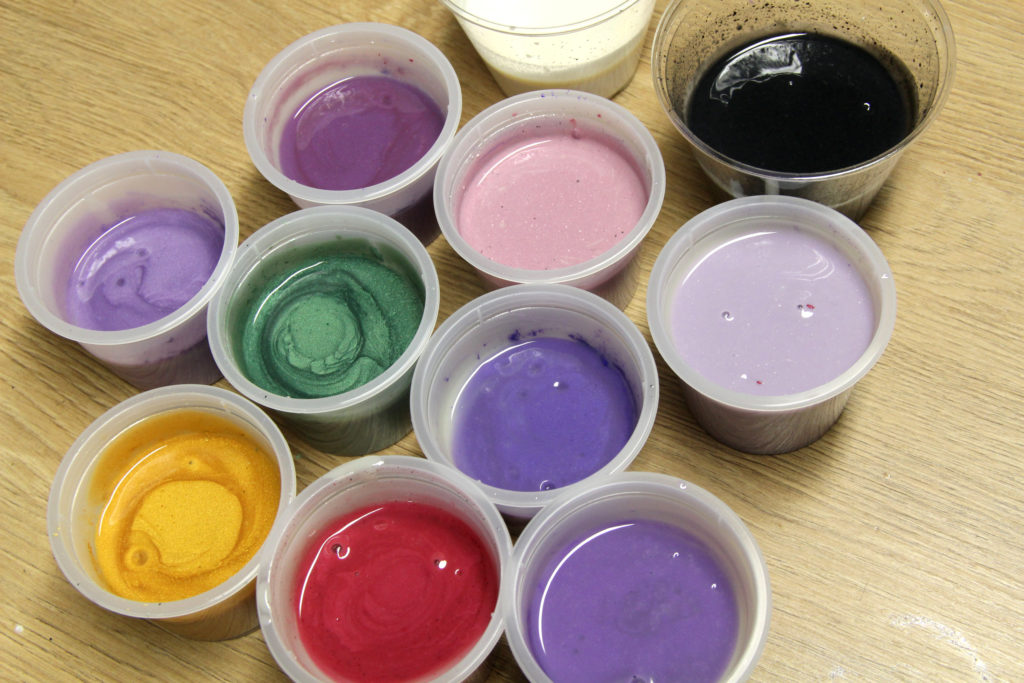
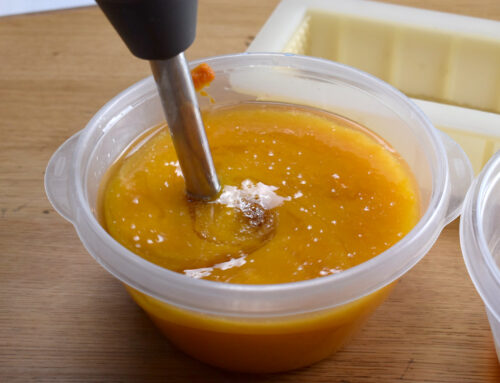
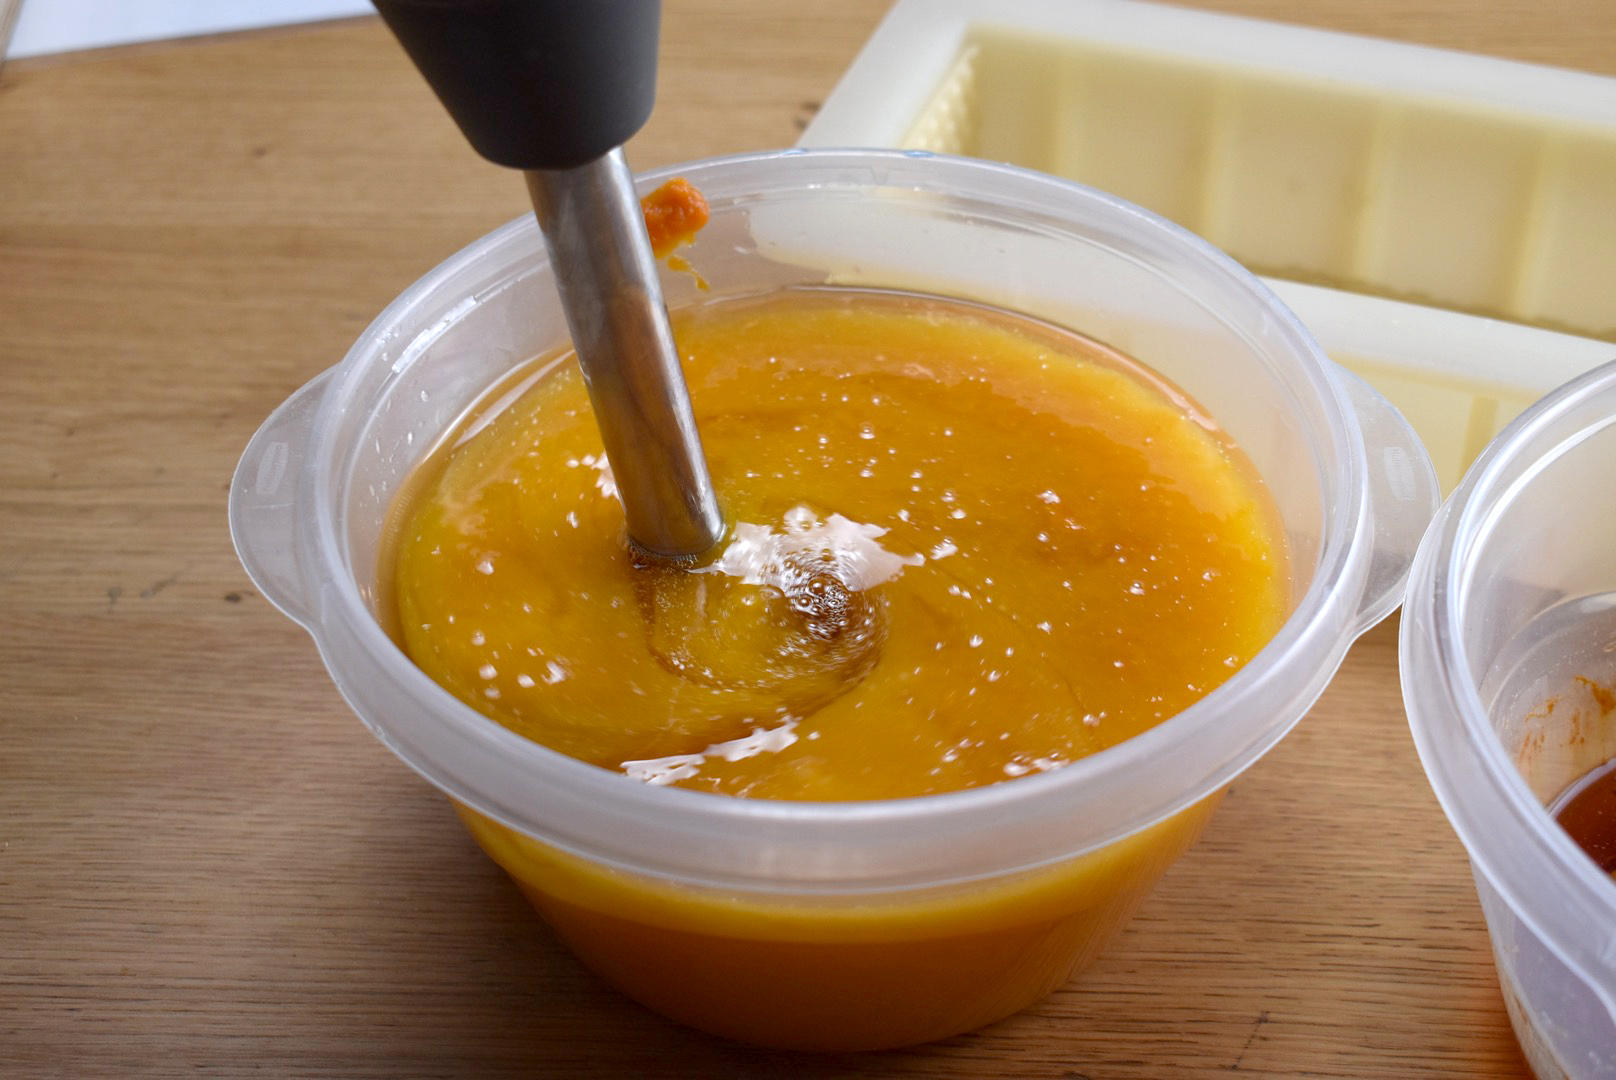
I made a batch and colored it using various micas. I poured the soap into these nifty (affiliate link) 4 oz. deli containers and immediately put the lids on. When making soap dough, you want to cover your soap after pouring so that it doesn’t get hard. This keeps it pliable so that you can shape it.
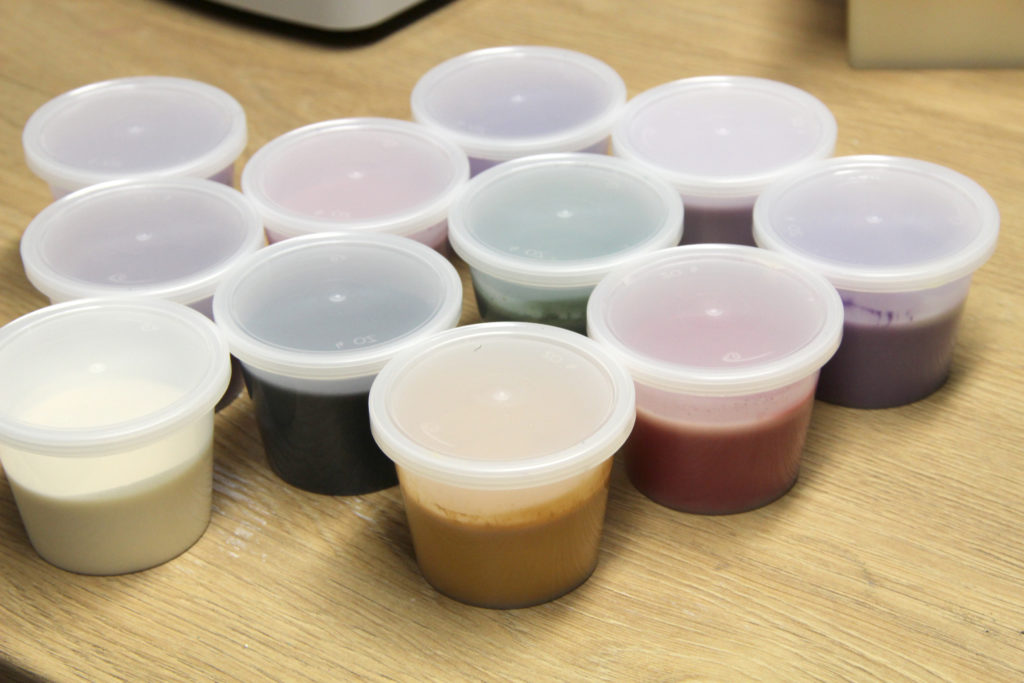
I let my soap dough saponify for 24 hours before using it.
When you’re ready to create your inlaid soap, grab some bars of soap! You can use fresh bars or cured bars. I found that carving hard cured soap was easier and created crisper designs.
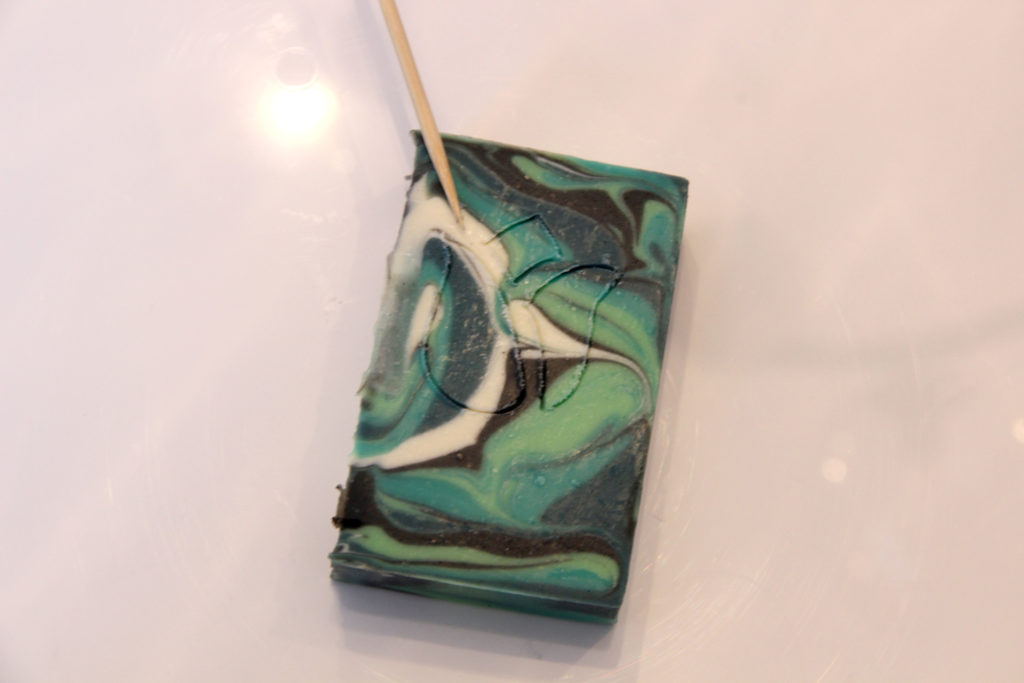
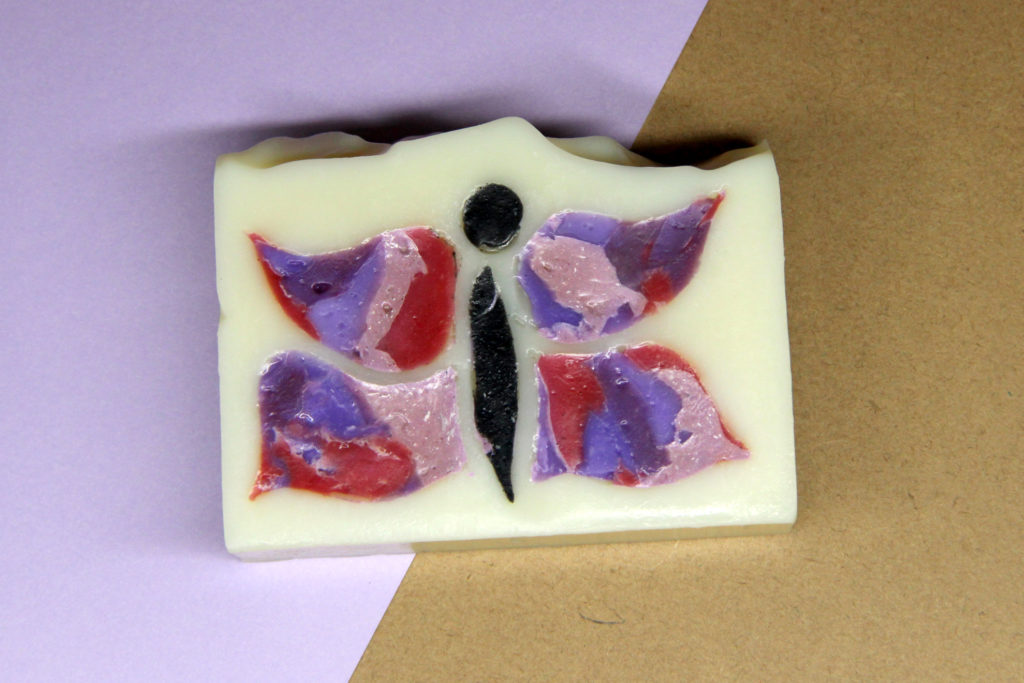
Here is the first one that I did. Not my favorite. The colors weren’t contrasting enough and the soap was a bit busy for an inlay.
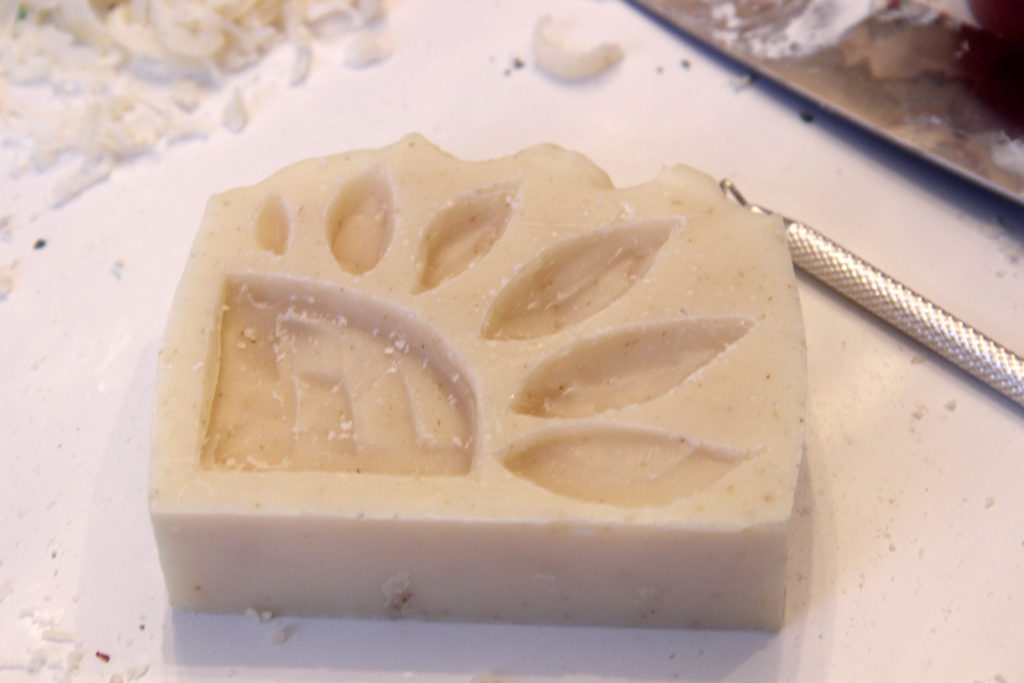
Step 1: Outline your design using a skewer or something similar. Drive it down at least 1/8″.
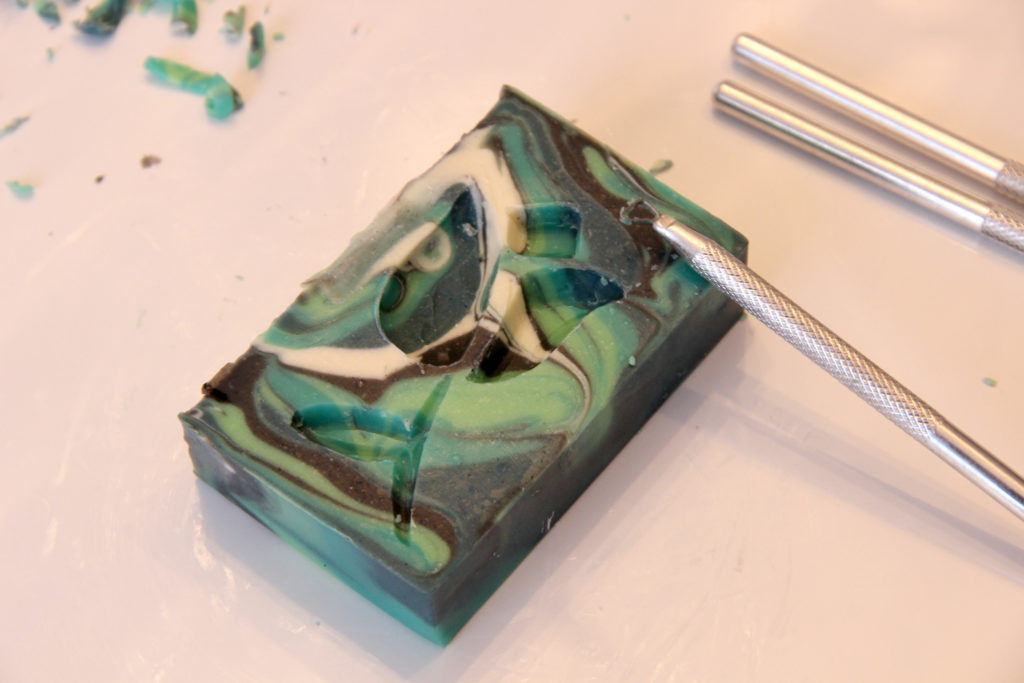
Step 2: Using clay sculpting tools to dig out your design. Dig down at least 1/4″ for best results. Some of mine were a bit too shallow and the soap came out easily.
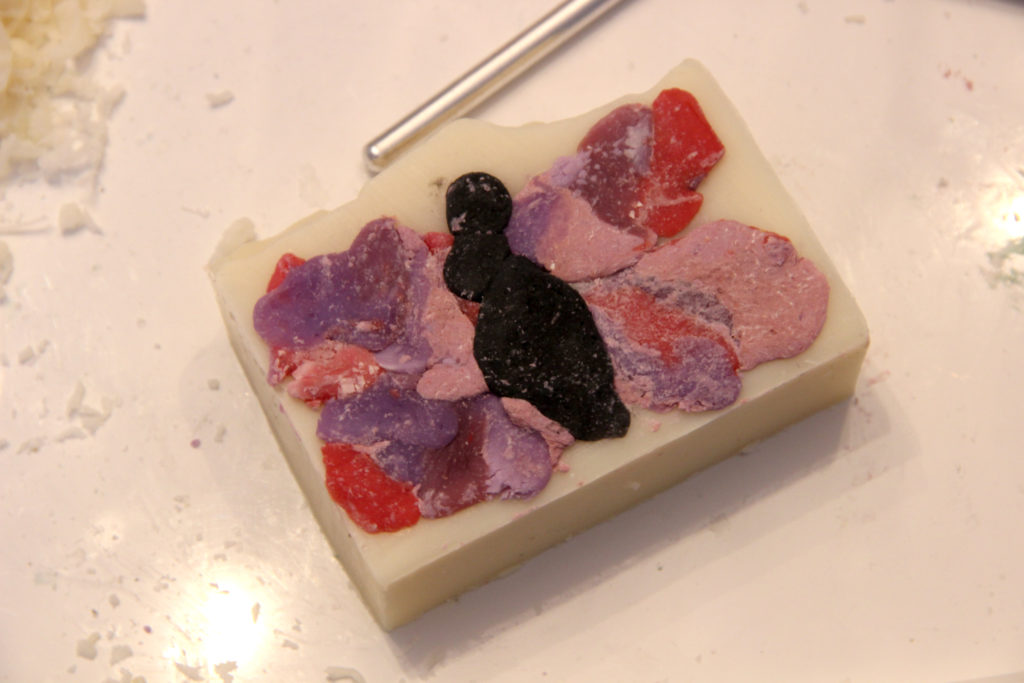
Step 3: Stuff the design with your soap clay. I overfilled mine.
Step 4: Use a smooth-edge knife to remove the overfill.
Step 5: Hold soap under running water to smooth out the soap dough. Spray with alcohol to help dry and give it a shine.
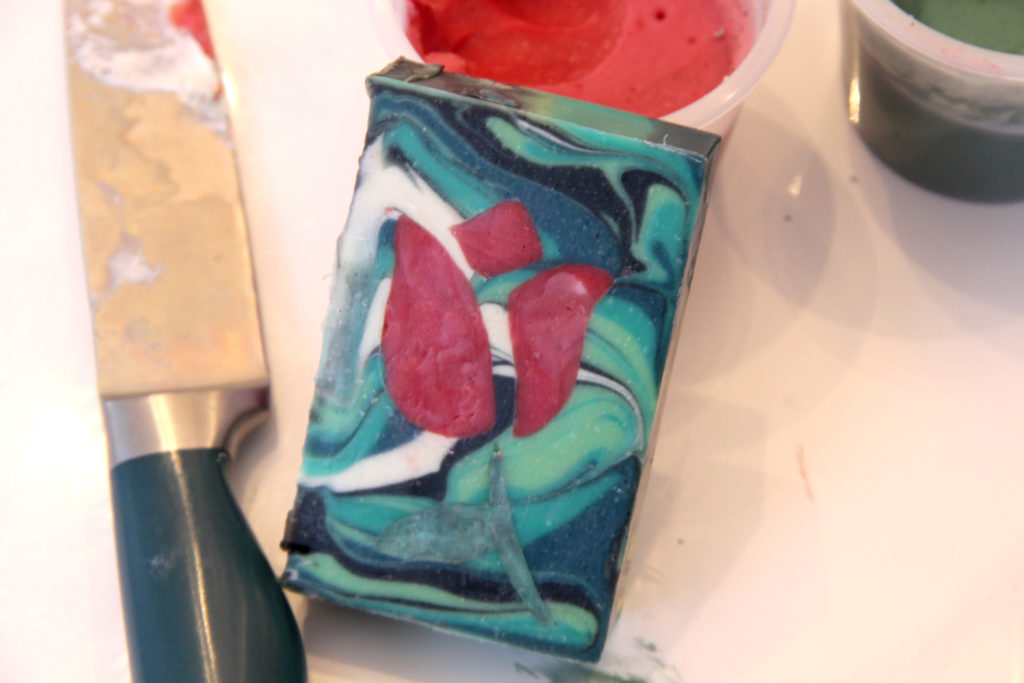
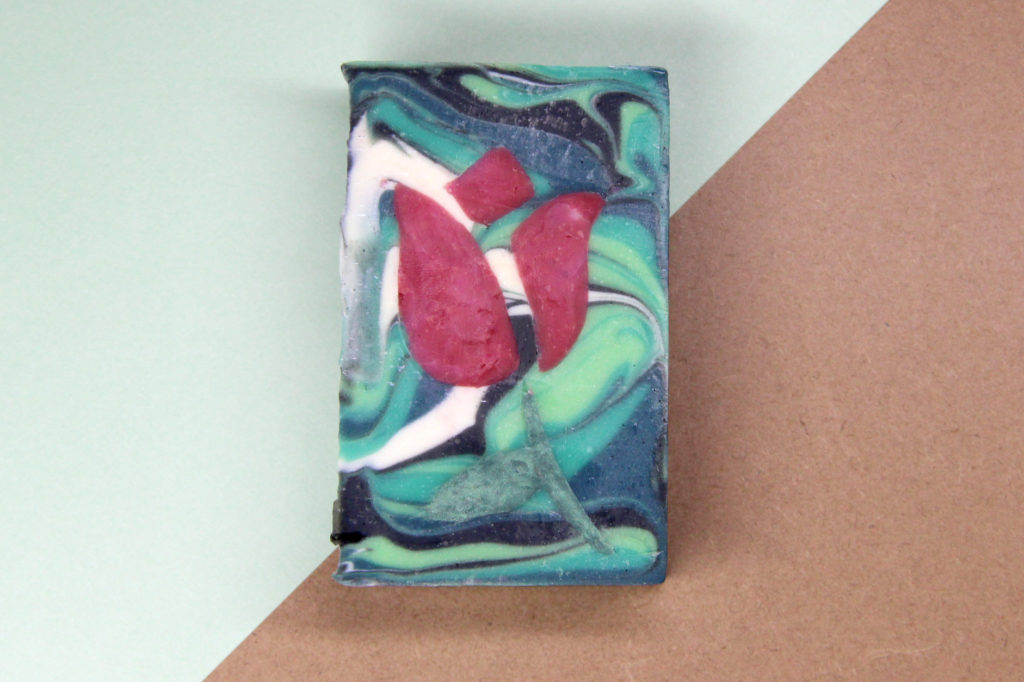
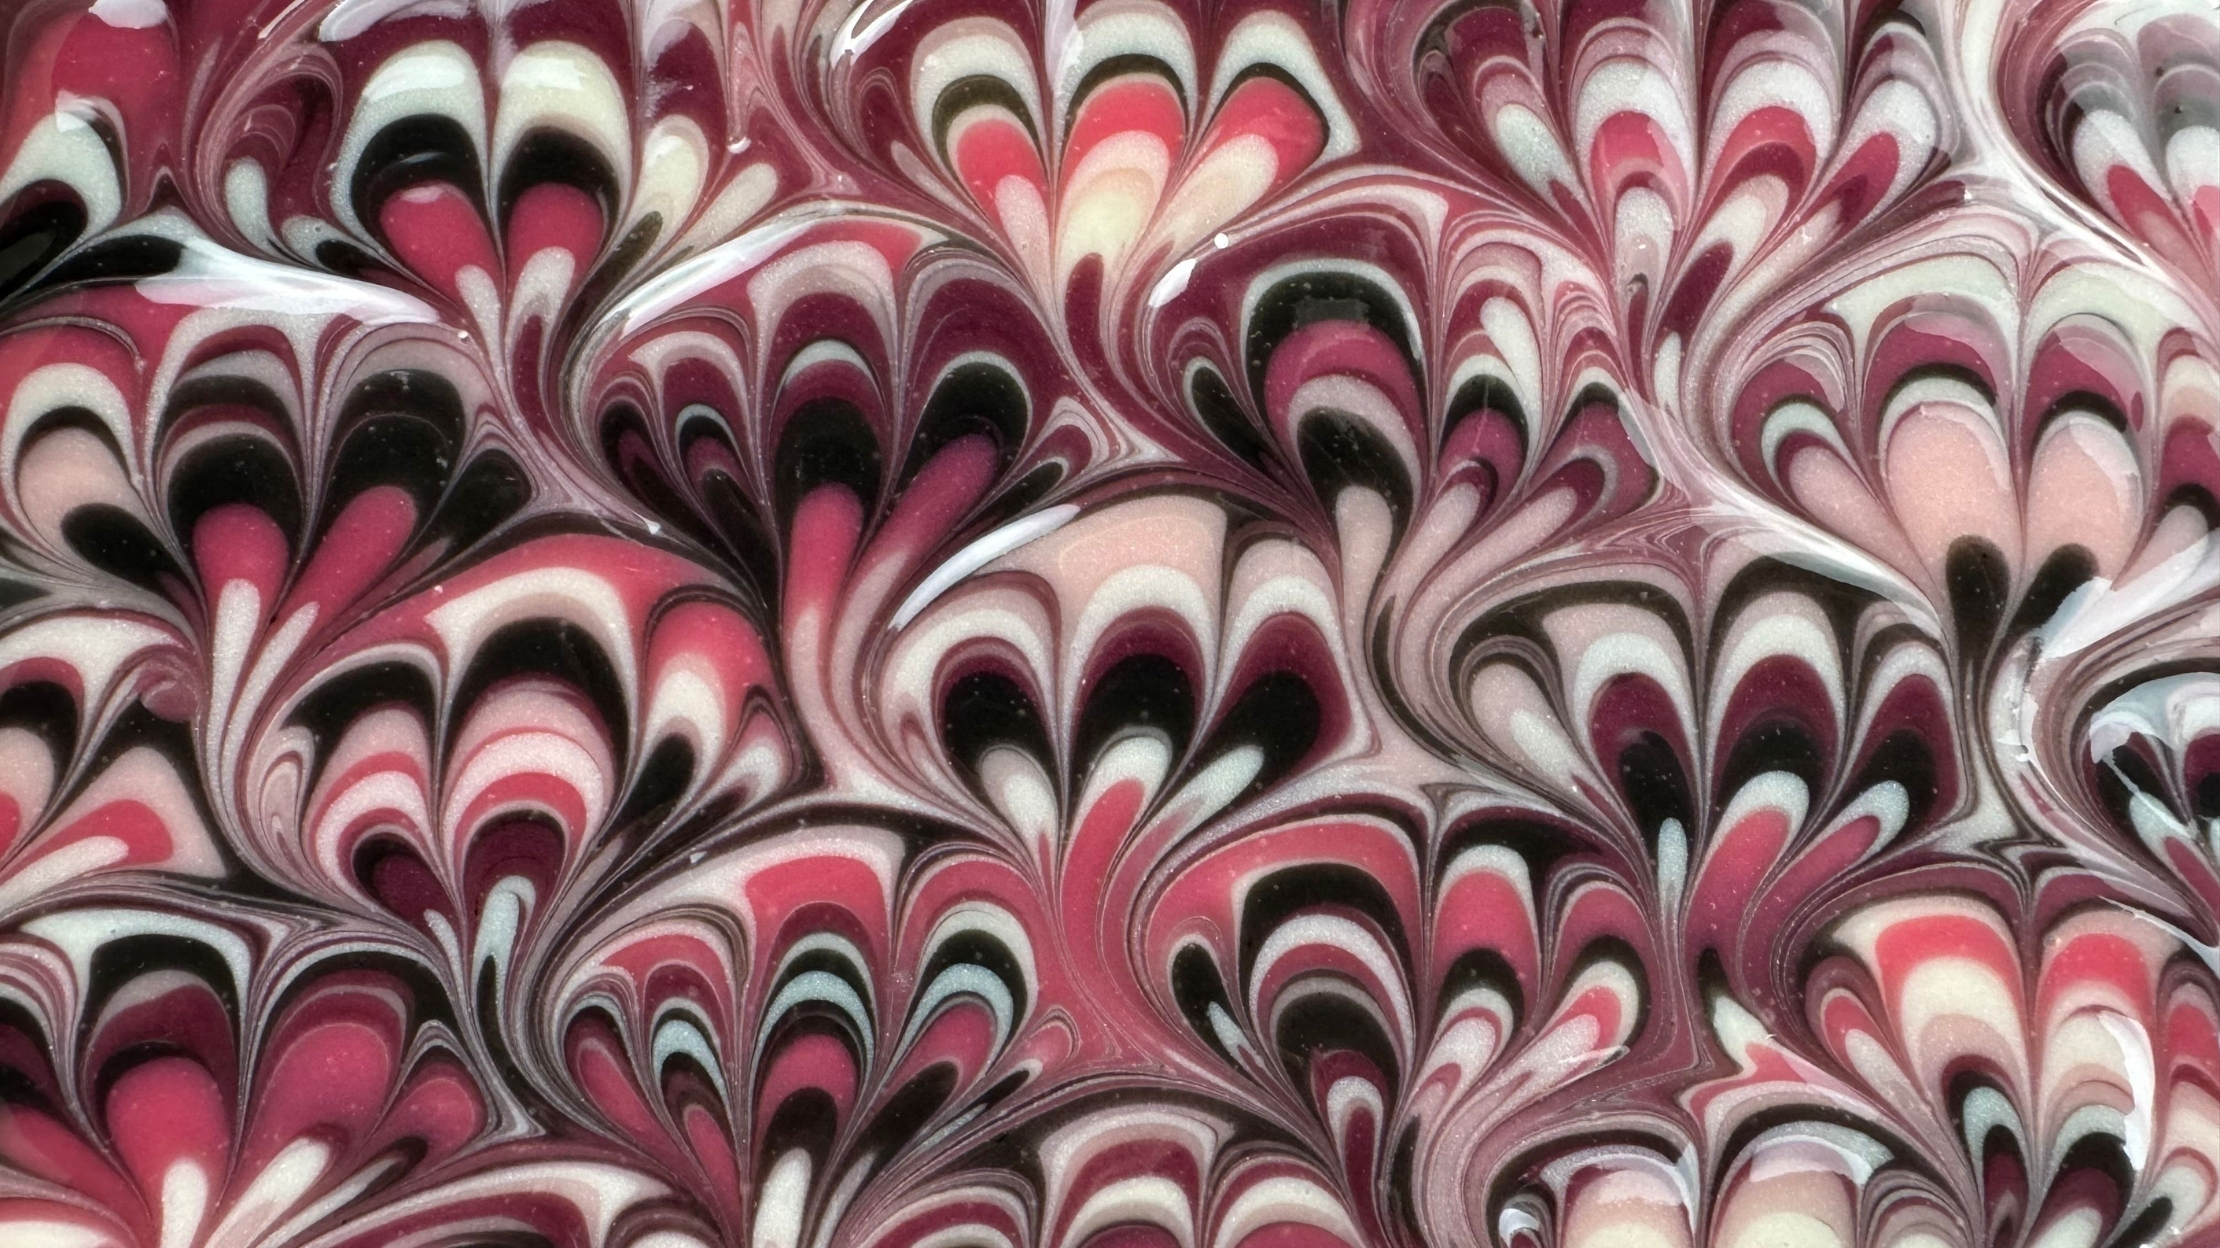
So, like I said….this one wasn’t my favorite! Here are two more that I did that I LOVE!
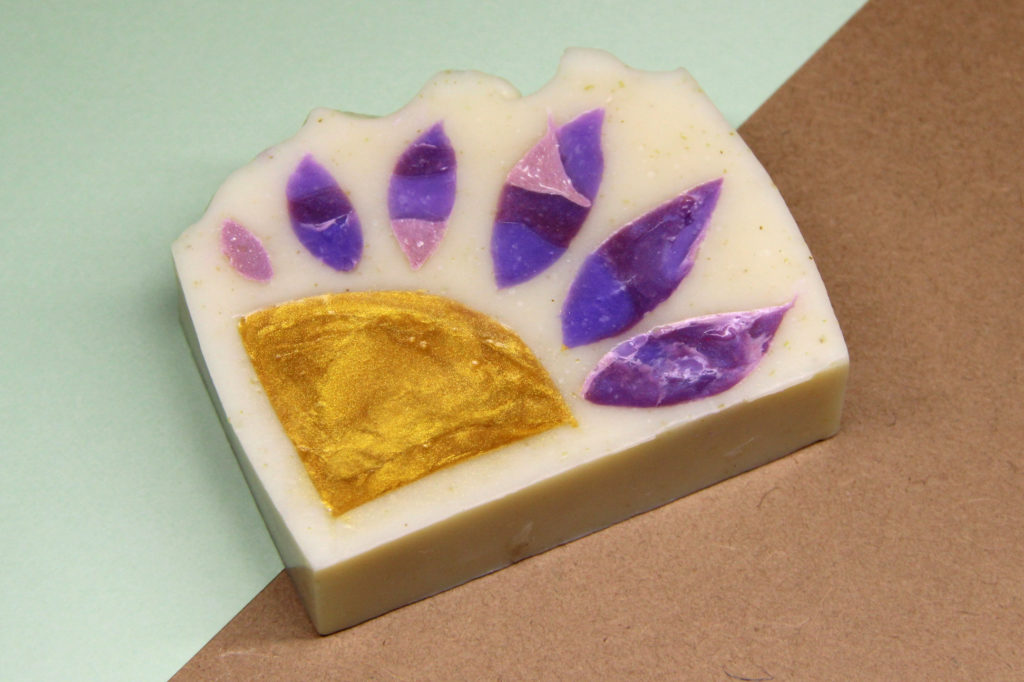
It ended up being a lot of fun to do!
Happy Soaping!
-Amanda Aaron
-Amanda Aaron


Amazing stufff!!!!!!!