Soleseife, or brine soaps, are an easy way to create salt soap bars! They won’t be scrubby the way normal salt bars are, but they will still be nice and hard, full of great minerals, and are great for individual cavity molds. Here’s an article Amanda posted a few years ago on how to create Brine Soaps!
I don’t know why, but here in the South we love our watermelon with a nice dose of salt on it! Something about that salty-sweet combination on a big chunk of juicy fruit makes my mouth water. Of course not all Southerners love this weird combo and there are a lot of opinions on this topic, but surely no one will argue with a salty watermelon soap!
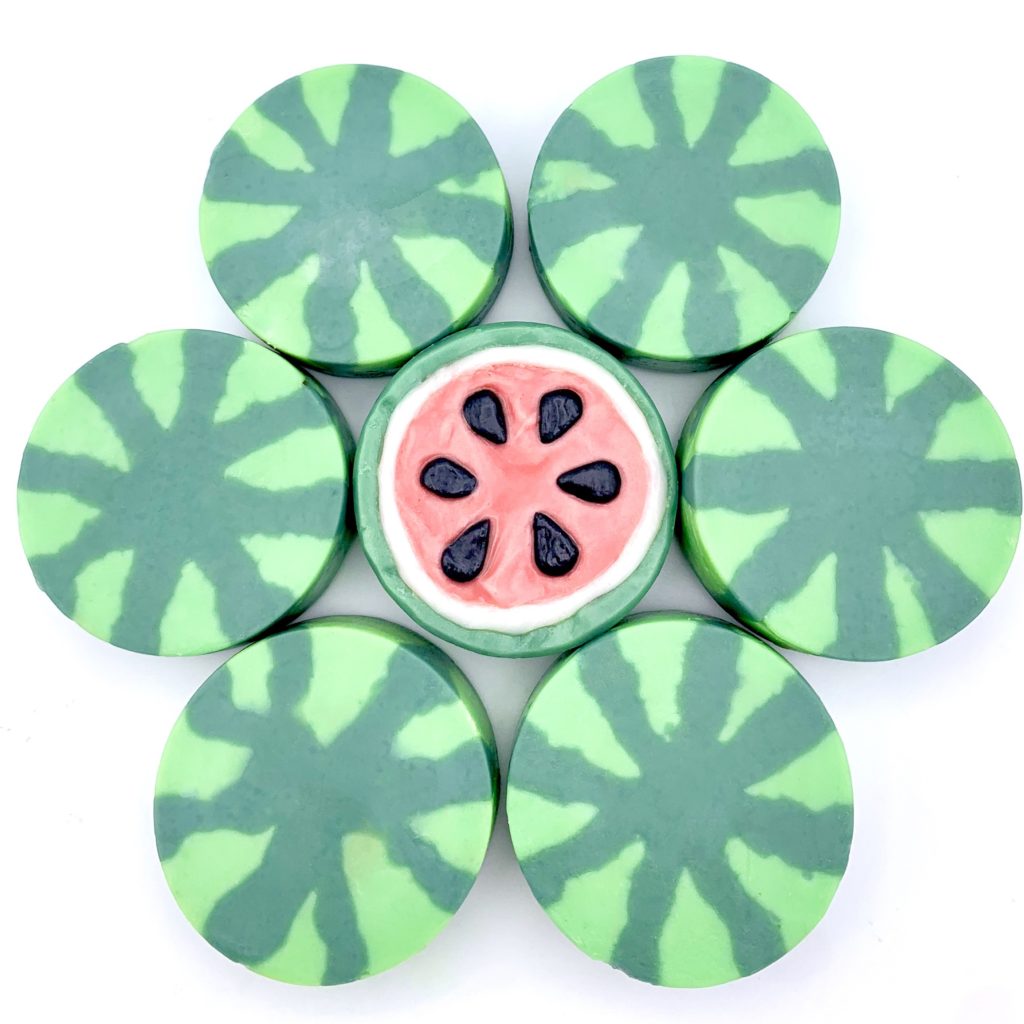
I’ve always wanted to make watermelon soaps for summer, but never wanted to do the same old design everyone else does. Don’t get me wrong! I think that watermelon soaps are adorable, obviously, or I wouldn’t feel compelled to create one. However, I wanted to create a different and unique version, and that’s when I had the idea of making salty watermelon soaps!
These round watermelon wheels use Sour Watermelon Candy Fragrance Oil from Nature’s Garden, and have a nice sharp watermelon fragrance, but you can use any good watermelon fragrance oil you like! Make sure it is a fragrance oil that gives you plenty of time to work, since you’ll be going back and forth to create the layers for this!
For this project you’ll need to have a basic understanding of soapmaking and it’s a good idea to have a few batches under your belt. I also suggest mixing your micas and fragrance by hand. As long as you’re thorough, this is a very effective way to prevent your batter from becoming too thick!
Prepare your work area, molds and pans. I’ll be using 12 cavity round molds from Bramble Berry (cut in half to make them more manageable.) I used a pan covered with freezer paper. That way I can move the mold when I’m done with my pour. This recipe makes 12 bars of 3 ounce soap, and you might have a little left over depending on how much water you use.
SUPPLIES:
- Gloves, Eyewear, Long Sleeves
- Silicone Spatulas
- Stick Blender
- 3 Measuring Cups
- Wide-mouth Condiment Squeeze Bottle
- Individual Cavity silicone molds (I used Bramble Berry’s 12 cavity mold–cut in half to make it more manageable)
- Cookie sheet (to place silicone mold on… if yours is metal make sure to cover it to prevent a dangerous reaction between the raw soap batter and the metal)
- Soap dough in white and black.
- Clay carving tools similar to these https://www.amazon.com/COMIART-Pottery-Scraper-Sculpting-Modelling/dp/B013OILJ6S
Salty Watermelon Soleseife Soap Recipe
- Coconut Oil (17%) – 106 g
- Lard (33%) – 205 g
- High Oleic Canola (32%) – 199 g
- Avocado Oil (11%) – 68 g
- Castor Oil (7%) – 43g
- NaOh Lye – 85 g
- Distilled H2O – 237 g
- Fragrance (5%) – 19.5 g
- California Sea Salt- 56g (4 tbsp)
(Note from Amanda: If you are new to soapmaking, please download our free basic soapmaking guide! This is a design tutorial and does not focus on making the actual soap! You can use Robyn’s recipe or simply use your own. )
Remember to add the sea salt to your lye solution so that it can dissolve!
Bring your recipe to emulsification, or a very thin trace. You’ll want plenty of working time, so don’t over blend yet!

Split your batter by pouring approximately 2 cups into one container, and 1 cup into another container. Keep most of the soap batter in your main container.
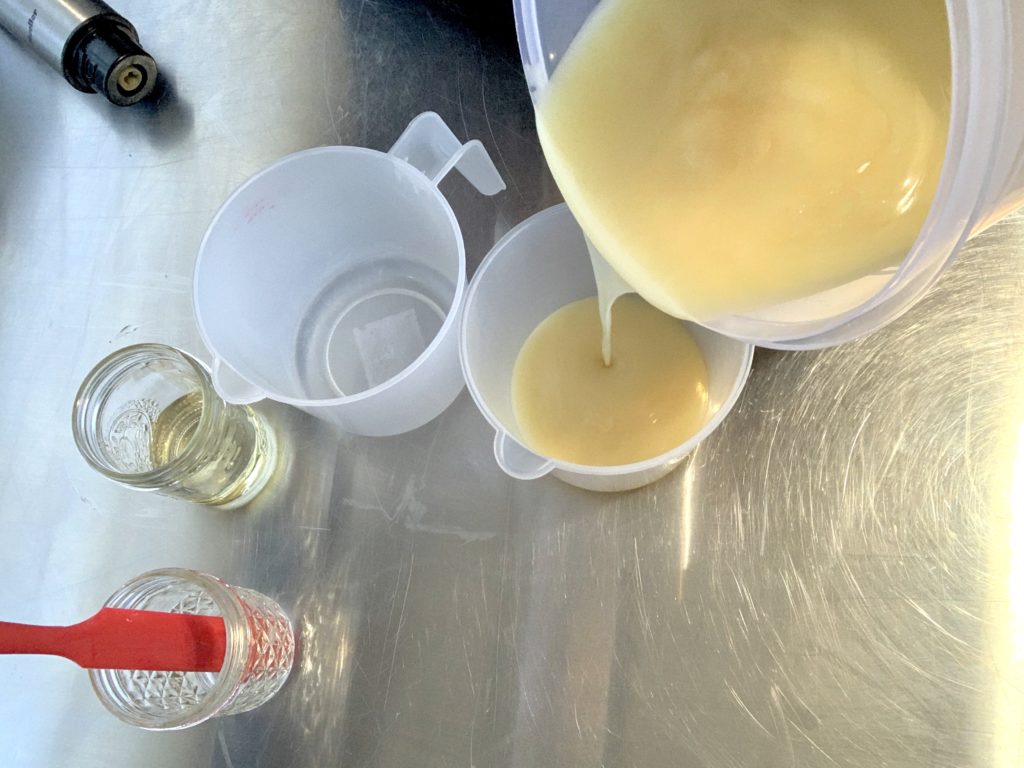
Next, color each portion of batter.
Red: To the main mix I added 1 tsp of Lil Red Corvette from Muddy Soap Company
Light Green: To the 2 cup container I added ½ tsp of Frogger from Muddy Soap Company
Dark Green: To the 1 cup container I added ½ tsp of Fern Baby Ferm from Muddy Soap Company
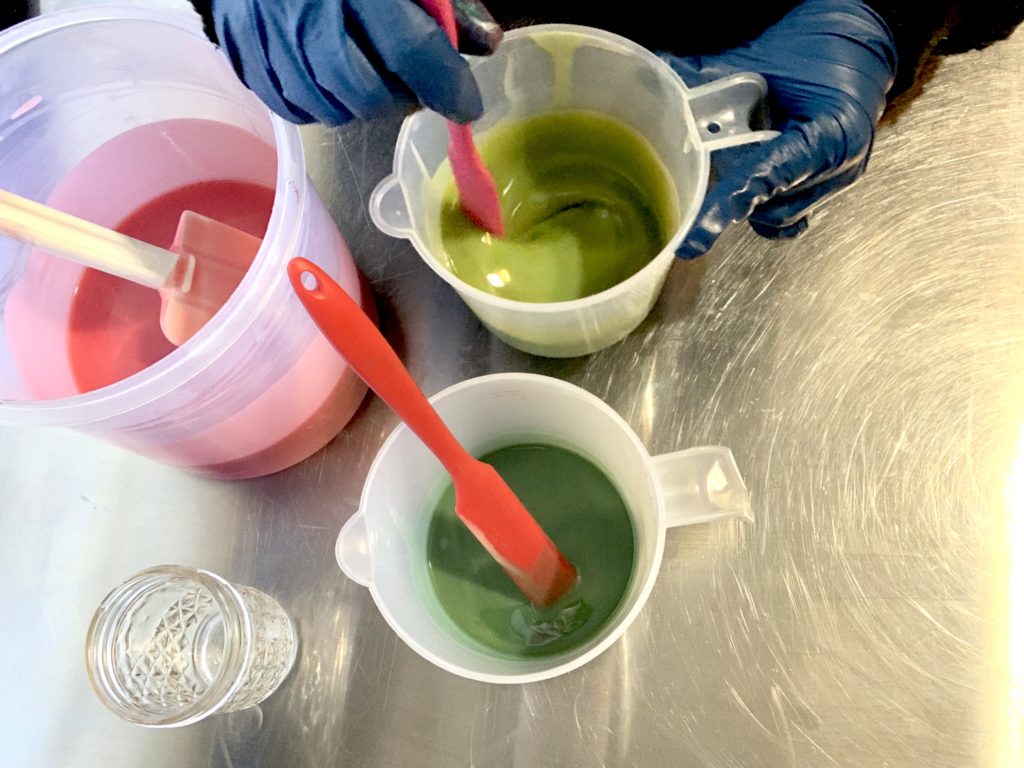
Split the fragrance oil into your containers and stir well to ensure it’s properly mixed! I generally test my fragrances, but had not had a chance to test this one yet! Oops! I was very happy that it didn’t cause any acceleration or ricing, and in fact it almost seemed to reverse trace. With this particular fragrance I probably could have added it to the whole batch before splitting! Now I know for next time!
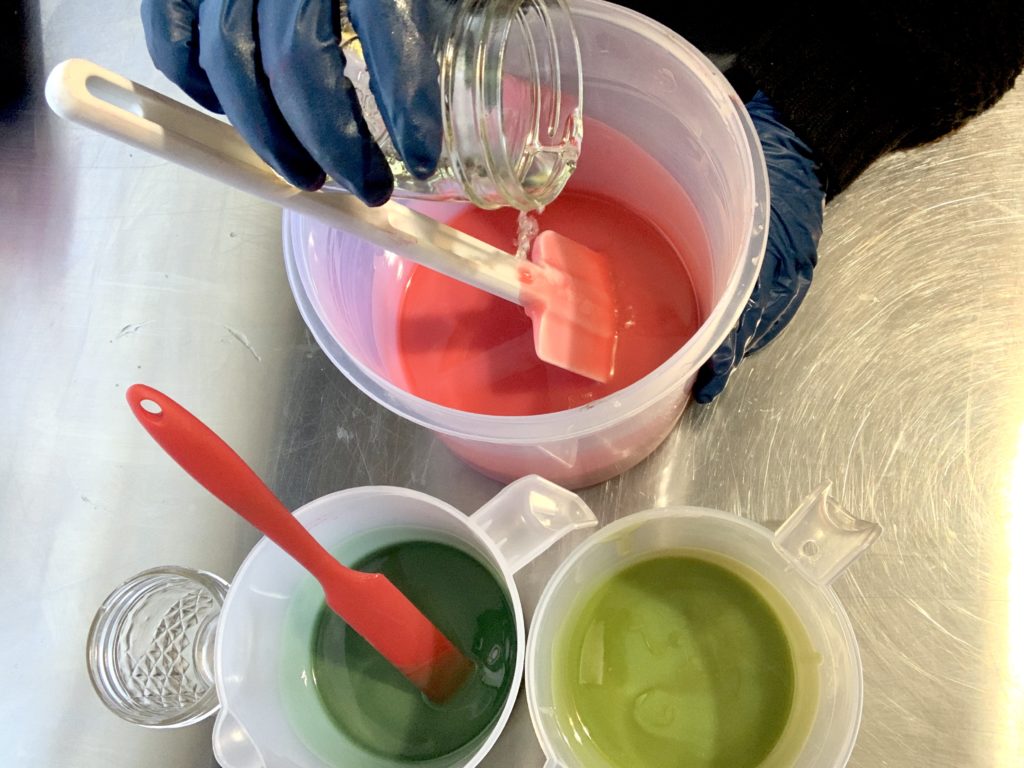
When the fragrance is fully mixed, pour your dark green mix into your wide-mouth squeeze bottle. If you don’t have a wide-mouth bottle on hand a regular squeeze bottle will do too. I simply prefer the wide mouths for ease of cleaning!
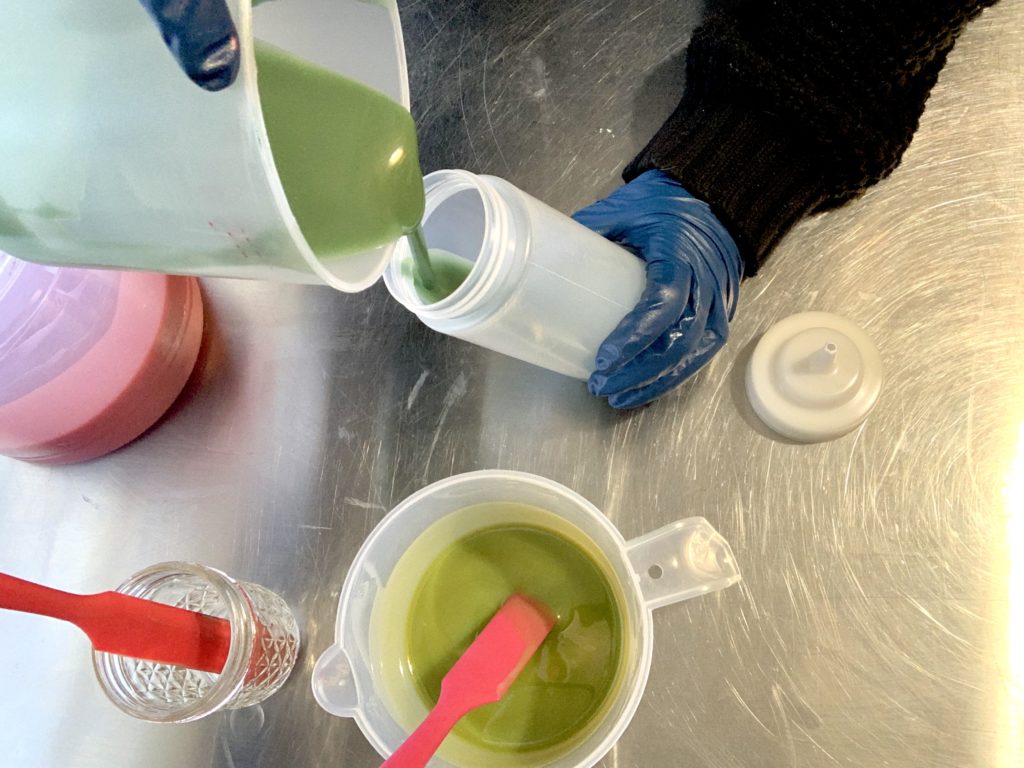
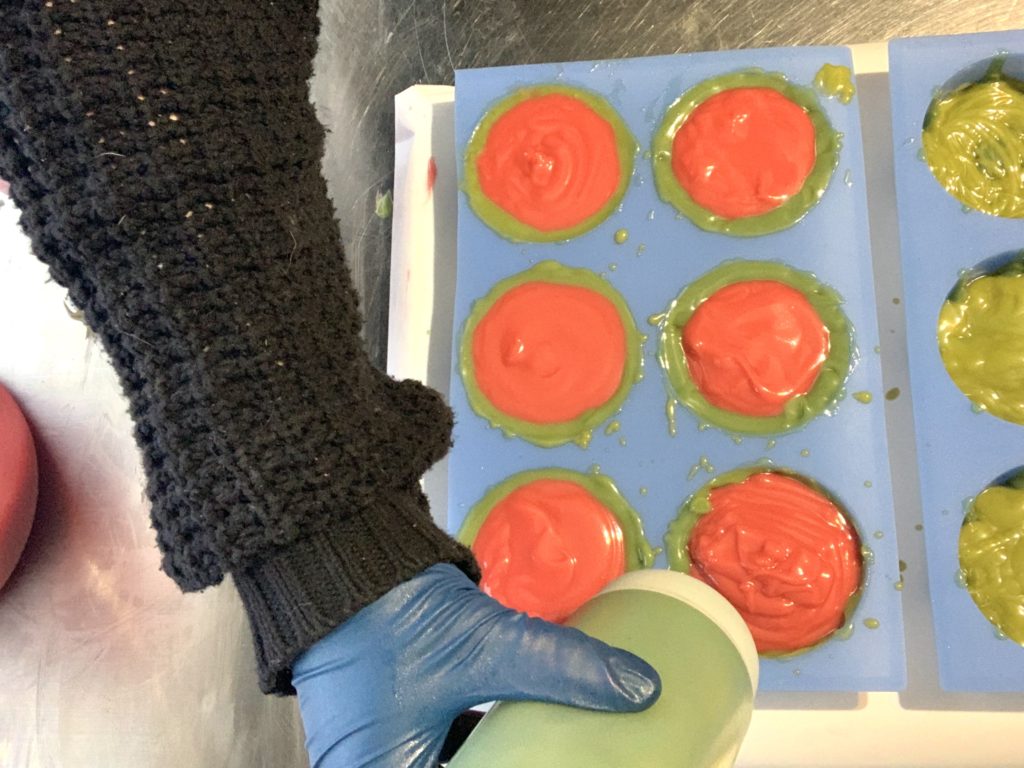
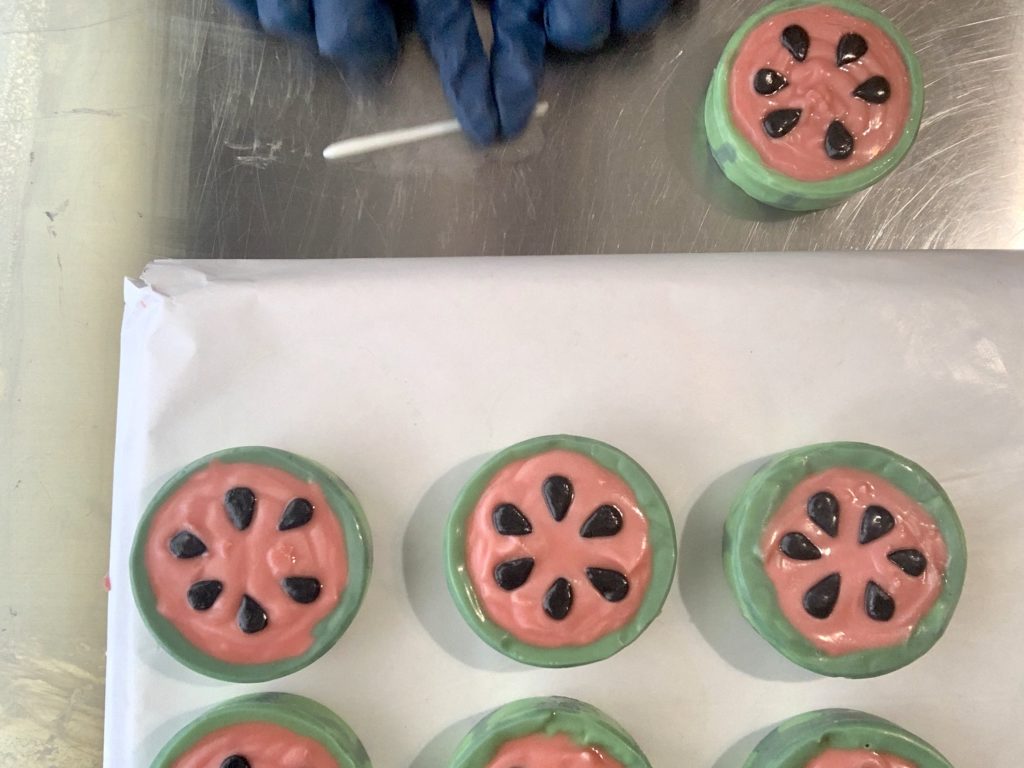
Next create a wagon wheel pattern inside your individual cavities. I also made sure to drizzle some of the dark green down the sides of the cavities so the stripes of the watermelon rind would come all the way up!
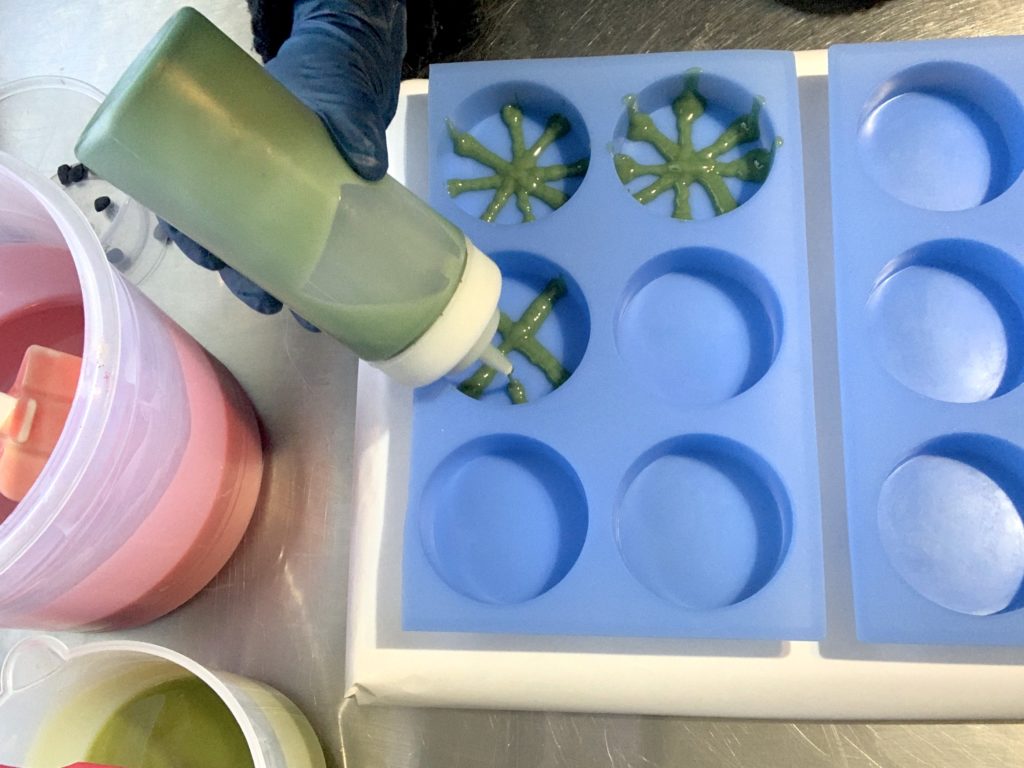
When those were finished, I used my spatula to drizzle the light green batter into the cavities, making sure that the entire bottom of the mold was covered. I also found it useful to scoop some of the green up onto the sides to help create coverage for the rind. I only discovered this after I started pouring my red, ha! But I’m telling you now so it is hopefully a little easier for you!
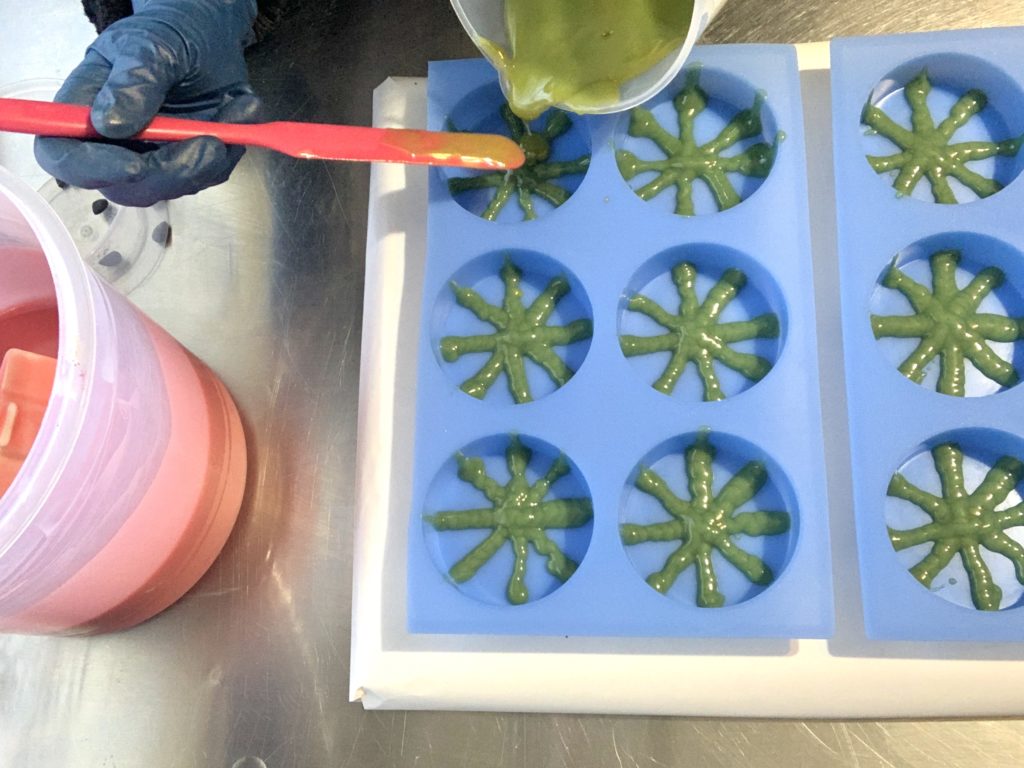
I transferred some of the red batter into a measuring cup to make it easier to work with, then poured the red batter into the center of a round cavity. I alternated pouring red, then filling in the green on the side to make sure the watermelon rind covered the entire outside of the soap. I found it was easier to use the squeeze bottle for filling in the rind and transferred the rest of my green batter to a squeeze bottle as well.
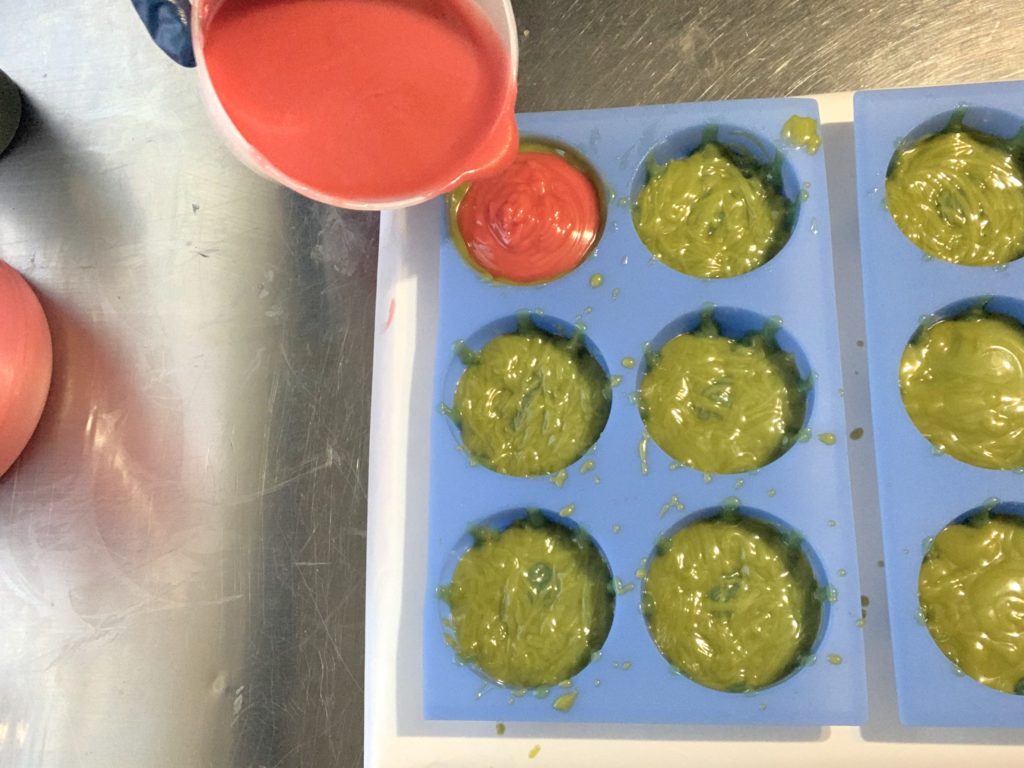
When all the cavities were filled I used black soap dough to create the watermelon seeds! If you don’t have soap dough ready to use or available you could also color some batter with black mica and use a toothpick to create the seed-like appearance. If you’ve never made this fun moldable version of soap, here is a great recipe from Amanda for vegan and palm free soap dough!
I placed the seeds very carefully by hand, simply pushing them down into the soap.
When the soaps were ready I covered them and let them finish saponifying for 24 hours. When it was time to unmold them, they popped right out thanks to the brine solution! As you can see my soaps developed soda ash. I generally keep them covered and away from air, but wasn’t able to this time. No worries, I’ll tell you how I handled it!
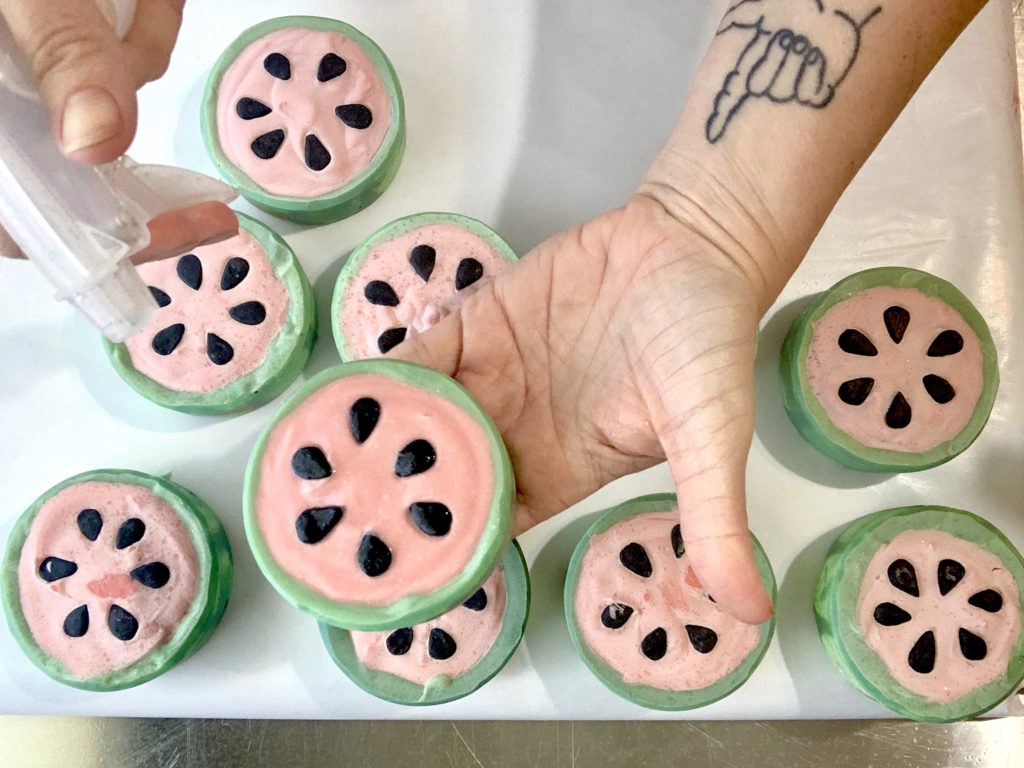
Soda Ash is just a cosmetic problem, but it’s still a problem. There are lots of solutions for soda ash out there! You can spray with 91% Isopropyl alcohol, use a water discount, add beeswax, force gel… there are a lot of solutions! My favorite thing to do is to combine 2 methods: Spraying and Heat. First I spray my soaps with water to pull up the sodium carbonate that has been created. After 2-3 minutes I spray with Isopropyl alcohol. After that I steam them to help any left over ash evaporate. If you don’t have a steamer you can use a clothes iron set to steam, or even the heat gun you use to shrink wrap your products. See how bright the bars are now!
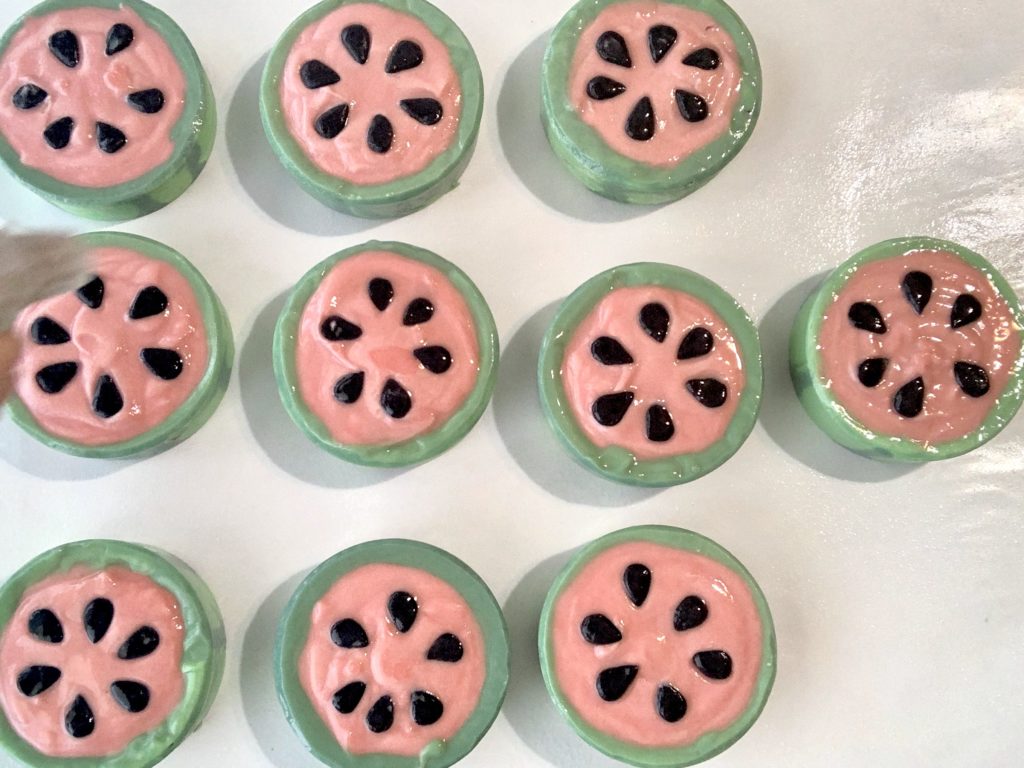
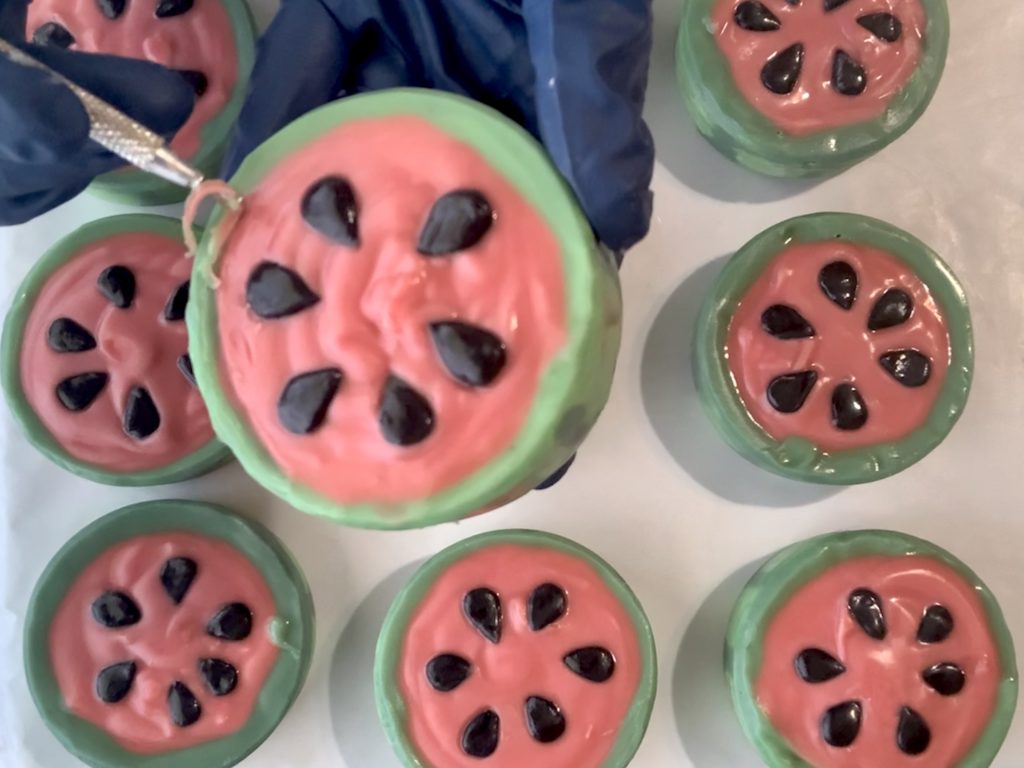
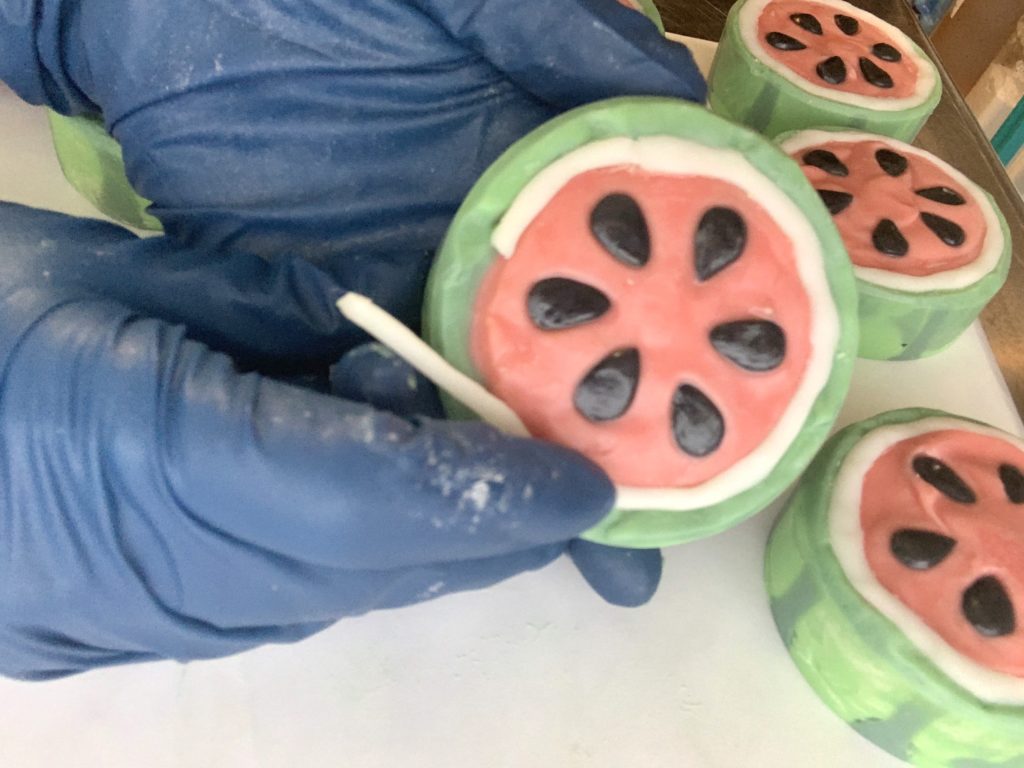
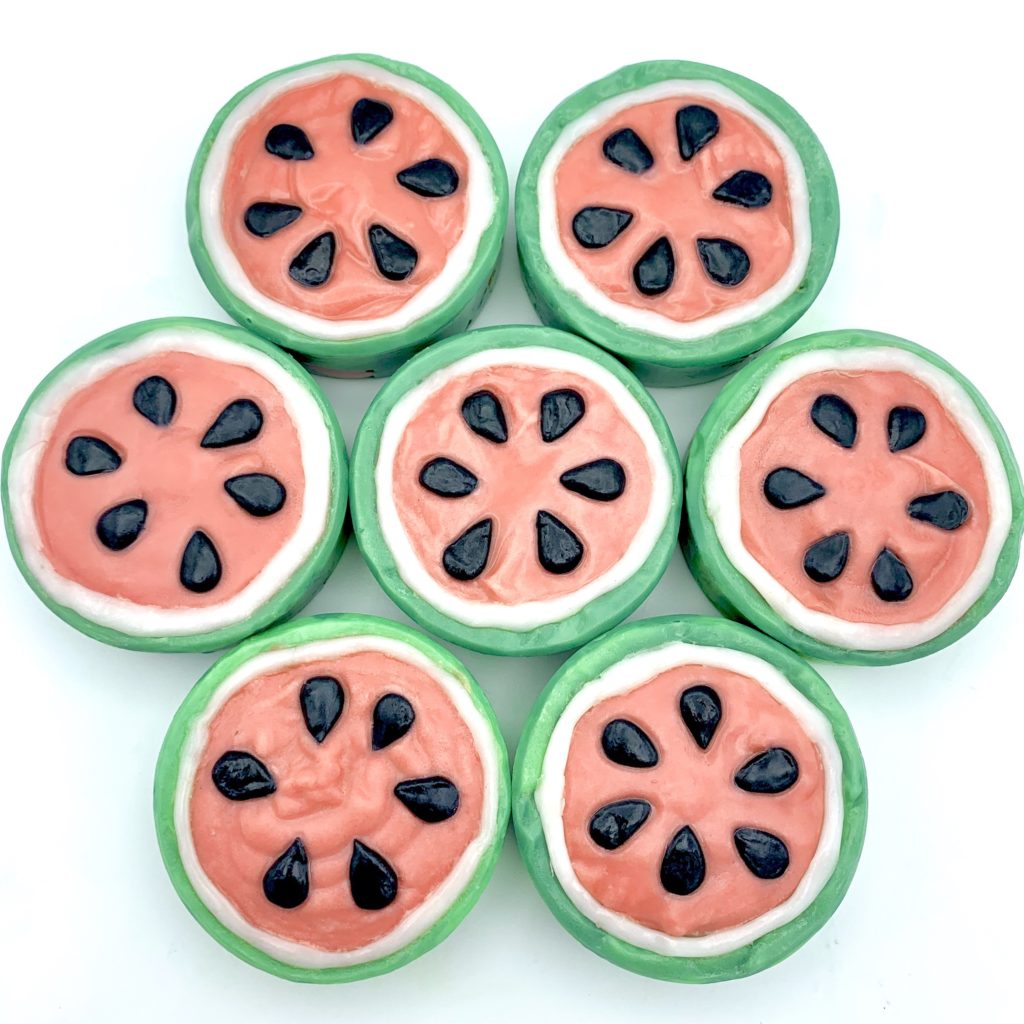
For the finishing touch I wanted to add the white of the rind. I used the offset triangle tool from my mini clay carving set to remove a small section of the soap where the red and green meet. Then I rolled some white soap dough into long thin snakes and pushed that into the cavity I had created. Whenever you add soap dough to a finished bar it’s always a good idea to use freshly made soap. That way the bar and the embellishment cure together.
Tadaaa! Watermelon soaps! What will you create?
About Robyn French Smith

My name is Robyn French Smith! I studied fine art at the University of St Thomas and the Glassell School of Art in Houston TX, and graphic design at The Art Institute of Houston. I started dabbling in DIY bath and body products over 10 years ago after moving to Alaska. While I knew how to make basic soap for several years, I didn’t start looking at it as an art form until about 4 years ago when a neck and shoulder injury made it almost impossible for me to draw and paint. I needed a place for all that creativity to go, and I found it in soap. I received my Basic Soapmaker Certification from the HSCG in 2019 and plan on pursuing further levels of certification.
Find me online at scandaloussoap.com and Facebook! Robyn also writes articles at Bath Fizz and Foam.



great
Beautiful concept, I love it.
Can regular salt be substituted for the California Sea Salt? Or what other salt would you recommend as a substitution?
Thank you!
Shari