Soap sprinkles are easy and quick to make when you have the right tools! I wanted to create a variety of colors so that I can make, store and then use as needed. To make sprinkles, you first make soap dough.
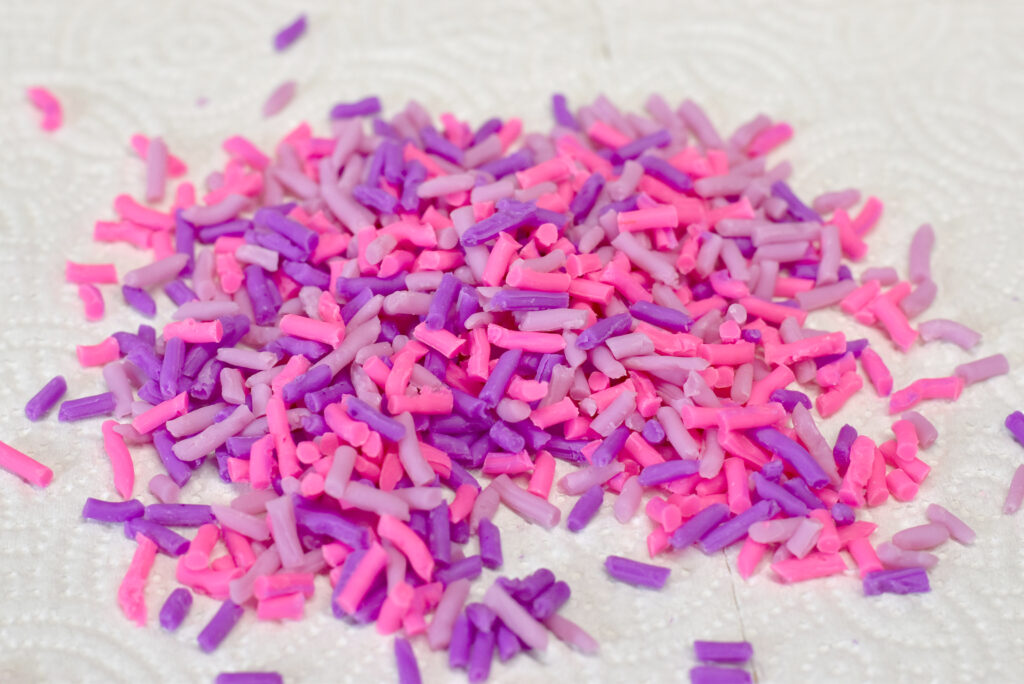
Making Soap Dough
We’ll need to work our soap like dough to make sprinkles. Most recipes can be made into a pliable soap dough by simply covering and not exposing the soap to air (which dries it out!). I used the recipe below, but you can also use the one in this blog post, A Vegan and Palm Free Soap Dough Recipe. If you want to purchase soap dough already made, check out Sorcery Soap!
Soap Sprinkle Tool
To make the soap sprinkles, you’ll need some type of extruder. You CAN do it by hand, individually rolling out your soap dough…but having a tool makes it easier.
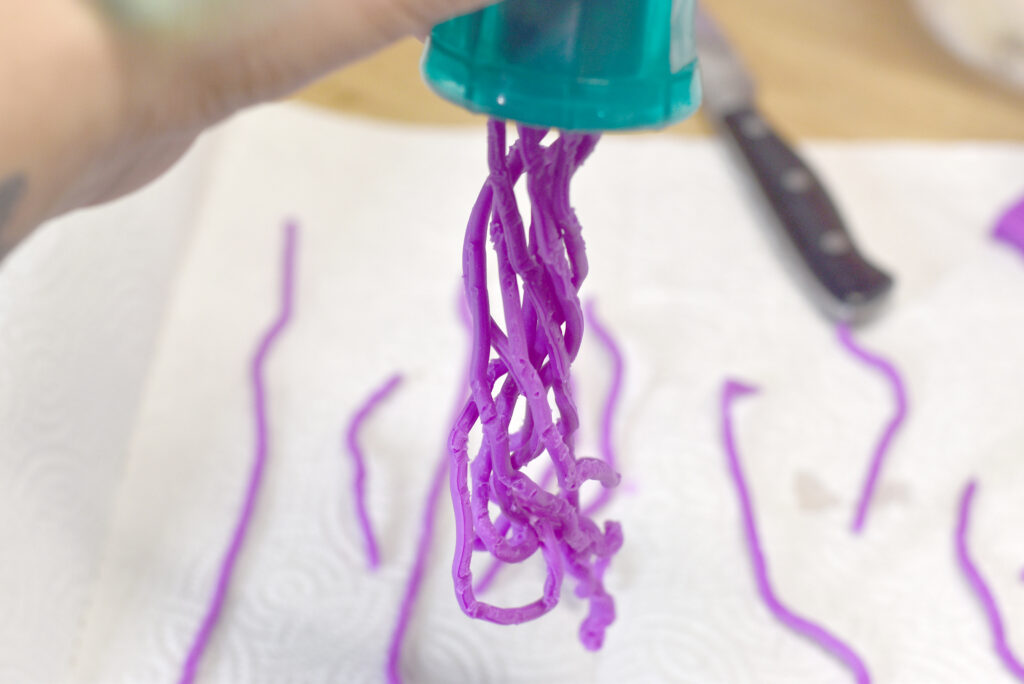
I pilfered my daughter’s Play-Dough collection for an extruder to use and found one that made spaghetti! You can also purchase different types of extruders for making actual spaghetti or for working with clay.
Soap Dough Sprinkle Recipe
- Coconut Oil (76 degree) – 270 grams (30%)
- Shea Butter – 90 grams (10%)
- Olive Oil – 360 grams (40%)
- Avocado Oil – 72 grams (8%)
- Rice Bran Oil – 108 grams (12%)
- Sodium Hydroxide – 127 (5% superfat)
- Water – 254 (1:2, lye:water ratio)
Mold: Individual Cavity Mold (any kinds!)
Color: I used a variety of colors so that I’d end up with quite a few different colored sprinkles to use for different projects.
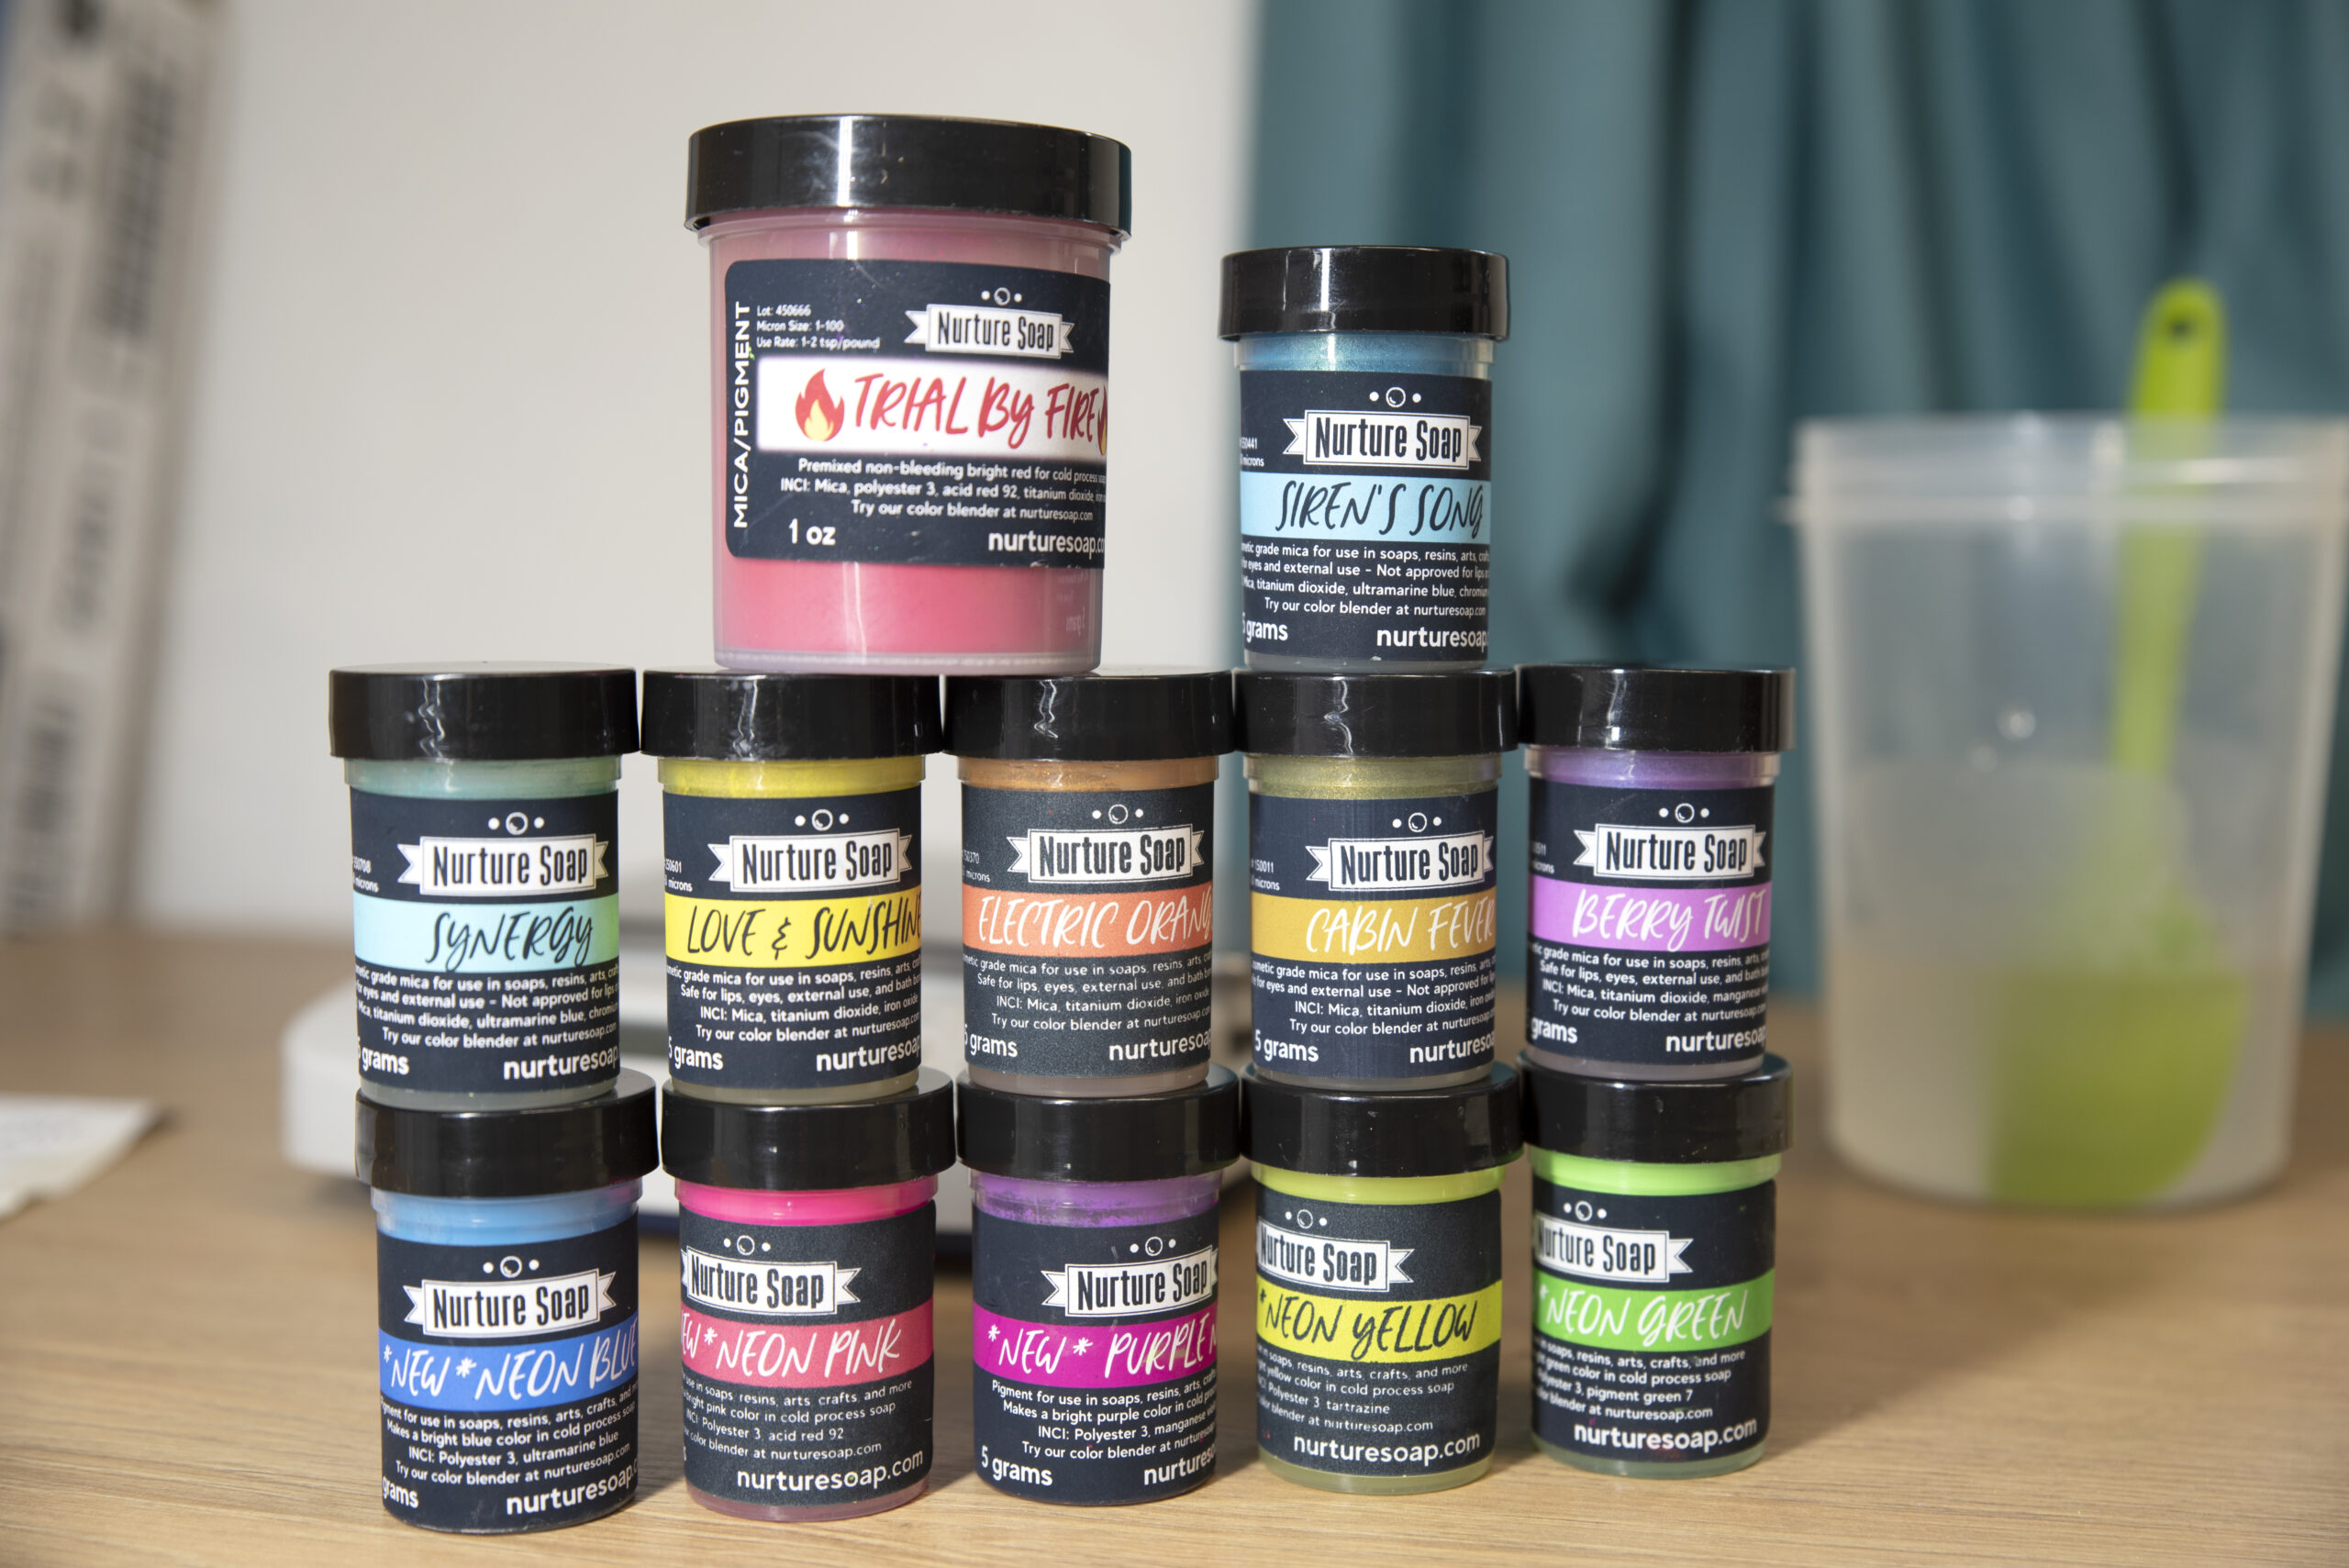
Let’s make soap! If you are new to soapmaking, be sure to download our free guide, How to Make Cold Process Soap! Gear up in your gloves and your safety glasses.
Here is how I made my soap sprinkles!
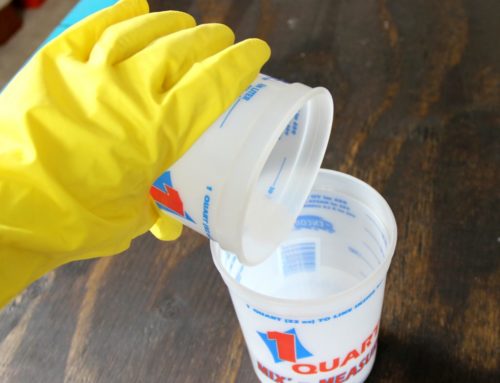
Step 1: Create a lye solution. Weigh the water and lye into two separate containers. Slowly pour the sodium hydroxide into the water while stirring. Stir until completely dissolved and set aside to cool.
Step 2: Prepare the base oils. First, weigh any solid oils and butters into a container and melt. You can melt using the microwave or low heat on a burner. Next, weigh each liquid oil into the melted oils. The liquid oils will cool down the melted oils and leave you with a base oil mixture that is about at the correct temperature to make soap. It might still need to cool down a bit.
(Note: I don’t scent my sprinkles so I can add them to any soap.)
Step 3: Check the temperatures. You should now have a container containing liquid base oils and a container containing lye solution. Take the temperatures using an infra-red temperature gun. Be sure to stir each mixture before taking the temp. You want your temperatures to be between 80-100 degrees F.
Step 4: Once you have reached desired temperatures, pour the lye solution into the oil mixture and mix to trace.
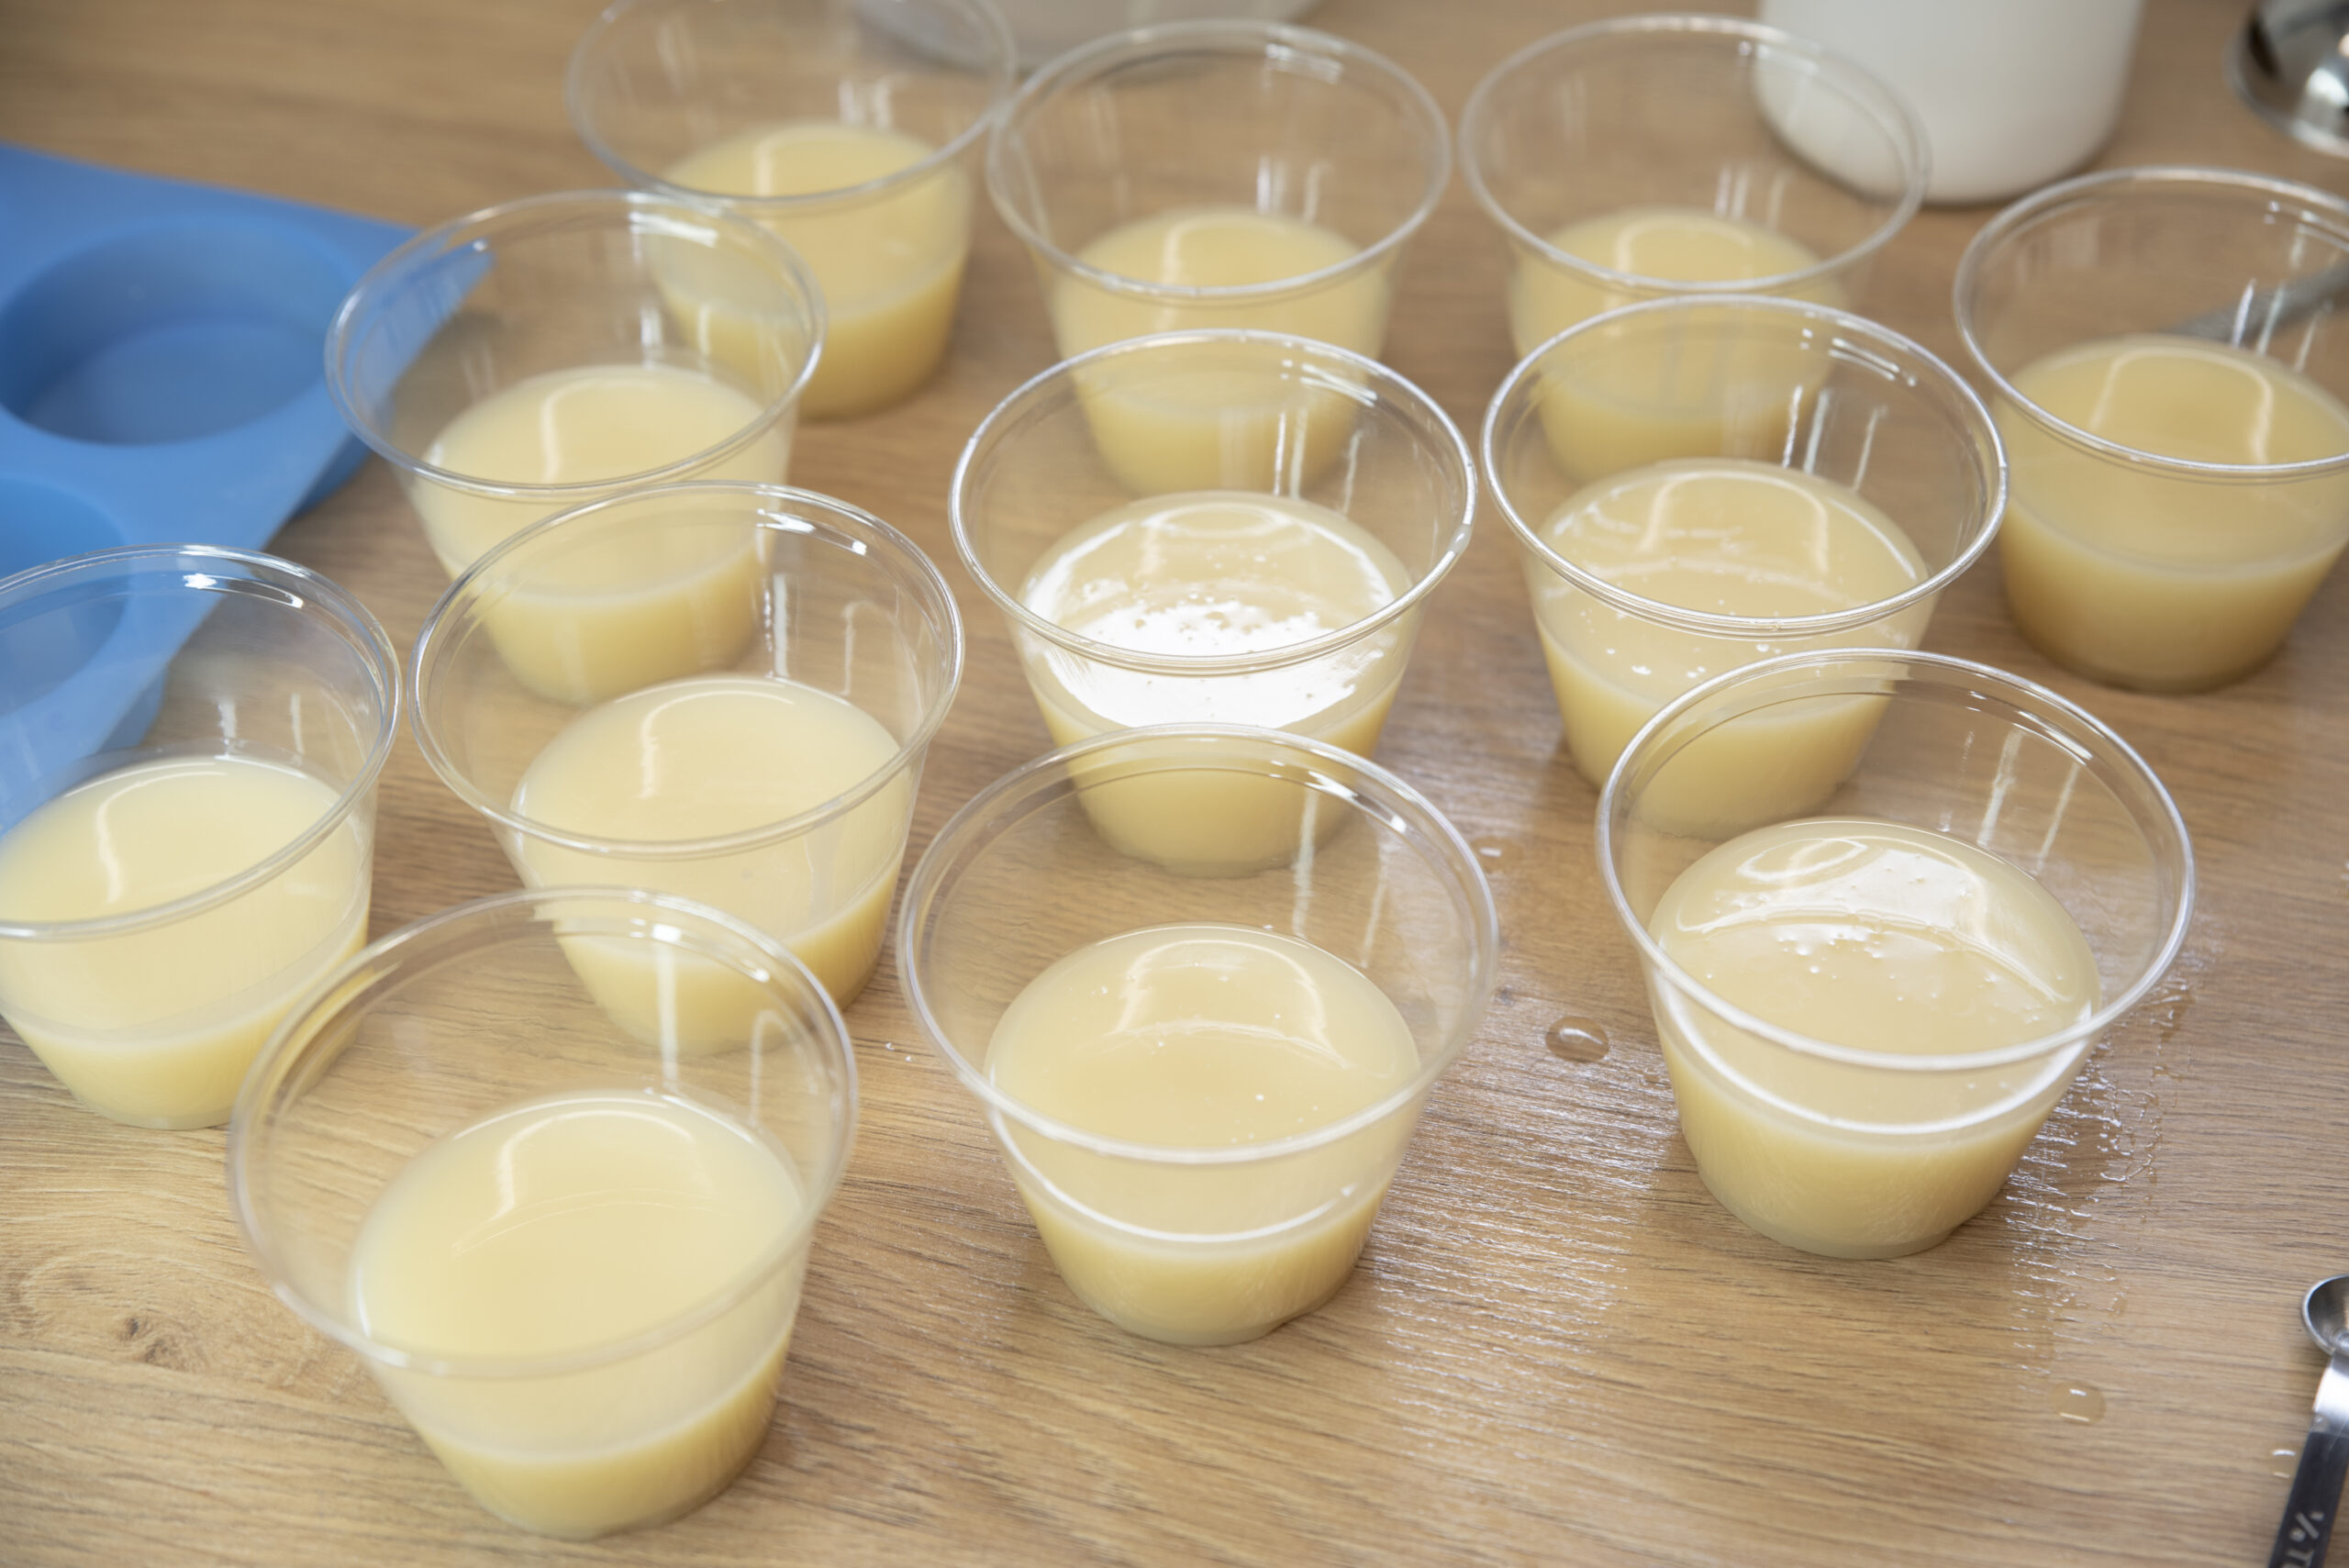
Step 5: Divide your soap to color. I divided mine into 12 cups to color. You can do as many or as few as you’d like to make.
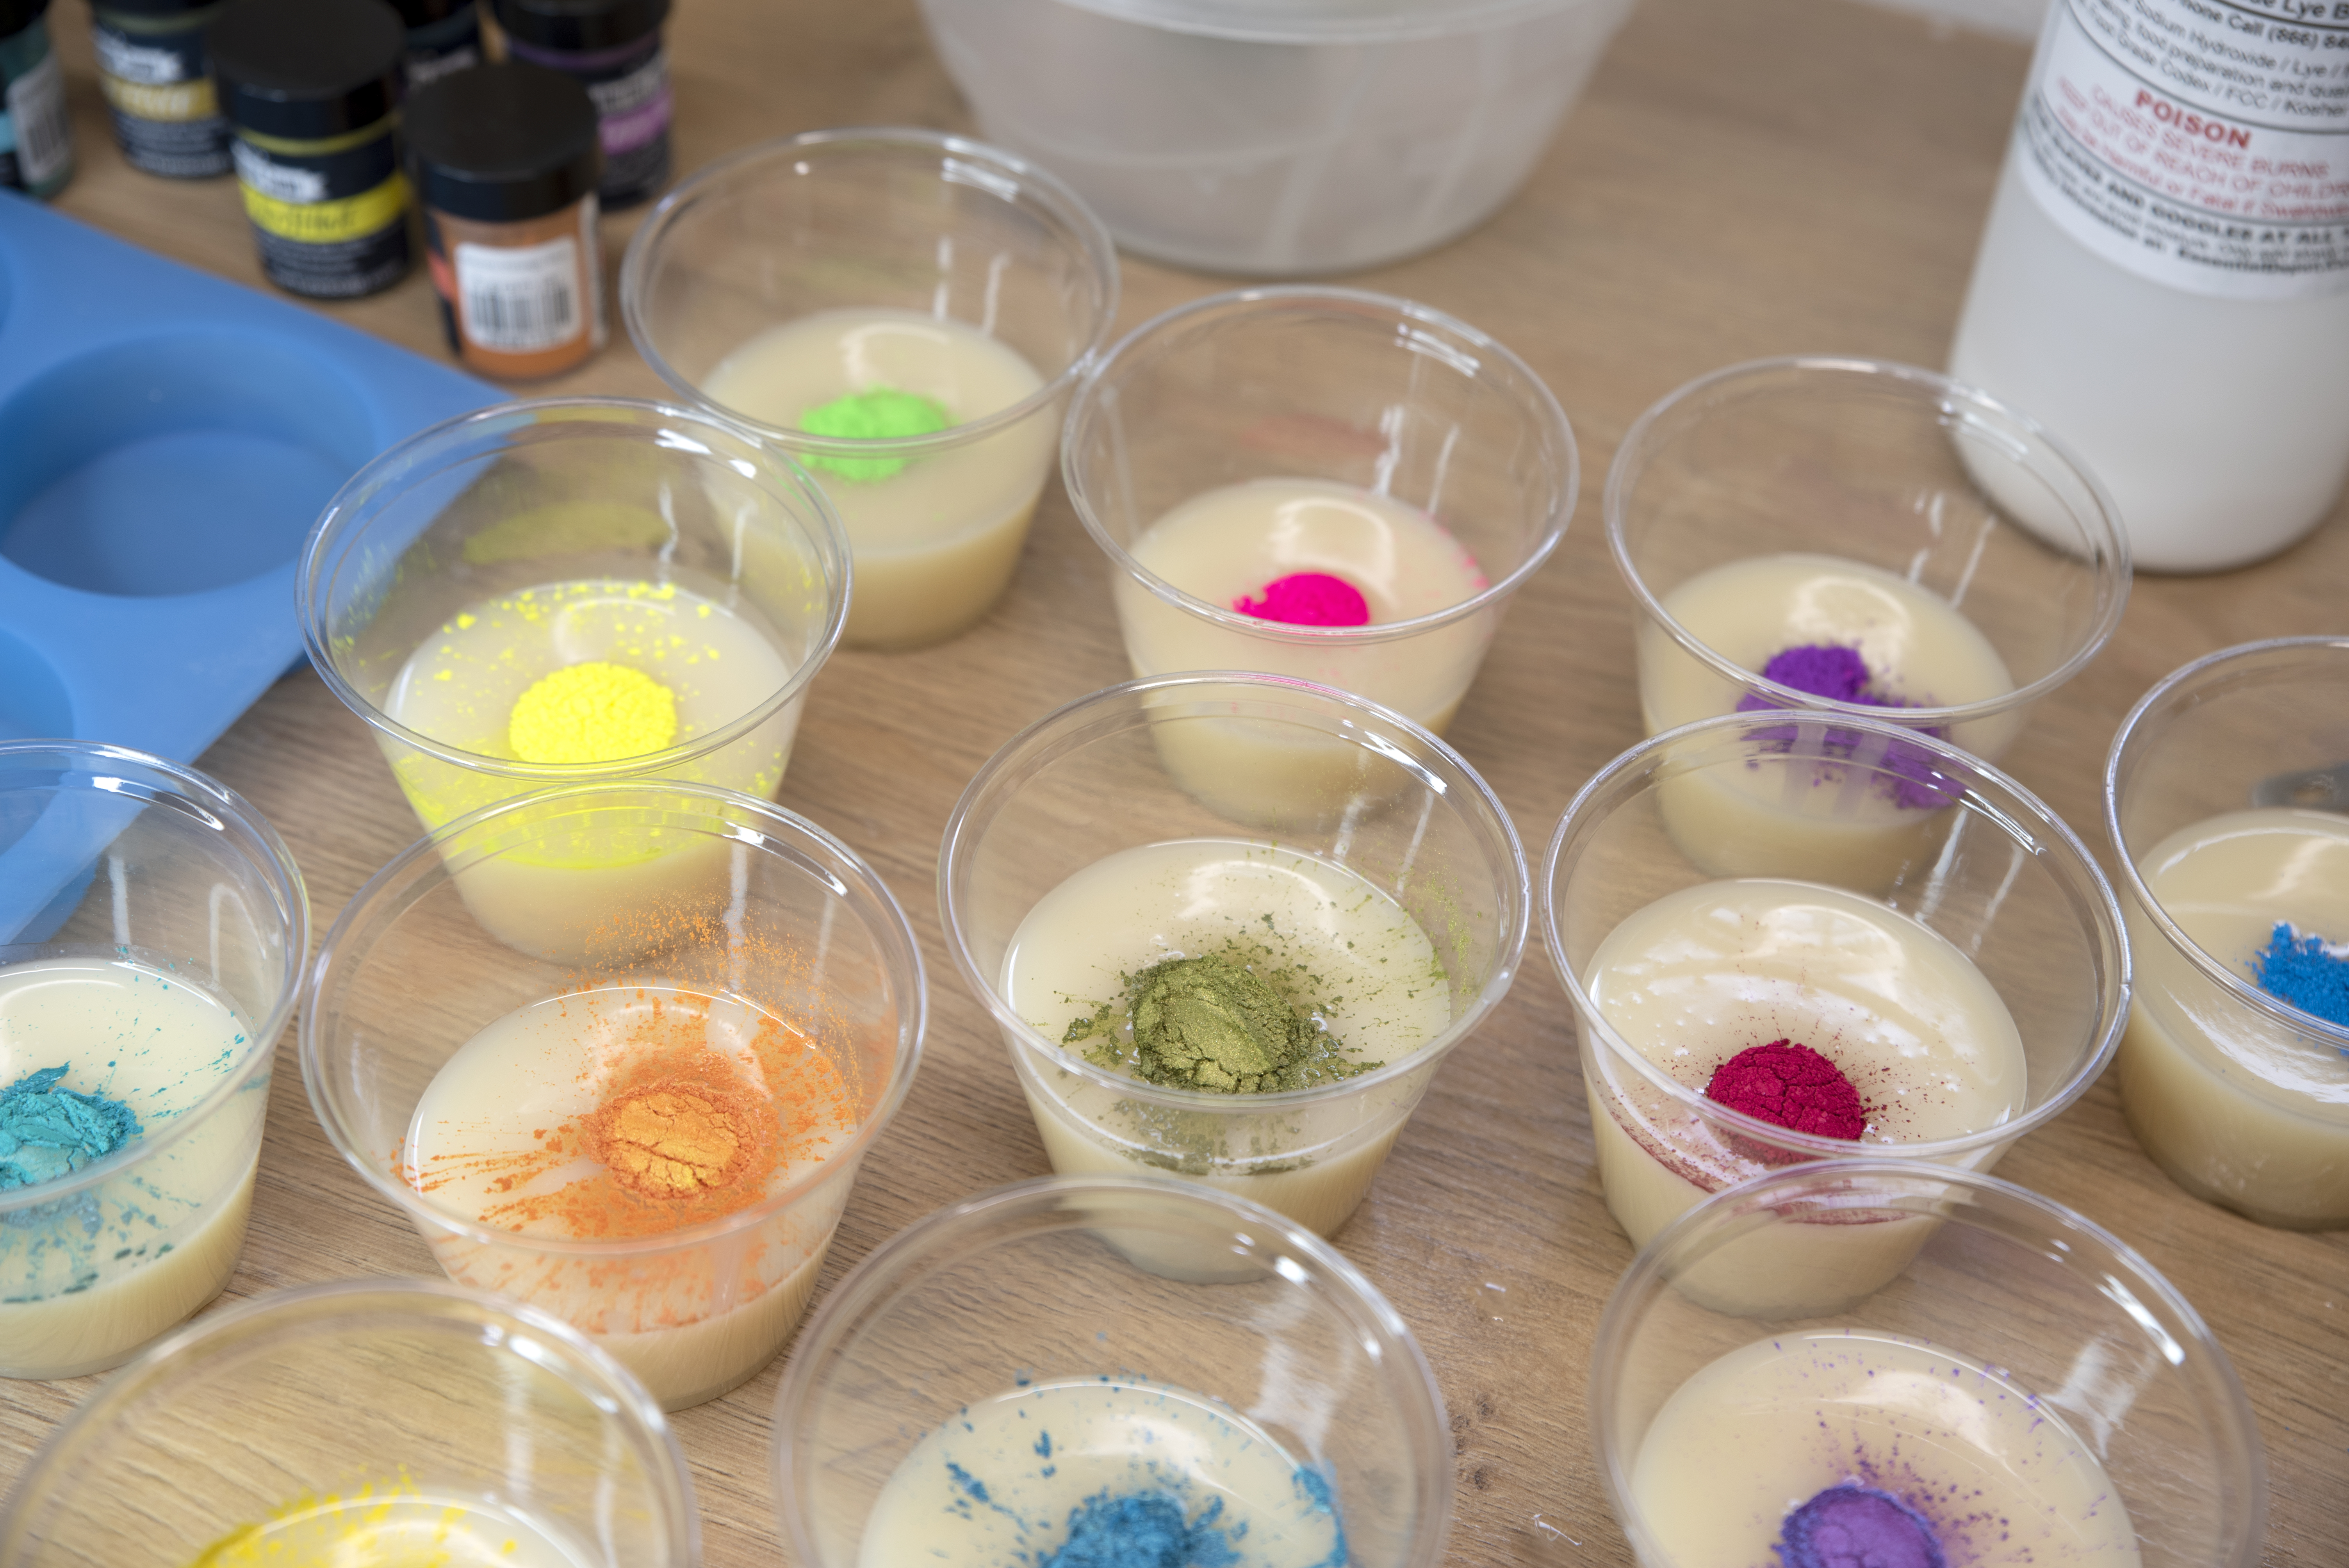
Step 6: Add color, mix and pour into individual cavity molds.
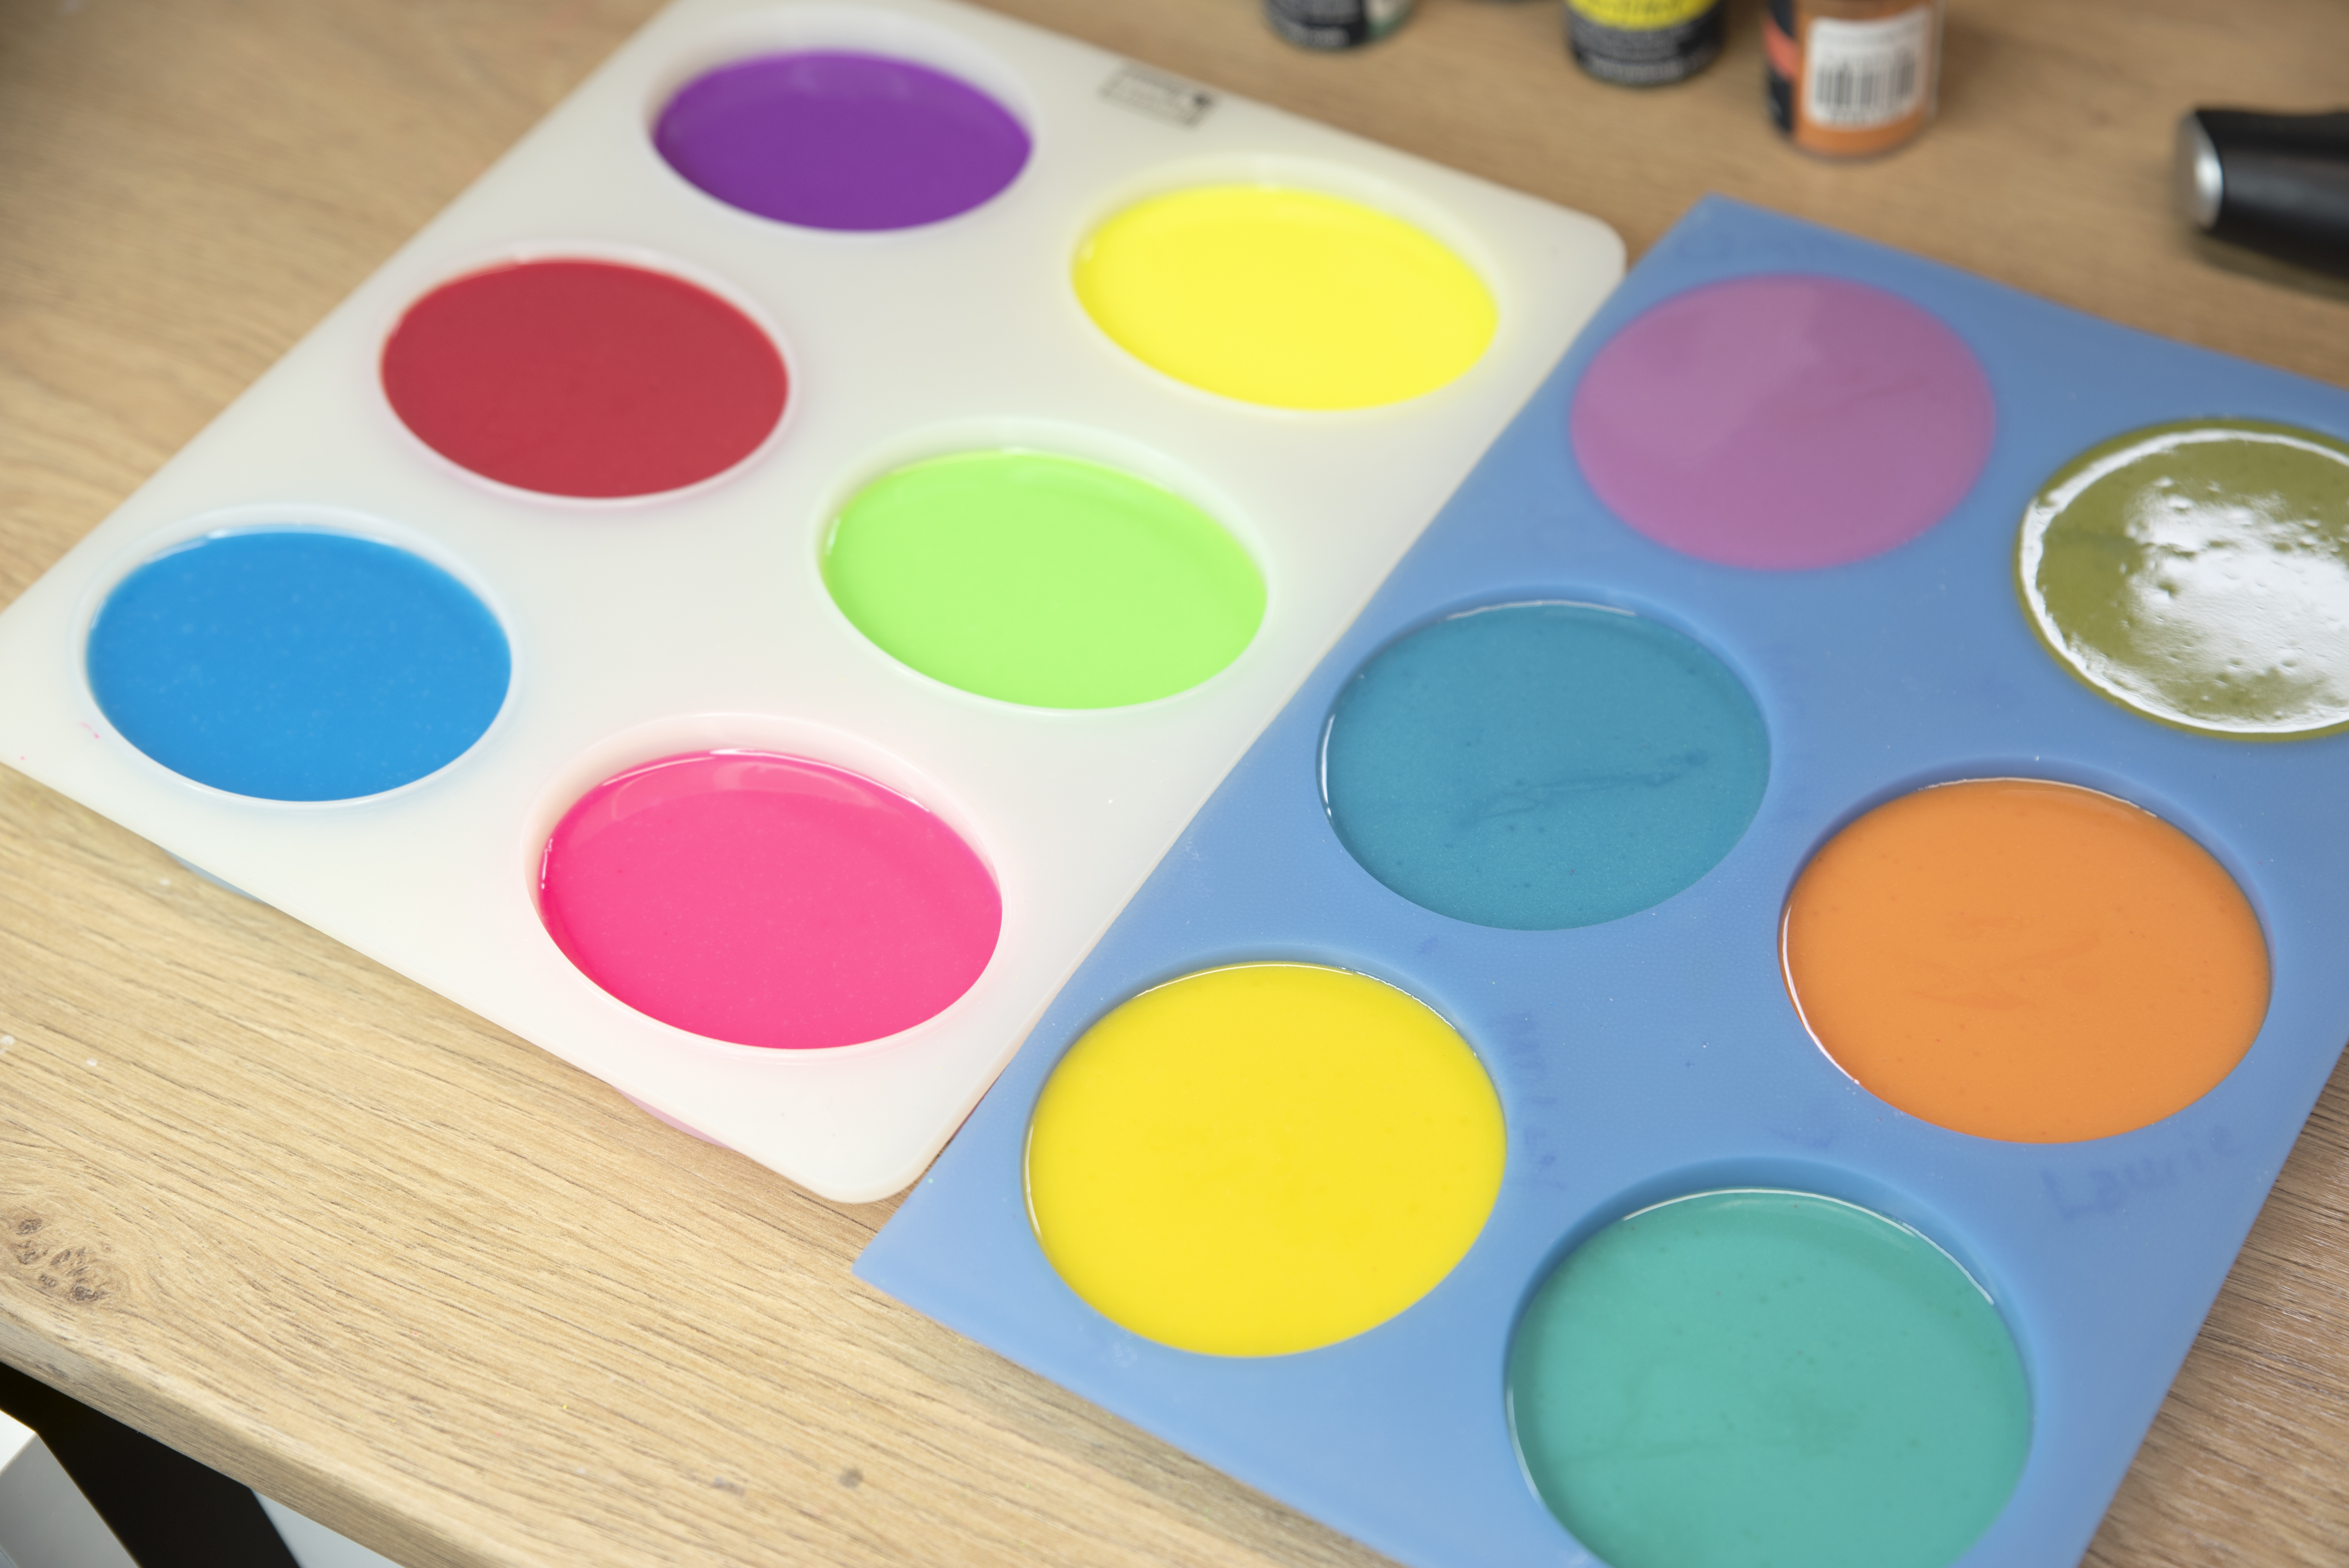
Step 7: Cover your soap with plastic wrap as it saponifies and sets up.
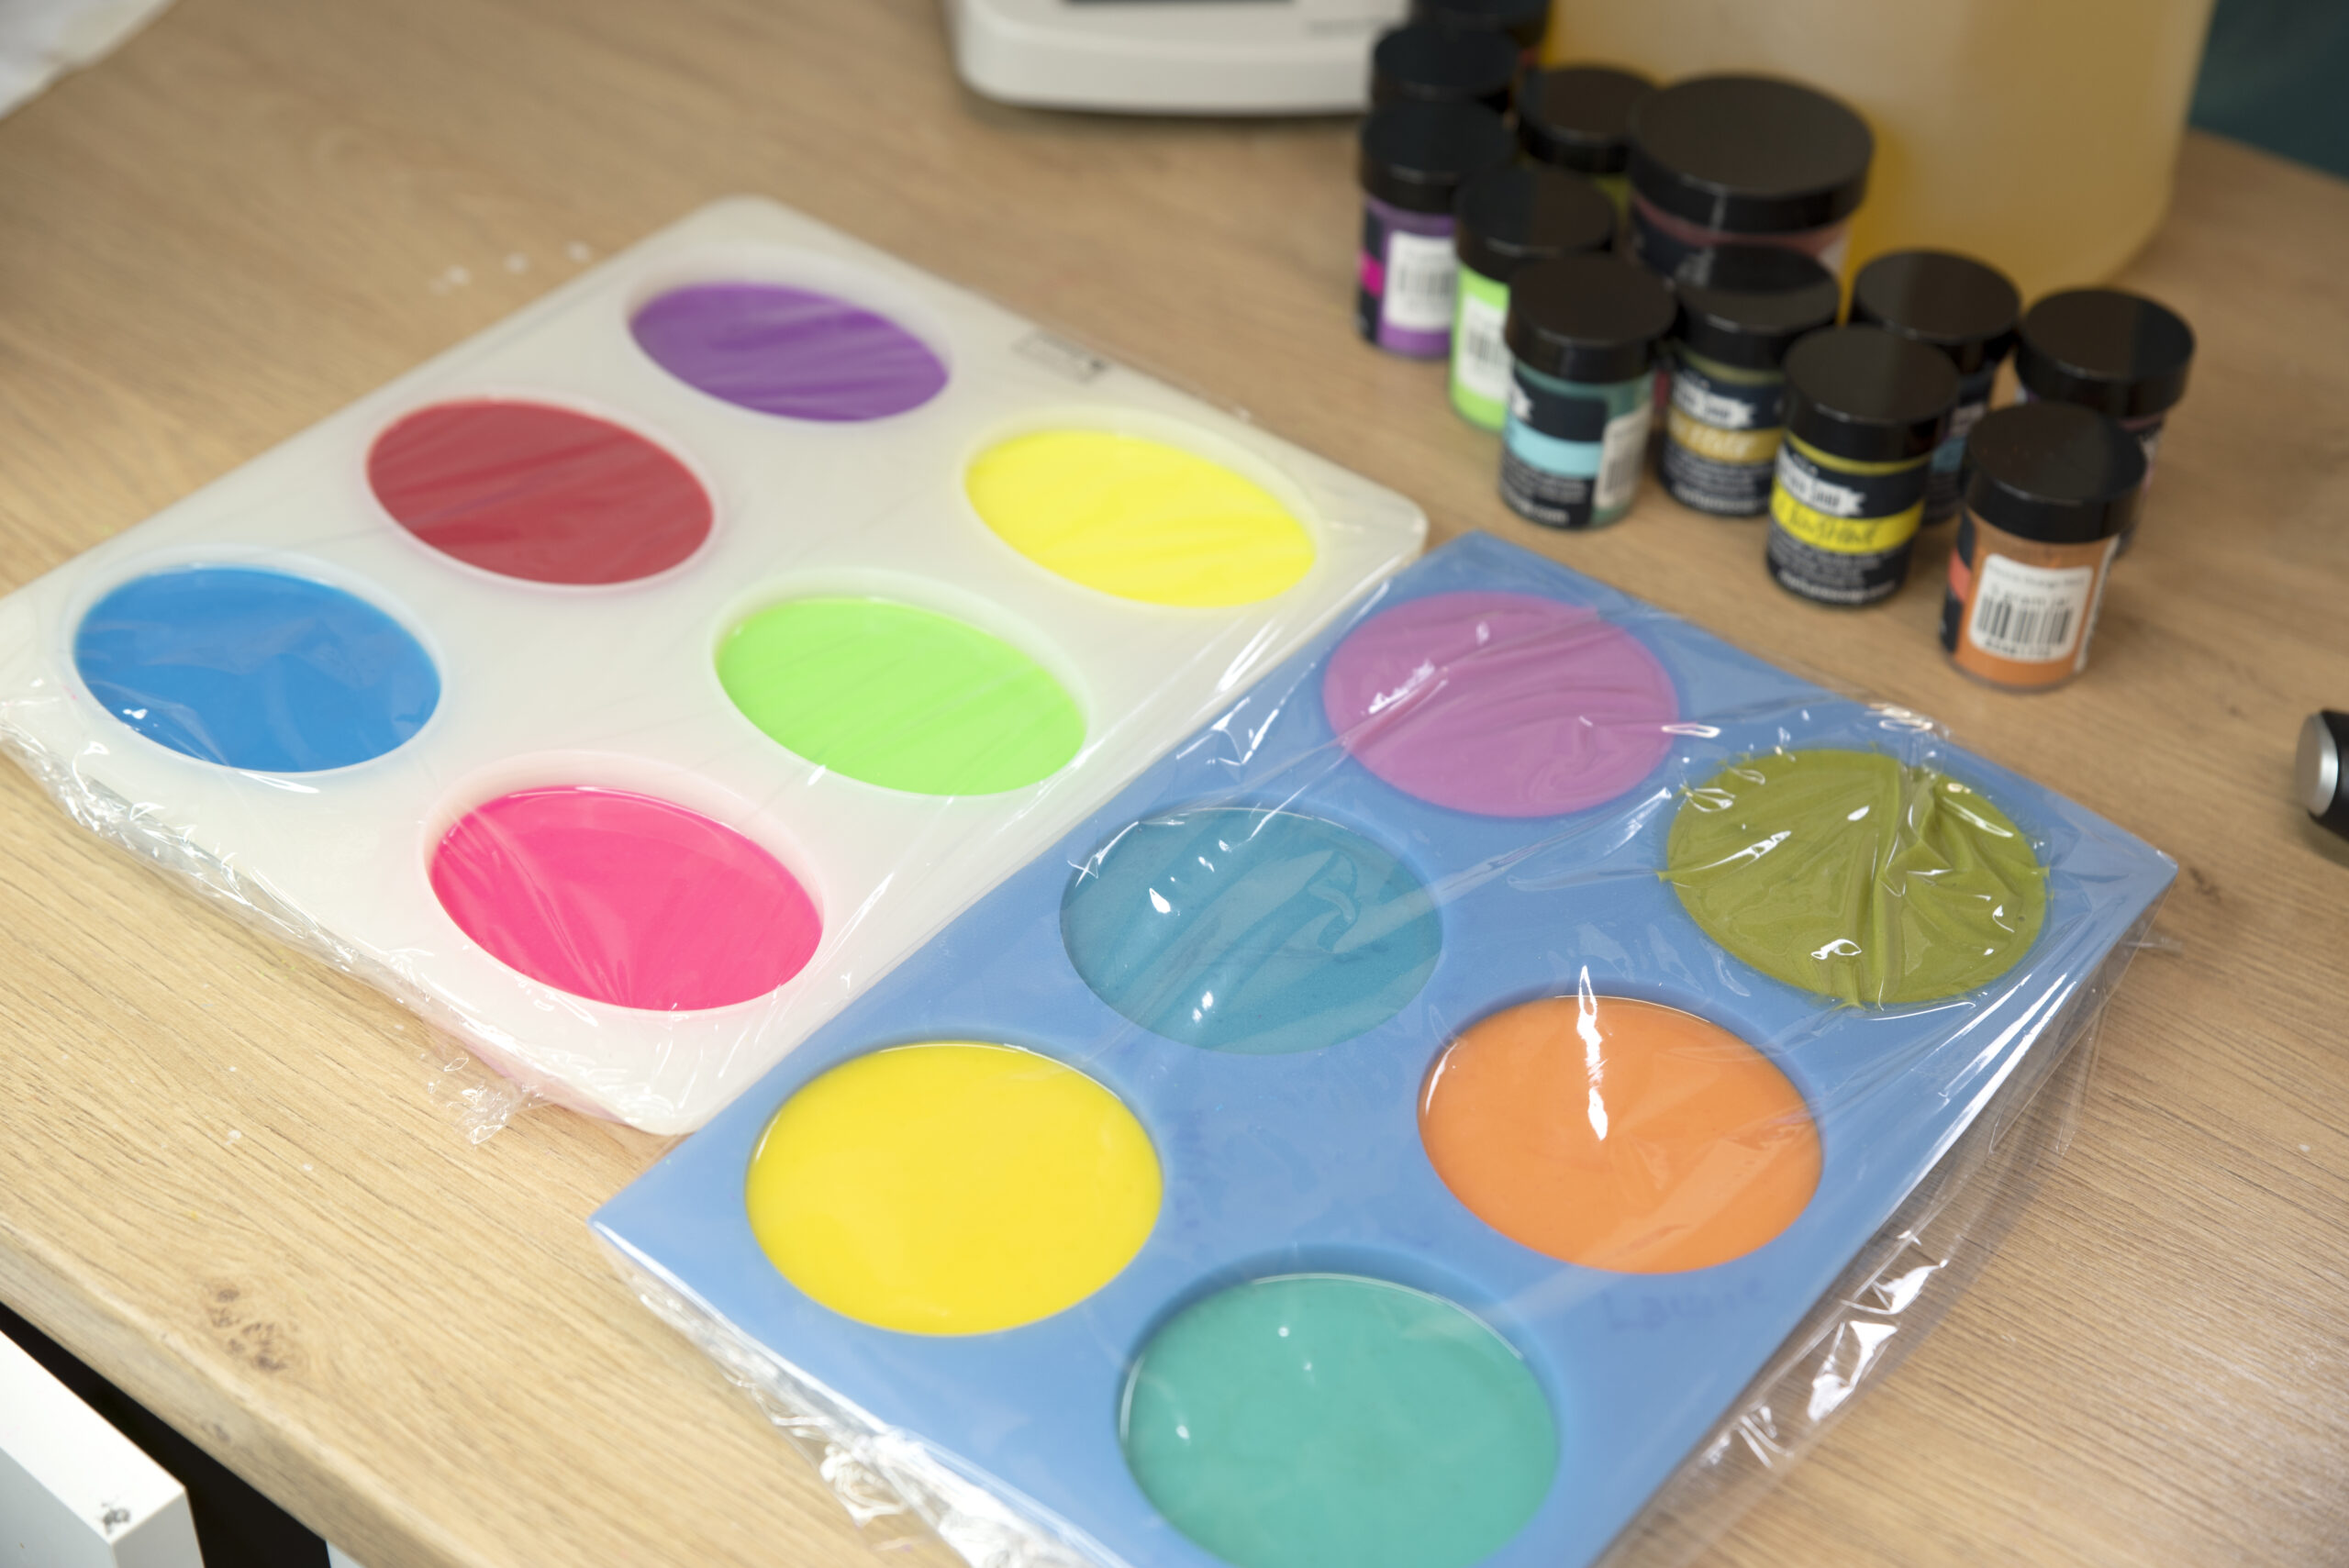
After 24 hours unmold and store in airtight containers. You do not want it to dry out. This is what makes it soap dough! Keeping away from air keeps it mushy and dough-y.
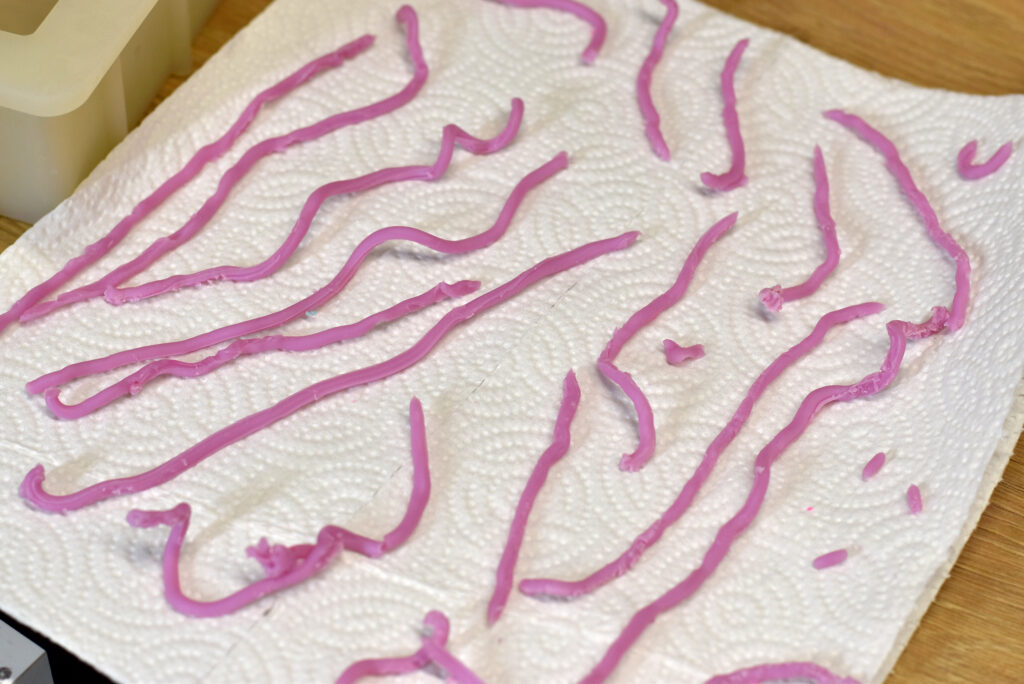
Step 8: You can use your soap dough right away (after it has saponified for at least 24 hours) and don’t need to cure it before you create shapes with it. Put the soap dough in your extruder and create long skinny pieces as shown below. They might come out all twisted and a bit stuck together. Untwist and lay out individually.
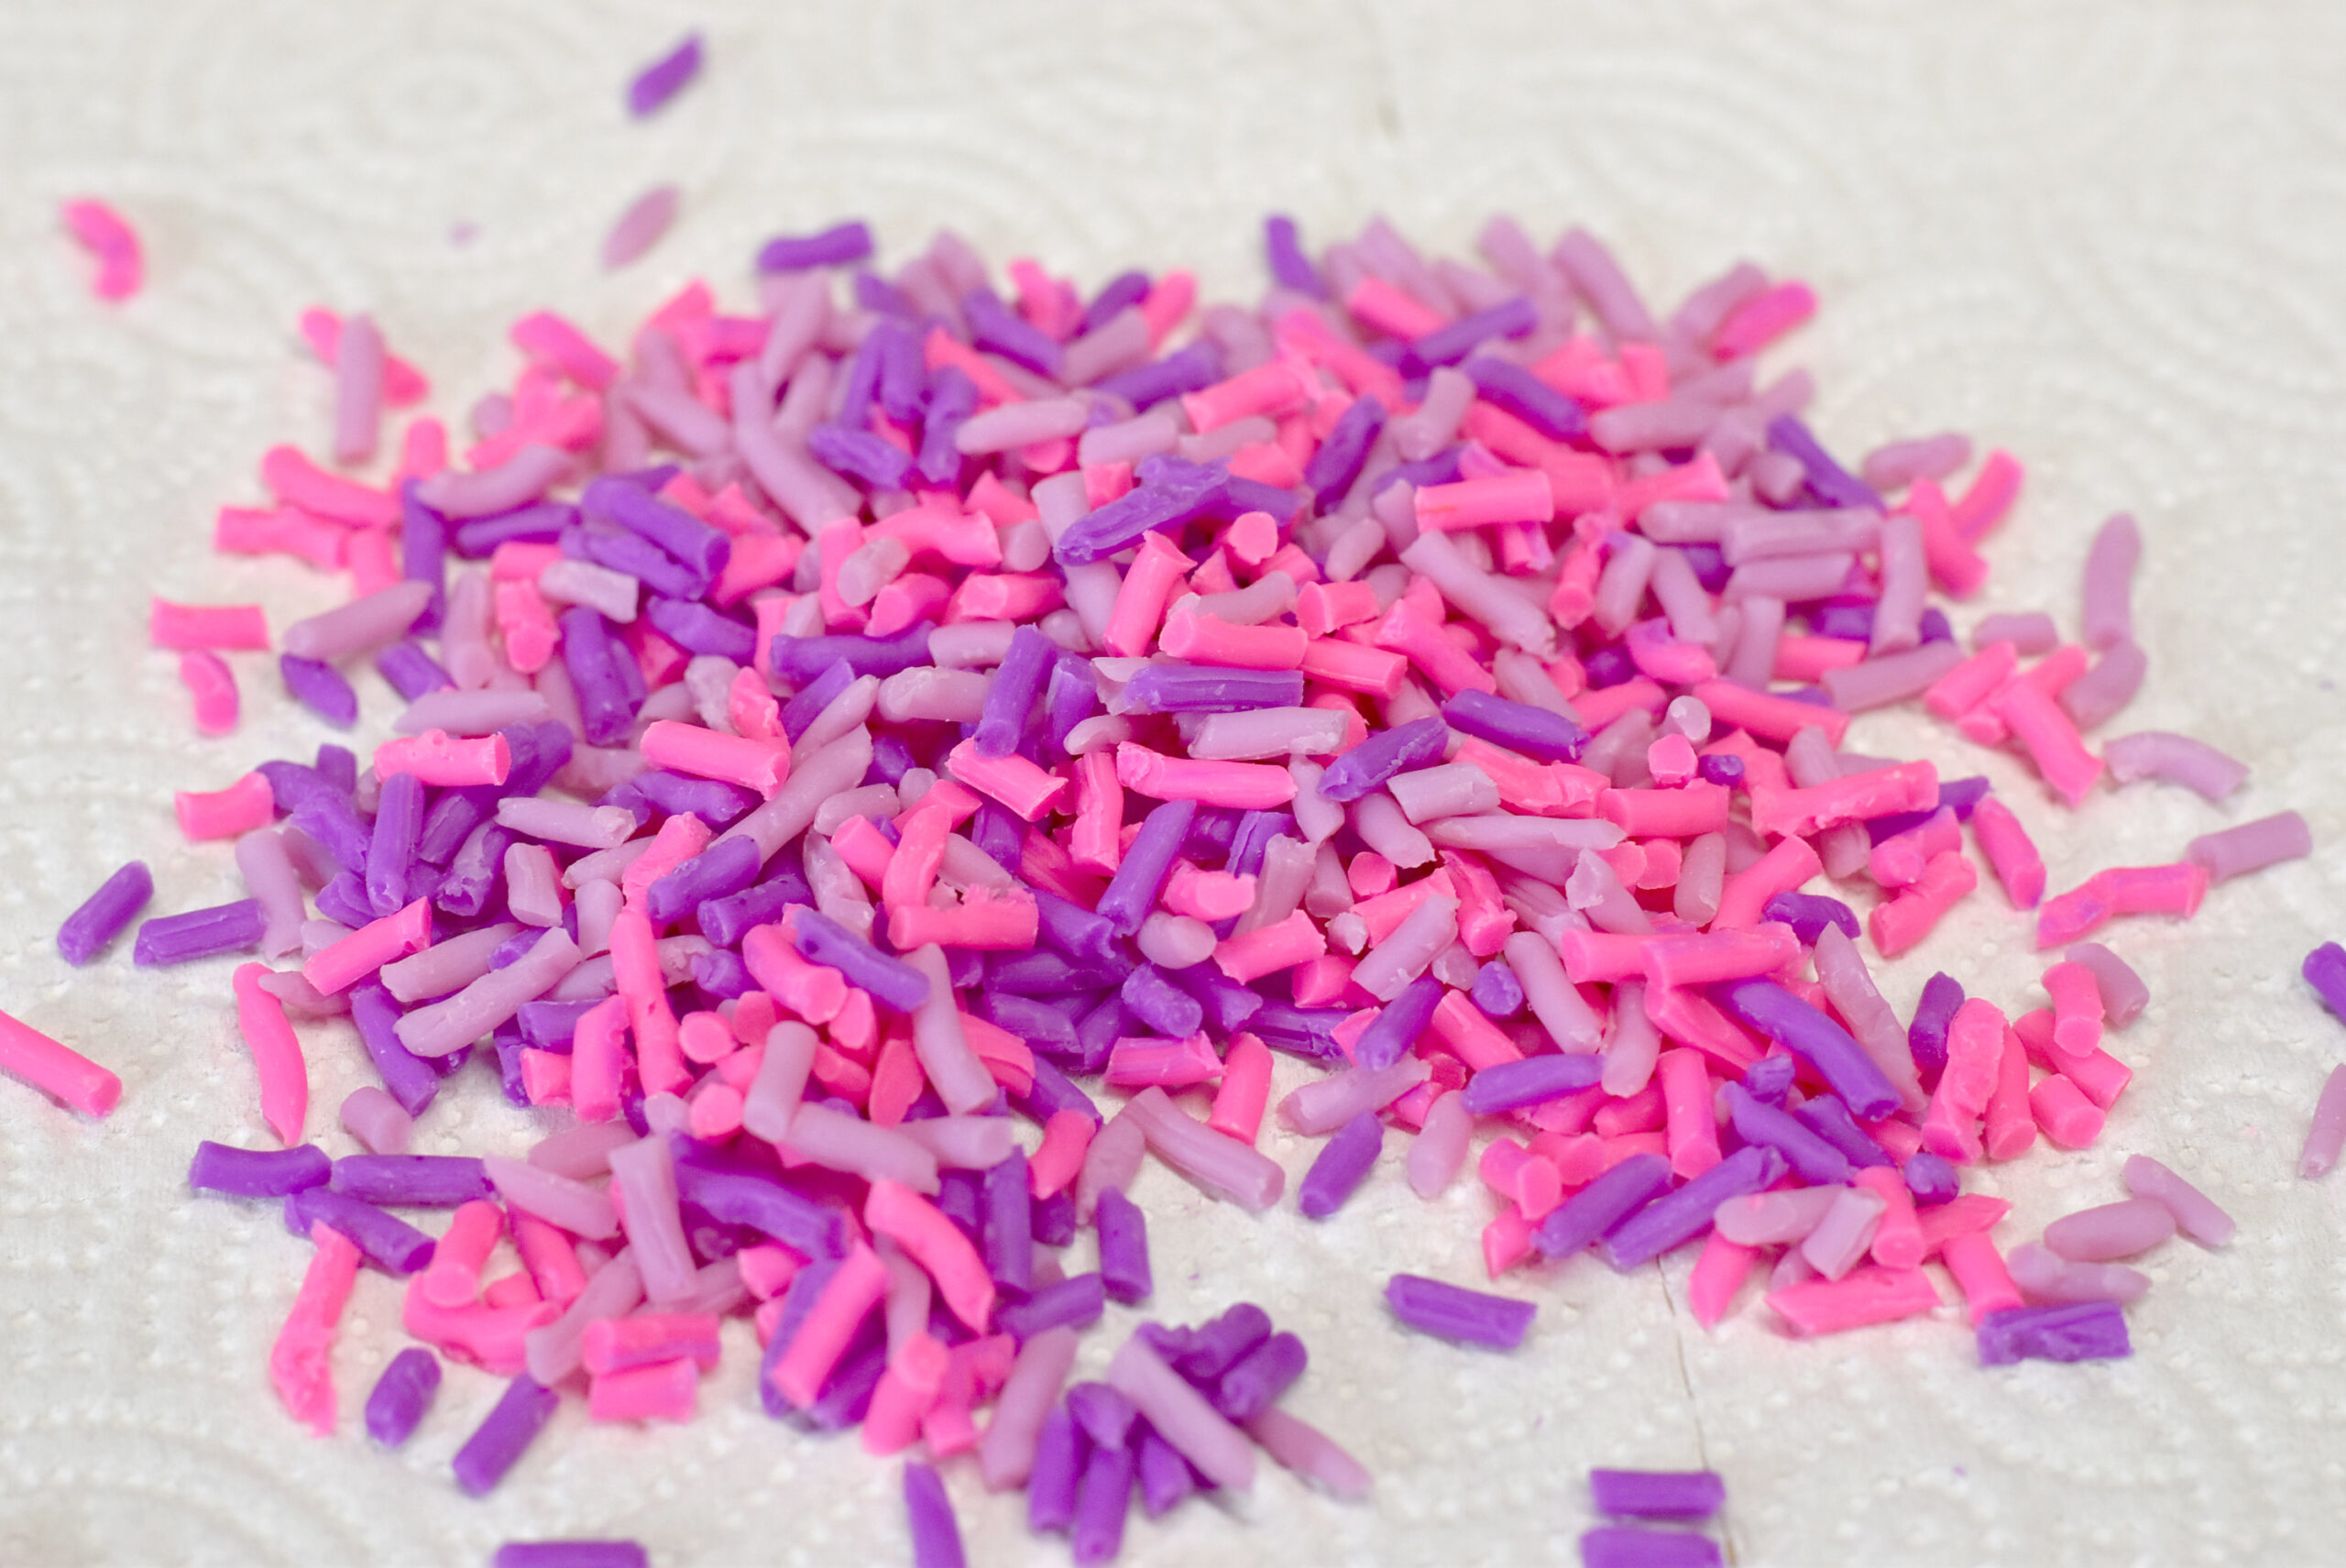
Step 9: Allow to dry for an hour or so (or even overnight) and then cut into little sprinkle sized pieces. Allowing them to dry first helps the sprinkle pieces not stick together and it is much easier to cut.
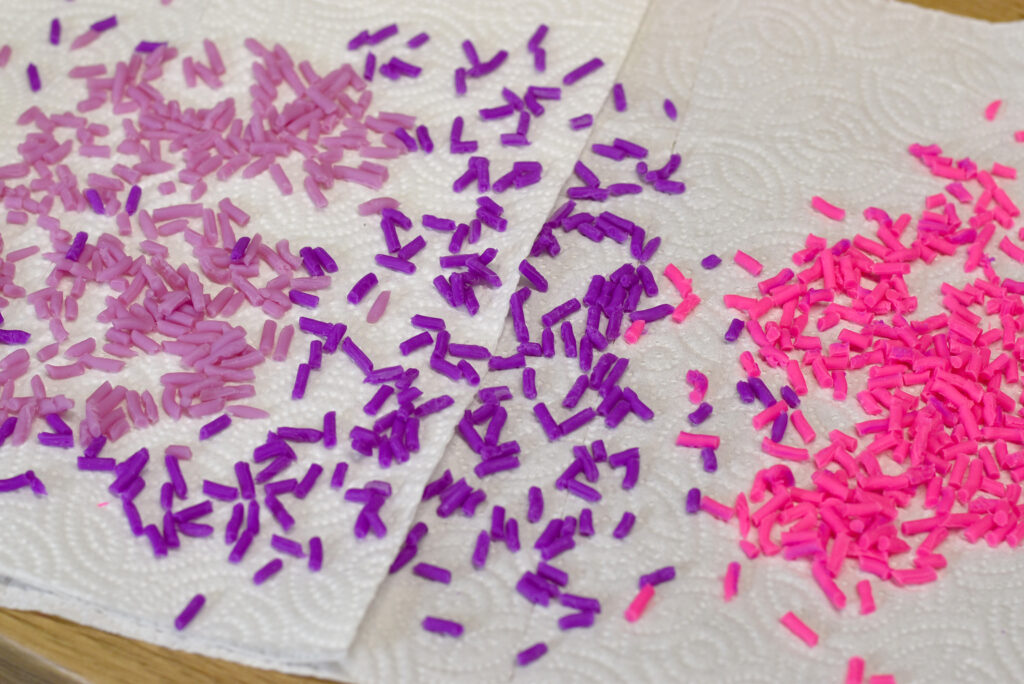
Step 10: Your sprinkles are ready for use!
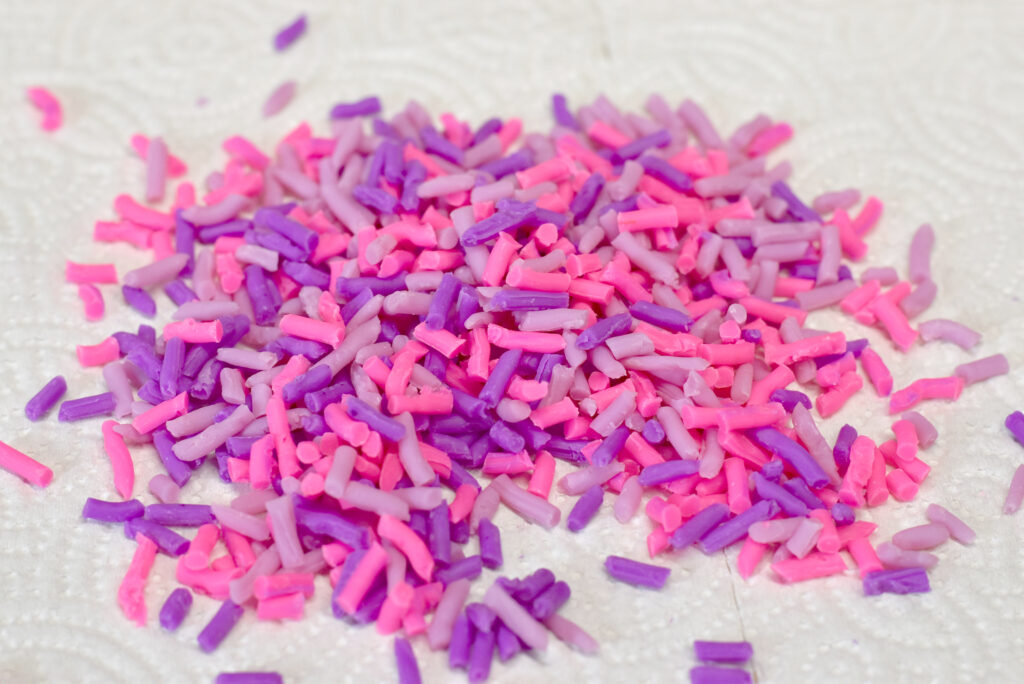
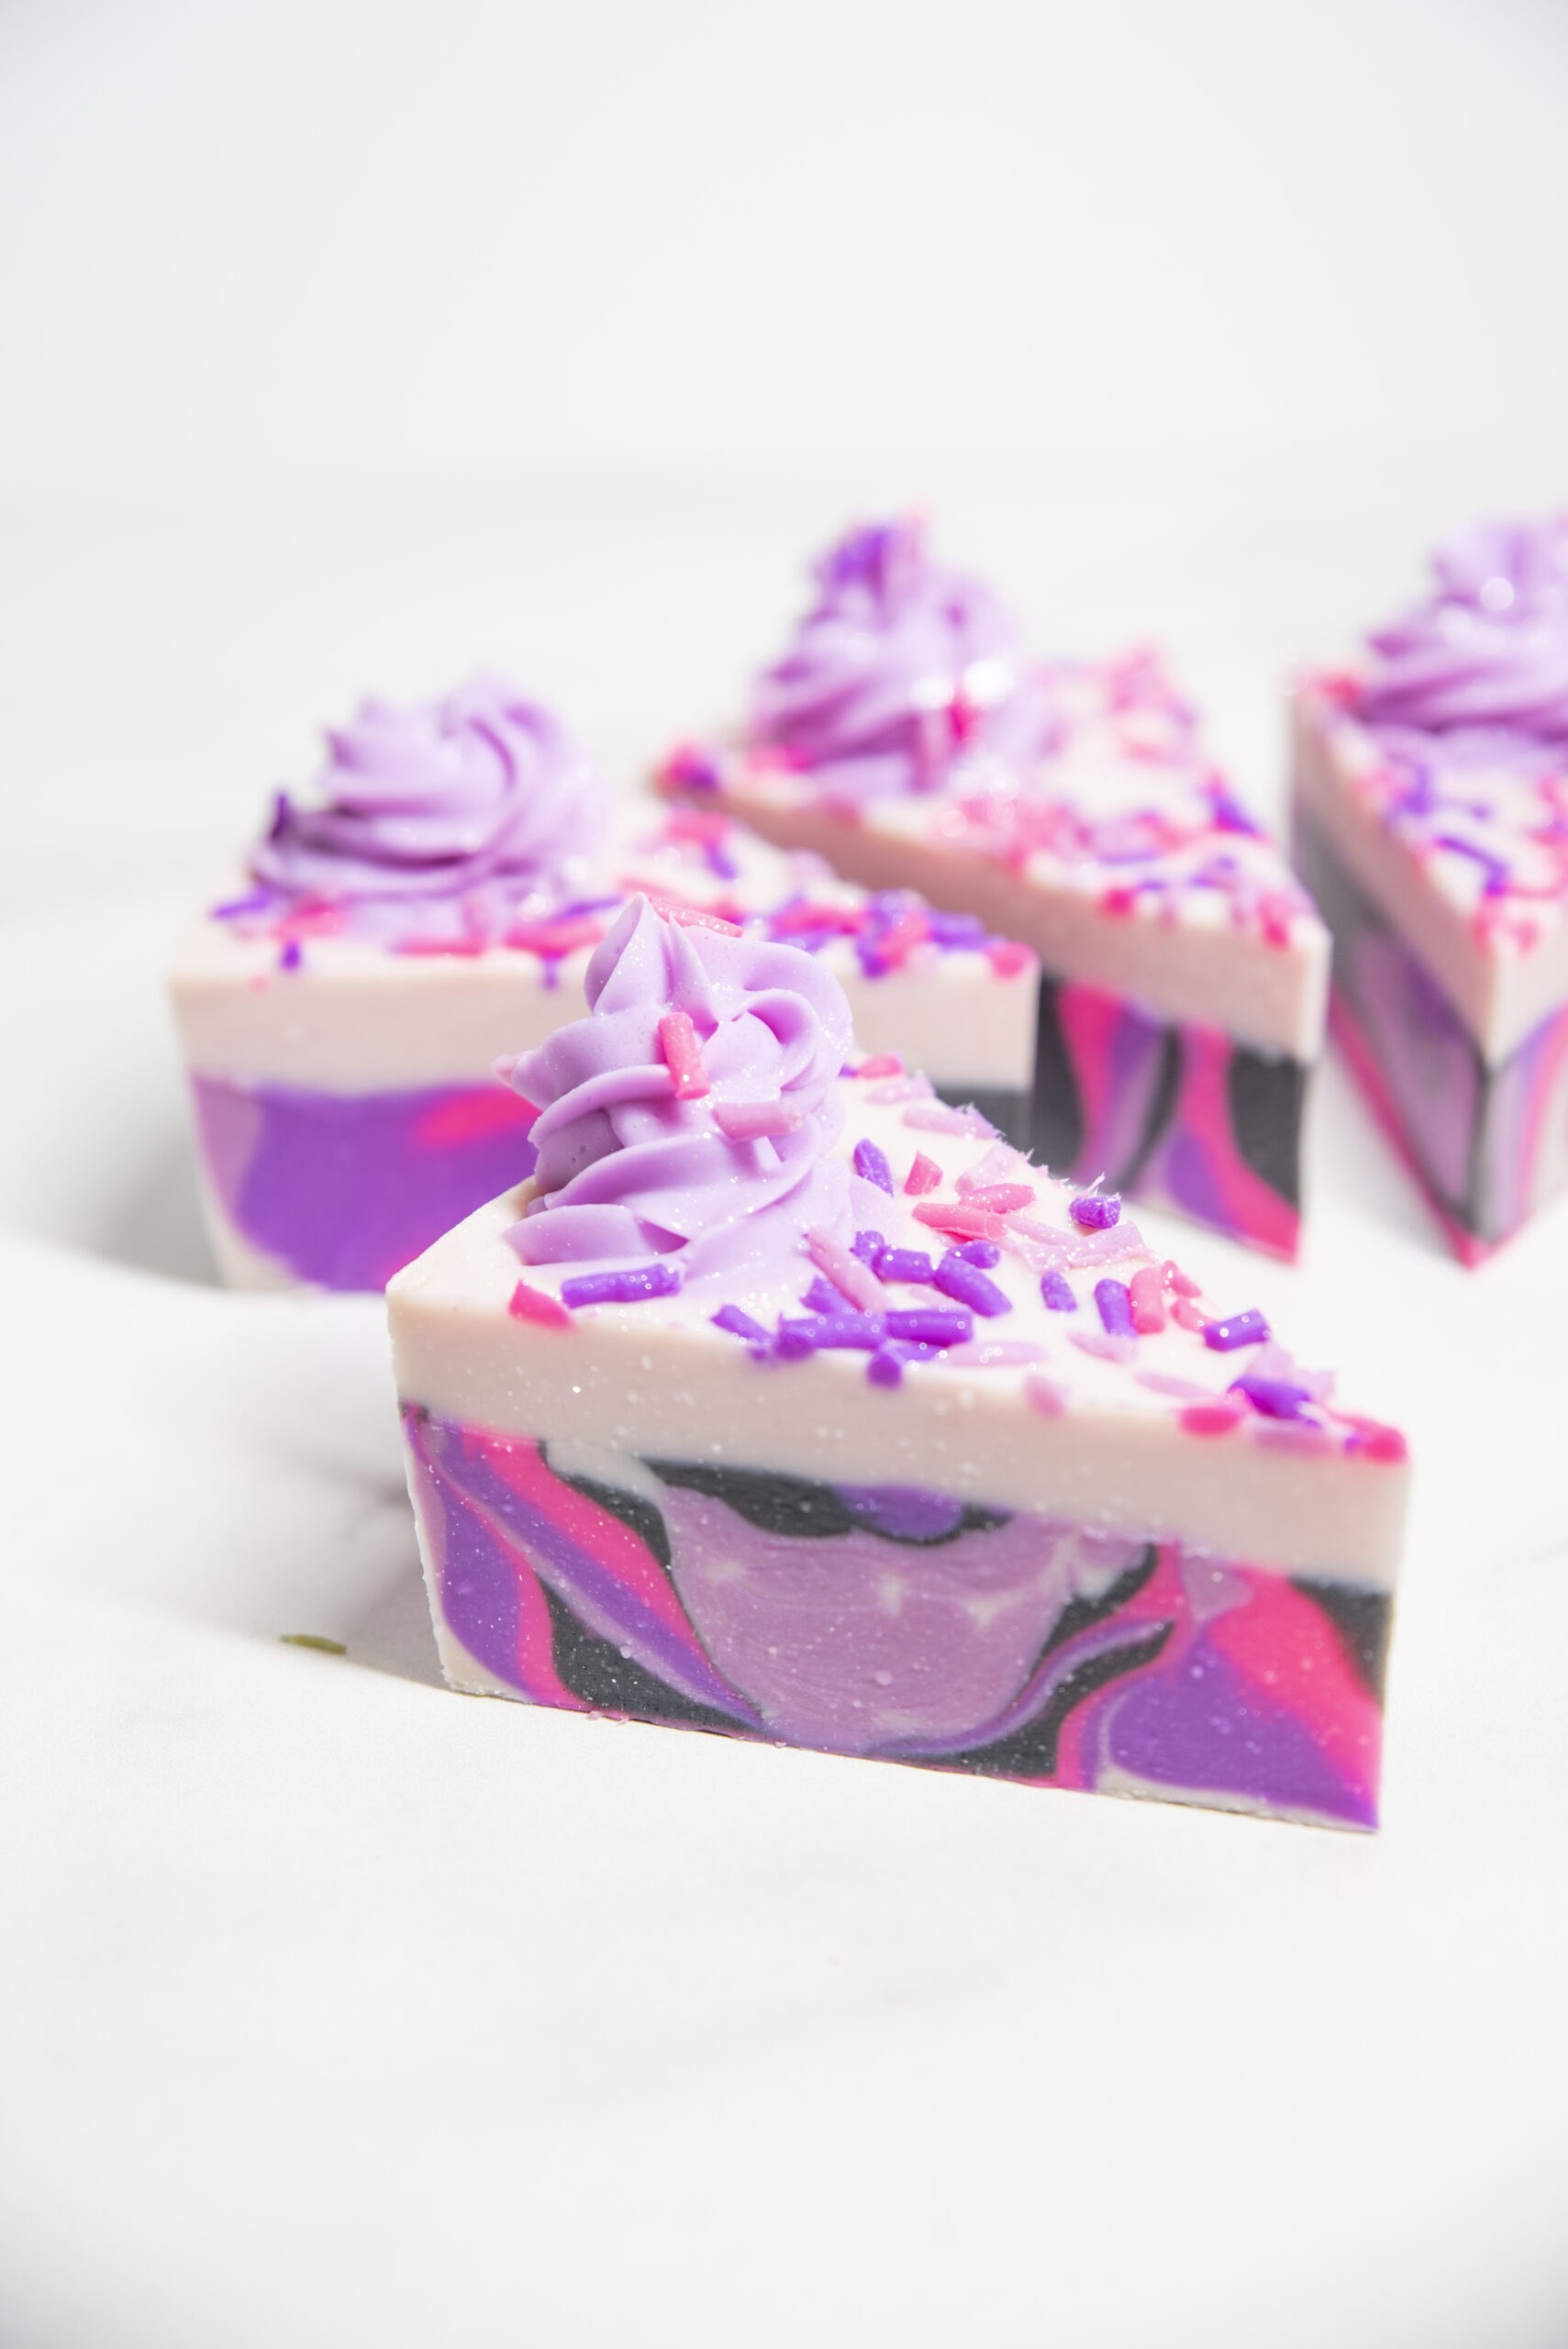
Coming soon to the blog, I’m going to show you how to make this adorable soap cake! We’ll use the sprinkles to top it off.
Happy Soaping!
Amanda



Can you use this recipe substituting melt and pour soap base?
Custom Boxes World offers custom bath bomb boxes at affordable prices. Get your custom printed bath bomb boxes with free shipment in all over the USA. All of Our custom bath bomb boxes are designed beautifully in the highest quality, versatile color, size, and various options.
I’ve used a salad shooter to shred soap. Then I add it to cold process soap batter for color.
Can we swap out the rice bran oil and avocado oil for something else? I just don’t have those oils here.
Thank You
How do you store them? In an air tight container?
I store mine in jars after they harden up for a week or so.
You can boost your sale if you will pack your products in good packaging boxes. The Customize Boxes offered Custom Printed Boxes with free shipping across the USA in quick turnaround time. If You need Custom Soap Boxes Wholesale then you are at right place. just visit our website The Customize Boxes where we have all kinds of custom printed packaging without any die & plate charges.
Can you use these and other soap dough creations on top of or as an embed within Hot Process soap?
It is hard to adhere soap sprinkles to hot process soap, simply because it quickly develops that “skin”. You can try wetting with alcohol to help. You can embed them into hot process. They might just melt down a bit… Worth trying!
Could y’all be anymore brilliant? I mean really- this is just what I needed.
What if you make the soap the consistency of soap frosting and then used the grass piping tip to pipe out the sprinkles? Would that work as well?
Nice Information. I really like this kind of information.
Thanks for putting this in writing. I’ve seen the soap sprinkles and wondered how to make them. I need to order an extruder.
Thanks again!
Wow.. Thank you for sharing.. Thats really helpful
How do we store them?