

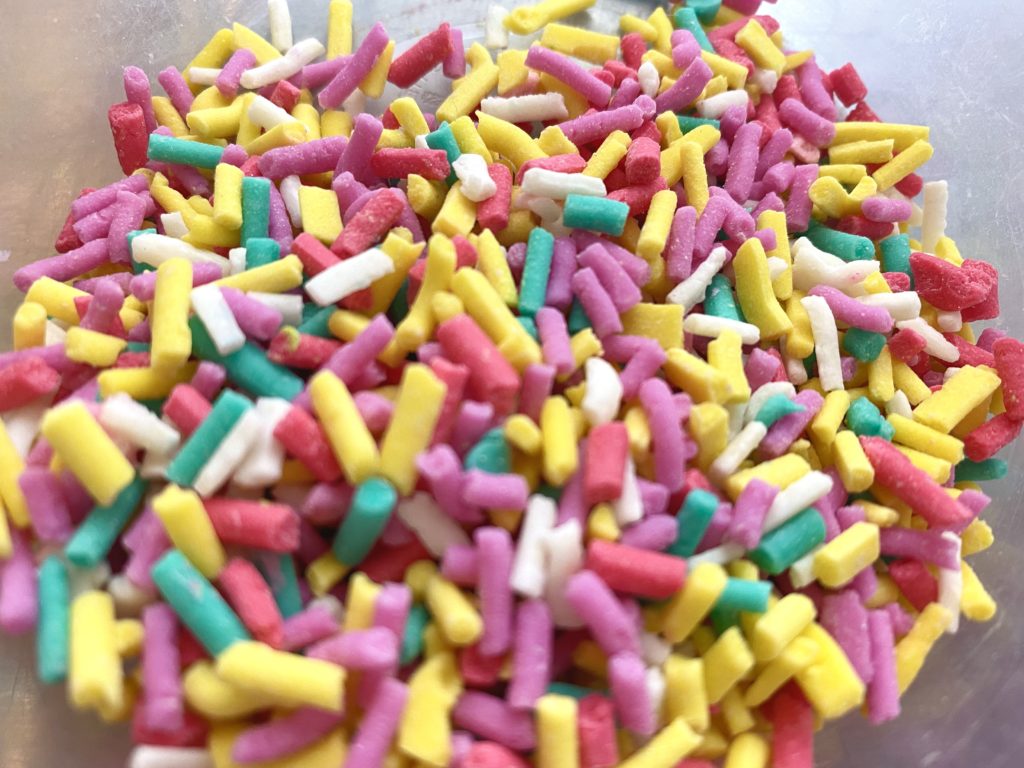
As soon as the Cosmetic Bath Sprinkles recipe was launched from Bath Fizz and Foam we began getting questions about whether these sprinkles could be used on Cold Process Soap. While I was pretty sure they could be, I wanted to make sure to test them before giving the thumbs up.
I decided to document the test batches! That way whether it turned out to be an epic triumph, or a monumental failure, history would have a record! It also helps me make better decisions about how to test future batches too, but that doesn’t sound nearly as dramatic! This isn’t a tutorial for making soap. Check out Amanda’s free guide for that!
I typically make my Cold Process Soap using the Heat Transfer method, and I wanted to make sure these sprinkles could be used without making any modifications to my normal soaping routine, ie: I didn’t want to do Room-Temp soaping, or have to melt my lye over ice cubes. I wanted to make sure these could seamlessly jump from the Bath Bomb/Cosmetic world they were created for into the Soap World with little to no extra effort on my part!
(You can learn more about the Heat Transfer method by checking out Amanda’s e-class! https://lovinsoap.com/shop/heat-transfer-soap-making-method-eclass )
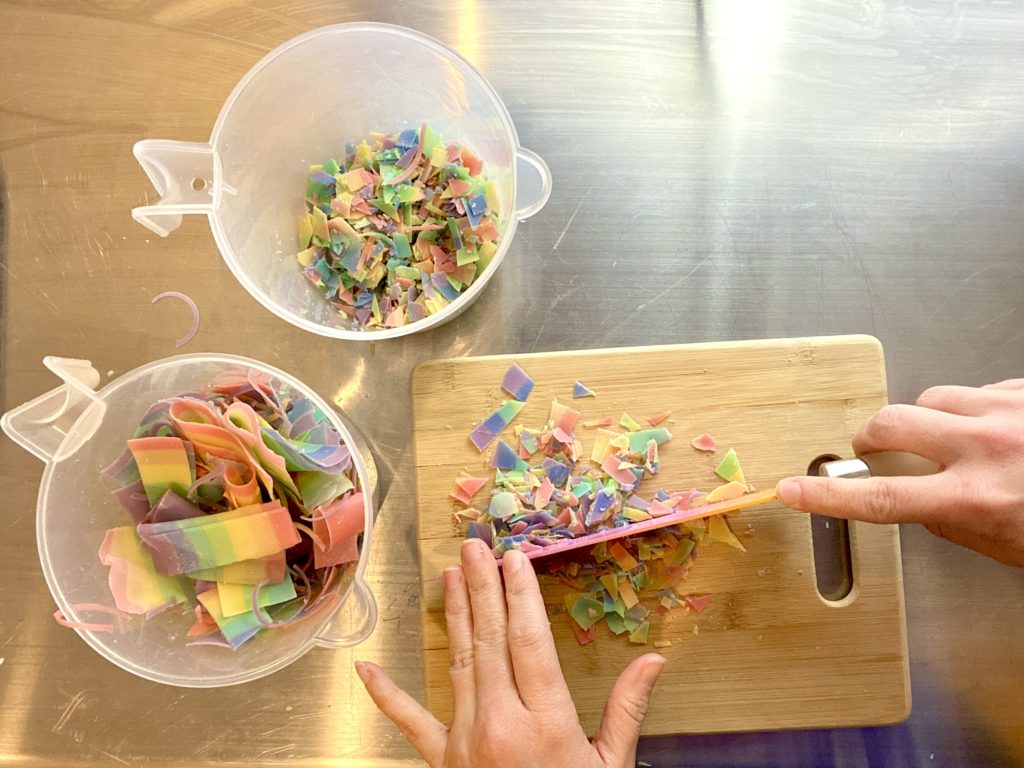
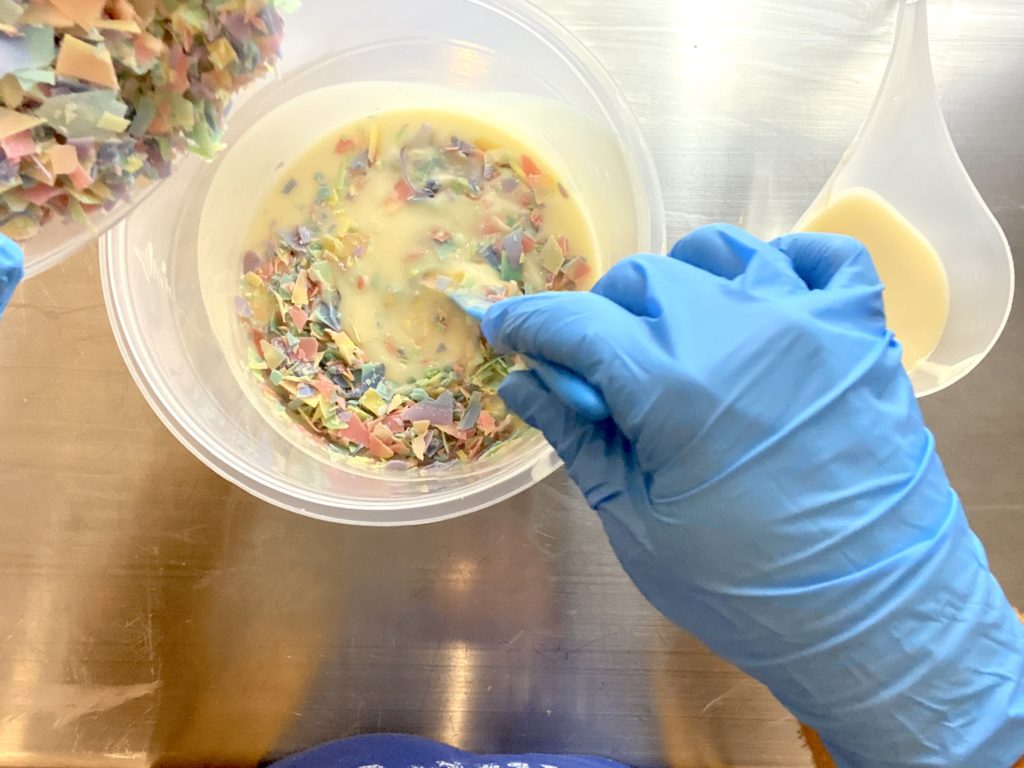
I had a bunch of CP rainbow soap shavings laying around and I decided this project would be a perfect use for them! I chopped them up and set them aside.
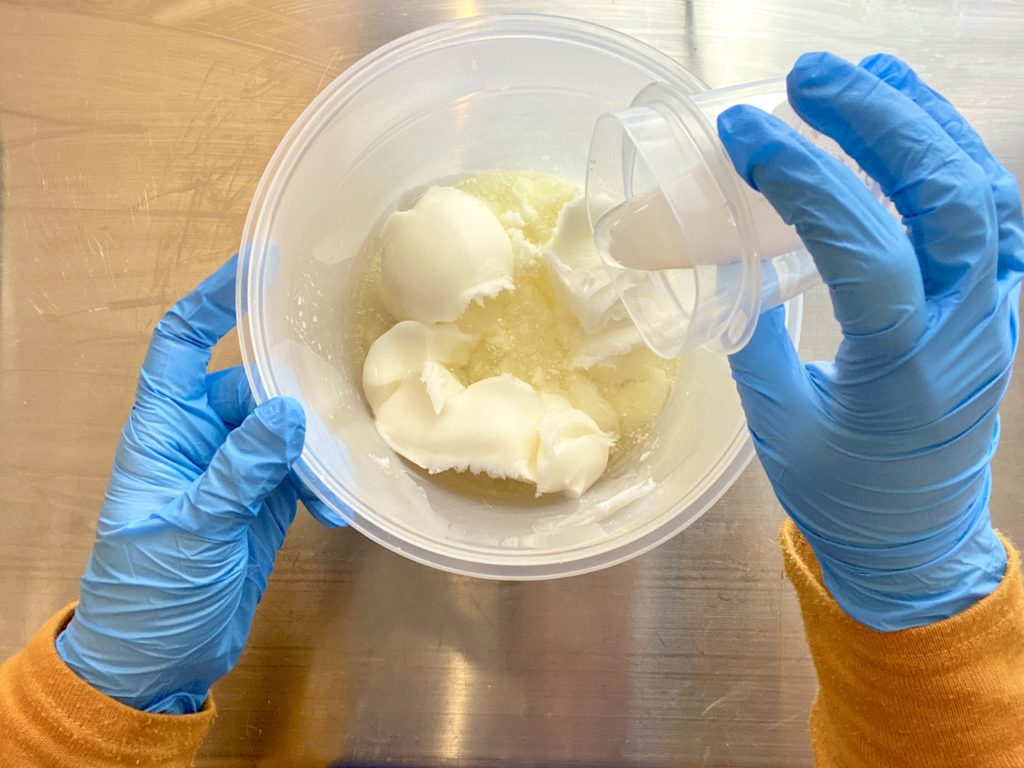
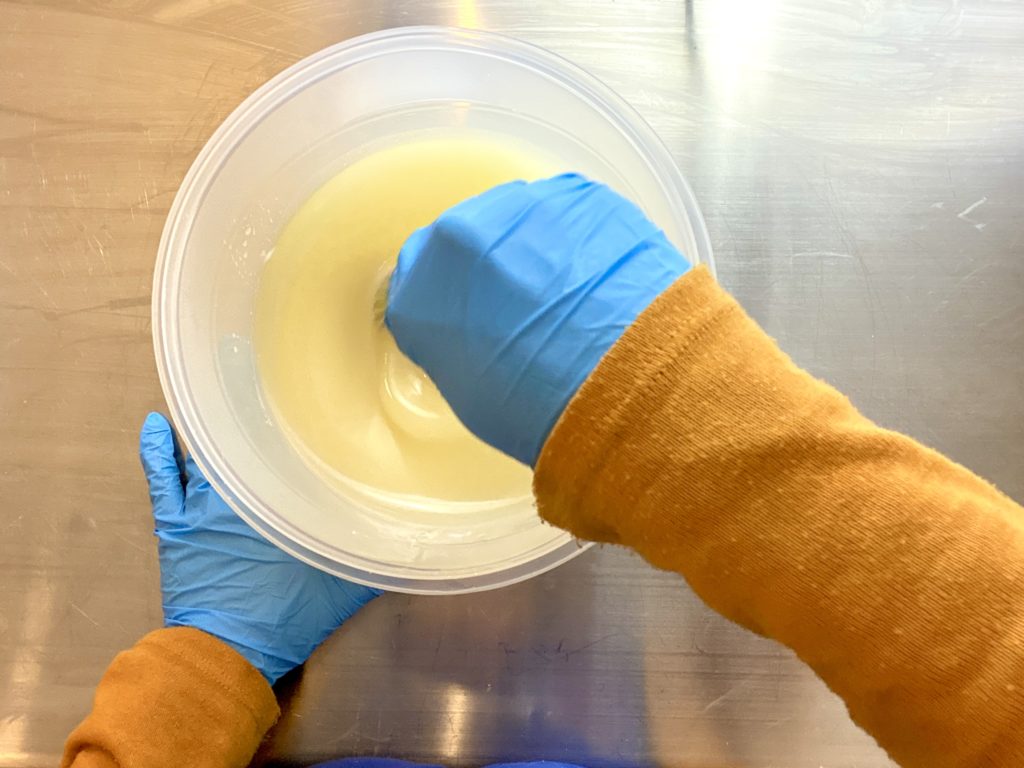
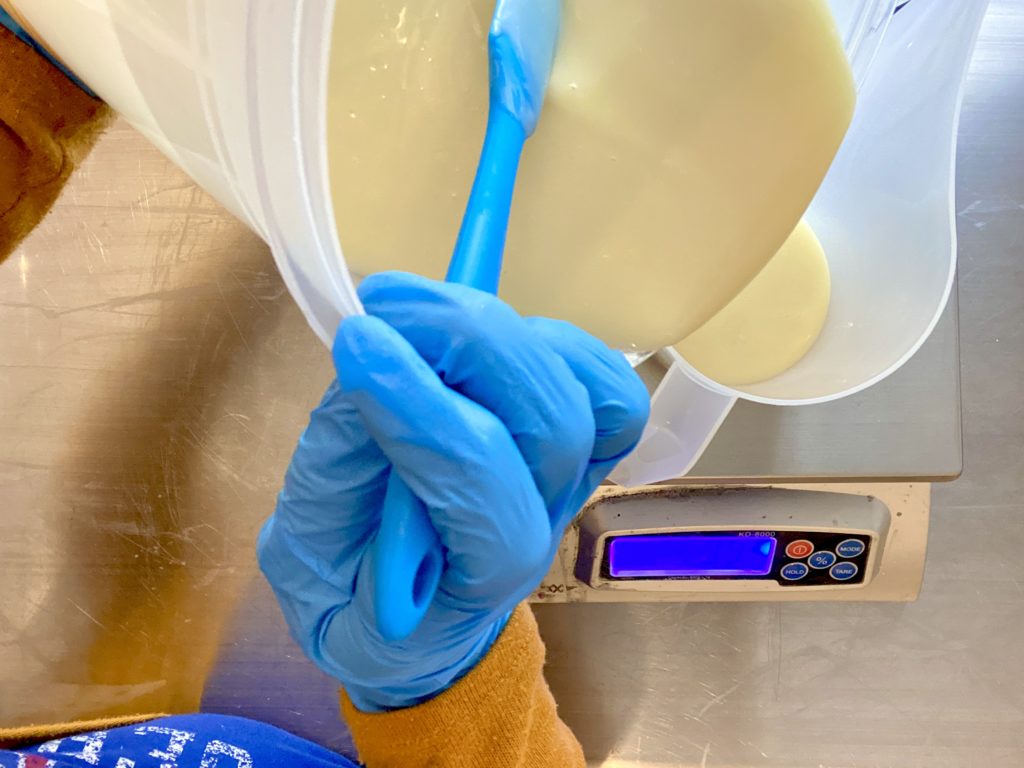
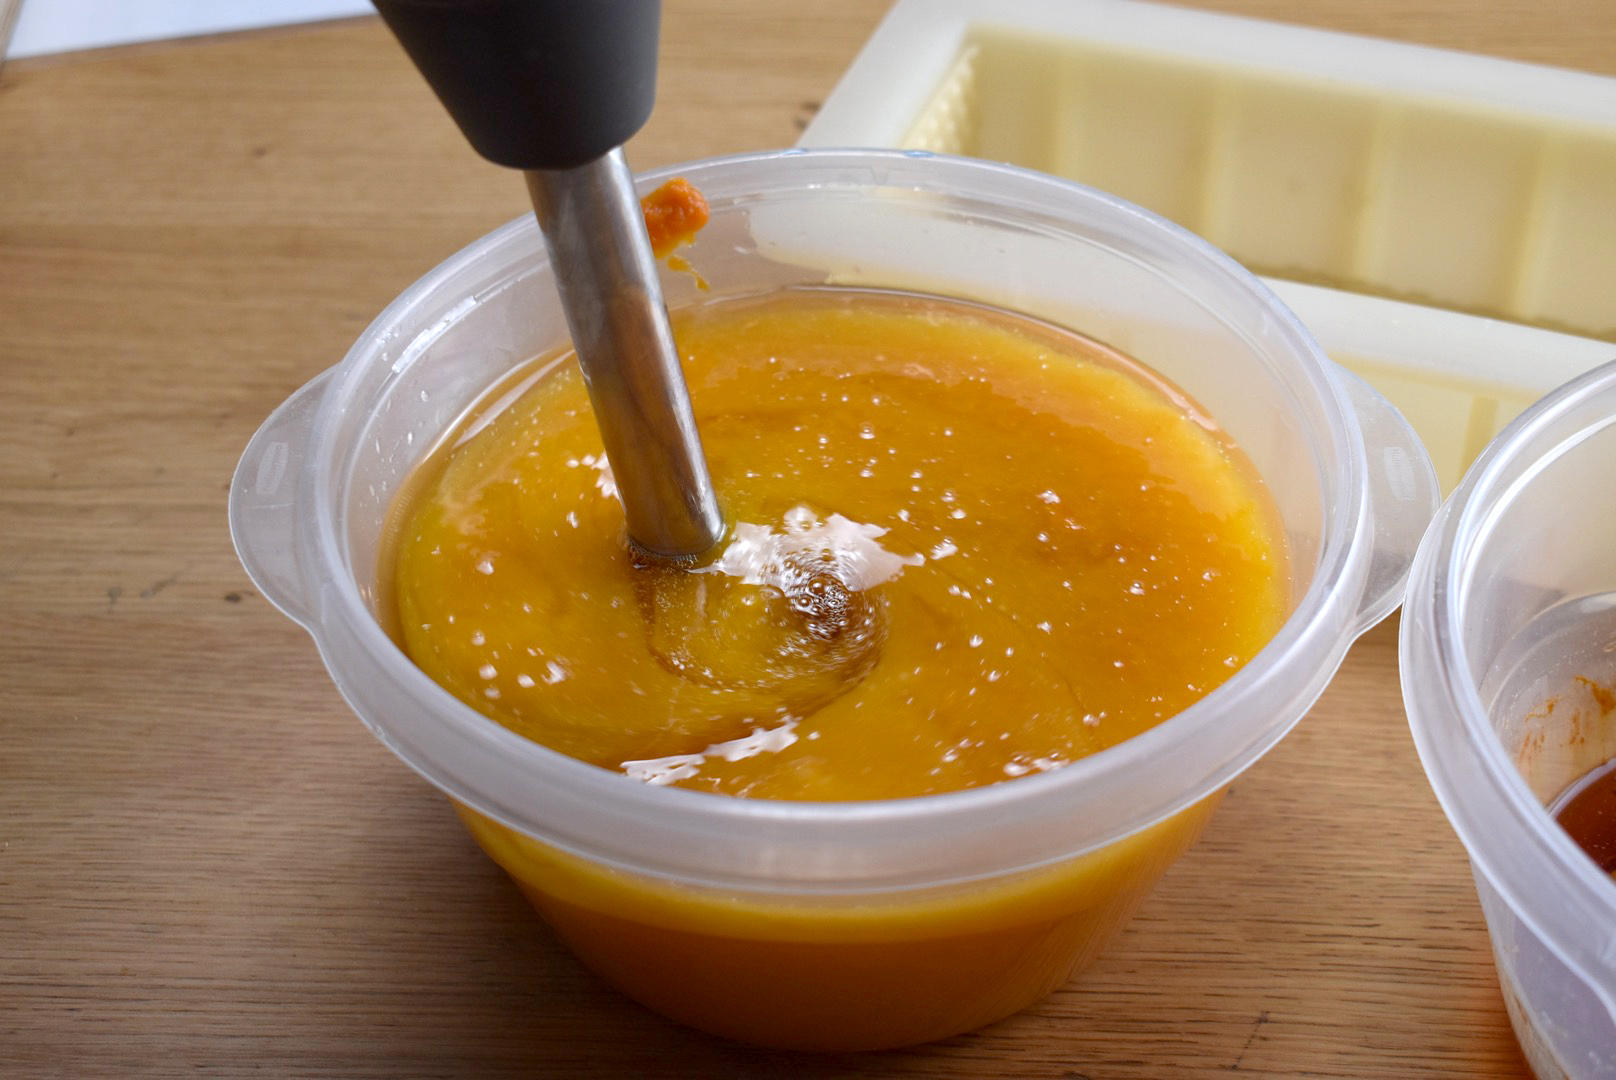
I added water soluble Titanium Dioxide for a nice white soap while I melted my hard oils to help control any glycerin rivers!
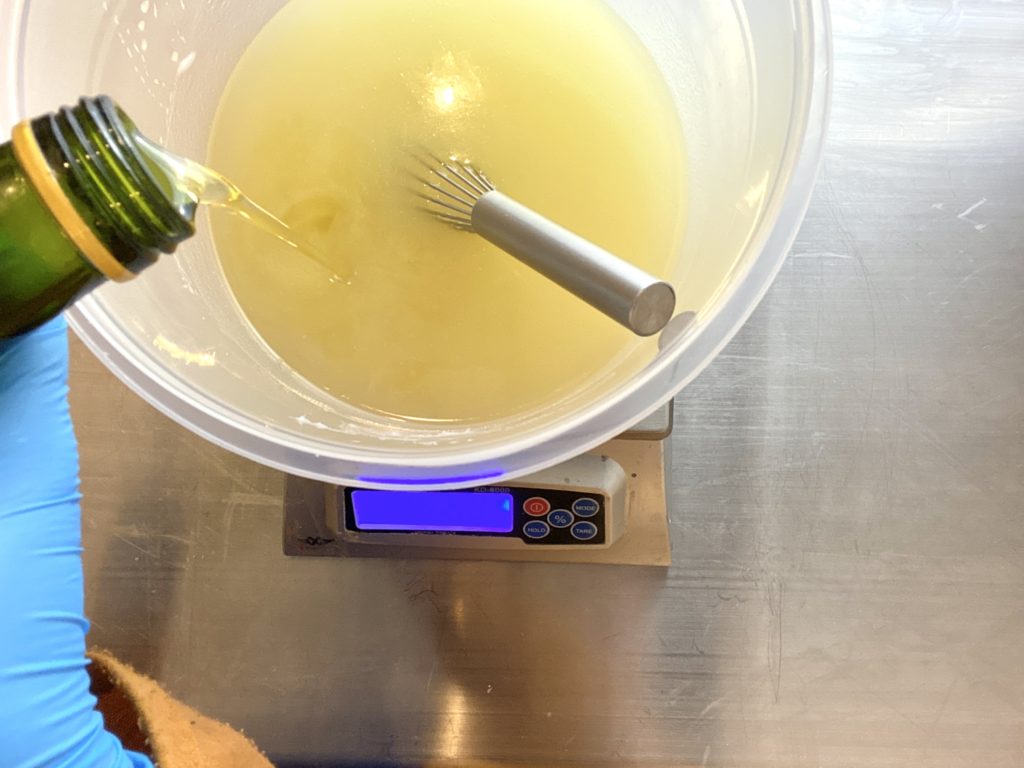
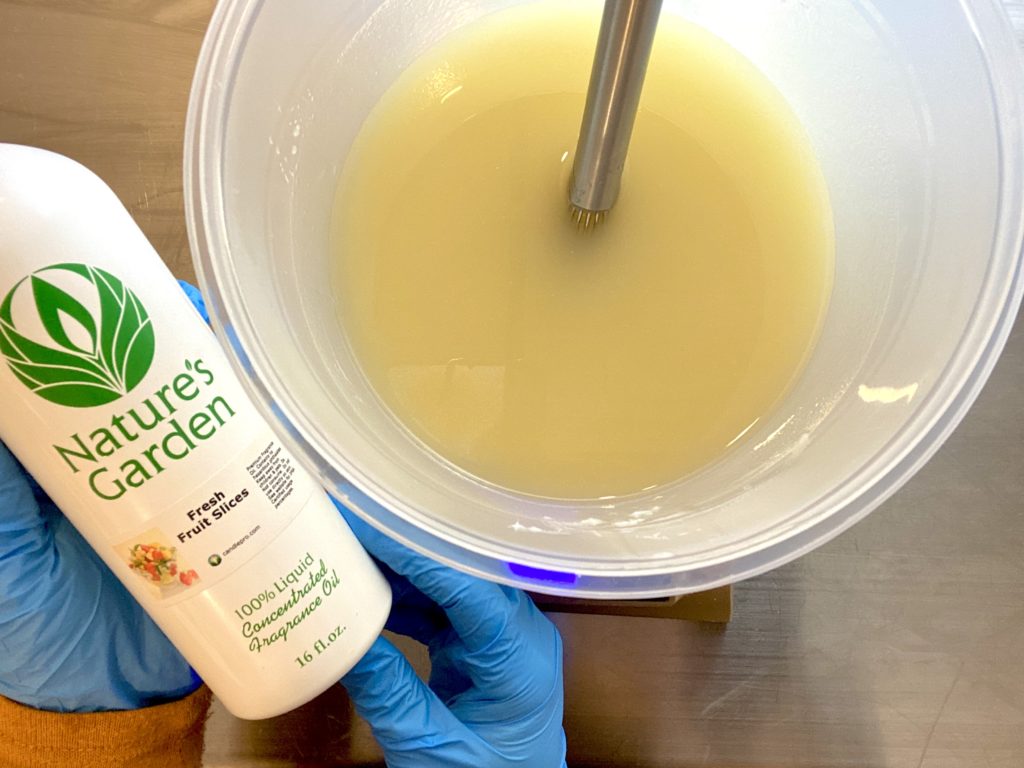
I added my liquid oils and my fragrance oil. I chose Fresh Fruit Slices from Nature’s Garden. It paired well with the fragrance already in my rainbow soap shavings, and it’s a huge hit with kids and adults alike.
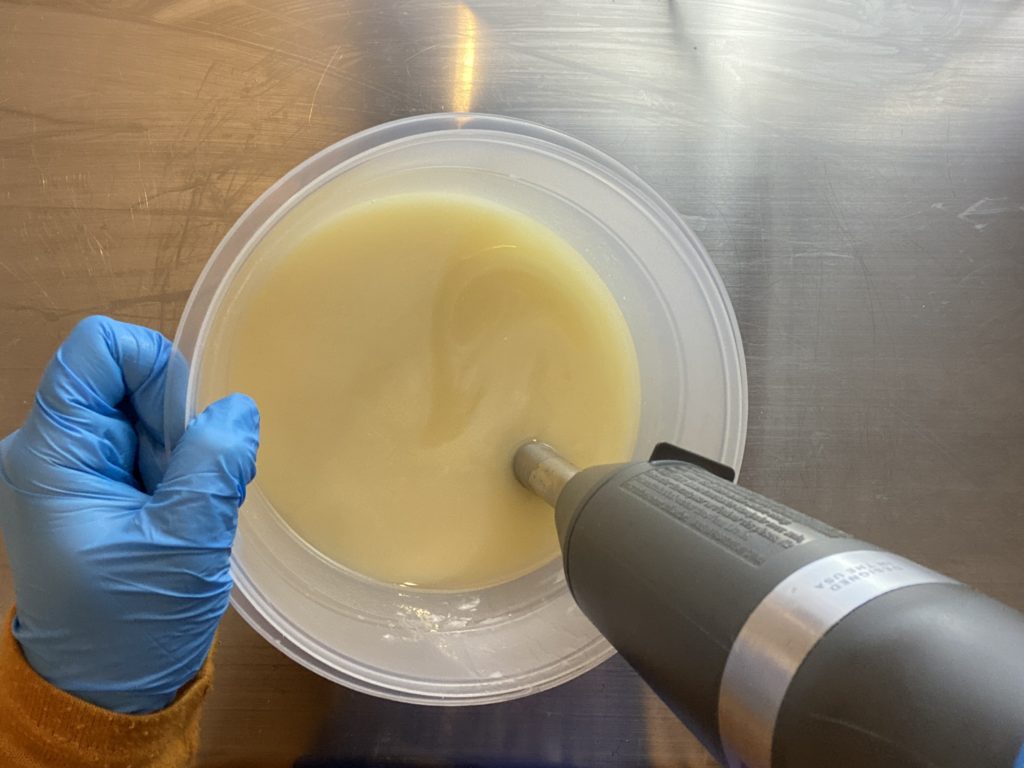
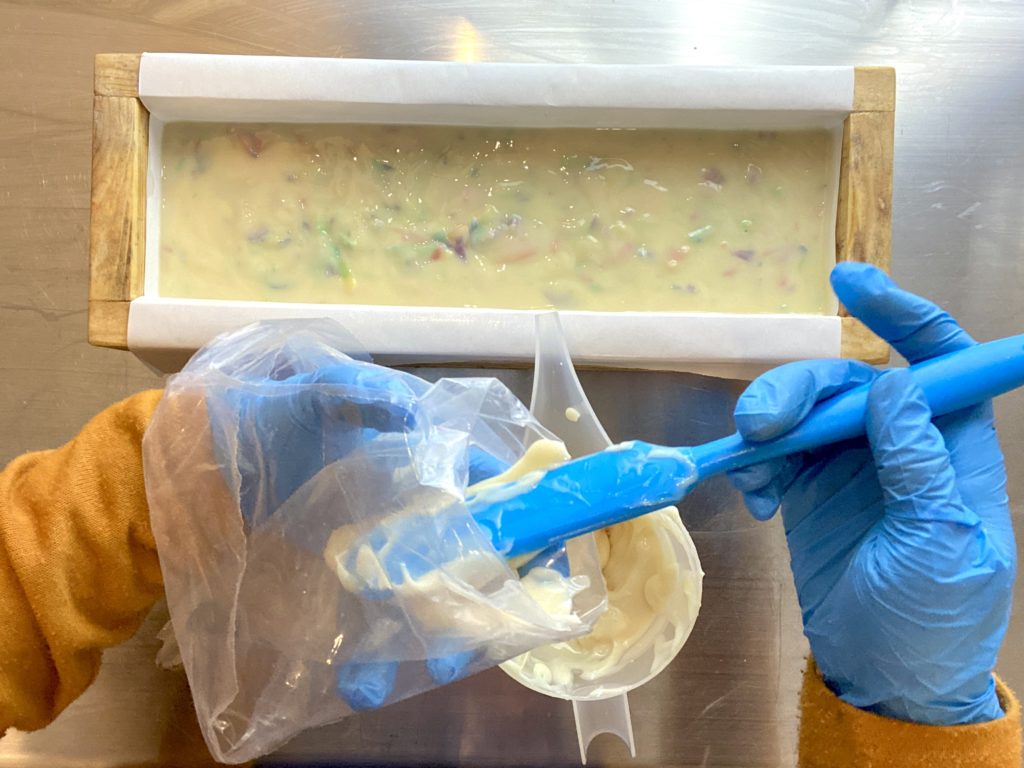
I stick blended to light trace then set aside a few ounces of batter to pipe on top of the finished loaf.
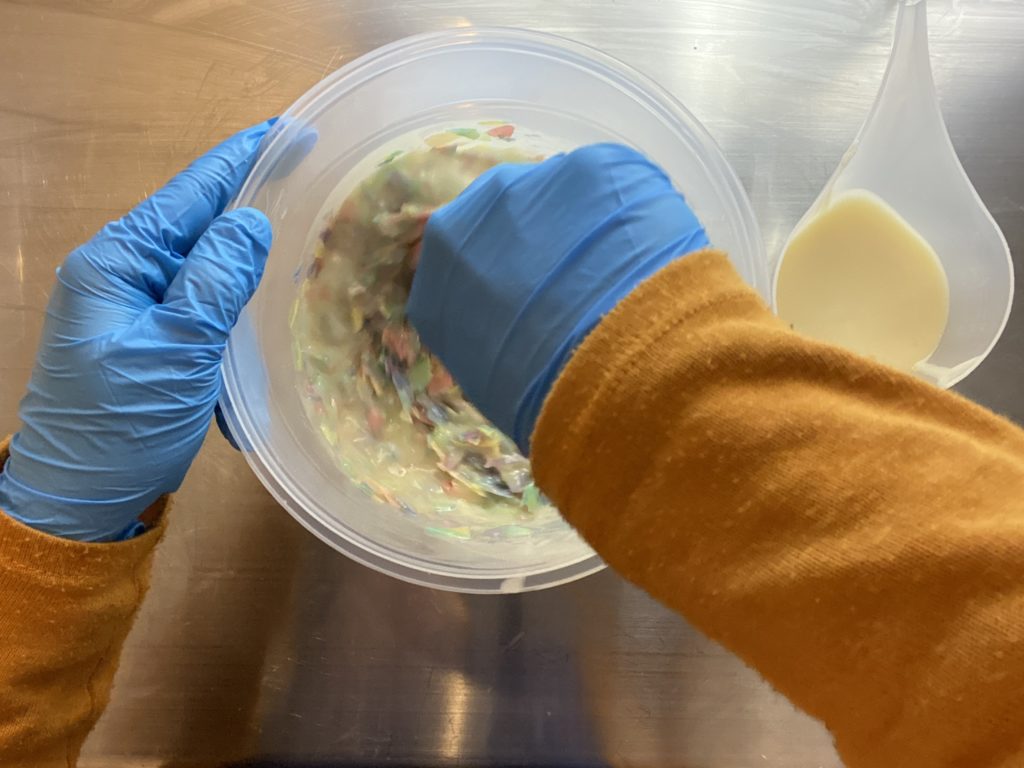
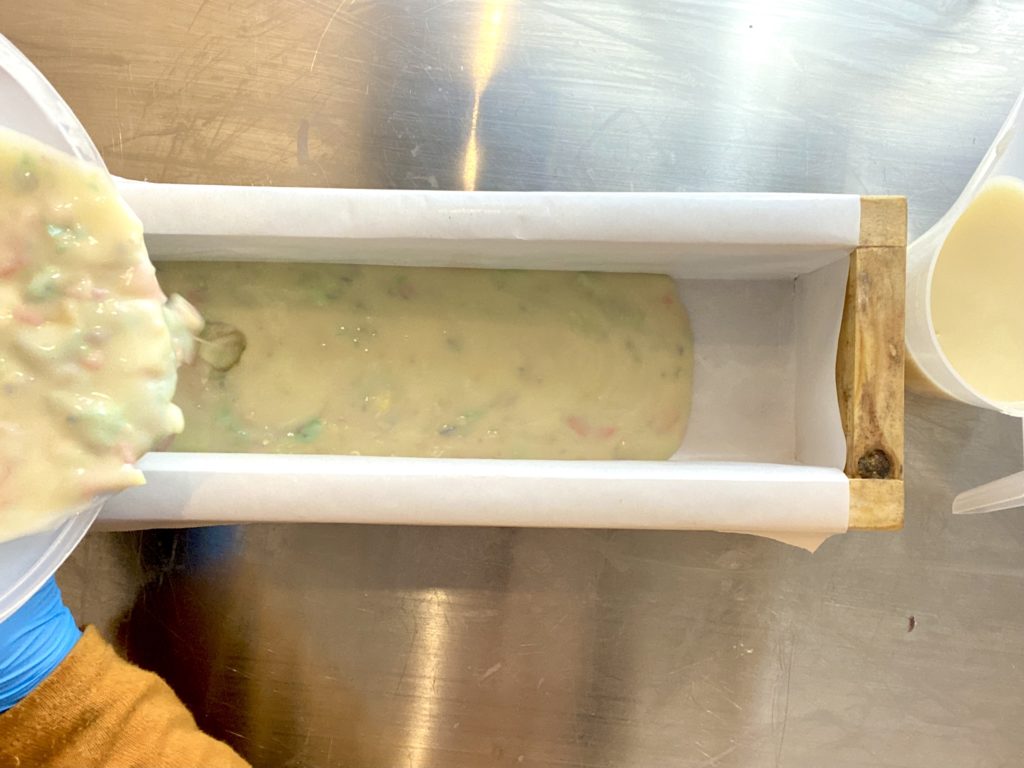
I added the soap shavings and hand stirred the batter to make sure they were well distributed, then poured the mix into my prepped mold.
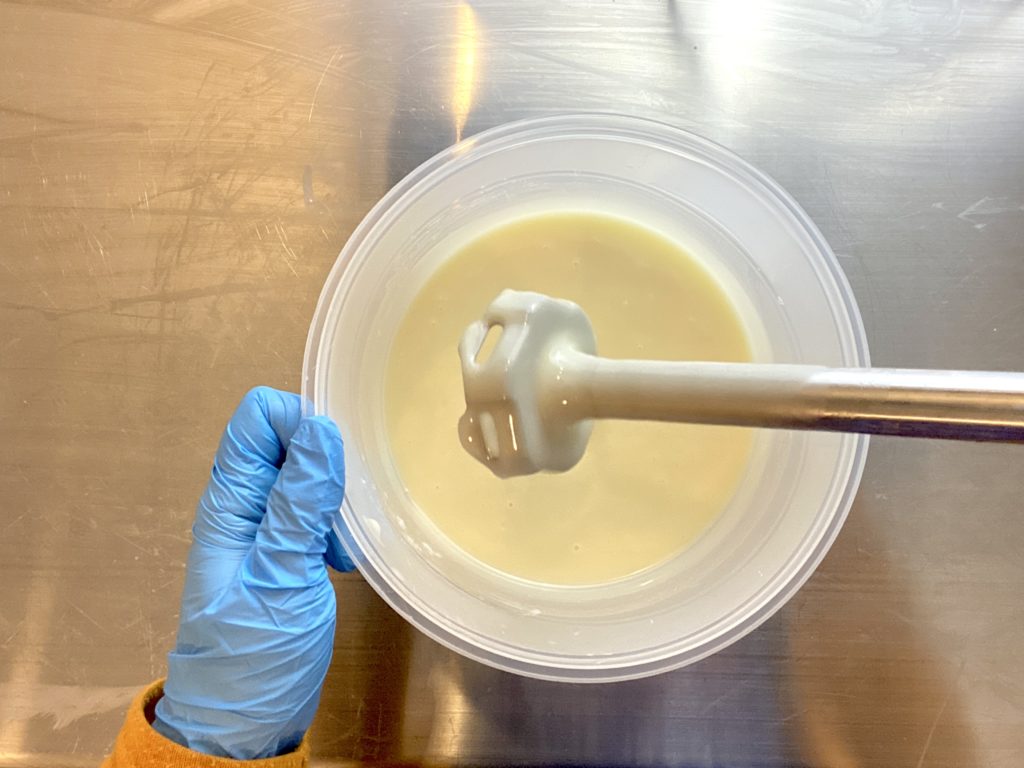
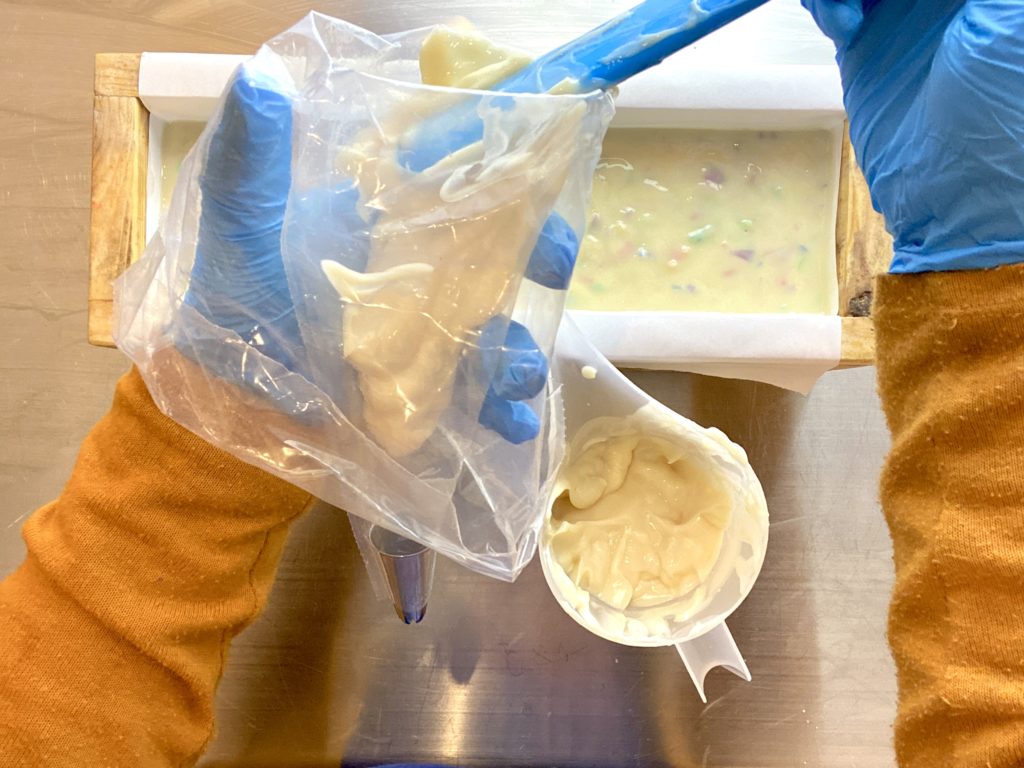
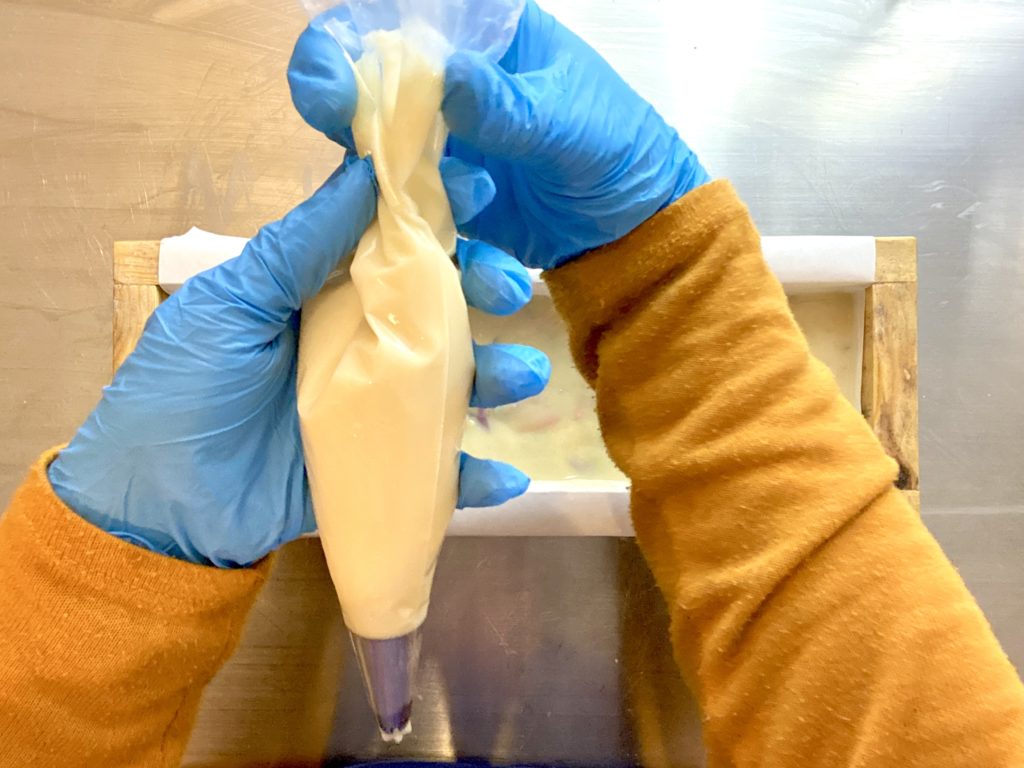
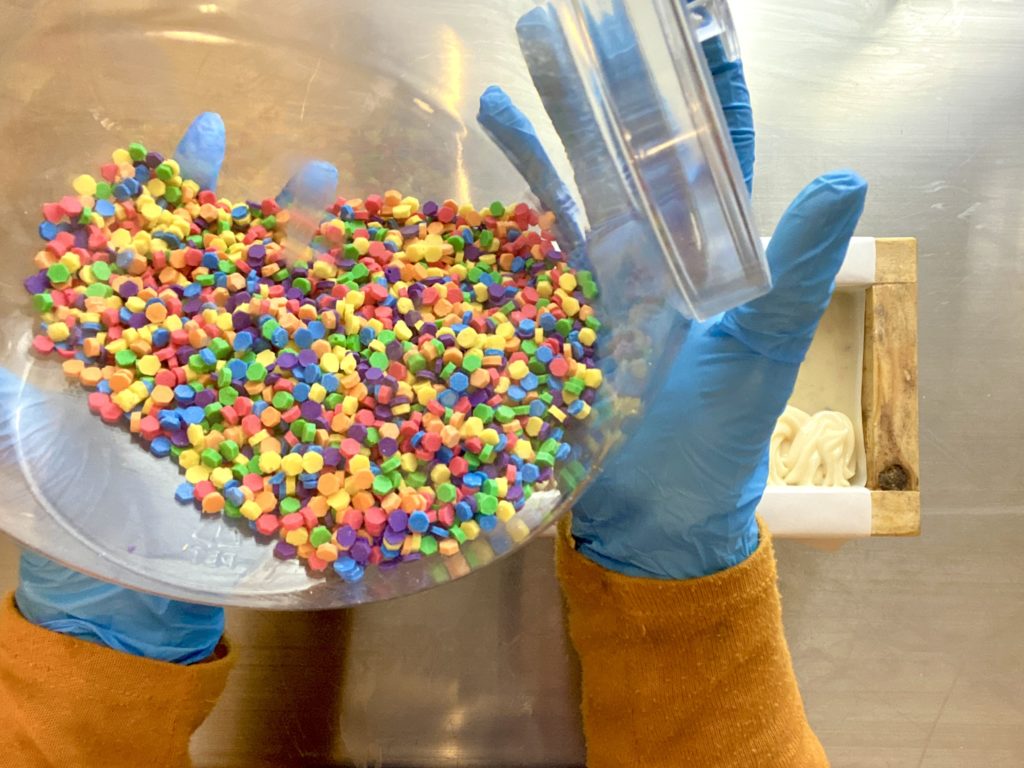
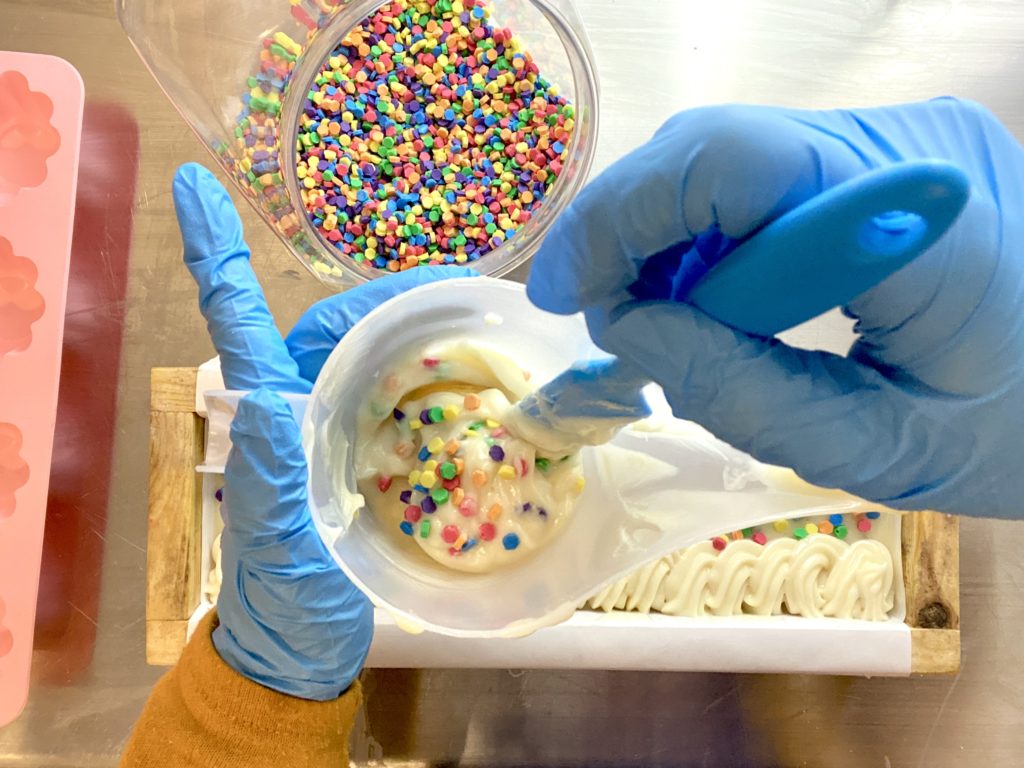
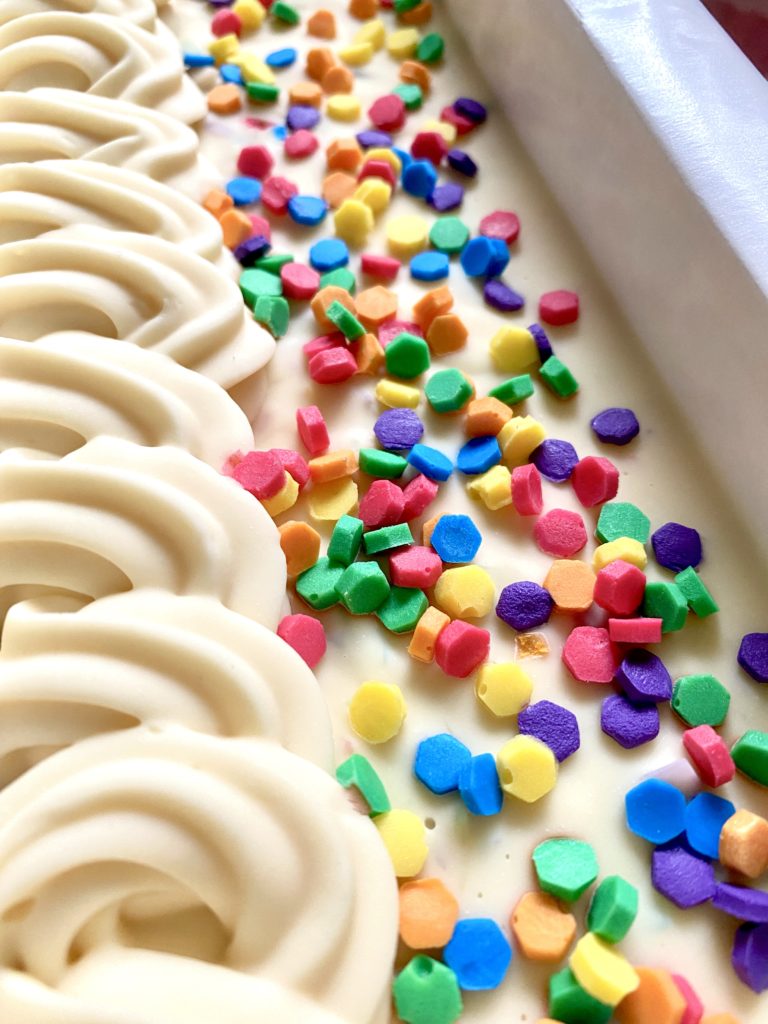
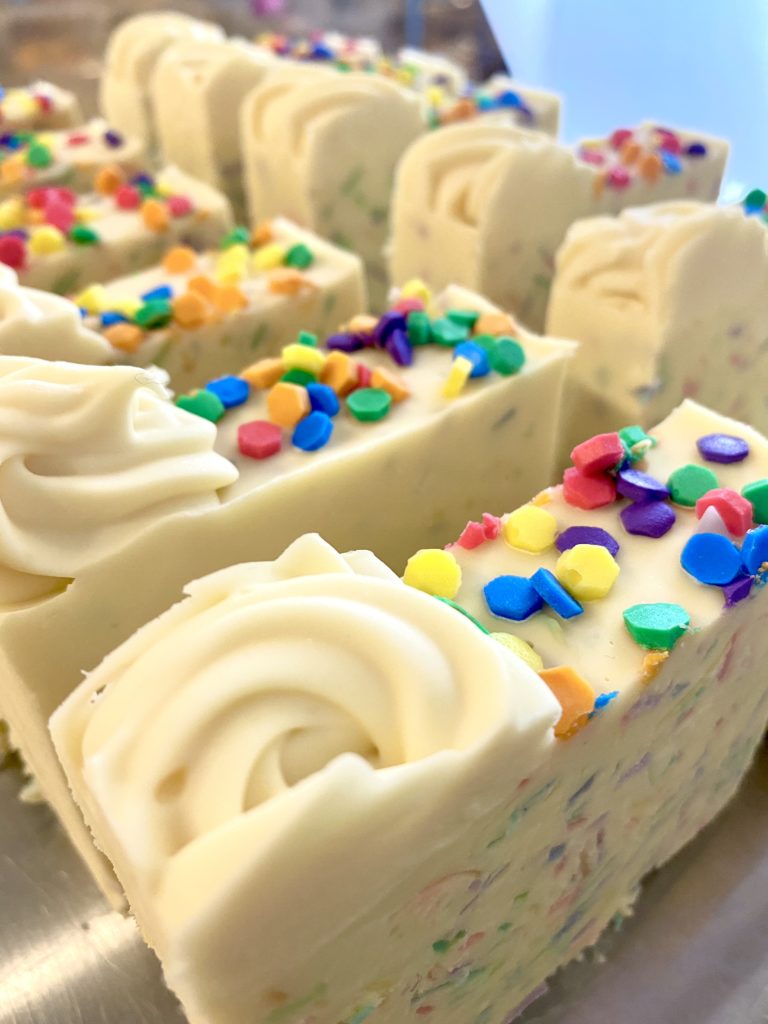
Next I used the stick blender with the reserved batter to get a nice and thick trace and added it to an icing bag prepped with a large open star tip.

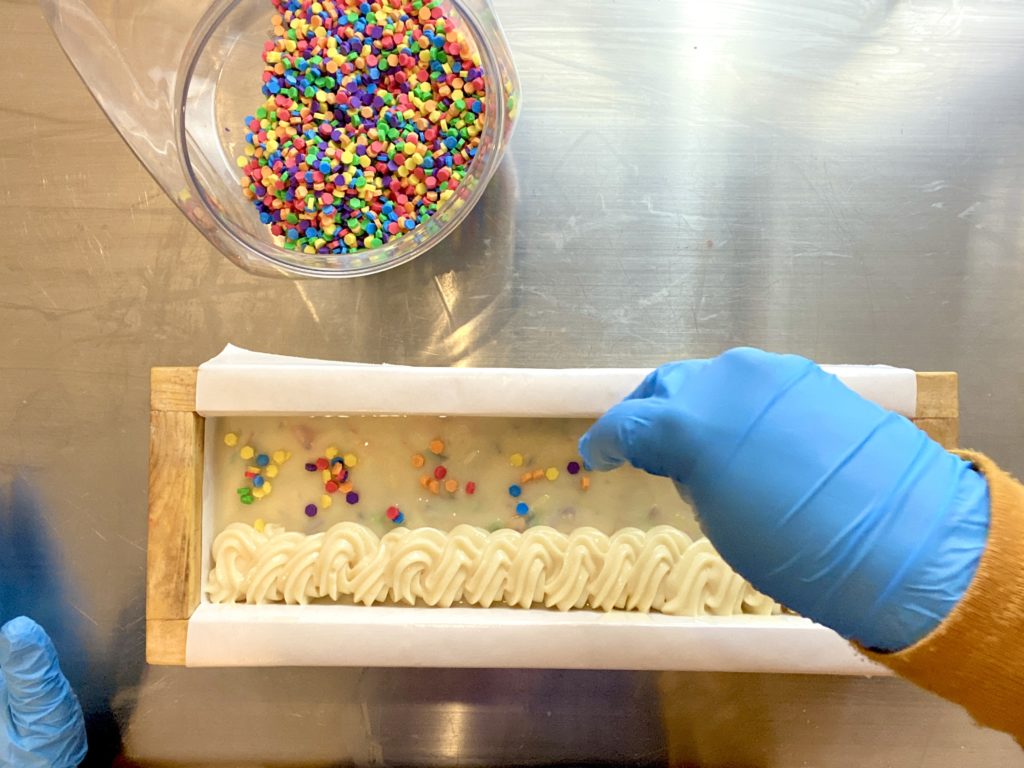
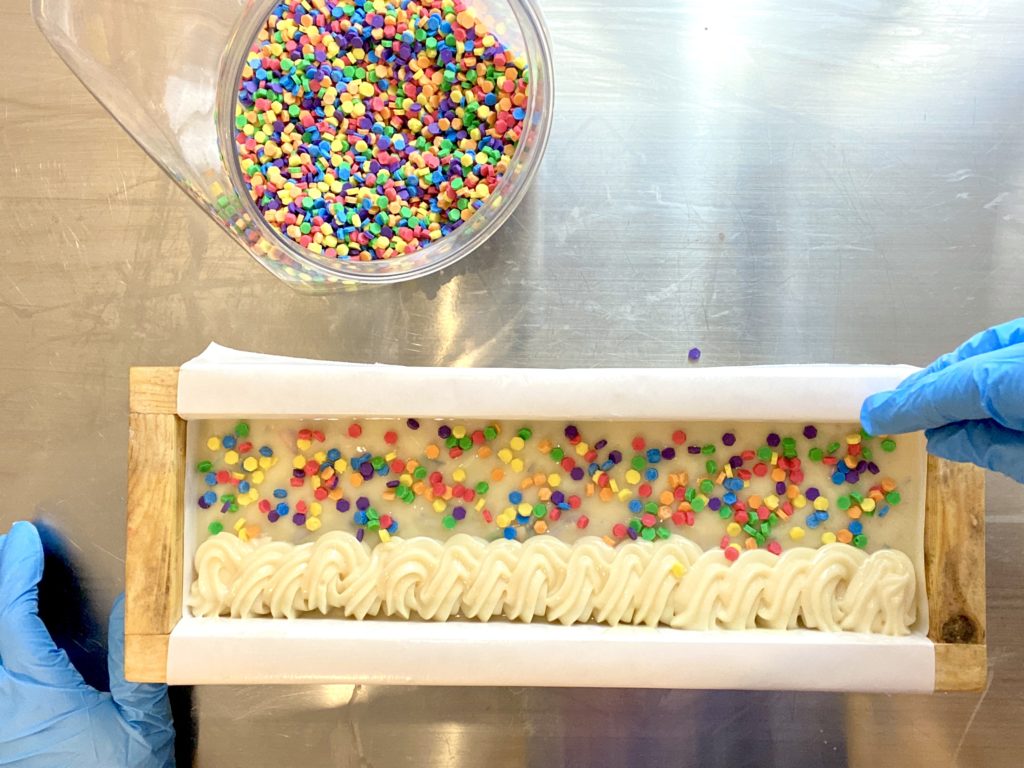
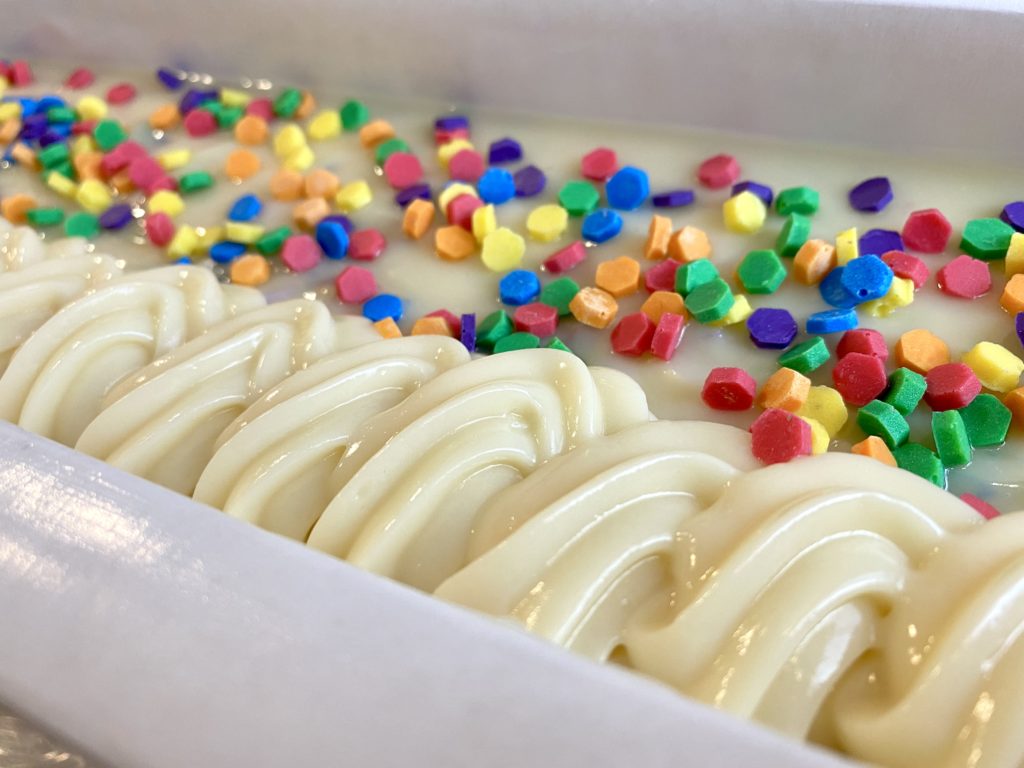
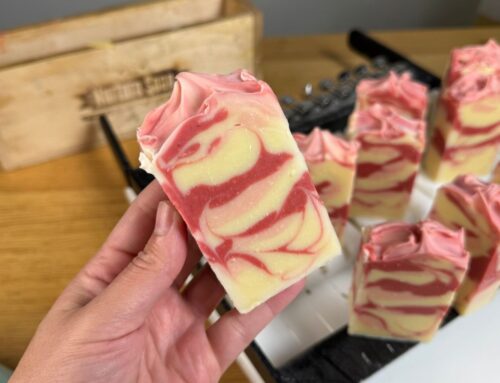
I piped a small curly line of soap icing across one edge of the loaf and was finally ready to try the sprinkles out!
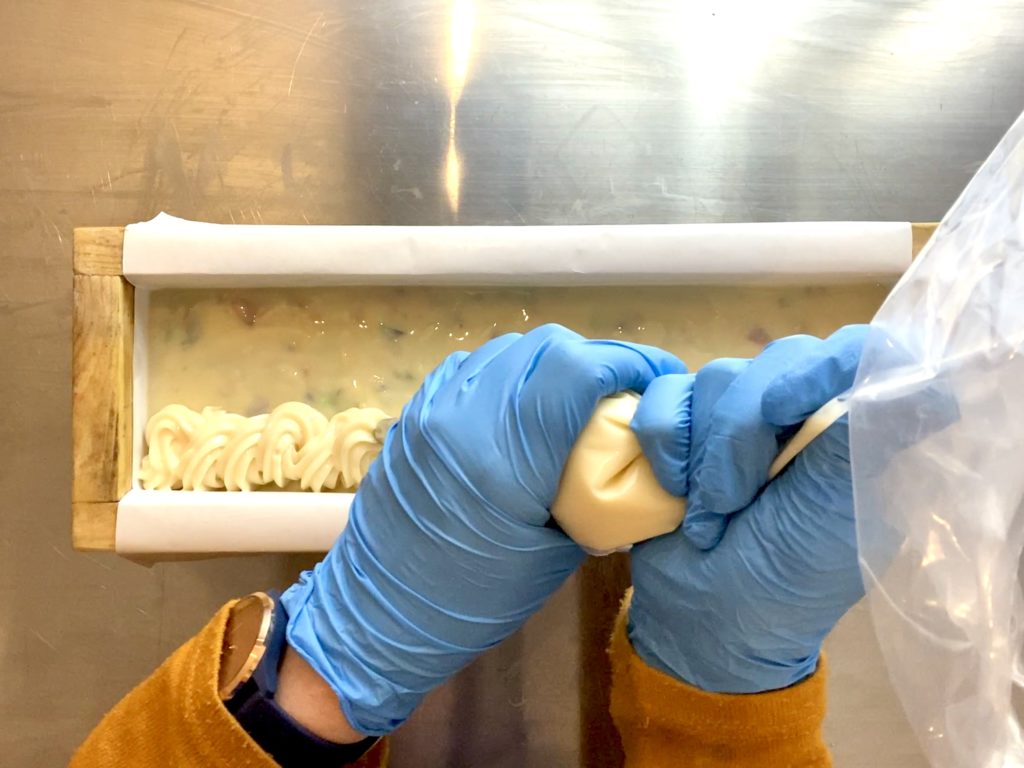
At first I thought I would only add a few tasteful sprinkles and then I got hit hard with Sprinkle Fever. You know what I’m talking about! I couldn’t help myself! I loved seeing the happy little pops of color on top of the loaf!
I placed a lid on the main loaf and wrapped it in a towel to let it finish saponifying.
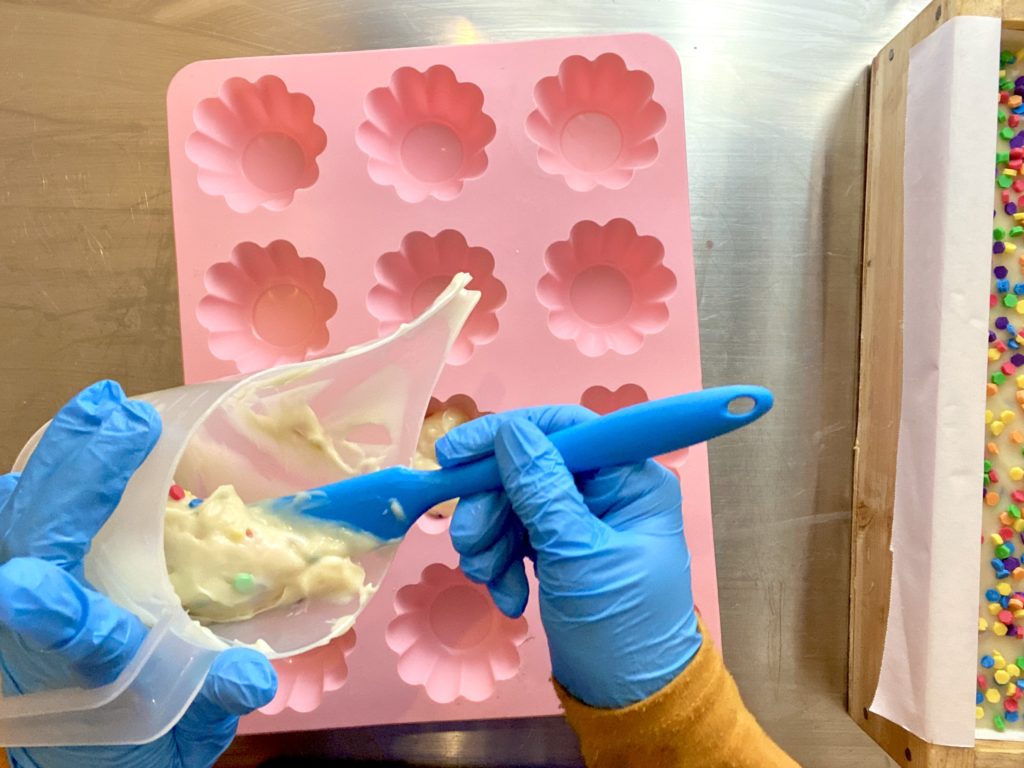
I added the leftover batter from the piping bag to a small pitcher and decided to see how well the Cosmetic Bath Sprinkles would fare when they were embedded inside a soap! Why not! I scooped that mix into some silicone molds then topped with some extra sprinkles.
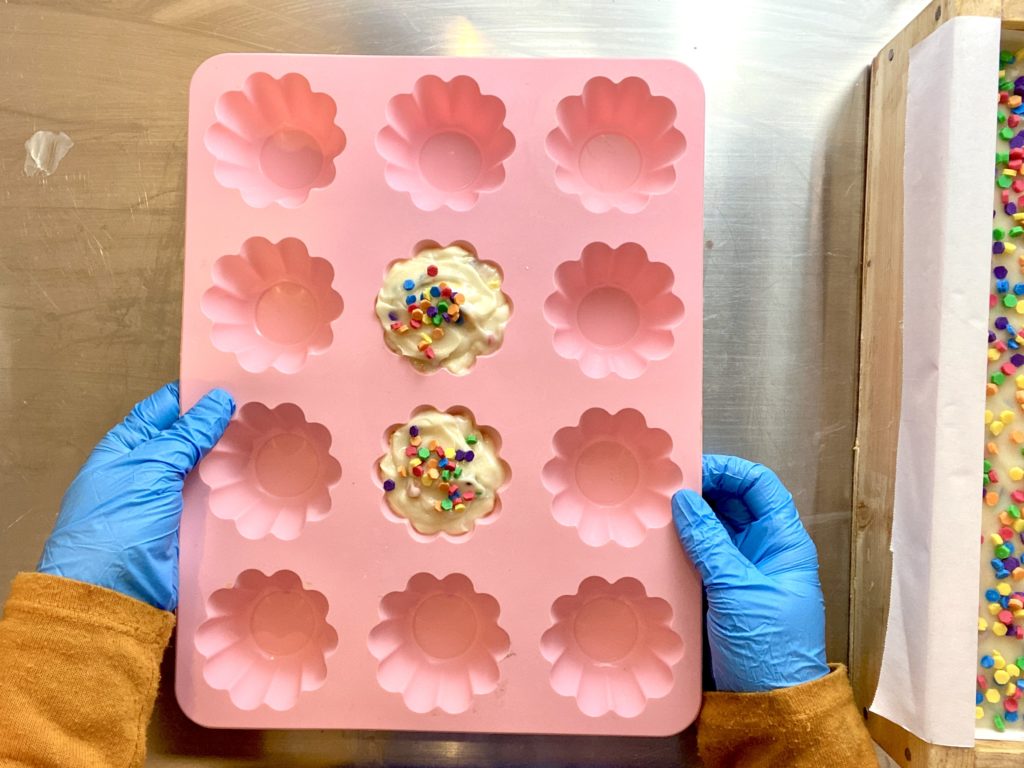
Since the main loaf was only covered with a lid then wrapped in a towel, I decided to test the little cupcakes in the oven as CPOP.
Now I’ll be really honest with you. I moved last summer and my old house, where I lived for almost 9 years had a gas oven, whereas my new house has an electric oven. I am still not on great terms with this oven. All of my cakes come out underbaked and need to go back in, while all of my pizzas and casseroles come out with charred black tops. So this has majorly affected my willingness to CPOP my soaps (if you’ve ever cooked a soap then you know what I’m talking about!), but I went for it. Afterall, go big or go home.
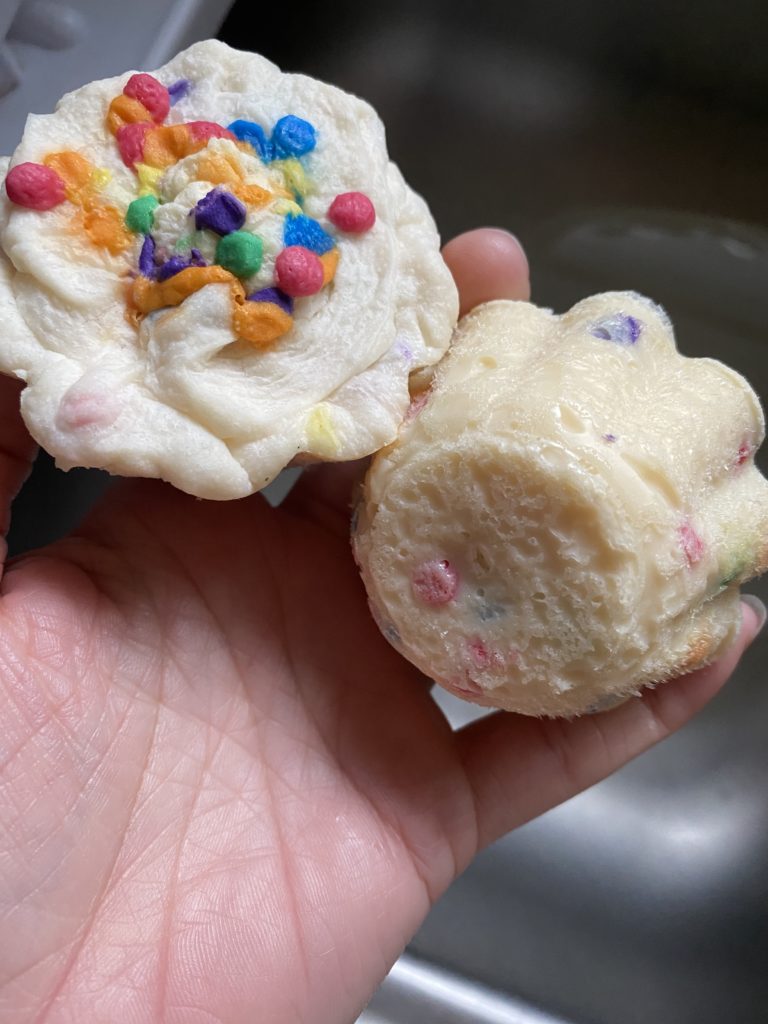
Of course I cooked the poor things! Haha! You can see the wicked silicone rash on the sides and the hint of alien brain on top. Oh my!
The good news though is that the Sprinkle confetti embeds performed like champs! If these had been Melt and Pour shavings they would have been done for, totally misshapen and melted! Despite the otherwise tragic demise of cooked soap, I’d still call that a win!
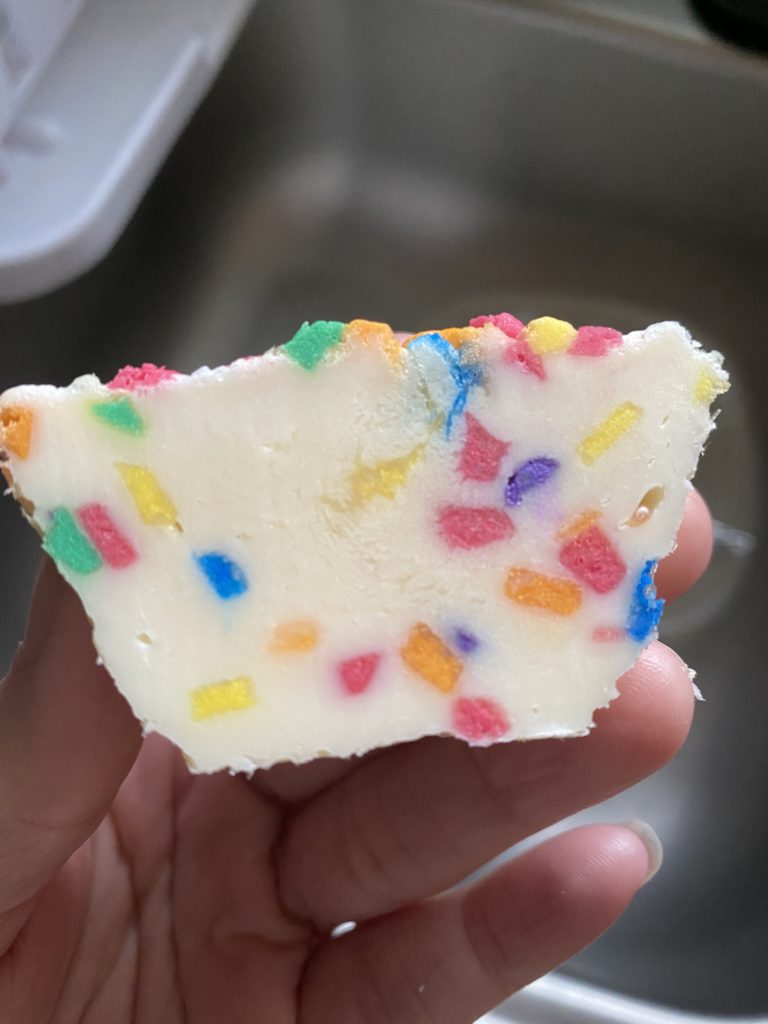
And of course the sprinkles on top of the main loaf worked out excellently! They adhered to the top of the soap better than traditional sugar sprinkles in my opinion, and looked gorgeous!
So that’s that! The soap world now has at its fingertips the unlimited possibility of 100% cosmetic-compliant, sugar free bath sprinkles that can be made in any color you have a mica for. The ability to create custom shapes is also an exciting option that I myself am continuing to explore, and as the recipe works its way into more and more hands I know that the creativity and talent of other makers will keep expanding the bounds of this unique recipe!
Happy Sprinkle Making!
-Robyn French Smith
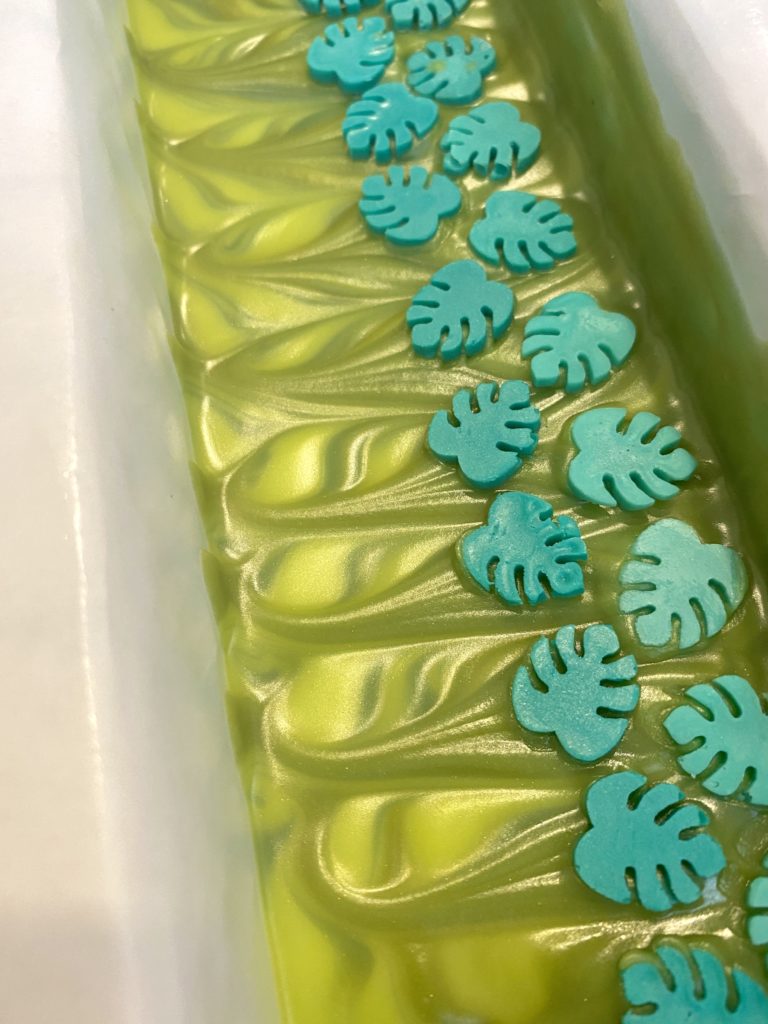
PS. Check out these monstera leaves I made using the sprinkle recipe. Adorable!


Before I buy your recipe can you please tell me which method you used to make the sprinkles? Cp or melt and pour etc??
Hi Amanda. What do you use to make the various shapes? Is it some sort of Extruder? THANKS.
No extruder needed. You can either pipe them or pour into little silicone molds.
OMG looks great. I think looking as important as taste.
thanks for the post!
Do you need an extruder and where can you find one
You don’t! They are actually piped.
Can you get the Cosmetic Bath Sprinkles in Ghana? Do you sell them online? If Yes let me know