A regular in-the-pot soap swirl involves mixing your soap to emulsion, dividing it out into several containers, coloring each container, pouring it back into your base container and then pouring it into your mold. As you pour, it swirls together.
Here are some in-the-pot (ITP) swirls with recipes here on the blog.
The lazy soap maker’s in-the-pot swirl does not involve extra containers. You color the soap directly in the base container. I hate doing dishes, and I hate throwing out disposable cups so this works well for me!
This is an advanced technique for sure. You have to be comfortable with making cold process soap and the varying stages of trace.
So here is how you do it!
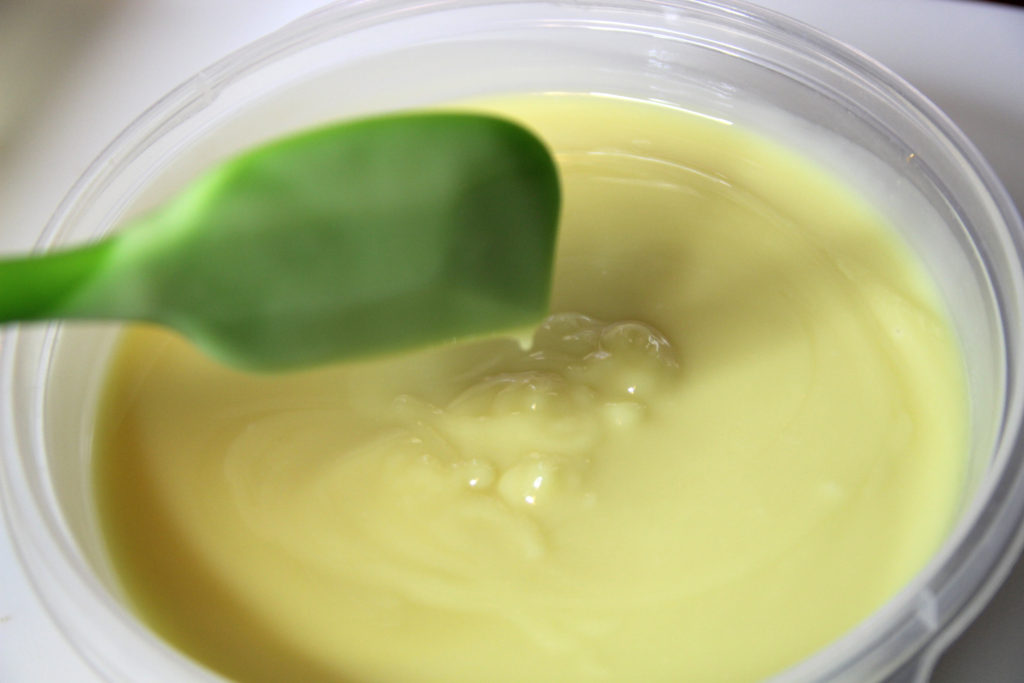
Mix your soap base to medium trace.
If your soap is too fluid, this won’t work. The colors will mix in too much.
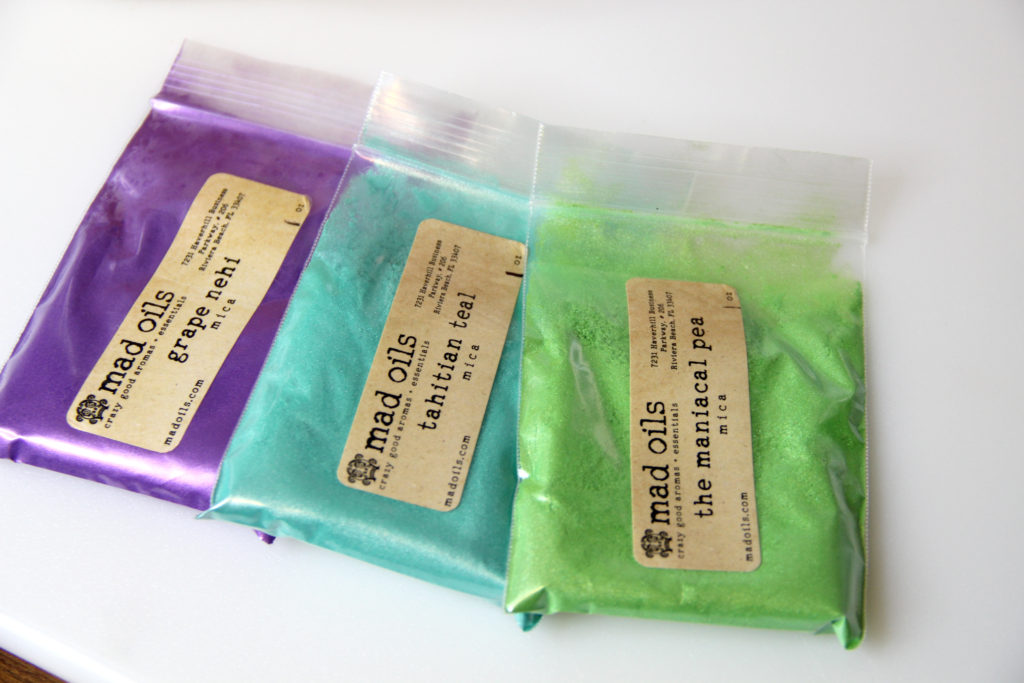
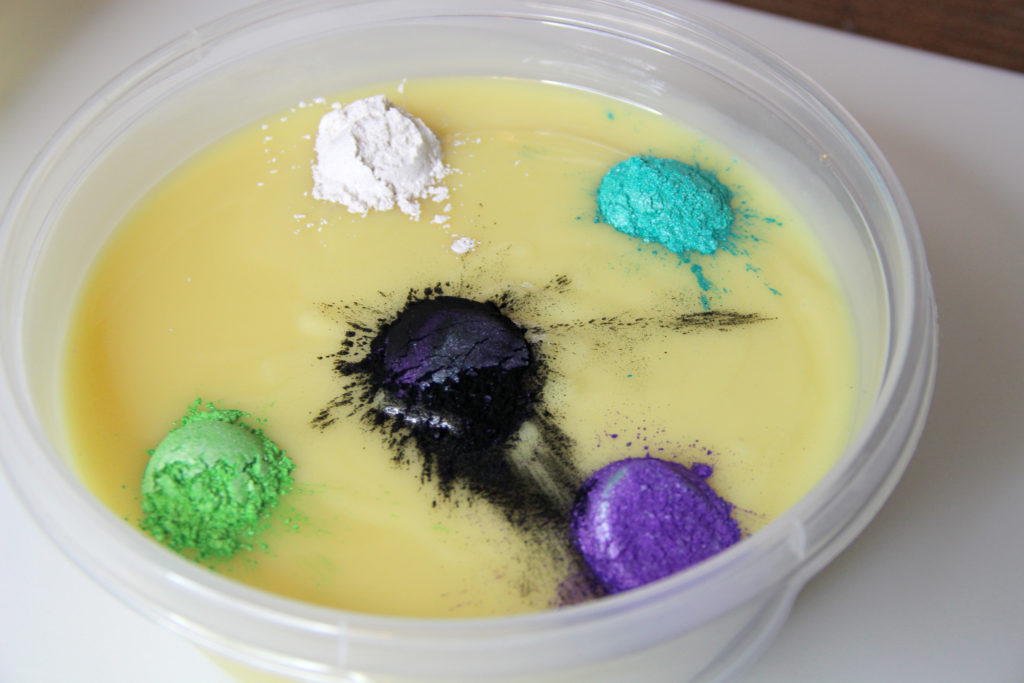
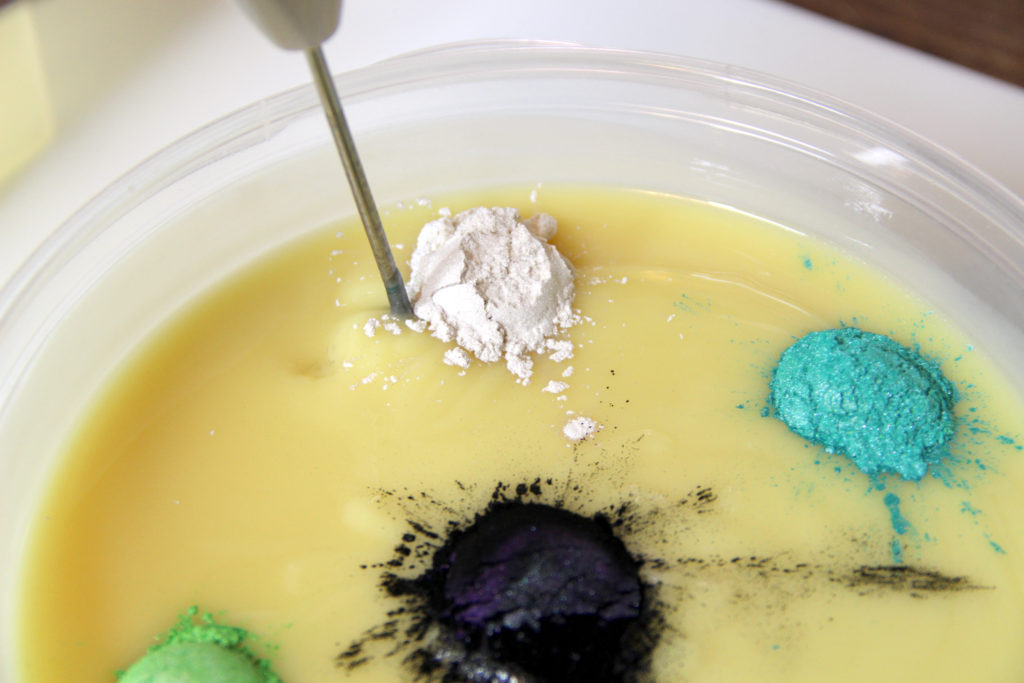
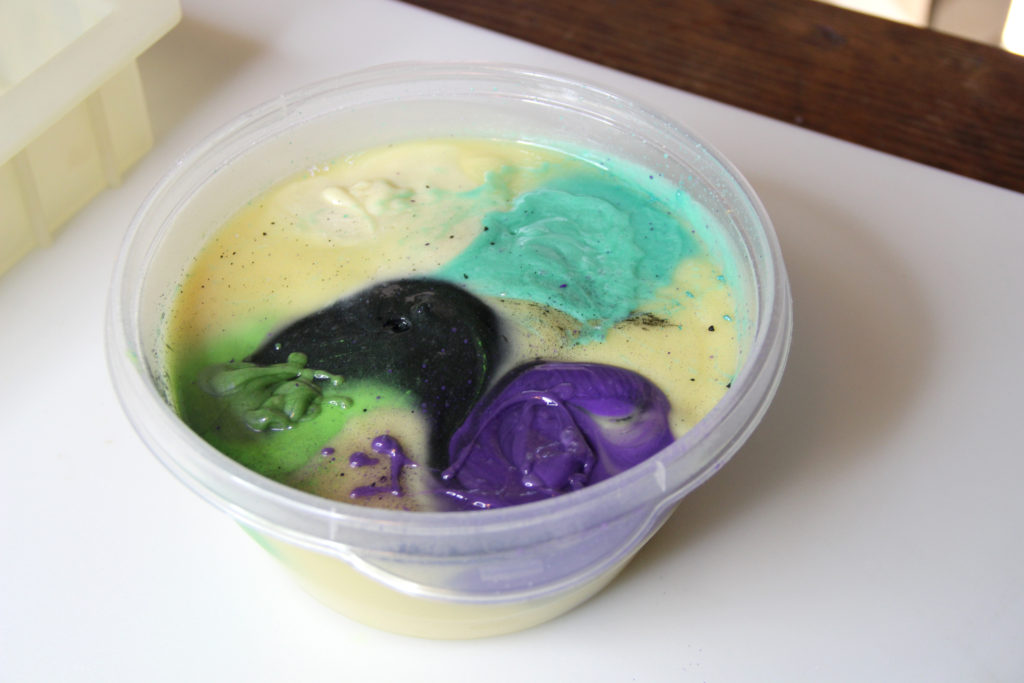
Add your mica as shown below. I used about 1/2 teaspoon of grape nehi, tahitian teal, the maniacal pea, charcoal and white mica from Mad Micas.
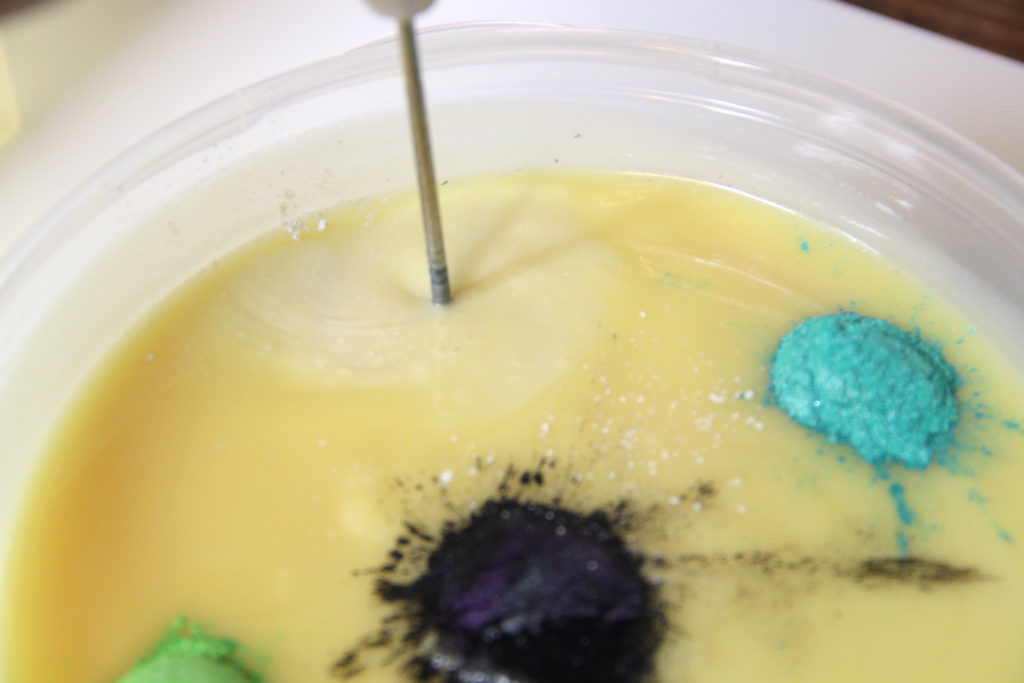
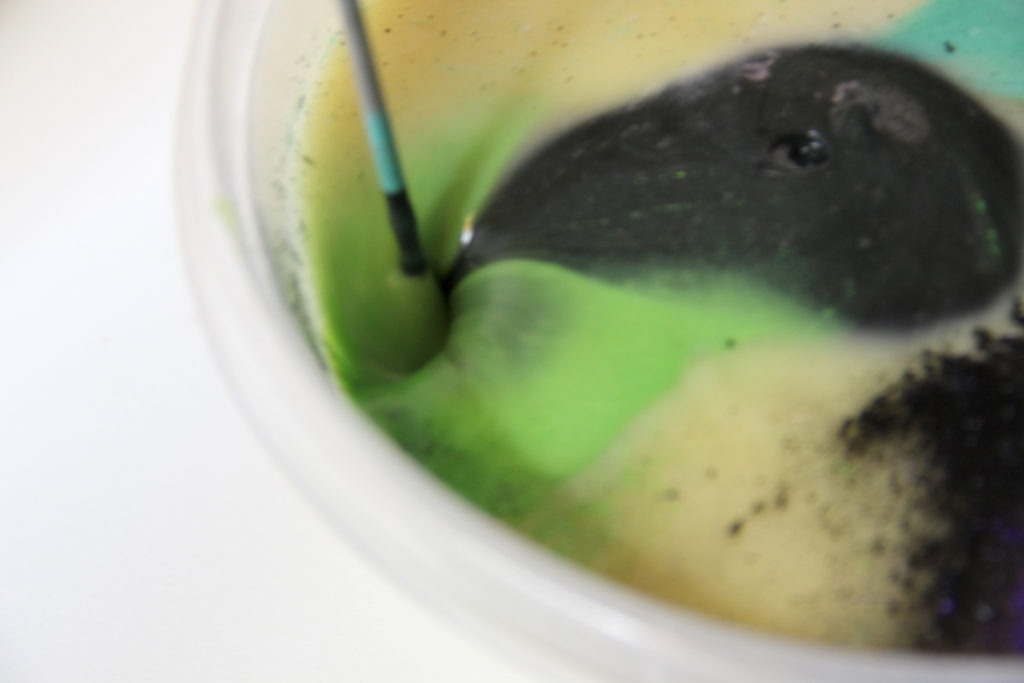
I like to use a mini-mixer (coffee frother) for this part. Simply stick the coffee frother underneath each color and mix. The mini-mixer will pull the powder down and will blend it into the soap as shown.
You want to use colorants that easily mix in. Micas work great! Titanium dioxide and oxides/ultramarines and non-mineral cosmetic pigments (such as neons) don’t work well. They need to be pre-mixed to disperse correctly.
Sticking the mixer below the white mica.
And blending…
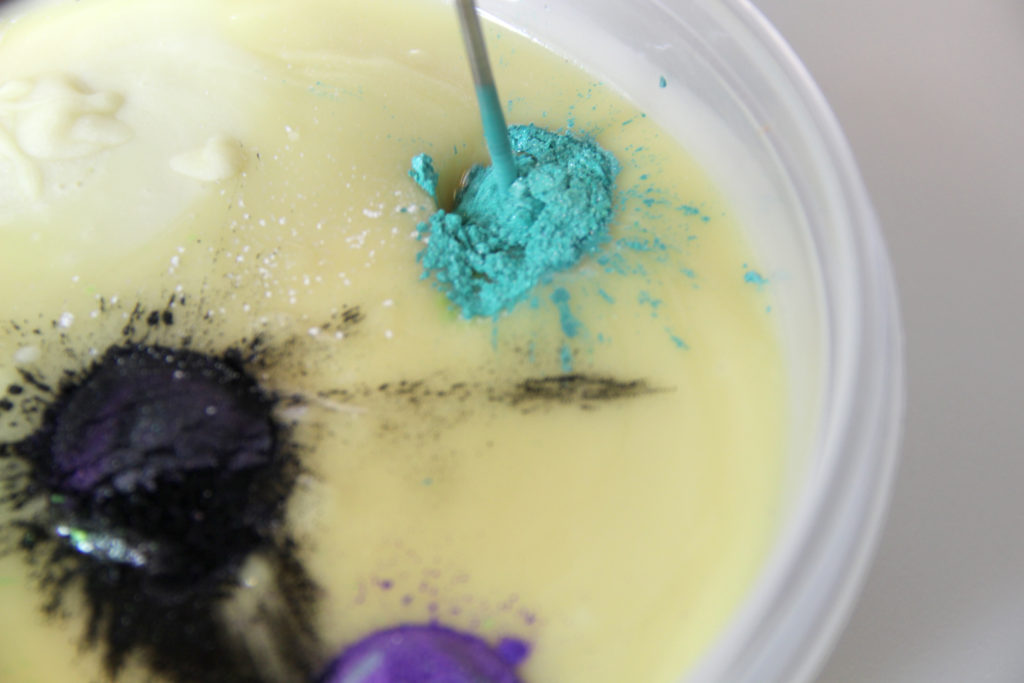
Do that for each color! It is okay if the blend into each other a bit, because then you’ll get different shades of colors.
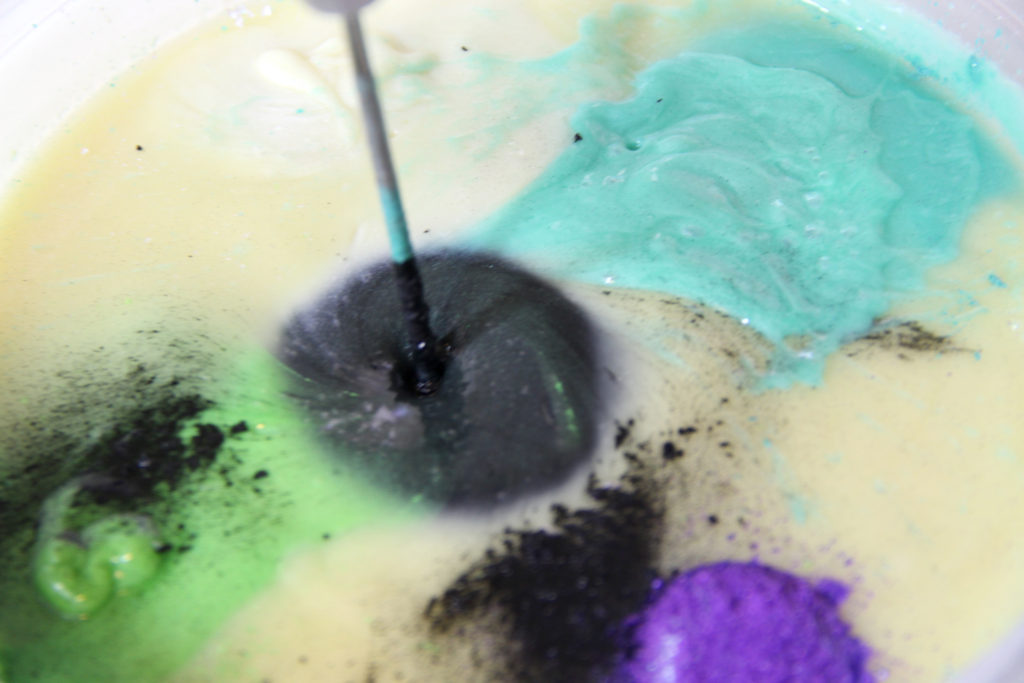
Here they are all blended in. There is a bit of charcoal that blew up, but it isn’t a big deal.
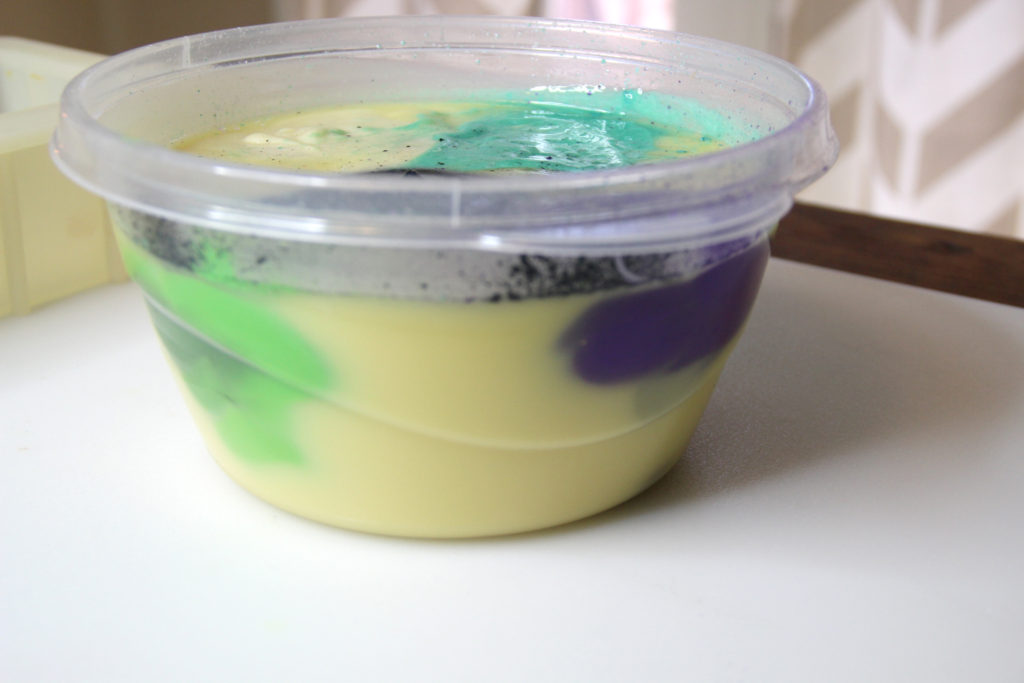
And here is a side view!
You can see how deep the color goes and use a spoon to mix it in even more if you want more colored soap.
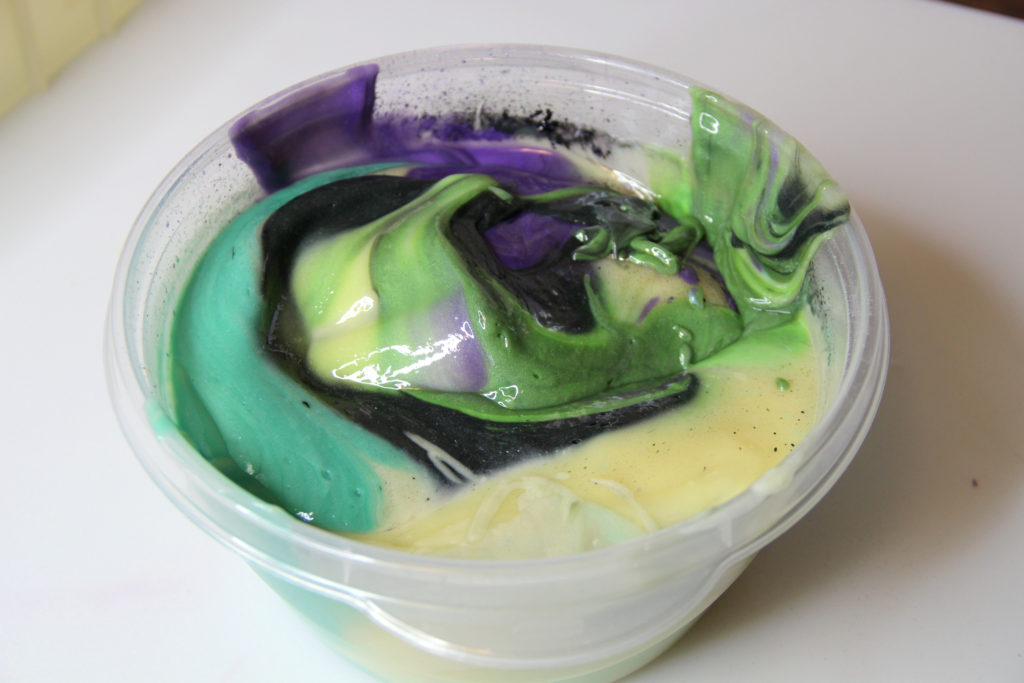
Now, just like a regular in-the-pot soap swirl, take your spoon or spatula and swirl in the pot just a bit. I simply do one rotation in the bowl.
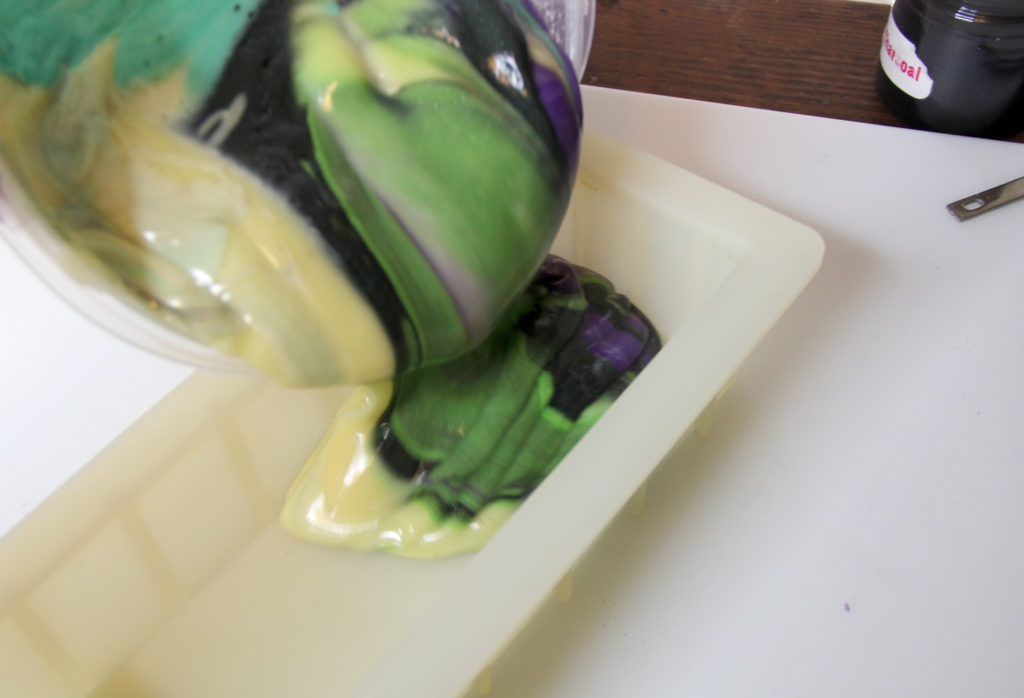
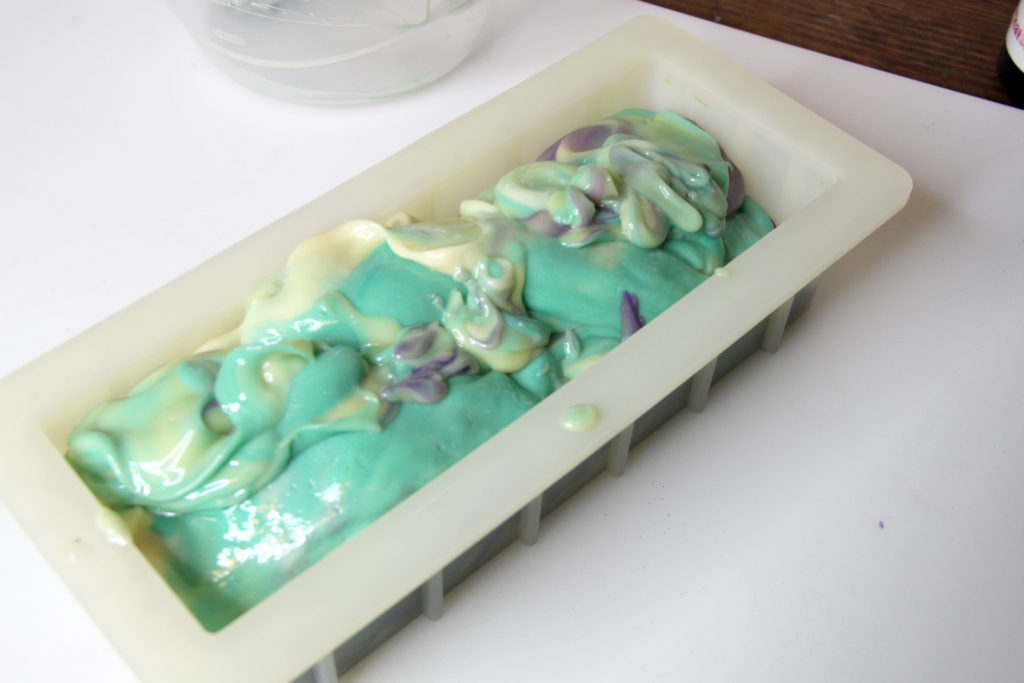
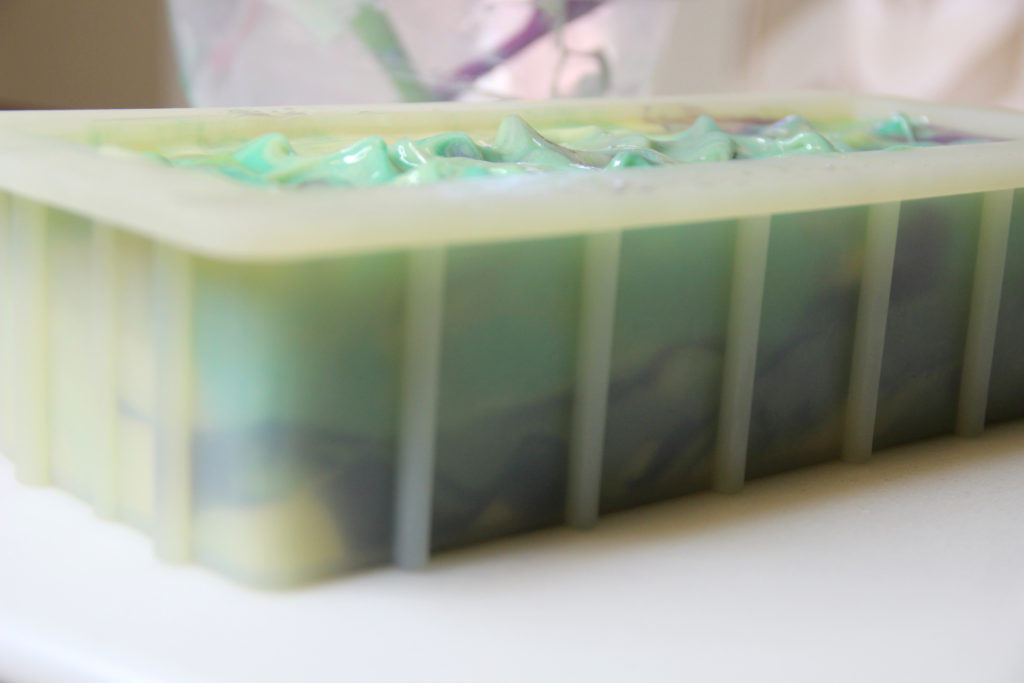
Then it is ready to pour into your mold! As you pour, it will swirl even more. The cool thing about having the soap this thick is that it won’t muddy together while pouring. The colors stay nice and defined.
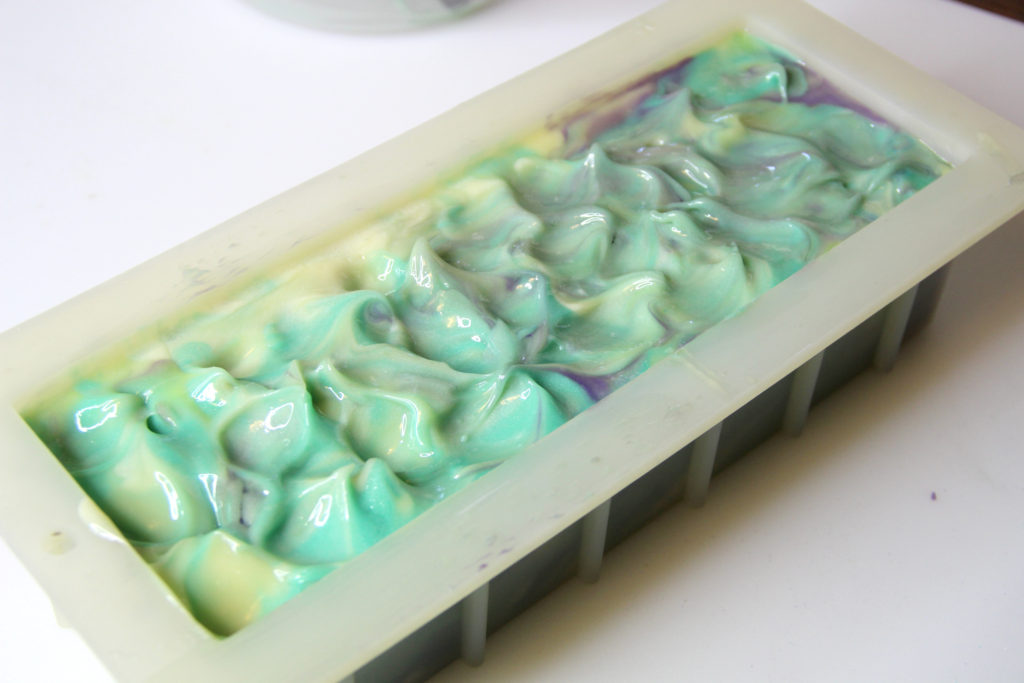
I added a bit of texture on top using a spoon.
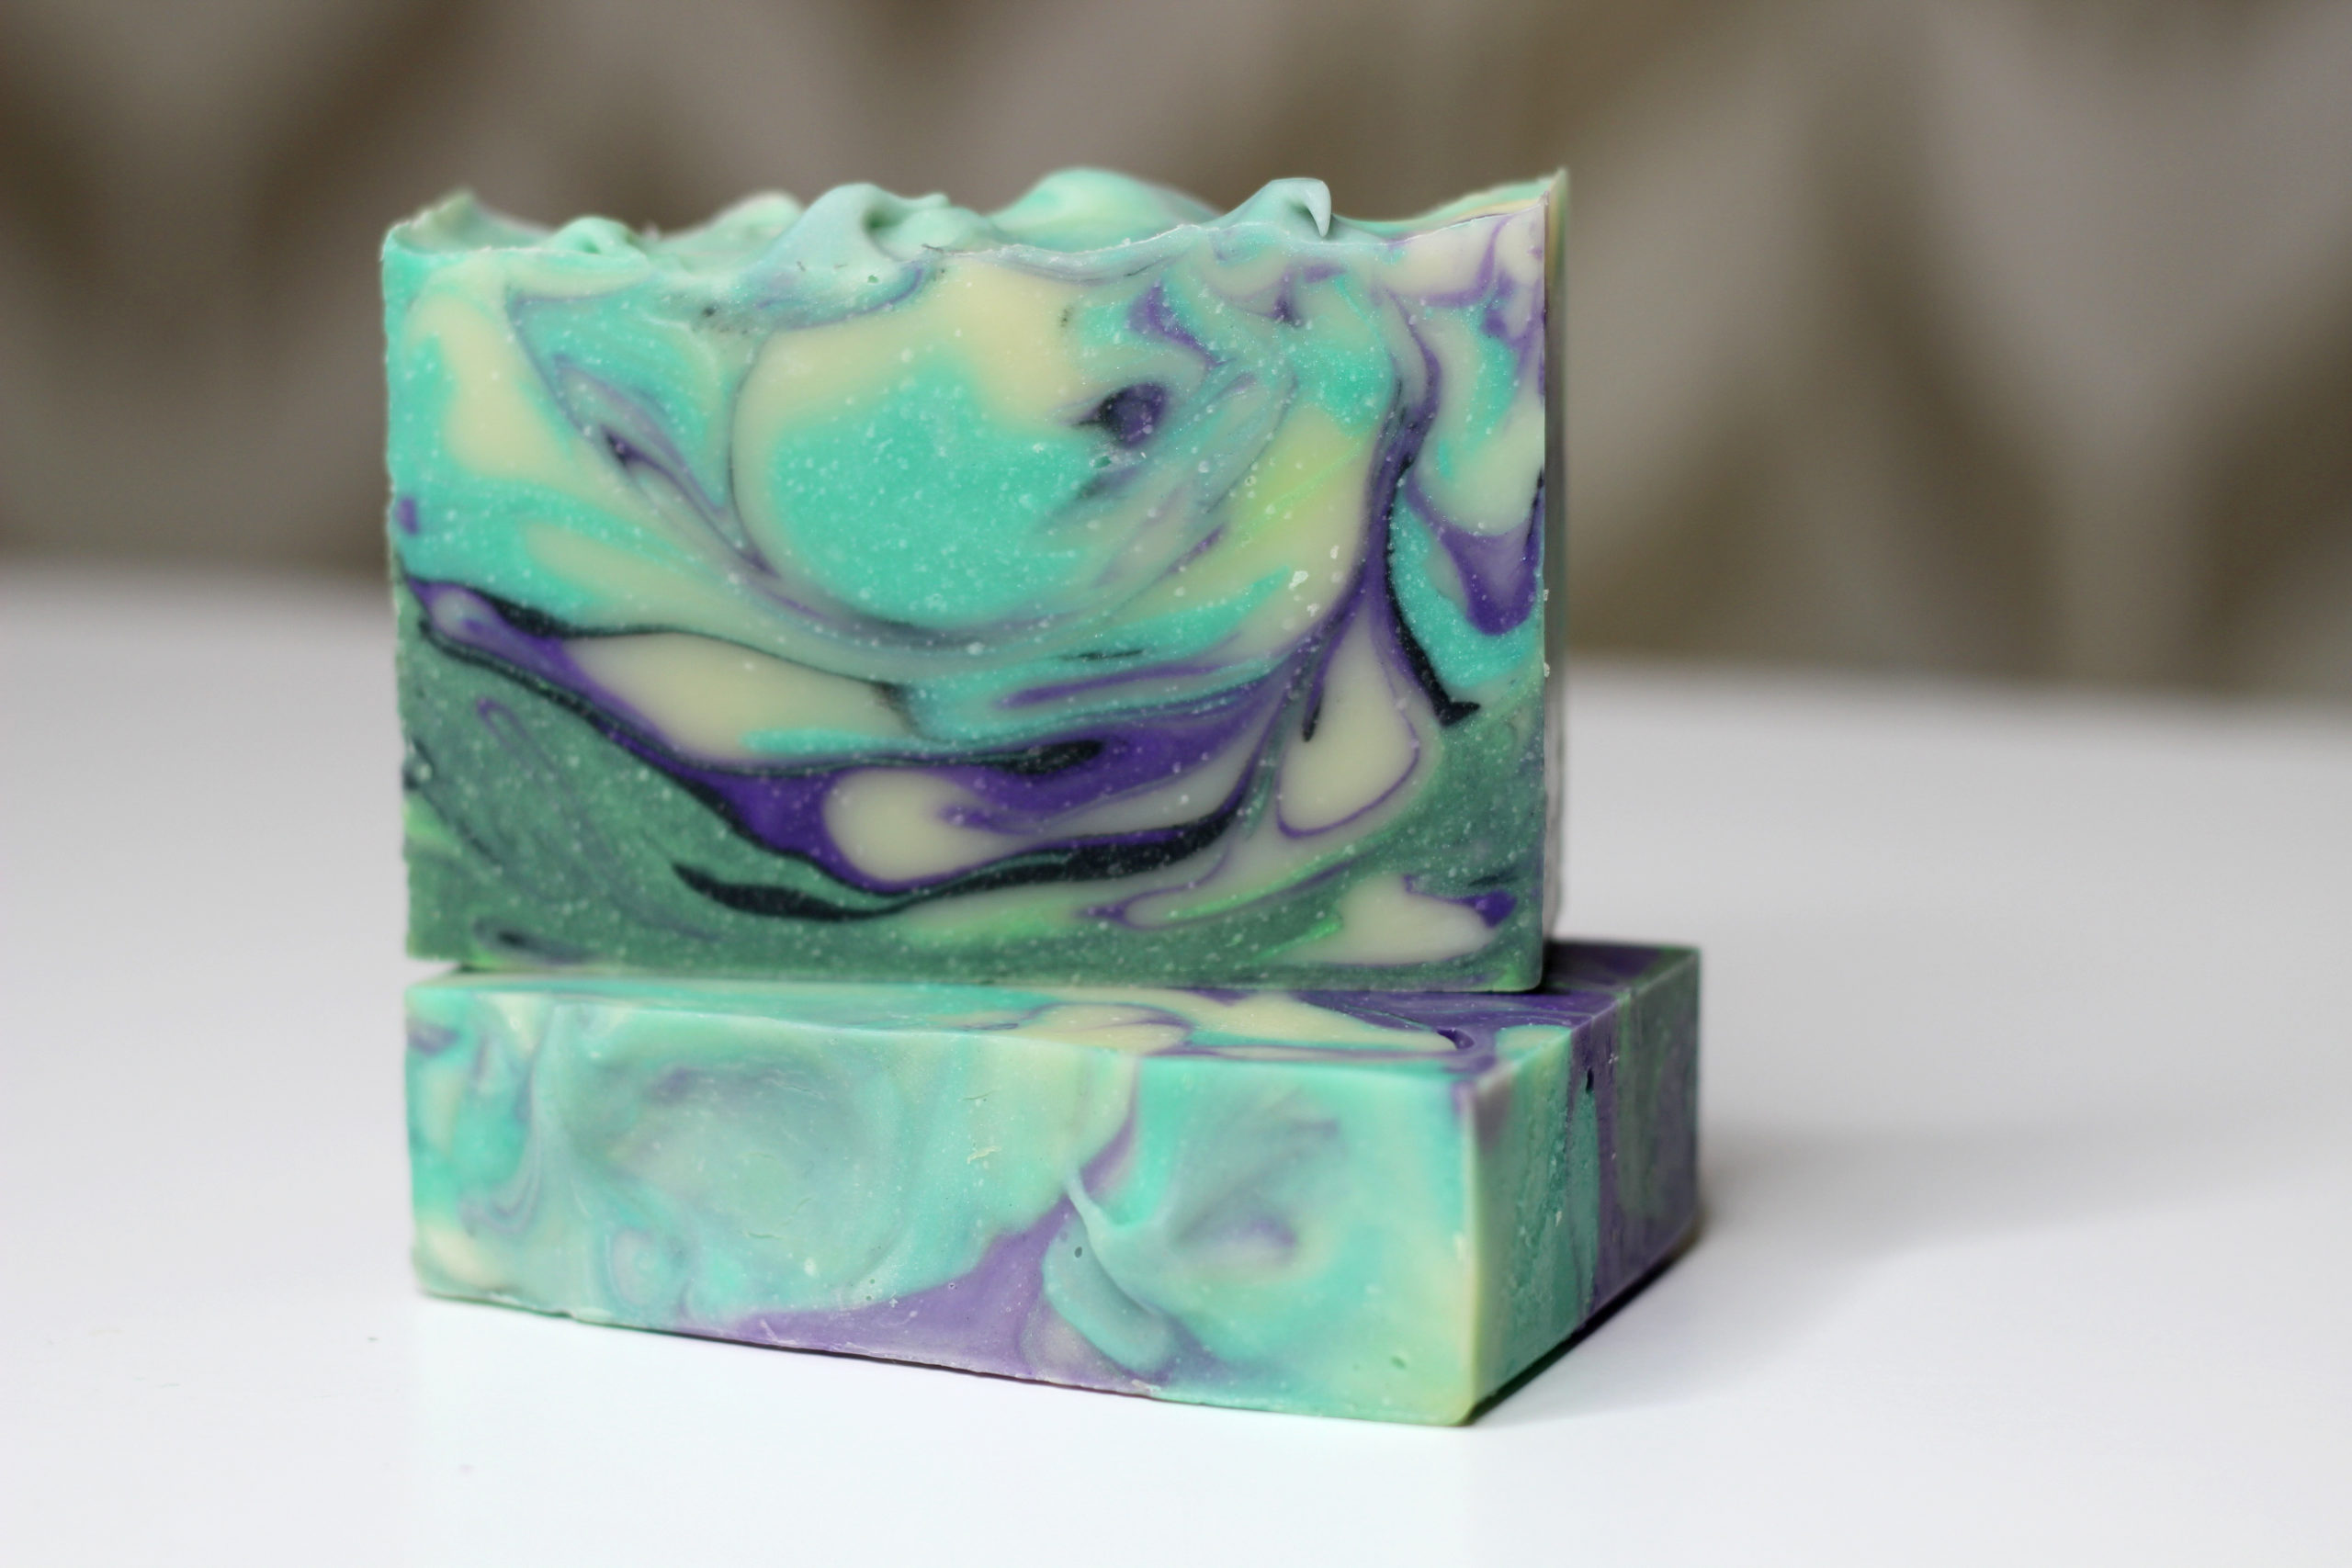
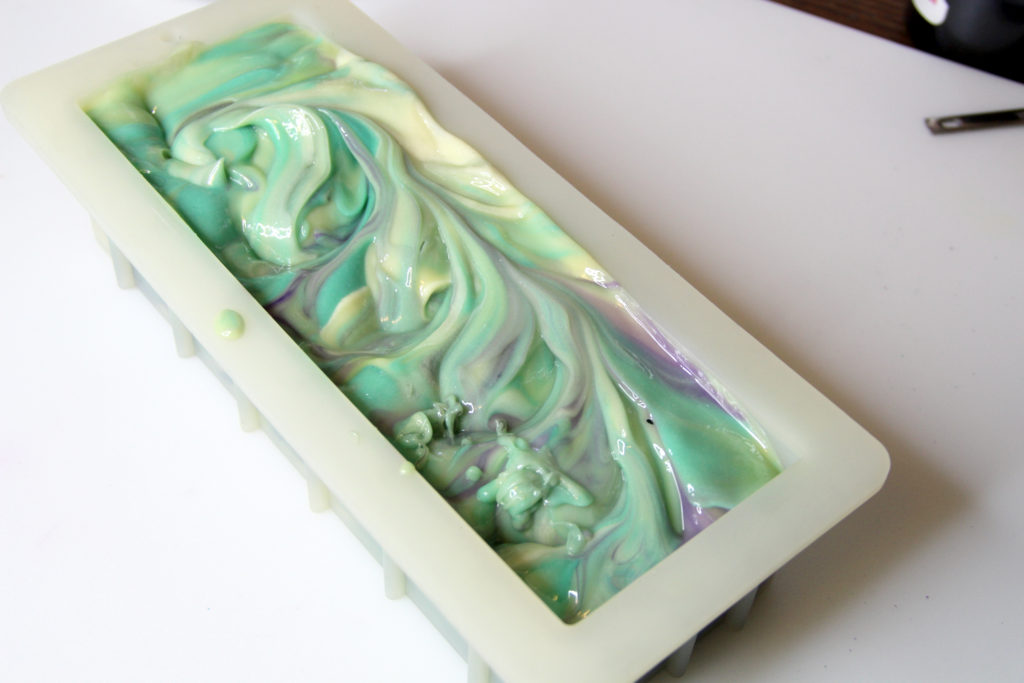
And here is a side view of the swirl! I can’t wait to cut this one!
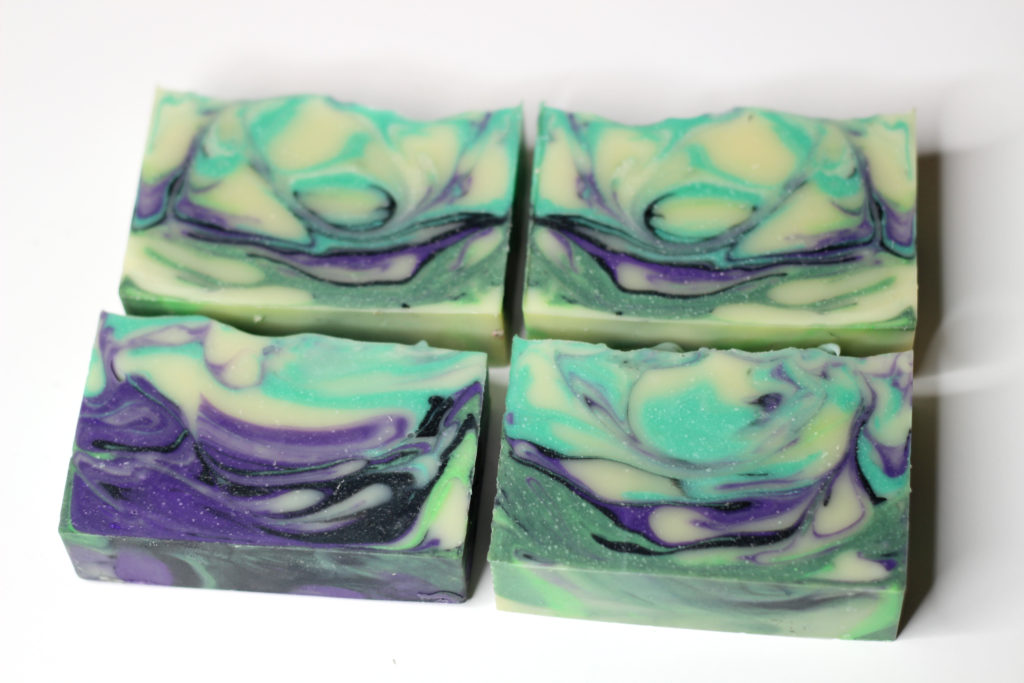
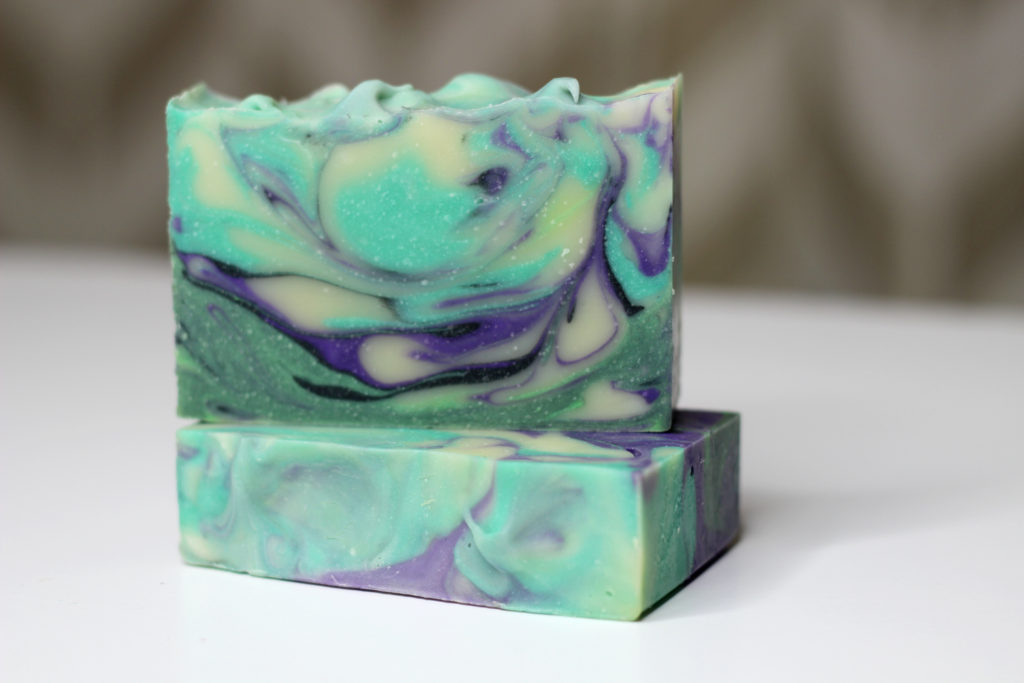
After 24 hours, unmold and cut! Cure for 4 weeks.
Happy Soaping!
-Amanda Gail


Hi Amanda. I never seen soaps mixed in that way. it pretty cool and I think I will try it. Thank you. I have one of your ebooks and the complete guide to natural soapmaking. I probably have more over the year from you. I have so many soap books. I started soaping 8 years ago
Did u cover it? Mines so hot! So I’m going to leave it uncovered it feels so hot I’m wondering if I should put it in the fridge for a few 🧐 i added 40/42 Lavender
Thank you for this. I keep seeing ITP and had no idea what it referred to. Amazing work. Now, I need a frother.
Thanks for this tutorial. I think I’ll be able to do this swirl.
Amanda, thank you so much for sharing your amazing recipes! I have a question: can I use a goat milk for this recipe?
Never in a million years would I have come up with that idea on my own. Both beautiful & very creative!
Thanks Amanda! I notice that there are white flecks throughout the soap. I experience this with some batches and on some I don’t even when the recipe is the same. Do you have any idea what causes this? I suspected it was because I soaped at a lower temperature (110 degrees) with a shea butter recipe and maybe the shea butter resolidified…..? I read that shea butter melts at 113 degrees so I normally soap at 120.
Thanks again for your tutorials!
Genius. Thanks.
Thank you so much Amanda for such a cool tip. I love not throwing all those cups away and using less water washing used containers. Plus plus for ease of process and for the land fill.
I’m guessing this is about 32 oz batch and you used about 1/2 tsp of each mica. May I ask what proportions/measurements you used in this example and tutorial?
Brilliant! We do this for HP, why not CP;)
I love this idea! I seem to be swirl challenged so looking forward to trying this technique
It’s me again, LOL. Amanda, Did you pour the soap batter all in one spot in your mold or pour while move down to the other end of your mold or did you pour the soap batter while moving back n forth in your mold ? Thank you in advance for all of your help ! 🙂
I actually moved back and forth the length of the mold just because it was so thick. Great question! 🙂
oops, I meant to type soap sorry.
Amanda, This is a brilliant idea and your sap looks great !!! I will have to give this a try with my next ITPS
Great! I hope it works well for you! 🙂
Wow! Nice & easy thanks for posting Amanda!
Love this so much. Comes at the exact moment I just piles a million soap dishes into the sink. So thank you!
Wow! I have never even thought of adding different piles of mica into the same bowl!!! It turned out awesome!
? cuts way down on dish washing!
Thank you, Amanda!
Can I use clays instead of micas?