

When it comes to making soap with milk, you can use any kind of milk! Goat milk, camel milk, almond milk, hemp milk, buttermilk…any! For this soap I chose to use heavy whipping cream as my “milk”! I personally drink my coffee with heavy whipping cream because of the high content of fat so had plenty in the fridge.
If you’re new to making milk soap, I highly recommend checking out my eBook, Goat Milk Soapmaking! Even though goat milk is in the title, you can use any milk…even vegan milks.
This recipe uses the Milk in Oil method of making milk soap. I go over that in detail in Goat Milk Soapmaking.
Let’s get started!
Using Coffee in Soap
There are a few different ways that you can use coffee in soap.
- You can use brewed coffee in your lye solution. Simply replace your water with strong cold brewed coffee.
- If you want coffee grounds as an exfoliant in your soap, you can simply toss some coffee into your lye solution and it will brew. Don’t strain and the grounds will be in your soap to exfoliate.
- You can also simply add coffee grounds to traced soap. Add 1 teaspoon to 1 tablespoon per pound of oils, depending on how scratchy you want it.
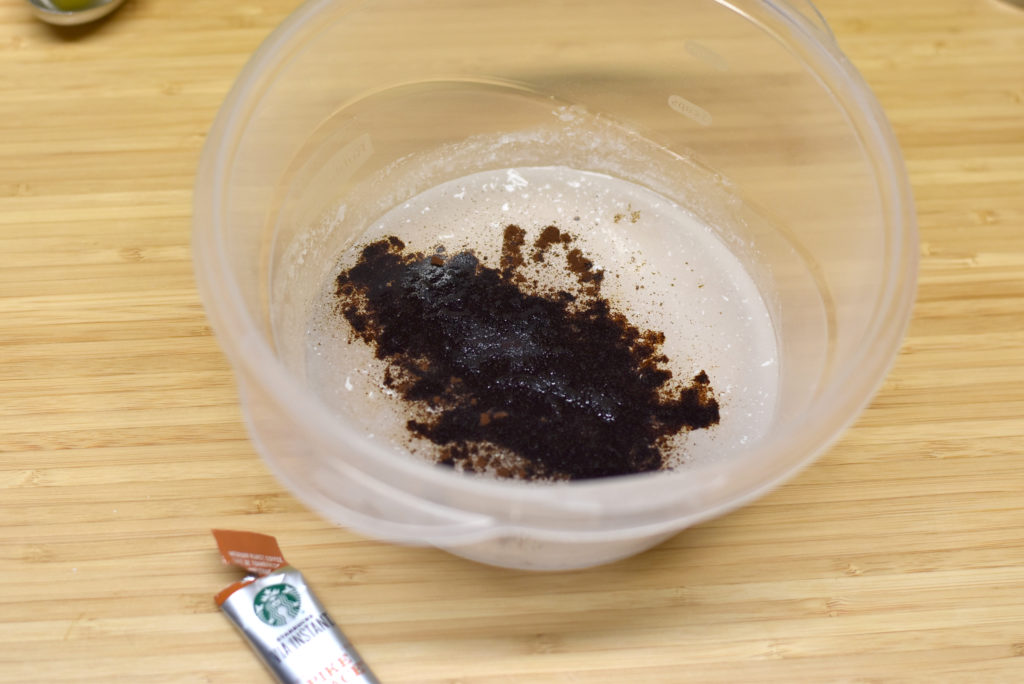
- If you want to toss coffee into your lye solution but don’t want it to be exfoliating, you can use instant coffee. I happened to have a Starbucks Via package in my kitchen, so that is what I used for this soap.
Coffee and Heavy Whipping Cream Soap Recipe
Base Oils
•Coconut Oil – 288 grams (32%)
•Olive Oil – 324 grams (36%)
•Avocado Oil – 108 grams (12%)
•Rice Bran Oil – 108 grams (12%)
•Shea Butter – 72 grams (8%)
Lye Solution
•Lye – 126 grams
•Water – 150 grams
Scent
•Patchouli Essential Oil – 10 grams
•Orange Essential Oil – 20 grams
Colorants & Additives
•Instant Coffee – 1 teaspoon
•Heavy Whipping Cream – 102 grams
Step 1: Create a lye solution. Weigh the water and lye into two separate containers. Slowly pour the sodium hydroxide into the water while stirring. Stir until completely dissolved and set aside to cool. Add 1 teaspoon of instant coffee and stir to dissolve. (NOTE: Coffee + lye = stinky lye solution! Well, some say stinky…I LOVE the smell. It will go away in a few days.)
Step 2: Prepare the base oils. First, weigh any solid oils and butters into a container and melt. You can melt using the microwave or low heat on a burner. Next, weigh each liquid oil (if any) into the melted oils.
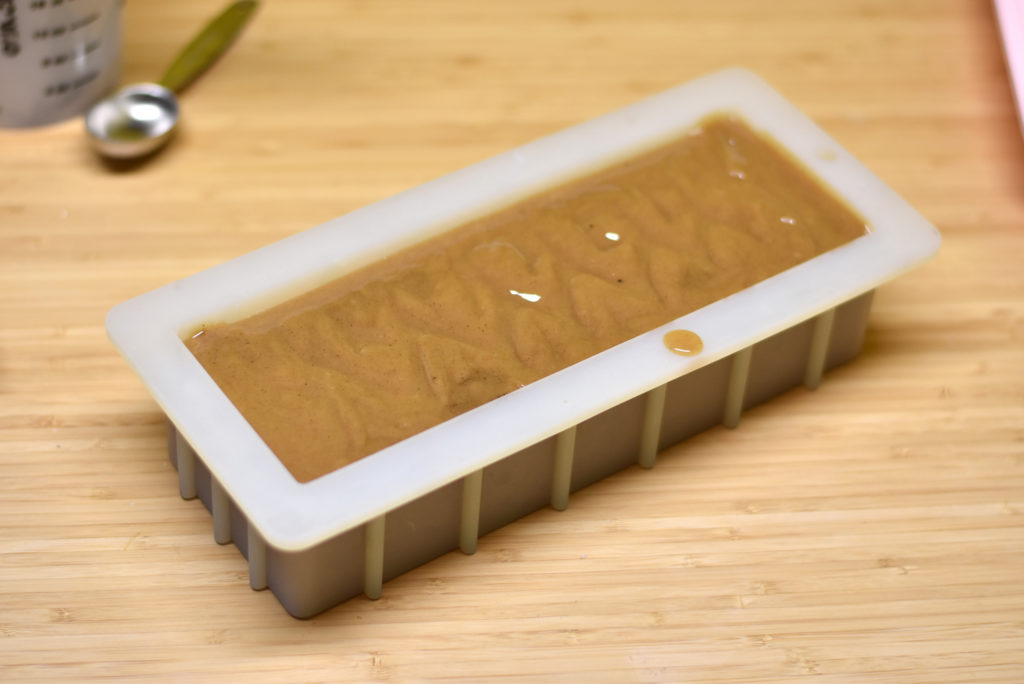
Step 3: Prepare your molds if needed. I used a 10″ Silicone Loaf mold from Bramble Berry.
Step 4: Check the temperatures. You should now have a container containing liquid base oils and a container containing lye solution. Take the temperatures using an infra-red temperature gun. Be sure to stir each mixture before taking the temp. You want your temperatures to be between 80-100 degrees F.
Step 5: Weigh your essential oils into a glass or stainless steel container and add to your prepared base oils.
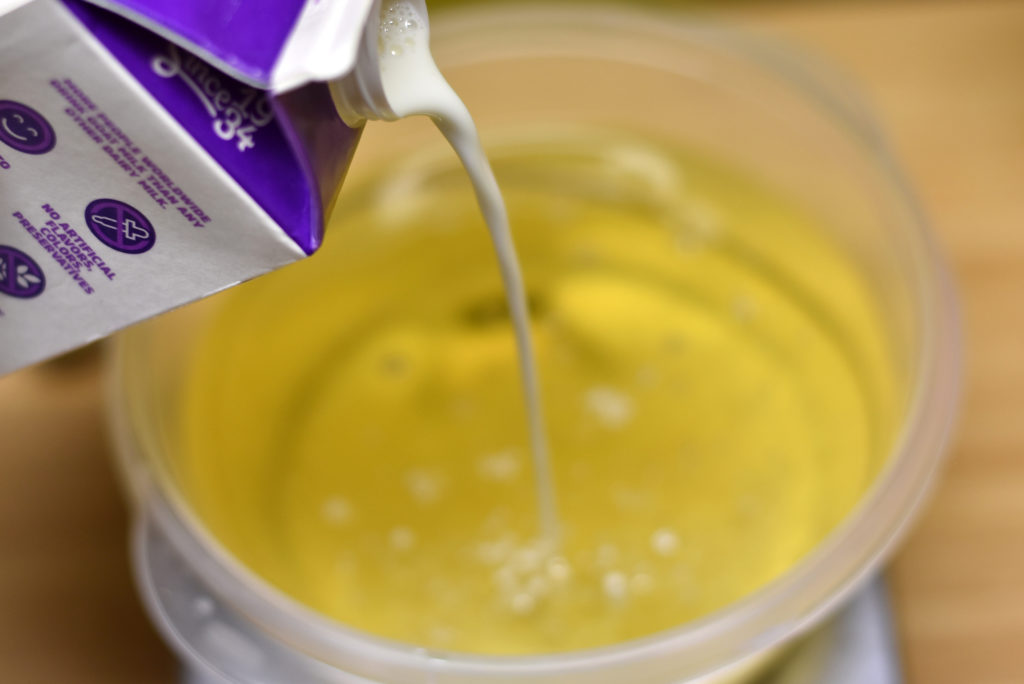
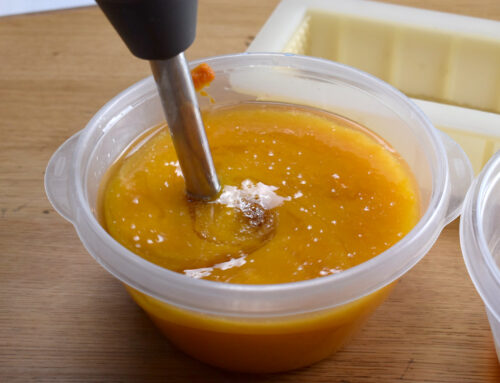
Step 6: Add your heavy whipping cream to prepared oils. It will bead up and stay separated. This is normal.
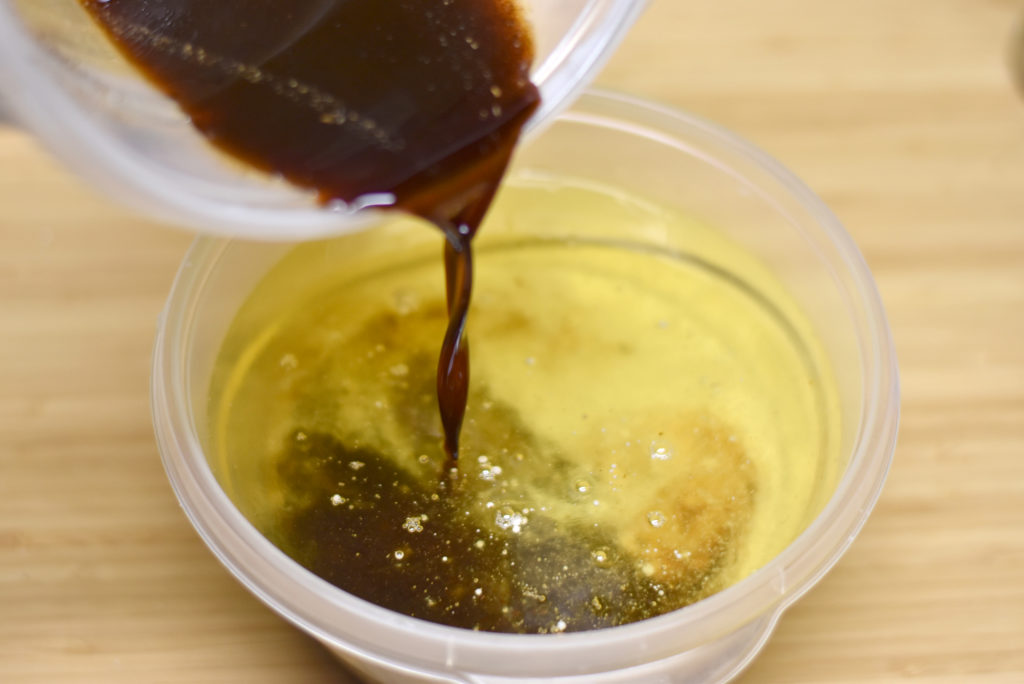
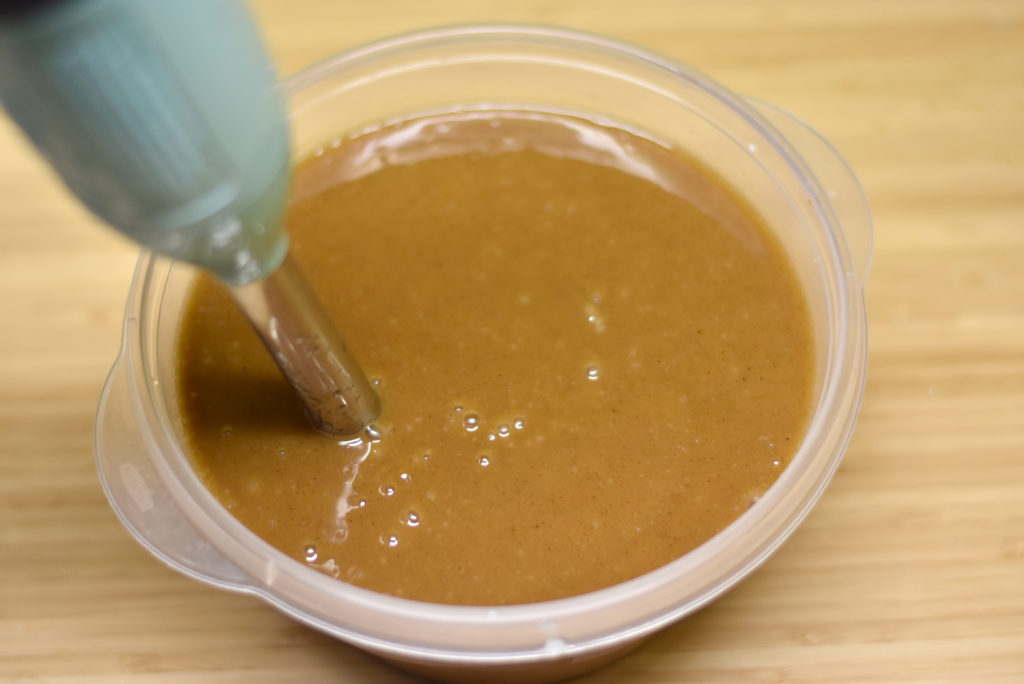
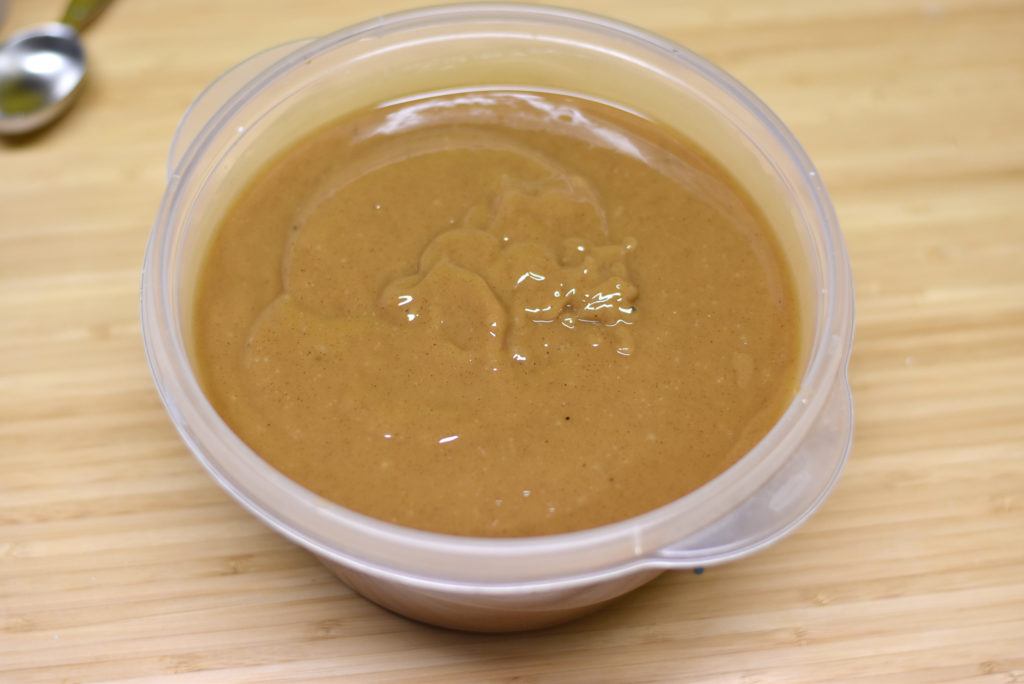
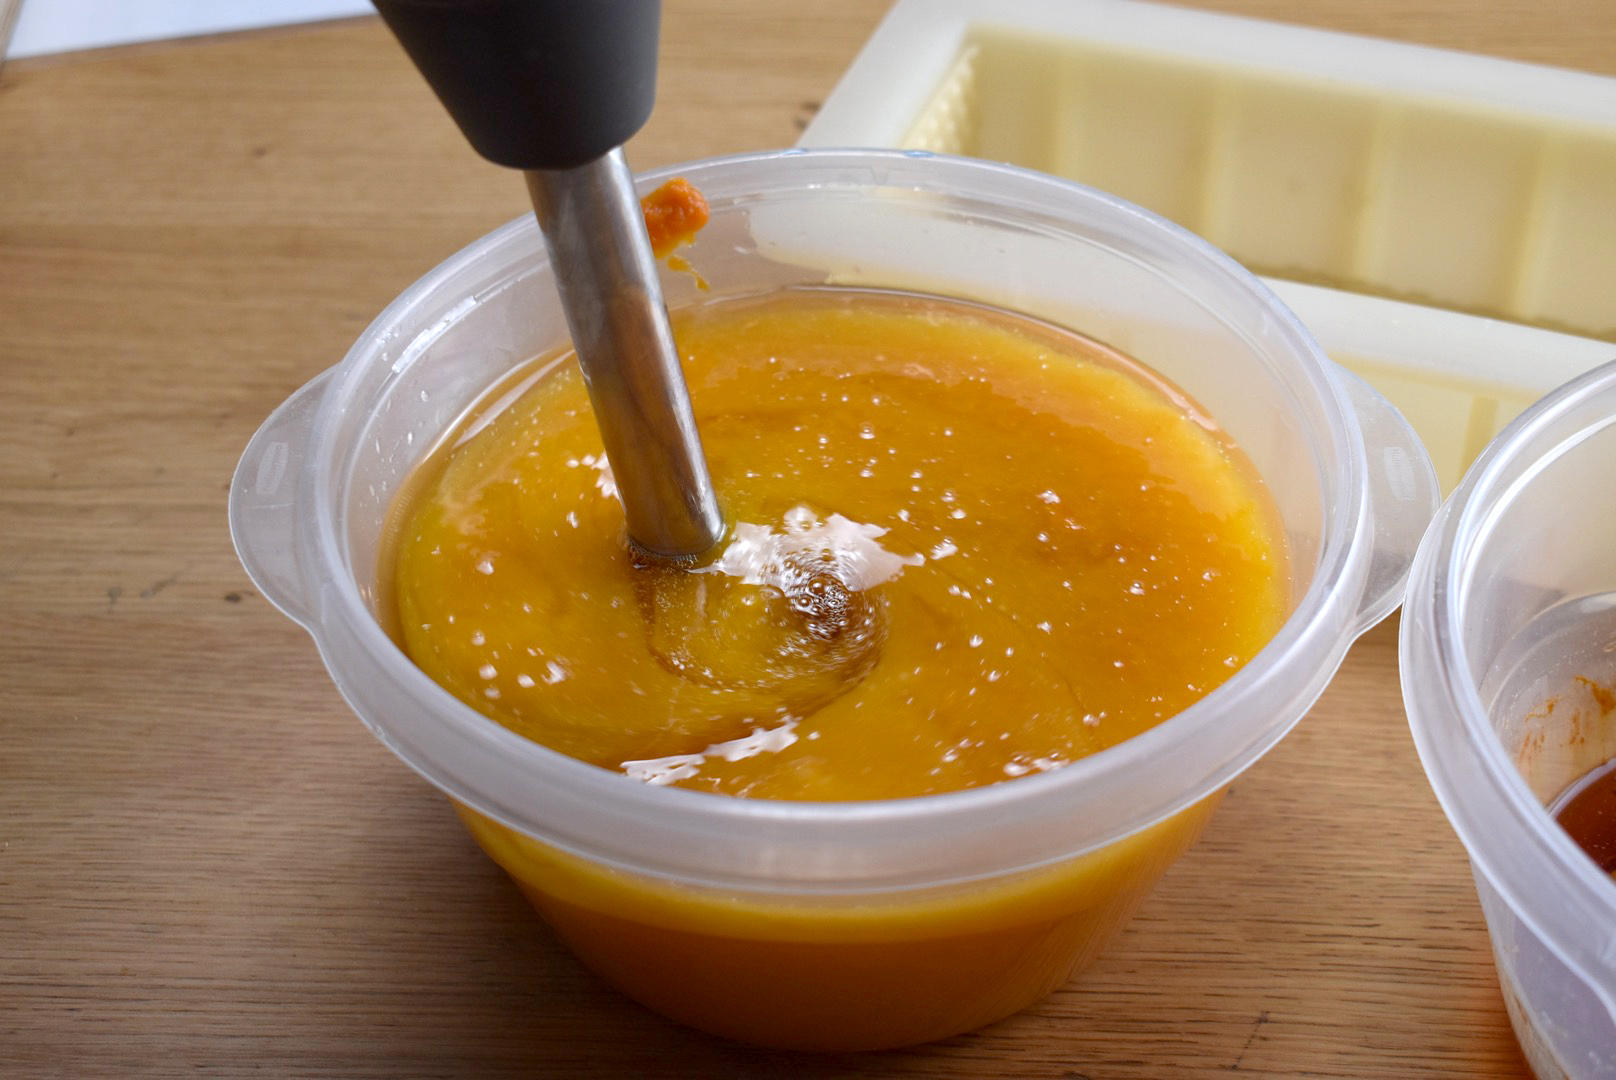
Step 7: Pour your lye solution into prepared base oils/cream mixture and mix until trace. Since we aren’t adding any colorants or dividing to swirl, you can go ahead and mix to a thick trace. We’re going to add some texture to the top of this soap.
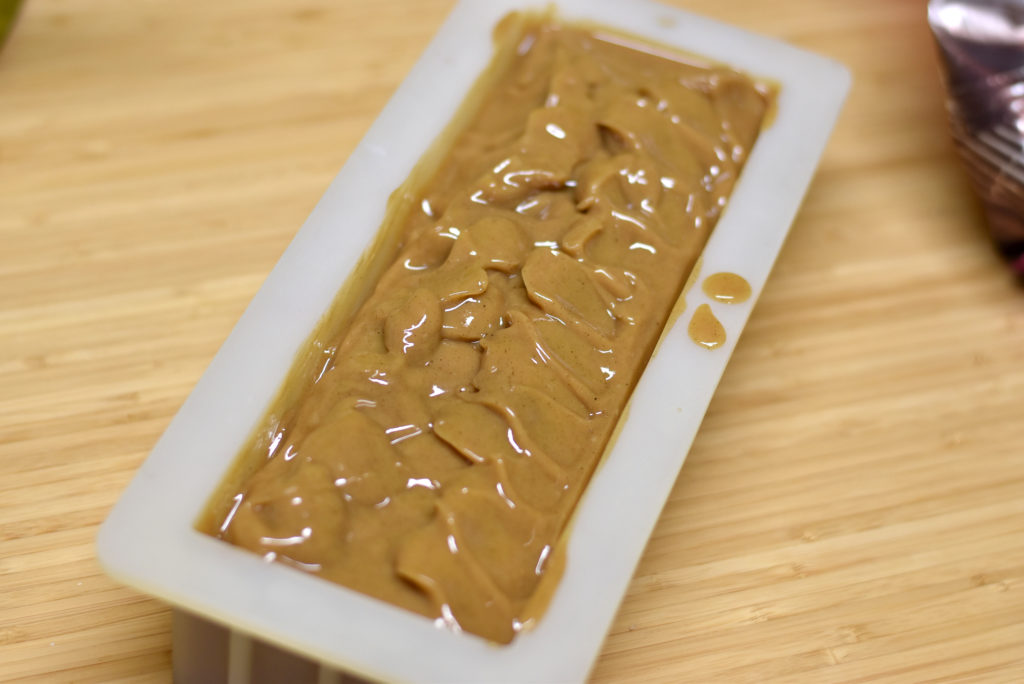
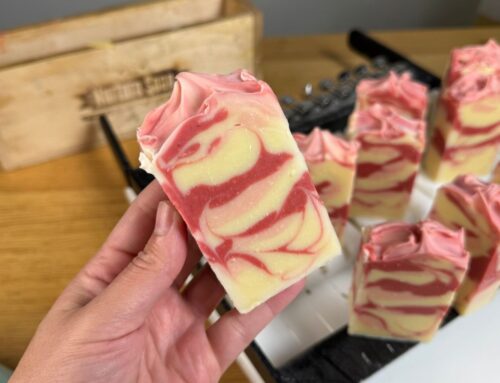
Step 8: Pour (or glop) your soap into your mold!
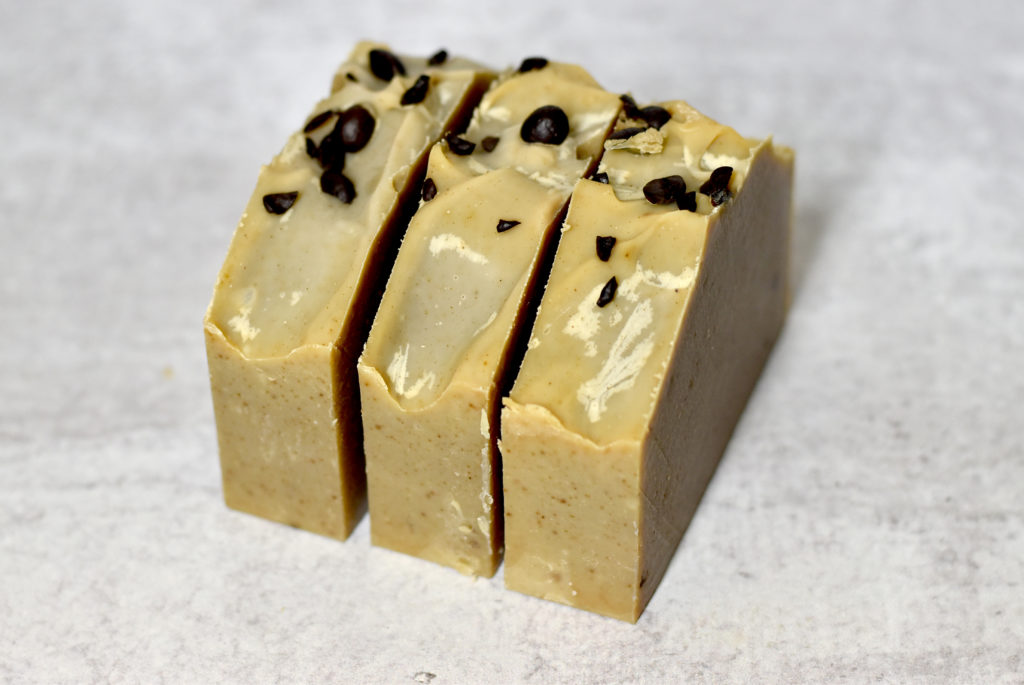
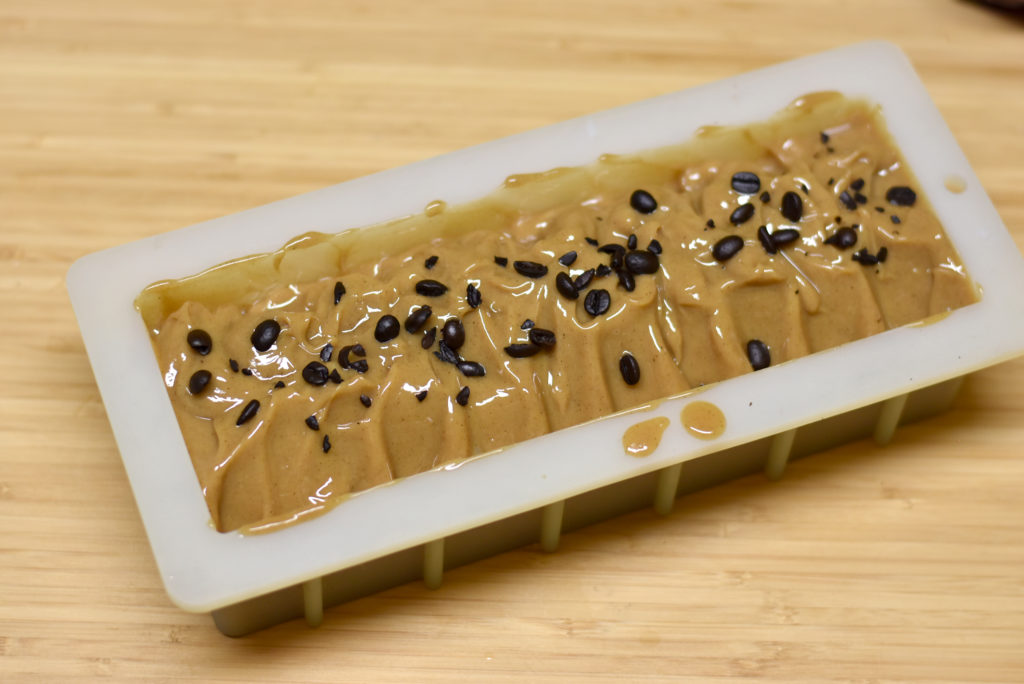
Step 9: You can leave your soap as-is or you can texture the top. I wanted to create a high-peaked top. I allowed the soap to thicken a bit more and used a spatula to sweep the soap up into a peaky top. Simply scoop the soap from each side of the mold towards the center. Give the center a bit of swirl as well with your spatula.
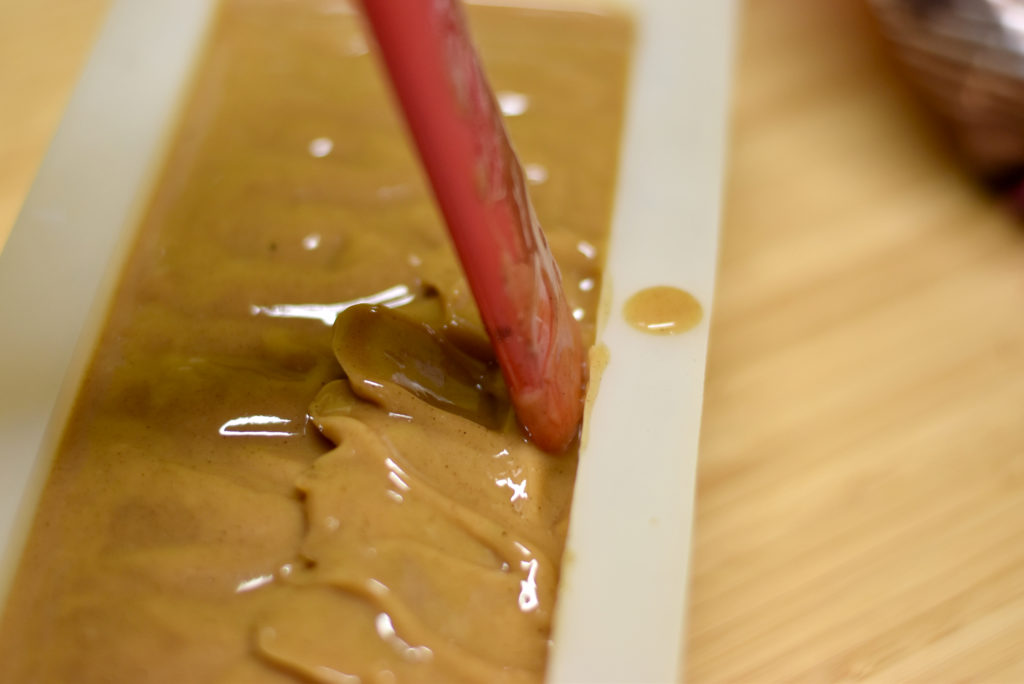
I topped mine with coffee beans.
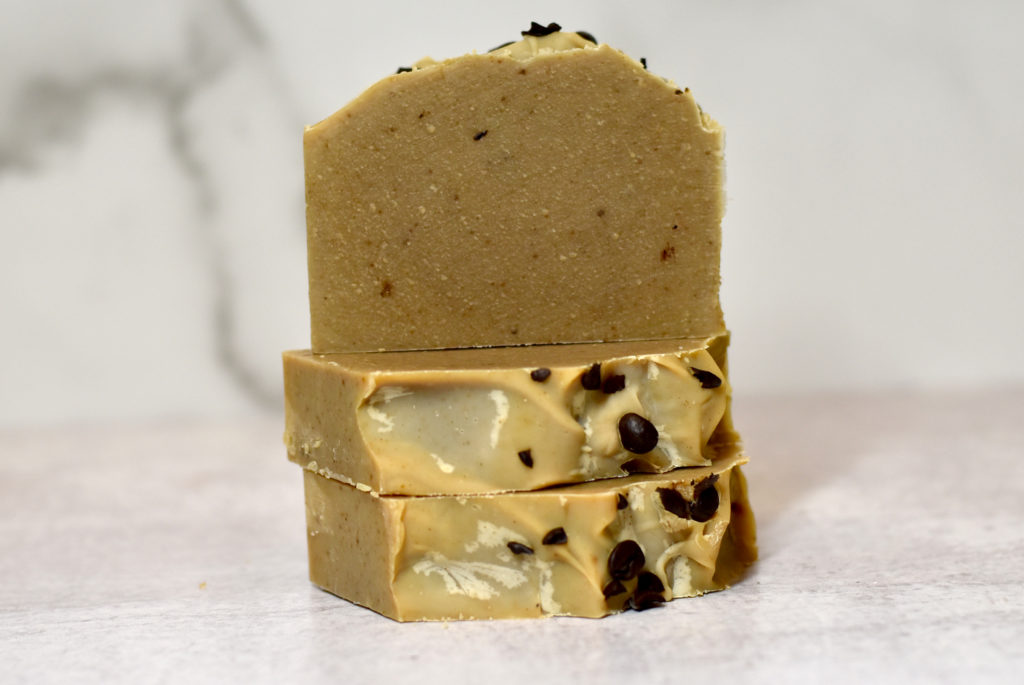
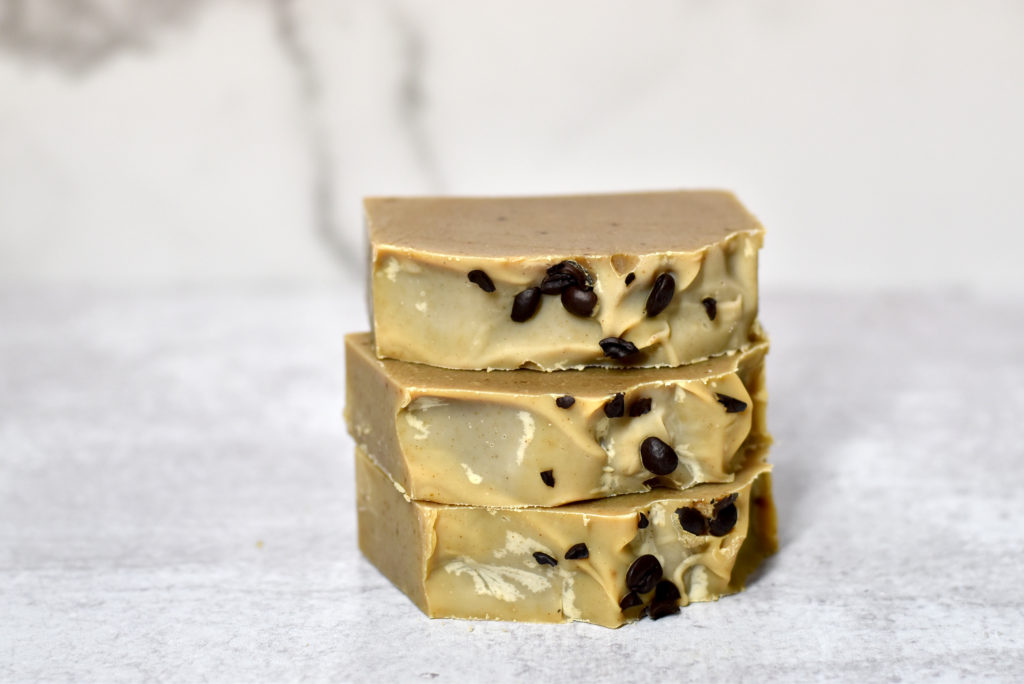
Step 10: Allow your soap to saponify and harden for 24 hours. Unmold and cut! If you topped with coffee beans, lay your soap on it’s side to cut so you don’t drag the coffee beans through the soap.
Since I used instant coffee, which fully dissolves, this soap will not be exfoliating. If you want a coffee scrub soap, be sure to add coffee grounds.
Step 11: Cure for a minimum of 4-6 weeks.
For more milk soap recipes, be sure to check out Goat Milk Soapmaking!
Happy Soaping!
Amanda Aaron


Good morning can I use half and half.
Amanda, I am using a slab mold to make this soap. Using my own recipe. The only thing I can’t figure out is how much heavy whipping cream I will need. I know I’ll have to discount the water, but by how much? My mold is a 12 lb mold and my recipe uses 31.20 0z of water.
How long to cure after the soap is cut after 24 hours? 6 weeks? 8? And if I skip the gel phase and freeze after I make it and then cut it, does this speed curing time? Thanks, I am new to soap making.
How long does this need to cure after you remove from the mold? Is it 6 or 8 weeks? And if I skip the gel phase and stick in freezer overnight, does this speed the curing process? Thanks.
Can you please tell me what percentage of fat the cream should contain
Ohh I haven’t made coffee soap in too long💜 I know whay Im doing tomorrow!!
Hi does heavy cream in soapaking goes off. What is the shelf life?
Am beginner in soap making.
Thanks for sharing this informative article. This coffee soap seems useful for all purposes
Hi! Big fan of the palm free/vegan recipes. At what percentage do you usually superfat?
I made this soap today. I have never had a soap go from liquid to heavy trace so fast before. No stick blender needed, mixed lye solution and oils for about 5 seconds and boom! ready to go into the mold. Had to work fast! I kept the lye and oils both to 90 degrees, next time I may just try 80 degrees.
HI
can i use sour cream??? just wondering because i dont have any heavy whipping cream available – thanks
I’ve never tried to use sour cream! I think it would work.
Is this a good soap to make for a beginner? Have never made soap before and love the look of the bar of soap and coffee scent. Your recipe sounds so unique.
What about gelling? Wouldn’t the heavy cream make the soap get too hot? Or, would you put the soap in the fridge or freezer?
Thanks!
No, not too hot. I just left mine on the counter and it gelled. If you don’t want it to gel, then you’ll need to put in the freezer after you pour.