Someone asked in our Facebook Group, Saponification Nation, if you are able to pipe salt bars. Piping soap is all about getting it to the correct consistency, whether you’re piping with regular cold process soap or with salt bar soap. I immediately thought, yes! It is possible! But I haven’t actually tried it before. I piped a tiny bit before as a decoration, but not to create a whole bar. So, I immediately thought I’d make some piped rose salt bars and see how it goes.
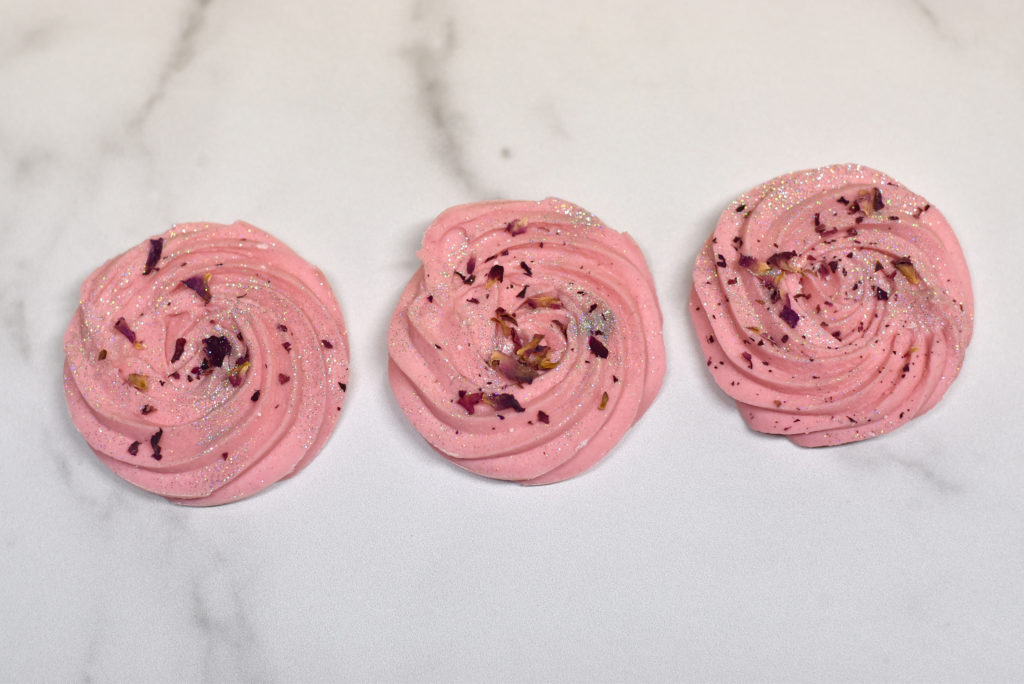
The concern when piping salt bars is that your soap batter can sometimes set quickly, not giving you enough time to pipe. So, I recommend a few things if you want to try it.
- Make a small batch for testing. You don’t want to waste a large batch of ingredients! I recommend using a 450 gram oil batch.
- Keep salt at 50% of oil weight or lower. This will help slow down the setting up of your soap. (If you like 100% salt…by all means, try it! This is just a suggestion if you don’t know where to start.)
- Keep your temps low. We all know that lower temps mean slower thickening. I kept the temps of my water and oils below 100 degrees F.
- Use a slow moving fragrance or essential oil blend. This isn’t the time to try something new! Use your favorite slow moving scent.
Be sure to check out our last few blog posts on salt bars: Tips for Making and Cutting Salt Bars in Loaf Molds, Natural Color Infusions for Salt Bar Soap, and Spearmint, Lemongrass and Loofah Salt Bar Soap. If you’d like to learn more about making salt bars check out our eBook, Making Salt Bars. You’ll get our new bonus (7 Salt Soap for the Face) with your purchase!
If you’d like to learn more about piping soap, check out our eCourse – Piping Perfection!
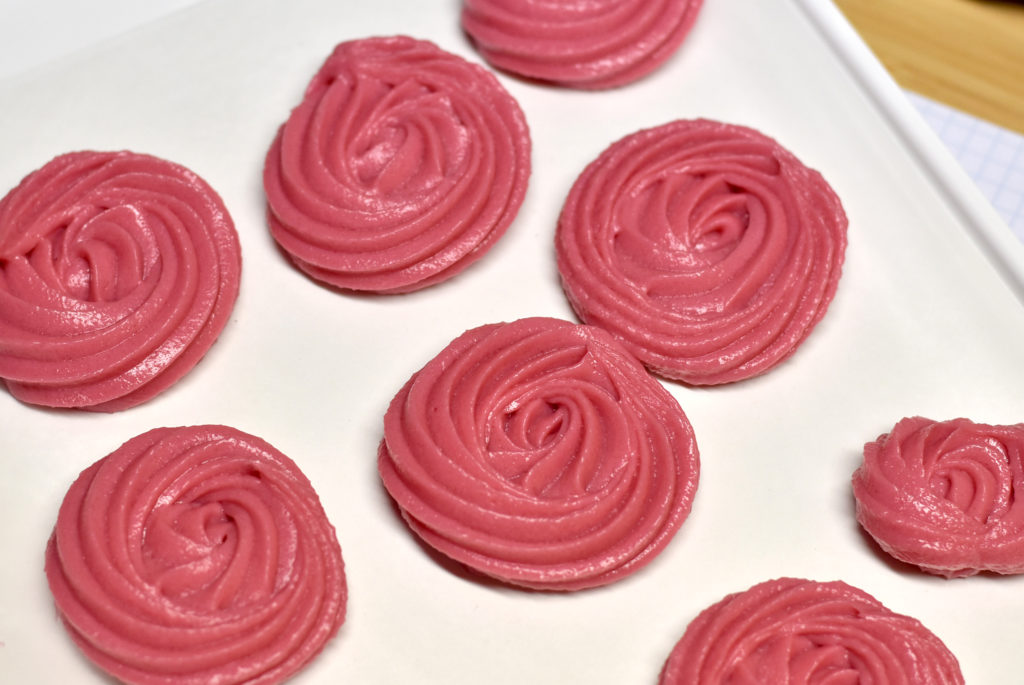
To pipe these soaps, you pipe a rose swirl using a 1M piping tip. Here is a quick video on the motion to pipe. You’ll need the piping tip and piping bags. You can pipe onto wax paper or you can pipe into a round single cavity bar mold to make sure they are all about the same size.
Piped Rose Salt Bar Soaps
- Coconut Oil – 405 grams (90%)
- Avocado Oil – 45 grams (10%)
- Sodium Hydroxide – 64 grams
- Water – 128 grams
- Fine Sea Salt – 225 grams
Colorants
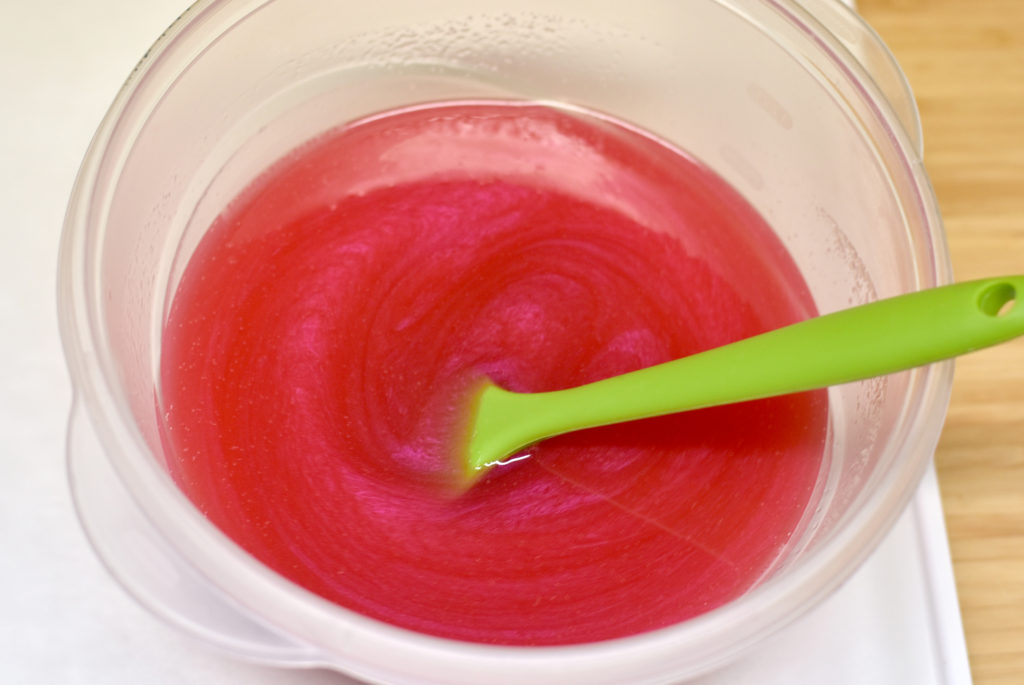
- Before you go go mica (Muddy Soap Co.)
Essential Oil Blend
- Lavender Essential Oil – 12 grams
- Litsea Essential Oil – 10 grams
Safety: Gear up in your goggles and gloves to make soap.
If you are new to soapmaking, please download our FREE soapmaking guide!
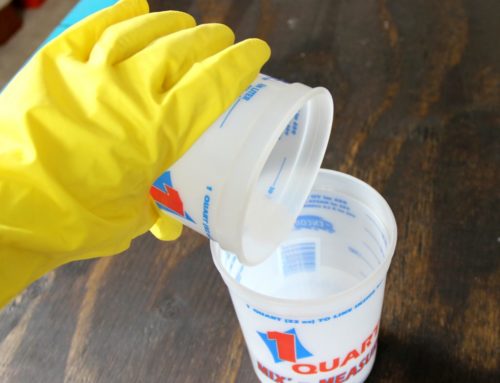
Step 1: Create a lye solution. Weigh the water and sodium hydroxide into two separate containers. Slowly pour the sodium hydroxide into the water while stirring. Stir until completely dissolved and set aside to cool.
Step 2: Prepare the base oils. Weigh the coconut oil into a container and melt. You can melt using the microwave or low heat on a burner. Weigh the avocado oil and add to melted coconut oil.
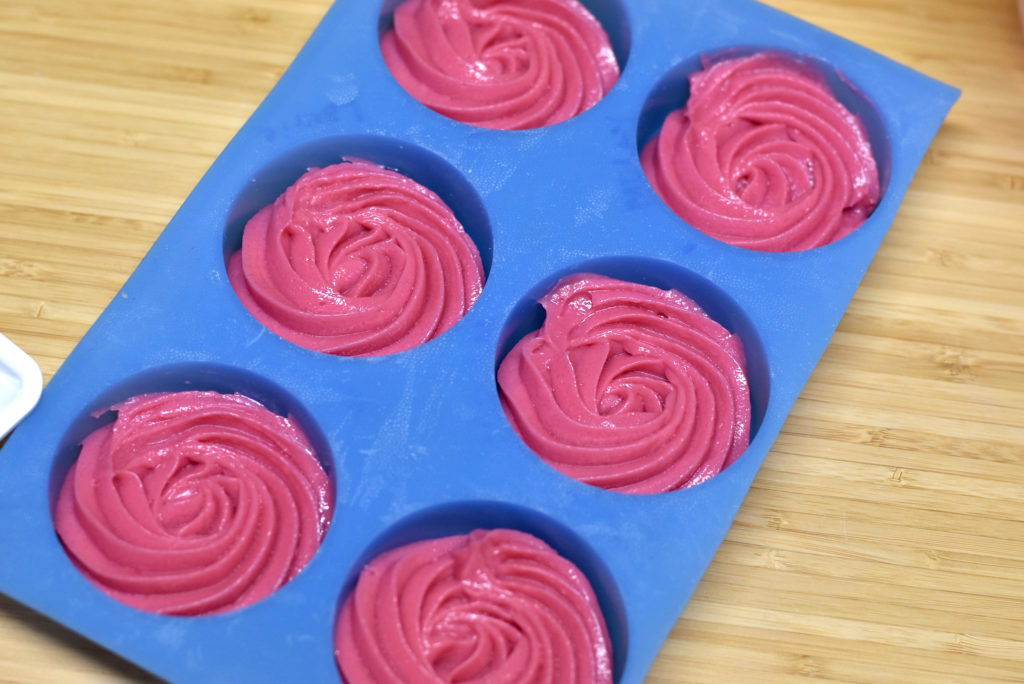
Step 3: Prepare your mold. I’m simply using a 12 bar round mold from Bramble Berry. I also piped some onto wax paper that I lined on a tray.
Step 4: Check the temperatures. You should now have a container containing liquid base oils and a container containing lye solution. Take the temperatures using an infra-red temperature gun. Be sure to stir each mixture before taking the temp. You want your temperatures to be between 90-120 degrees F.
Step 5: Weigh your essential oils into a glass or stainless steel container and add to your prepared base oils.
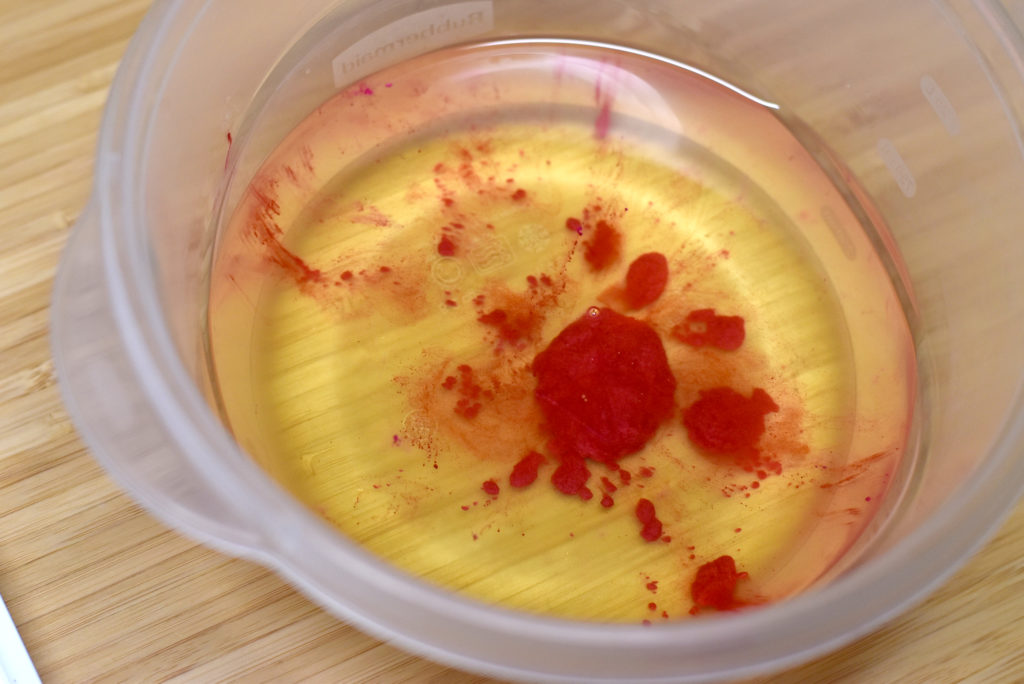
Step 6: Add your pink mica to prepared base oils and blend to get rid of any clumps.
Step 7: Weigh and add the fine sea salt to the prepared base oils.
Note: You can add your salt to the liquid oils before combining with your lye solution or you can add the salt to traced soap. Either works!
Step 8: Pour your lye solution into base oils and mix to thick trace! You want the soap to be stiff enough to pipe.
Here it is getting thick, but not thick enough!
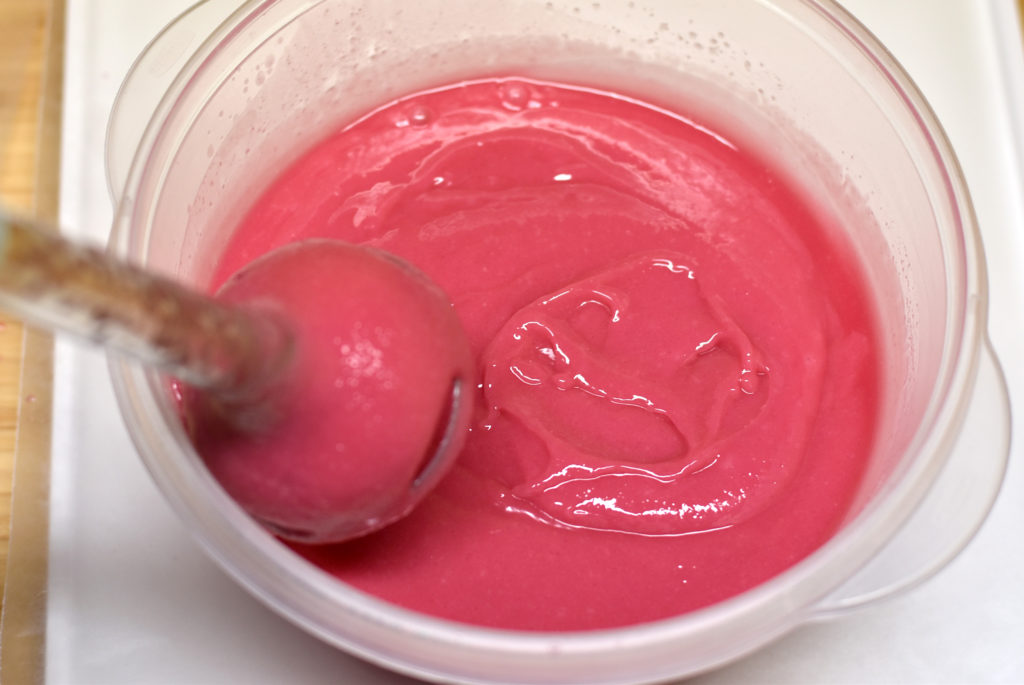
I let it sit for a little while to thicken even more. Don’t walk away! It might take 5 minutes to thicken enough, or maybe 20. It totally depends on your temperatures and scent.
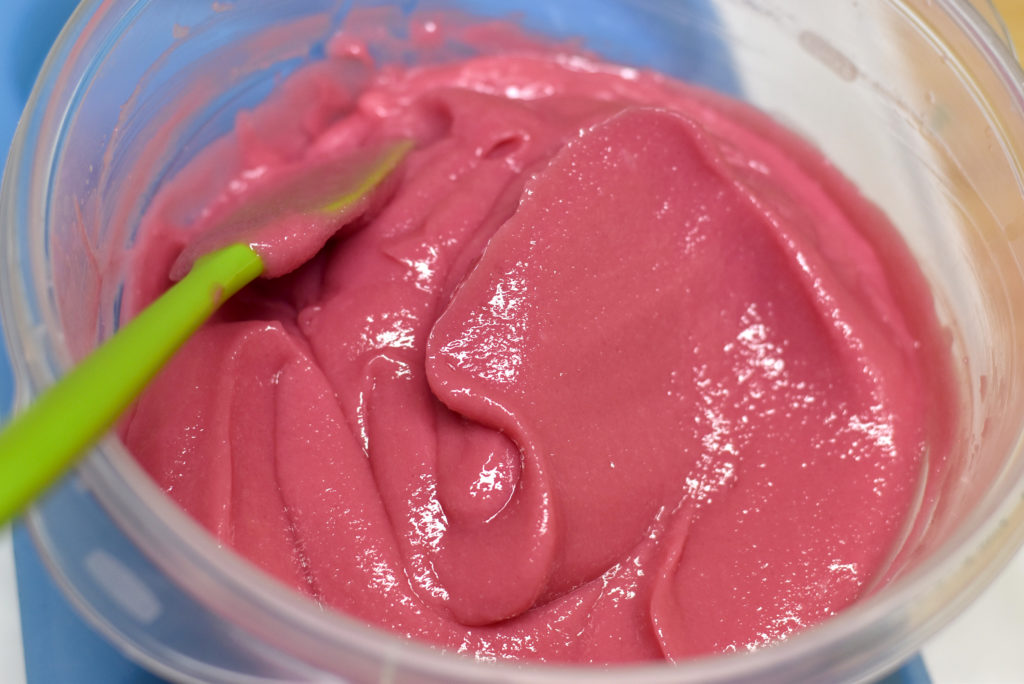
Below it is ready! If I make a little mountain with the soap, it keeps its shape. If it flattens, you need to let it get thick enough to support its shape.
Step 9: Prepare your piping bag. Cut the tip off of your bag and slip the tip into it. (If you need help on how to do this, search YouTube. Here’s one.)
Step 10: Fill your piping bag with soap. I used a 16″ bag and could only pipe about half each time in that size.
Step 11: Pipe your soap! Again, watch this video on how to do it.
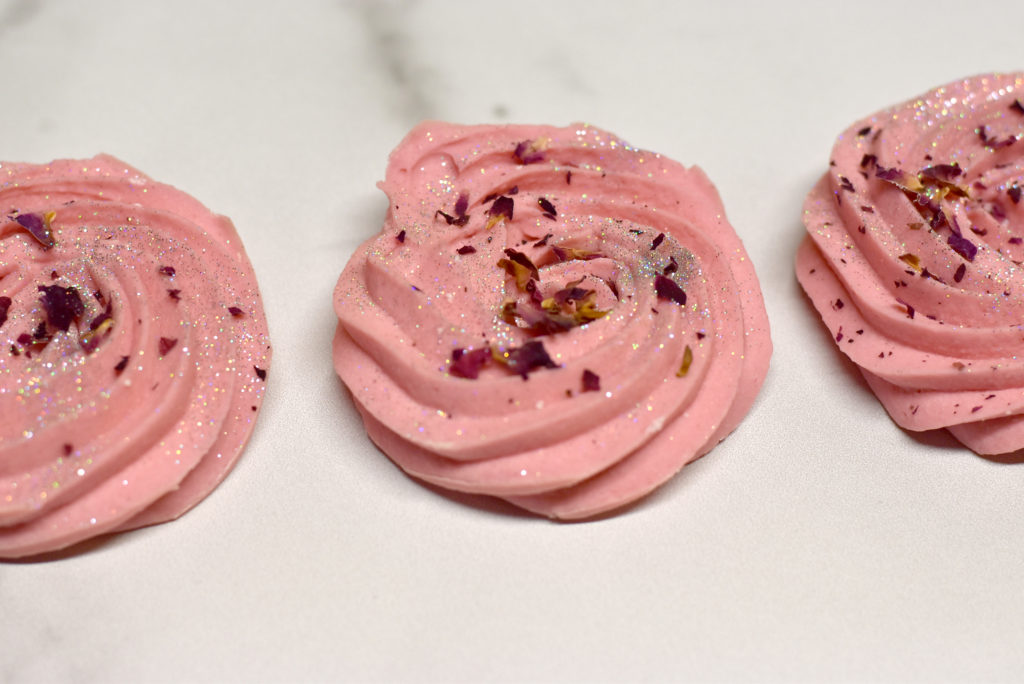
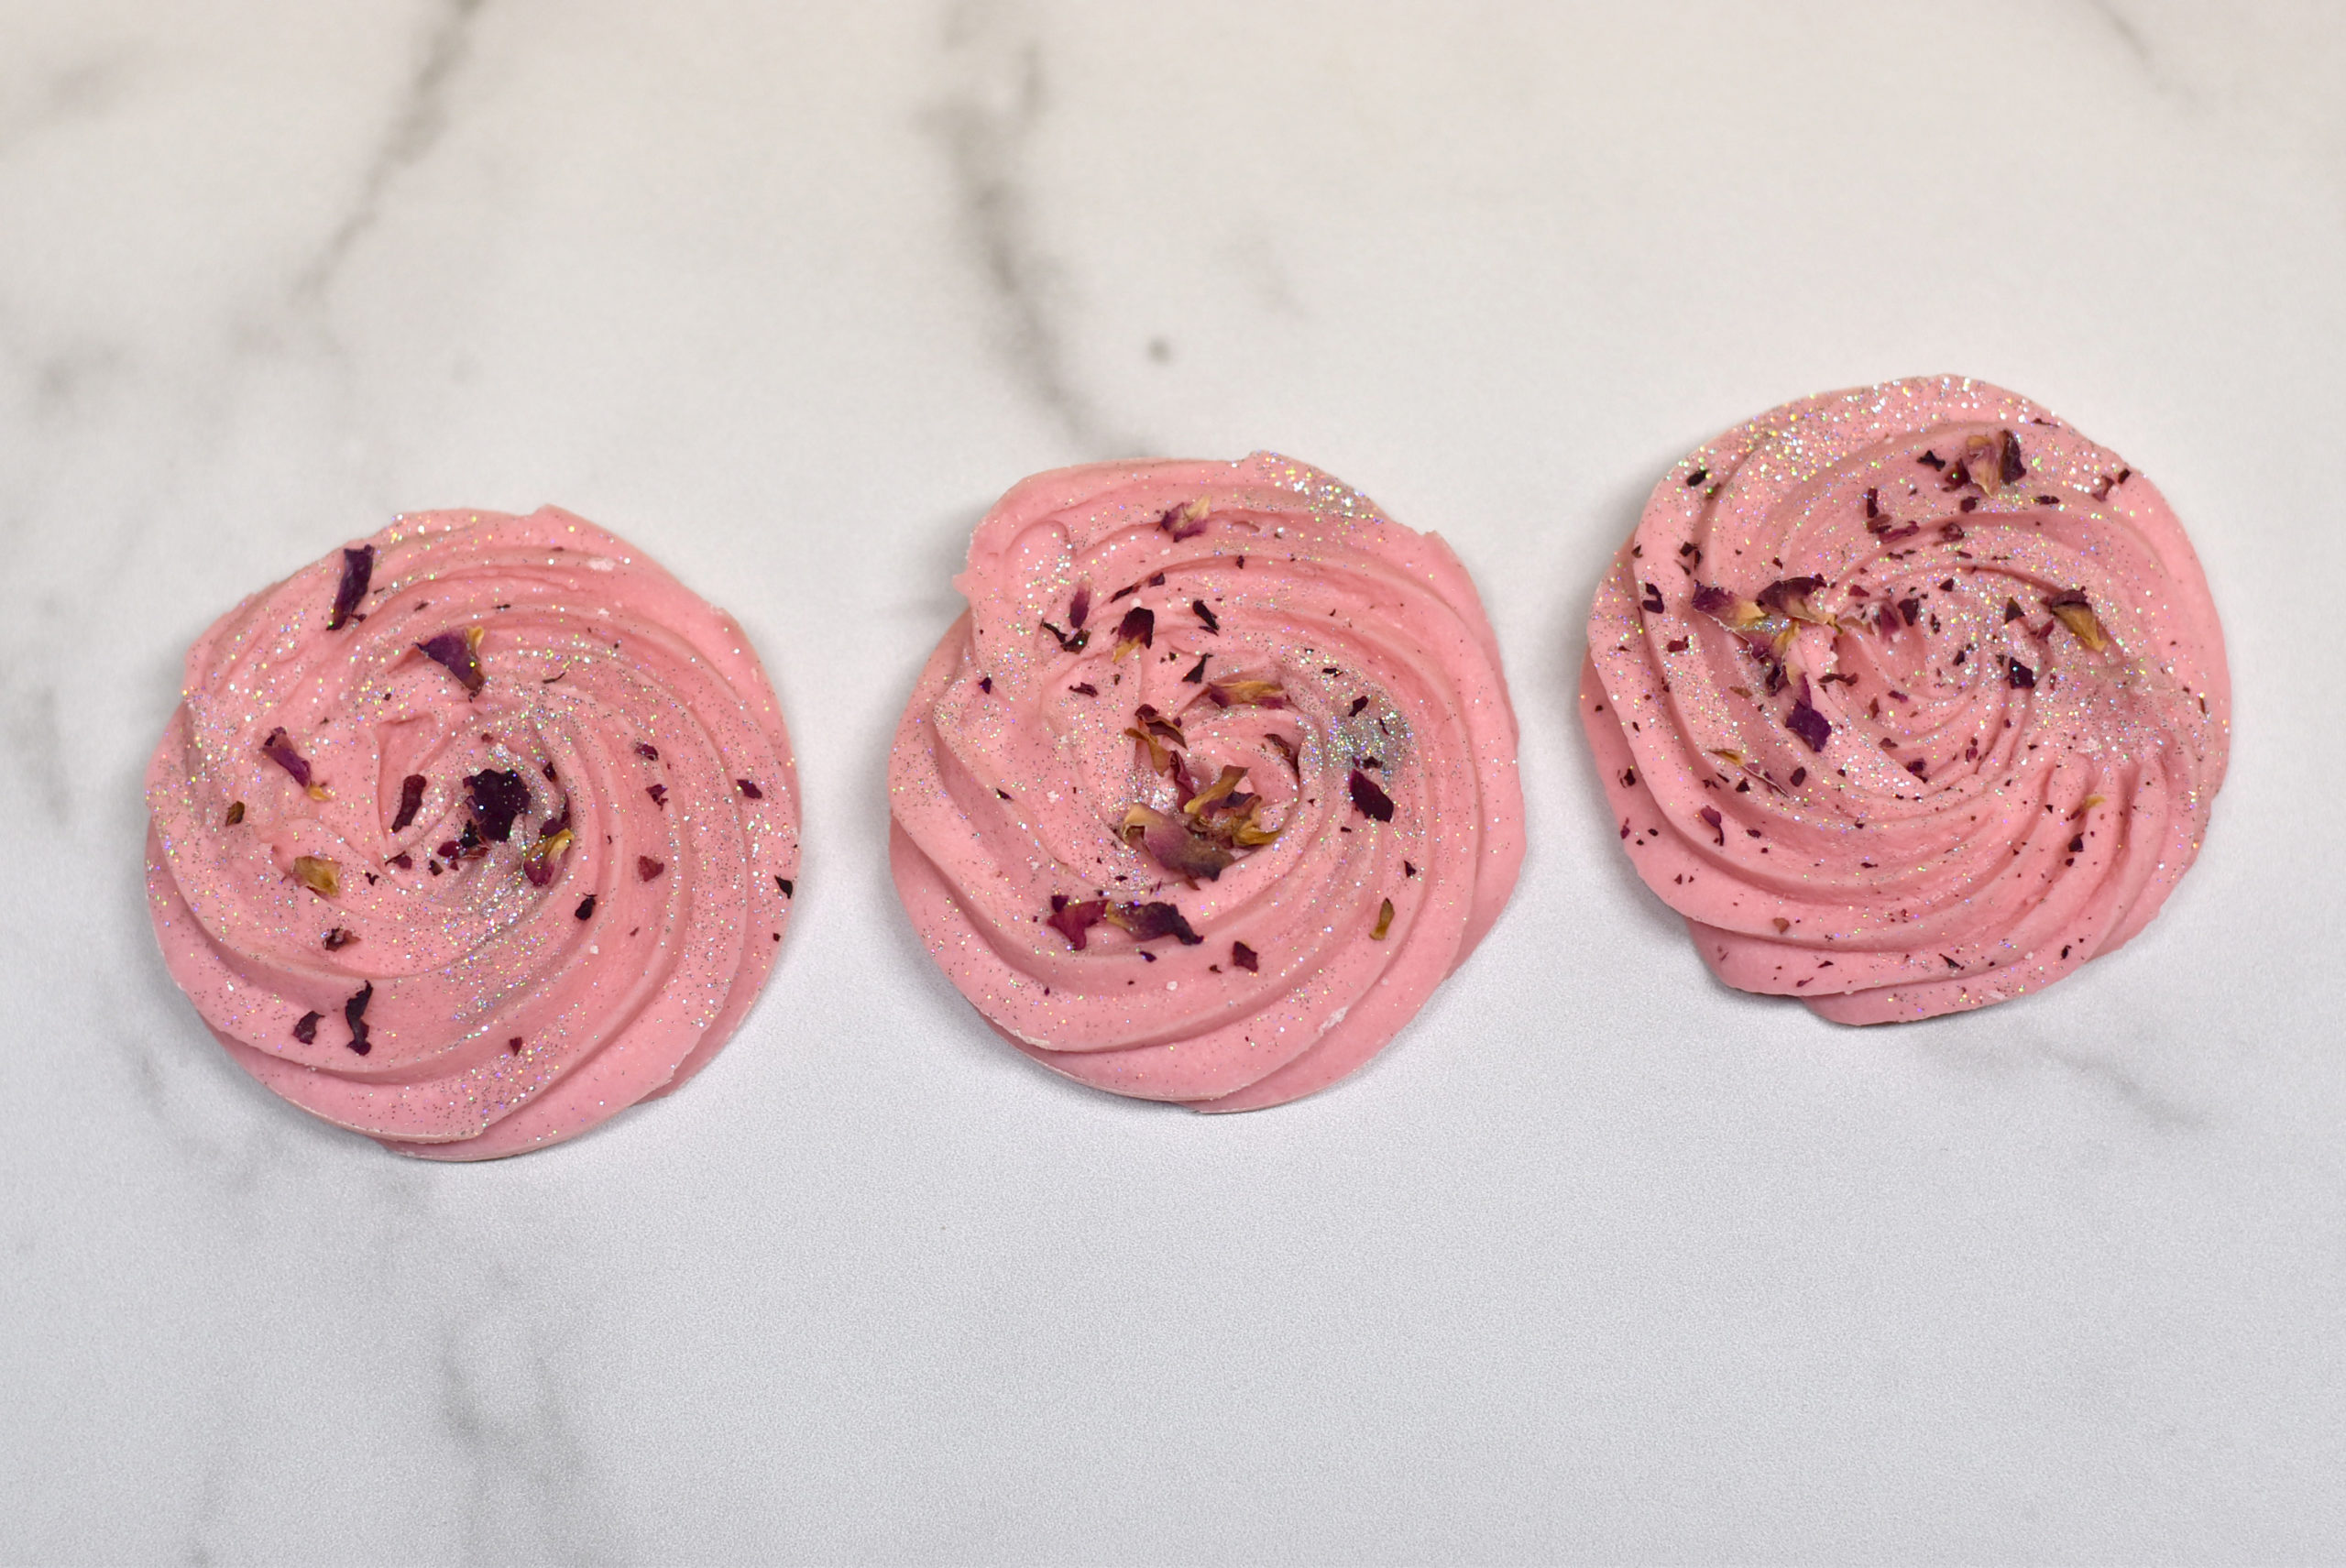
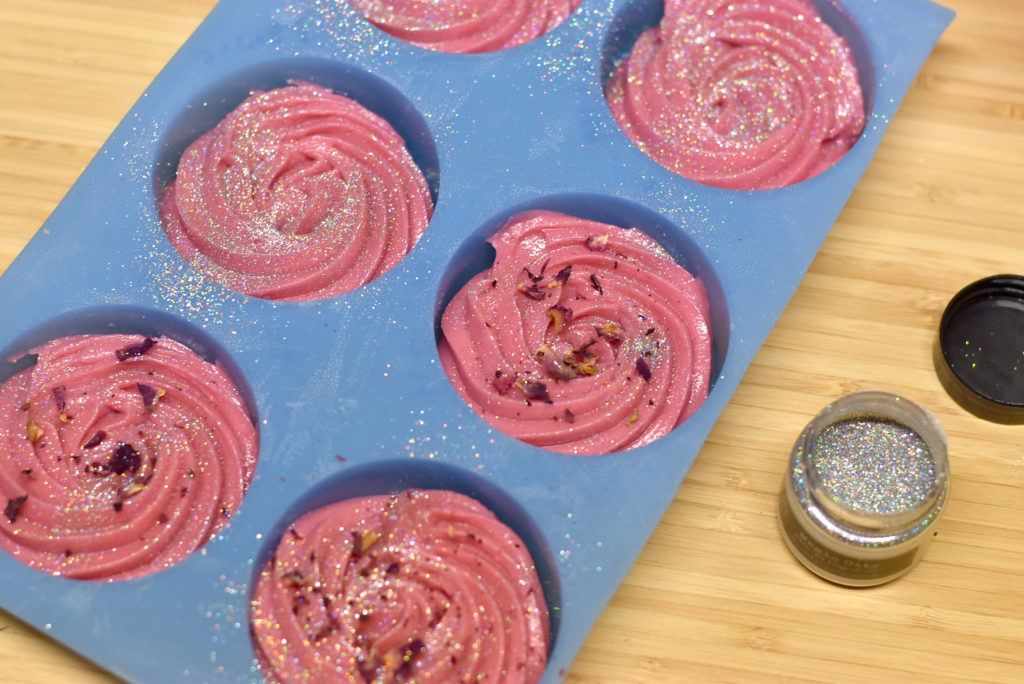
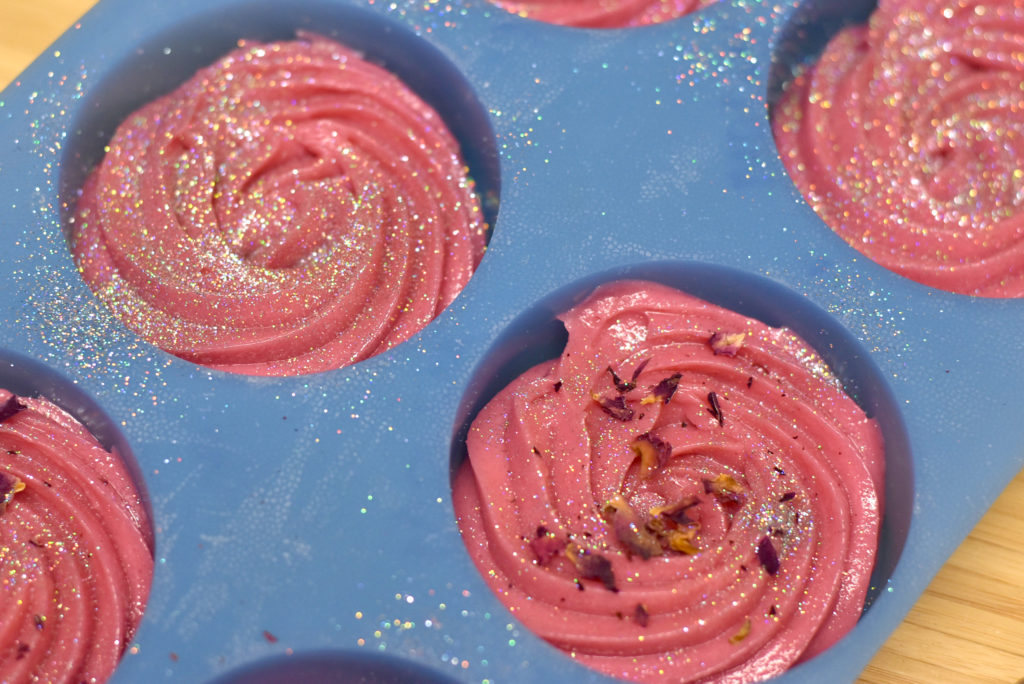
I piped into round individual cavity molds and onto wax paper. I just wanted to see if I had a preference. I did! I like how the soaps piped into the individual cavity molds are all the same size. Simply my preference.
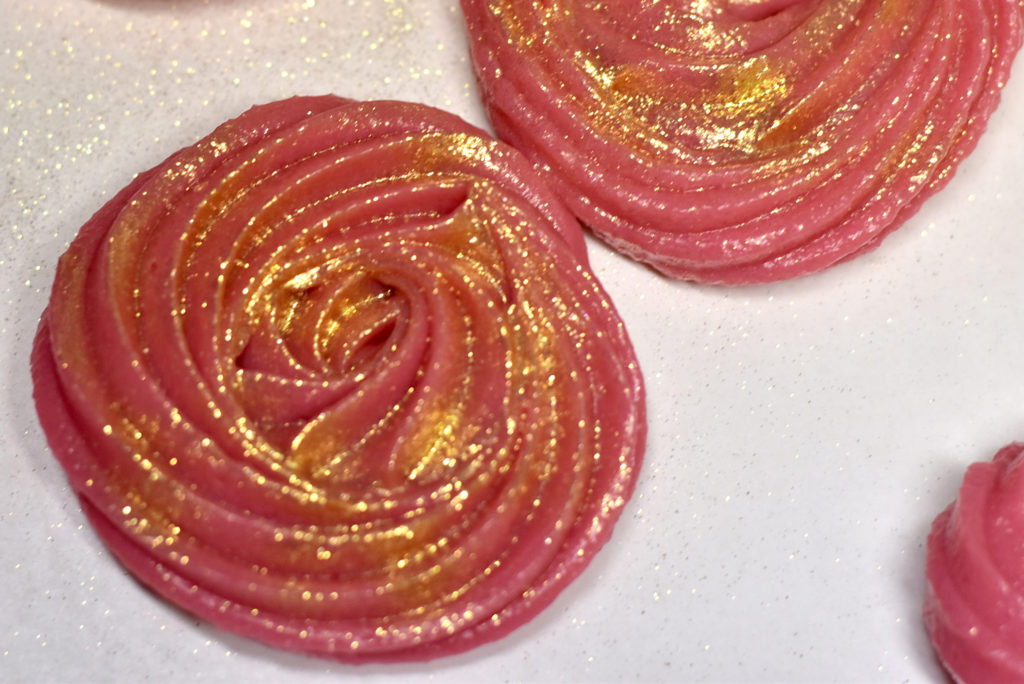
You can leave the soaps plain or decorate with botanicals, glitter or mica spray. I played around with rose petals, gold mica and bio glitter.
These were extremely easy to make and pipe! I hope it inspires you to try piping your salt bars. You can make these or pipe cupcake soap using salt bar soap!
Step 12: Allow your soap to set overnight and unmold the next day (if you piped into a mold!). Cure your salt bars for 4-6 weeks before use.
Happy Soaping!
Amanda Aaron


Any substitute for avacado oil?
I usually add about 1Tbs of Kaolin clay to my soaps. It helps the EOs to stick around longer for me. Can I do the same with any salt bar recipe?