
This soap uses buttermilk powder. Buttermilk gives a soap a creamy lather and a boost of bubbles. If you missed my kefir milk or heavy whipping cream soap posts, be sure to check them out!
To use the buttermilk powder in soap, I simply add it to my melted oils and stickblend to get rid of any clumps. If you want more milk soap recipes, check out Goat Milk Soapmaking.
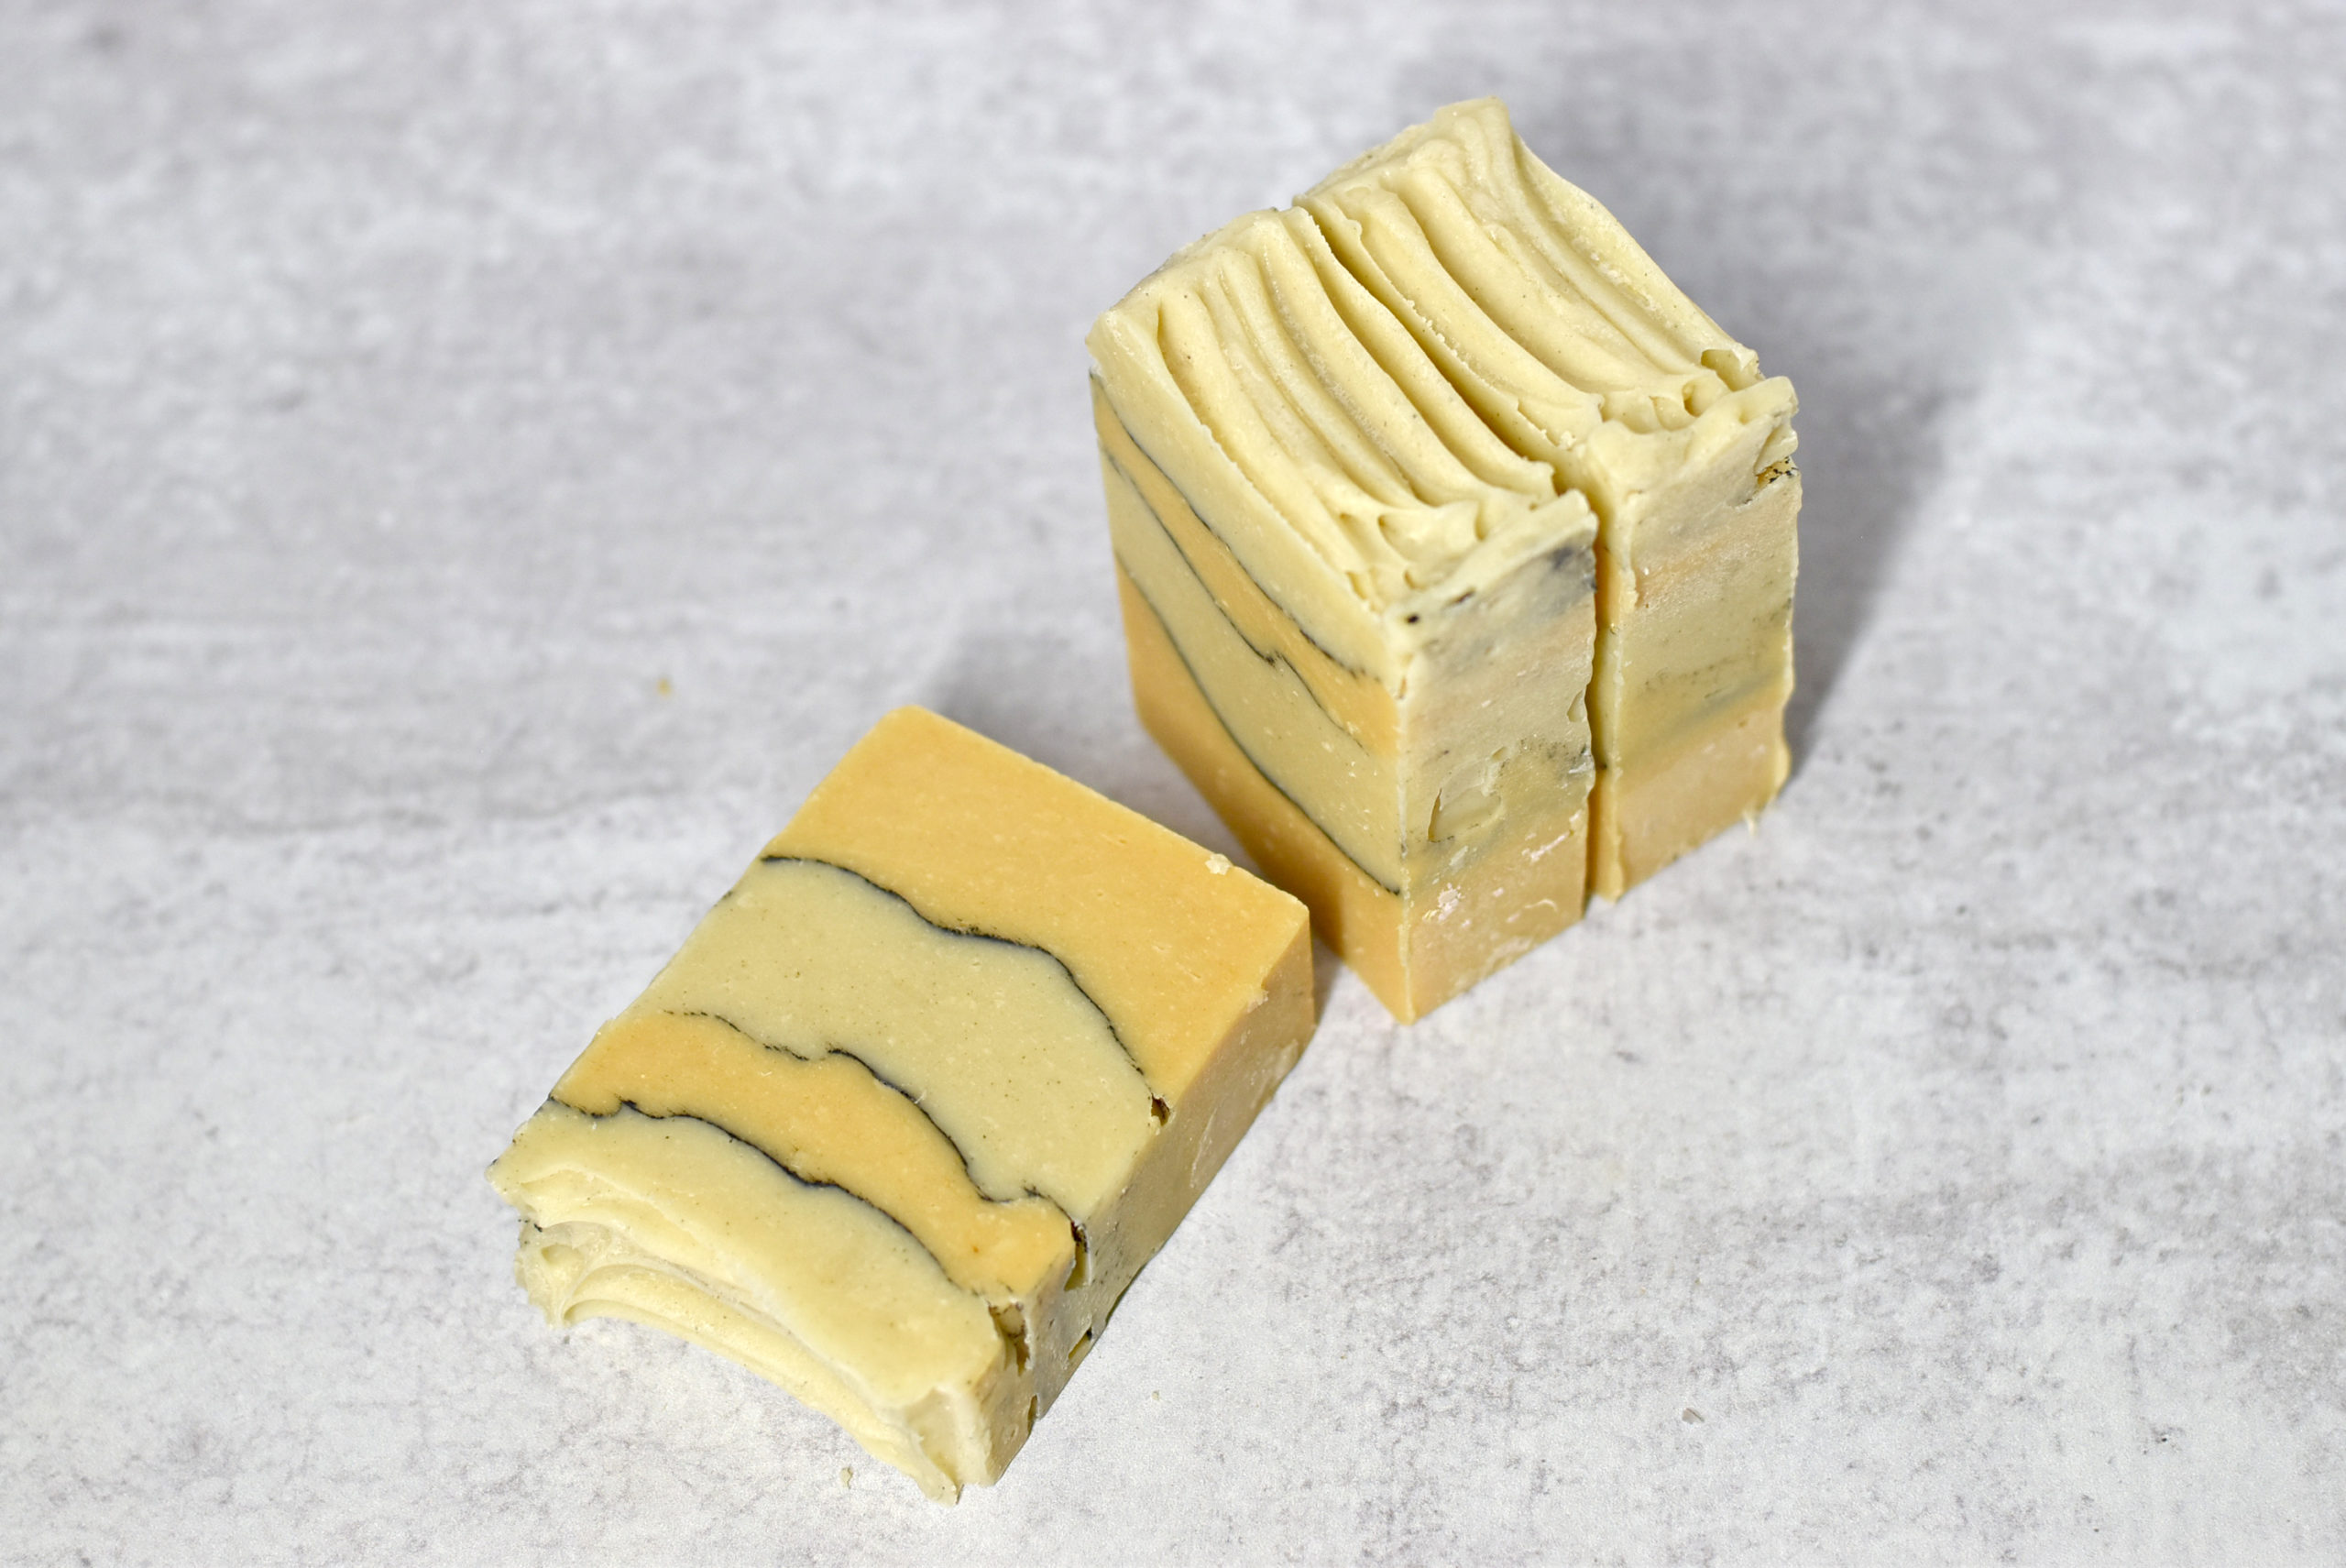
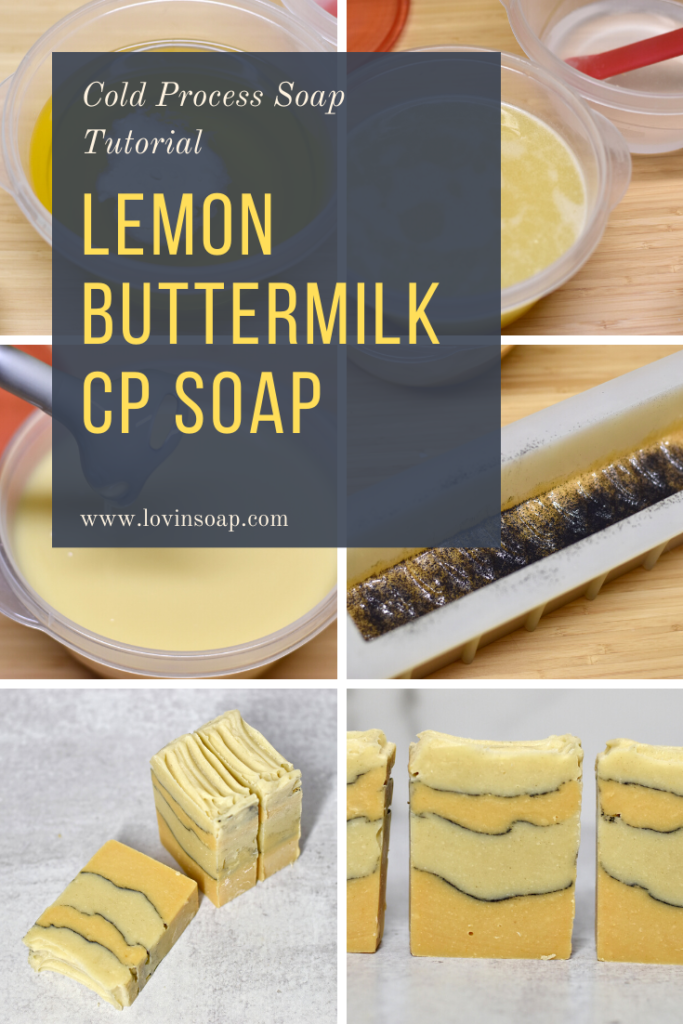
Lemon Buttermilk Soap Recipe
- Coconut Oil – 270 grams
- Shea Butter – 180 grams
- Olive Oil – 315 grams
- Avocado Oil – 100 grams
- Rice Bran Oil – 35 grams
Lye Solution
- Sodium Hydroxide – 126 grams
- Water – 252 grams
Colorants/Additives
- Ground Pumpkin Seed Powder – 1 teaspoon
- Yellow Clay – 1 teaspoon
- Rhassoul Clay – 1 teaspoon
- Buttermilk Powder – 1 tablespoon
- Charcoal Powder
Essential Oil Blend
- Lemon Essential Oil – 20 grams
- Litsea Essential Oil – 10 grams
Safety: Gear up in your goggles and gloves to make soap.
To learn how to prepare your oils and lye solution, please watch our basic video series.
Step 1: Create a lye solution. Weigh the water and lye into two separate containers. Slowly pour the sodium hydroxide into the water while stirring. Stir until completely dissolved and set aside to cool.
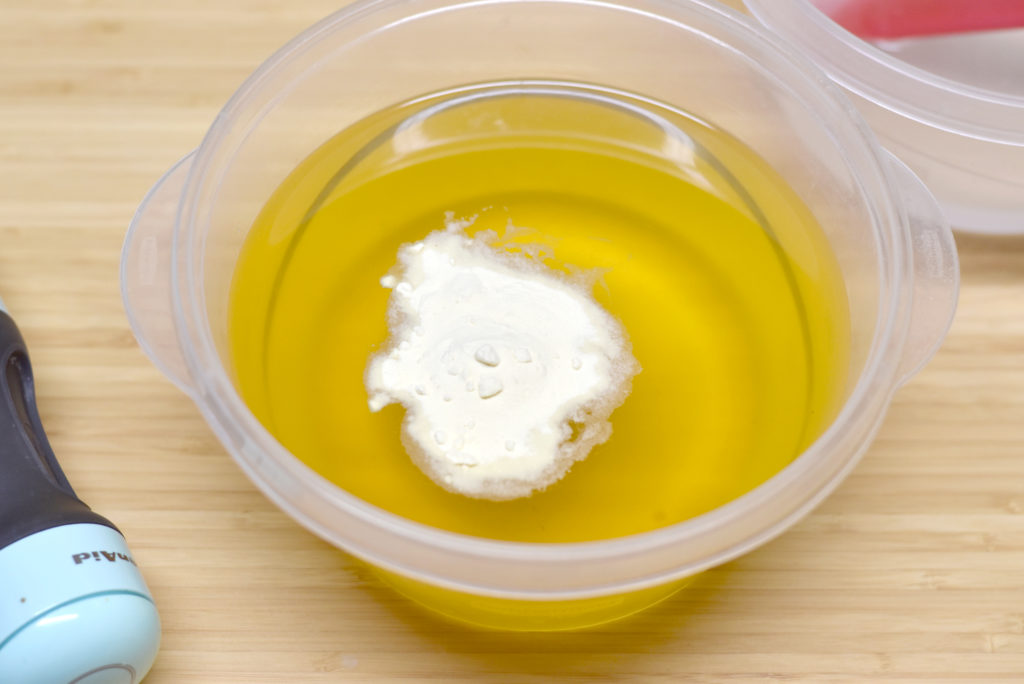
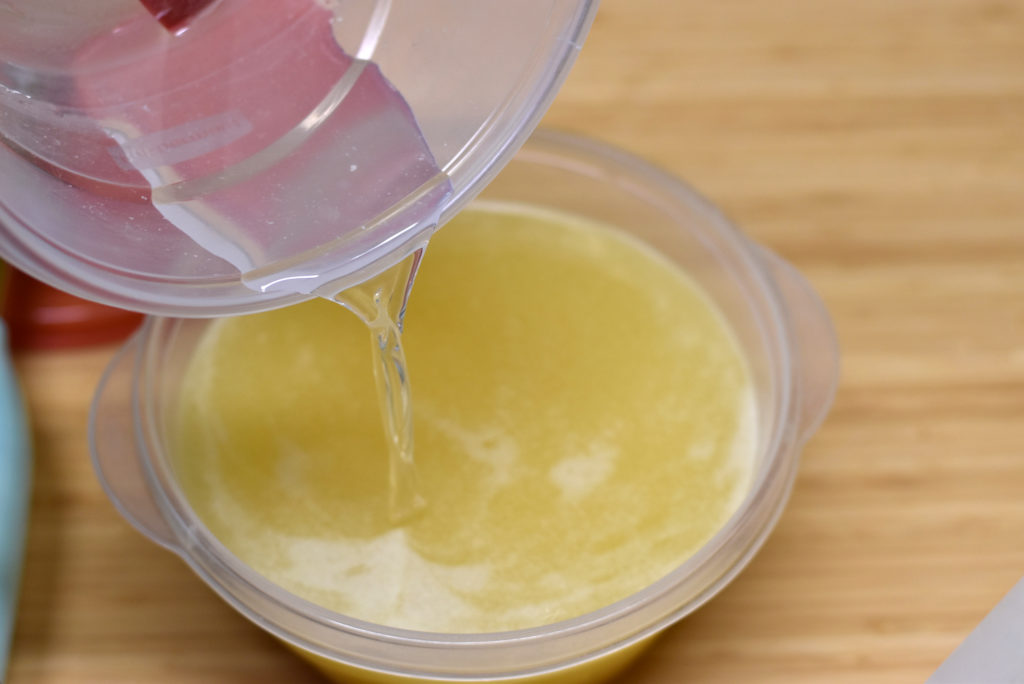
Step 2: Prepare the base oils. First, weigh any solid oils and butters into a container and melt. You can melt using the microwave or low heat on a burner. Next, weigh each liquid oil (if any) into the melted oils.
Step 3: Prepare your molds if needed. I used a 12″ Tall & Skinny Silicone Loaf mold from Bramble Berry.
Step 4: Check the temperatures. You should now have a container containing liquid base oils and a container containing lye solution. Take the temperatures using an infra-red temperature gun. Be sure to stir each mixture before taking the temp. You want your temperatures to be between 80-100 degrees F.
Step 5: Weigh your essential oils into a glass or stainless steel container and add to your prepared base oils.
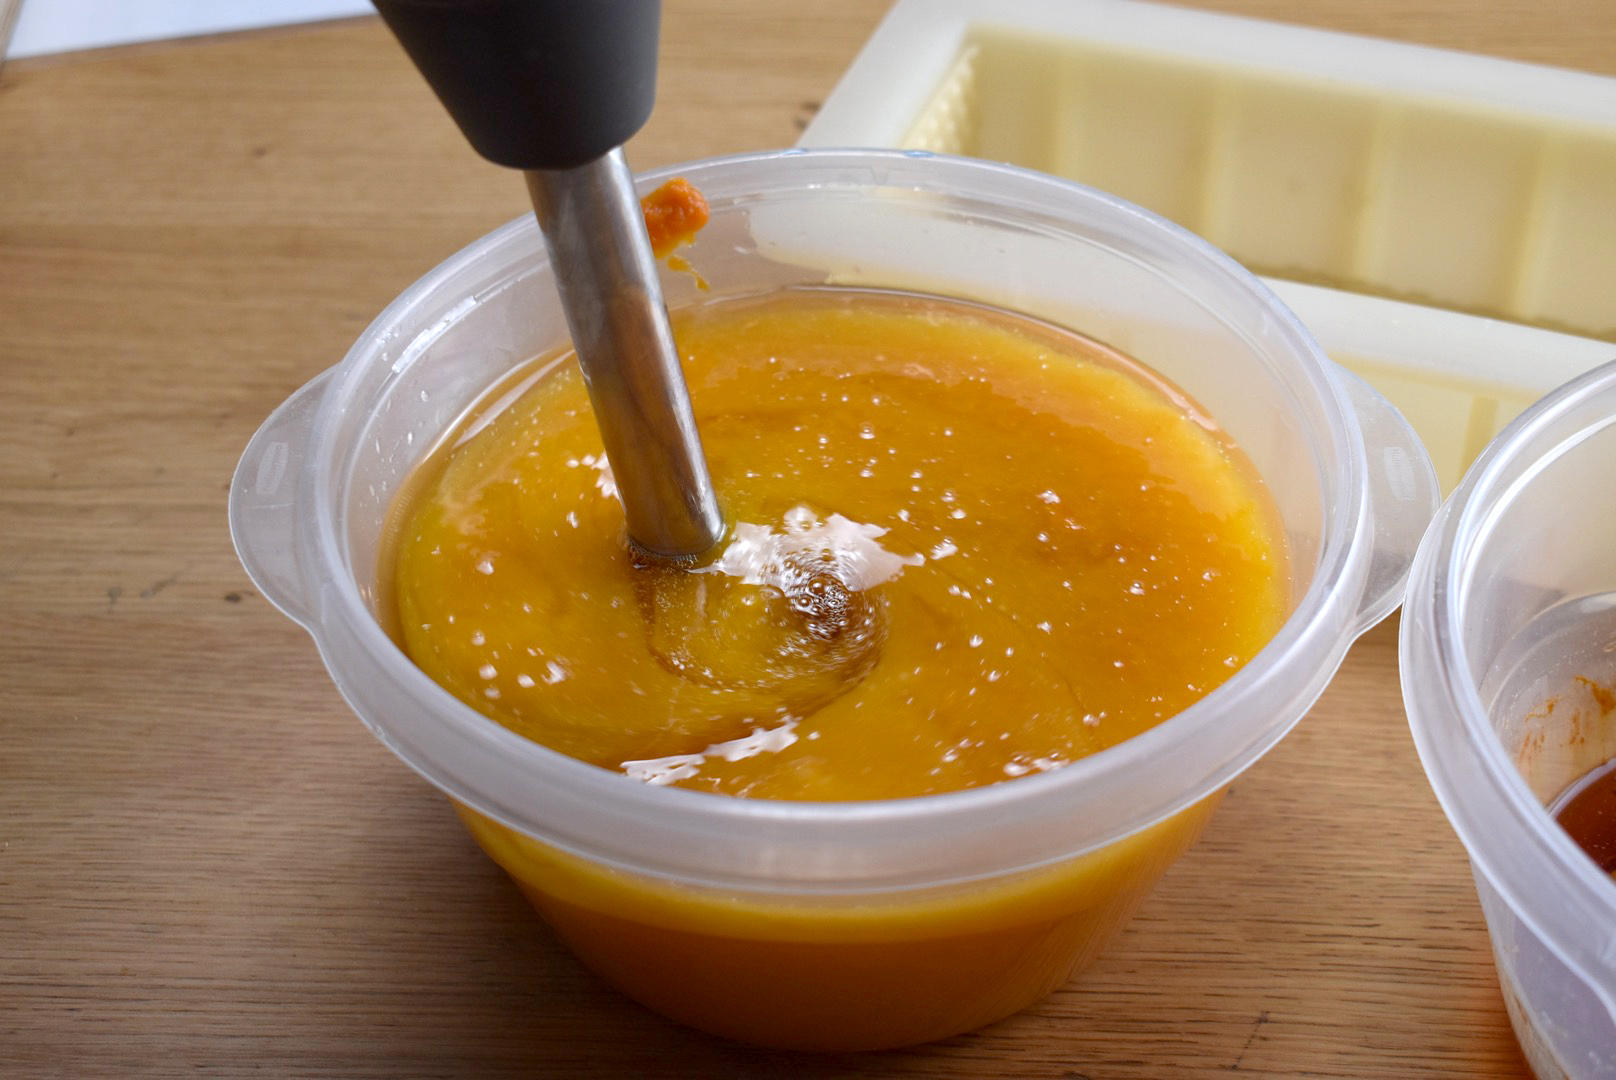
Step 6: Add your buttermilk powder to prepared oils and mix to get rid of any clumps.
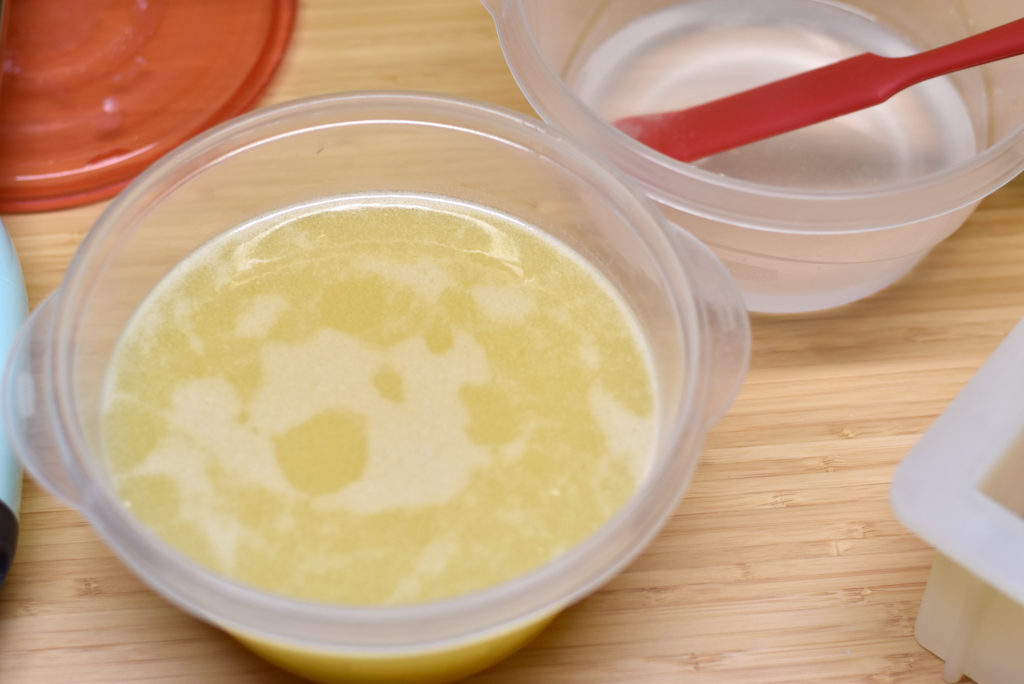
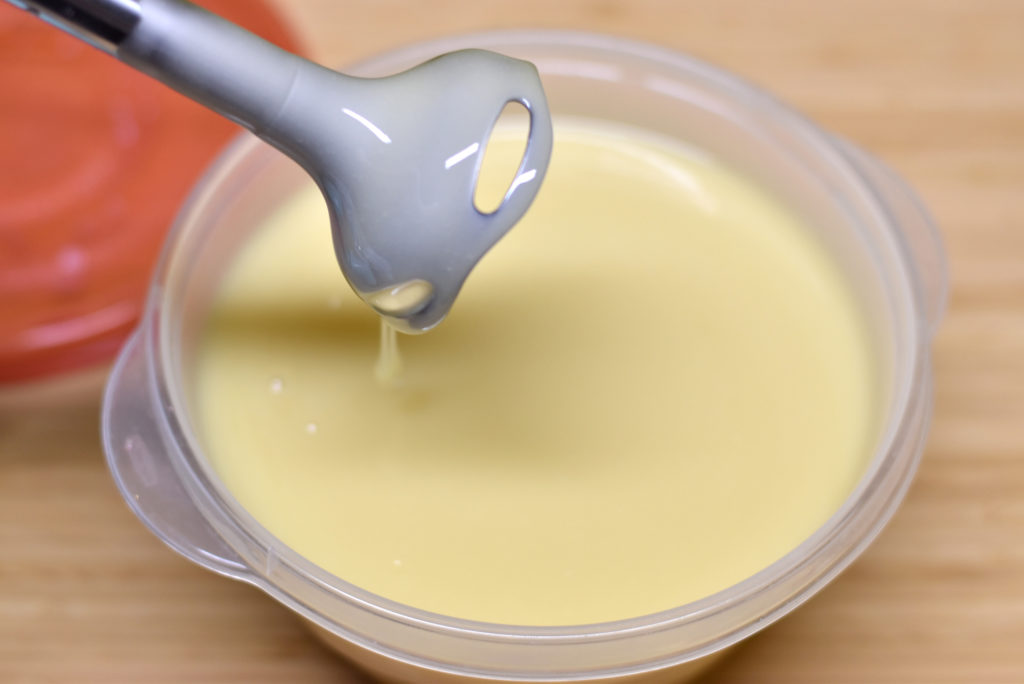
Step 7: Pour your lye solution into prepared base oils and mix to light trace.
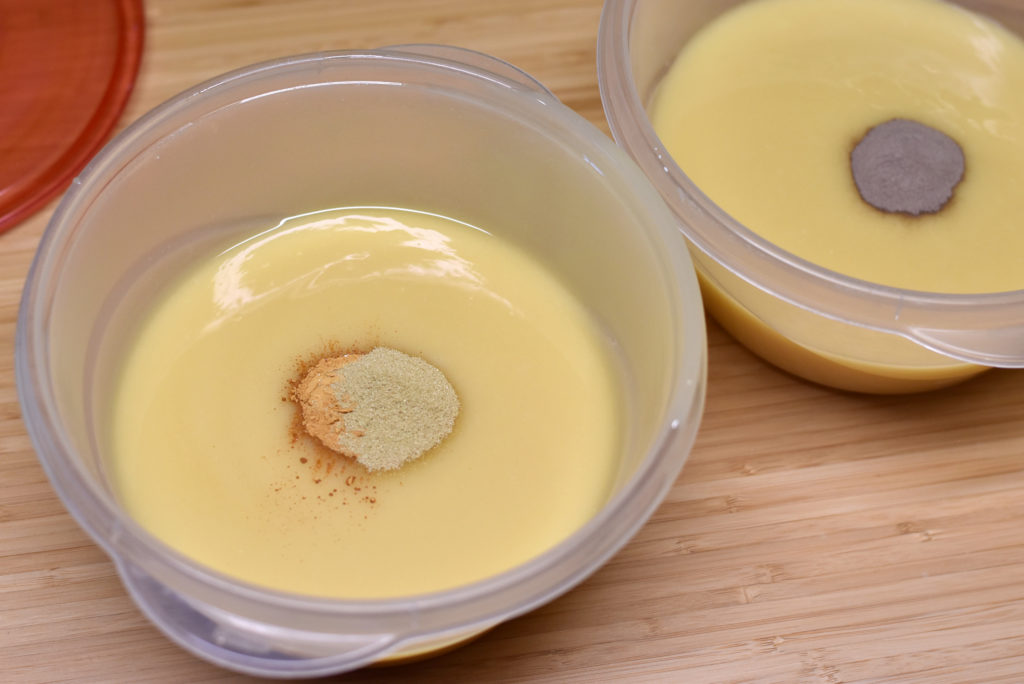
Step 8: Divide your traced soap into two containers.
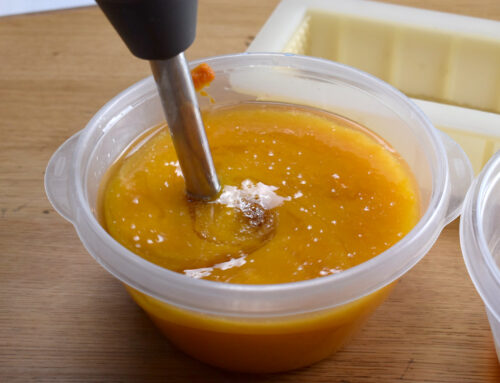
Step 9: Add pumpkin seed powder and yellow clay to one and rhassoul clay to the other.
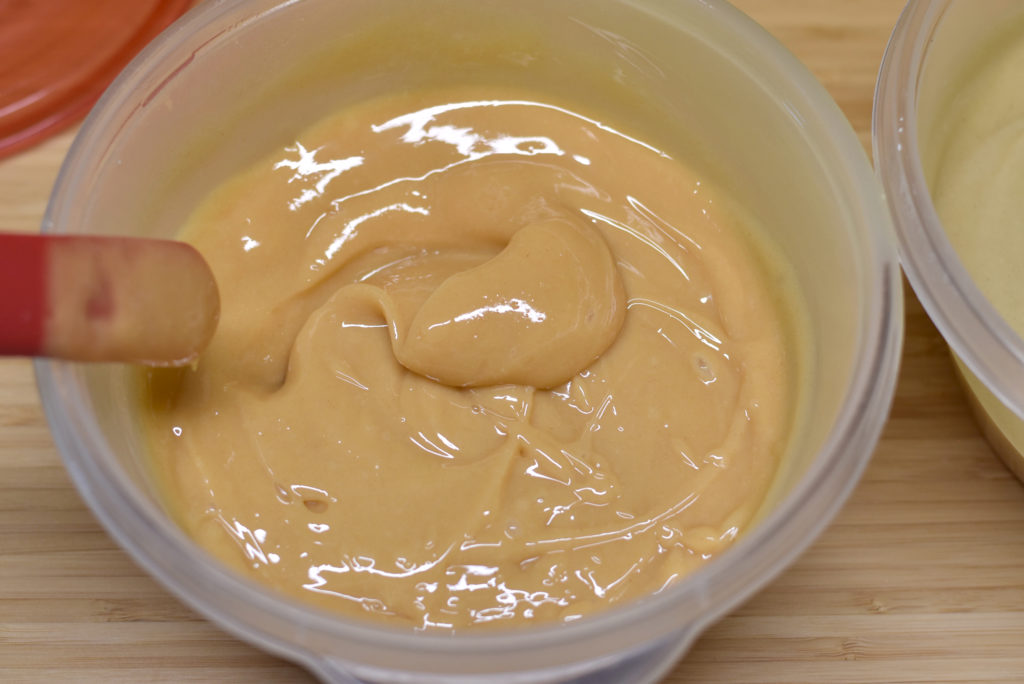
Step 10: Using your stick blender, bring each base to thick trace. If your soap isn’t thick, each layer won’t support the next. Your soap will just swirl together.
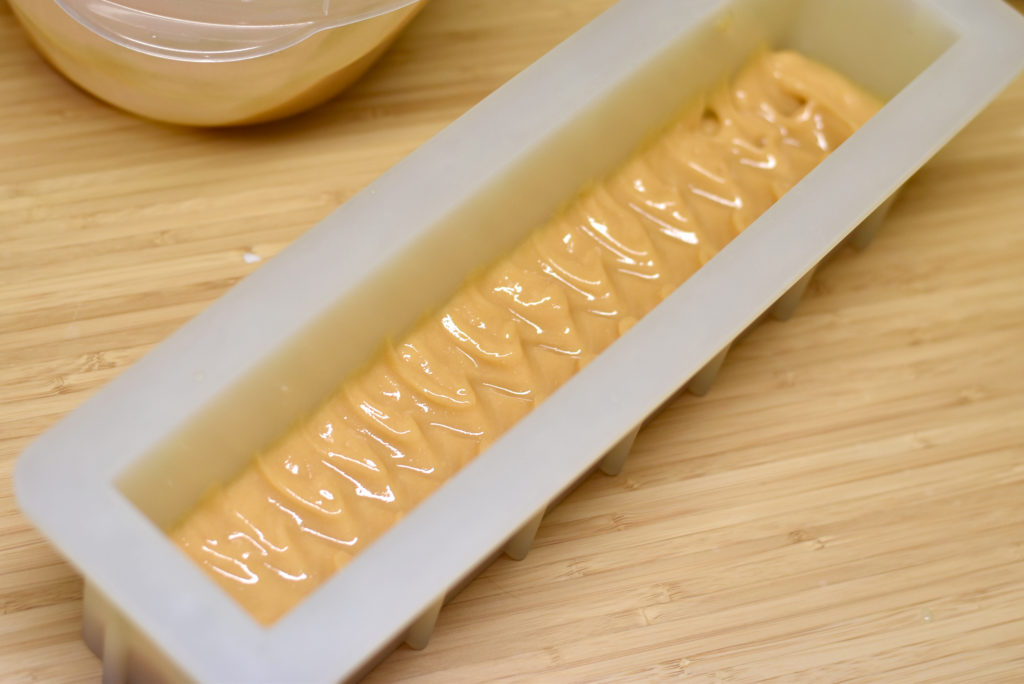
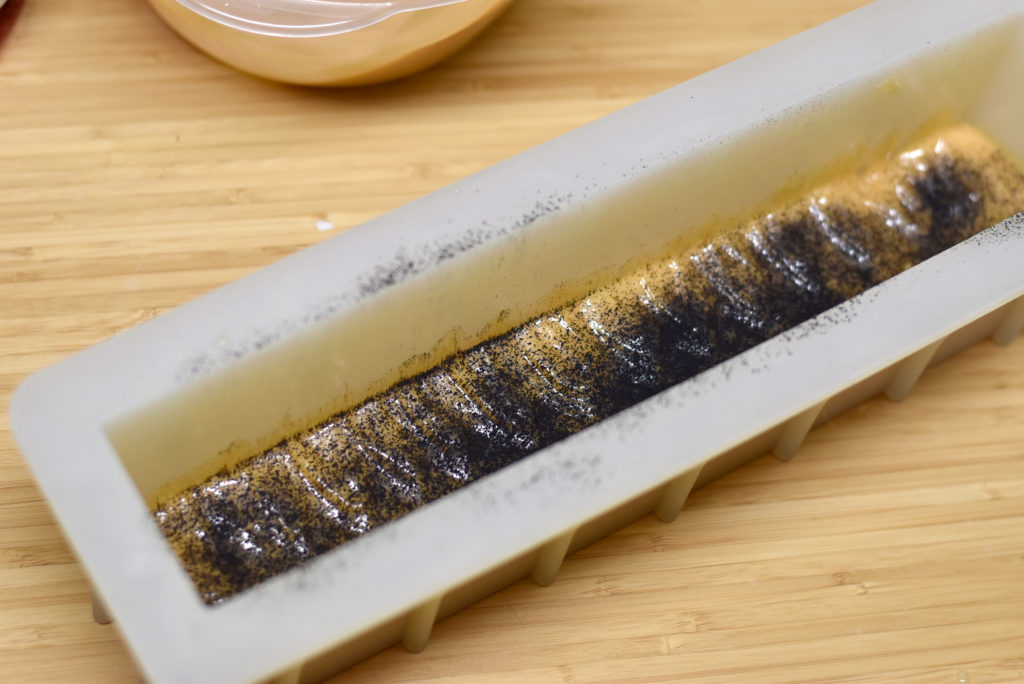
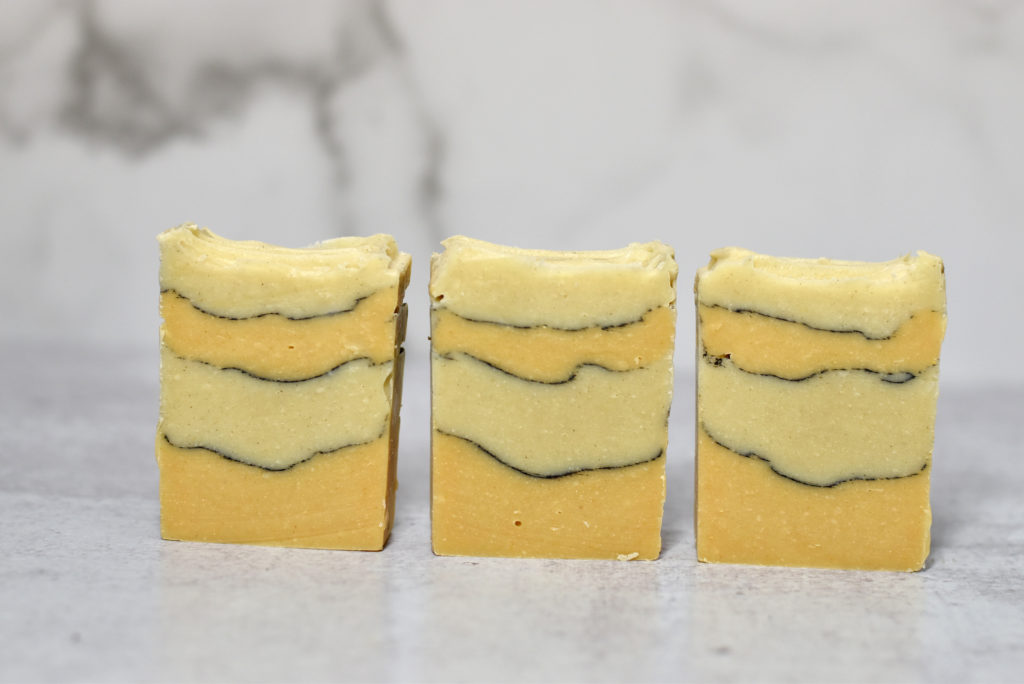
Step 11: Glop half of your first base into your mold and flatten.
Step 12: Dust with charcoal powder. I use a small tea strainer to dust the charcoal on. Don’t overdo it! If you use too much, creating a solid line, your soap might come apart. You want to still see some of your bottom layer through the charcoal dusting.
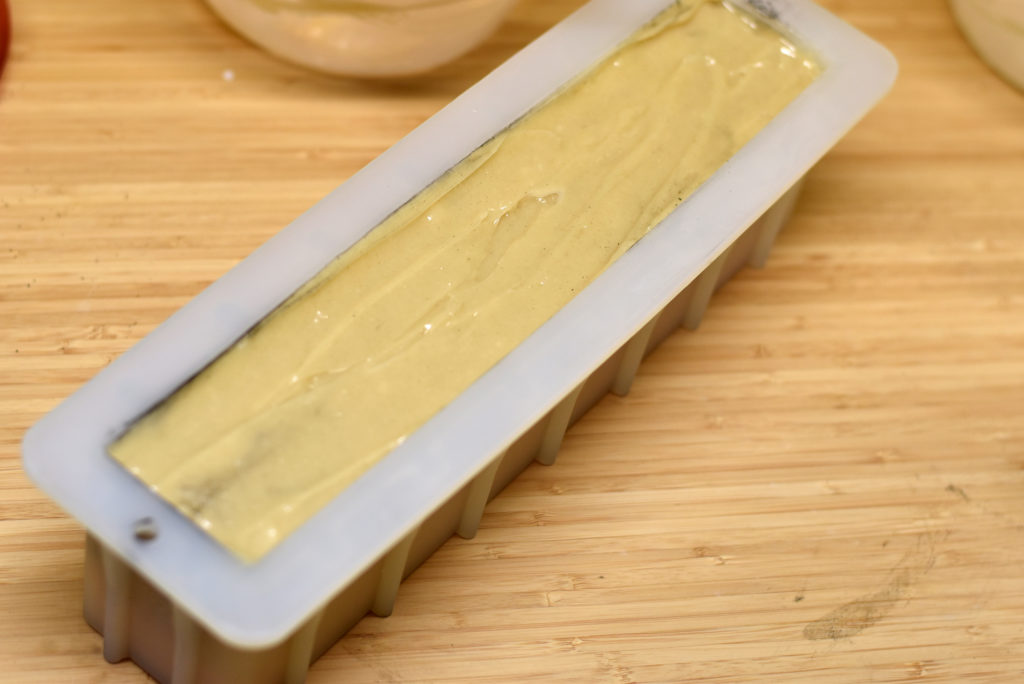
Step 13: Plop on your next layer and flatten as best you can. Dust another charcoal line.
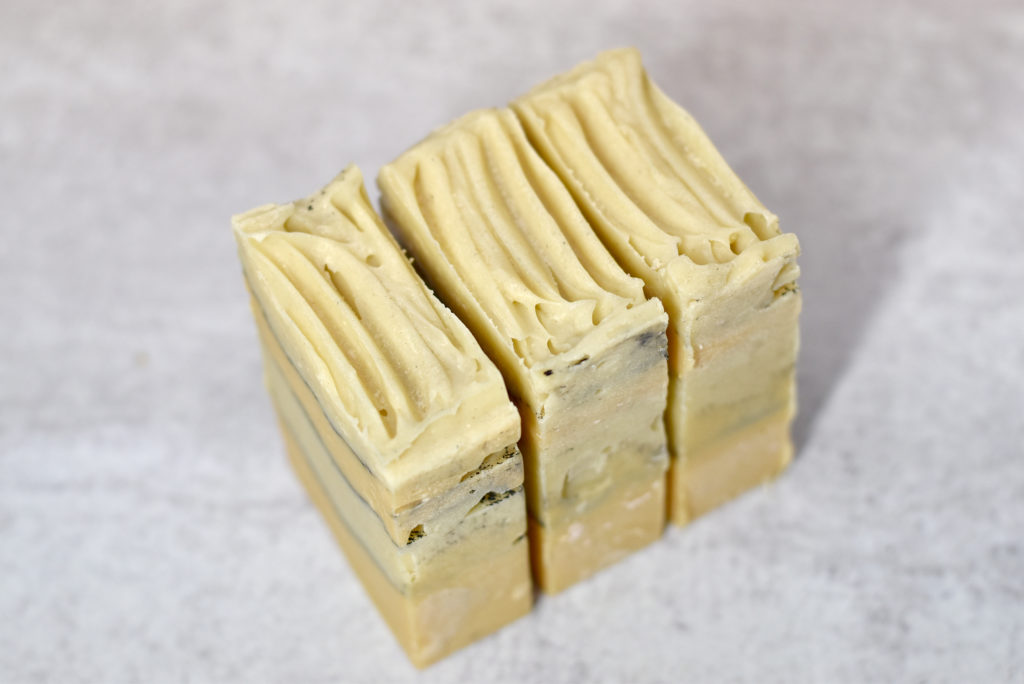
Step 14: Repeat twice more. You should have two layers from each color.
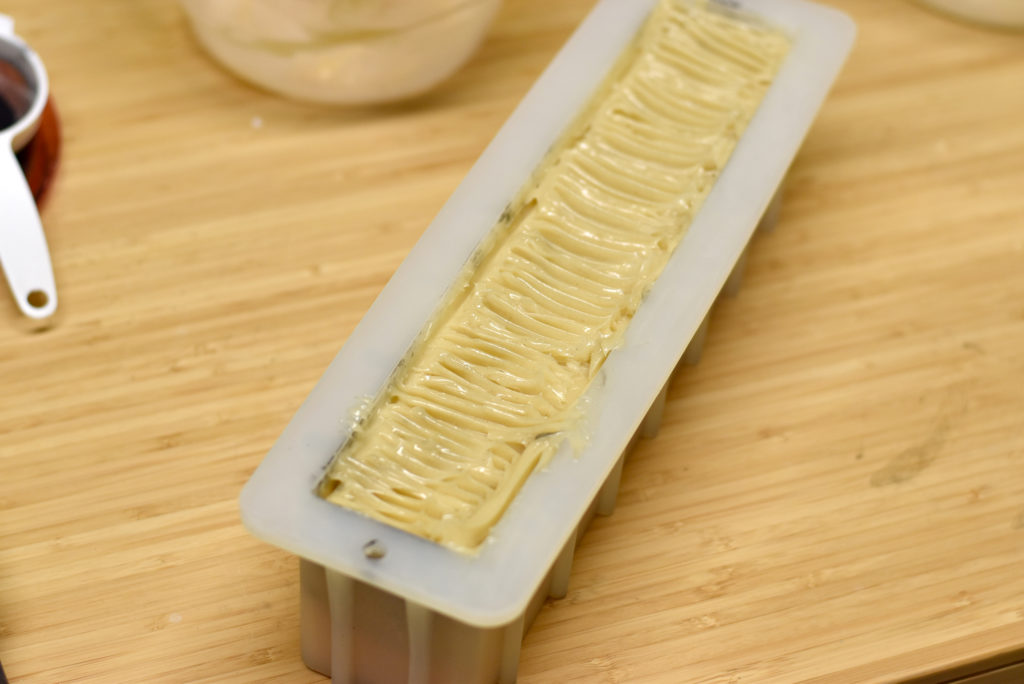
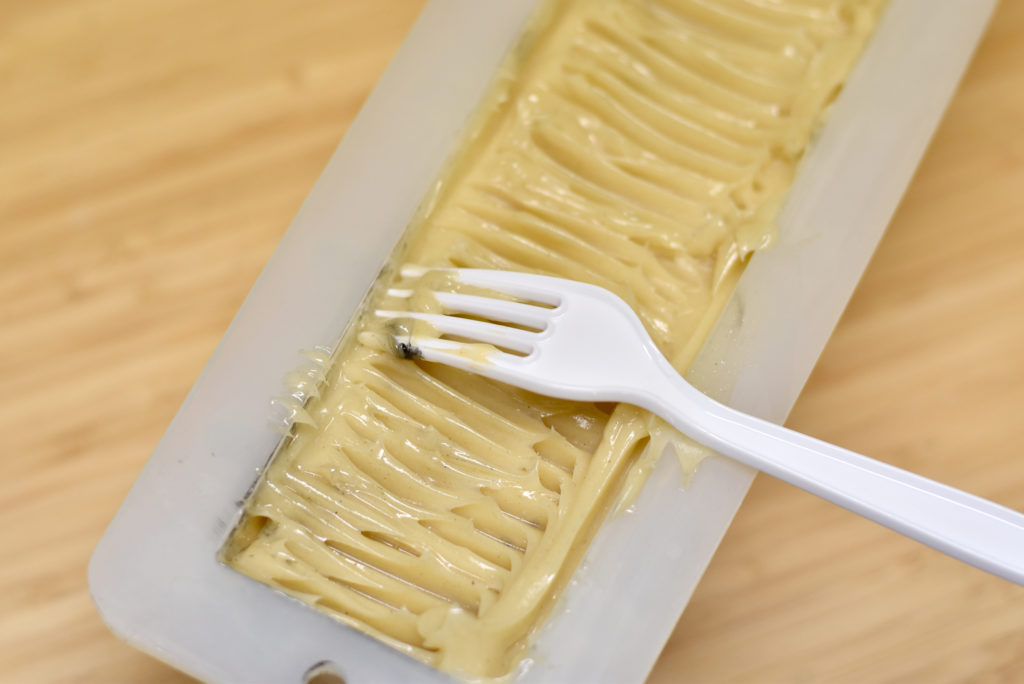
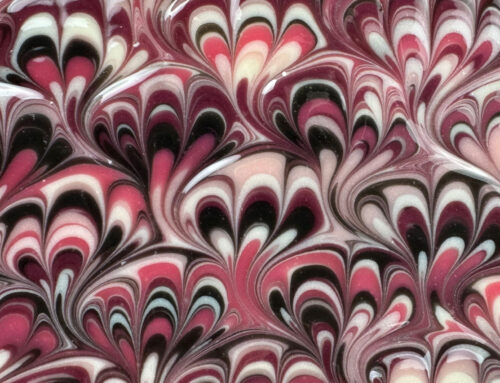
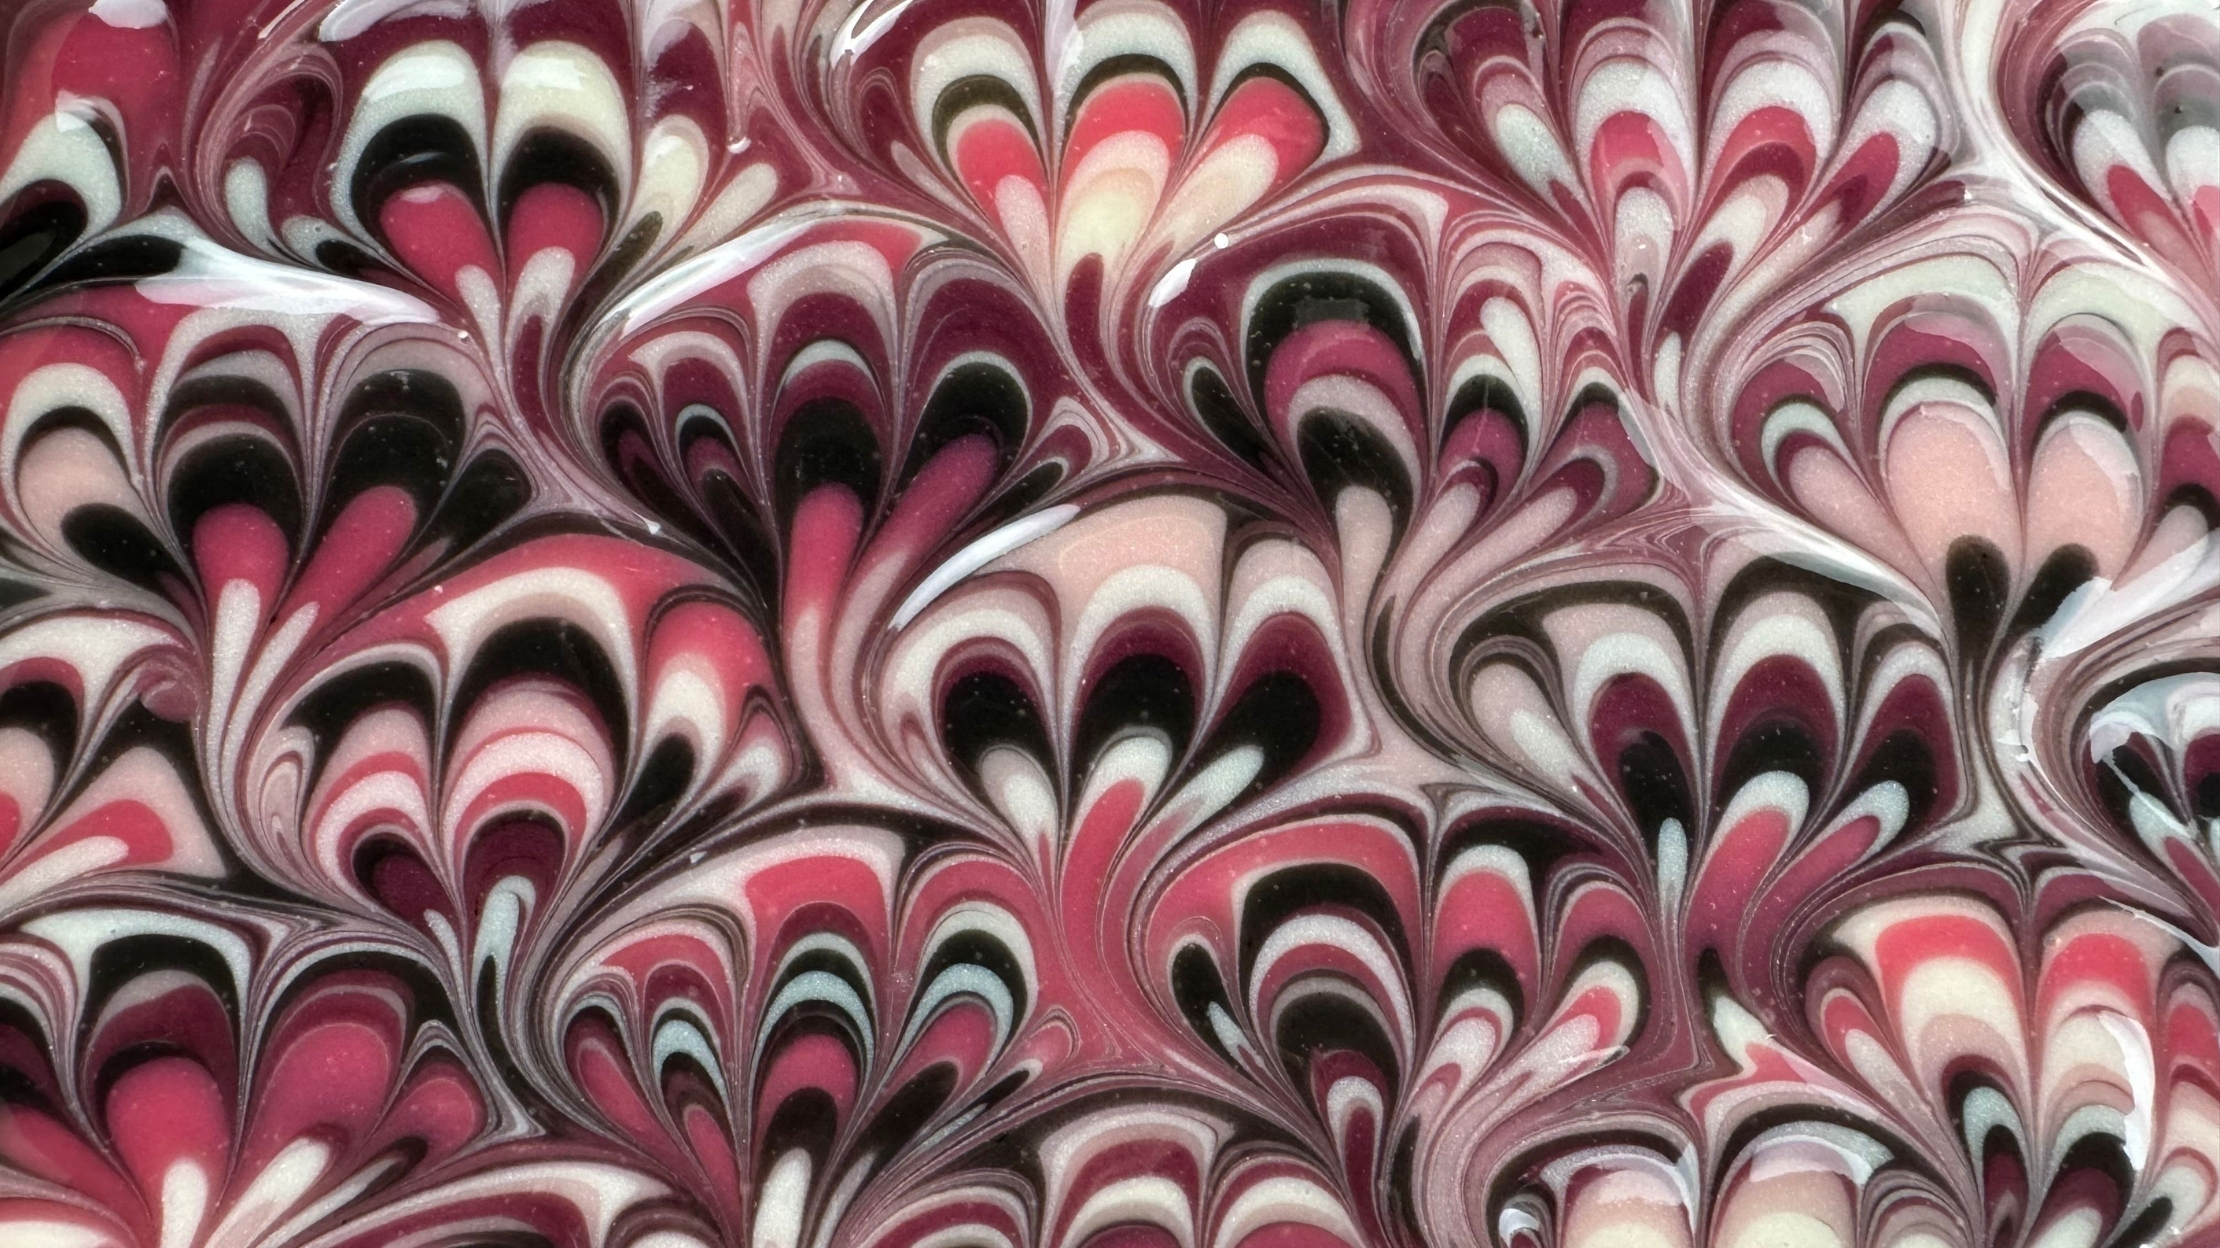
Step 15: To add texture, I used a fork and scraped it across the top of the soap as shown.
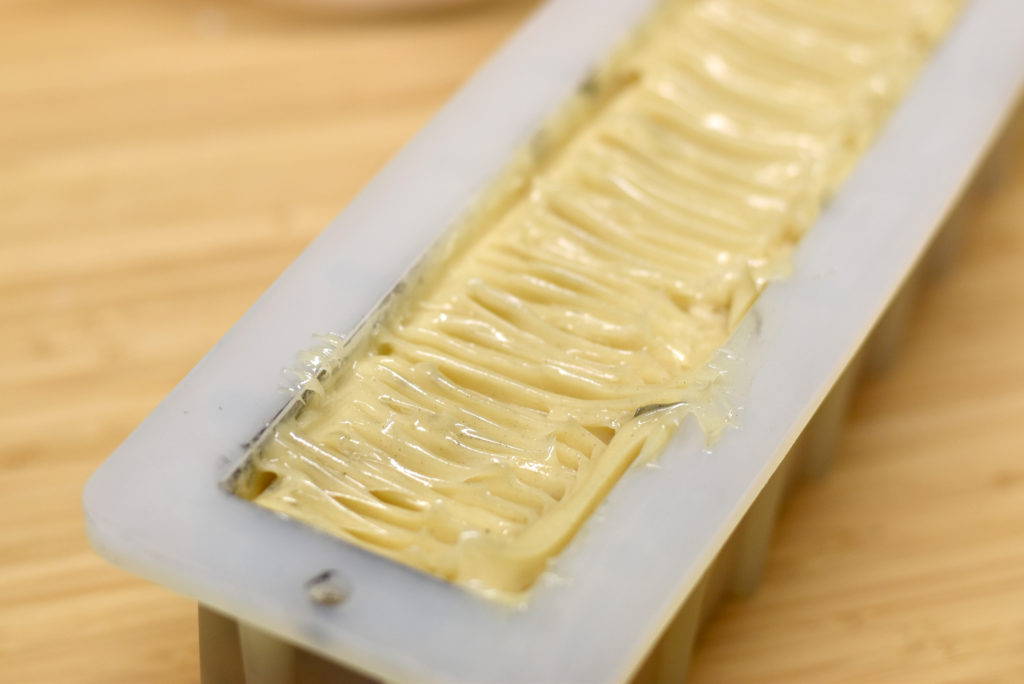
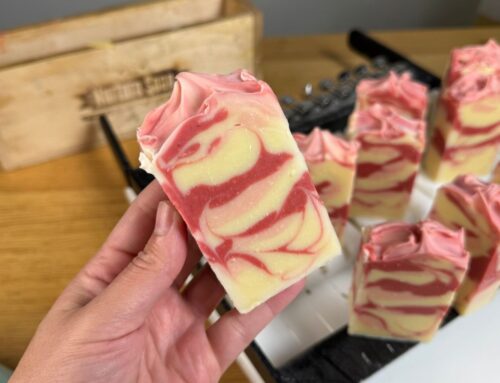
Step 16: Allow your soap to saponify and harden for 24 hours. Unmold and cut!
Step 17: Cure for a minimum of 4-6 weeks.
For more milk soap recipes, be sure to check out Goat Milk Soapmaking!
Happy Soaping!
Amanda Aaron
Please share on Pinterest!


I’m from the Philippines; are there any available ingredients here? Is it online?
Hi! Could I use raw goats milk in place of the water?
Thanks much!
Hello! Your posts and replies are always so on target. So, I have an additional question for ya! I’ve read lately that clays absorb moisture and can be drying. However, I’ve found that the soaps that I make with clay seem to be more moisturizing. Is it me? I’m no youngster, so something moisturizing is necessary. I also use these soaps to shampoo with. They definitely make and keep my hair cleaner – but more moisturized at the same time (and I have curly hair, so that’s important). Could the answer really be that I use tallow at 30%, and that counteracts the absorbent and/or drying nature of the clay?
Thank you so much. Again! I truly appreciate your replies!
Best regards!
Is it possible to substitute Sunflower Seed Oil for the Rice Bran oil? What differences would it bring to the soap? Also, ground Pumpkin Seed powder – where to get that, or what could I substitute? I’m assuming this is used for color?
Thank you!!
Hello! yes, you can use sunflower seed oil…make sure to use high oleic. The soap will feel about the same. I got the pumpkin seed powder from a supplier (can’t remember which one off the top of my head). You can find it on Amazon. Just google “Pumpkin seed powder” and see what pops up. It is used for mostly label appeal. You can omit it or use another additive that you like.
Could I make my own pumpkin seed powder?