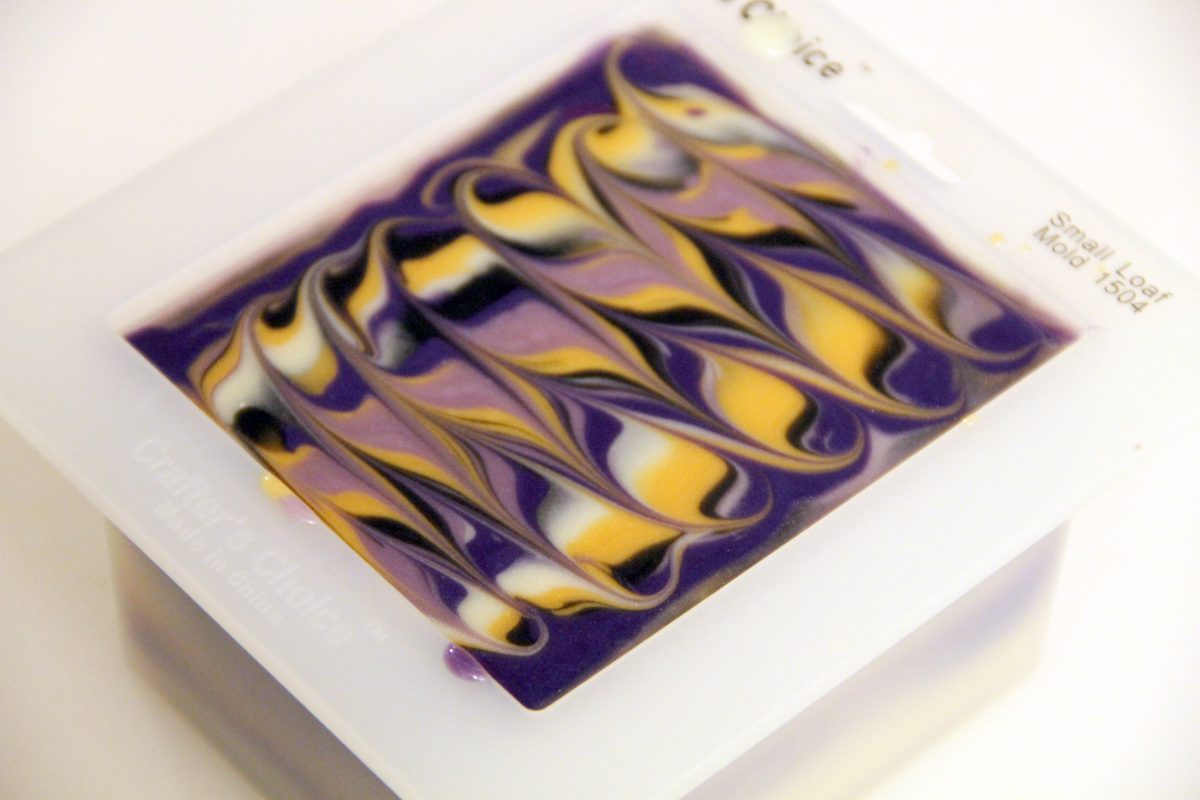
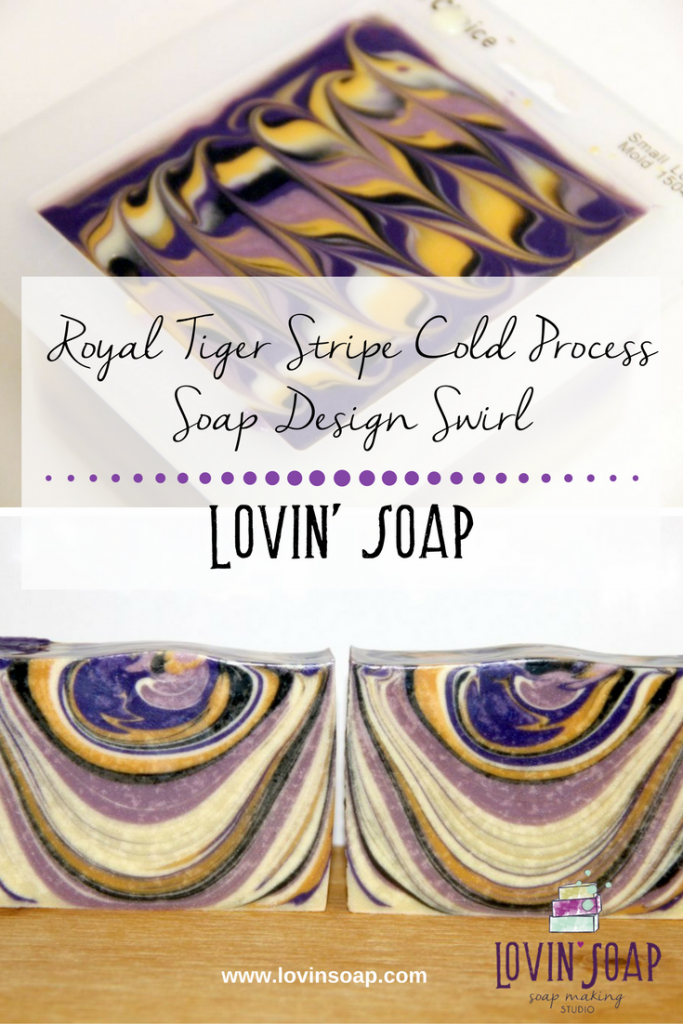
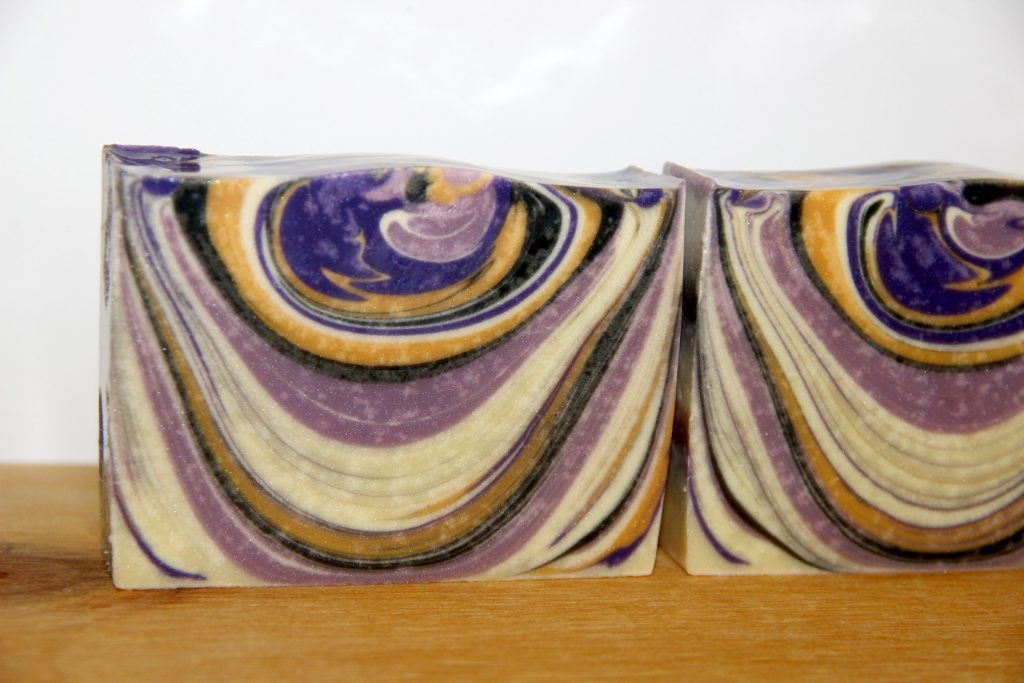
The Tiger Stripe Soap Design is one of my favorite designs to do in soap. It is so simple and even if it thickens up on you, the effect is still stunning! For more tiger stripe soap designs, check out Holly Berry Tiger Stripe, Mermaid Orchid Tiger Stripe, Rainbow Tiger Stripe and Juniper Lemon Yogurt Soap.
Royal Tiger Stripe Cold Process Soap Recipe
1 lb Palm-free Recipe (Fits in short silicone loaf mold from WSP. Perfect for test batches.)
Coconut Oil – 136 grams (30%)
Shea Butter – 45 grams (10%)
Avocado Oil – 45 grams (10%)
Olive Oil – 228 grams (50%)
Sodium Hydroxide – 64 grams
Water – 128 grams
(Colorants from Bramble Berry)
Kings Gold Mica – 1/4 teaspoon
Orchid Mica – 1/4 teaspoon
Lavender Mica – 1/4 teaspoon
White Mica – 1 teaspoon
Charcoal – 1/8 teaspoon
Lavender Essential Oil – 30 grams
2 lb Palm-free Recipe (Fits high in 8″ silicone loaf mold or just under full in 10″ silicone loaf mold.)
Coconut Oil – 272 grams (30%)
Shea Butter – 90 grams (10%)
Avocado Oil – 90 grams (10%)
Olive Oil – 456 grams (50%)
Sodium Hydroxide – 128 grams
Water – 256 grams
(Colorants from Bramble Berry)
Kings Gold Mica – 1/2 teaspoon
Orchid Mica – 1/2 teaspoon
Lavender Mica – 1/2 teaspoon
White Mica – 2 teaspoon
Charcoal – 1/4 teaspoon
Lavender Essential Oil – 60 grams
Safety Warning: This recipe is for soapmakers who have a basic knowledge of the soapmaking process and know the correct safety procedures to use when handling lye. If you are new to soapmaking, visit our beginner instructions. Be sure to wear safety goggles and gloves while soaping.
Step 1 – Create your lye solution. Weigh out the water and sodium hydroxide into separate containers.
Step 2 – In a well-ventilated area, sprinkle the sodium hydroxide into your water while stirring slowly. Stir until dissolved and set aside to cool.
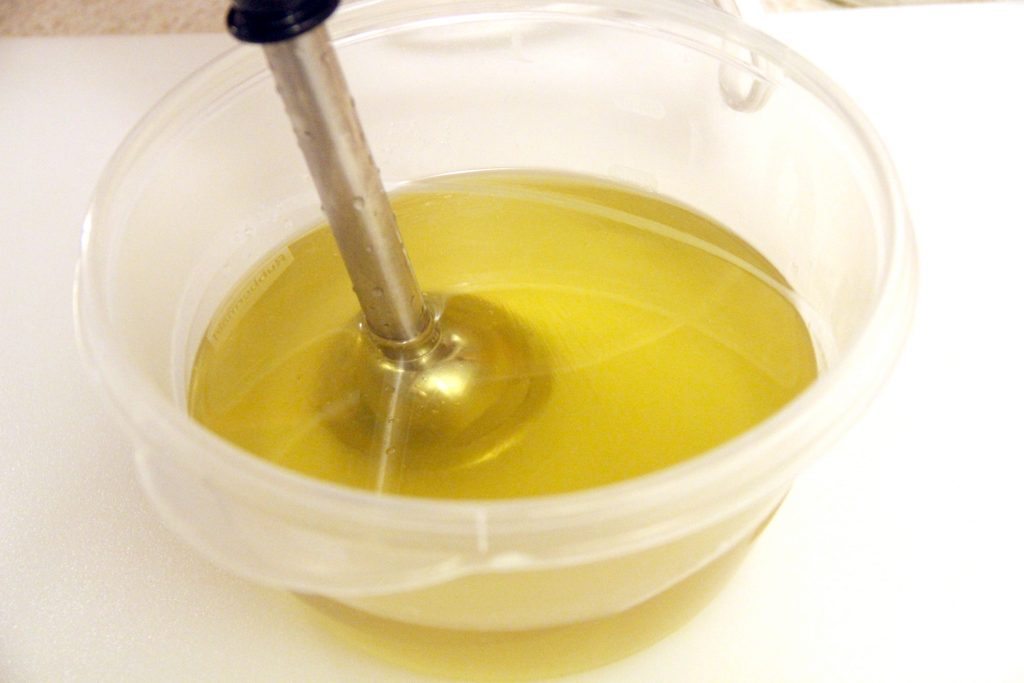
Step 3 – Weigh out the coconut oil and Shea butter and melt, just until melted.
Step 4 – Weigh the liquid oils and add to the melted oils.
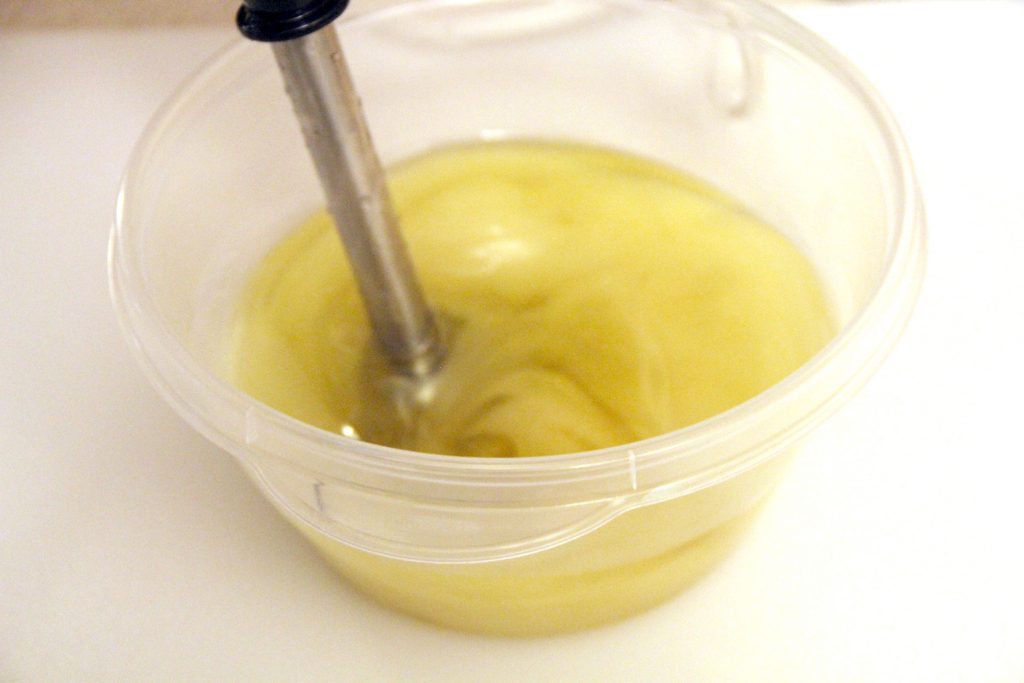
Step 6 – Pour the lye solution into oils and bring to light trace.
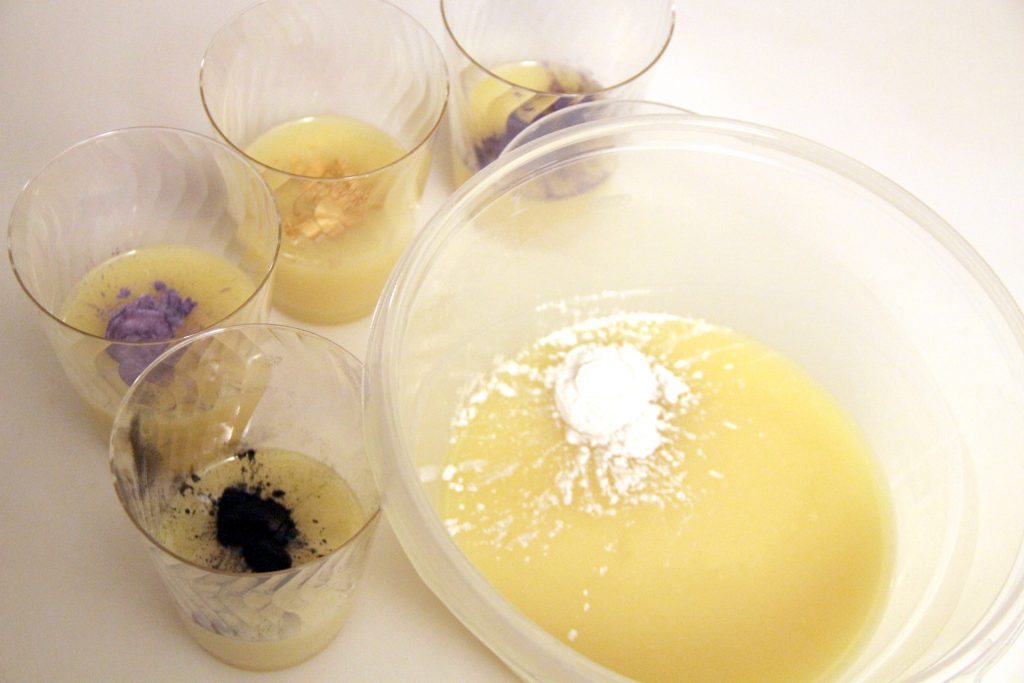
Step 7 – Divide the mixture evenly into containers. Color each one with a different mica.
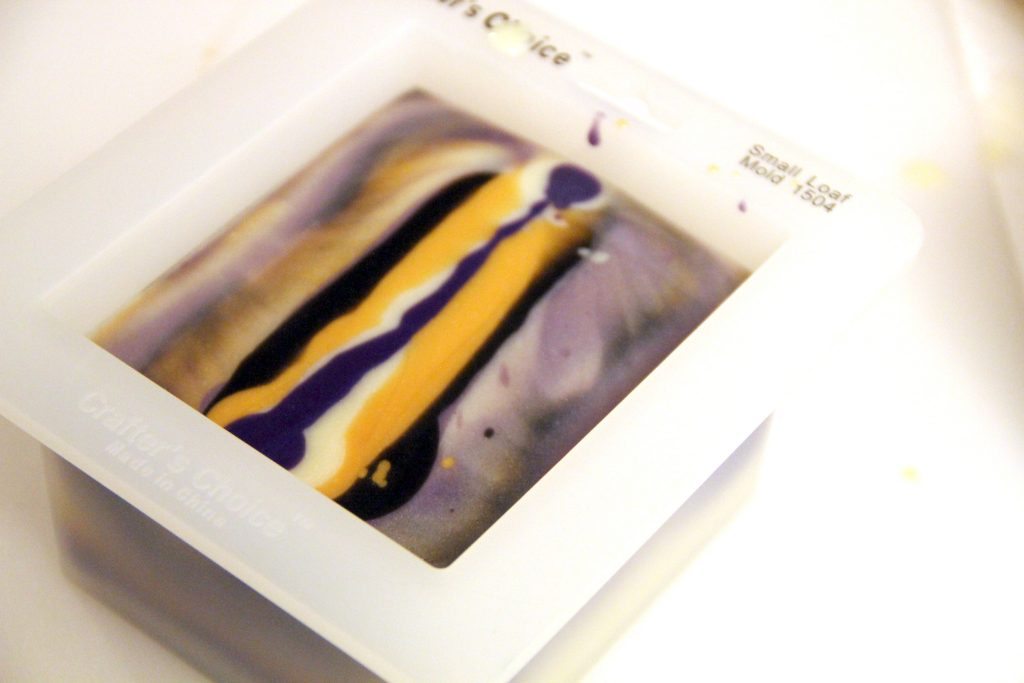
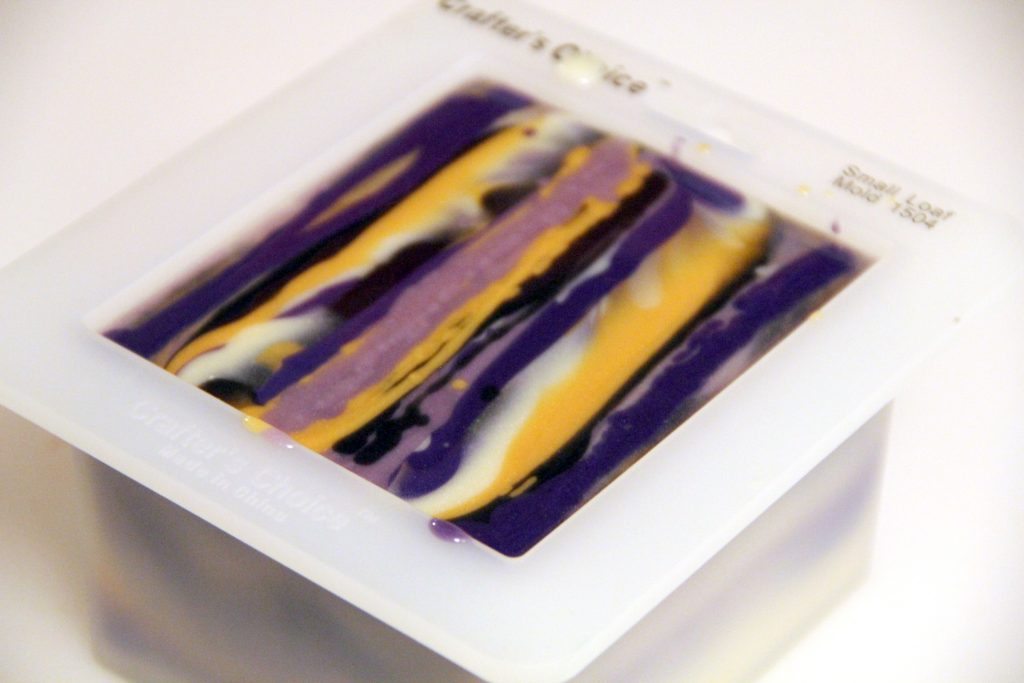
Step 8 – Pour thin lines of soap up the center of the length of your mold. Rotate the colors until you fill the mold up.
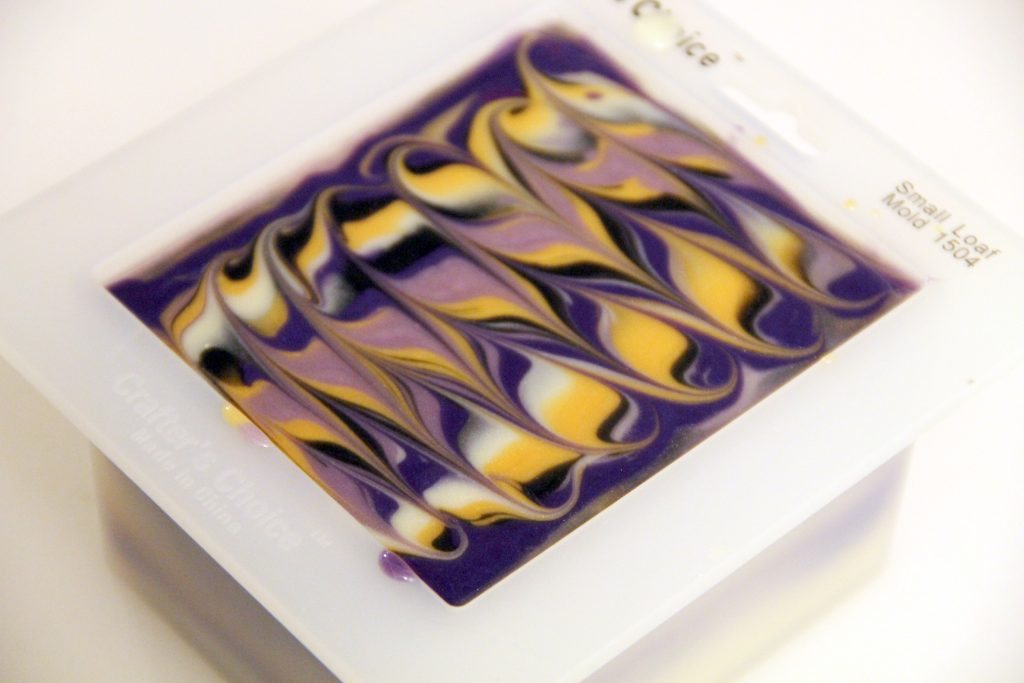
Swirl the top if you’d like.
Let sit for 24 hours to saponify and harden. Remove after 24 hours in the mold and cut. Let cure for 4 weeks.
Happy Soaping!
-Amanda Gail


Leave A Comment